Are you bored seeing the same flooring in your house, again and again? Do you want to change the old flooring of your home but have no idea how to install it? Answers to all these questions lie in this blog. So keep on reading and don’t skip any part of it. Because missing one step can results in a disaster.
Have you ever tried to install flooring your own? If your answer is No, then it’s time to do that. This task can be done by a professional, but it can significantly hurt your pocket. So, if you don’t want to spend a lot of money and also want a good floor, the perfect solution to this problem is to install them by yourself.
Don’t worry, if you are a beginner and don’t know a single thing about this, read this piece of content as it carries all the information regarding that. Vinyl plank flooring is the best option to go with, as it is very to install and has tons of benefits. You can instantly change the dull looking room into a luxurious looking by just changing the flooring. So, replace your old flooring to the brand new vinyl flooring and see the changes from your own eyes.
This type of flooring is trendy among people nowadays as it has many good points. So, let’s know about this and also learn how to install vinyl plank flooring.
What is Vinyl Plank Flooring?
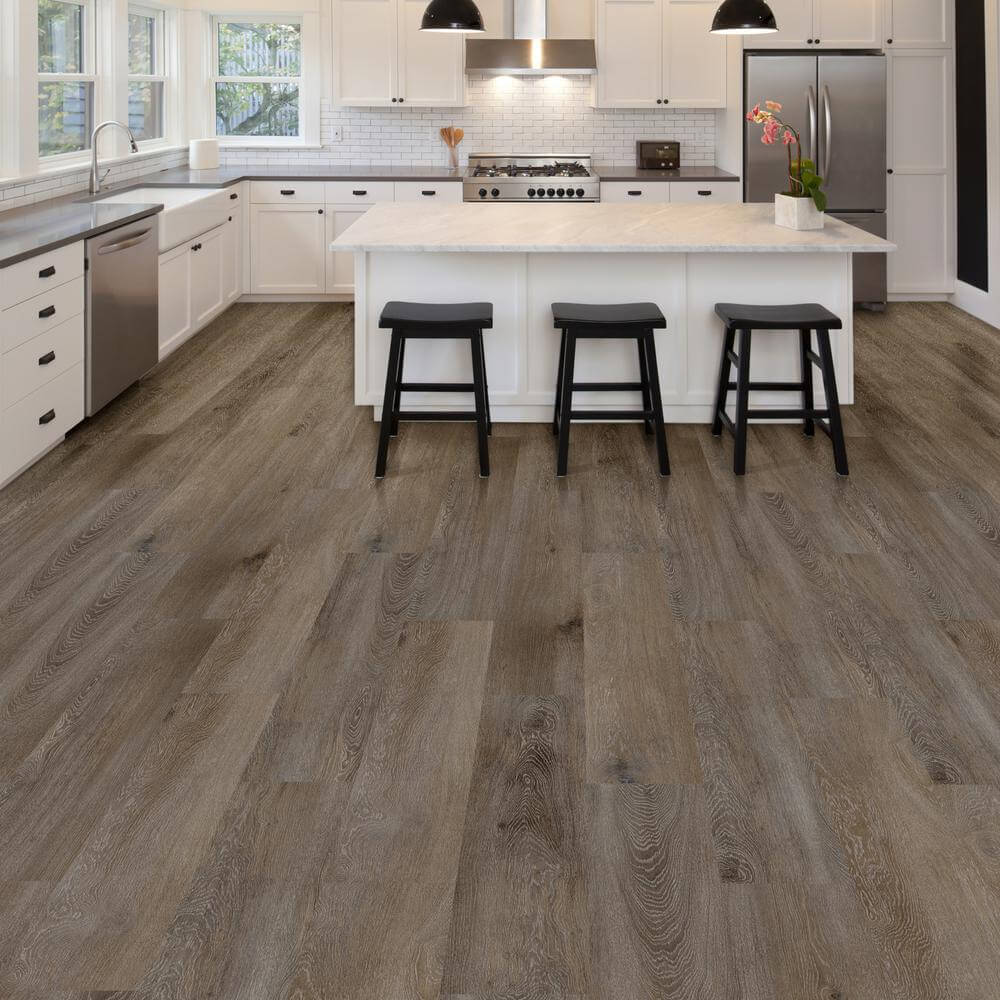
Basically, the luxury vinyl flooring is made from polyvinyl chloride (PVC), which is transformed into thin solid sheets by heat and pressure. The manufacturing process may differ; as it depends on quantity and quality, but they’re all petrochemical products that emit volatile organic compounds (VOCs) such as phenol.
Types of Vinyl Plank Flooring
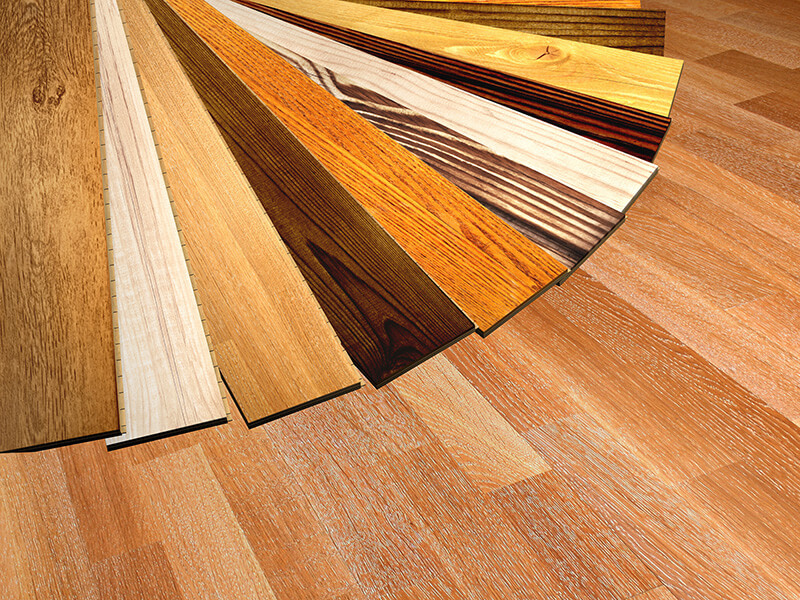
Two types of flooring come in vinyl flooring, tile, and sheet vinyl flooring. Sheet flooring comes in 6 to 12 feet wide or long, which is easy to apply to the floor. Whereas vinyl tiles come in 9″x9″ or 12″x12″ in size.
Time and Cost Analysis
Here are the overall time and cost analysis of the installation:
Working Time: 3-4 hours for 120 square feet
Total Time: 5 hours
Materials Cost: $250 to $400*
*Costing totally depends on the floor area.
Tools

- Vinyl tiles
- Broom or vacuum
- Utility knife
- Fine-tooth saw
- Tape measure
- Straight edge
- Tape measure
- Pencil
- Paper
- Calculator
- Hammer
How to Install Vinyl Plank Flooring?
Here’s the procedure of installation:
1. Plan
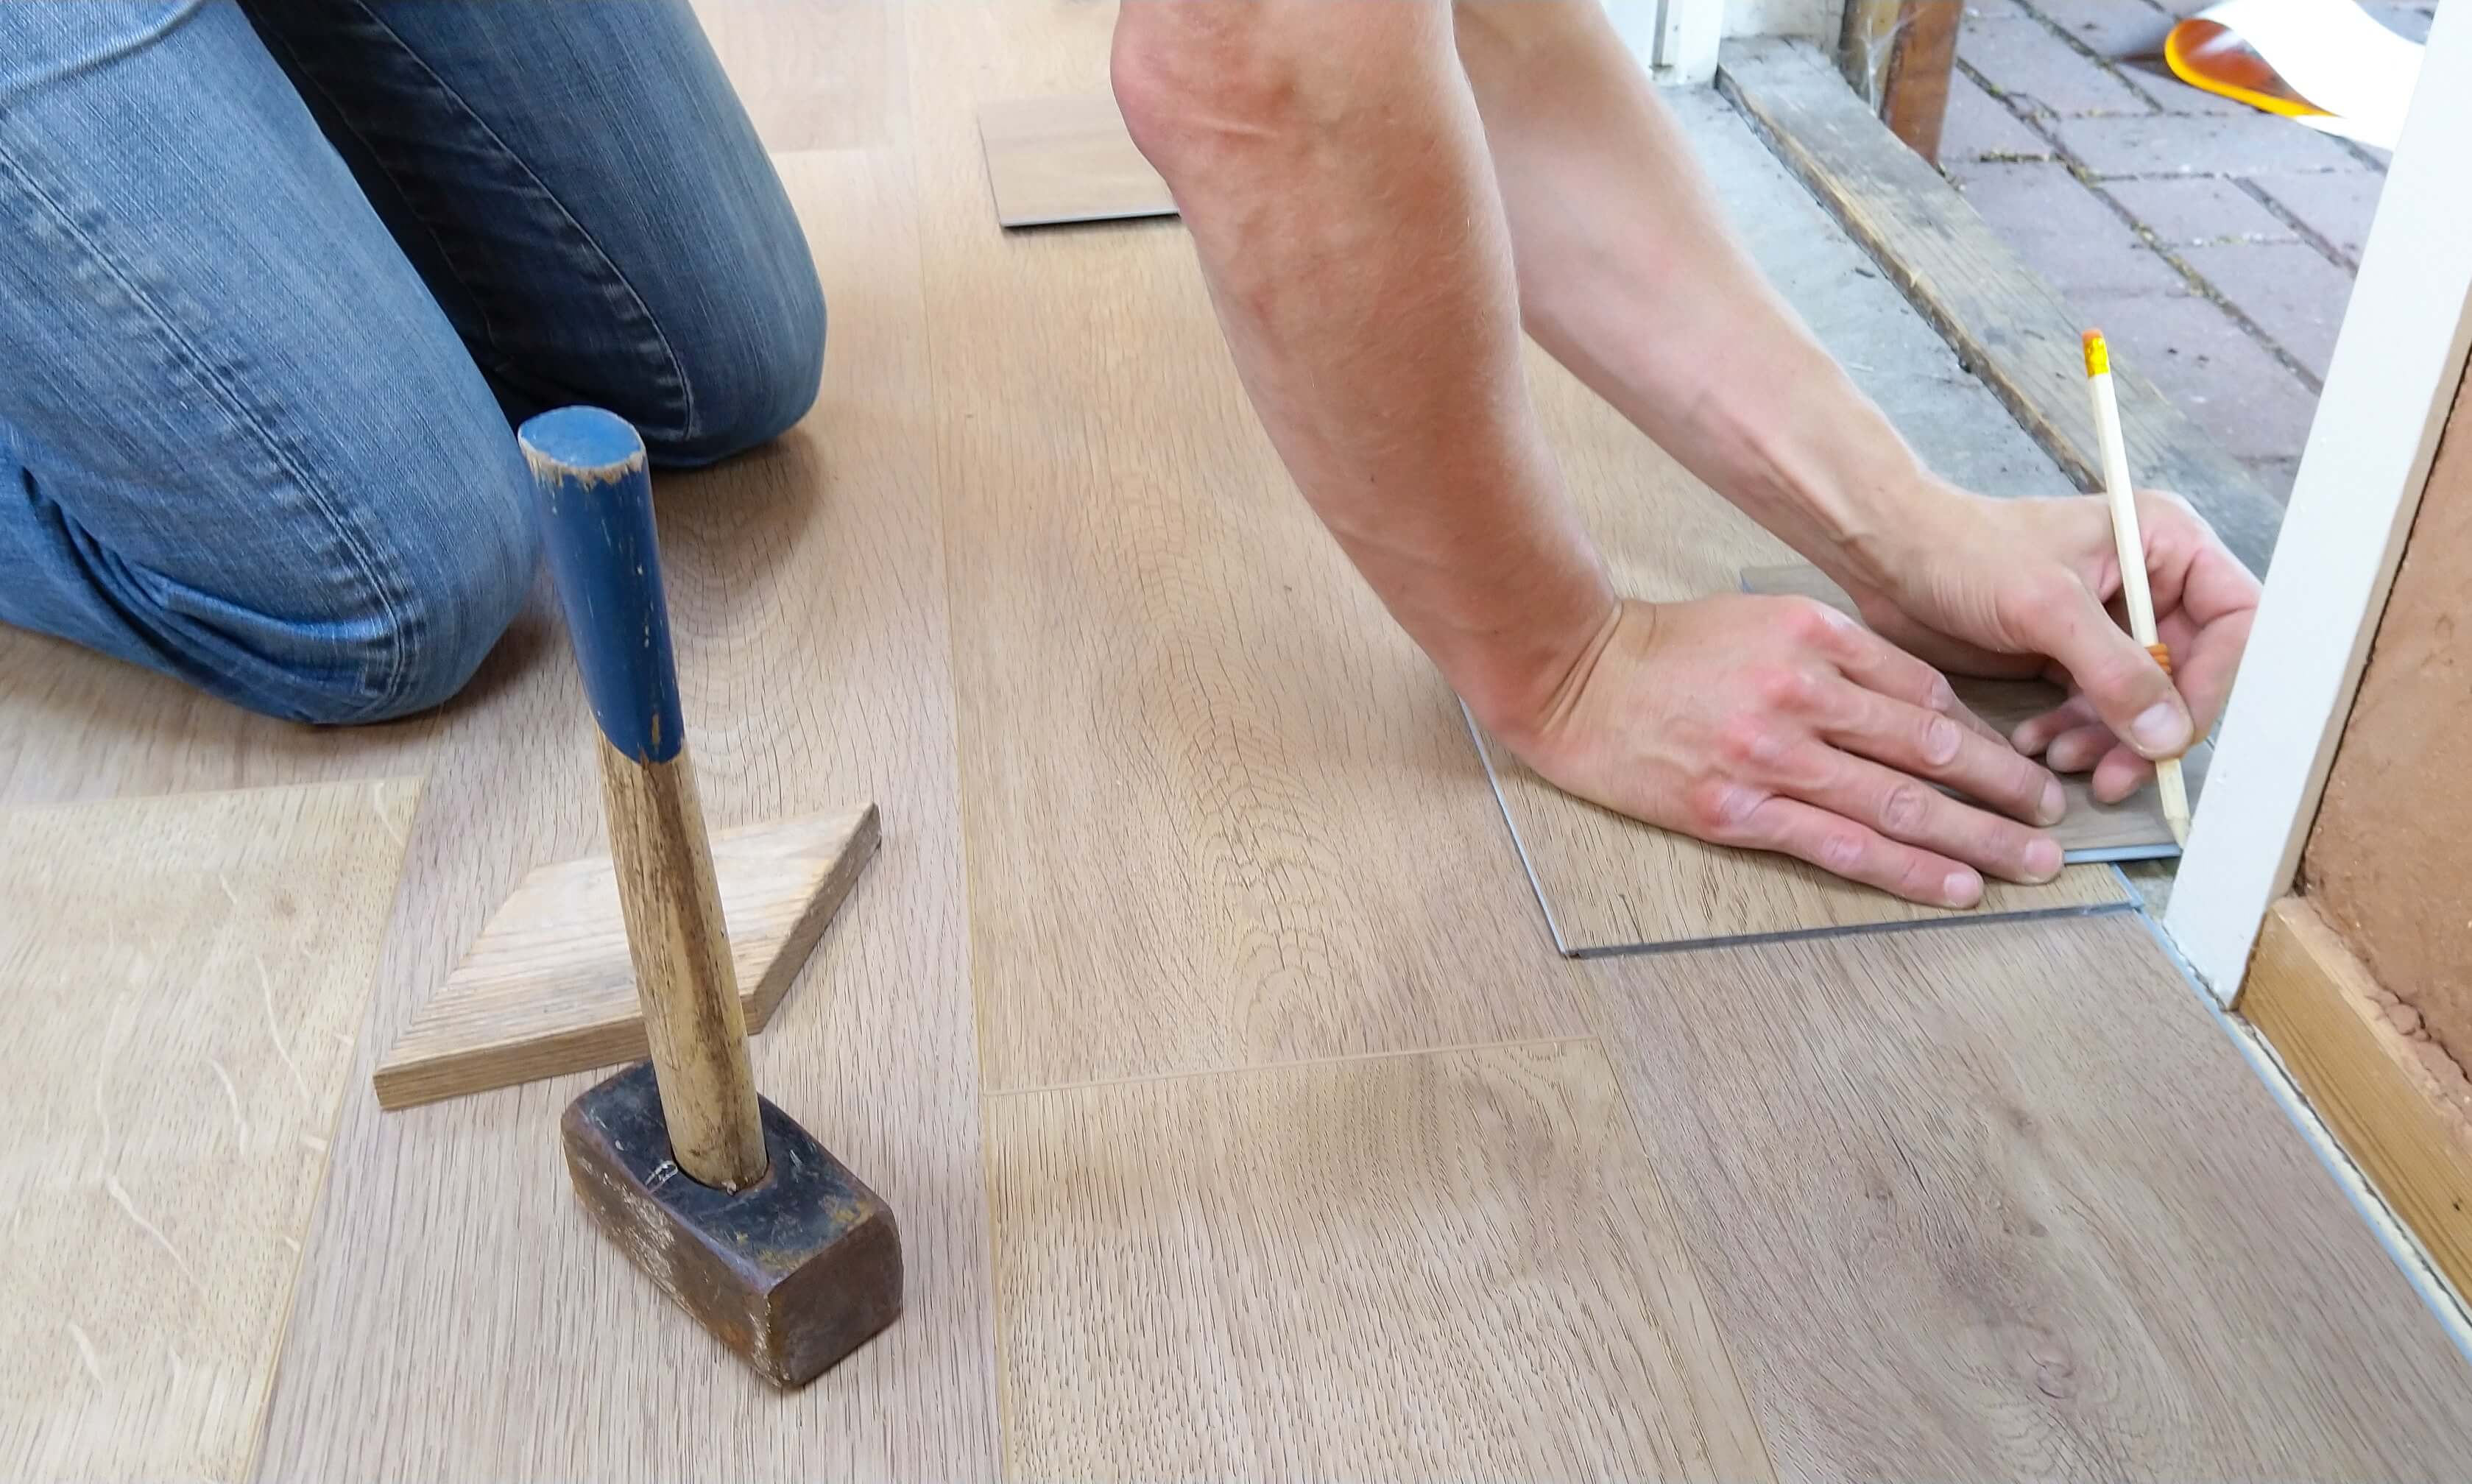
The first thing is to plan everything even before purchasing the materials required for installation. Measure the area accurately with the right measuring tools. After this decide whether you want sheet or tile vinyl flooring.
2. Clear the Floor Space
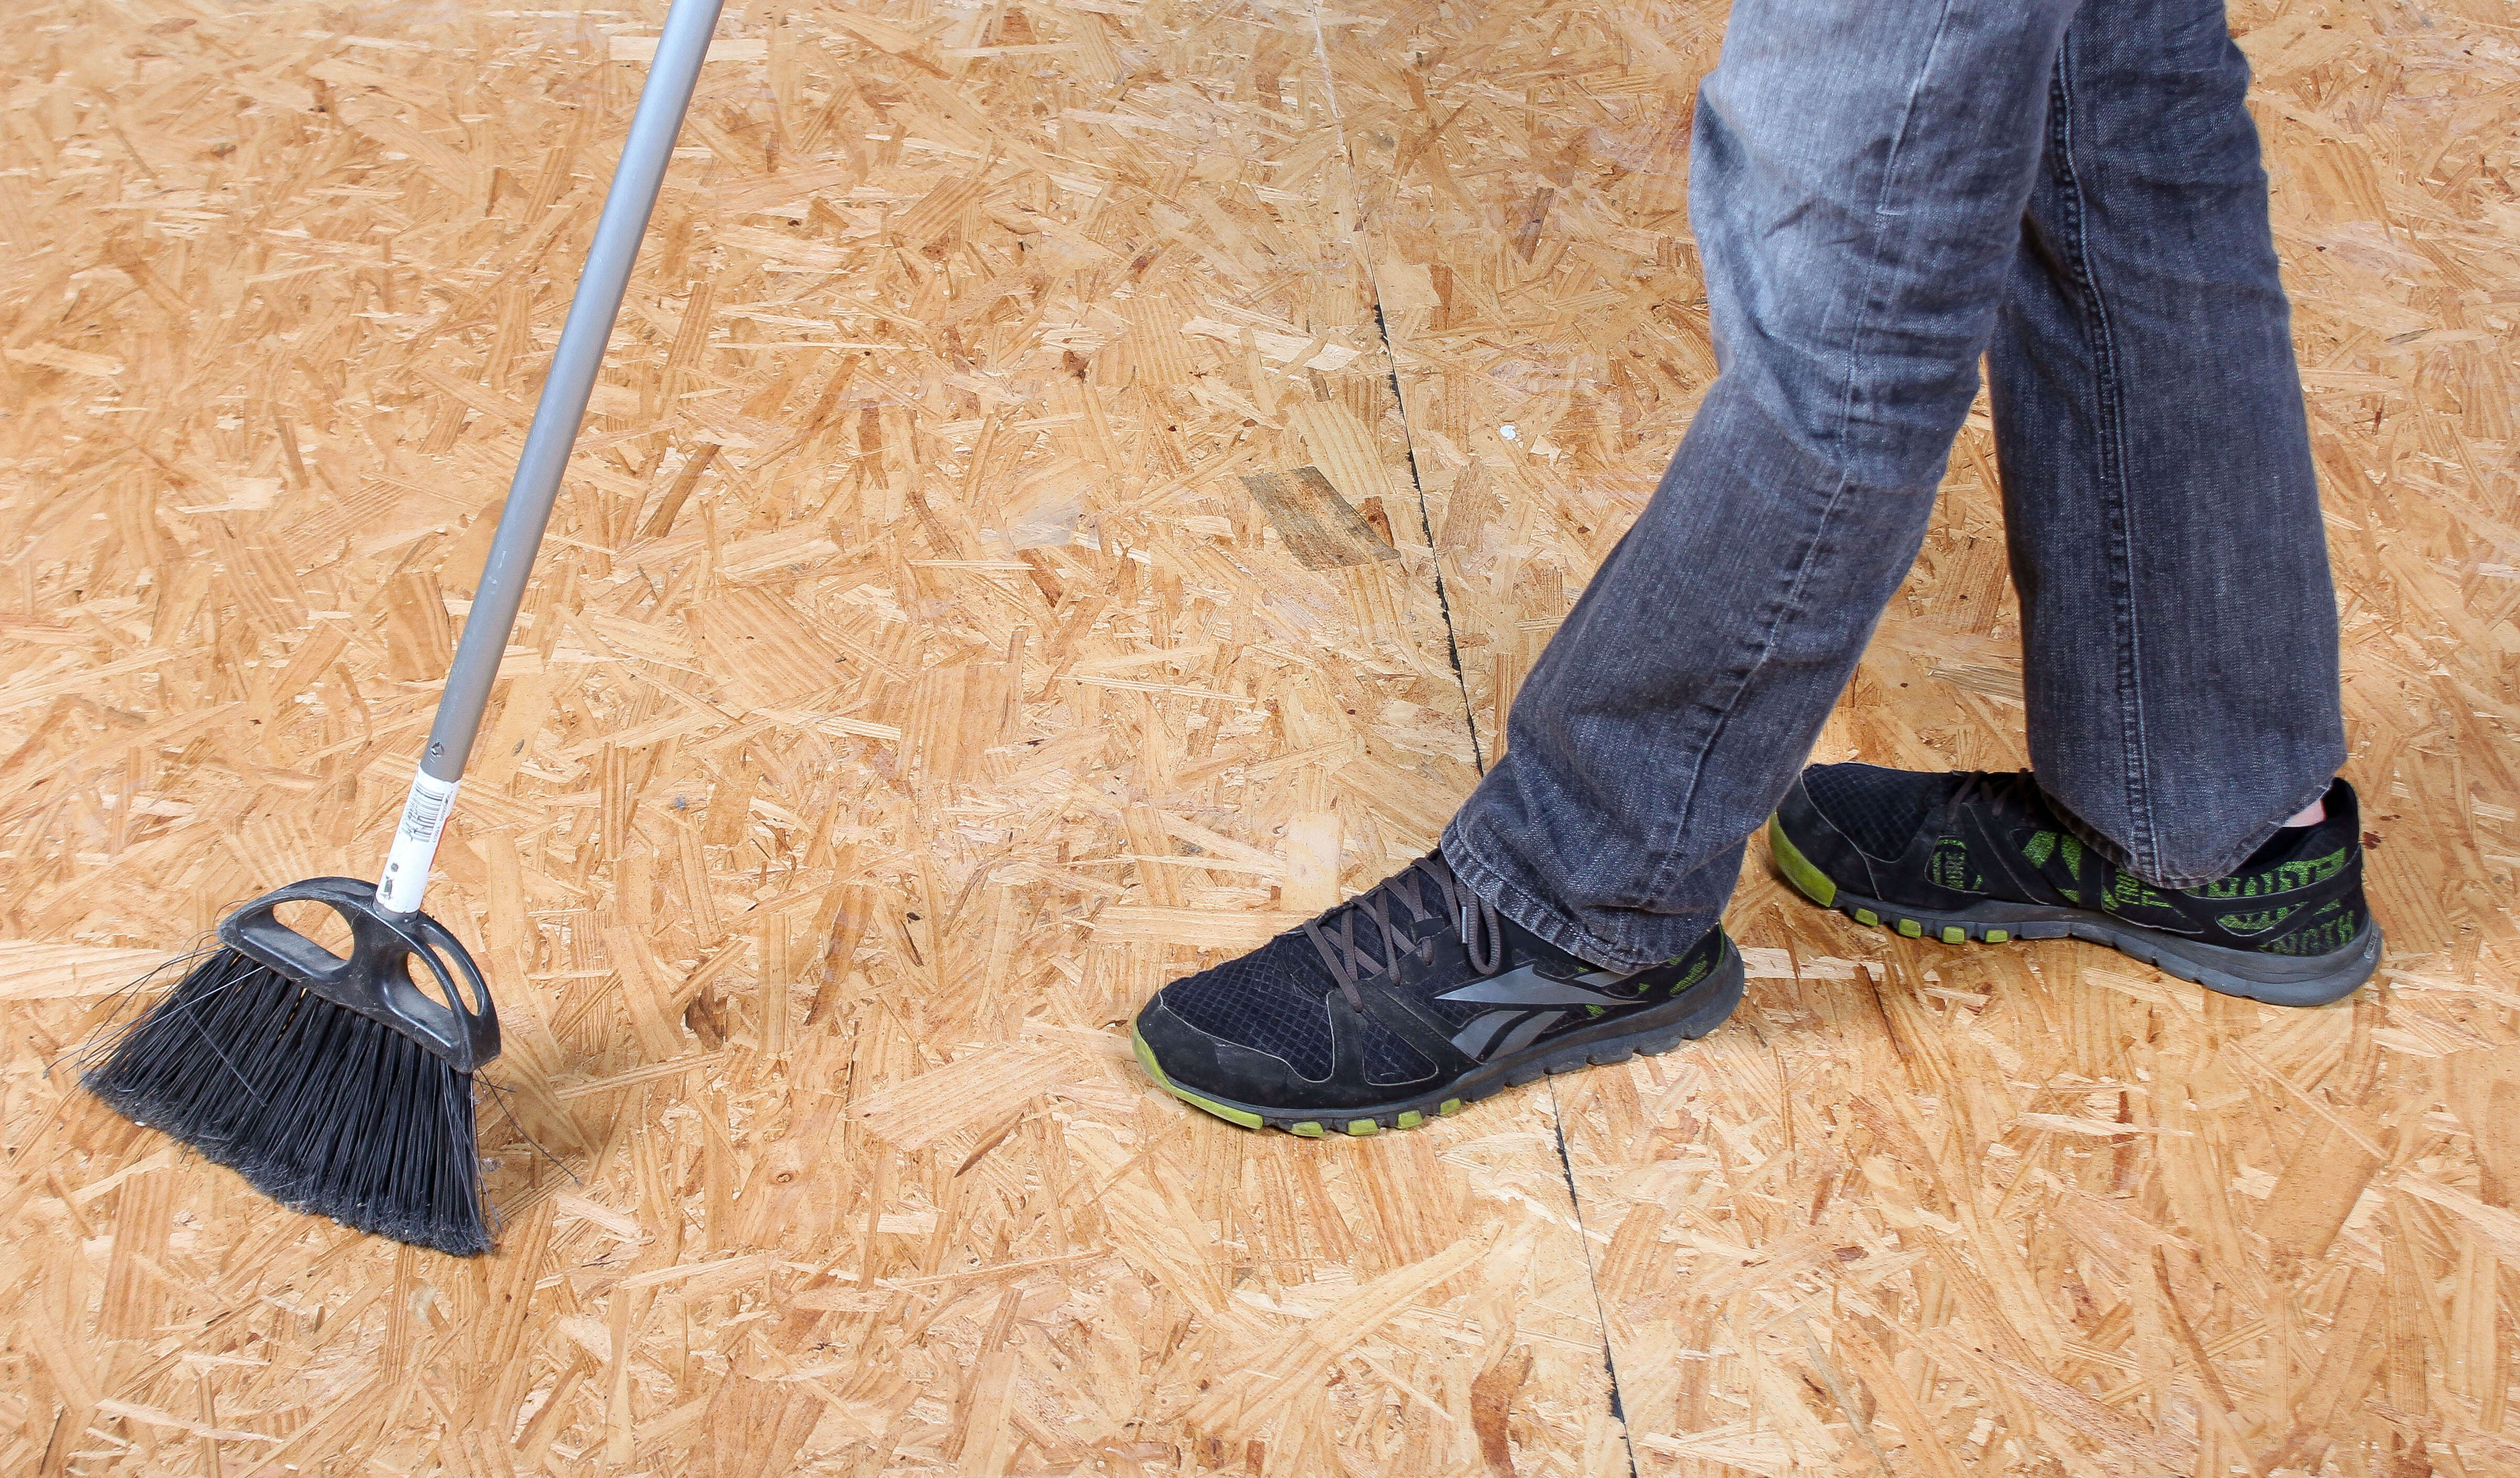
After you buy the flooring, it is time to clear the space. Move all the furniture & stuff and clean the floor with a broom or vacuum, so that you can start the real procedure.
3. Remove the Old Flooring
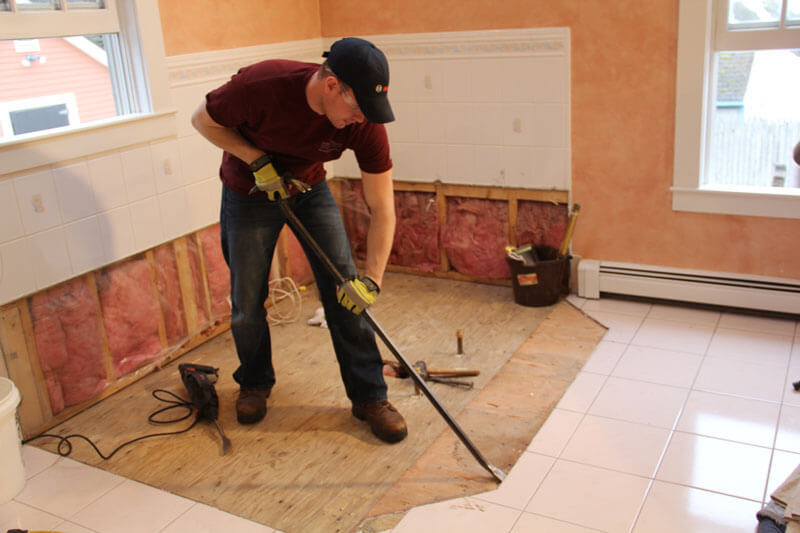
If your house has already some kind of flooring, it’s time to remove them so that you can easily install vinyl plank flooring. It is essential to do because placing the new ones on the older ones makes things complicated, and the floor will be less durable.
4. Remove the Trim
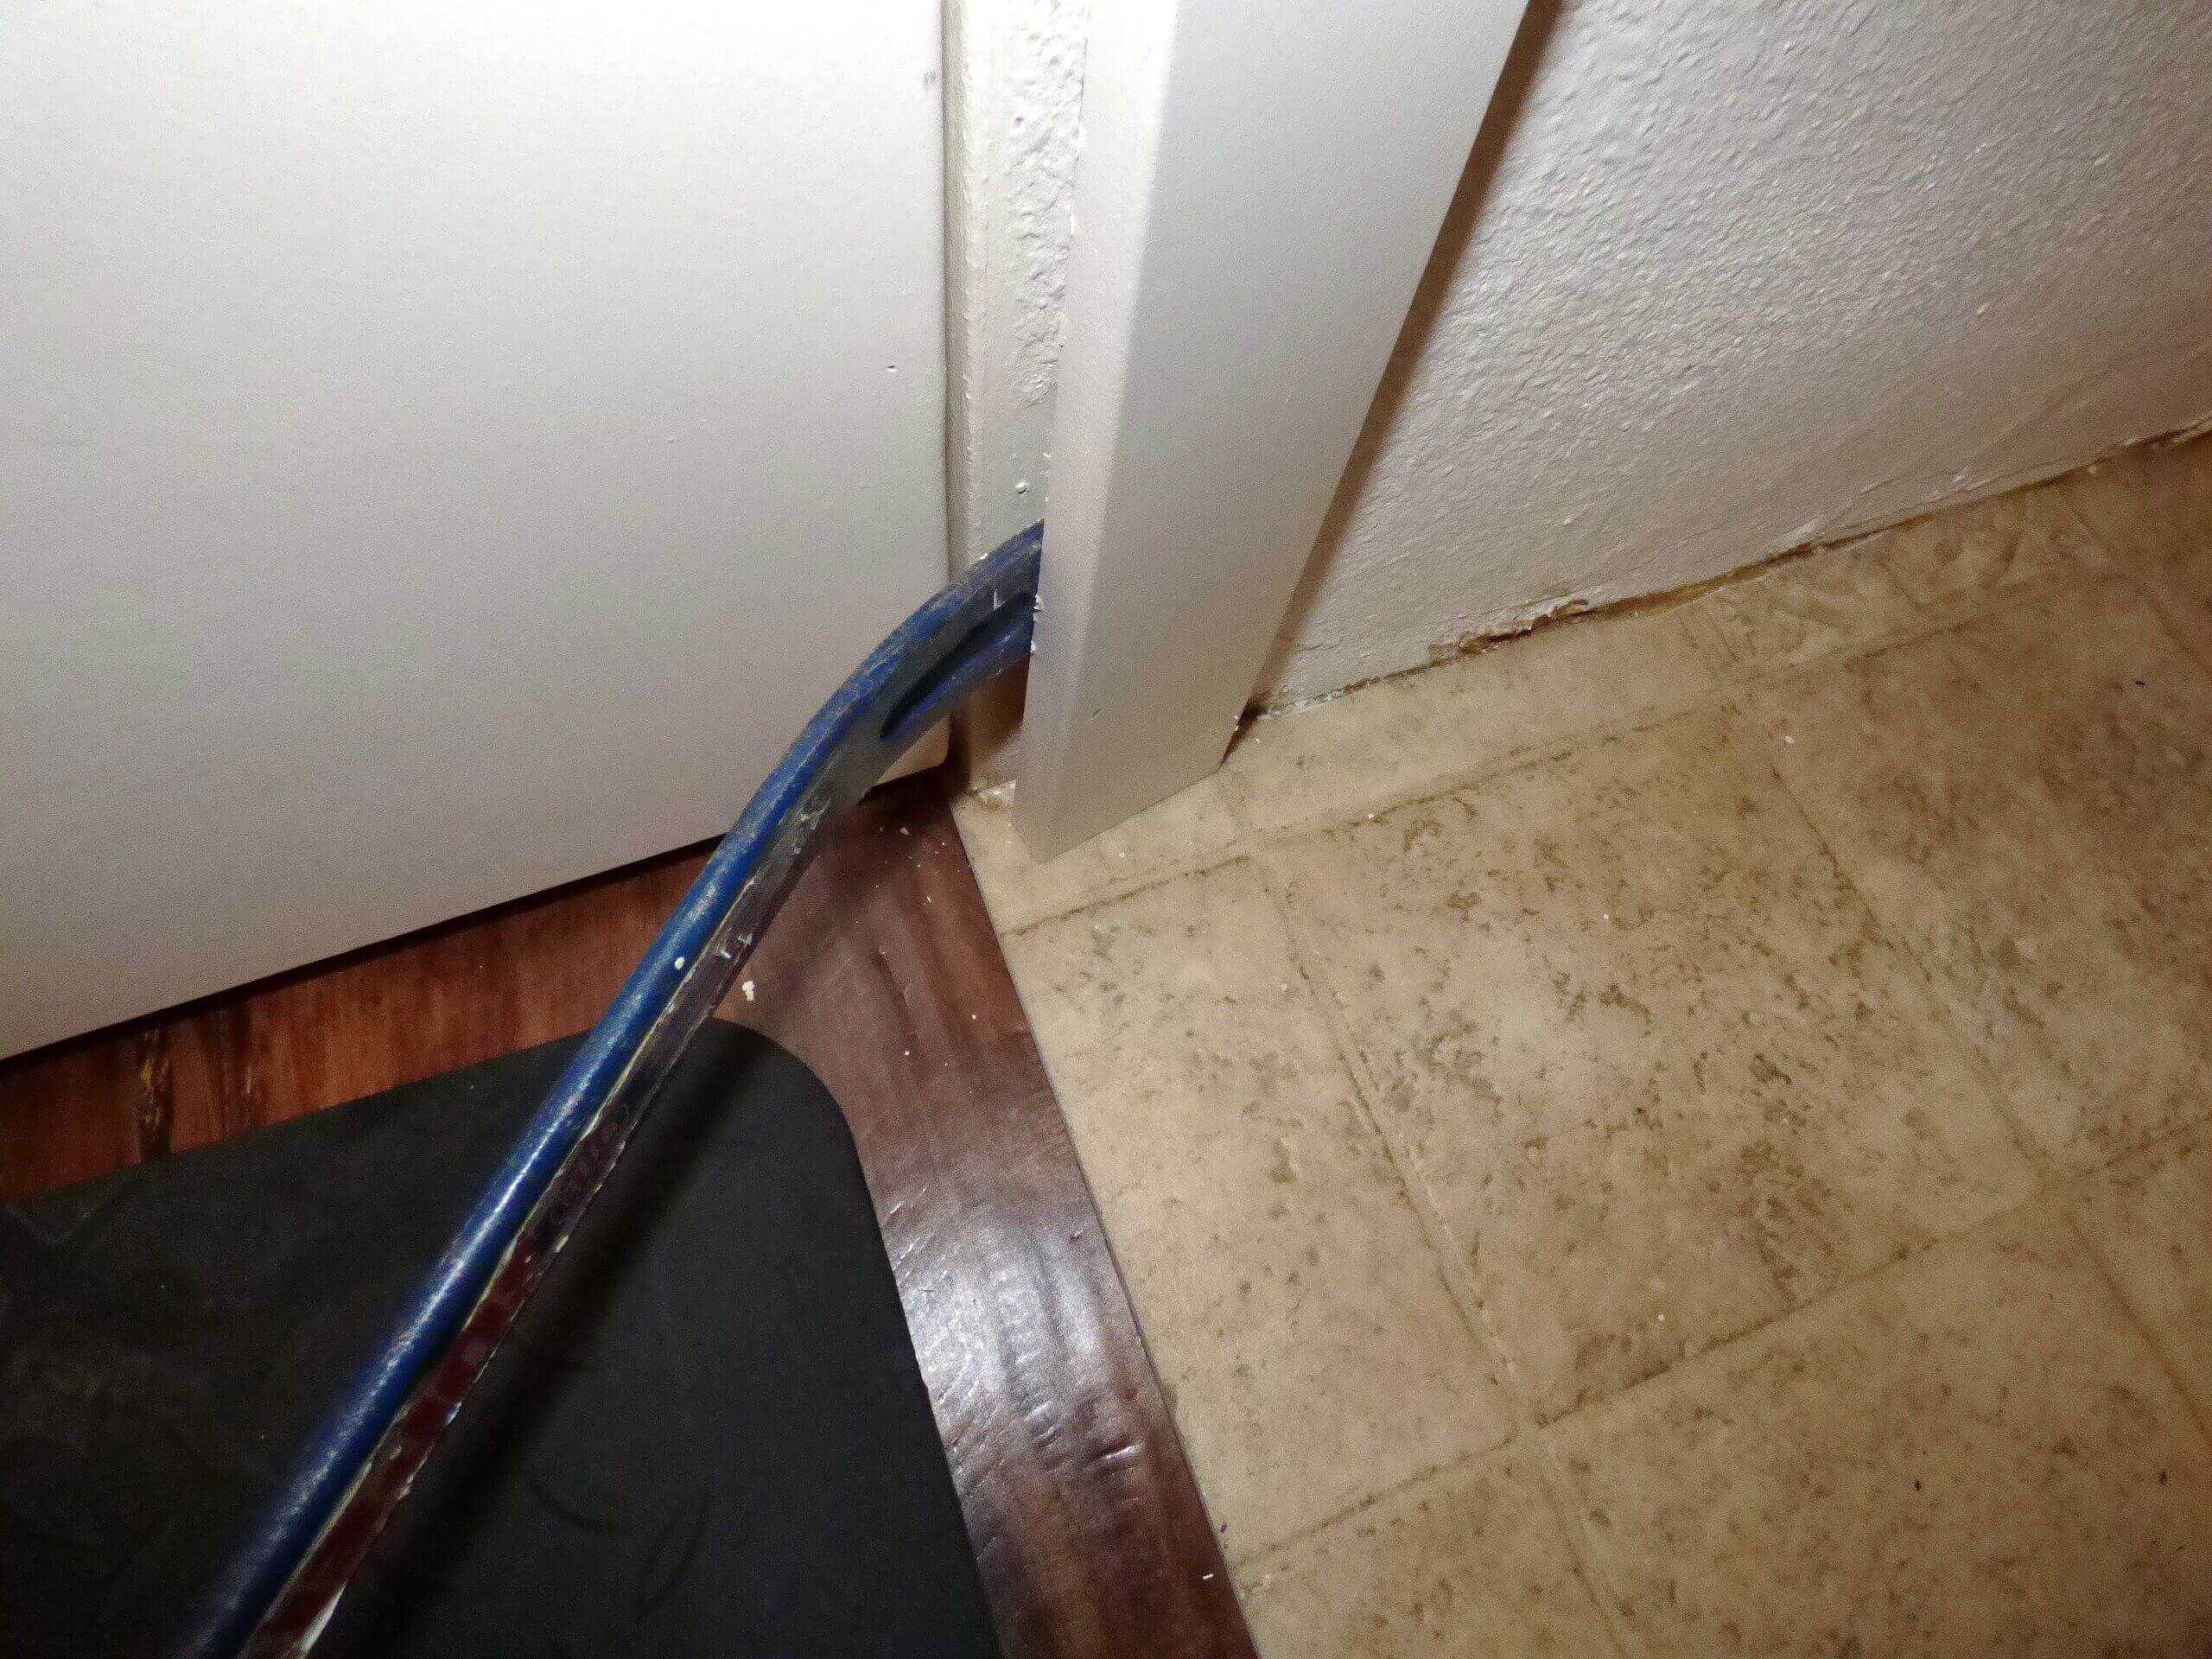
Always remove the trim which is connected to the floor, which sometimes includes casings, door trim, and baseboards.
5. Place Underlayer
This is an optional step, usually, it is necessary when you have uneven surfaces. So to flat everything you can go with the underlying process.
6. Cut the Vinyl Plank Flooring
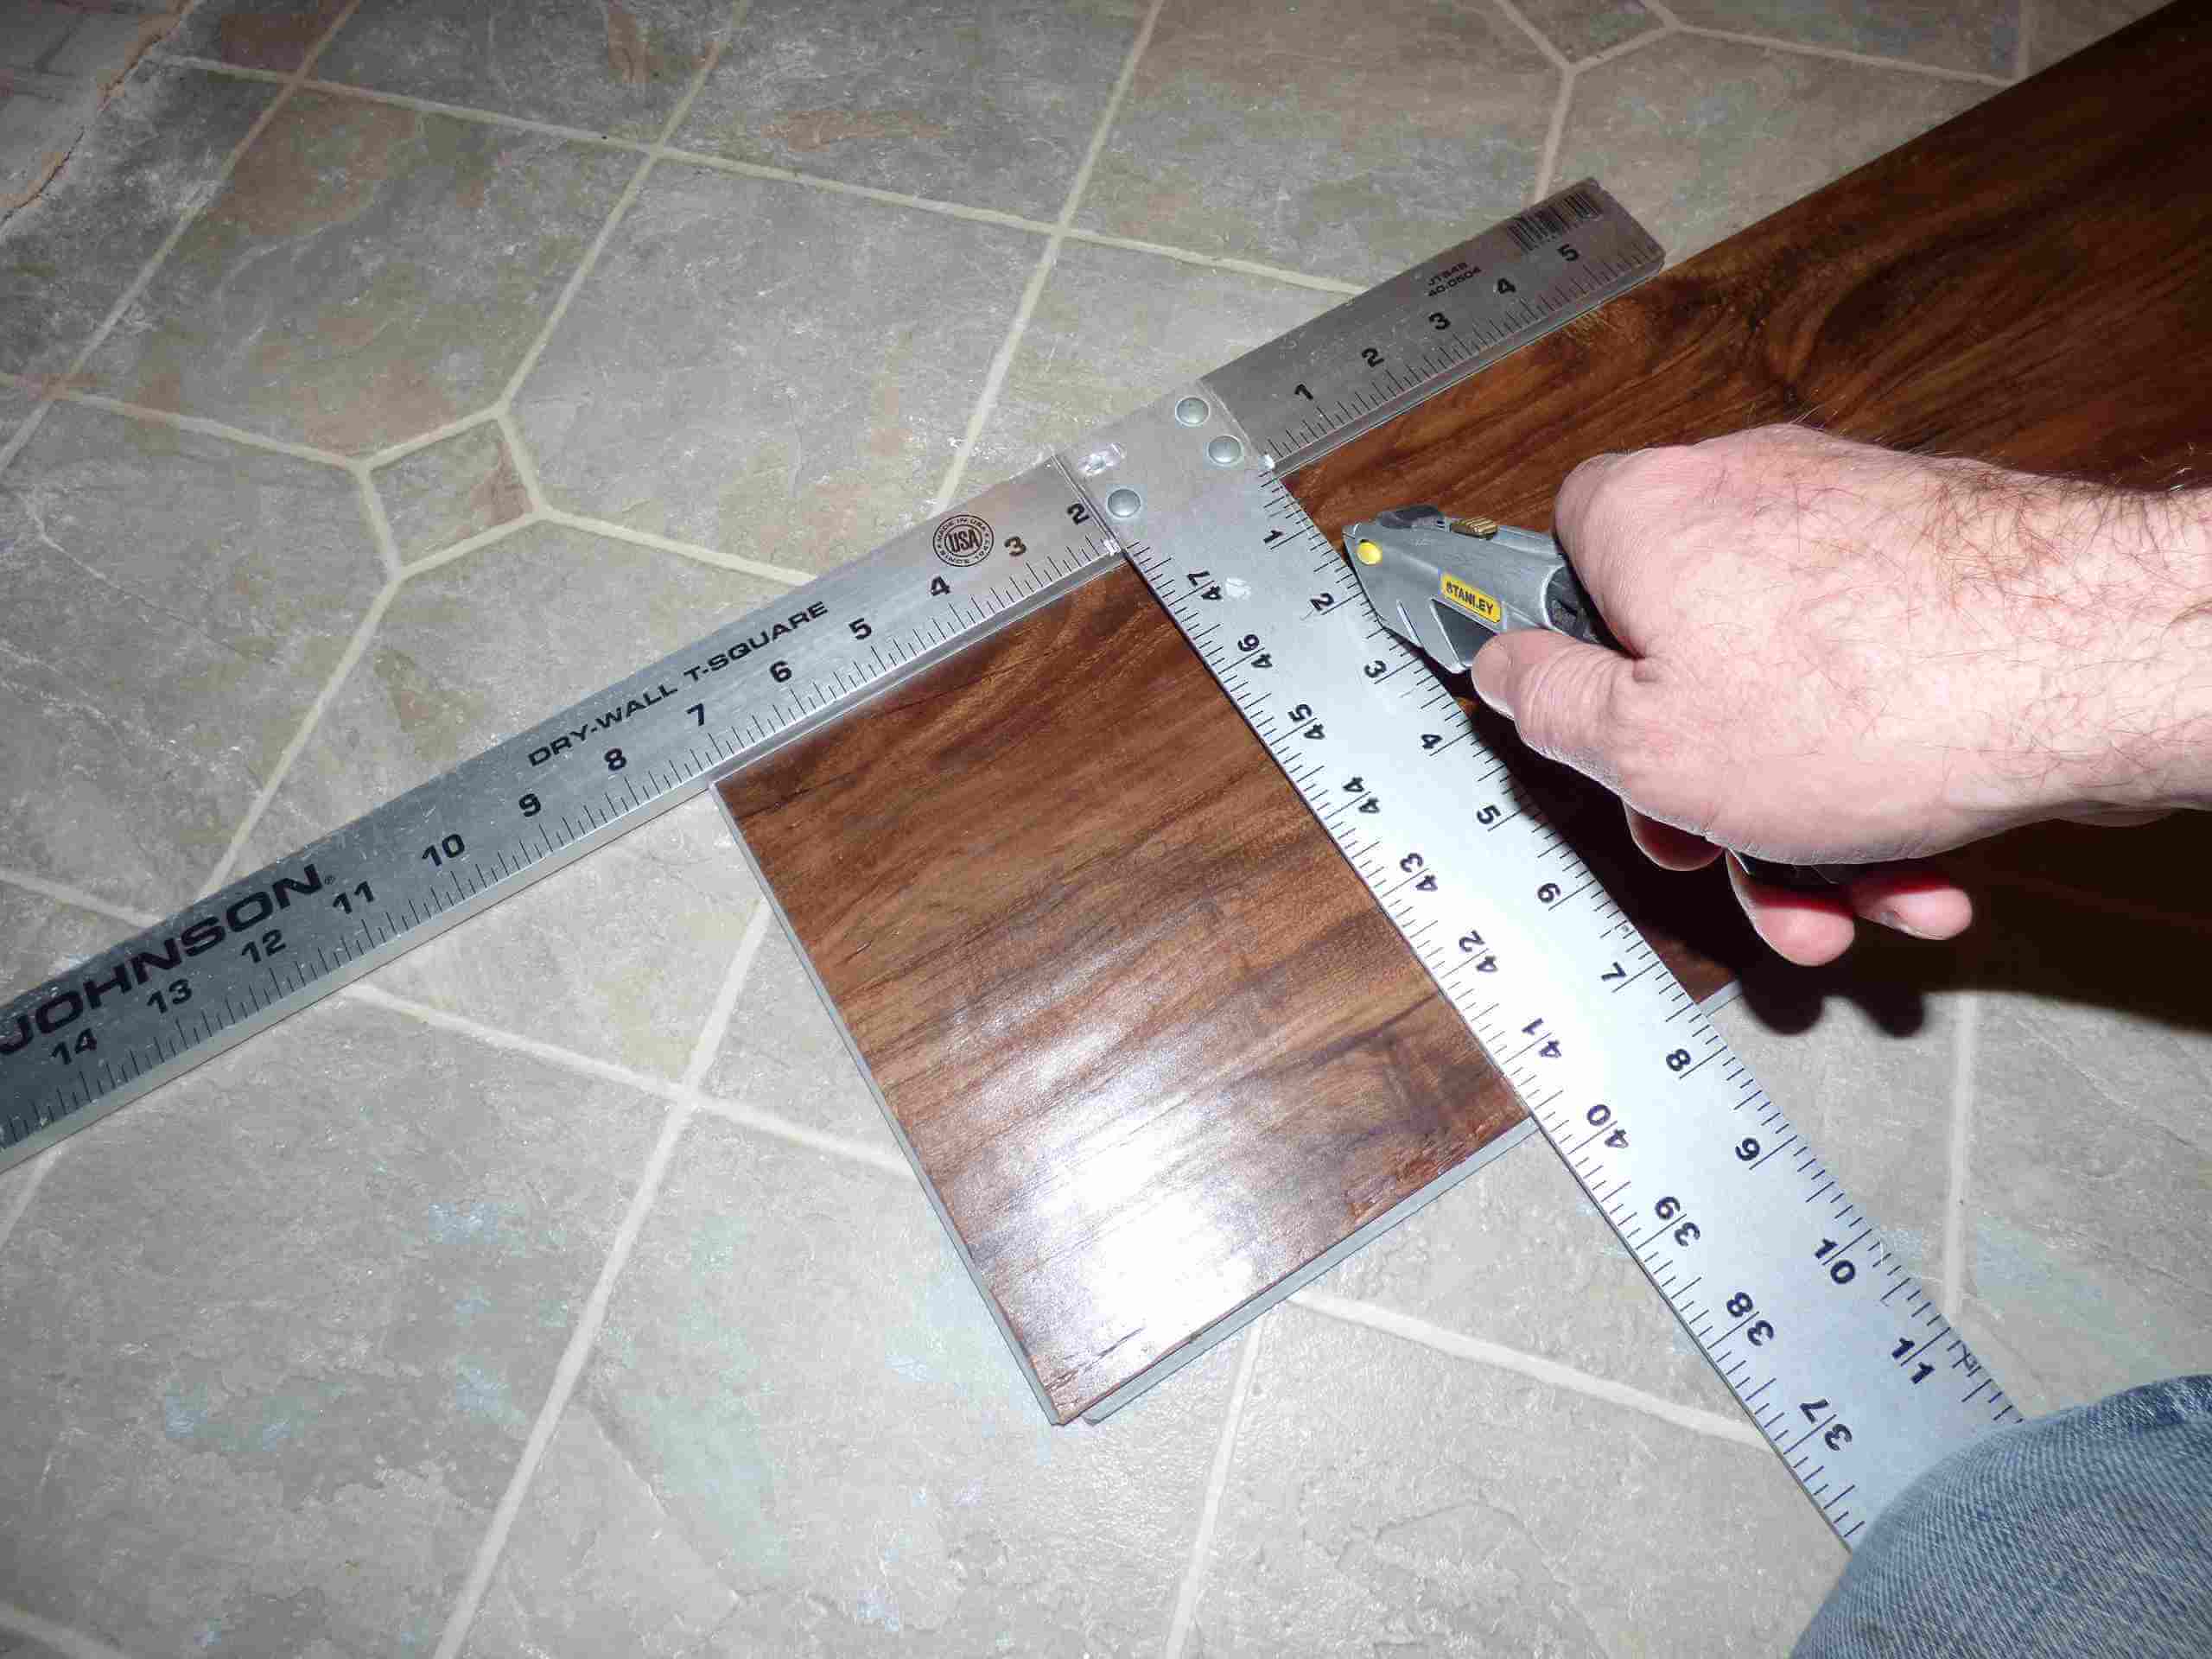
The next step is to cut the resize the planks according to your floor area. Use a Utility knife or Fine-tooth saw to do this. Carefully cut the plank from both sides.
7. Join the Flooring Planks
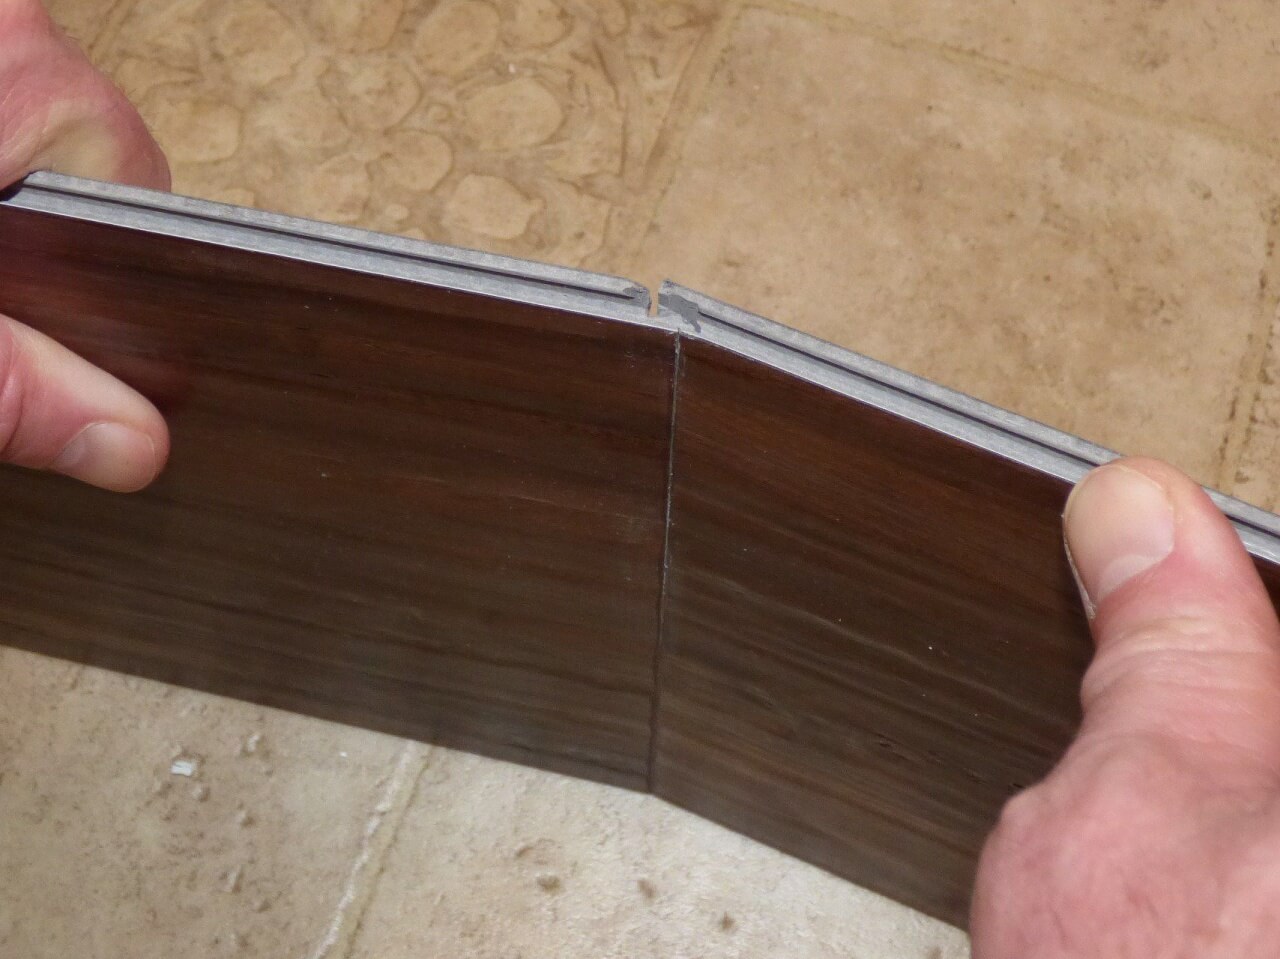
All the planks come with side to side fold & lock type grooves. What you have to do is lay down one plank on the floor and hold another one at an angle and slip it in the first one and lock it. This is how two planks are connected, now you just have to repeat the process until you finish flooring your floor.
8. Make Cuts for Protrusions
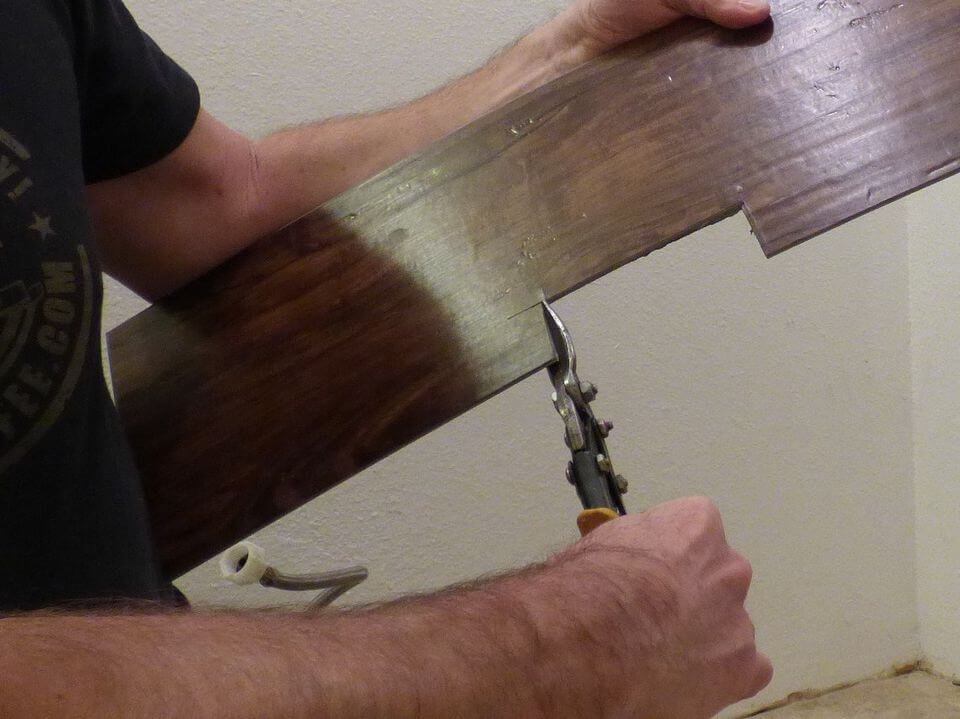
It is another crucial step that you can’t skip. Every home has pillars some kind of Protrusions or designs, you can always cut the plank according to your house designs.
9. Apply the Plank Around Protrusions
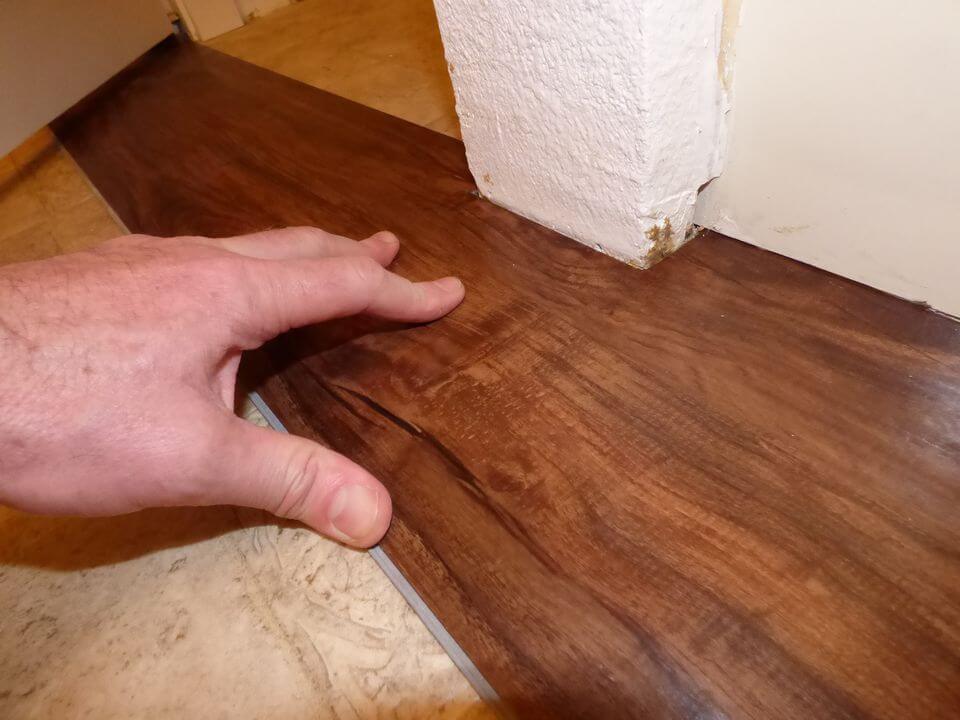
After cutting them in the right size, its time to place them. Carefully place one by one vinyl plank by locking them correctly.
10. Install the Baseboards and the Trim
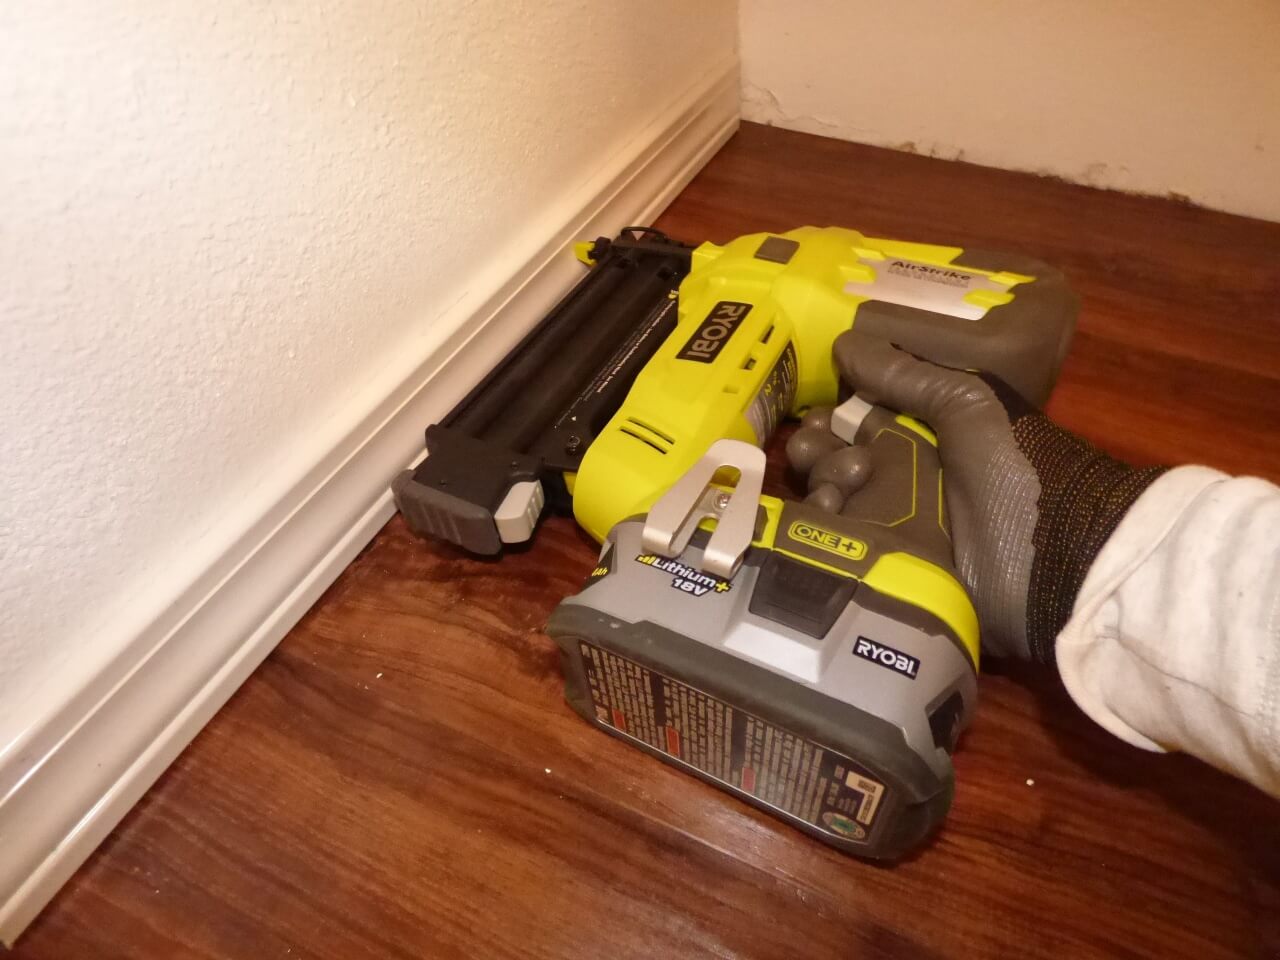
After you’re done with the laying of the plank, this is the final step. Happy? But wait you have to install back the trims and baseboards which you removed in the starting.
So, now you’re finally done. Just give an appreciation tap on your back, really it is kinda tricky to do it, but you’ve completed the whole process without messing up, it is a great thing. And all your hard work shows on the brand new shining floors.
Here’s the complete tutorial on how to install vinyl plank flooring :

Advantages and Disadvantages of Vinyl Tile Flooring
PROS
- Durable
- Easy to install
- Less Expensive
- Comes in varieties of colors
CONS
- Can’t stand to heavy load
- Not good for outdoors
Here are the answers to some common questions that people have before and after installing the vinyl plank flooring:
FAQ’S
While sheet flooring is more water-resistant and is easier to install, many homeowners prefer vinyl tile, which replicates the look of a ceramic tile floor at a more affordable cost.
Yes, vinyl plank flooring is completely safe for pets. It is also water-resistant and 100% scratch-free.
Yes, you can! But make sure to put pads or rugs to protect the floor from serious scratches & scuffs. You can put 2-2.3 pounds on every square foots.
Vinyl sheets are around $4 per square foot, whereas the vinyl planks are $7 per square foot to install.
The average life of vinyl plank flooring is 10-15 years, but thicker vinyl plank floorings can last upto 25 years.
Sheet flooring is more water-resistant and super easy to install, whereas vinyl tiles are much durable & scratch-free.
Read More:-

