If you are not aware of the word Toilet Flange, then here is what it means – the toilet flange is a circular part of the toilet that connects the toilet to the floor and is further connected to the drain/sewage pipe. These are made of PVC, rubber, or metal. Let’s see how to replace a toilet flange.
How will one come to know that it’s time to replace a toilet flange?
Water leaks at the base of the toilet, the toilet becomes loose and moves with wrecked sound, shaky units, and damaged flooring are some of the signs that indicate that it’s time to replace the toilet flange. If not repaired or changed on time, then it will create significant damage over time. Over and above, it creates unnecessary hygiene risks in the home.
How to repair/replace a Toilet Flange?
Below are the steps one should follow to replace a toilet flange. This activity doesn’t take much time, and also, not much expertise is required.
1. Gather all the required items/materials to replace a flange
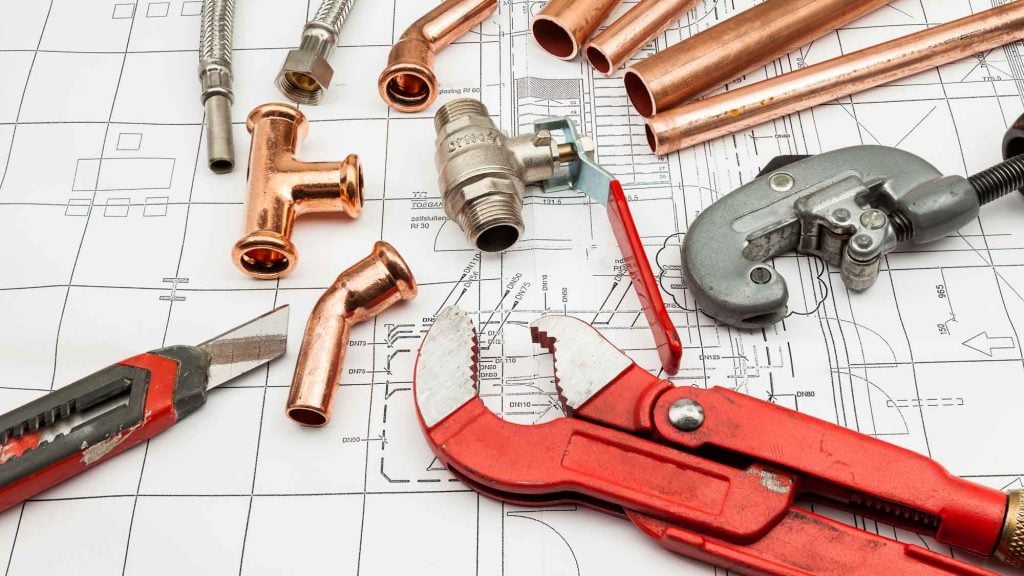
Below are the materials required –
The below materials can easily be available in any hardware shop. They are not very expensive.
- Toilet flange – to buy the toilet flange, you should take the old one to the store for the correct size and type. Toilet flanges are made of PVC, copper, and iron. You can select the one which fits your needs.
- Toilet flange extender – if the existing flange is the glue to the drainpipe
- Bolts – buy some new toilet flange bolts so that they can be replaced with old ones in case they have been rusted or worn out.
- Wax ring – it helps to hold the flange to the base of the toilet
- Wrench – it is used to unfasten the old bolts of the toilet around the flange
- Multi-head screwdriver – it is used to loosen the screws and remove the toilet
- Putty knife – it is used to remove old wax around the seal of the flange
- Old rags and newspapers – it is required to block the outflow pipe.
- Mask – to cover your nose and mouth from awful toilet odor
- Gloves – not to make your hands dirty
2. Flush and Empty the Toilet
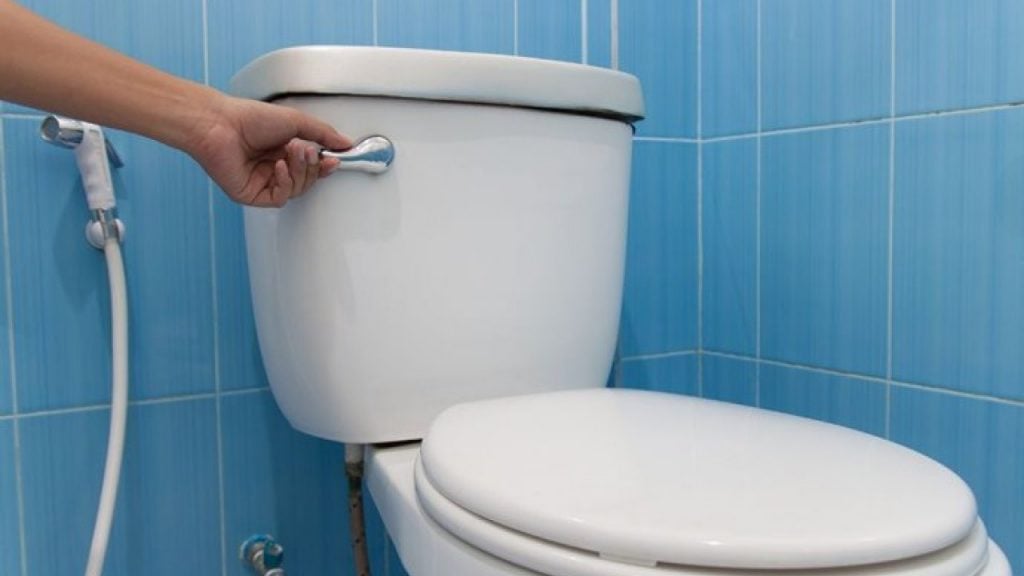
Turn off the knob to stop the water supply to the water tank. Flush the water tank until it gets empty. Disconnect the water supply hose from the toilet. Keep a big tub/vessel to collect the leaking water, if any.
3. Remove the Toilet
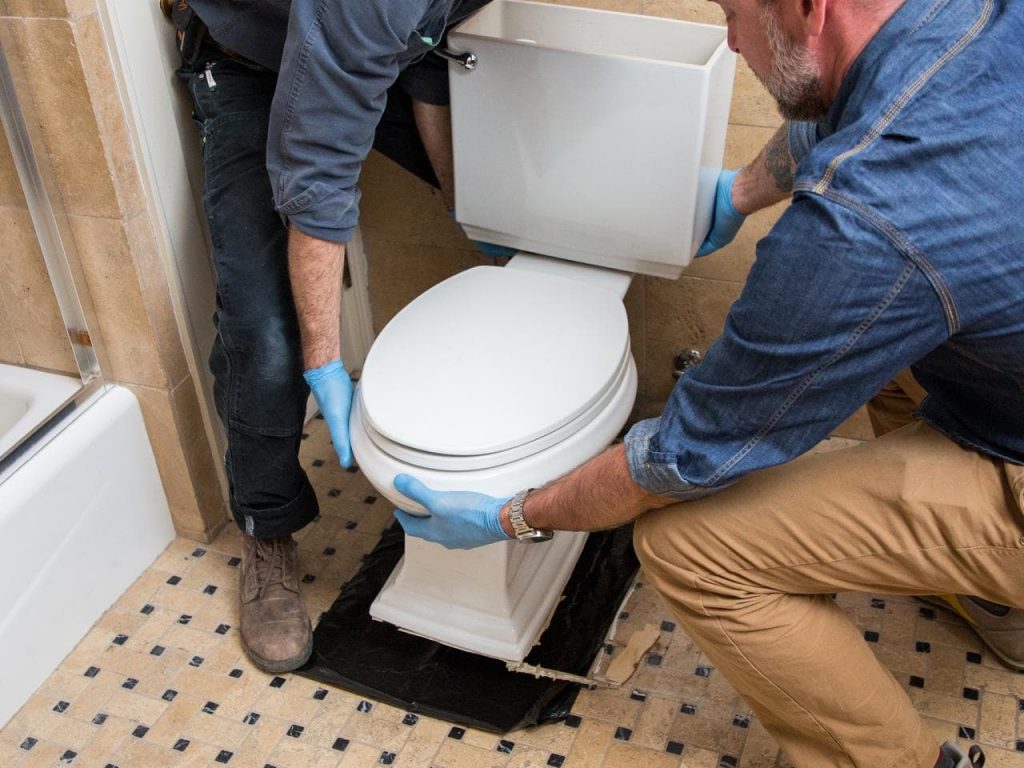
Cover the bathroom with old newspapers. Use a wrench to remove the bolts that hold the toilet down. Now with the help of someone, lift the toilet and place it away from the work area and keep it in the newspaper, so the area doesn’t get spoiled.
4. Block the Outflow Pipe with a Rag
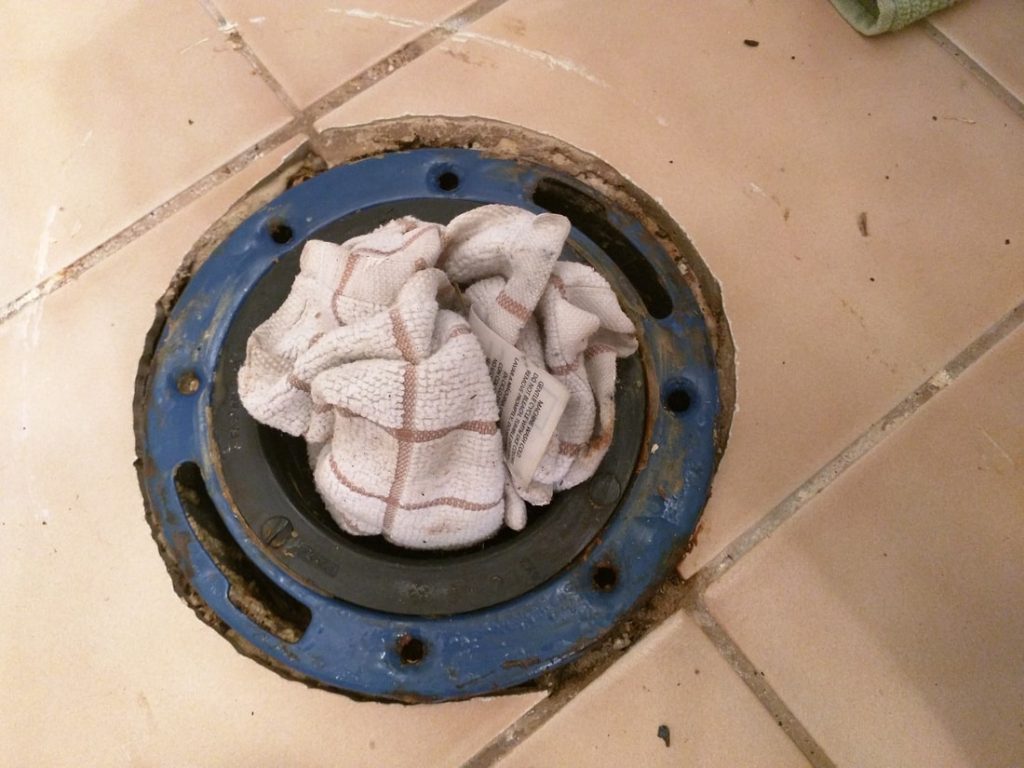
Once the toilet is removed, immediately stuff the old cloth rag in the outflow pipe to prevent an awful odor. Do not stuff much inside that it becomes difficult to pull it outside again.
5. Remove the Flange
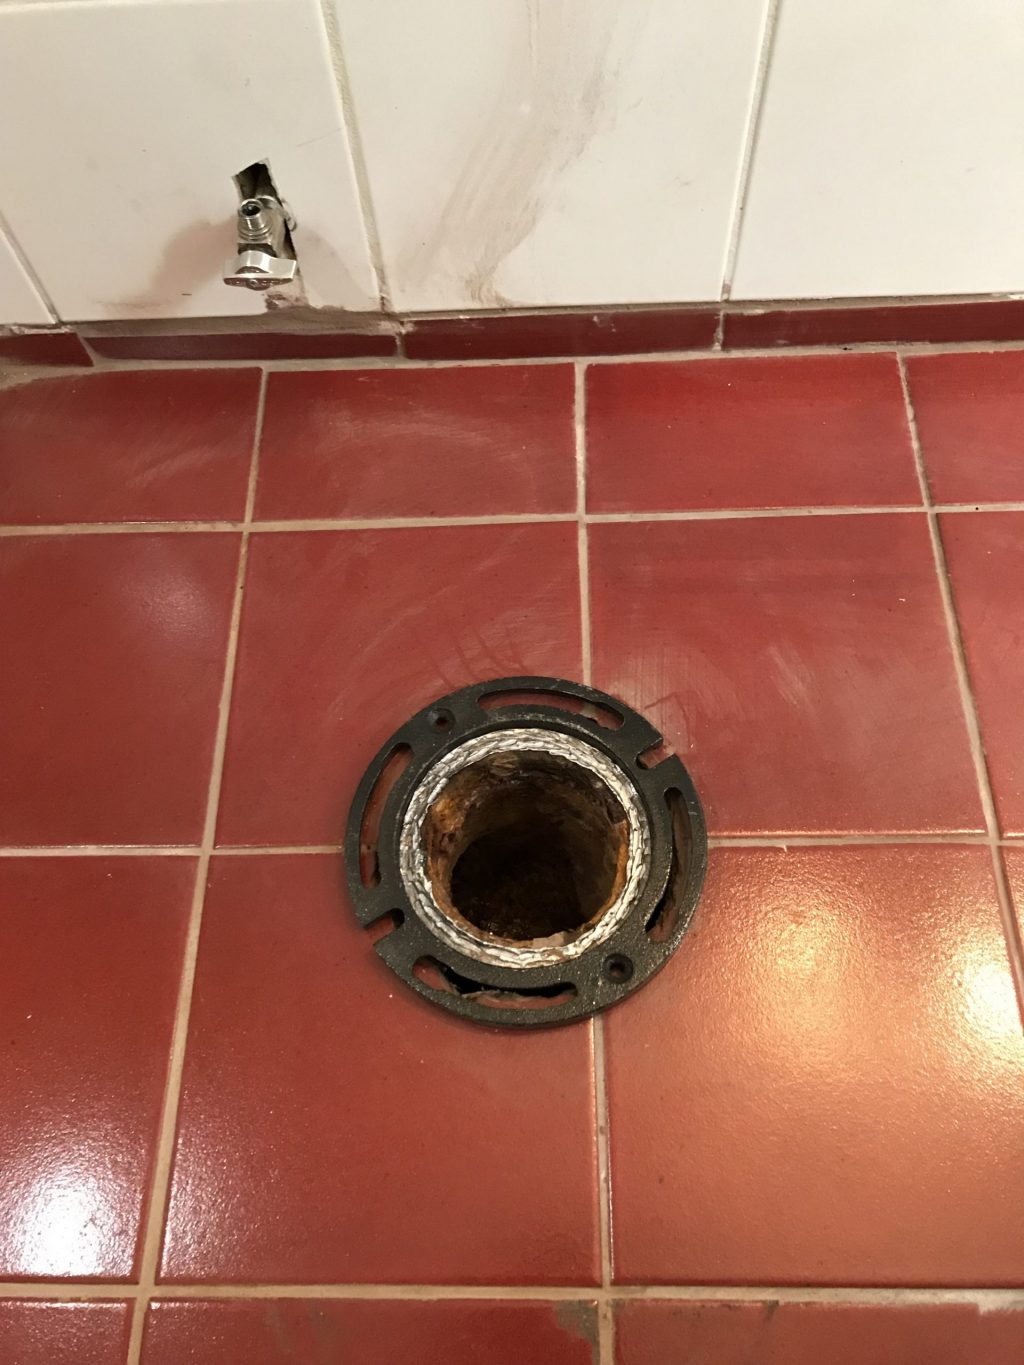
Use a putty knife to clean the wax from the flange. Remove the bolts with the help of a wrench, then with the use of a multi-head screwdriver to loosen the screws and take off the toilet flange. Keep a small bowl handy to keep the bolts and screw in it, so it does not get misplaced.
6. Replace the new Toilet Flange
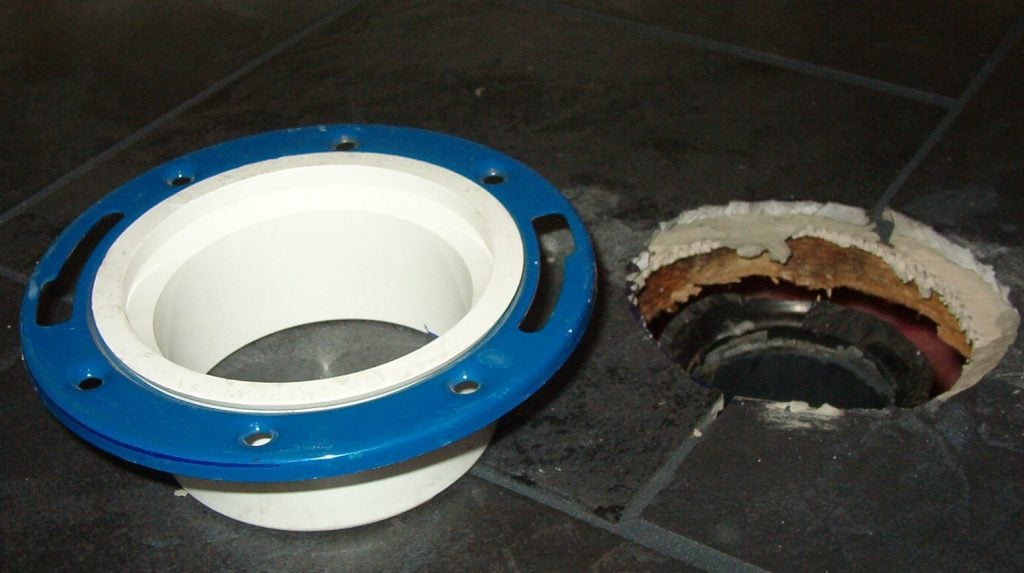
Remove the rag stuff in the outflow pipe. Now place the wax ring on a clean surface. Insert screws and put the new flange on it. Now with the help of someone, place the toilet on the replaced flange and apply pressure to set the seal. Make sure the toilet is placed straight at once, as it cannot be moved once placed on a wax ring. Tighten up the replaced toilet flange with bolts (use new bolts if old ones are worn out).
7. Reconnect the Water Supply
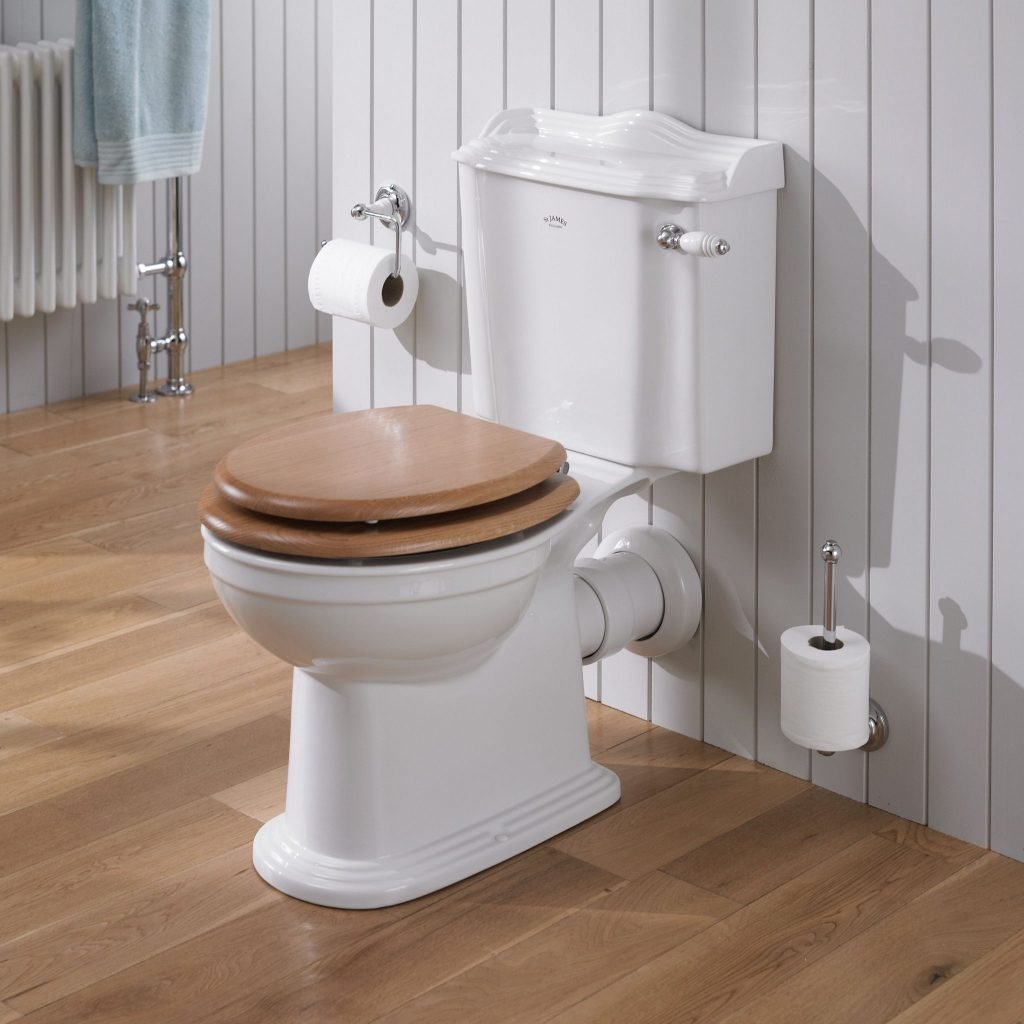
Reconnect the water supply hose and start the water supply. The tank will begin filling, meanwhile, examine if there is any leakage of water between the toilet tank and supply line. Flush the water several times to check if there is no leakage. If the floor is dry, then you have succeeded in replacing the toilet flange. But if there is a leakage, then you will have to install it again or call a plumber to do the same.
Above were the steps to install or replace a toilet flange, which is detachable and also simple to install.
Now let’s discuss the Toilet flange extender
A toilet flange extender fits over the existing flange to raise the drain connection to the surrounding flooring. Plastic flanges typically cannot be removed because they’re the glue to the drain pipe. So in such cases, we’d like to use toilet flange extenders, which are made from plastic rings that are available in various thicknesses. Most extenders are secure by fastening them to the subfloor with screws driven through the holes within the old flange.
The materials required for installing a toilet flange extender are the same as that of a regular toilet flange. The only additional piece of equipment needed is silicone caulk. Sometimes toilet flange extenders have rubber gaskets that will not require caulk for sealing the space between the floor and the extender.
Now while installing the toilet flange extender, the procedure remains the same as that of replacing the toilet flange. One minor change is that as the flange is the glue to the drainpipe, the extender is to be applied above the existing one. Apply a liberal amount of silicone caulk on the bottom of the flange extender. Place the extender on the top of the old flange, including spacers as required. Place the screw holes in the extender into the old extender. Tighten up the screws to the extender with the floor.
Since the extenders are not replaceable, one needs to check the durability of them.
FAQ’S
An extender that has a stainless steel ring will last longer than that of plastic material as they are more prone to damage. It is essential to buy superior quality flange material because the toilet being the moist area is in constant contact with the toilet waste, which makes it more prone to damage.
A wax seal material is used between the toilet, and the flange helps to retain the water from leaking as it passes from the toilet to the sewage pipe. It also seals the awful odors. A wax seal will often last up to 20 to 30 years without needing to be changed.
Conclusion
To conclude the above, there are two methods to replace toilet flange extenders, which are easy to install if done correctly. If you feel that you are not comfortable with doing this work, then a plumber is always there to fix the problem.
Discover More:

