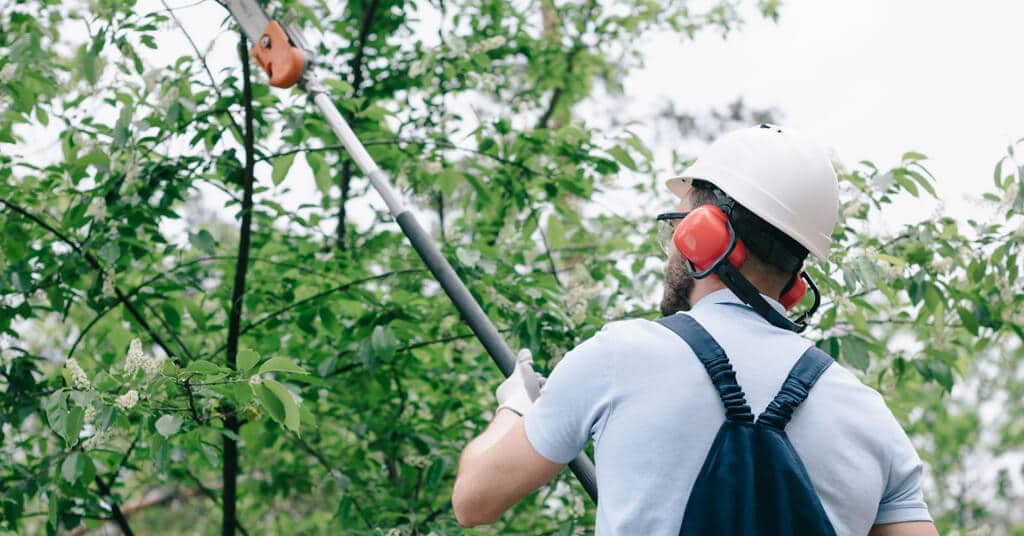
If you plan to prune and clear up your garden tree branches, then a pole saw can perfectly have the job done. Knowing how to use a pole saw is vital for cutting hard and difficult tree branches right at your compound—the reason being the tool’s ability to reach intricate tree limbs or branches. You can efficiently and effectively use this type of saw for pruning and cutting lighter branches.
This article should help you use the tool safely for your daily pruning activities. Why is it a must to know how to operate the device? Working with such a tool at heights is very dangerous. I suggest you go through this report to make safe cuts.
What is a Cordless Pole Saw?

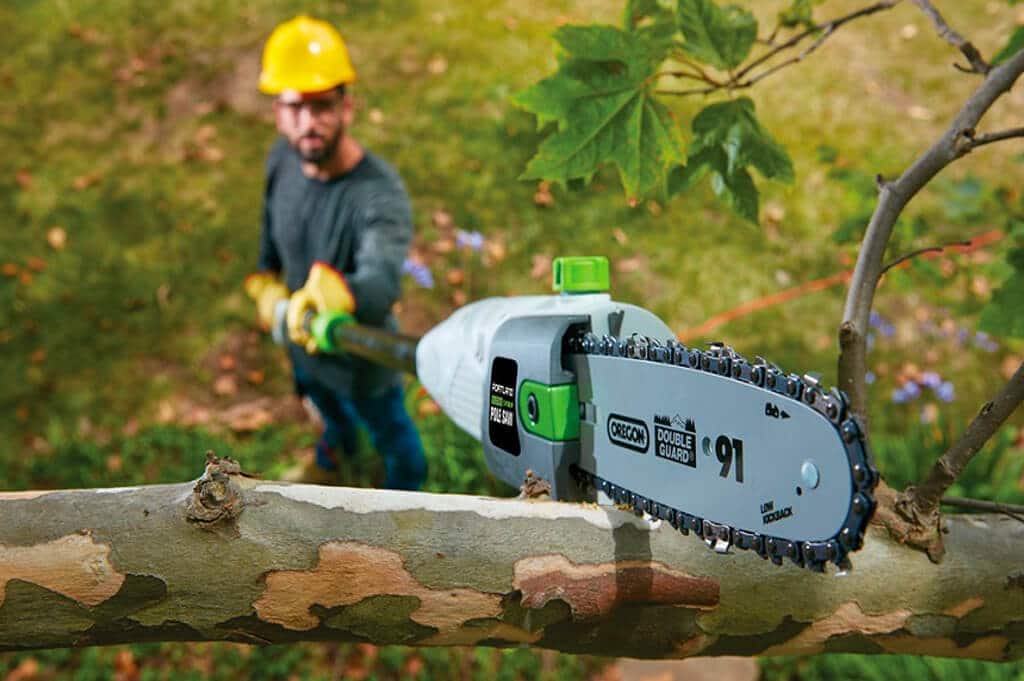
A cordless pole saw is a powerful tool that features a chainsaw.
If you want to know to get more information about chainsaw numbers then click here.
Using this tool is straightforward and is suitable for cutting tree limbs from safe ground. The device resembles a pole saw but with a chain and is automatic. You can also use the tool to prune branches before falling on their own.
How to use a pole saw steps by steps guide
Step 1: Clearing your working area
Before you kick off your pruning job, you have to ensure that the place you will be standing while cutting tree limbs or branches is free from any property or people. Remove anything that can limit your movement; you need to move smoothly and freely while working.
More so, if you are operating in a public space, rope off the work area to keep off passersby. You are free to move to the next step after clearing and securing the operation area.
Step 2: Identifying your cut
Before placing the saw on the branch or limb, you have to plan first to make cuts. You don’t have to start cutting the stems or branches without figuring out where to kick off the process. Under this step, you may mark all the limbs you want to cut off.
More so, it would help if you sifted through the tree to know which branches to cut. After inspecting the limbs for cutting, move to the next step.
Step 3: Position yourself well

Here, it is advisable to stand on the opposite side of the branch unless you want to commit suicide. I guess that is not your intention; I mean avoiding standing directly under the limb. This position will prevent the branch from falling over you.
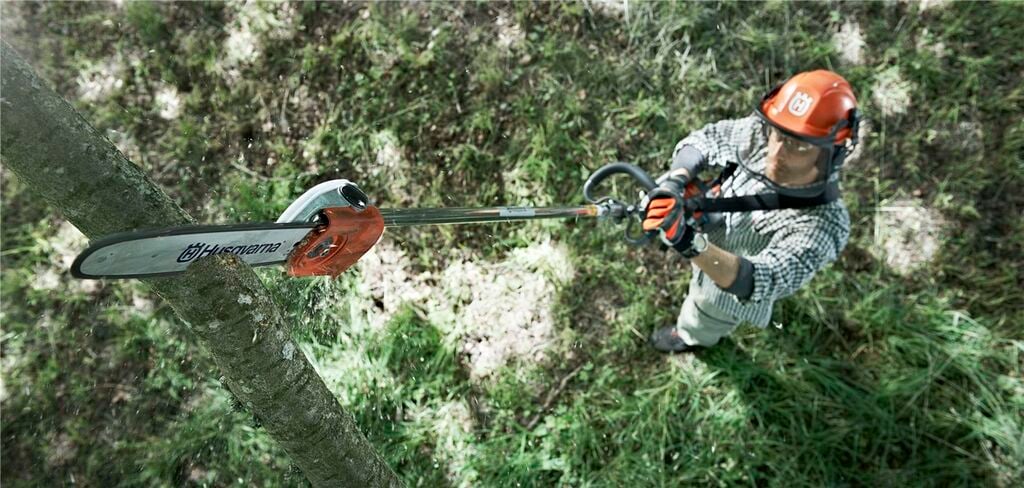
Furthermore, ensure that you are in a good position to hold the pole saw at your chest level. Hold it at a suitable angle to allow you to make cuts quickly and safely.
Step 4: Adjusting the tool’s length
After positioning yourself and holding the machine well, the next thing to do is adjust the pole saw. There might be a need to adapt the tool to achieve the length of your desires. Of course, for higher branches, you will have to use a long distance. If you cannot do so, read the manual instructions or seek experts’ advice before kicking off the pruning process.
You can stretch out the tool to allow the blade to reach lower branches.
Step 5: Positioning the blade
Under this step, you will have to hold the pole saw with both your hands and move it to the limb or branch you wish to cut off. Hold on for a while to see if you can sustain the tool’s weight. If you are comfortable with the equipment’s value, position it on the branch’s weight.
Step 6: Cutting the limbs and branch

When cutting, start at a low speed because full speed can slip off the blade, making the work harder. What you need is to begin by making a groove on the branch. You cannot make a groove with full speed; go slowly.
Furthermore, It is awkward to begin with, upper branches when cutting branches from the ground. The components may fall over you or the machine; hence, damaging it. It would help cut the lower limbs or branches first to have a clear view and path to the upper branches. Cut systematically to reduce unnecessary injuries and accidents.
A groove is essential for guiding you to full speed. However, cutting limbs sometimes is more accessible than branches because they are thin. More so, if the blade slips off, hold on and reposition it. Adhering to this safety measure will result in safe cuts of the higher limbs or branches you plan to clear off.
Step 7: Making the final cut
After making a groove, you can now move on and increase the stroke speed. Under this step, be much more keen when the cuts get deeper so that the branch doesn’t fall over you. Sometimes, a limb may fall over a place that you don’t expect. Therefore, ensure that your standing site can allow you to move away quickly to avoid injuries.
Step 8: Clearing debris
After cutting the first branch is over, there is a need to remove all twigs or components from your working area. When the place is clean, you are free to move to the next branch.
FAQs
You cannot make a groove at full speed; go slowly. A guide is necessary for guiding you to maximum speed. However, cutting limbs is sometimes easier than branches because they are thin; hence, there might be no need to make a groove.
Why should I begin by cutting lower branches?
It is ironic, to begin with, upper branches when pruning a tree from the ground. The units may fall over you or the equipment; hence, damaging it. It would help if you started with lower limbs or branches to get a clear view and path to the upper branches.
Conclusion
Hopefully, this step-by-step guide on how to use a pole saw helps you clear your garden safely. From the above discussion, you have to agree that using a pole saw is simply the aid of precautionary measures. It would help if you were much more keen at every step to prevent unwanted injuries and accidents from happening.
For more information:–

