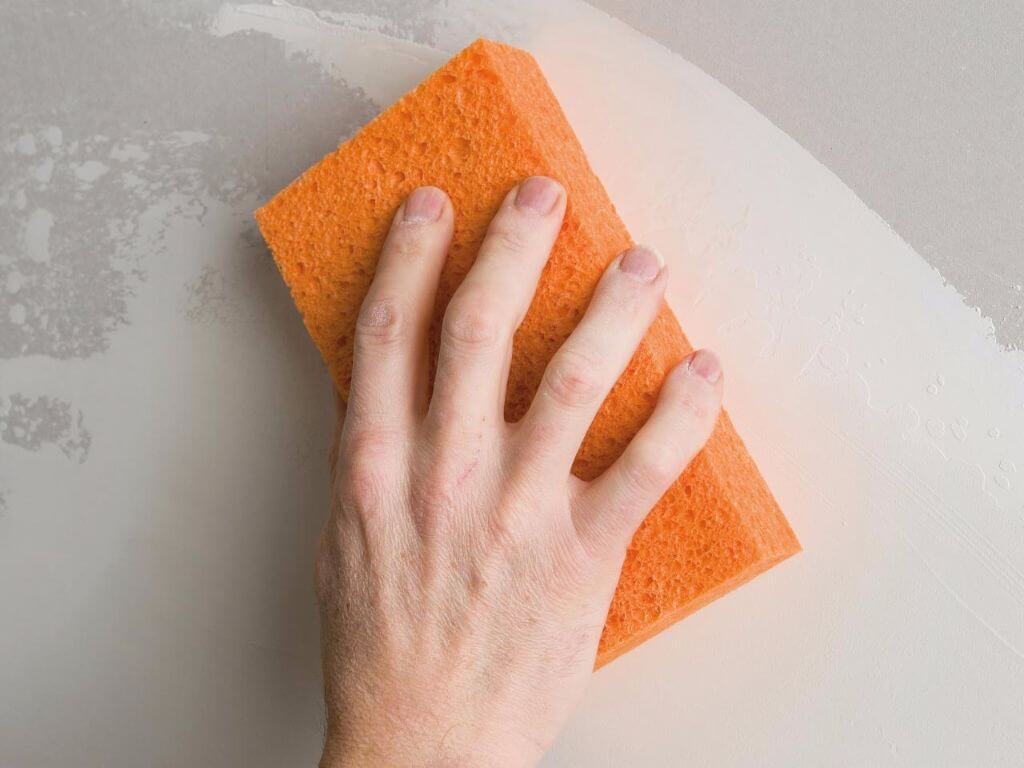
One out of 10 American homeowners has used drywall to decorate their interior. These are easy to install, repair and very flexible when you want to renovate your home. Sanding drywall is an integral part of the drywall installation and today, we are going to share with you the most efficient way to sand drywall.
Drywall Sanding is easy when you know how to do it. But for performing an effective drywall sanding job, you need to be patient, have some essential tools in hand, know how to do it and finally, execute!

So, collect these tools for sanding your drywall efficiently-
- Drywall Sander
- Sandpaper
- Sanding Sponge
- Marker (a pencil will do the work)
- Dust collecting tray
- Safety equipment
As you have the necessary tools, follow these easy steps to complete your job-
1. Take Proper Safety Precaution
Before you start sanding, take proper protective measures for preventing any subsequent illness due to the contact of the drywall dust.
A protective cloth, eyeglass, gloves, and a respiratory mask will save you from harmful drywall dust. Inhaling dust can cause severe respiratory problems and exposure of eyes to the dust can have a negative impact on eye health as well.
Despite using a dustless drywall sander, The Tooly says that around 5% dust remains uncollected and can harm your health.
2. Block all Entrances to the Jobsite
For making your house safe from those 5% uncollected dust, you should seal off all the openings of the room. Doing this will keep the dust on the job site and it will be easier for you to collect them later.
If you sand drywall with an open window or a door, get ready to see all of your house dirty with the drywall dust.
3. Mark the Wall
As you are now ready to go with the sander, you should start marking the wall for smooth sanding. Mark the places where you need to sand more for their raised surfaces, or where you need less as the surface is inadequately primed.
Apart from marking, you should divide the wall into different sections so that you can work efficiently. Those sections will reduce your risk of leaving any surface unsanded.
4. Start with Corners and Edges
When you start sanding, make sure to sand the corners and edges first. Since corners are the hardest to sand places, you will need the help of sandpaper and sanding sponges for a perfect finish.
Another important thing is that you must sand maintaining a line. Maintaining a line will help you to do the task faster as you will not sand a place unnecessarily in this way.

5. Collect Dust in a Dust Tray
When you sand manually with a sanding sponge or sandpaper, ensure that you pick a dust collecting tray to collect the dust at the source. Doing so will minimize dust exposure and keep the room relatively clean for you.
6. Look for Blemishes
After the sanding is done, you now need to look for any surface that remained unsanded or surfaces that need more sanding.
You’ll find this type of surfaces around the corners and electric outlet openings. These surfaces are hard to sand with an electric sander, and thus most of the time remain unsanded or sanded less than necessary.
Final Words
As you know how to sand drywall, you should be able to effectively sand your own home or help your friend finding the perfect rhythm to sand his house.
Ensure that you clean everything perfectly from the room after the sanding work is done as leaving the dust in the room will harm your respiratory health.
keep reading:-

