What is the retaining wall? As its name suggests, it is a wall that can retain things. The question is what things? So basically, A Retaining wall can reduce soil erosion and hold its particles.
Slopes tend to have the highest erosive properties, so having a retaining wall is necessary. It is the home improvement, you need to get done to protect your yard from getting lifeless, due to the lack of soil and its valuable particles.
So here in this article, we have defined a stepwise solution for the question most asked – How to Build a Retaining Wall. Before we start off, there’s something you need to know. The retaining wall can be made from concrete blocks, poured concrete, treated time, boulders, and rocks. There are materials as well but they don’t last long.
So to make a retaining wall that will last as long as life, you should consider going with concrete blocks. Creating a retaining wall with any of the material will require your weekend (no matter novice or old hand).
So now, without wasting time let’s start building the protector of soil.
How to Build a Retaining Wall?
Time:
An entire weekend to complete the whole project.
Cost:
The average cost of building a retaining wall is $5,386, which can reach up to $8,397
Materials Required:
Retaining Wall Blocks
Recommended Adhesive
Landscape Fabric
Masonry Chisel
Work Gloves
Eye and Ear Protection
Tools Required:
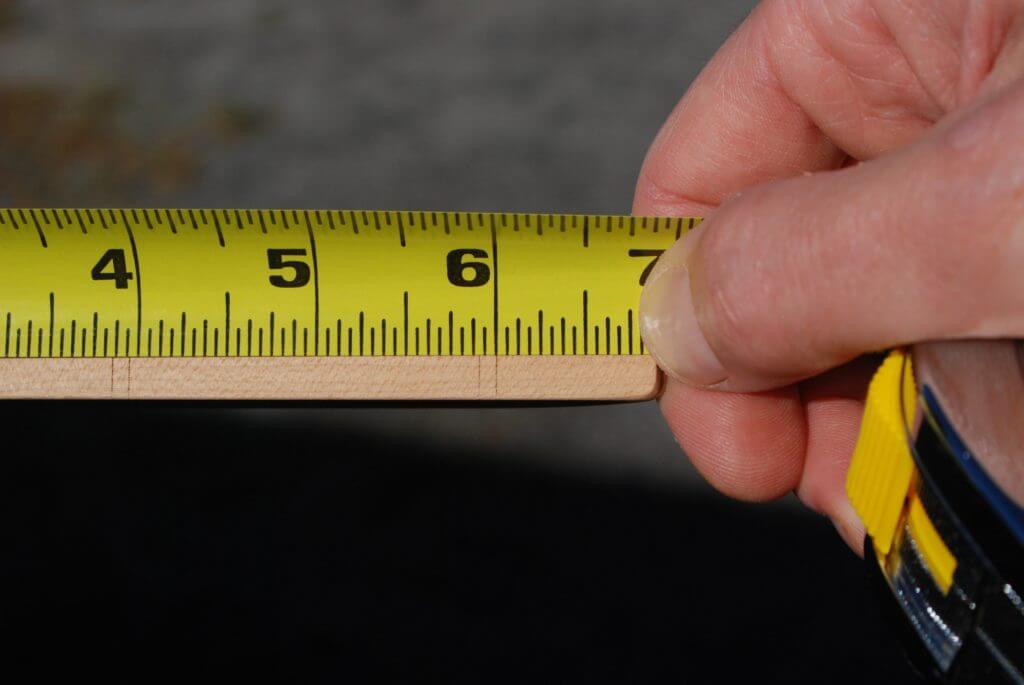
Measure Tape
2 to 4-foot Level
Flat Shovel
Method:
Step 1: Marking the Space
The very first thing you will need to do is mark the area, where you want to build the retaining wall. If you are planning to create a boundary around your house, mark a ring around there, and if it is your yard do the same.
First, measure the width of the block and accordingly mark the border roughly. Before you plan out everything, it is better to seek the local permissions for building the wall. You don’t want to have a stay order on the project, do you?
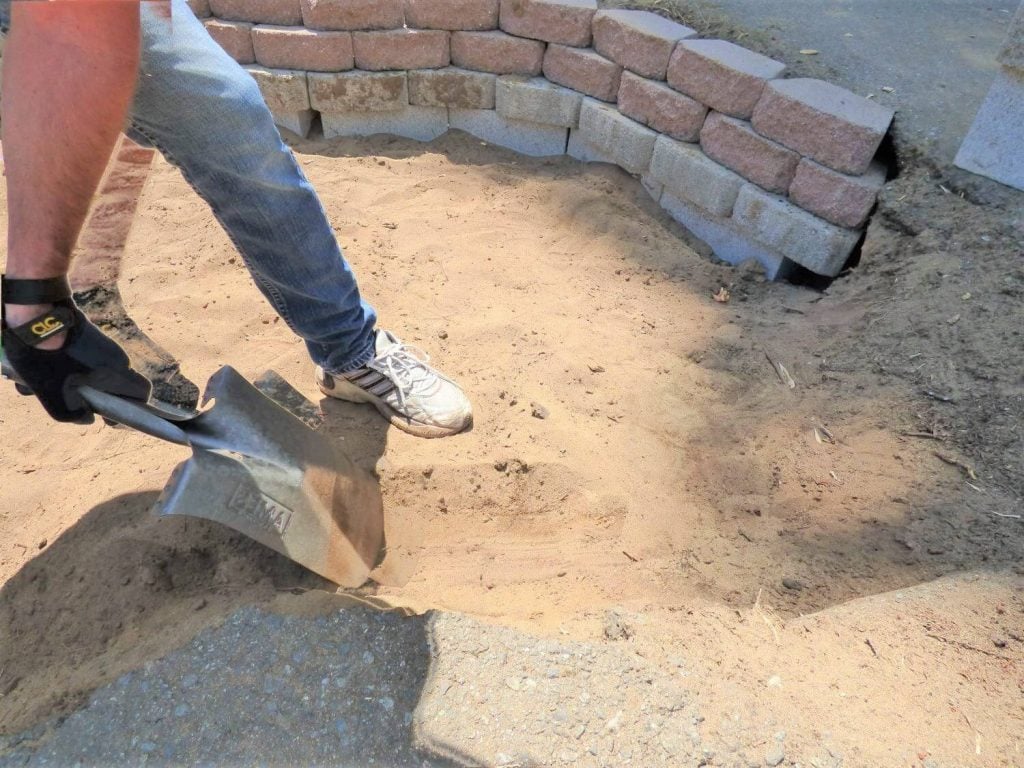
Step 2: Leveling the Ground
The next step is to level the ground. You already have planned the area, where you are going to build a wall. Now using a flat shovel remove the soil, level the area of the wall in reference to the width of the block.
There are chances you have to dig a little bit more, it can be because of the hillside land area. Once you have achieved the level surface to work on, be double sure by checking its leveling using the leveler tool.
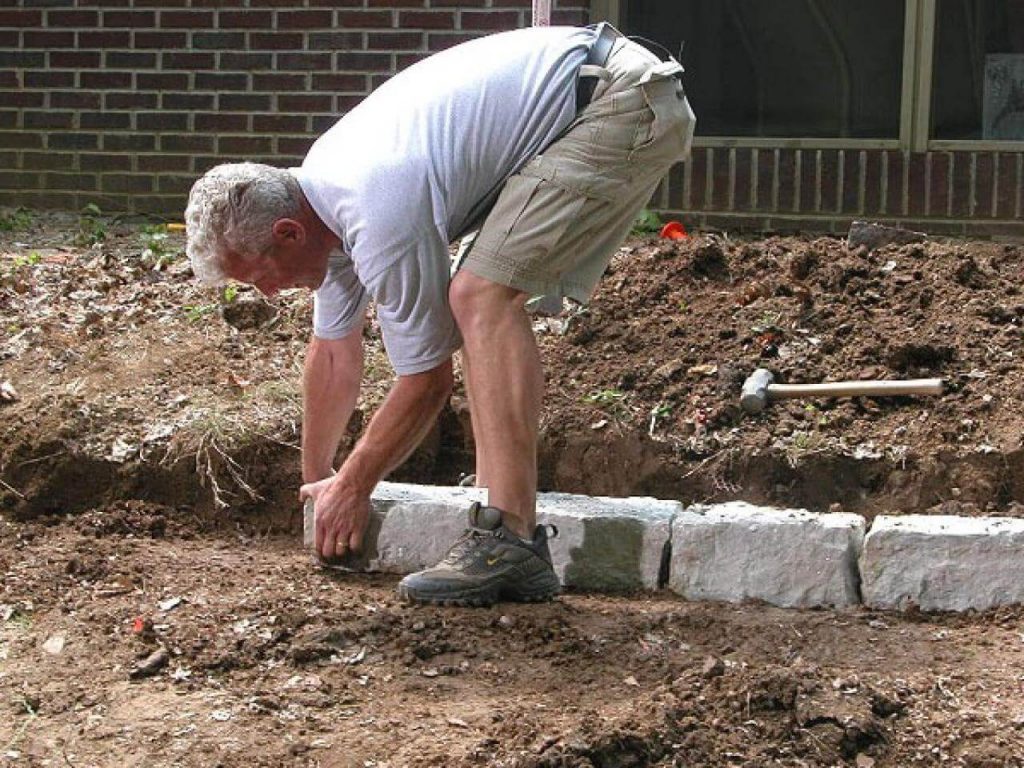
Step 3: Lay the First Block
Here you go! This is the time you do the inauguration of the building of a wall. You are going to lay the first block on to the ground. But before that, you will have to lay the base. How to do it? Add the sand or gravel in the marked area and level.
After that, you can settle down the first block. Now the question is where it should be kept? In the middle? Nah. Place it in the corner. This way you will be able to create a perfect wall base, without any complications. Also learn here how to sand drywall with simple steps.
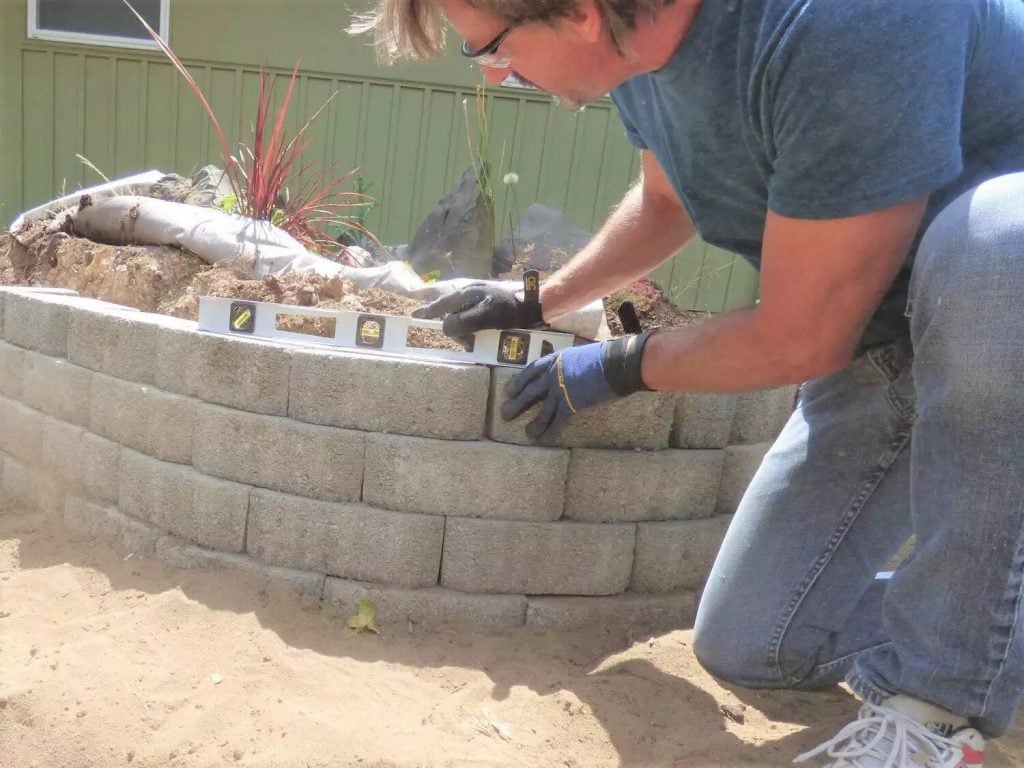
Step 4: Check the Leveling
Then fill the entire horizontal area with the blocks. Wait, wait, wait, this isn’t it, you will have to check its leveling. This is the base of the wall, so it is necessary to be at the exact level, a slight mistake can ruin the structure of the wall.
Each block in the row should be in level and aligned with each other. There are chances you might need to cut the blocks in accordance with the size needed. You will have to lay the foundation in a pattern you want the wall to be. If there’s a curve in the wall, it should be in the foundation too.
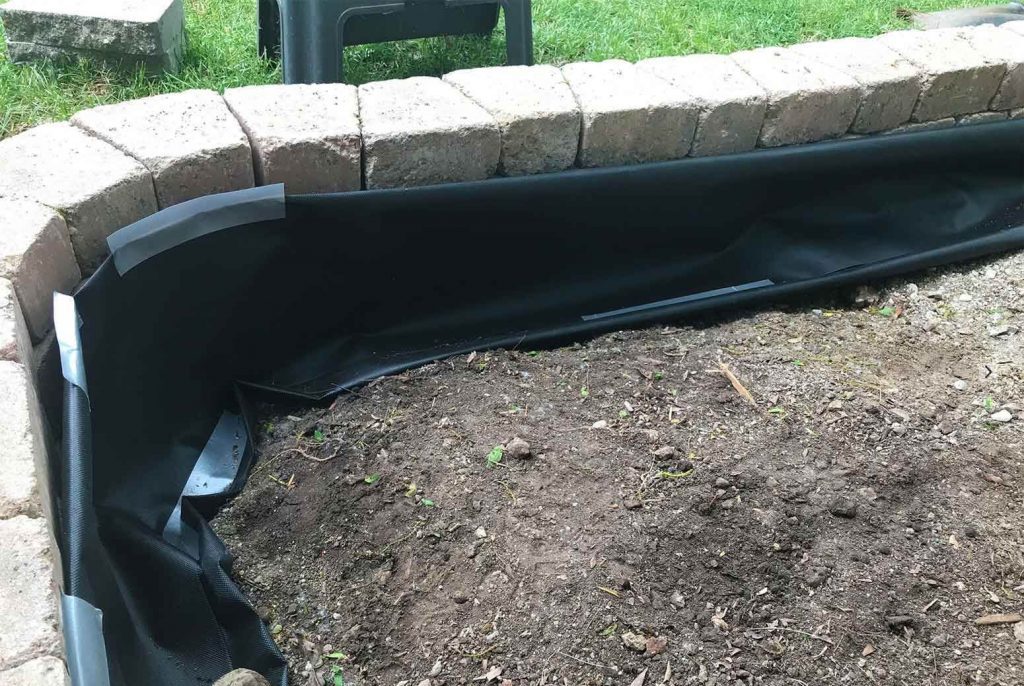
Step 5: Cover with Filter Fiber
Once the first layering is done, use the landscape fabric or filter fabric to cover the area. It will prevent the frost heave and won’t let backfill mix into the soil. Run the fiber on the entire wall base to the perfect result.
Make sure the backfill in the base is enough to provide it strength and safe from harsh situations. You can also go for a PVC pipe to drain most of the water out of the way to clog in the wall.
Step 6: Place the Second Layer of Blocks
After this, it is time to take a step ahead and plan the second layer of the block. Create a staggered form with the blocks to build a wall. Cut the blocks with masonry chisel to get the required shape and size for the wall. At first, only place the layers of blocks to see if you are getting the desired look and are effective.
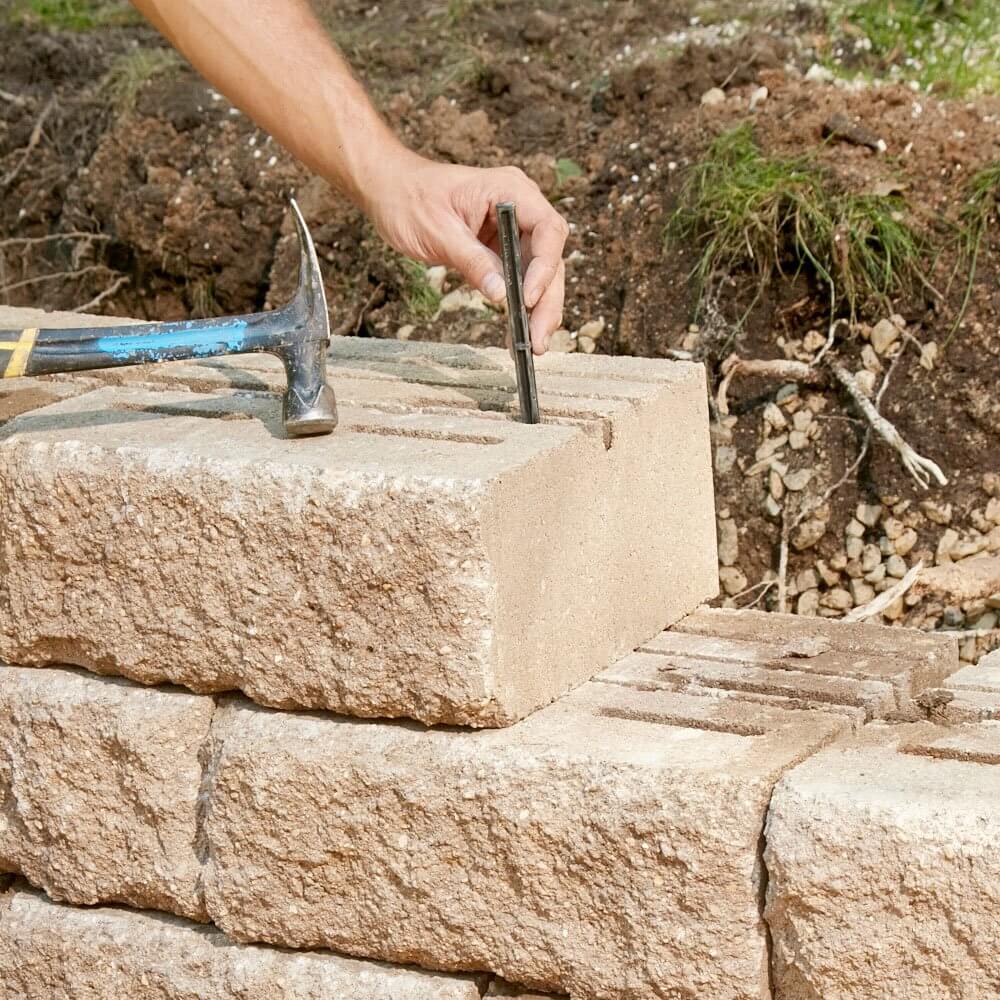
Step 7: Fix them with Recommended Adhesive
Last but not least, fix the blocks in a planned way with the recommended adhesive. Before applying the adhesive to the blocks, make sure they are dry and clean. So you might need to sweep before applying the adhesive.
The adhesive recommended is the best to hold up the material you are using. The salesperson will recommend the best adhesive to use with the particular material. Plus if possible get your hands on DIY retaining wall kit, it will ease up the work.
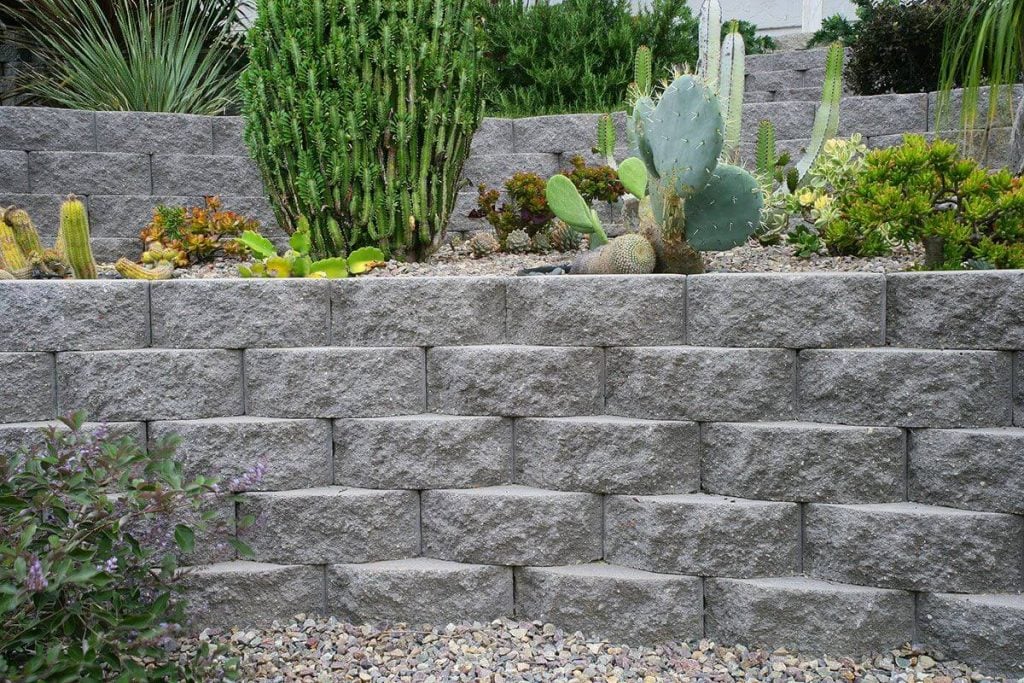
Once the wall is built, make sure to give it a finishing look by placing the capstones. You can also adorn it with plants and vines.
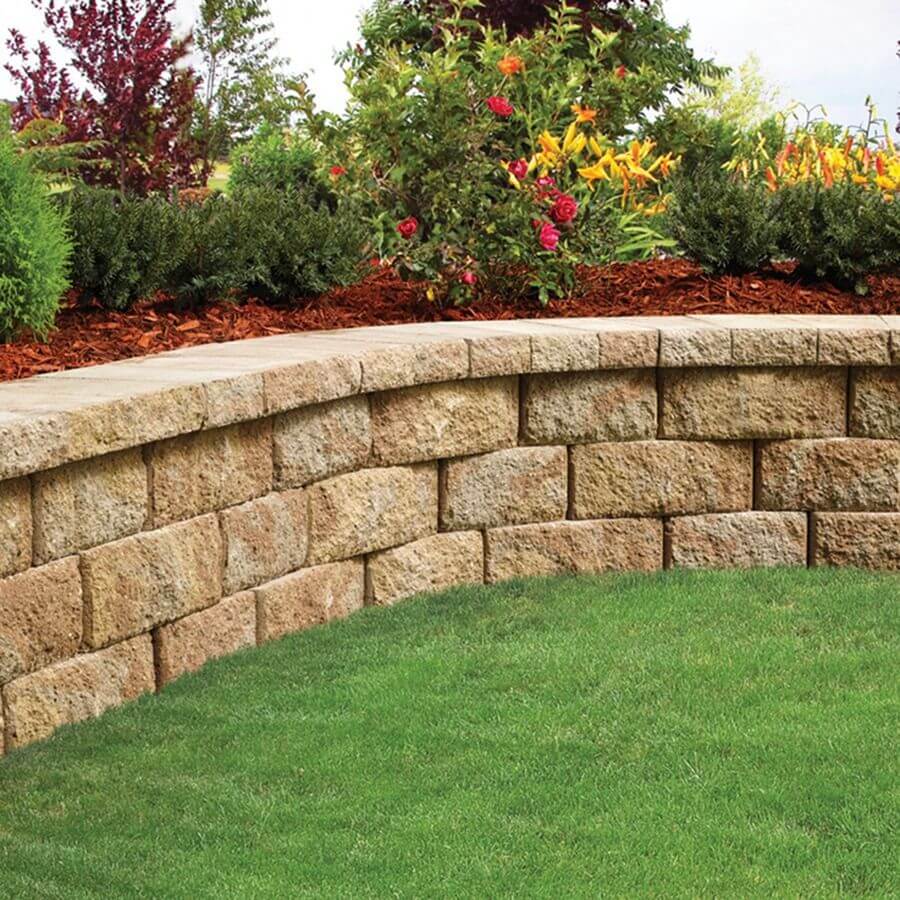
So tada! The retaining wall is ready to protect your yard.
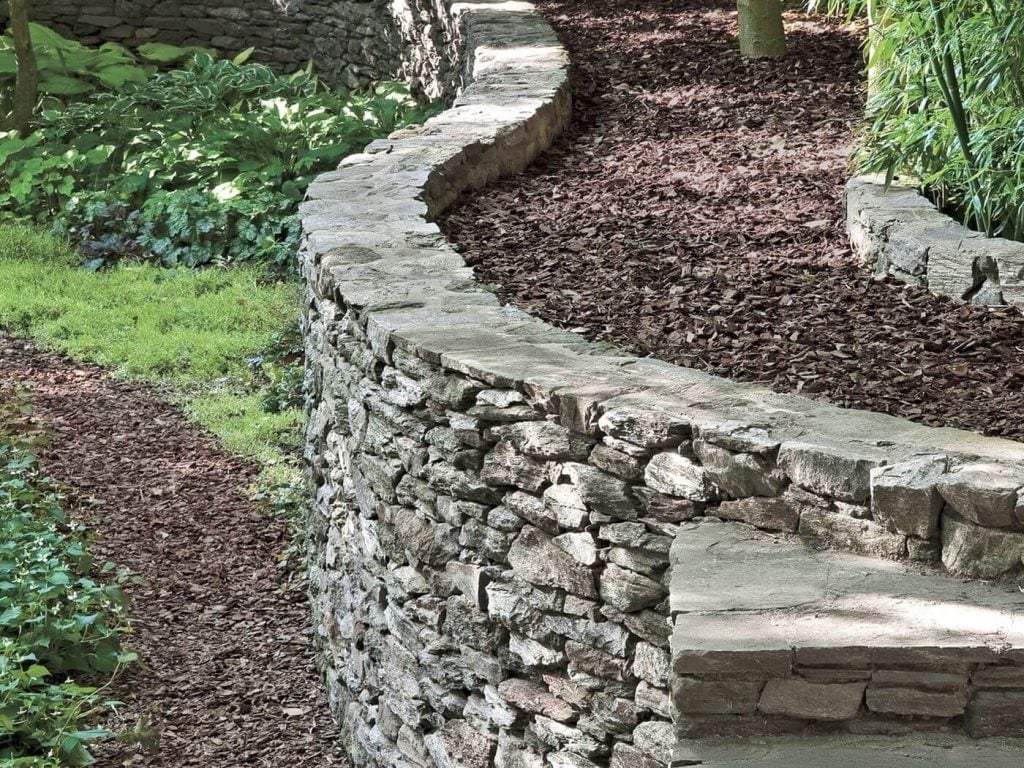
Okay, we have seen people looking for retaining wall ideas and hence we came up with the idea of sharing a few amazing and inspiring pictures of retaining walls. It might not stop the evil things from entering but it will surely retain the soil and its particles.
Share the Experience of Building a Retaining Wall
After completing the wall, it is time to enjoy it. Once you are done with building and enjoying, we hope you would share your experience with us on our social media platforms.
Discover More:-