Furnishing a small space can be a little frustrating. People want to put everything in that little space to make it comfortable and appealing. But instead of looking nice, it will look messy and congested.
Do you also struggle with the same problem? Don’t panic; just relax and keep on reading. Because today we are not only going to give a solution to this problem but also it is under budget. So without spending much, you’re able to get a proper flawless-looking space in your house.
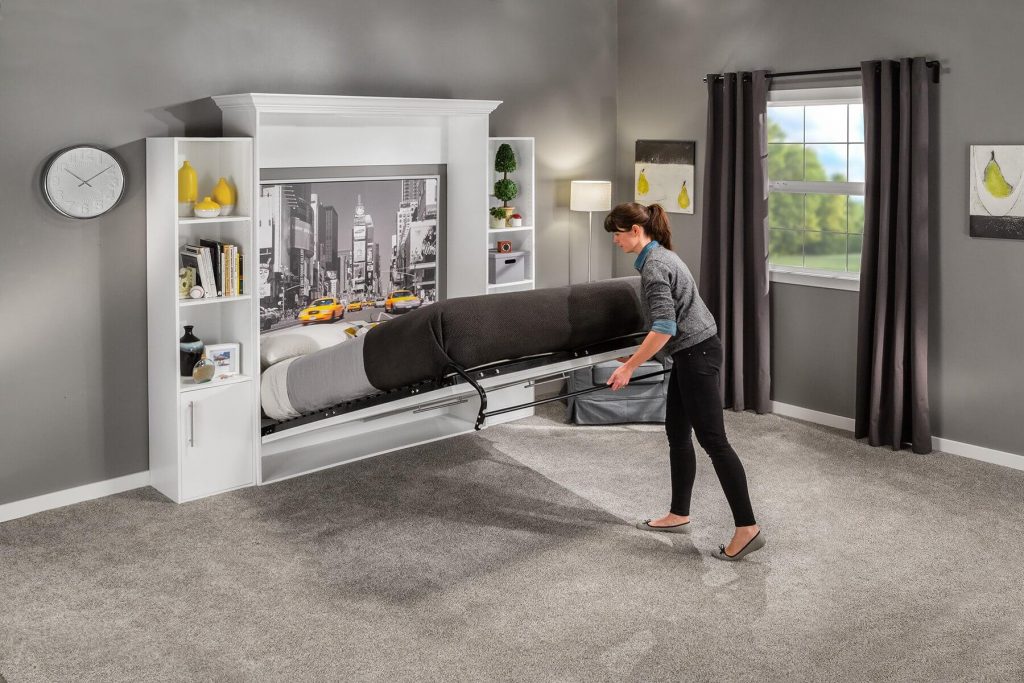
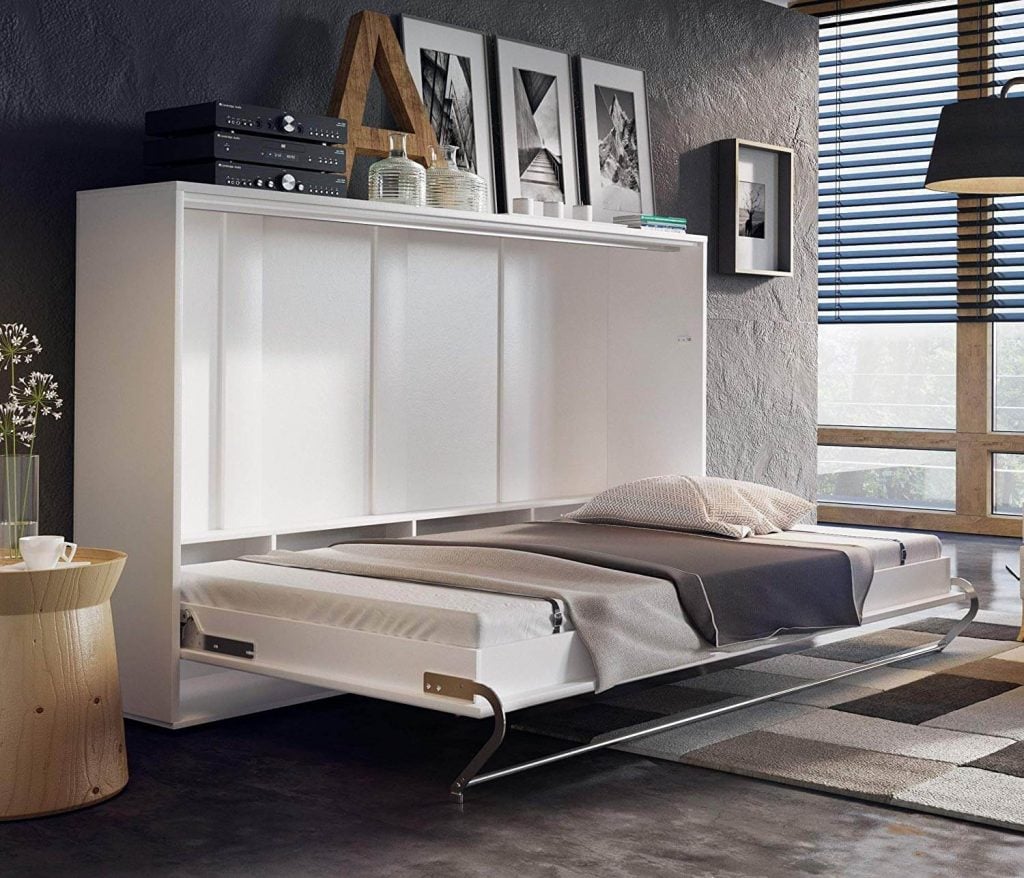
The solution is- build a murphy bed!! It is compact, cute and you can fit this in any corner of your house. A modern murphy bed is a perfect solution for the small and compact spaces. They blend with the wall in such a way that when you look from outside, it merely looks like a cabinet or bookshelf, but the magic begins when you open them.
They magically become the bed in just 5 seconds and become invisible in another 5 seconds!!
Cool right!!
What Is A Murphy Bed?
For those who don’t know what it is- “A murphy bed is also known as a wall bed, fold-down bed, or pull-down bed.” It is kinda connected to the wall from one end and comes down from another end. It is beneficial for spaces like dorms, small apartments, and places where there is less floor space. Did you know? William L. Murphy invented this bed that’s why it is known as Murphy bed!!

A bed + Occupies less space + Multifunctional + Under budget = A dream!!
And we are going to make this dream came true…
Types Of Murphy Bed
Before you start building your dream murphy bed, first decide the type and orientation of the bed. According to your space, select all these factors. There are 3 types of orientation: Vertical, Horizontal, and Folding.
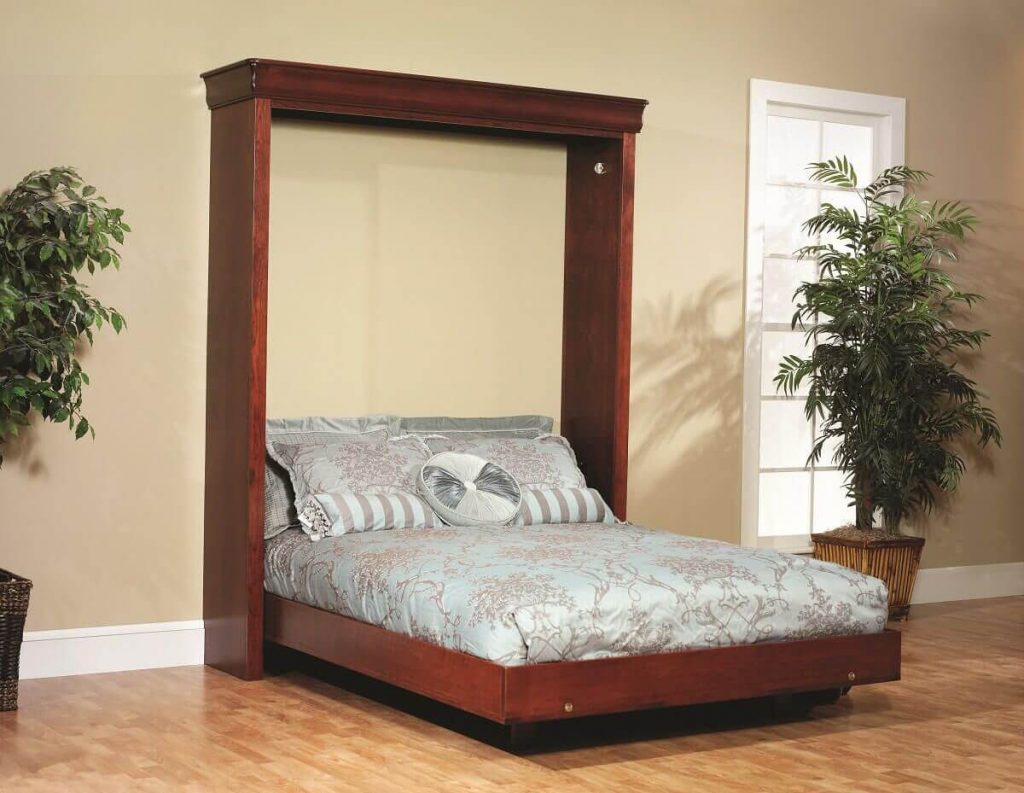
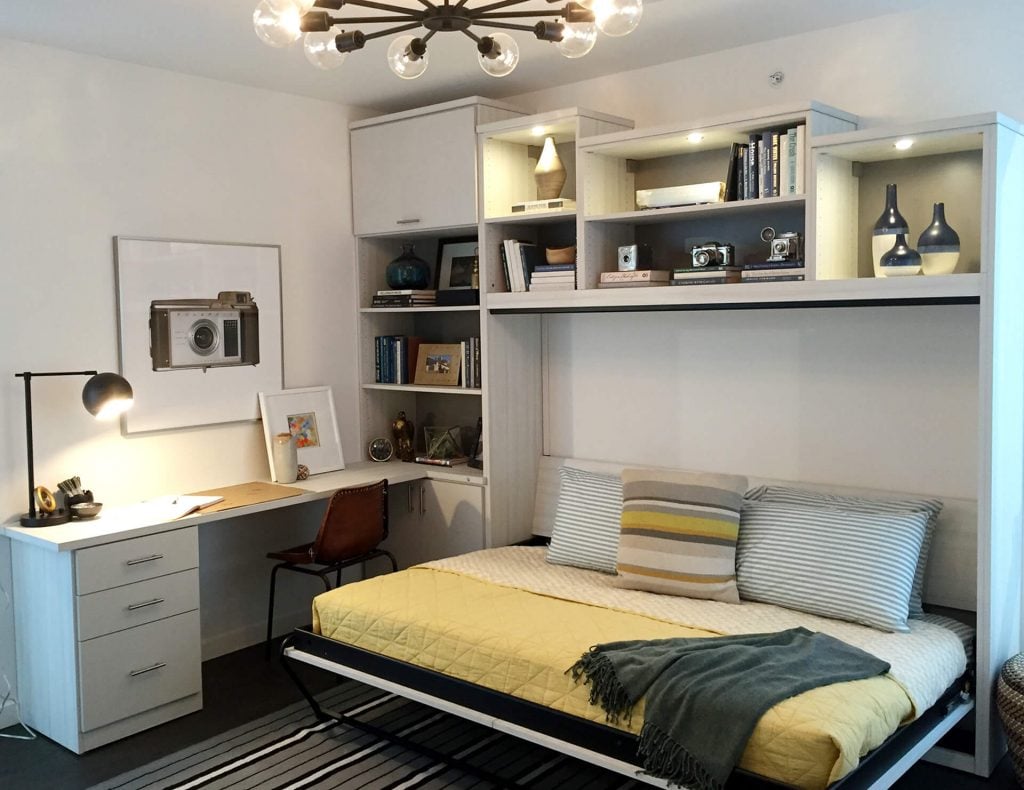
And you know what the best thing about these types of beds is- that you can actually use them in multiple ways. Like you can add some features such as shelves, sofa, and a tv stand.
Types:
1. Bi-Fold Murphy Bed
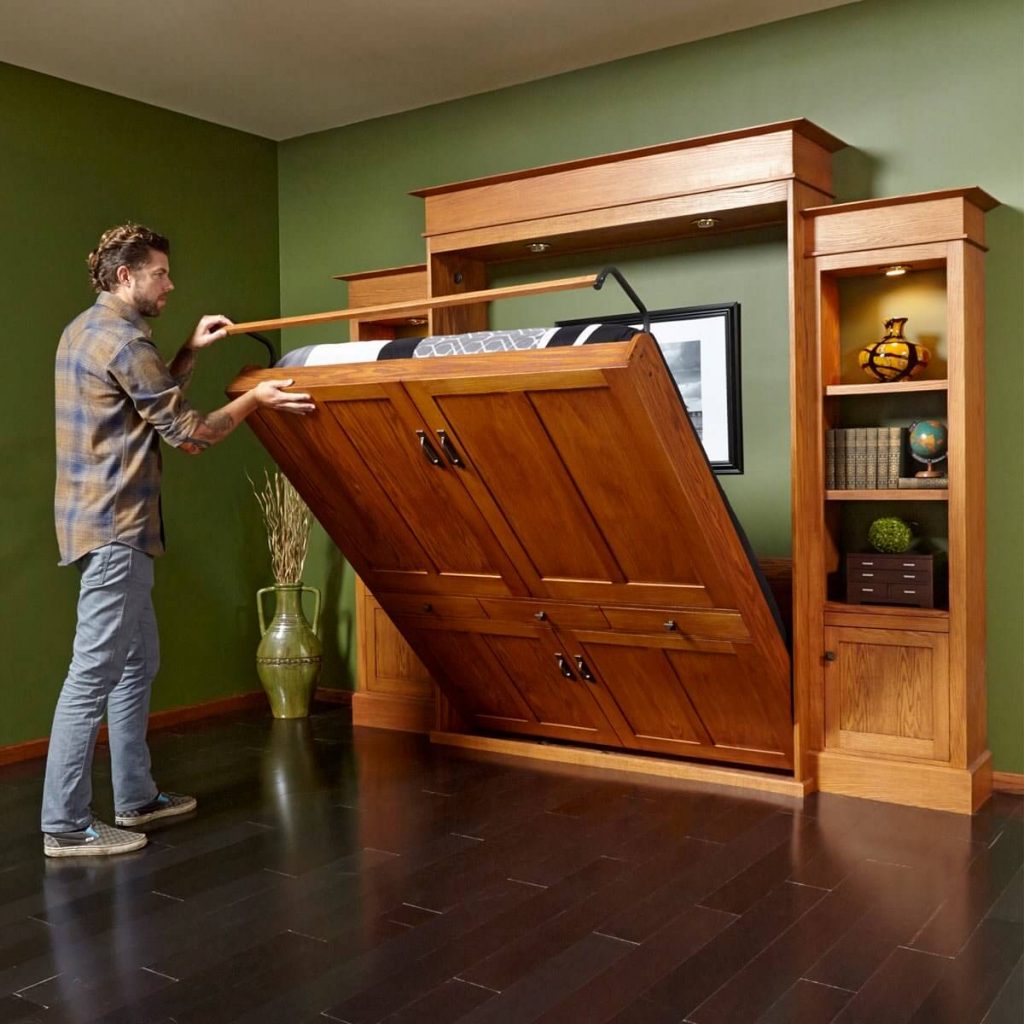
2. Flip-up Desk Murphy Bed
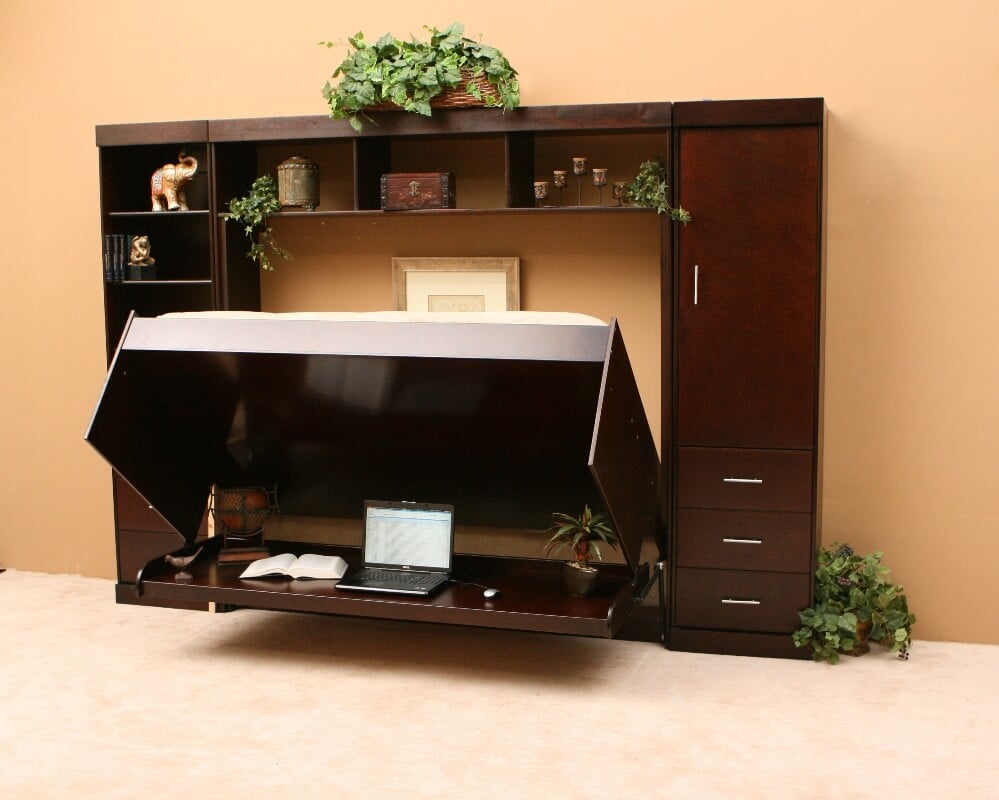
3. Library Murphy Bed
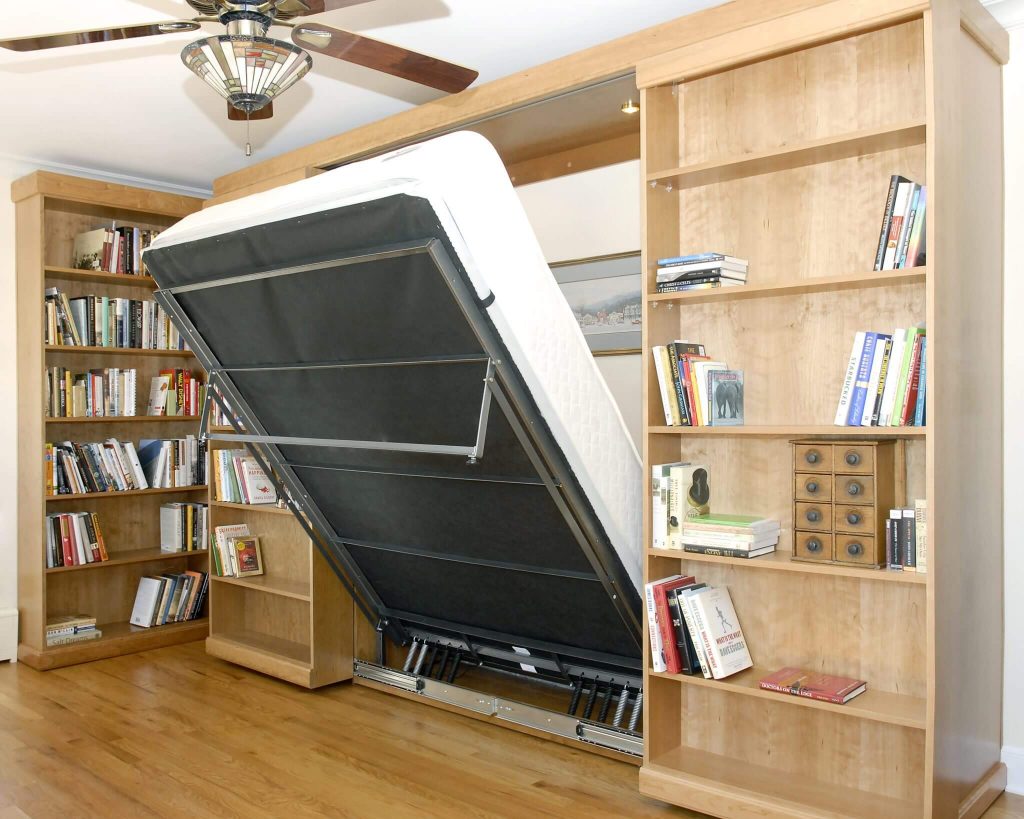
4. Murphy Bed and Office
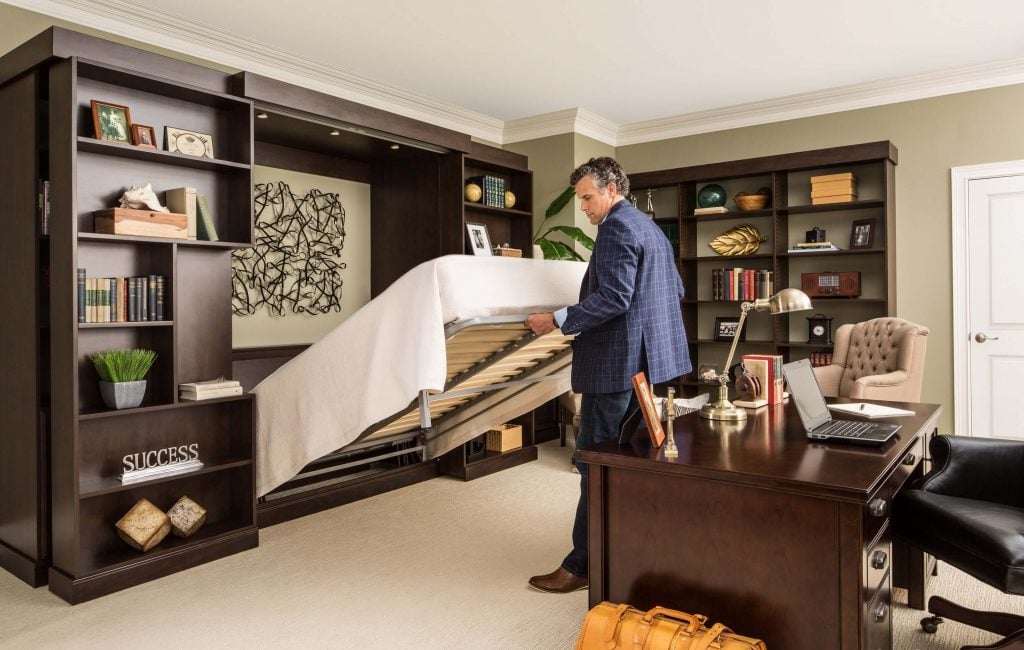
5. Desk Bed
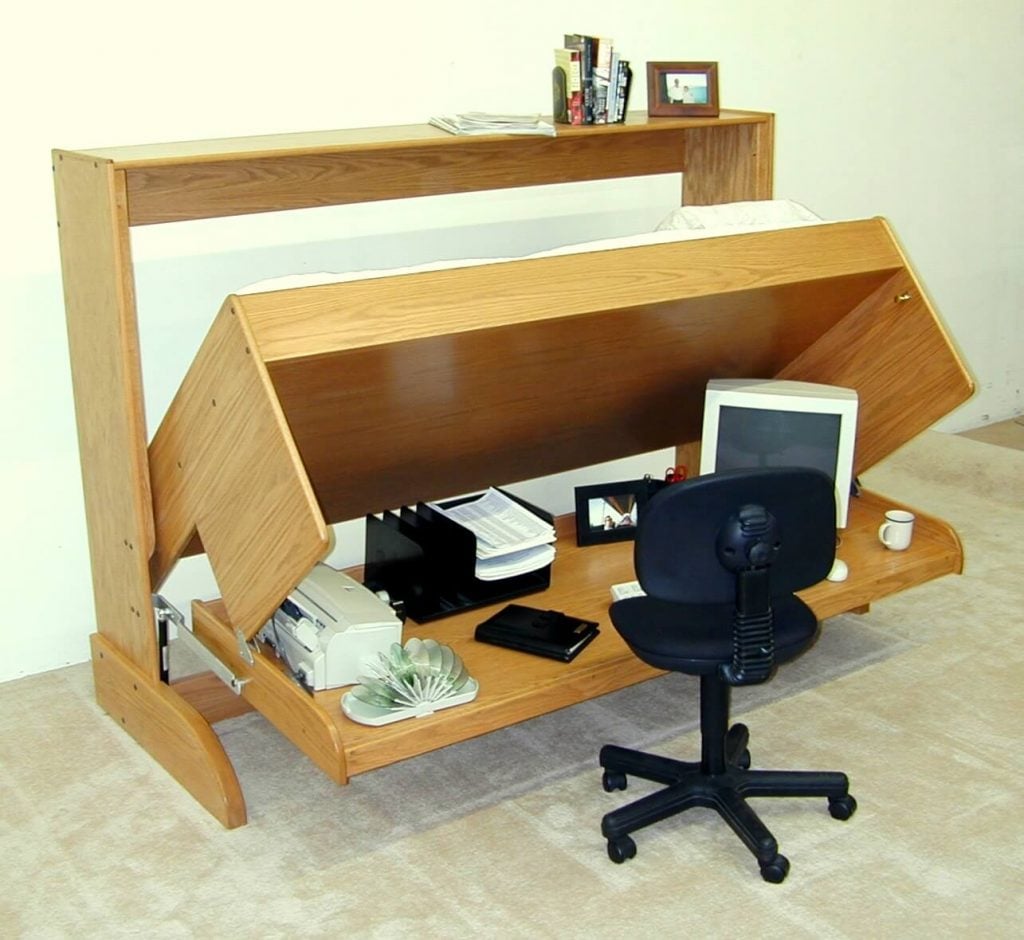
How To Build A Murphy Bed?
Yes, it may sound complicated and hard, but it is really an easy task if done with proper steps and guidelines.
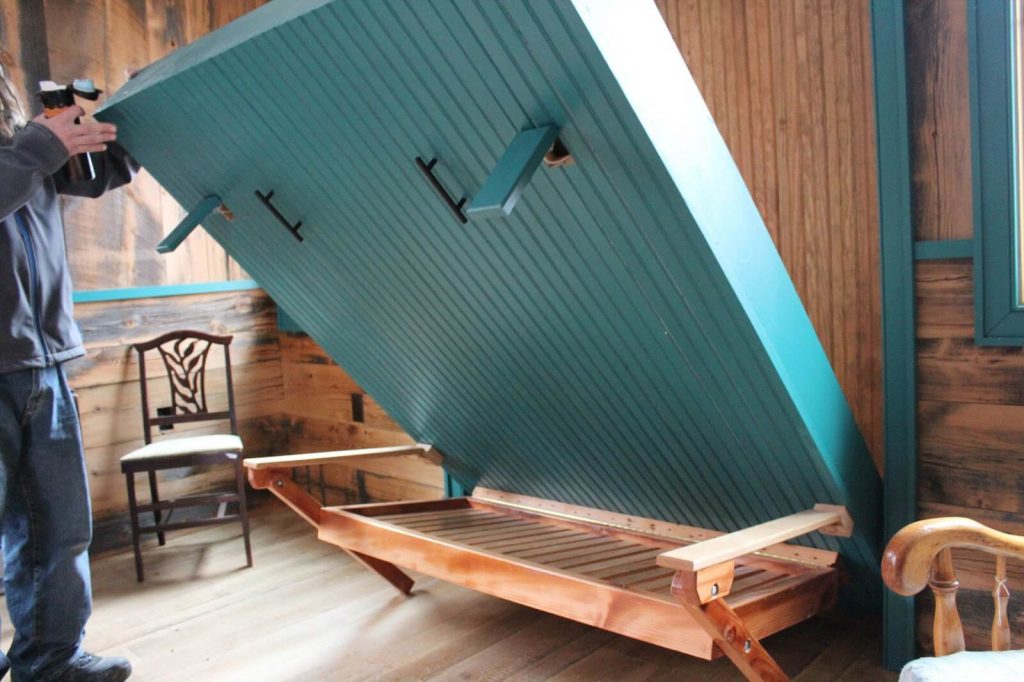
First, select a place where you want to build a wall bed. It can either be a separate room or a wall in any room. The best thing about these beds is that they don’t take much space, and you can easily fit these into any wall.
What You’ll Need?
You’ll need some specific tools and materials to build a fold away bed. All these things you can easily find in a murphy bed kit (online) or a hardware market. They are:
Tools Required
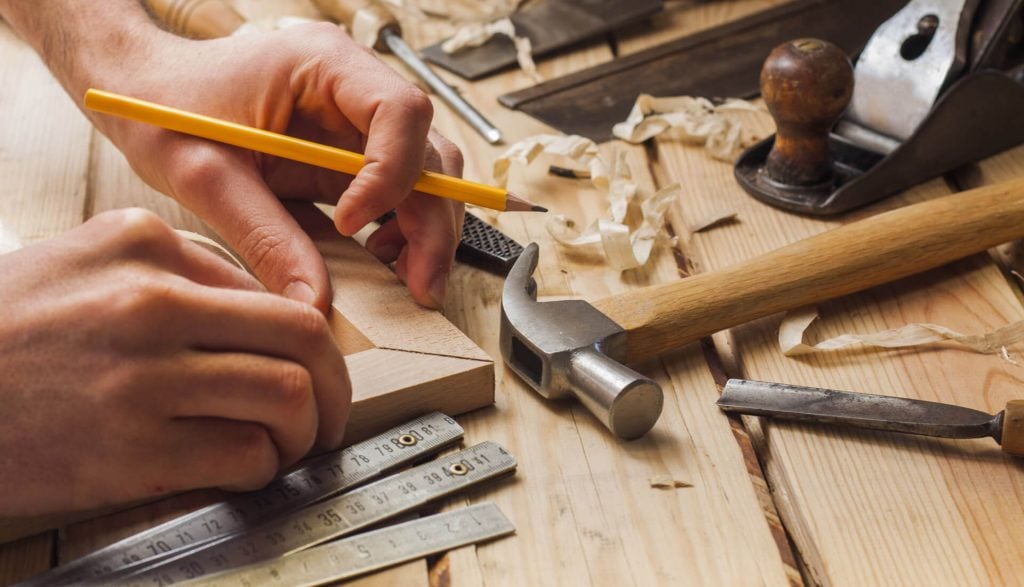
- Brad nailer (or micro pinner)
- Clamps
- Drill with ⅛ inch counter-sink bit, ¼ inch bit and 1 inch Forstner bit
- Hammer
- Jigsaw
- Miter saw
- Nailer
- Paint supplies
- Pattern bit
- Router
- Safety goggles
- Screwdriver
- Stud finder
- Table saw or Circular saw
- Tape measure
Required a brad nailer for your project, check the best electric brad nailer reviews on this website.
Materials Required:
- (4) 3/4″ x 4′ x 8′ plywood sheet
- (2) 1/4″ x 4′ x 8′ plywood sheet
- (12) 1x 2 x 8′ solid wood board
- murphy bed kit
- 1-1/4″, 1-1/2″ and 2″ screws
- Cabinet handles
- Desired paint or finish
- Finish nails
- Wood glue
- Veneer tape
Steps:
After you’re ready with your tools and materials, it’s time to build the bed. Here is the complete procedure to make a murphy bed.
1. Read The Instructions

You can easily find a murphy hardware kit online or at the local hardware store. After you get that, read the instructions carefully. Don’t skip anything; these instructions will help you in building the bed more easily.
2. Prepare The Materials
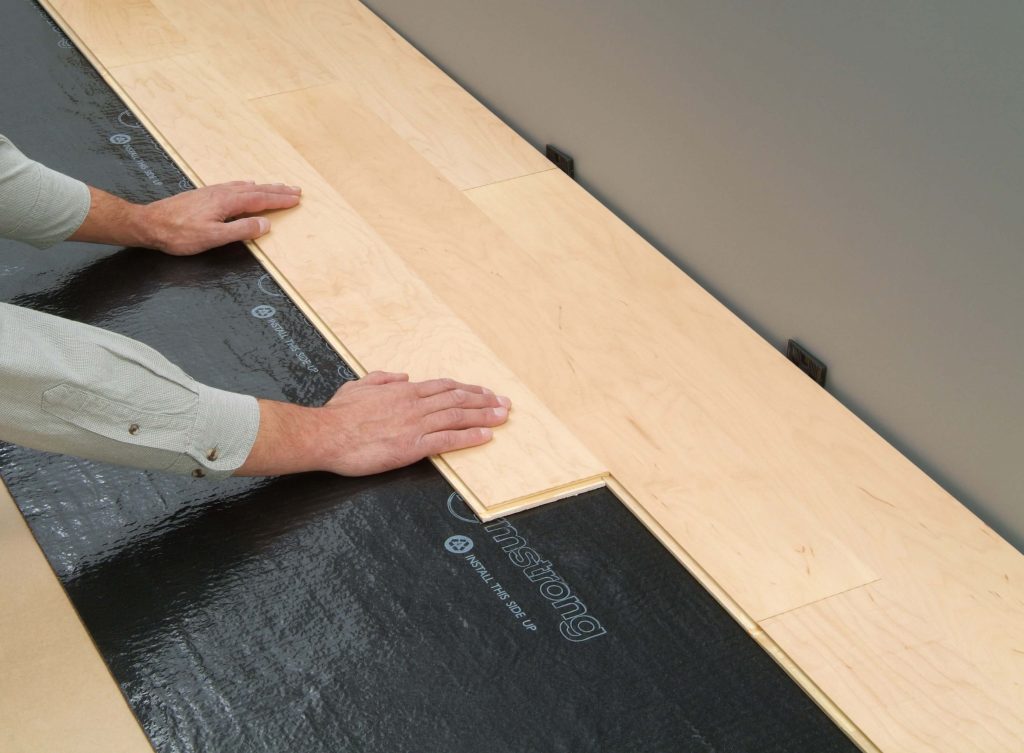
You can either use solid wood planks or plywood. After selecting the material, lay down all the things in front of you so that you don’t even miss a single screw.
3. Template
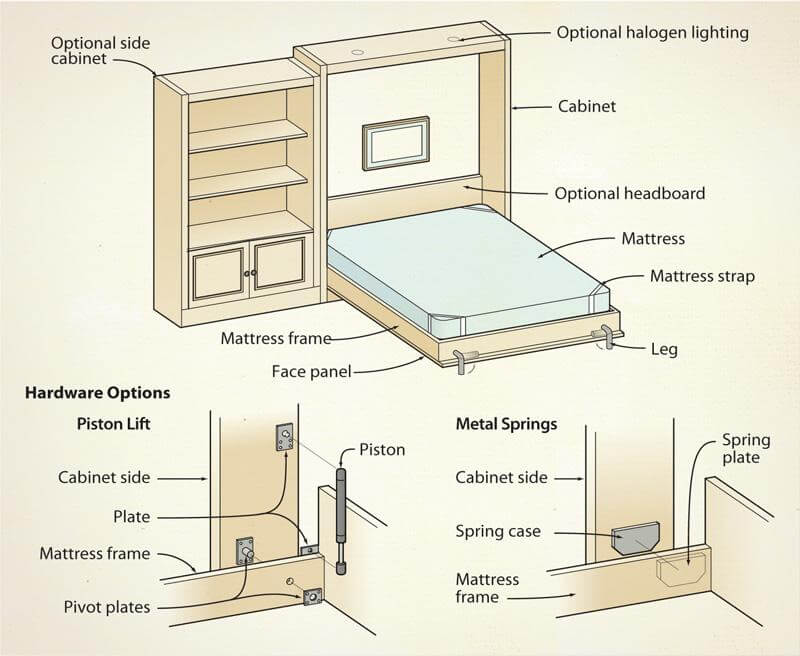
If the kit doesn’t come with image guidelines, you can also print the template online to get the exact idea. The whole process needs a lot of attention, and you have to cut all the pieces carefully.
4. Create The Struts
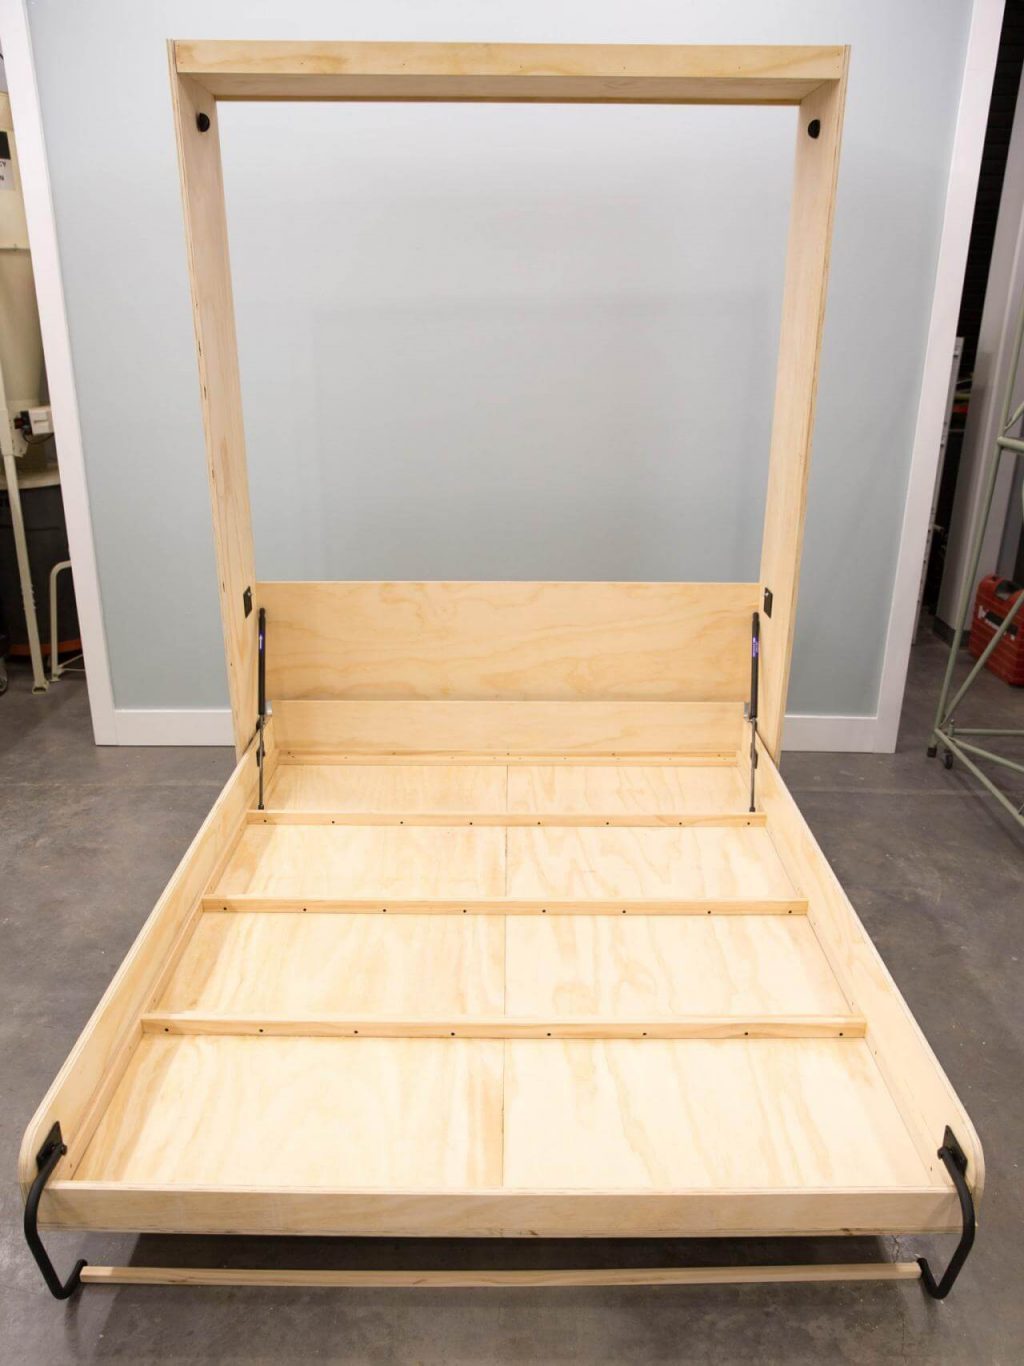
After deciding the orientation and type of bed, you can start cutting the struts. Decide the size and length of your bed and according to it, make struts. Glue the two struts in the L-shape and make a rectangle shape. After gluing, secure the corners with screws (½ or 1-inch screws).
5. Construct The Subframe
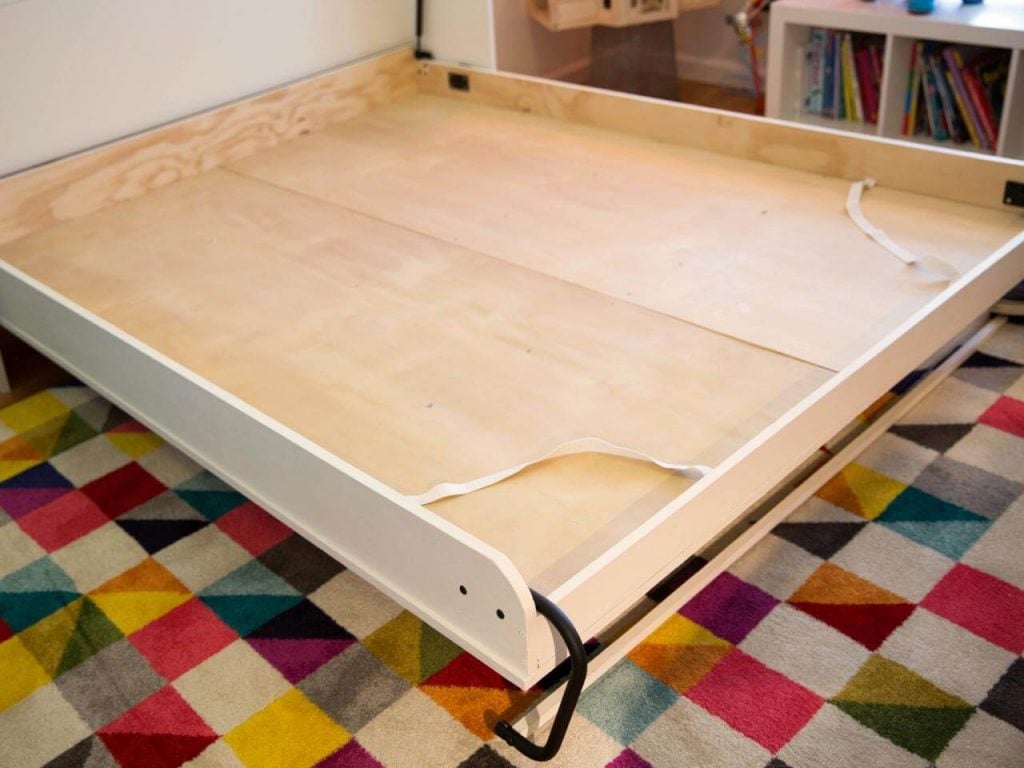
After making the struts, its time to build a subframe for your bed. Place the struts at 20 inches apart and attach them perpendicularly to the frame sides.
6. Round The Corners
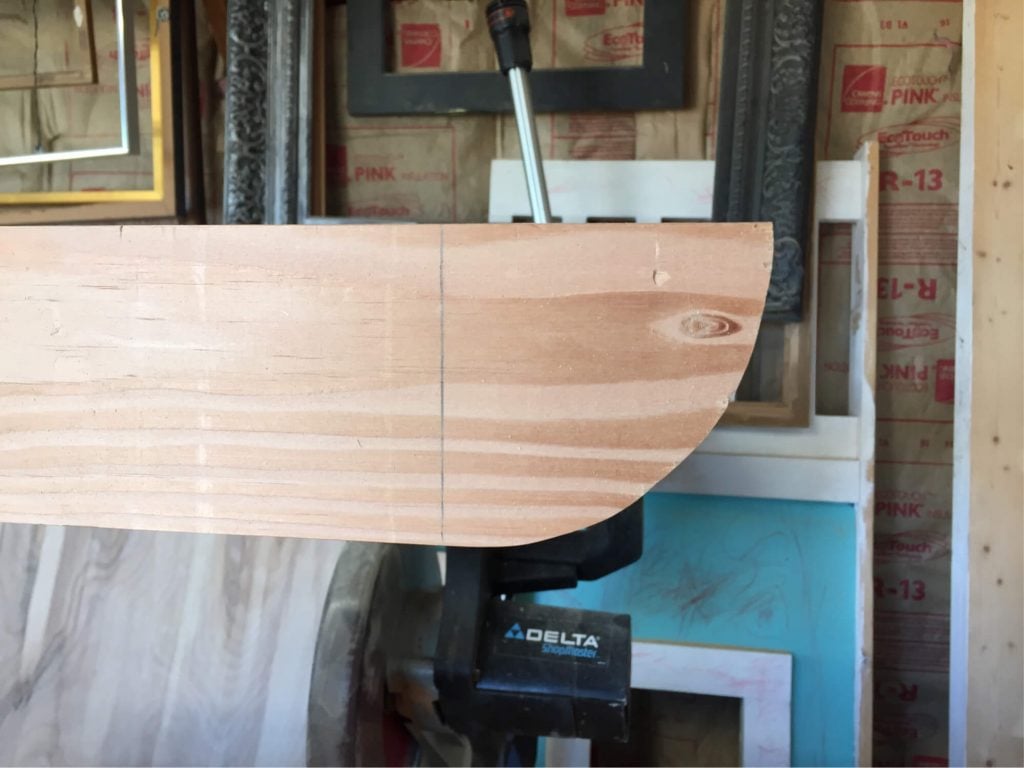
Use a jigsaw and round the edges of each rail up to 2 7/8” radius. Make sure that these curved edges are facing up at the foot of the bed.
7. Assemble Head And Foot Rails
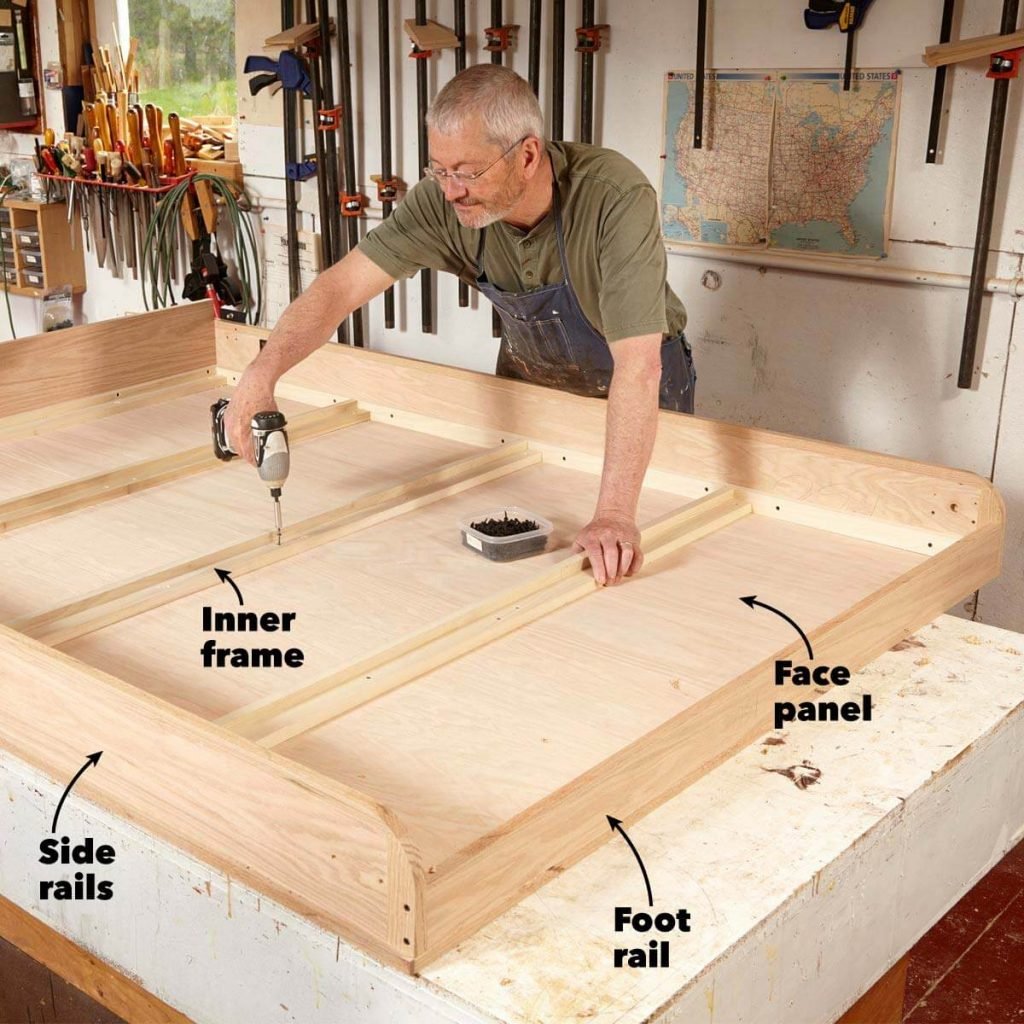
Drill holes at equal spaces by a 1 ¼ inches bit inside of the subframe and then attach foot rails and headrails with 1-¼ inches screws.
8. Position The Side Rails
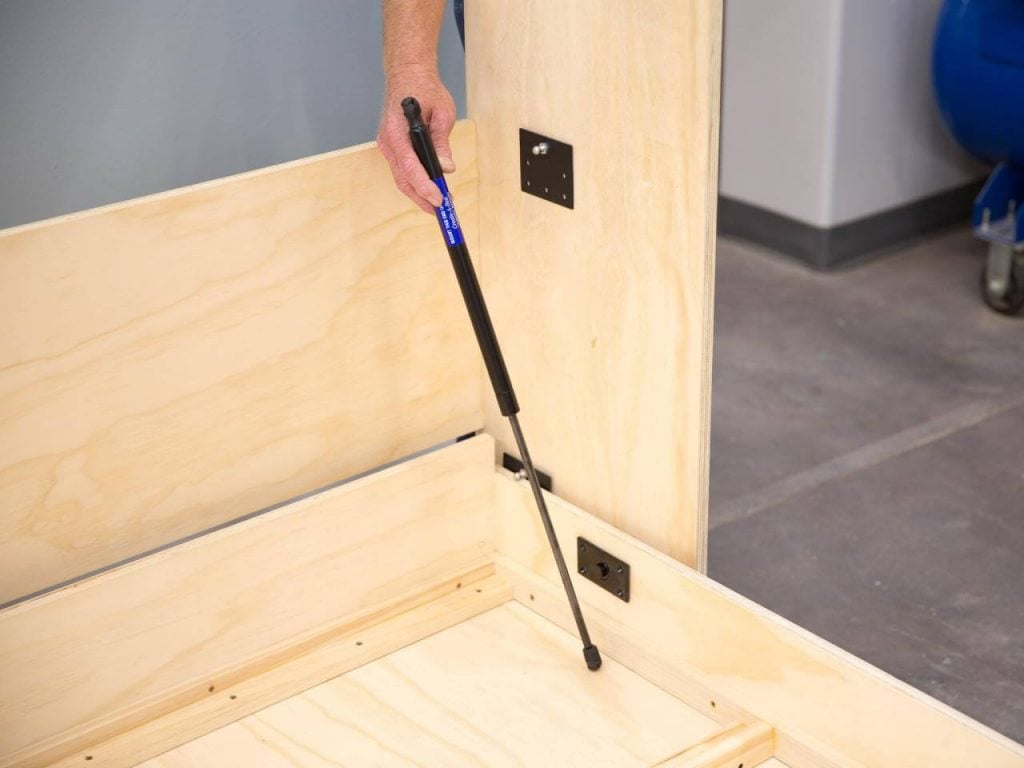
Position the side rails with the rounded end facing up and beside the subframe. Mount leg hardware with the screws. Always drill the pilot holes from outside to the inside of side rails, all the way up to head and foot rails, and attach all the pieces securely with 2” screws.
9. Place The Panels
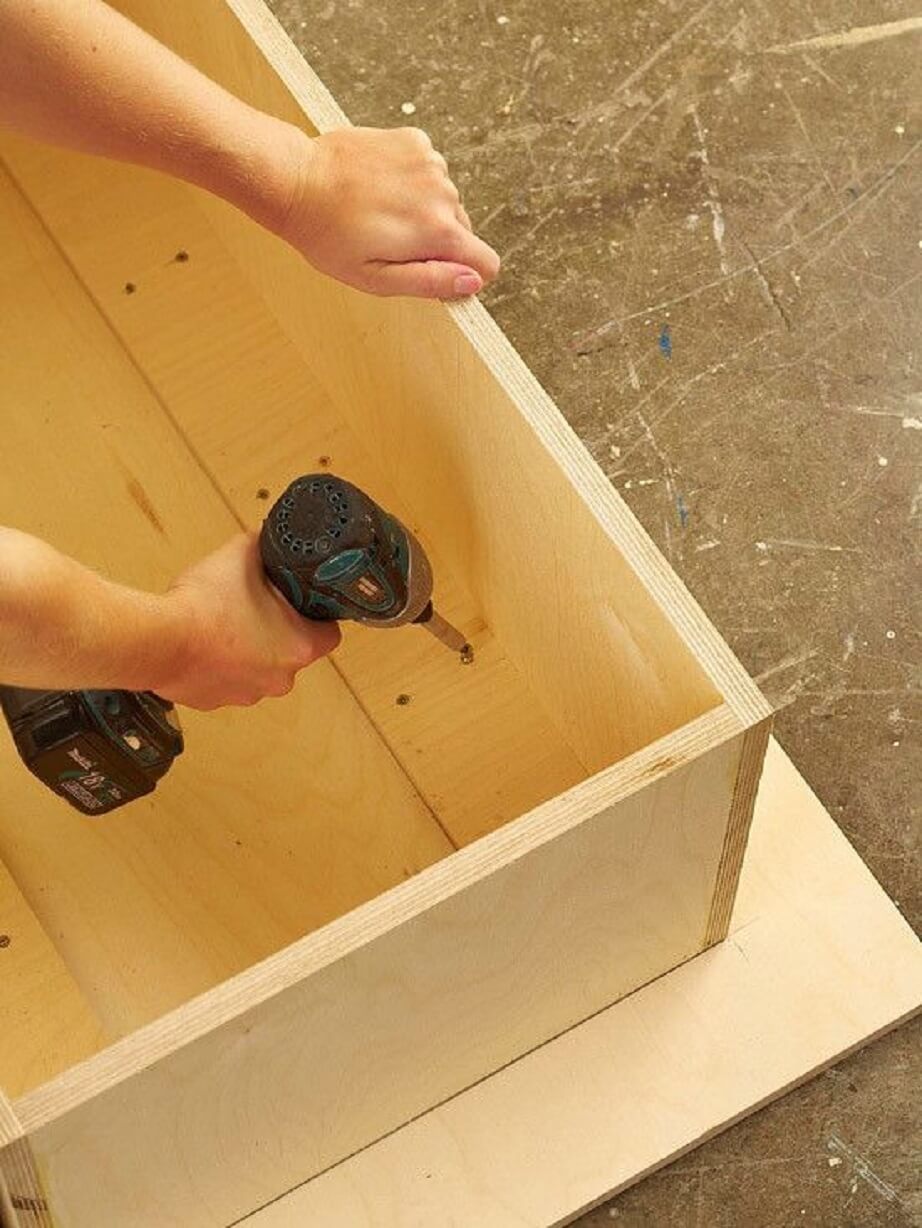
Lay down the panels face down and facing each other. Line the bedframe with the panels.
The panels should extend beyond the rails on the longer side about ¼ inches. 10.
10. Attach The Panels
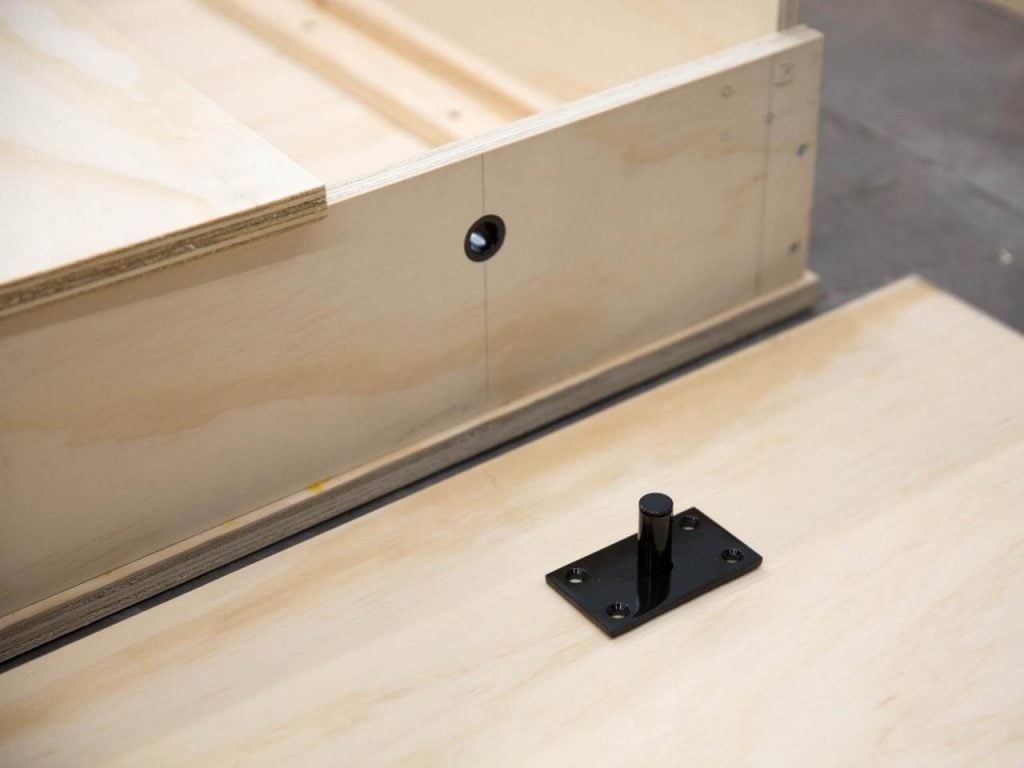
Once the subframe is placed, attach the subframe and face panels securely with the screws or glue. But make sure everything is in line and correctly placed because after gluing, it is tough to move the pieces.
11. Assemble The Header
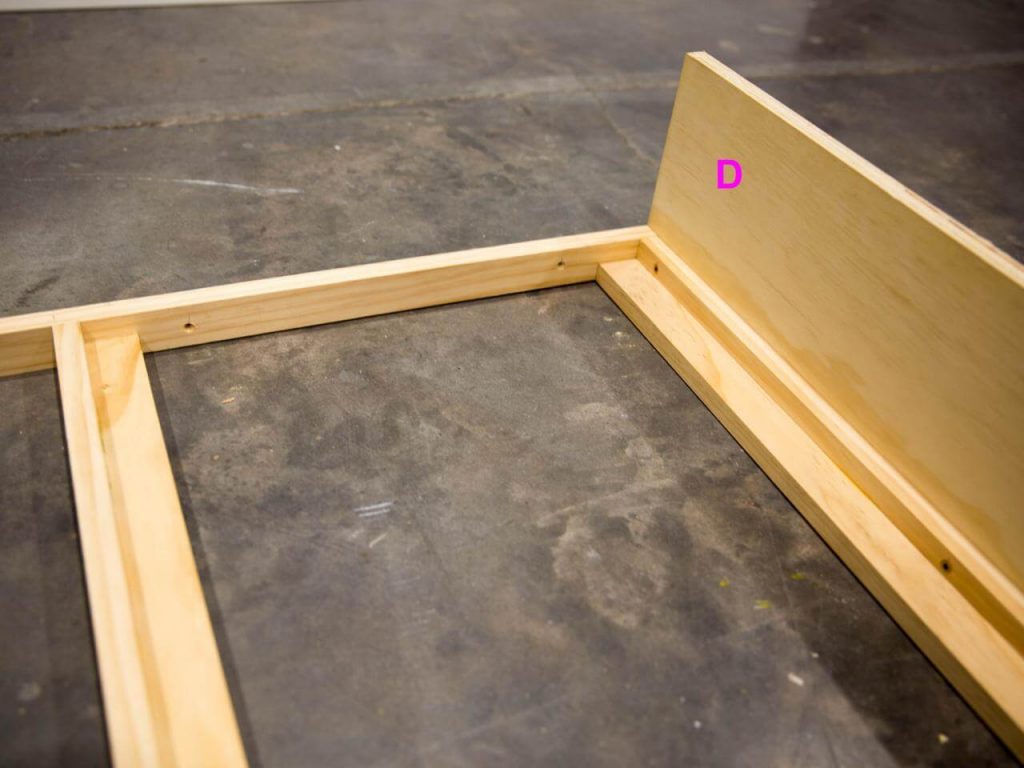
After your panels are ready, its time to place header. Drill holes in the header board and then tightly secure them with screws.
Tip: Use wood glue instead of nails in the front face as it is visible to the eyes.
12. Assemble the Cabinet
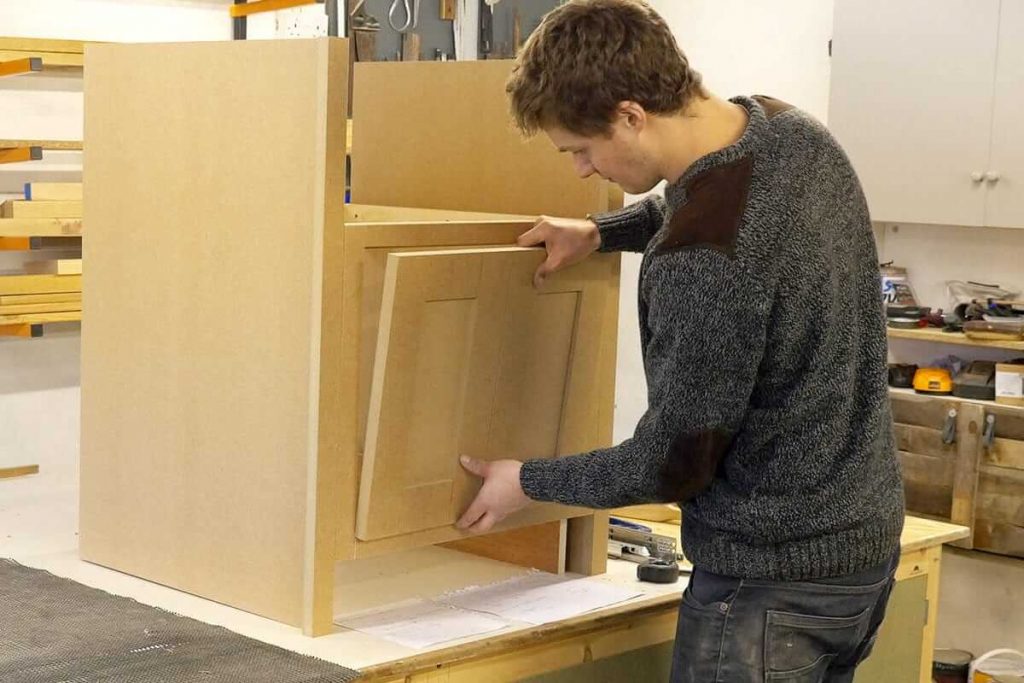
After these steps, your modern murphy bed is ready. Now, its time to construct the cabinet for it. Drill 2 inch screws to make an accurately sized cabinet for the bed, which is flush with the wall.
13. Mount the Cabinet
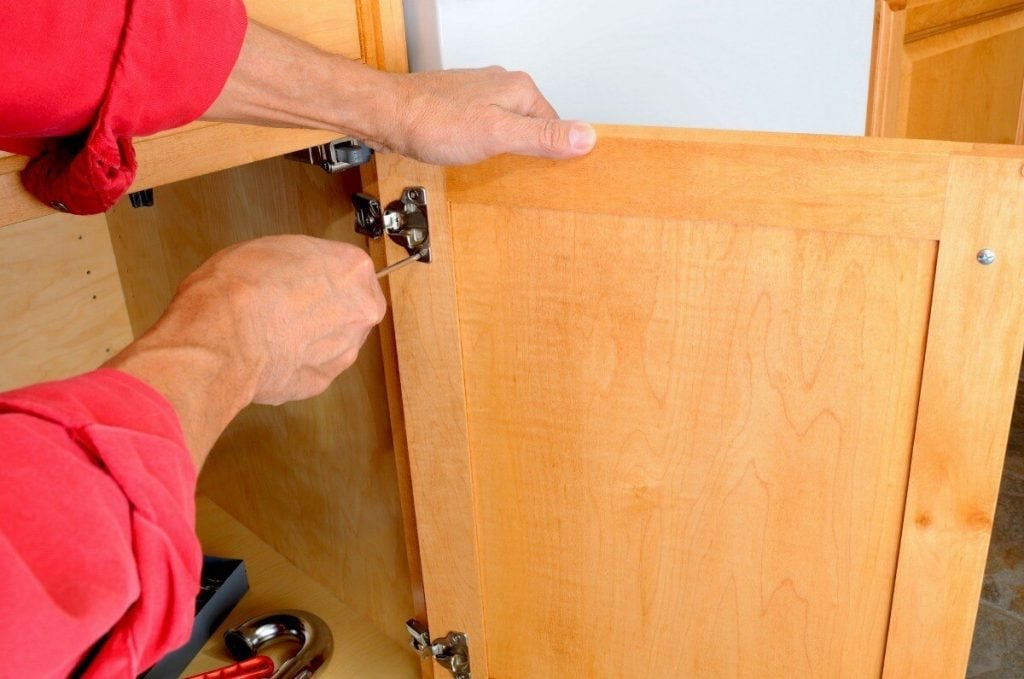
With the help of a stud finder, find the studs in your wall. After that, place the cabinet on the wall with the help of the screws.
14. Attach Your Hardware
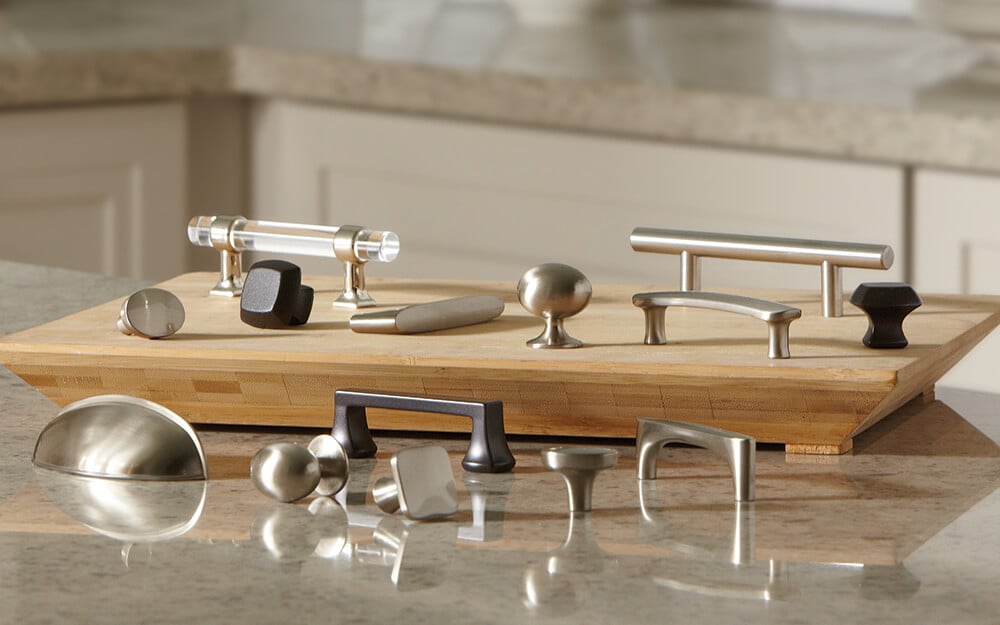
After your cabinet is set on the wall, it’s time to put the hardware on it. But if you want to stain the wood, do it before placing the handles and other stuff. 66 inches from the ground is the approx height of the handles.
Tip: Attach the veneer tape to the plywood visible edges to get the finished look.
15. Attach Support Panels For The Mattress
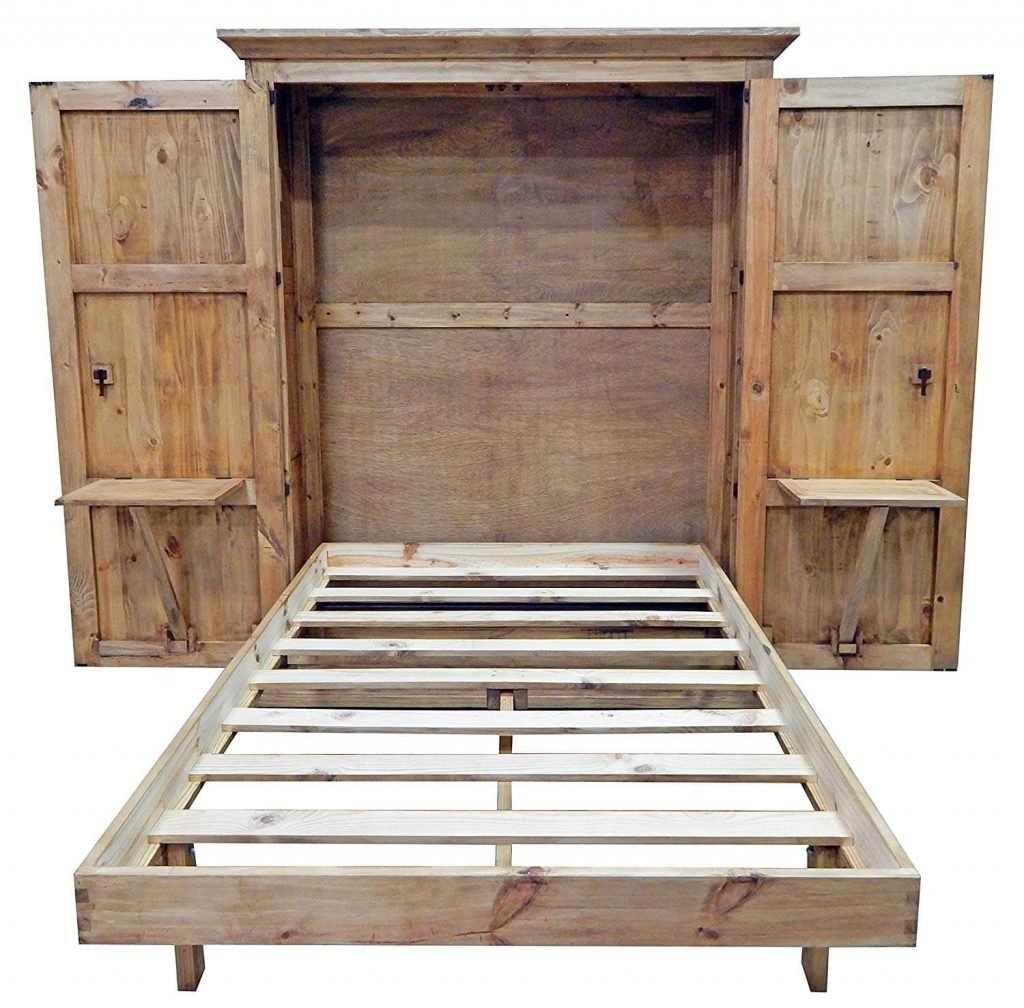
After all these steps, the last step is to make the mattress supports. They mostly came with the kit; if not, then use rubber straps. Tightly fix them on the panels to cover the struts with the 1- ¼ inches screws.
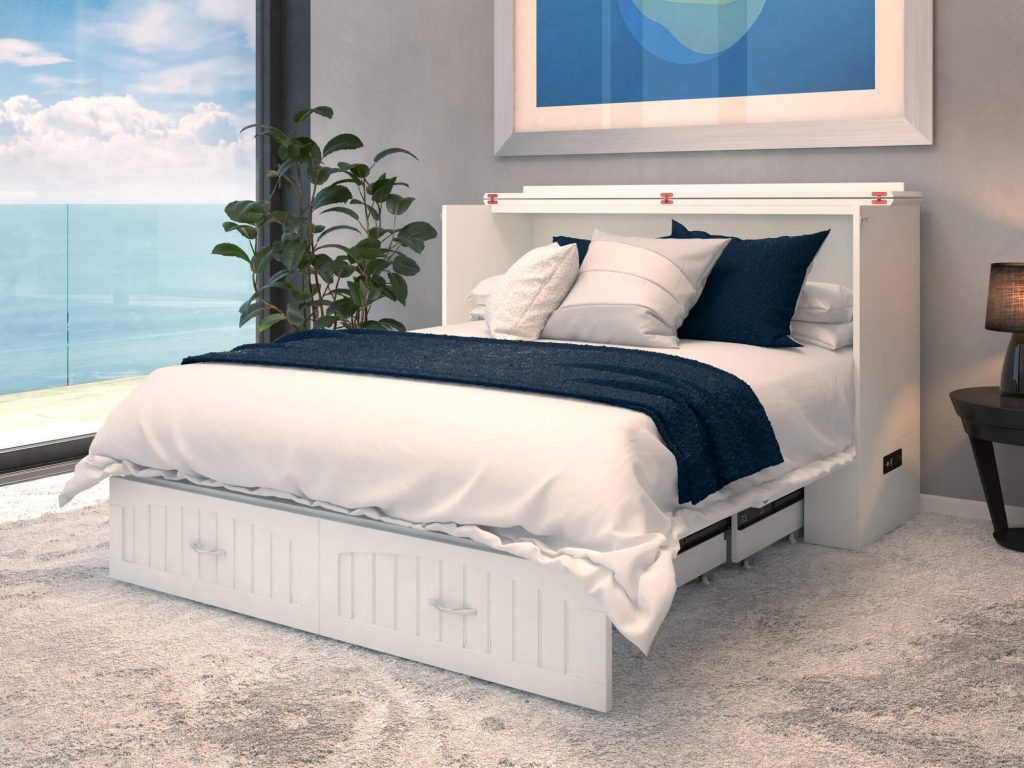
Pros And Cons Of Murphy Bed
Pros:
There are various benefits of a wall bed such as
- It saves a lot of floor space.
- You can use this bed as an extra bedroom when the guest came over.
- With a bed, you’ll also get additional space that you can use in numerous ways.
- Wall beds are really cool looking and also very comfortable.
Cons:
You hardly count any disadvantages of a fold away bed. There is only one thing that can bother you is that they are fixed (bolted in the wall) and you are unable to change the position as you can do in the traditional beds.
Precautions:
- Make sure that every piece is correctly cut in a straight line so that they perfectly fit each other.
- Secure everything with wood glue and screws (use screws according to the plywood width).
- Wear rubber gloves and safety goggles to protect your eyes and hands from dust.
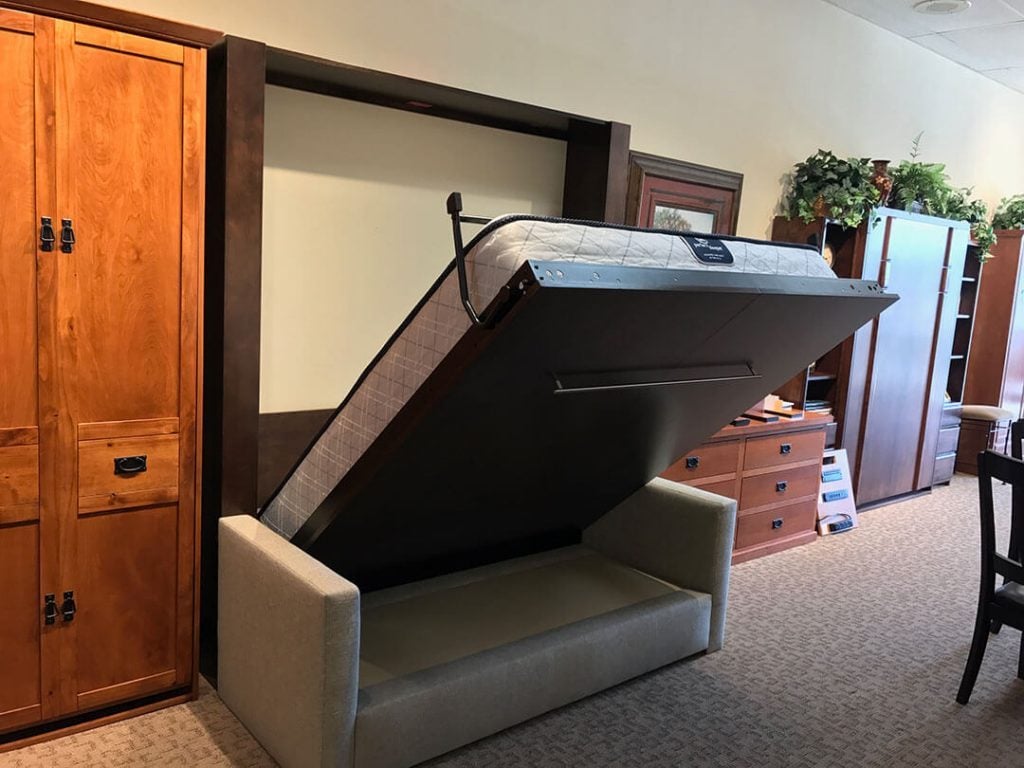
Is it that simple to build a murphy bed? You might have this question or realization after reading these steps. Yes!! the construction is as simple as you have read these steps. By following these uncomplicated steps, you can quickly build your murphy bed and also install it without any difficulty. So, is it the right solution for your small space or not? Of course, it is. I hope this guide helps you in understanding the whole process.
Read more:-

