Using the drill as your trade tool means you should take sharpening drill bits as an essential skill and learn. The masonry drill gets worn out over time due to heavy use and heat production when drilling.
Continuous drilling into masonry materials makes your drill blunt, thus losing its speed and efficiency. The bits for masonry work do not come cheap, and it seems the best way to keep working at your best is to sharpen them to save you a few dollars.
Here Are Some Things That You Will Need
- Bench grinder
- Safety goggles
- Coldwater
Set Up Your Workbench and the Grinder
- Find enough space on your workbench where you can move your arms.
- Clear the table and remove all flammable materials from the grinding area
- Set the bench grinder on the workbench close to the edge that allows you to stand as you sharpen the drill
- Bolt or clamp the bench grinder to stop unnecessary movements
- The clean water should be nearby, check if the bench grinder has a small container, but if you can use a plastic container, the better because the water stays cooler for longer.
Setting Up the Drill Bit
- Hold the drill bit on both hands on the tips of your thumbs and forefingers, giving you the option of moving the drill in any direction.
- Hold the masonry bit about one inch from the drill’s tip and place the left hand on the shank of the drill. Make sure the holding position feels comfortable.
Grinding the Masonry Bit

Alert: Be cautious when you pass hands near the high-speed grinding wheel. At this point, you should have all your safety clothing. Putting on gloves is not recommended because it may be trapped on the grinding wheel.
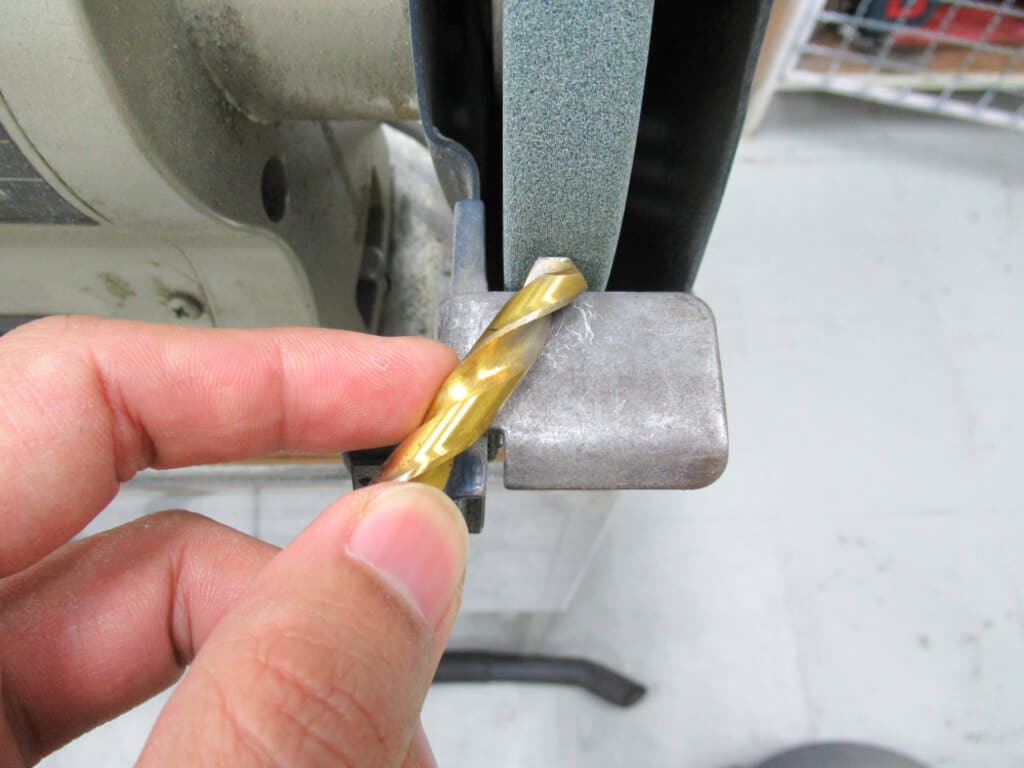
- Turn on the grinder as you hold the drill bit between your fingers.
- Place the index finger of the right hand on the tool stop of the grinder.
- Bring the drill bit up to 1 millimeter of the grinding wheel.
- Use the drill bit cutting edge as the drilling angle. The angle can be 60-degrees or thereabouts.
- Push the masonry drill against the grinding wheel as you apply some pressure
- Check if the drill bit’s face is clean and has an even look. Make sure there are no chips or uneven places on the cutting edge.
- Use an angle gauge to check the drill bit, which should give at least 118 degrees. An alternative test would be to place two hex nuts and hold the drill in between.
- Turn the over and repeat the sharpening process on the other cutting face.
- Ensure that both cutting edges as similar as possible
- Use short bursts to grind the drill while using water to cool off the drill bit. The best practice would be to dip the drill bit into the water after every grinding burst.
Grinding the Drill Bit Clearance Face
- After grinding the cutting face, the masonry drill should have clearance behind the cutting edge. Grinding the edge will keep the drill from rubbing or rubbing on the material.
- Hold the drill between the thumb and forefinger. With the drill working at 60-degrees, this time feeds the grinding wheel in an incline, so the surface behind the cutting edge gets into contact with the grinding wheel first. The idea here is to make sure no material remains behind the cutting face leaving the cutting face to be the only place of the drill bit to cut.
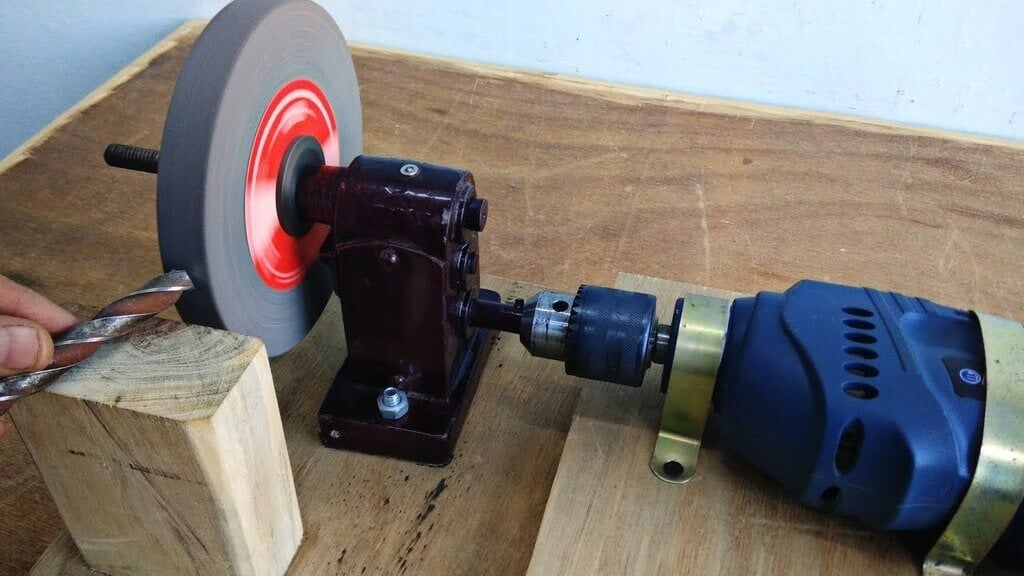
- Making use of a Sharpening Tool
Save money and time by sharpening the masonry drill is the use of a drill sharpener. The sharpeners are available in different sizes and shapes to suit your budget and masonry tool sharpening needs.
Final Word
The sharpening skills shared in this post are the common ones you can use to sharpen your masonry drill bits. Drilling masonry materials is already an energy-sapping experience. Rescue yourself using a sharp masonry drill. The sharpening drill bit is turning to be an efficient skill for anyone in the building industry or anyone planning to join. The bench grinder is turning out to be less expensive, and they give you a straightforward approach to getting your tools ready for the next project. Follow the proper instructions and see how the process is simple.
keep reading: