Laura is a small-town girl who recently got her dream job in this big company. But the job location is in another city, so she has to move to the new city. She is so excited about this job but also feels nervous at the same time. How is gonna be her new boss, workers and where she is gonna live? All these thoughts come to her mind all the time. When it comes to living in a new city, the most onerous task is to find a place to live. She searched many websites online to get a decent place that was in her budget, but the whole process was much harder than she thought.
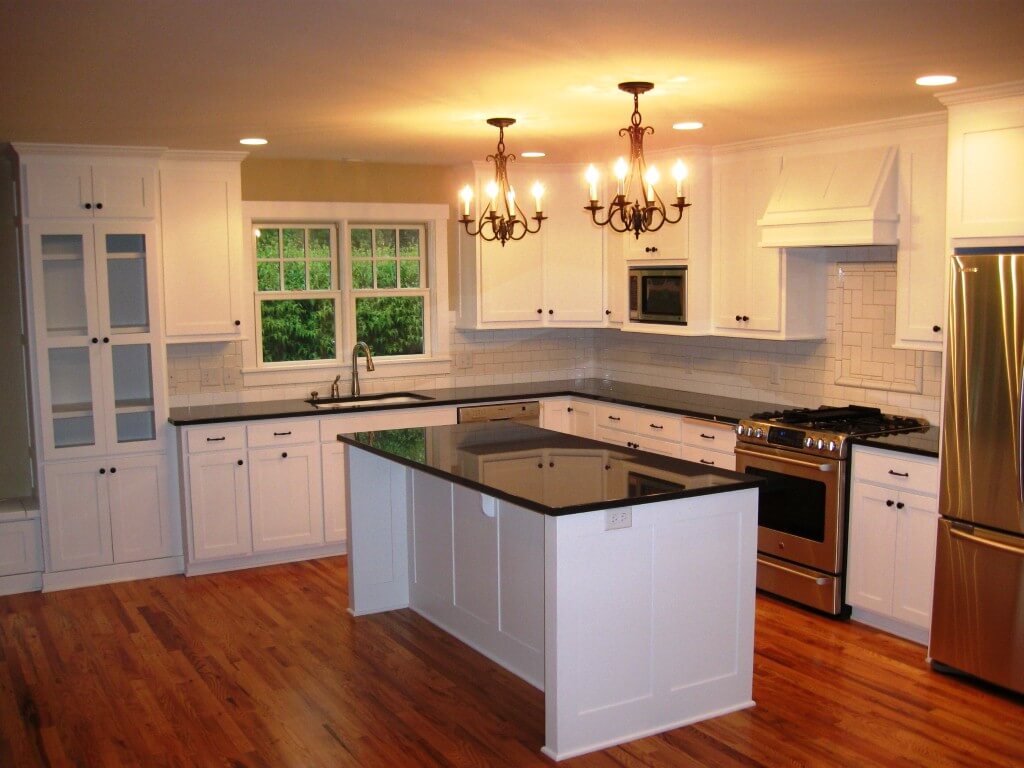
After searching for a few days, she got a place, but the problem is that this house was built in the late 90s, so it is quite old fashioned. But due to her tight budget and time, she booked this place.
She felt resfeber while starting the journey to her dream city. So after reaching her place, she started unpacking all her stuff. It’s not like she hates the place; it is more like a love-hate relationship with this place. But for her, the office is more important and this house is near to her workplace, so she is kind of okay with it. But her job is incredible, and she also loves her work and office environment.
She always wanted to invite her friends over to her new place and build a bond with her colleagues, but her house is dull and boring; that’s the reason, she is not doing this.
One day while surfing the net, she came upon a blog on how to paint kitchen cabinets. After reading the whole blog, she really liked this idea and decided to paint her kitchen cabinets, and she got amused by the end results.
So like laura do you also want to transform your old and boring kitchen? She is here to help you and tell the entire process in simple steps.
So carefully read all the steps till the end and do what laura says and give your kitchen a new makeover.
“Don’t forget to read the tips, which she is telling in between the steps to make the whole process convenient and fast.”
So here laura is giving you a step by step guide on how to paint kitchen cabinets without sanding:
1. Pre-Preparation
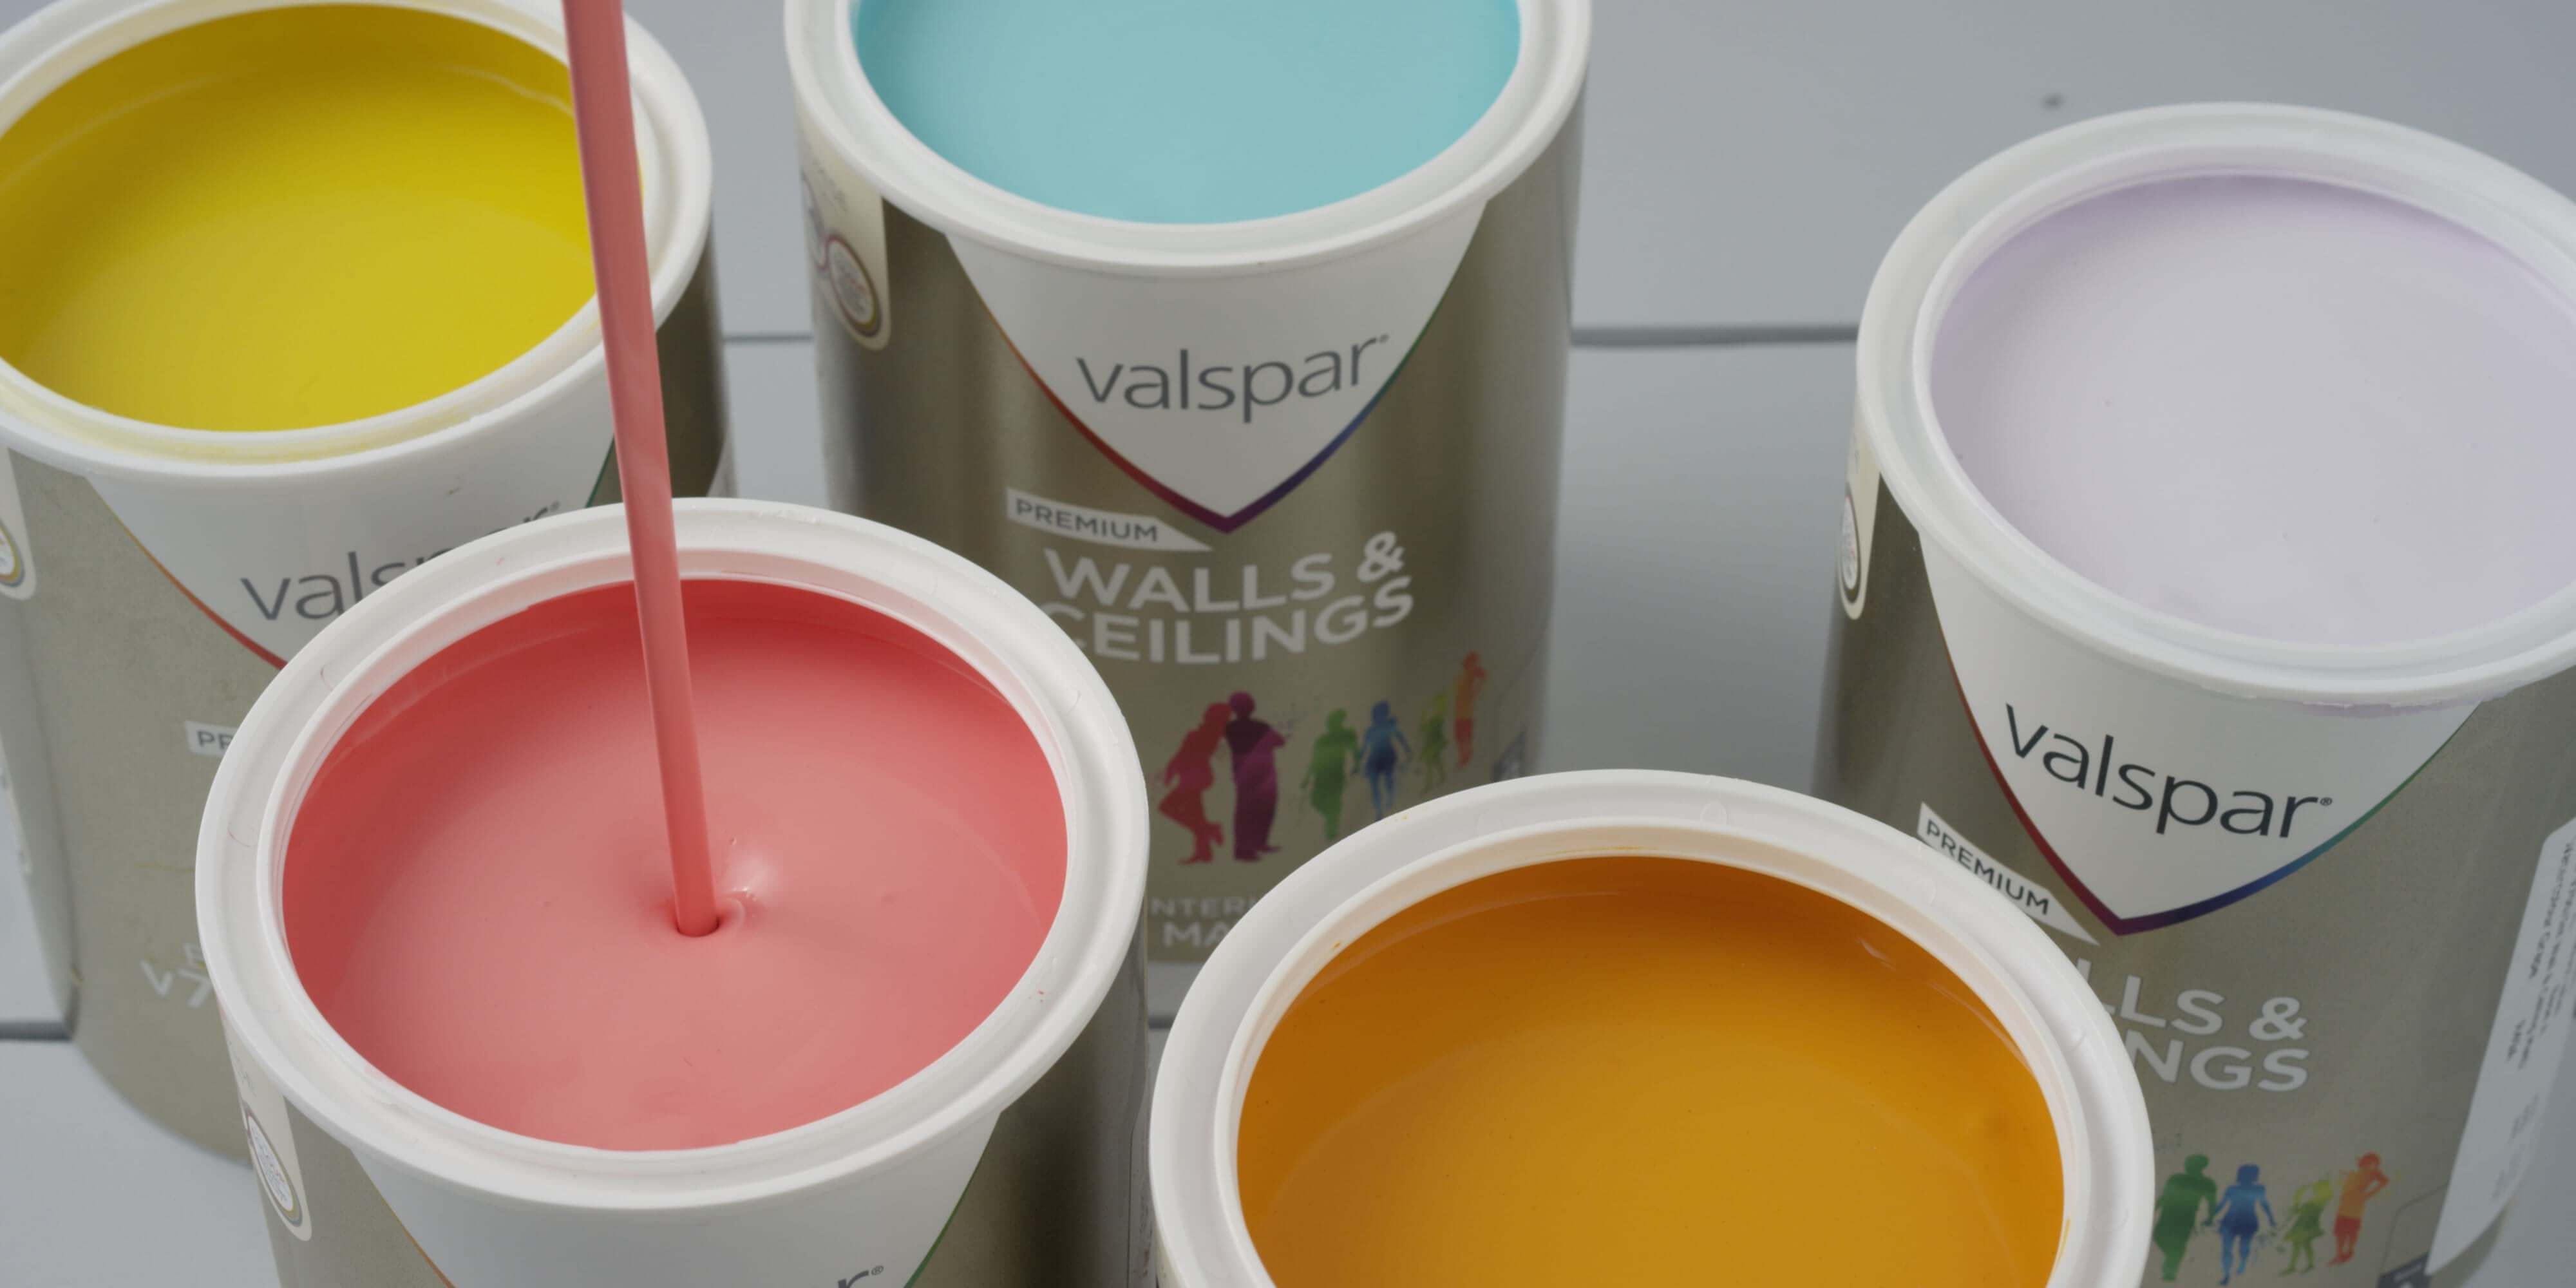
So the first thing is to collect all the supplies which are necessary to do this task. All these tools are already in our house, the only thing you need to buy is paint. Here is a list of items:
- Cleaning wipes
- Liquid Cleaner
- Scrubbing sponge
- Dry cloth
- liquid deglosser
- Paint
- Paintbrushes
- Screwdriver
- painter’s tape
- thumbtacks
2. Remove Any Dirt and Grime
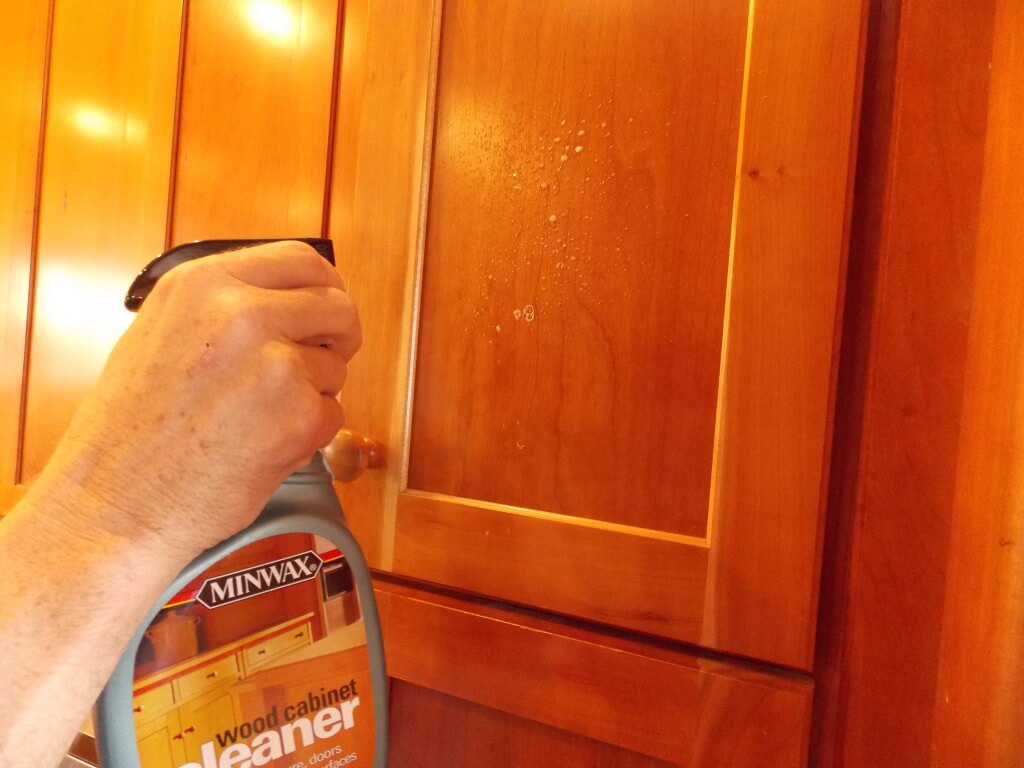
The first step is to take a sponge and apply some liquid cleaner and clean the surface of the cabinets. Make sure there is no dirt and dust on the top of the cabinets. Get ideas about how to clean kitchen cabinets.
3. Apply Liquid Deglosser
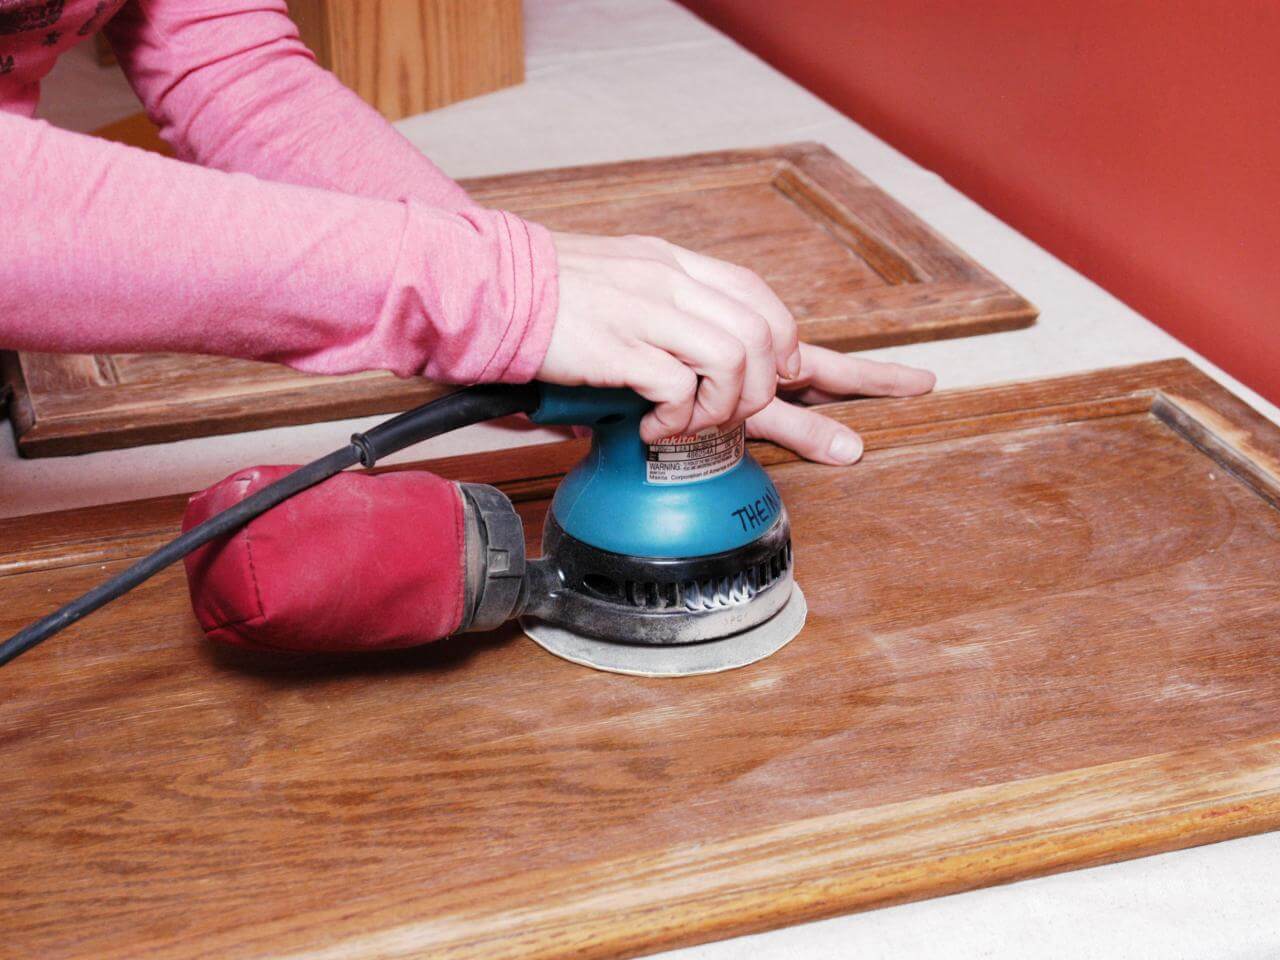
Instead of using a sander, pour some deglosser on a washcloth and gently apply it in circular motions on the cabinets.
4. Remove Doors
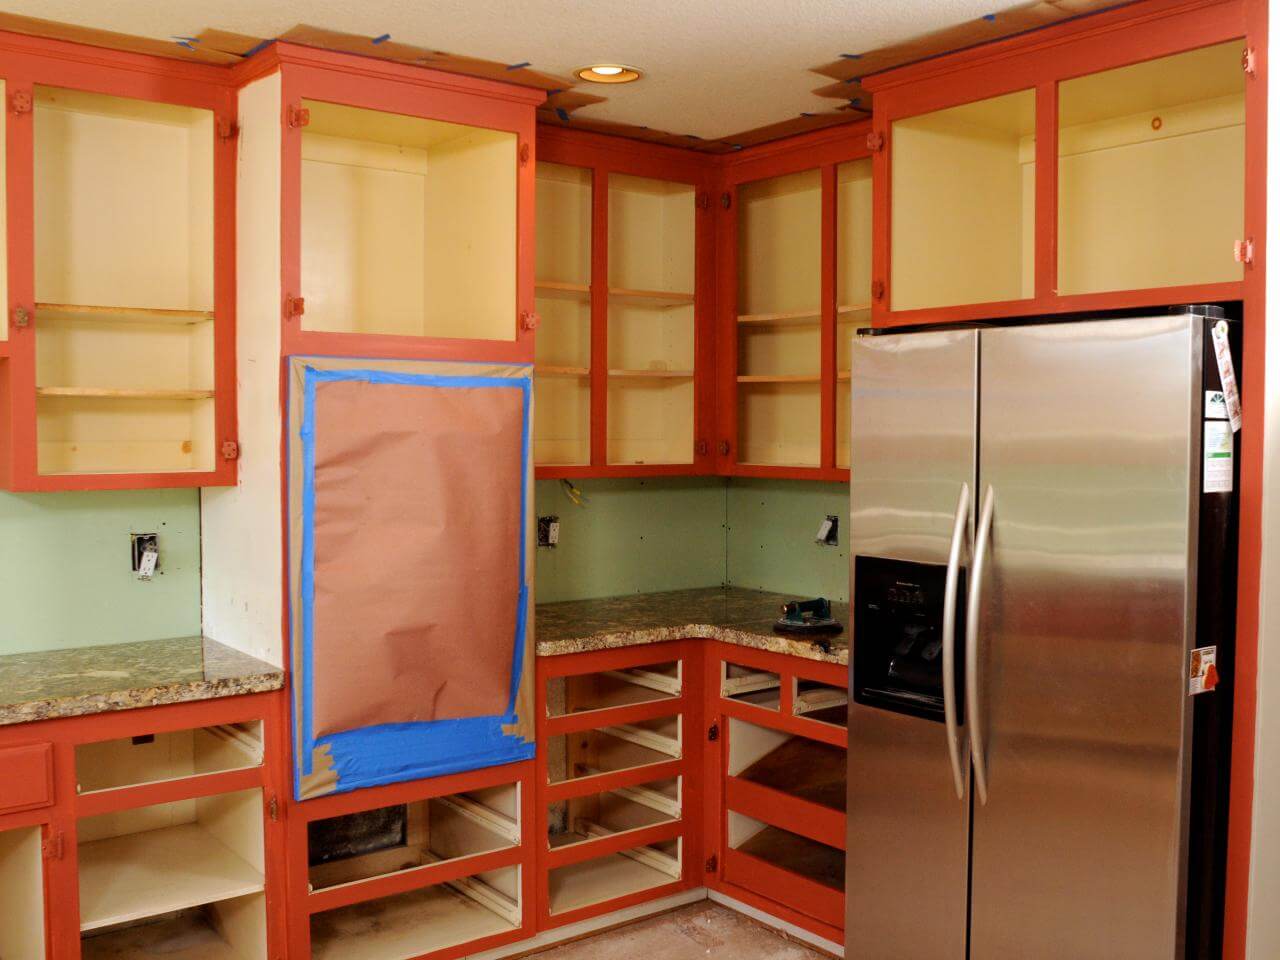
After this, you can remove your cabinet doors but make sure that before removing numbering them with a painters tape, so that they don’t mix with others.
Tip: Use a drill or screwdriver to remove nails and hinges.
5. Clean Out the Inside
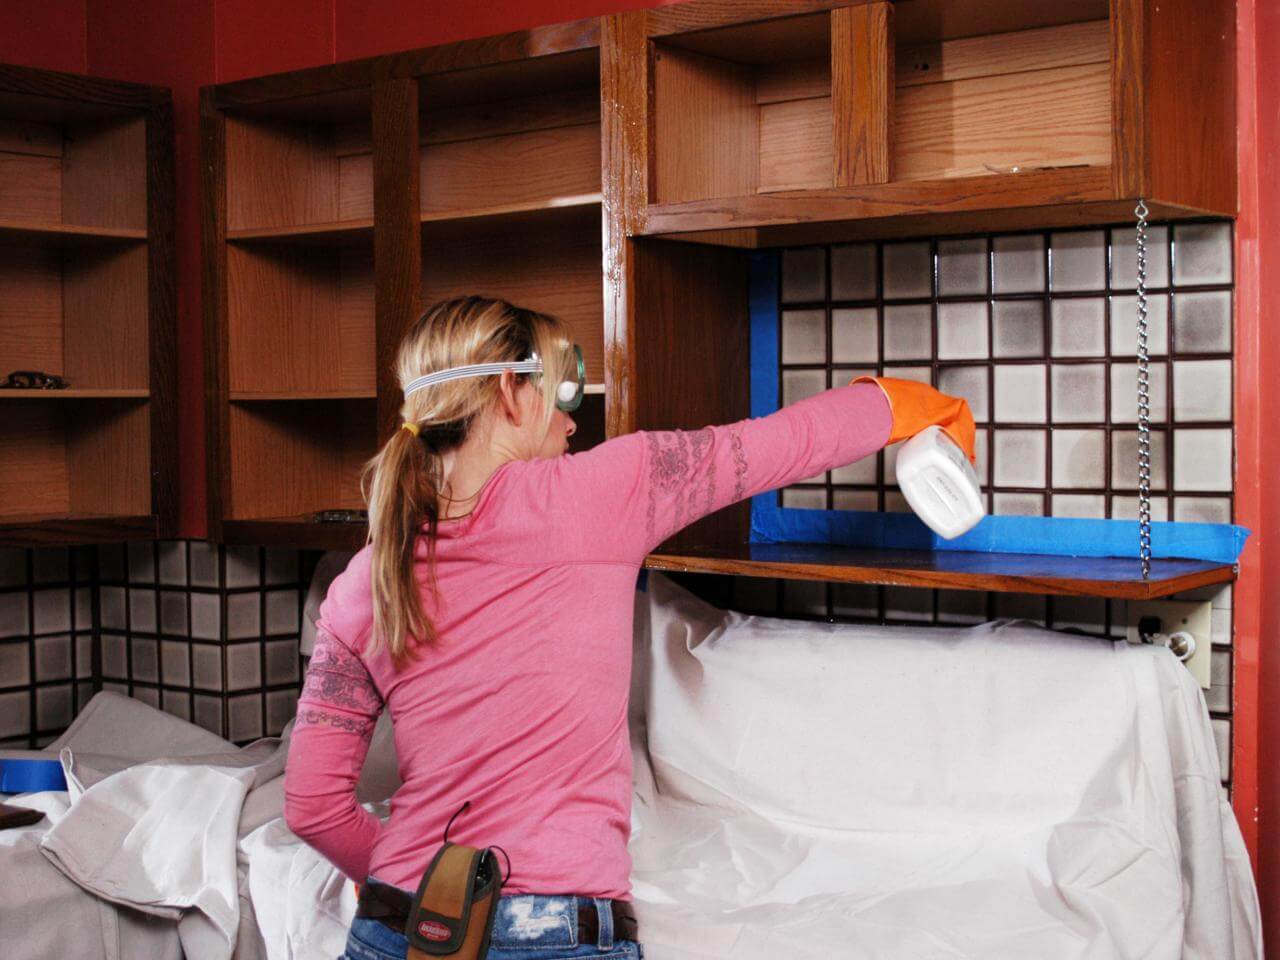
One by one, take out all the shelving and then clean the cabinets from inside as well.
6. Paint the Back
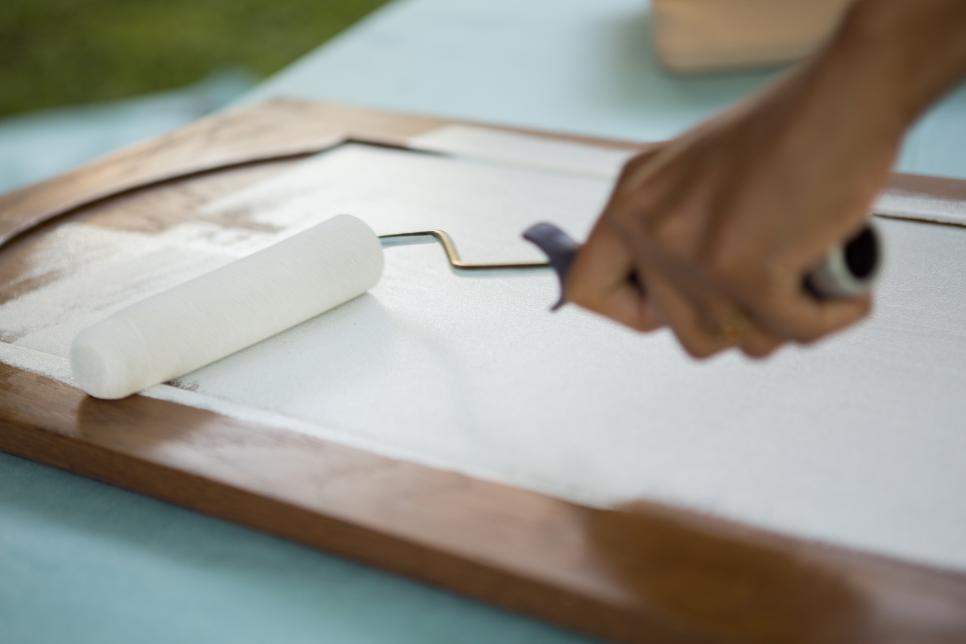
Now grab your painting supplies and start painting. First, lay down all the pieces facing the back area upwards. Paint all of them one by one.
Tip: Lay down plastic sheets or paper on the floor if you’re painting them inside of your house. Use monochromatic colors such as white, grey and beige, they look very classy and elegant.
7. Put Thumbtacks
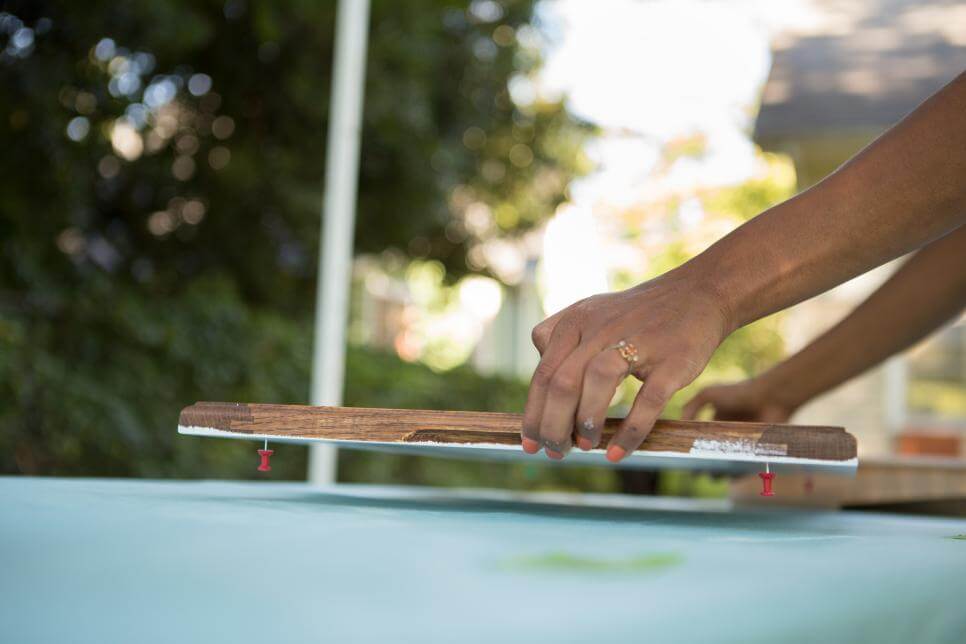
Use this trick to save your time – first, pin the thumb pins on each corner of the door and then flip it over. This way, you don’t have to wait for one side to dry and after this, you can paint the other side.
8. Paint the Molding
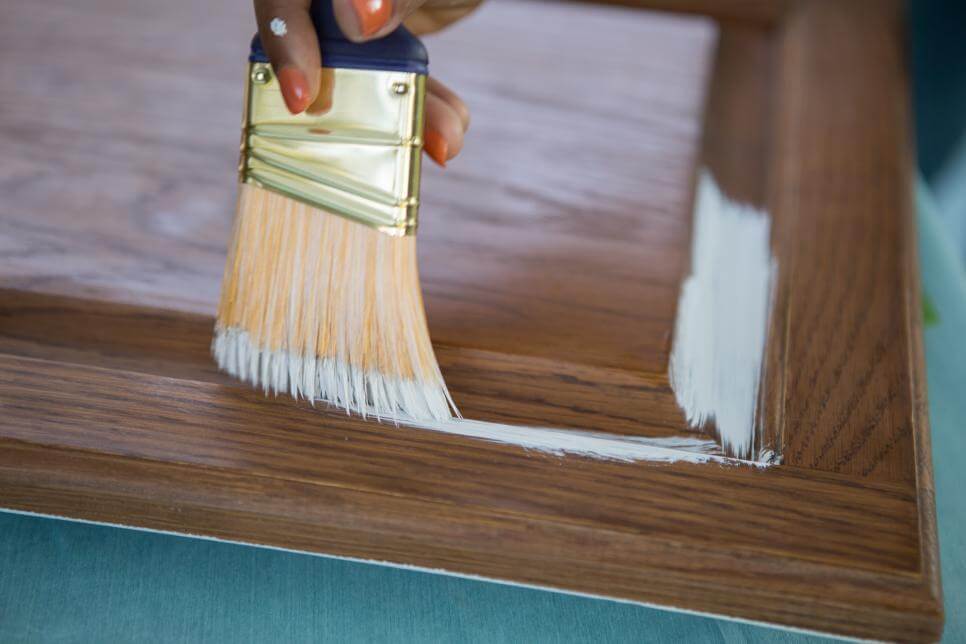
Now use a small paintbrush to paint the moldings of the door and other small detailing.
9. Apply Second Coat of Paint
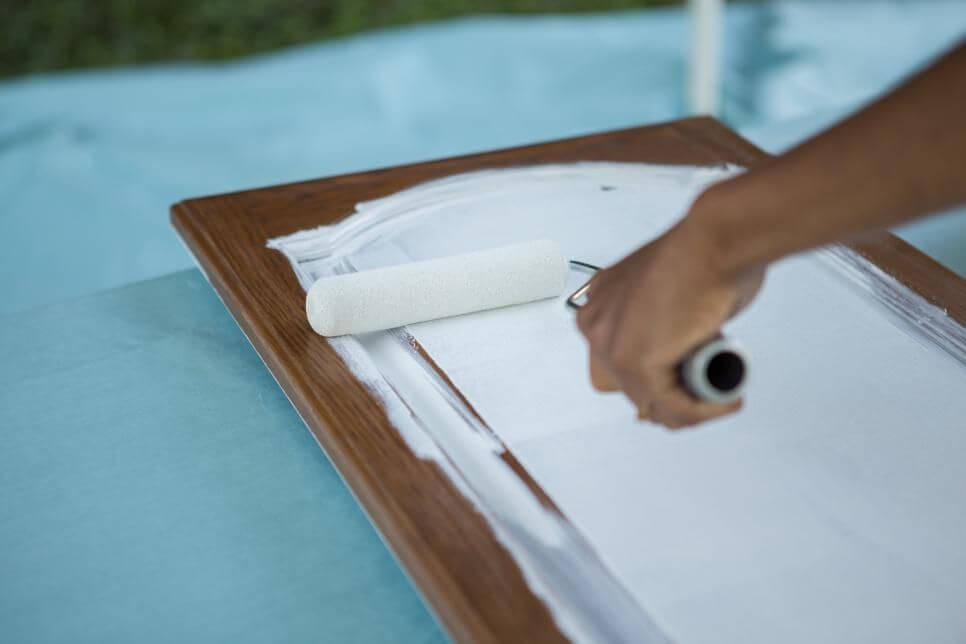
It is always good to coat the cabinets with the second layer of paint to get a more finished and polished look.
Tip: Check whether the first layer is dried or not, always apply a second coat when the first layer is fully dry otherwise, you’ll create a mess.
10. Paint the Shelves
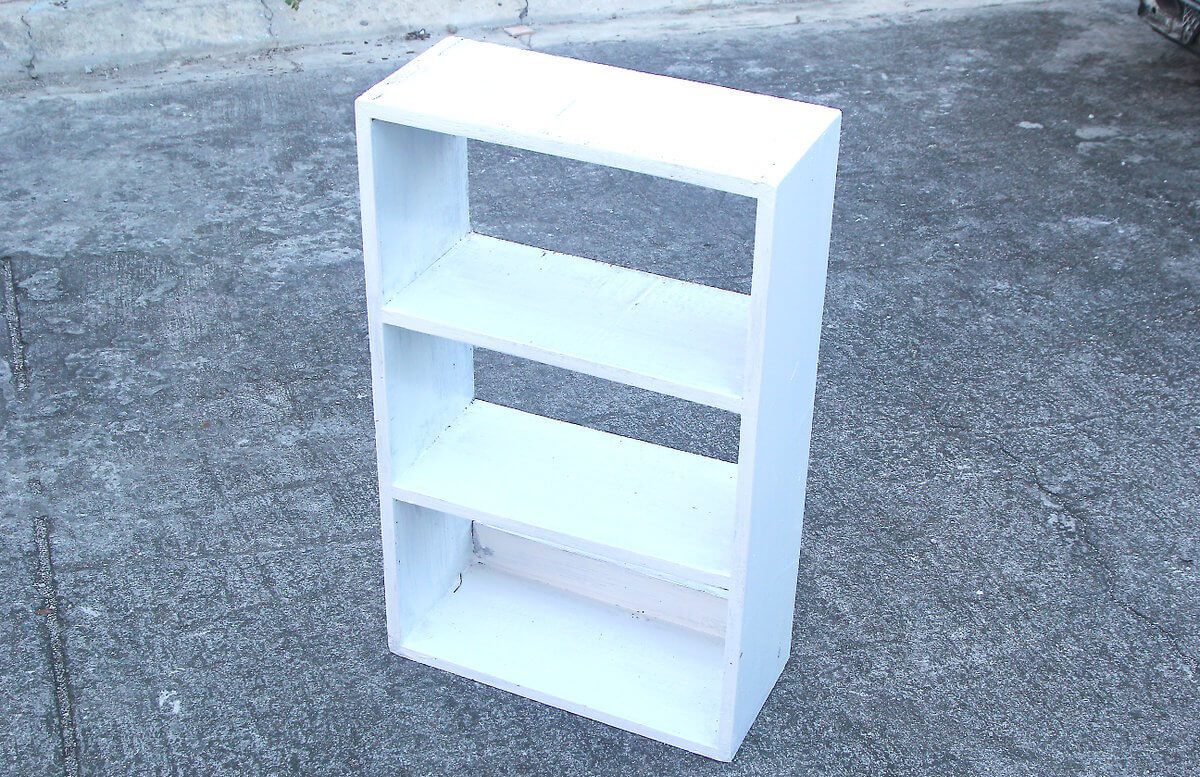
When you are done coloring with the cabinets, its time to paint shelves. Carefully paint all the shelves and let them fully dry.
11. Paint the Hardware
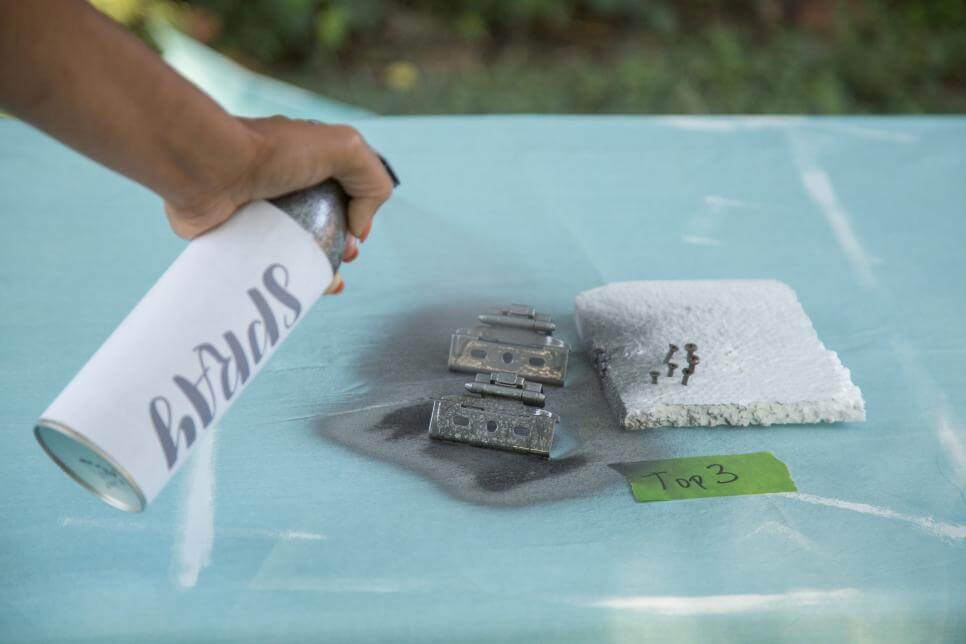
You can also paint your hardware like hinges and doorknobs in the same color of the cabinets to get a luxury look and make them rustproof.
Tip: Use spray paint to make this task easy and fast.
12. Paint the Wall Units
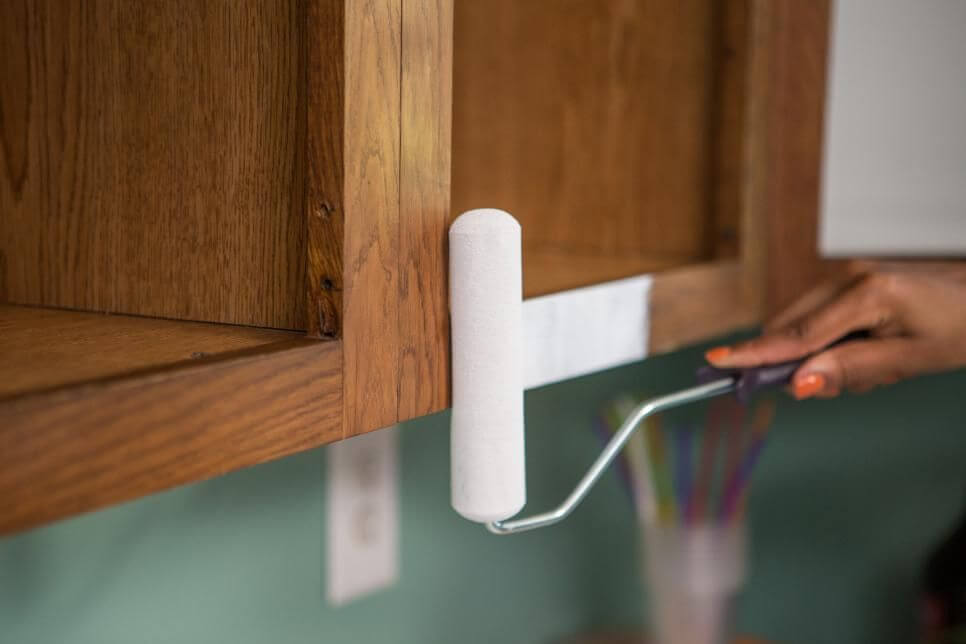
Now take a roller and paint the outside edges of the shelves and also space where the doors meet.
13. Re-hang the Cabinets
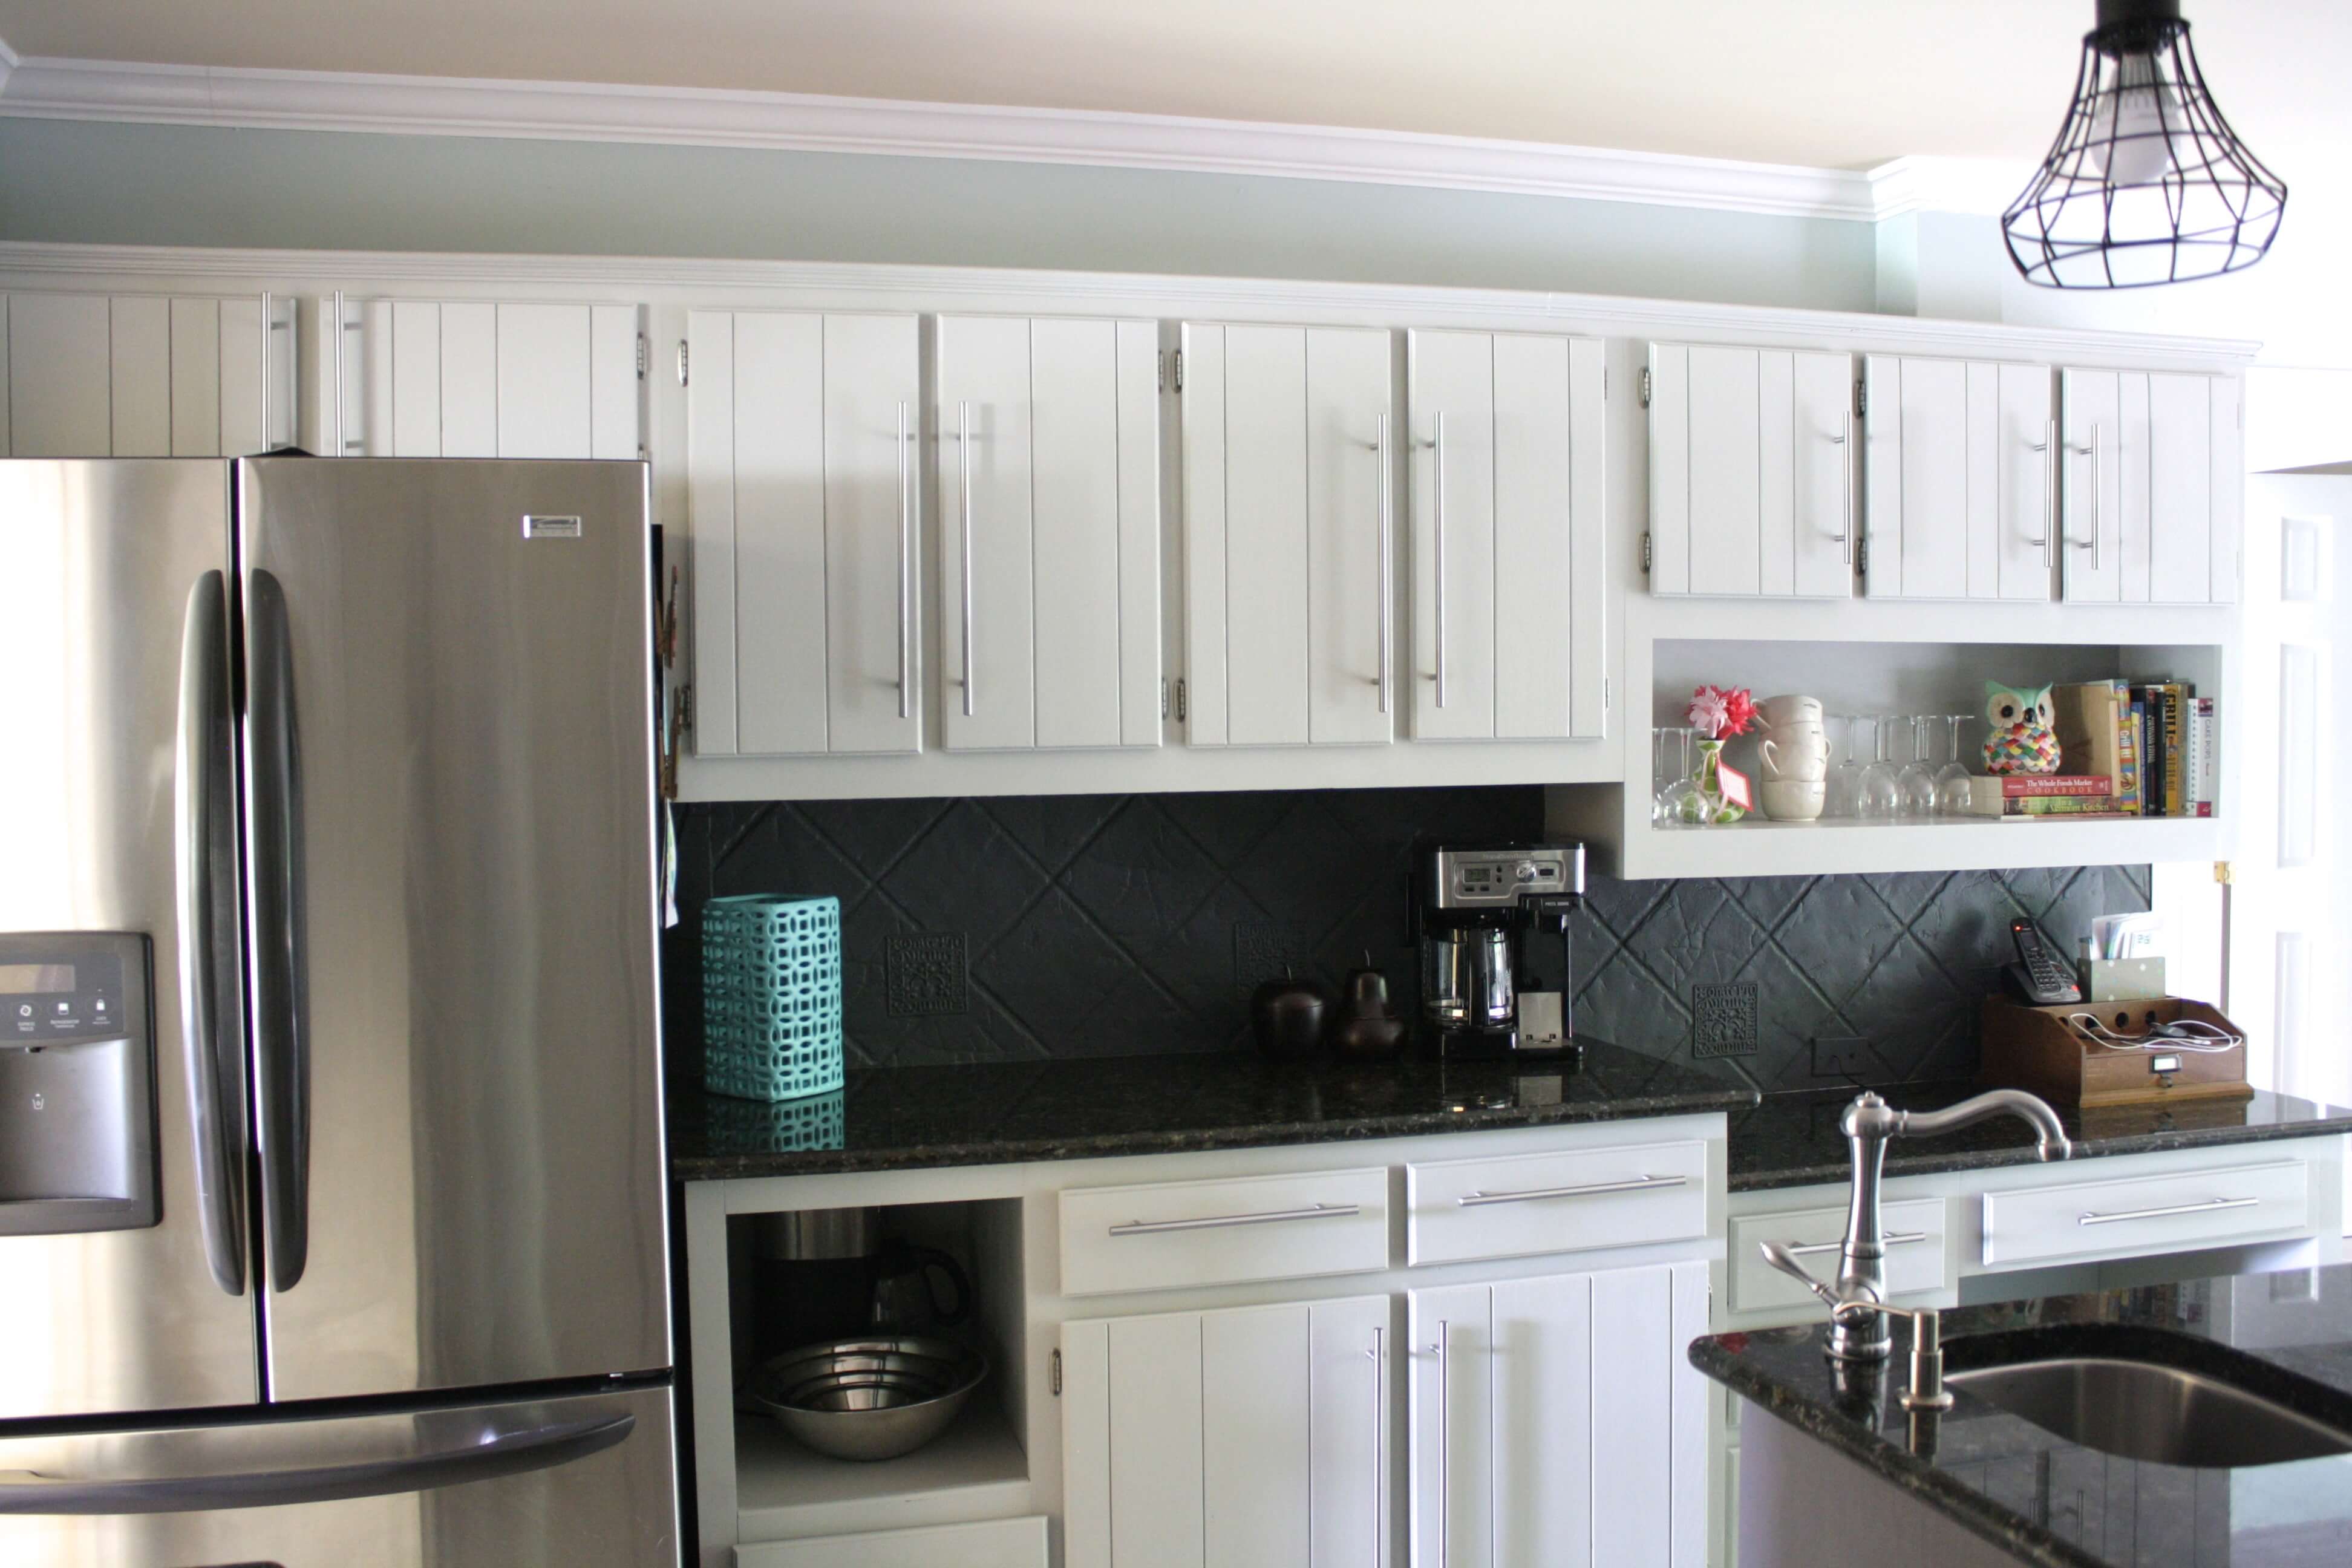
Yes, this is the final step, after all this hard work, it’s time to hang them in place!! Use the drill or screwdriver again to re-hang them on the wall. Insert all the shelves carefully in the wall cabinets.
And ta da…your beautiful kitchen cabinets are ready!!
So how did you feel after reading this? Did laura guide you well and her step by step guidelines help in painting your kitchen cabinets? We are pretty sure that your answer is yes! Because this is an easy project in which you can do it under 2 hours. Paint is one of the influential factors that can change the lookout of any space in seconds. Now you also believe after doing this task that this project is everything- it is easy to do, under budget and time-saver, so save your day as laura did.
Discover More:

