Attic insulation is necessary in any home and should be checked regularly to ensure it is correctly installed. Replacing insulation on your own may seem impossible, but for most homeowners, it’s tedious enough to warrant hiring a professional. Damaged or outdated insulation can lead to other repairs needing to be made, such as electrical and plumbing, so if you know what you’re doing, it might be a good idea to replace it on your own. Here are tips and tricks to get the job done right.
Assess Your Current Insulation

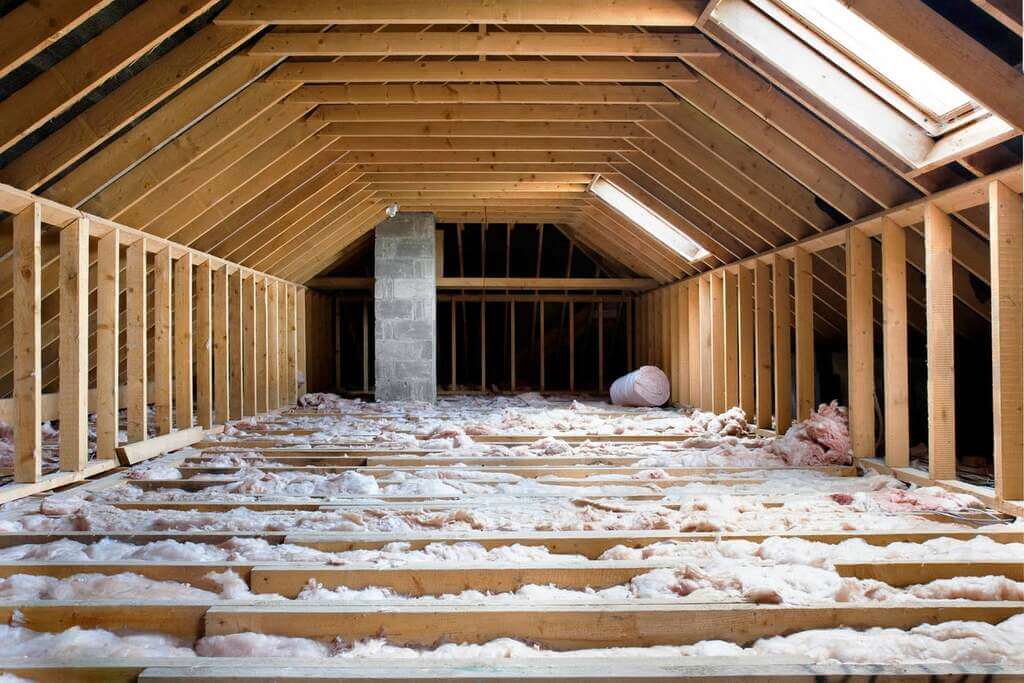
Inspecting the attic before the attic insulation replacement process start ensures you get everything in line. Finding out how much insulation you currently have is the first step in deciding what to do.
If the existing insulation is damaged, damp, or moldy, it is advisable to remove it entirely to prevent further problems. On the other hand, if the insulation is still in good shape, covering it with fresh insulation might increase its efficiency.
It is preferable to budget for a new attic insulation job when this procedure is finished.
Choose a Type of Insulation
Depending on your need and budget, there are several types of attic insulation that you can use. Soundproofing insulation is excellent for preventing noise from entering and leaving the home. Fire resistance insulation prevents walls, floors, and other structural components from getting damaged should a fire occur. Insect control insulation prevents any pests that may get into your home.
Prepare for Installation

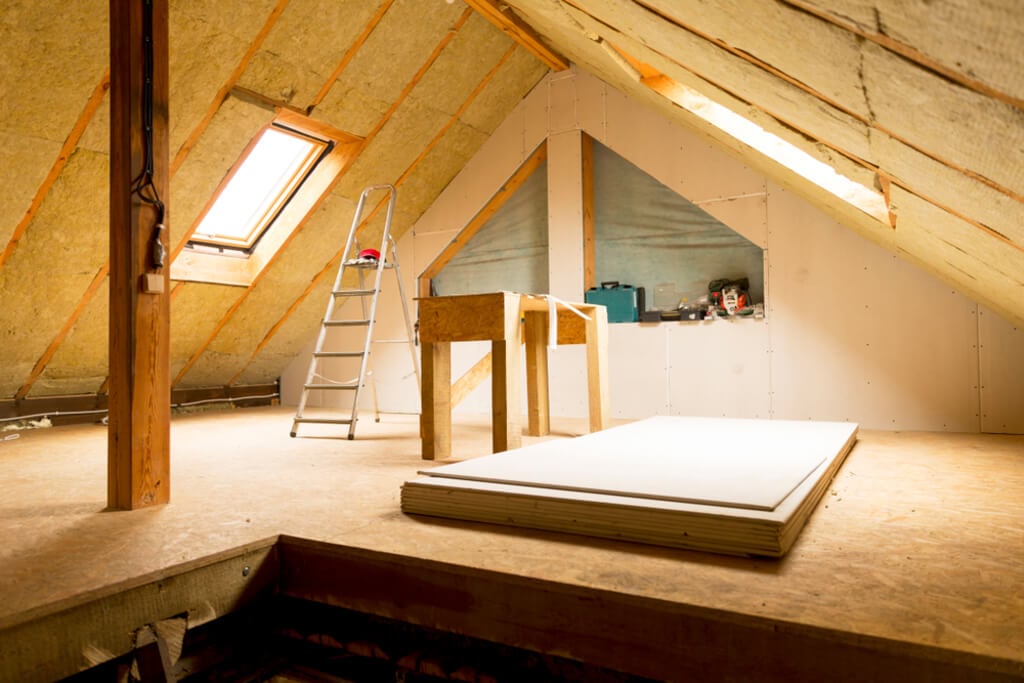
Taking measurements and getting the materials needed for installation before you start is the best way to ensure a successful project is completed. Repair roof leaks and seal air leaks in the attic before installing insulation to prevent issues when finishing up. Cover lighting fixtures, outlets, and anything else that must be covered with plastic sheeting or tarps to avoid fire hazards or damage.
Use the following steps when you are preparing for installation:
- Measure: Start by measuring the square footage of the attic. Do it before you buy the materials.
- Repair roof leaks: Moisture is not at all good for the insulation, so make sure to repair leaks before installing the new materials.
- Seal air leaks: Air leaks happen in gaps between the attic and the outside or between the attic and your living space, which then reduce the effectiveness of the insulation.
- Cover lighting fixtures: Lighting fixtures should be covered with metal flashing, hardware cloth, or plywood, with a 3-inch safety gap built in, to prevent fires from starting when insulation comes in contact with them.
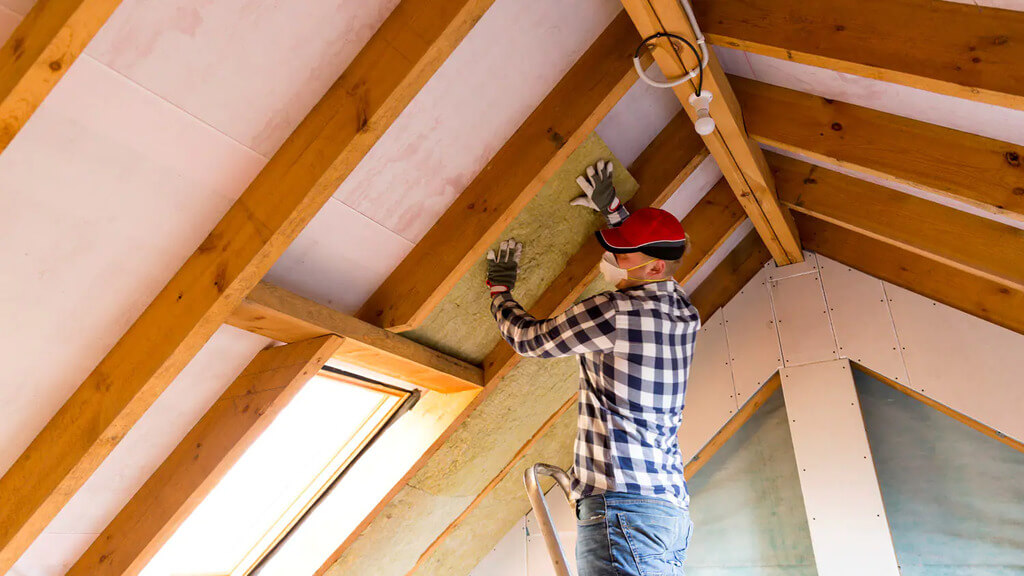
- Don protective gear: The insulation fibers may not be good for your skin, lungs, and eyes. So make sure to wear a protective gear
- Prioritize the safety: At the time of installation of the insulation, you should ensure safety. Instead of standing on exposed joists, provide temporary plywood flooring and make sure there is ample ambient lighting.
Install a Vapor Barrier
Not all insulations have a built-in vapor barrier; you might need to install one on your insulation. A vapor barrier is a sheet that prevents moisture from entering your attic system. Keeping water out is essential to preventing insulation from degrading. This can be done with sheeting, shutters, or even a blanket of plastic tarping.
Clean the Attic to Prepare Your Attic for Insulation

Creating blank state conditions is an excellent way to ensure you get the most out of your insulation. Things like dust, old insulation, and debris should be removed before adding new insulation. Doing this will increase the performance of your new insulation and reduce potential fire hazards.
Weatherstrip Your Attic Access Panel
Weatherstripping is a must to keep the elements out of your attic. When you remove your existing insulation, you’ll want to put a new piece of weather strip in place to ensure nothing can get into the area. An attic insulation replacement project only works well if the air flow stays consistent.
Weatherstrip Your Attic Access Panel

Attic floor holes are necessary for electrical work and other things, but you want to seal them up to keep anything from getting in. Use a piece of tape to ensure that the hole is covered up. Caulk and spray foam can also be used for this purpose. Replacing insulation in the attic with unsealed holes can introduce moisture, pests, and more.
Conclusion
At last, we would say that insulation replacement is an important task. If you show patience, it is a very simple task. And this article will be very useful as we have given the best tips for attic insulation replacement. Thus, you can use this information and complete the task easily.
In case you missed it!

