WORK FROM HOME is the new normal way of working! Companies from Twitter to Amazon are rethinking working arrangements. Do you know what they found? The research shows that employee productivity is higher during the whole lockdown period! Whether it is 100 percent true or not, one thing is sure we have to continue working from home in the upcoming months.
So are you also looking for some home office ideas? If yes, you’ve landed on the right page. Today we’re going to tell you how you can convert an ordinary-looking shed into a gorgeous working place. Now they’re becoming a trend, and you can see that many people are using them. Some called them “office sheds,” which are fully furnished and functional. Let’s know how you can convert a shed in your dream home office or studio in simple nine steps.
How Can You Turn Your Shed Into a Home Office?
Complete your office tasks and assignments in your new home office without getting distracted, and it is also fully furnished and functional. Just follow the below simple nine steps:
1. Purchase the Right Shed
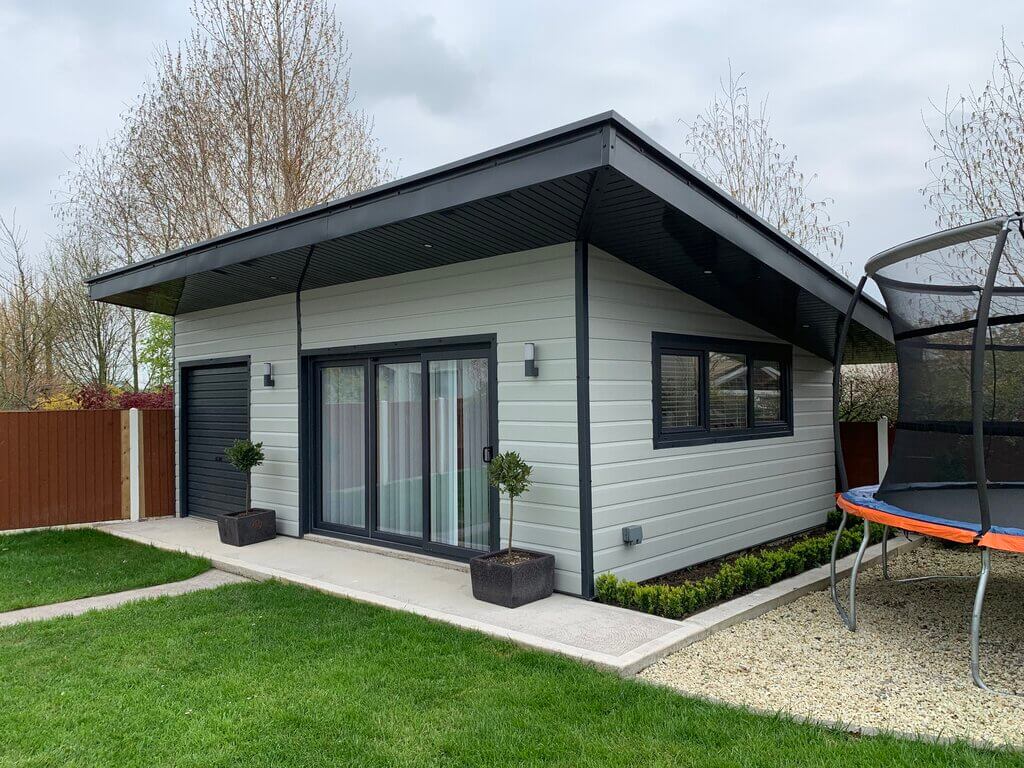
When you have a good quality shed, your task will already become much easier. If you don’t own a shed, find the right one at True Blue Sheds. Any shed with some windows and decent flooring makes an office a more comfortable space where you can spend hours working on your latest project.
2. Install Electricity
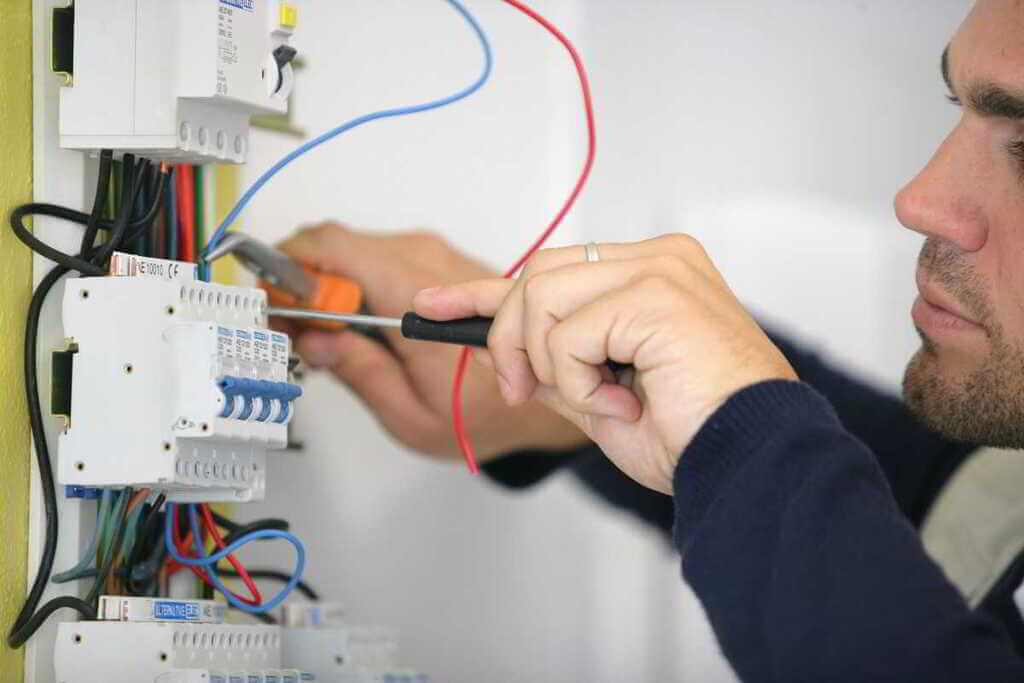
No office is complete without electricity, right? We require electricity to operate our electronic items such as computers, Wifi, printer, lights, and more. However, if you’ll not use electronics in your office, you can skip this step.
To do this part, we recommend you hire a professional home repair electrician. They have experience with this sort of project, and they will properly do all the tasks such as the installation of cables and wires for internet access, lighting, and phone lines.
3. Insulate Your Shed
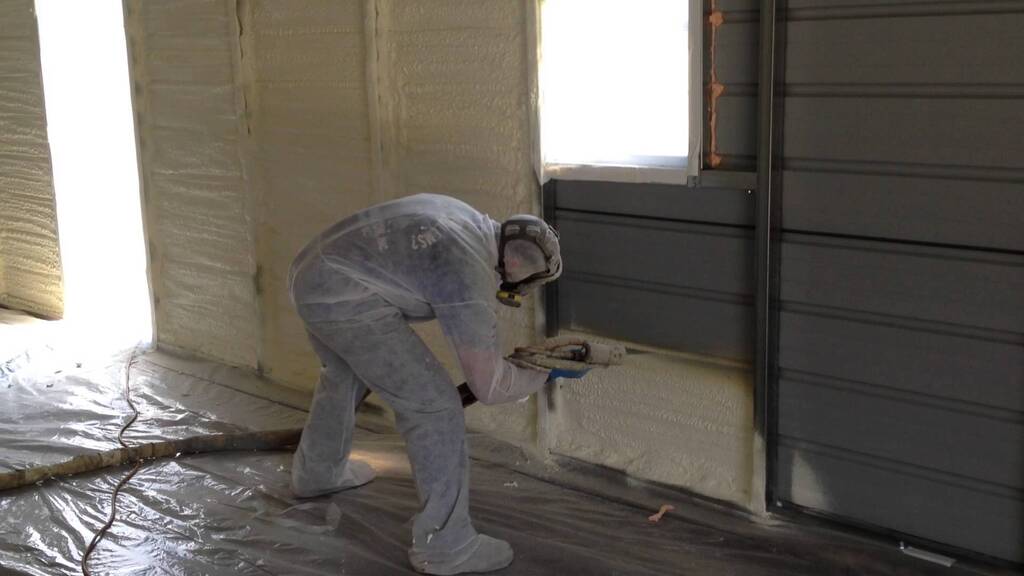
To keep your workspace warmer in the winter and cooler in the summer, you need to do proper insulation in the shed. Why is this important? Because it will not only regulate temperatures in your shed during every season but also protects it from moisture and extreme weather conditions. Try to cover all surfaces, including the ceiling, floor, and walls of the shed, for the best insulation.
4. Put Up Drywall or Wallboard

Once the insulation has been installed, the next step in the transformation process is to cover the walls. You can select any type of wall hanging but at least cover the ceiling in drywall or wallboard. Always go with the one that is most suitable for the length of the shed.
After you’re done with the wall covering that has been put up, now you have to smooth over the edges by filling them with compound and sanding rough patches.
5. Install Trim Work
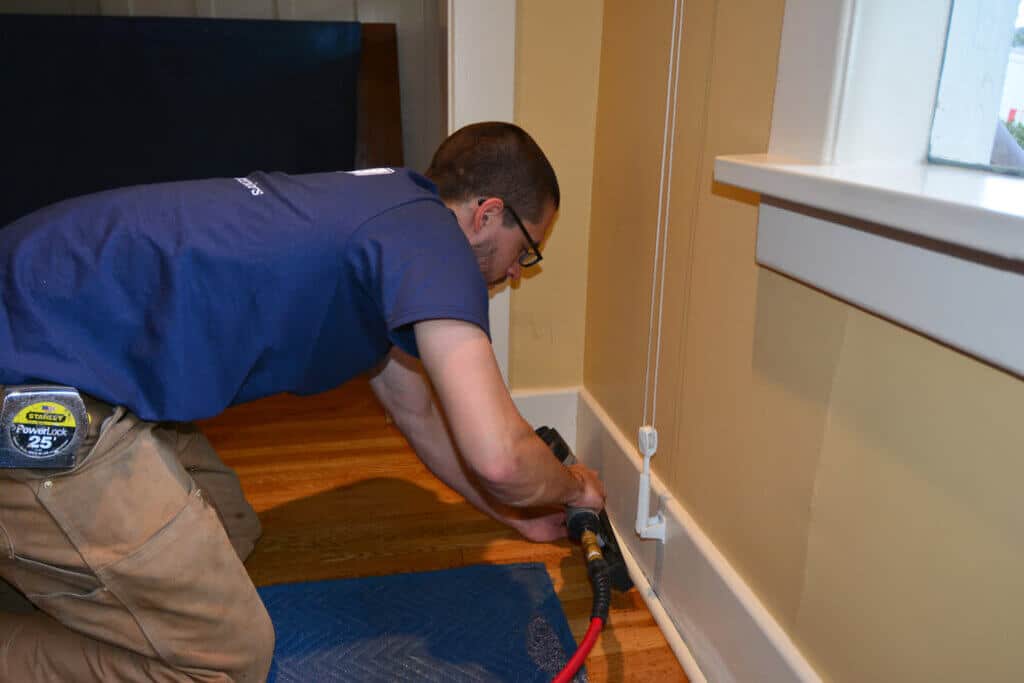
Now, it’s time to install the trim work in your shed. This whole process includes baseboards, crown molding, and window casing. These simple elements will help you get a classic, refined, and polished look of your shed and make you feel like a real office.
6. Install Proper Ventilation
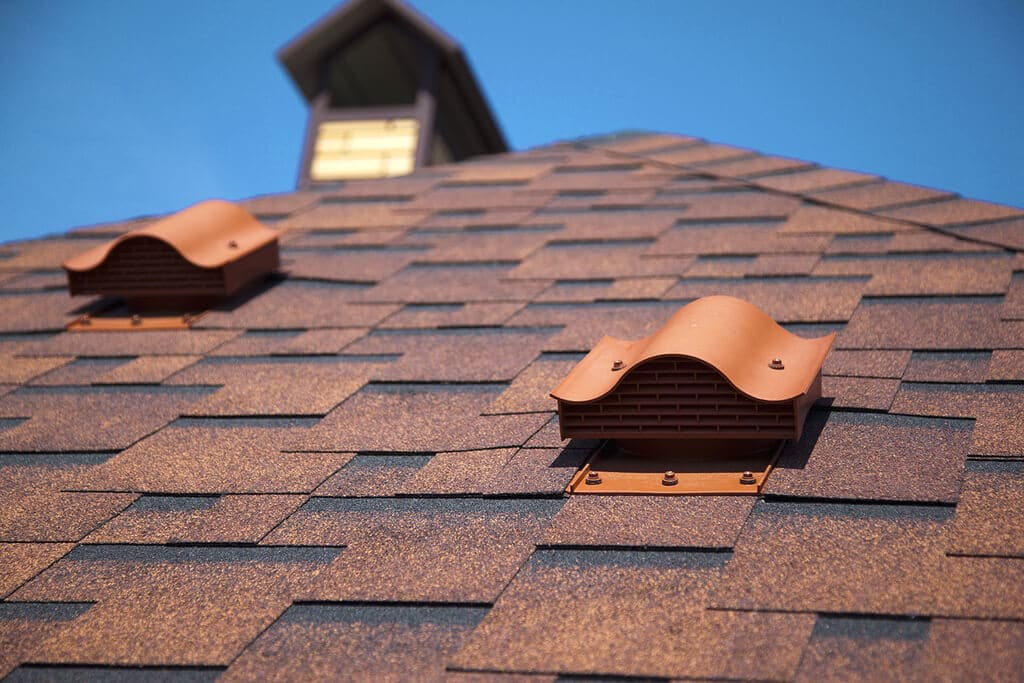
Apart from the insulation, there is one thing that is also important: Ventilation. Your insulation won’t reduce the lifespan of your roof shingles. It also protects your shed from the mold and moisture absorbed by the insulation.
Depending on your budget and preferences, you can either install continuous roof vents or standard plastic dome vents.
7. Apply Paint and Flooring
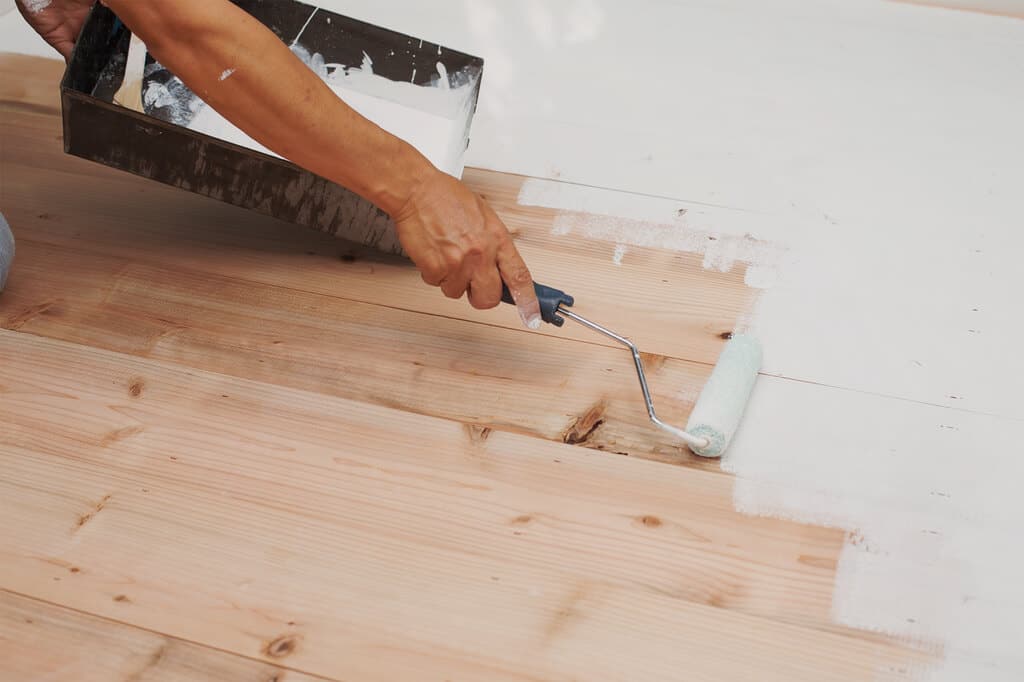
One of the final steps is to paint the walls. This totally depends on you, whether you want it or not, but a fresh coat of paint and hardwood floors will complete the whole look of your shed.
Choose a subtle and calm color that’ll increase your productivity. First, add a base coat and then start painting the walls, ceiling, and trim work. Now, Complete your renovation by laying carpet, tile, hardwood, laminate, or any type of flooring in your new shed.
8. Proper Lighting
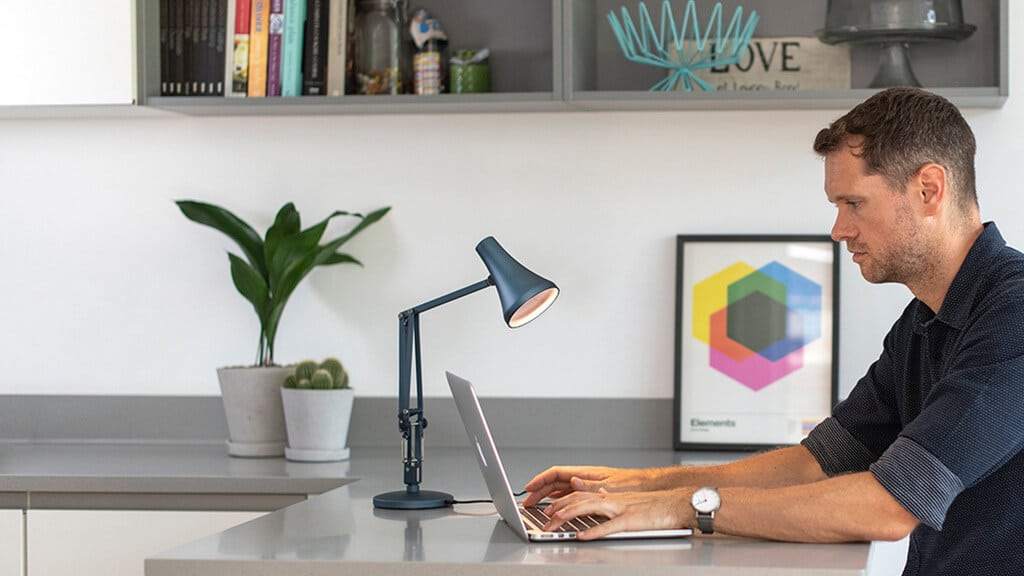
Without proper lighting, your office will not be ready to use. Add appropriate light fixtures according to your work. You can use adjustable spotlights, track lighting, or desk and floor lamps. Another option for you is LED lighting, which is versatile and inexpensive.
9. Furnish and Decorate
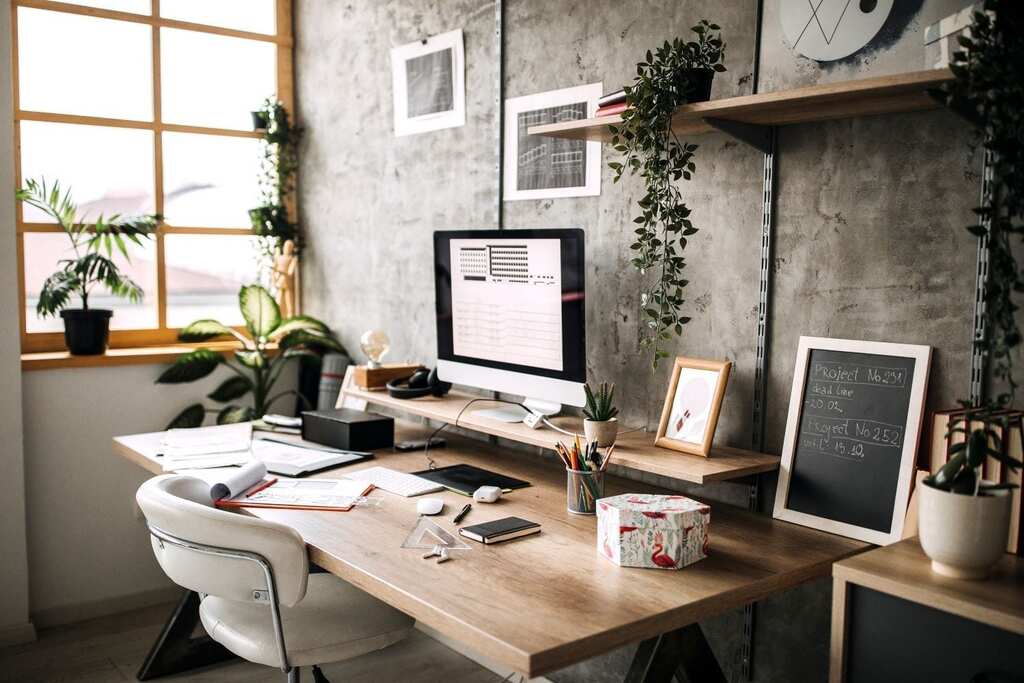
Now that all the handiwork is complete for your home office, you can finally start furnishing your office! Include a desk, chairs, a computer, an office phone, filing racks, etc. Don’t forget to add some greenery along with your desk, comfortable seating, filing cabinets, and whatever else you need to stay organized and focused in your home office.
Finally, add some personal touches like hang-up photographs, inspirational thoughts, and cute decor to make the place more cozy and comfortable to work in.
Final Verdict!
After reading this blog, now you know how to convert a shed into a home office. A home office shed is a valuable investment for any remote worker and also a good alternative to renting an office space, which is way more expensive. It will also be a perfect place to complete your work without truly leaving the comfort of your home. Find various types of incredible farm sheds at a reasonable price at Garage Wholesalers.
The hard work that you put into transforming a shed into your home office will really be worth it, and Who knows, you may never want to leave your home office!
To get more information:

