Developing a floor plan is one of the natural first steps to furnishing any space, to ensure that you know exactly what you’ll need to make your space feel beautiful and functional. But as the starting point, it’s not surprising that nailing the perfect living room layout – from the sofa to the storage – can be daunting, particularly if you don’t know where to start.
Whether you’re starting from scratch in your design process, or simply looking to give your existing living room layout a fresh facelift, we’re here to help with a step-by-step guide. These interior designer-approved tips will give you the guidance you need to create a furniture arrangement you love while making the most of the living area.
Step 1: Create a floor plan
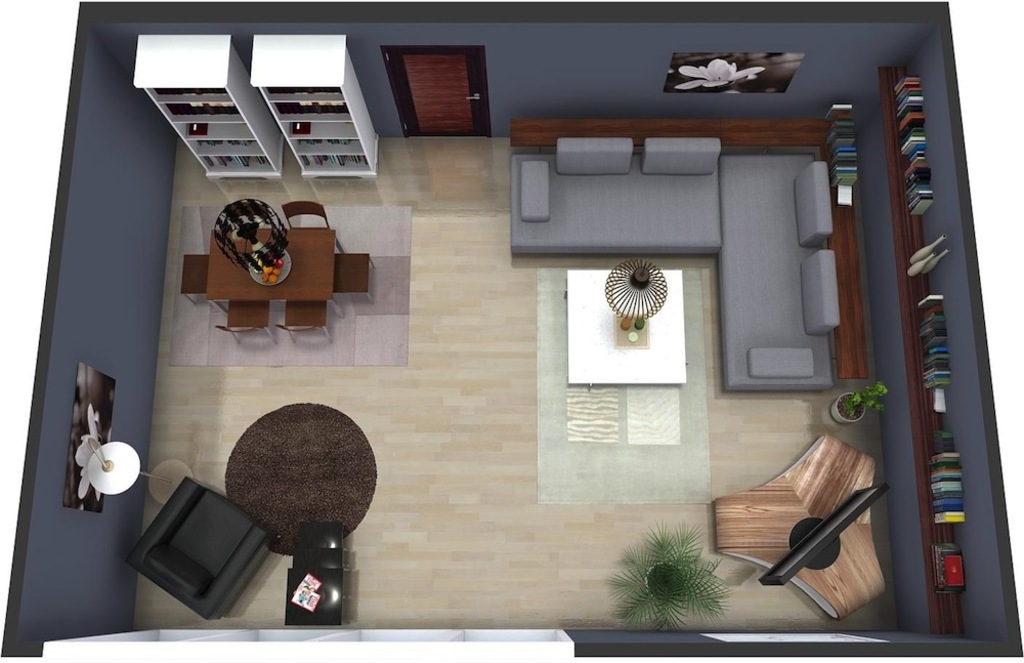
And no, you don’t need a fancy computer program or a background in architecture to draw up a helpful layout! All you need is a blank piece of paper and a tape measure. First, start by measuring all walls of the room, including any little nooks. The most important part of this exercise is that you develop a drawing that shows everything in the proper scale. One trick: convert all your measurements in “feet” to “inches” or “centimeters” when you plot them on your paper.
For example, if your room is 18.5 feet in length and 12 feet in width, you can draw an outline of your room to-scale using 18.5 inches/centimeters by 12 inches/centimeters. Also, don’t forget to add any immoveable elements such as doors, windows, or built-in bookcases, as those will be important considerations when laying out your living room design.
Step 2: Establish a Focal Point
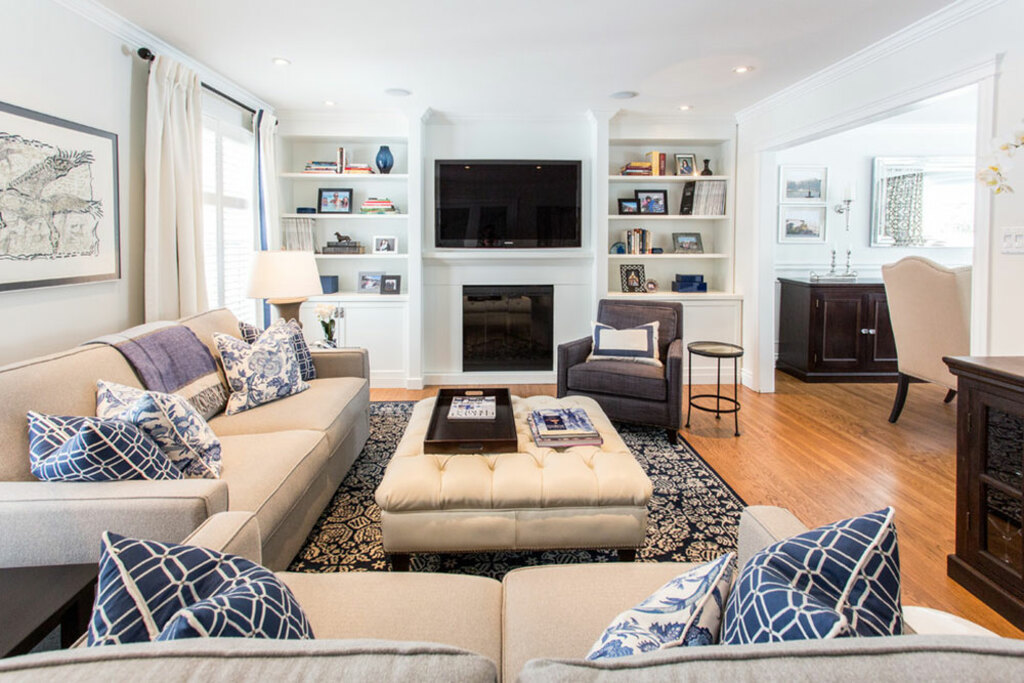
The focal point will be the center of gravity for your entire living-room layout. Every living room is different, so it’s important to consider the functionality of your individual space to determine where the center of the room should lie. If your space is primarily used for watching television, then establishing the seating arrangement around the TV is an easy choice (same goes for sitting around a fireplace!).
If you’re a frequent host and it’s important that you build a natural conversational area for guests (or, if you have no television or fireplace to use as a natural anchor), designing a seating area that facilitates easy interaction in a central location is your best bet.
Step 3: Start With the Sofa
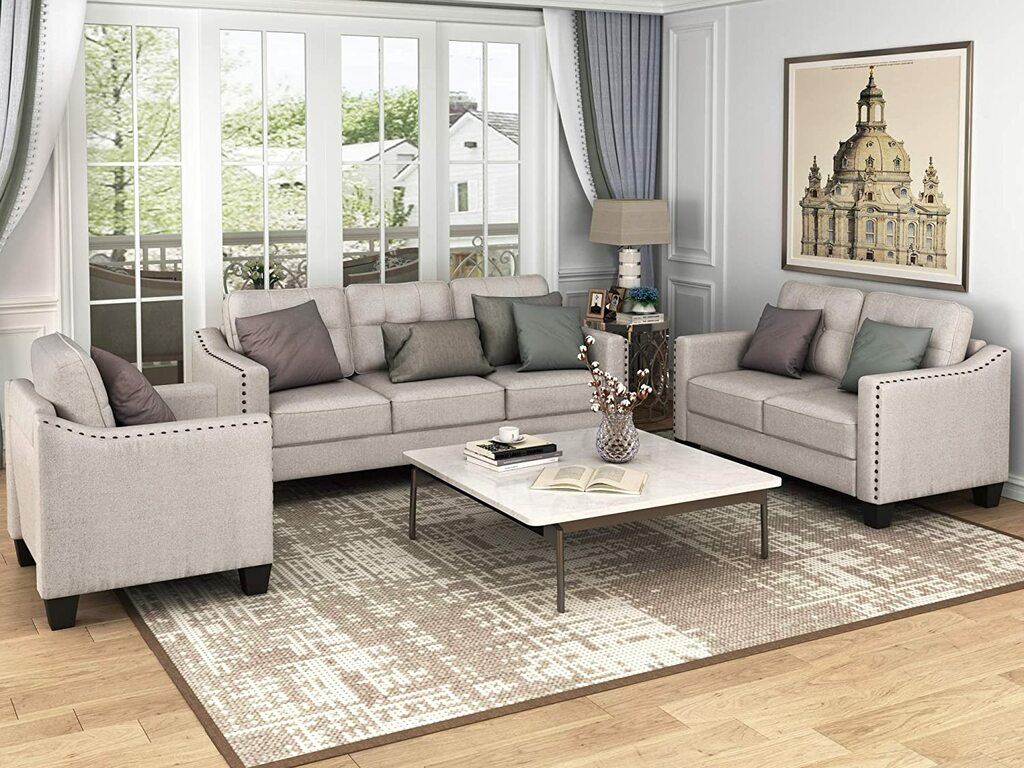
As far as living room furniture goes, the sofa is undoubtedly the centerpiece. To avoid being overwhelmed by the many different sizes and styles to choose from, start by revisiting your focal point, and determining what sort of sofa will fit best into space and serve your needs. For instance, if you love a cozy movie night, consider a sectional sofa. But if you’re working with a small living room, consider a two- or three-seater.
As a general rule of thumb, the sofa should be facing the focal point wall. If the wall is not your focal point, float a sofa (or dual sofas that face one another) in the center of the room. When choosing the specific style of sofa, it’s best to consider both your usage and design aesthetic. This helpful sofa fabric guide will help you land on the perfect custom sofa.
Step 4: Layer in the Accents
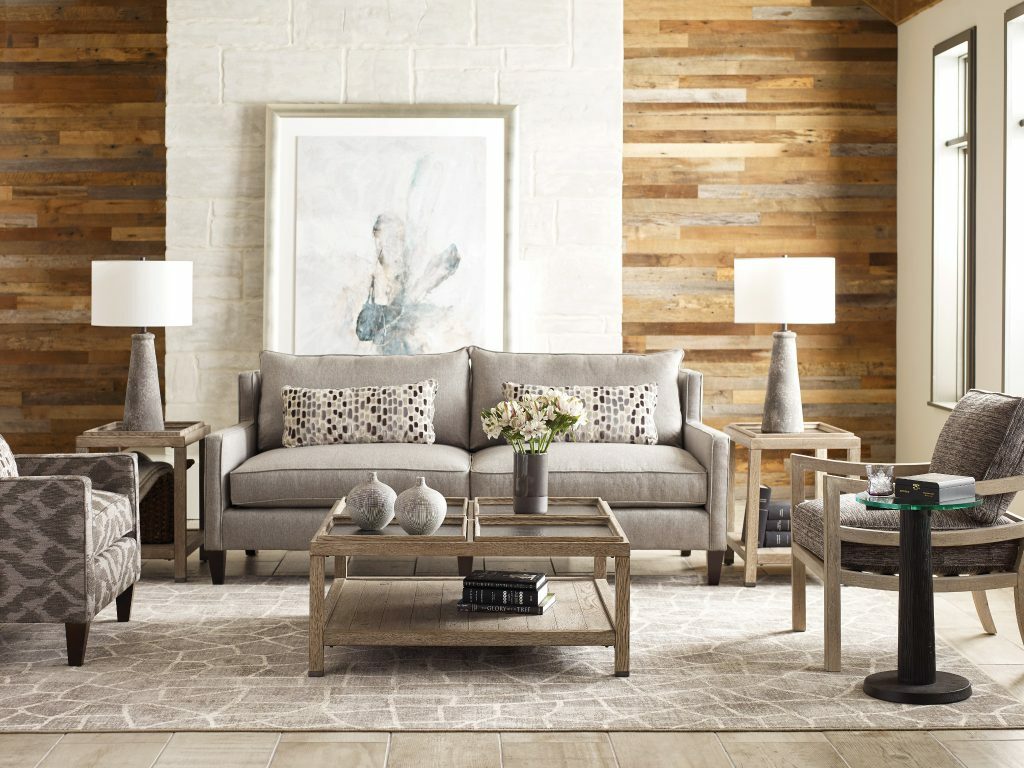
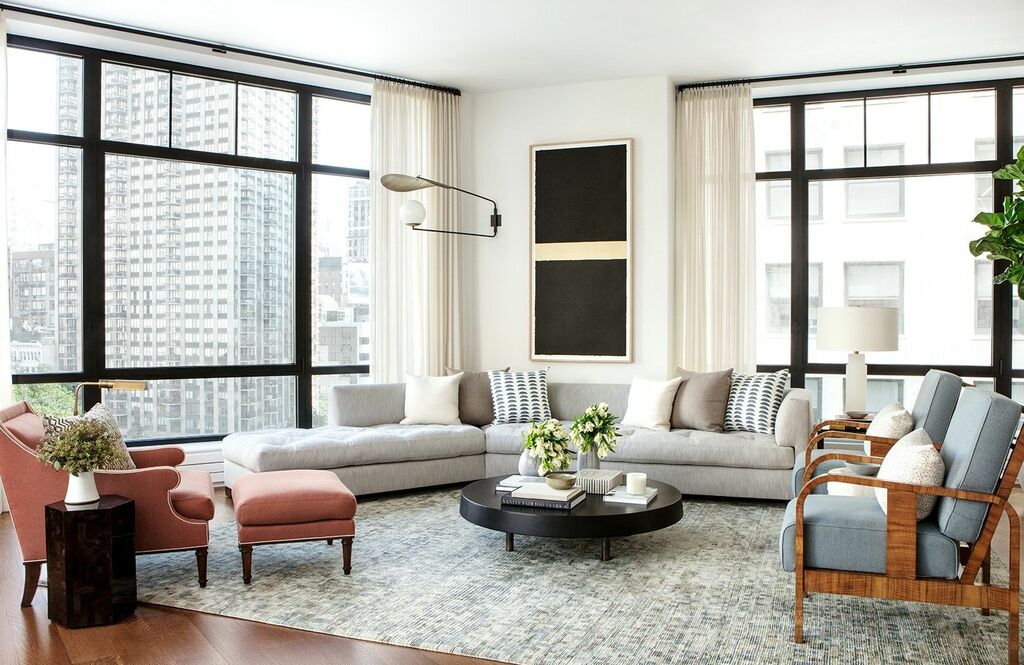
The accents will make your space feel whole. If you’re working around a television or fireplace, start by placing accent chairs on either side of the sofa in a semi-circle arrangement, not more than eight feet from each other. The coffee table should go in the middle, roughly 1.5 feet from the sofa (tip: consider a plush, upholstered cocktail ottoman if you love to put your feet up).
If you’re not facing a wall, then place the accent chairs either directly across from the sofa, or flank the sofa on either side. Then, consider your smaller pieces. Ottomans and x-benches are wonderfully multi-purpose solutions for sneaky storage and extra seating in a pinch. Side tables should be placed on the side of the sofa. An area rug should be centered within the main seating arrangement to make the space feel grounded and layered.
Step 5: Play With Different Arrangements
While you have your craft supplies handy, follow the same process as you did in step one to create little paper cutouts that represent any existing living room furniture in your space. We love the cutout method because it allows you to move the furniture around and play with different layouts, rather than having to erase and start over.
Once you’ve created these, you can do the same for any new furniture you’re considering, to see how the pieces will work together and ensure you’re not over- or under-estimating the size of the furniture. Still, stuck on where to go next? Get inspired by sample floorplans to see what brings you the most joy.
Most Importantly: Create a Space That Makes You Joyful
Remember that this entire process is intended to help you create a space that makes you happy – a space you want to be. While these steps should help get you started on a path to the perfect living room layout, there are certainly no right or wrong answers, so long as your space suits your lifestyle and feels beautiful.
Find out more:-

