Although stucco is famous for its toughness, this doesn’t make the material immune to surface wear and tear. Not many can boast of having an impeccable exterior without putting in extra work to maintain the exterior stucco. Because of this, many homes have cracking problems.
Fixing cracks as soon as possible can help your stucco outside last as long as it should by preventing moisture from getting in and harming it. There are different types of wall cracks and different ways to address them, but knowing the size and pattern of the cracks can be used as a compass to determine how to seal any openings.
Essential Tools For Stucco Repairs
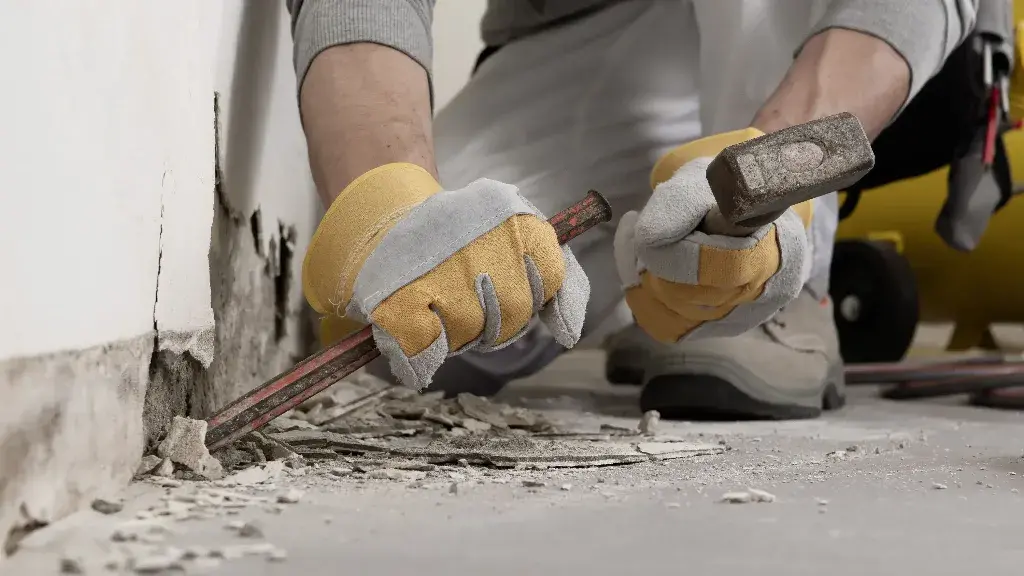
Regardless of the size of the holes and cracks, the materials needed to fix them are ideally the same. These are crack sealants like caulk, a caulking gun, house wrap, felt paper, water, rag, stiff brush, screwdriver, wire brush, chisel, knife, gloves, scratch awl, and hammer.
You might be able to complete the repair work if the stucco damage you’re dealing with is limited to a square-foot crack or hole. However, you’ll likely need the assistance of professionals for other repairs like poor stucco installations or reviving stucco affected by moisture.
Small Stucco Crack Repairs
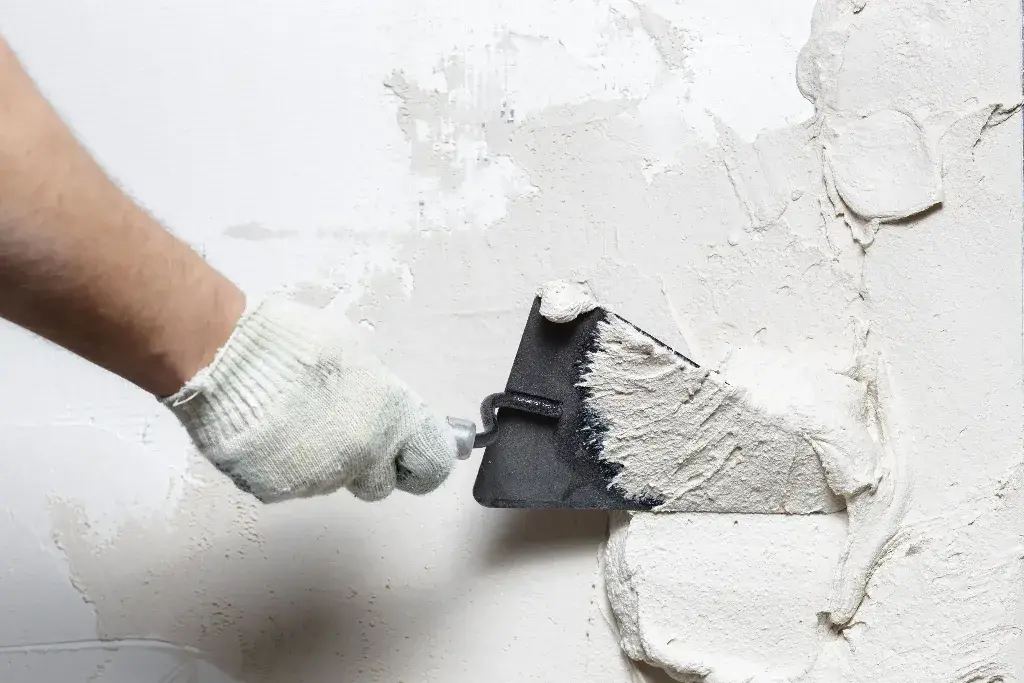
According to Albuquerque stucco repair, don’t be alarmed if tiny hairline cracks in your stucco siding occur because they’re simple for homeowners to fix. Caulking and paint can effectively repair hairline cracks, which are between 1/16 and 1/8 of an inch wide. Getting hairline crack repairs done with professional stucco repairers is equally a smart choice.
For starters, you should begin the repairs by cleaning the crack zone. Use a stiff paint brush and gently scrub any dirt from the crack’s surrounding area. Fill and seal a crack no larger than 1/8 with acrylic exterior caulk. For cracks up to 1/4 inch wide, it’s advised to use sanded acrylic exterior caulk. Paint the stucco as necessary after allowing the caulk to dry.
Big Stucco Cracks And Small Hole Repairs
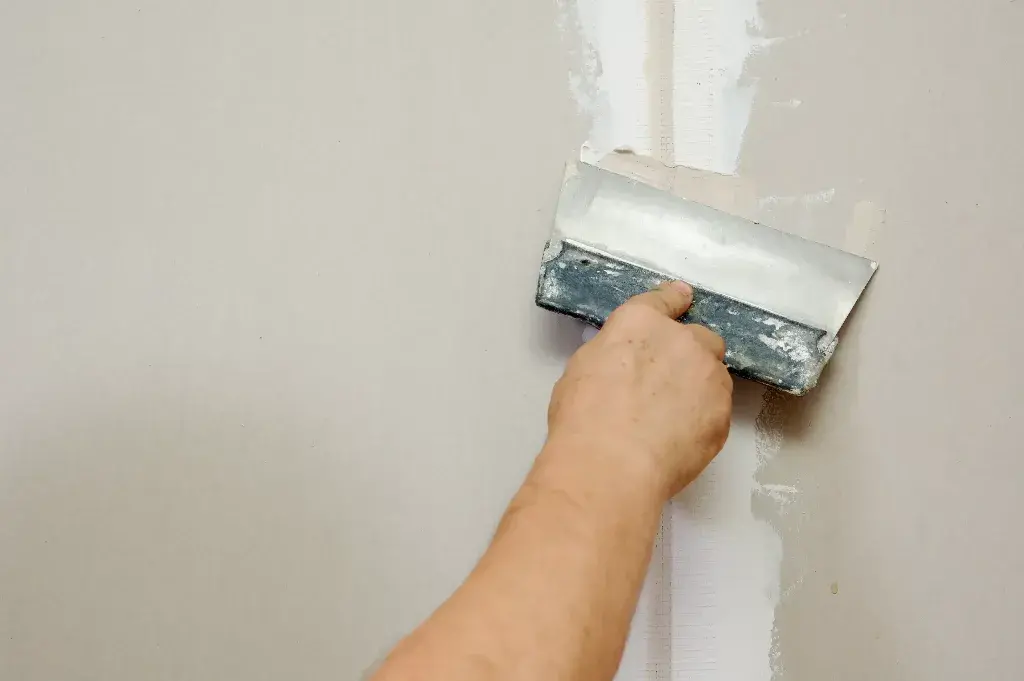
For more pronounced stucco crack repairs, one may need additional preparation work and use a different repair product to fix holes and larger cracks 1/4 and above. Bear in mind that having many large cracks could indicate a problem that maintenance work can’t repair.
To start the repair process, use a knife or scratch awl to remove loose debris from the crack or hole. Then, fill the damaged area with a pre-mixed stucco-mending mixture using the same knife. To match the texture of the existing stucco, add texture to the patch. Once the repair substance has dried, use a wire brush to smooth it out.
Stucco Vine Removal
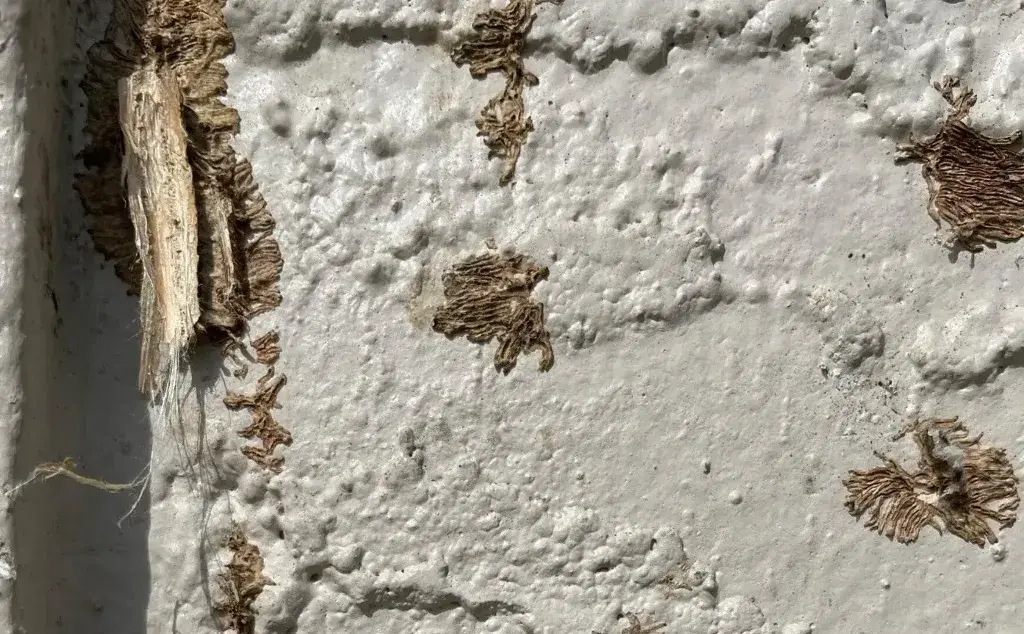
Before cleaning the vines, make sure they’re dead and sun-dried off. To do this, you must dry up the roots and prevent them from growing further by spraying them with soapy water or calcium hypochlorite, often known as pool shock. Then scrub the area with a stiff-bristle nylon brush and soapy water to eliminate the plant fragments without harming the stucco.
Damaged Stucco Repairs
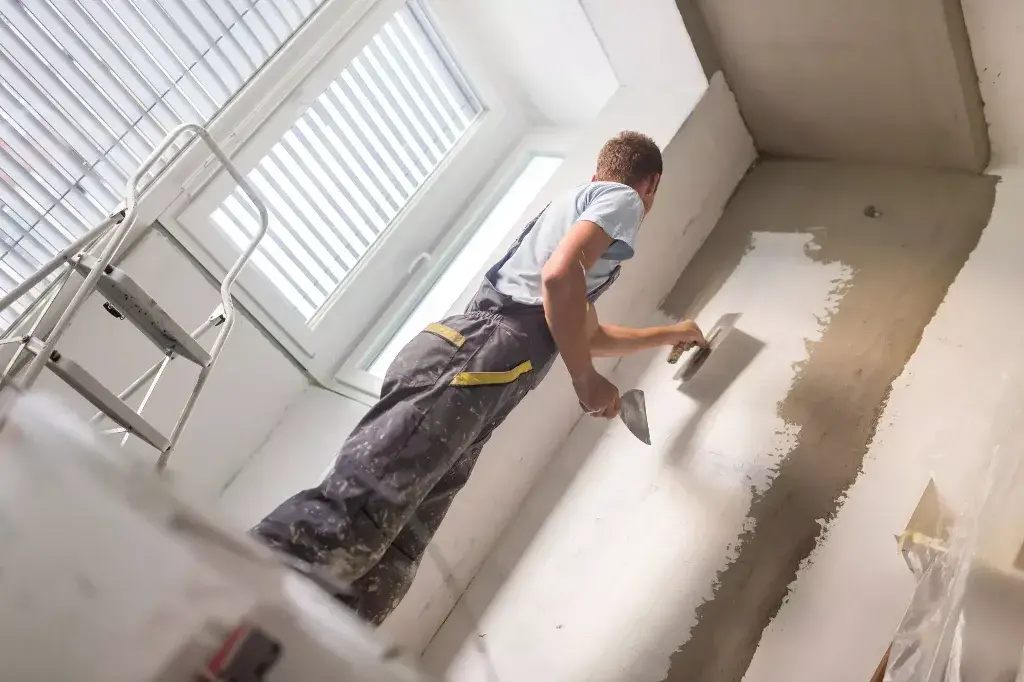
As mentioned above, the more holes and cracks, the higher the chances of them being a problem ordinary routine maintenance can’t fix. Fortunately, some hacks can serve as temporary fixes.
- To begin the process, start by removing loose stucco. Use a hammer or chisel to take off any broken stucco in the area that requires repair.
- Next, remove the lath using tin snips, and carefully remove the felt paper or house wrap close to the damaged stucco.
- Cut a piece of felt paper or house wrap to match the dimensions of the damaged area precisely. Attach it to the sheathing using a staple gun, and apply acrylic exterior caulk to seal it.
- The next step is applying the Scratch coat, the first layer of stucco repair. You can directly apply a pre-mixed stucco repair mix with a trowel or a traditional mix that requires mixing in a plastic tray. Whichever you choose, make sure to select a mixture that dries fast.
- After the first quote has dried, prepare the same surface for the second coat by etching the stucco material’s surface to aid in the adhesion of the subsequent coat.
- Now apply the Brown coat, the second layer of the stucco.
- Depending on the weather, let the brown-scratch layer cure for 5-7 days. Too little time and moisture will result in problems with the finished stucco layer.
- The final layer of stucco is known as the color coat, which you should apply to the repaired area. It is recommended to use a colored stucco mix that matches the current color of the surface. However, if the surface already has two layers of painted stucco, you can also use the same stucco mixture for the color coat.
Conclusion
Improperly prepared or inadequately applied stucco tends to crack or, worse, come loose in certain places. However, these recommendations ought to solve and prevent such issues.
Learn more:–

