Is there a black mold or mildew growing along the edges of tiles in your bathroom? This is a common problem that many homeowners are facing these days. These bacteria or molds grew fast in bathrooms as the constant moisture makes it the ideal place for fungi to nest. If this is also happening in your bath area, then it’s time to replace your old caulking. Read carefully every step listed below and learn all about how to remove old silicone caulking in your bathroom.
Don’t wait for the professional to come and replace the old silicone caulking; just do it all by yourself. Yes, it may be a little time consuming, but it is pretty easy. Keep on reading this blog, as today we’re going to tell you how to remove silicone caulk in five easy steps. To do this, you’ll also don’t need any special caulk removal tools or supplies.
What is Silicone Caulk?
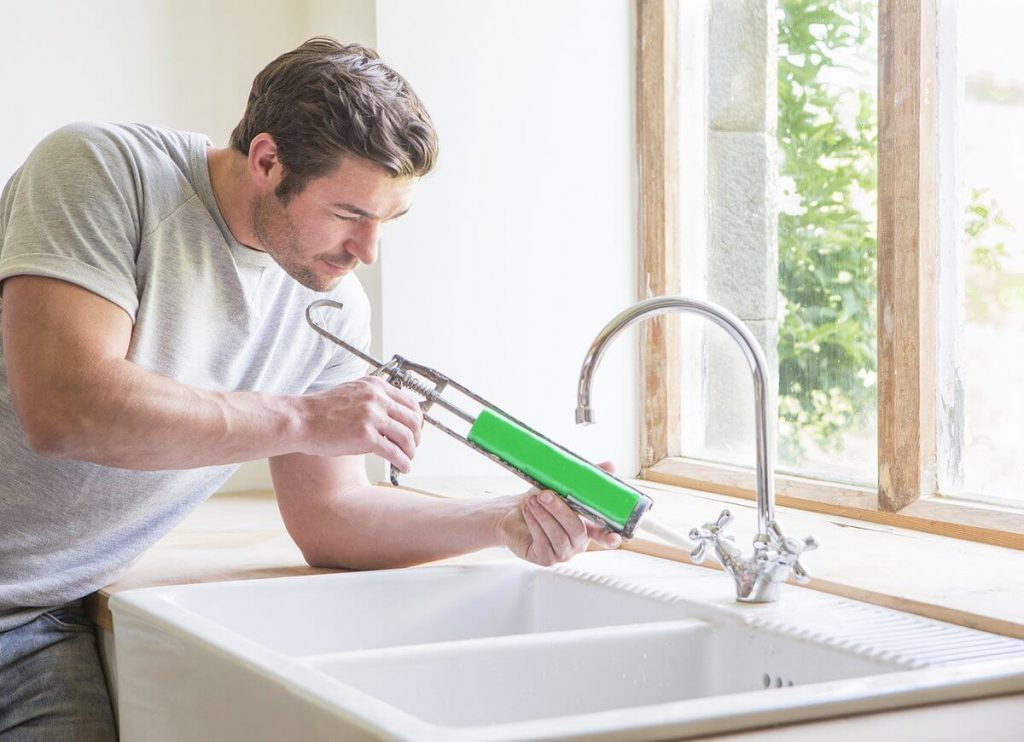
Silicone caulk is a kind of adhesive sealant that is used for many professional and household applications. As they’re highly resistant to temperature, water, chemicals, and weather, they’re commonly used in the repairing of toilets, sinks, bathtubs, and faucets.
What You Need
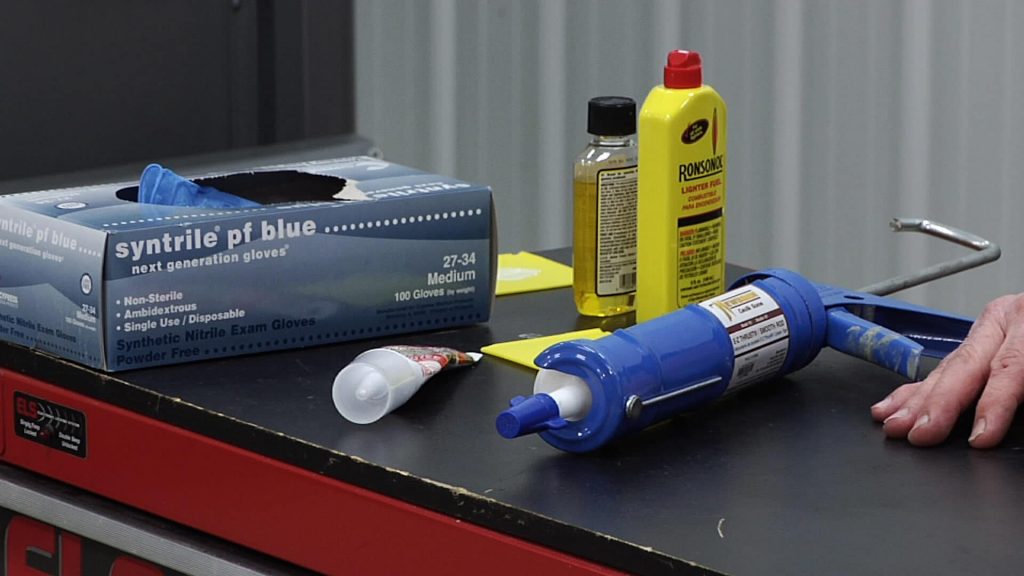
Below are some basic things that you’ll be required in the whole caulk removal process:
- Knife
- Water
- Gloves
- Scrubber
- Cloth
- Caulk remover chemical
Now let’s start with the procedure.
How to Remove Silicone Caulk?
Below is the whole procedure in detailed steps with pictures so that you can understand clearly and remove your dirty caulks in no time. Don’t forget to wear gloves before you start the removal process.
Step 1: Clean the Area
The first step is to clear out space by removing all the personal items and other accessories. Then wash the tiles with a bathroom cleaner or a mixture of hot water & detergent.
Step 2: Make an Incision

With a utility knife or a razor, make a small incision on one side of the caulk seam. Then hold the knife near the wall and slowly slide the knife along with the length of the seam. Be careful so that you’ll not to cut the wall.
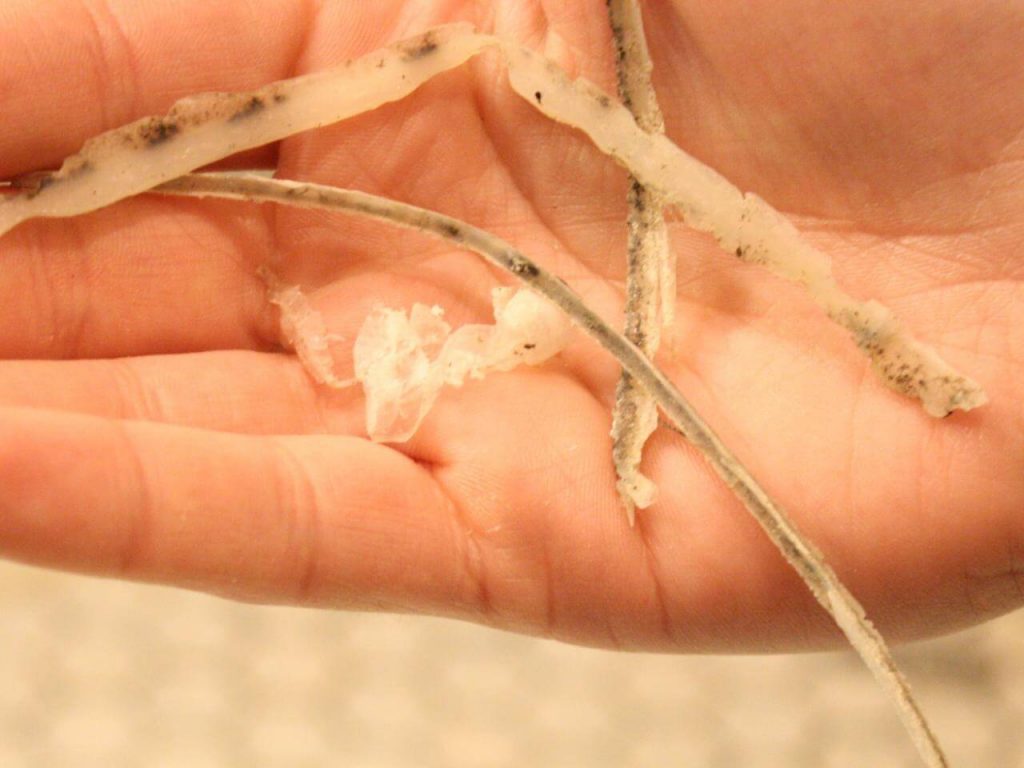
Step 3: Loosen the Silicone Sealant
After you slice the seam, hold it on one end to loosen up the silicone sealant. Then peel the caulk right up and away from the tiles. By doing this, you can also be able to remove the silicone that is filled in the joint along with the outer part.
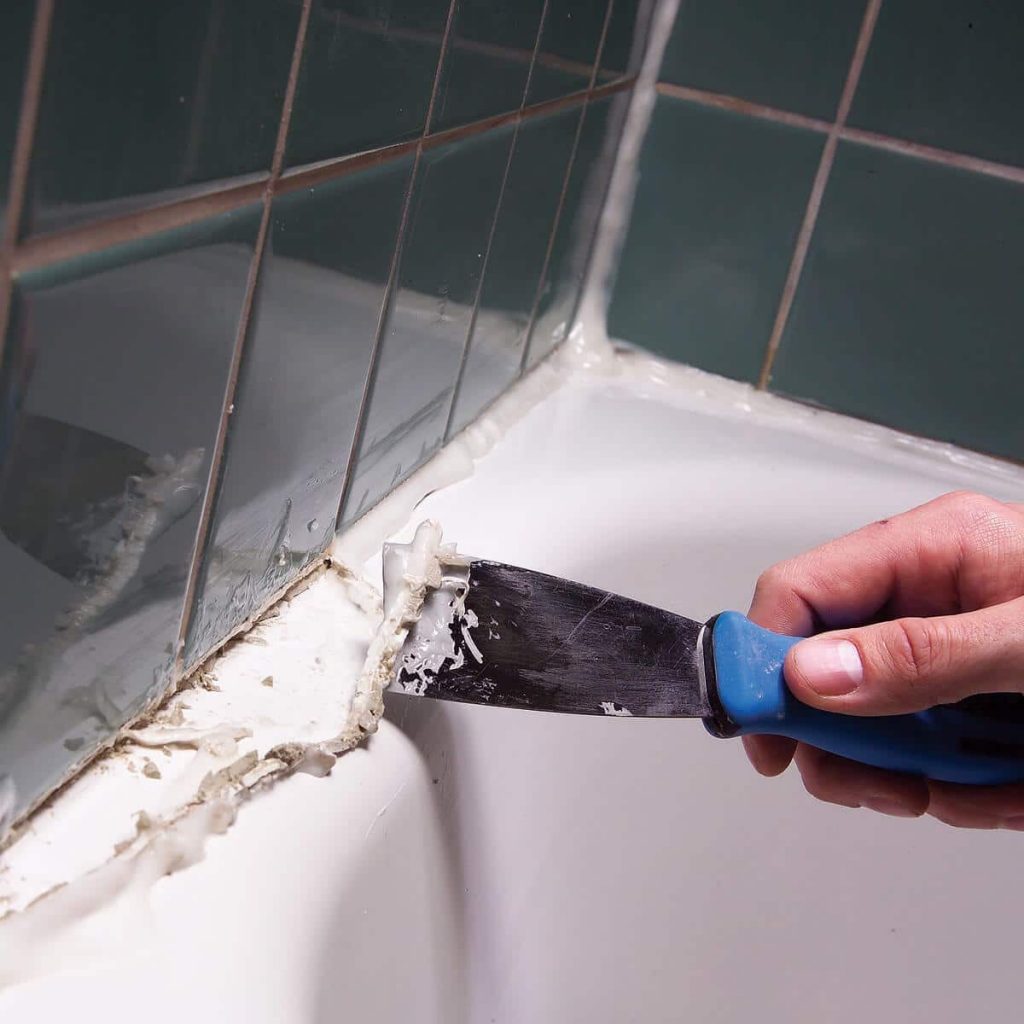
Step 4: Remove the Remaining Sealant
The second last step is to remove the leftover pieces of sealant from the joints. Use a utility knife or putty knife to remove all the remaining pieces of silicone. Carefully position the knife at the same angle of your tiles and slowly scrape off the remaining pieces. Take your time and do this slowly to avoid scratching or damaging the tiles.
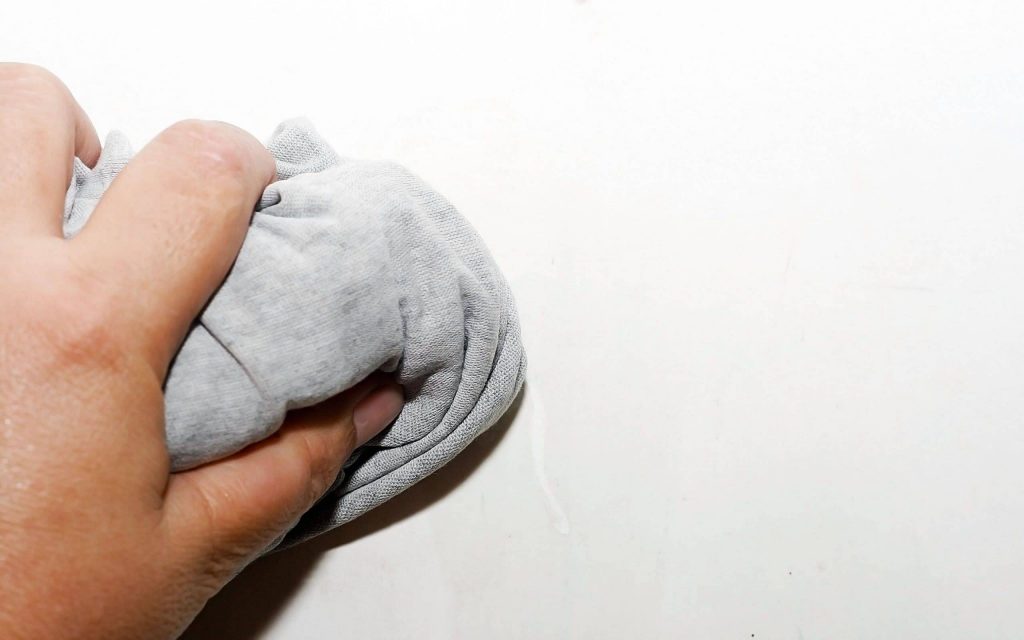
Step 5: Scrub the Tile to Remove Any Residue
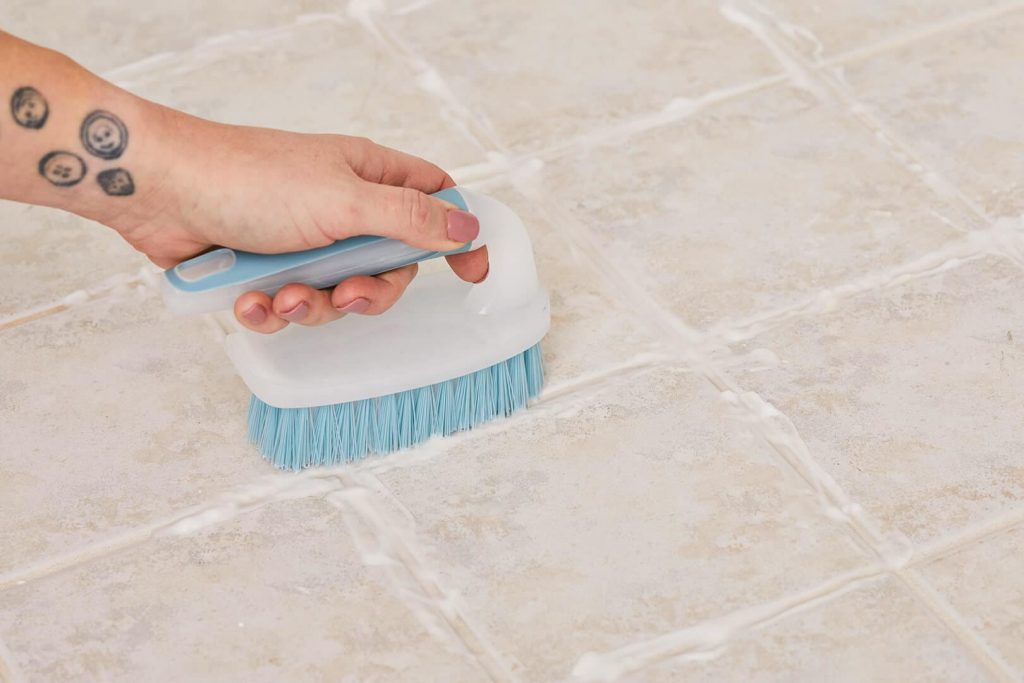
After you’re done with the removal of the last pieces of silicone, it’s time to scrub the area. Use a scouring pad and wet it with acetone and start cleaning your tiles. Instead of acetone, you can also use rubbing alcohol or mineral spirits.
You can also use a DIY solution to kill any mold or mildew. Just add a ⅓ cup of bleach in 1 gallon of water and clean the area thoroughly. Apply light force to clean the tough spots. Before you add any new sealant, always wait until the surface dries completely.
If you want to read more interesting blogs on bathrooms such as the Benefits of having an Ensuite Bathroom or Best Flooring for Bathroom, just click on the link.
Additional Tips
Here are some extra tips for you to make the whole process easy and convenient:
- If your silicone doesn’t come off, then use a hot air gun or a hairdryer to remove it.
- If your sealant is old, then definitely there will be some unattached bits that will be falling. So pull off these pieces by hand first then do the regular removal procedure.
- Use Chemical Silicone Caulk Remover to remove the sealant if it is not on granite or quartz countertop.
The Bottom Line
Whether you have used silicone caulking to protect your windows or bathroom tiles, it will start to crack with time. So when your sealants start to loosen or fall off, you’ll need to remove them and place the new sealants. I hope this guide helped you understand the whole process. Just take your time and continue to remove all the old silicone caulk carefully.
Read more: