Choose a tongue-and-groove ceiling if you want a warm and authentic look for your home. The natural wood elements used in this ceiling provide a perfect visual appeal. May it be your home or lumberyard, the tongue and groove ceiling can fit everywhere.
The panels used in this ceiling are highly flexible and modular. Using a tongue-and-groove ceiling is trendy these days because it can perfectly conceal the unsightly elements of your ceiling. The following paragraphs will help you understand everything about tongue-and-groove ceilings.
Let’s Learn The Basics: What is a Tongue and Groove Ceiling?
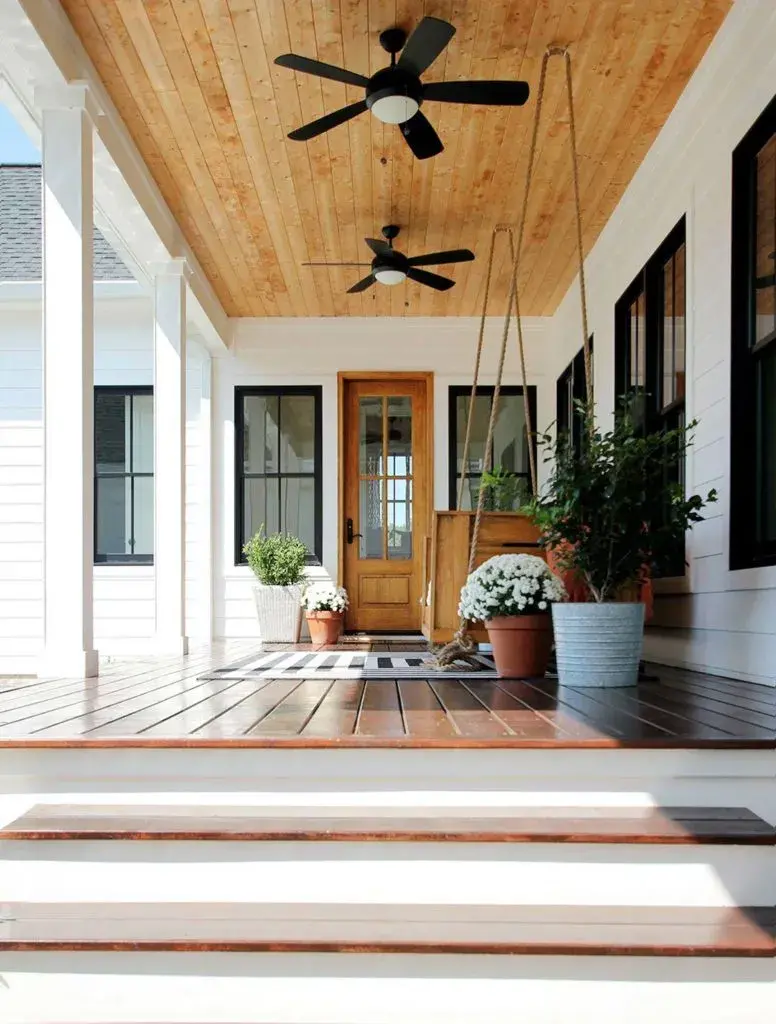
A tongue-and-groove ceiling plank is a milled wood board. This ceiling, on its longer side, has a tongue and groove on the other side. It is made by slipping one piece onto another, like a locking puzzle. The most popular dimensions are 4 – 16” in length and 4 – 6” in width.
You can easily prepare a DIY tongue-and-groove ceiling by nailing or gluing. They are made to fit side by side across the ceiling. Its installation and maintenance are easier than those of a drywall ceiling. The more perfectly it is installed, the more aesthetic the results will be.
What is a Drywall Ceiling and How They are Installed?
Drywall ceilings, popularly known as plasterboards, are most common in homes and offices. They deliver great visual appeal at a reasonable cost. Its material makes it fire-resistant as well. It even prevents sagging over time. They are a good choice for soundproof rooms.
Unlike the tongue-and-groove ceiling, the drywall ceiling can only be done under professional guidance. For a basic installation, the boards are to be screwed to the construction planks on the ceiling. Make sure you have the correct dimension for drywall boards to fit into your ceiling; otherwise, your work will be doubled!
How Can You Distinguish Between Tongue and Groove and Drywall Ceiling? – 5 Points To Help You Out!
| TONGUE AND GROOVE CEILING | DRYWALL CEILING | |
|---|---|---|
| 01 | The tongue-and-groove ceilings are easy to install. | The drywall ceilings are comparatively difficult to install. |
| 02 | Painting the tongue-and-groove ceiling is tricky. | Painting a drywall ceiling is easier. |
| 03 | You will get a better visual appeal from a tongue-and-groove ceiling than from a drywall ceiling, due to the warm and authentic look of the wood. | Tongue and groove have better visual appeal than a drywall ceiling. |
| 04 | Maintenance of tongue-and-groove ceilings is comparatively difficult. | Maintenance of a drywall ceiling is easy. |
| 05 | A tongue and groove ceiling cannot have a flat and smooth surface. | Drywall gives a flat and smooth finish to the ceiling. |
3 Types of Tongue and Groove Ceilings to Use

The three major types of tongue and groove ceilings used are –
- Pine tongue and groove ceiling.
- Cedar tongue and groove ceiling.
- Spruce tongue and groove ceiling.
Depending on the wood used, the paint cost would be different for tongue-and-groove ceilings. The pine tongue-and-groove ceiling remains the most costly of all. And if you use cedar tongue-and-groove ceilings, you will get one of the best finishes for your ceiling. The spruce tongue and groove ceiling will provide you with one of the most flexible designs.
Stay Safe: The Safety Considerations for Tongue and Groove Ceiling
It can be dangerous to nail up lengthy and clumsy tongue-and-groove wood boards while standing on a ladder. The boards might knock you off balance as they are challenging to control.
So, it is better to use scaffolding while installing the tongue-and-groove ceiling. The tongue-and-groove ceiling planks can be installed by a single person, but having two people makes the job safer. If you have a plank that is 8′ or longer in length, have one person hold the plank while the other nails the ceiling in place.
What You’ll Need To Make a Tongue and Groove Ceiling?

The following materials will be required to install a tongue and groove ceiling –
- Tongue and groove wood boards.
- 1×2 furring strips.
- Primer and paint.
The tools and equipment you would need to install a tongue and groove ceiling are –
- Electric nailer or hammer.
- Electric miter saw or hand-saw.
- Scaffolding or ladder.
- Painting toolbox.
- Rubber truncheon.
The Pros and Cons Of Tongue and Groove Ceiling: You Should Not Miss!

Pros of Tongue and Groove Ceiling
1. Lightweight
The tongue-and-groove ceiling wood boards are lightweight and thus easy to lift. So you can keep them lifted until they are installed.
2. Look
The tongue-and-groove ceiling gives a natural wood look to your room. They can conceal the painting and other texture imperfections in the ceiling.
3. Value Addition
This tongue-and-groove ceiling increases the value of your property if properly installed and finished.
Cons of Tongue and Groove Ceiling
1. Painting is Difficult
Overhead painting of tongue-and-groove ceilings is difficult and tedious.
2. High Maintenance
The tongue-and-groove ceiling requires high maintenance for the upkeep of its woods.
3. Longer Installation Time
To install a large number of boards in a tongue-and-groove ceiling, more time is required.
Money Matters: Cost of Tongue and Groove Ceiling
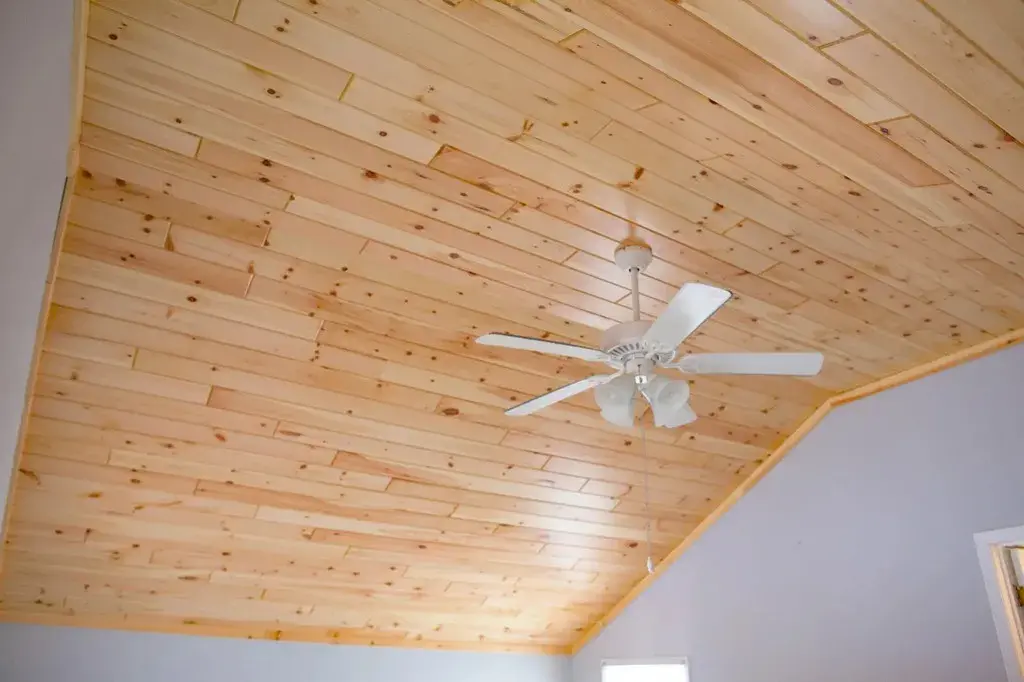
One of the most affordable ceiling choices is a tongue-and-groove ceiling. Various factors determine the cost of its installation. The type of material you choose will be the major determining factor in your cost. On average the tongue and groove ceiling cost $2 – $3.5 per sq. ft.
Ceiling Cost
The larger the ceiling, the more expensive the tongue and groove installation will be, as more wood boards will be required.
Material Cost
Depending on whether you choose pine, spruce, cedar, or redwood, the cost will vary. The knotty pines are comparatively cheaper at $2.6 per sq. ft., while clear pine is the most expensive.
Labor Cost
If you choose to install the tongue and groove ceiling yourself, then no or little cost will be involved. While if you decide to hire a professional, the price will obviously be higher.
Other Costs
The cost of paints, stains, or any other ceiling decor will also influence the final cost of the tongue-and-groove ceiling.
The 6 Steps: How to Install Tongue and Groove Ceiling?
1. Arrange the Materials First
To start with the installation of your tongue-and-groove ceiling, you are first required to arrange the materials. Get the wooden boards, scaffolding, measuring guide, battens, nails, hammer or nail gun, 15-gauge brad nailer, and drill.
Make sure that the planks are clean, and if required, re-cut their ends. If you get pre-finished boards, they will have grooves at the ends. And if you don’t have pre-finished boards, then get a 45-degree bevel, appearing as a V groove, on each end of the plank.
2. Install Battens in The Ceiling
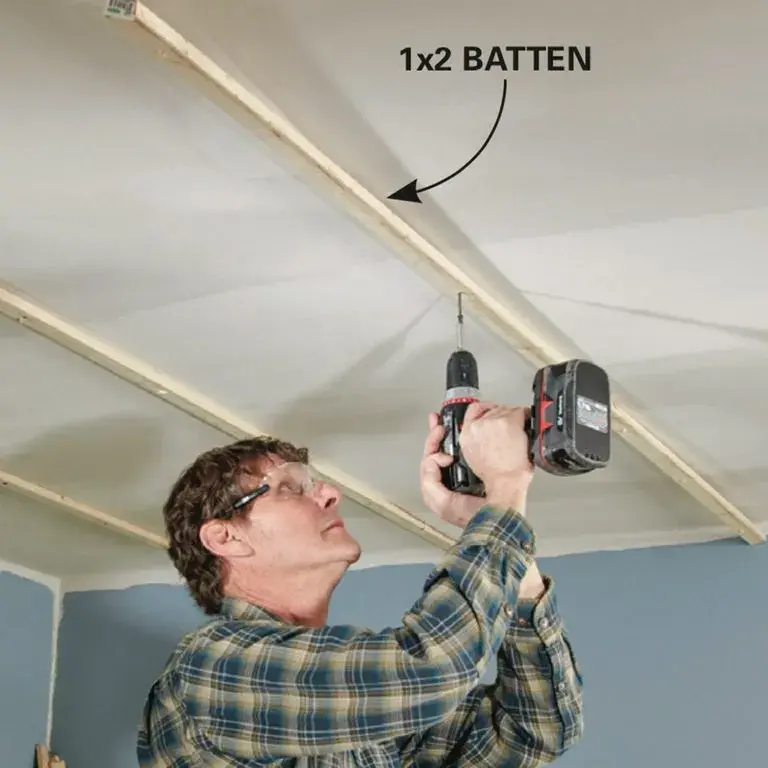
The next step is to install the battens in the ceiling. It is recommended to install 1×2” battens and join them to the framing using 2-½” screws. These battens will act as the framework for your tongue-and-groove ceiling.
3. Staining of The Tongue and Groove Ceiling
If you don’t want to strain your neck by painting upside down, then choose stained tongue-and-groove ceiling boards. You can explore the market for the available option of a stained board.
4. Cut The Boards for The Tongue and Groove Ceiling

Use the technique of V-grooving while preparing the next board to give it a professional appeal. This V-grooving is done at a 45-degree bevel, called a chamfer, that will conceal any imperfections in the butt joints.
5. Nail the Boards Into The Ceiling and Beat The Joints
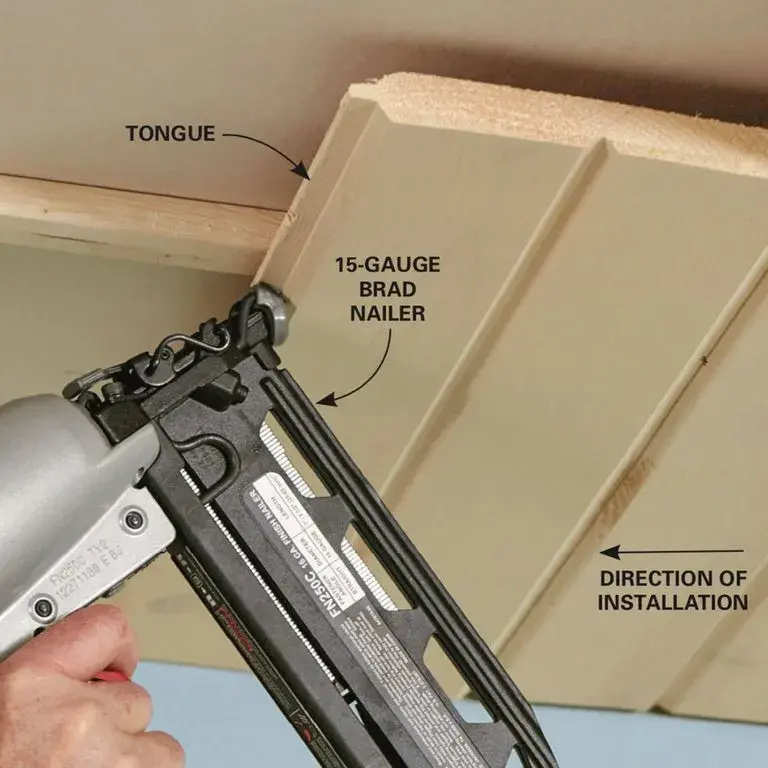
The next step is to nail the tongue into the battens that are running in the direction of installation. While nailing the planks, make sure they are facing the wall and the tongue is facing out. For nails, 2” brads are a good choice.
6. Finish It Off
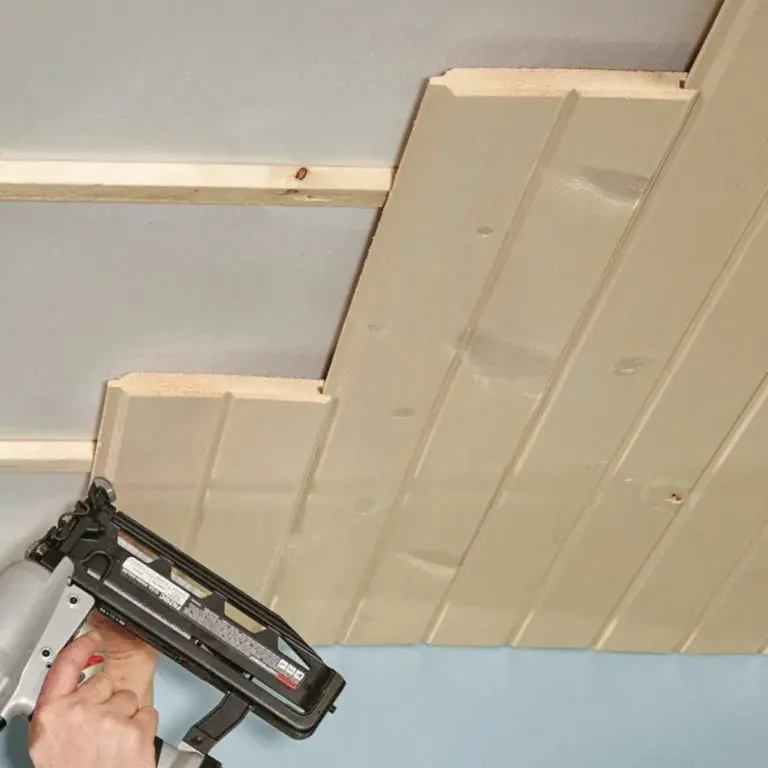
To wrap up the installation of your tongue and groove ceiling, you can add electrical work, paintings, and other decorations to your ceiling. If you want to paint your tongue-and-groove ceiling, then fill the nail holes present there. A visible crack between the ceiling board and the molding should also be caulked.
In case you don’t want to paint the tongue and groove ceiling to make it look natural, then use polyurethane or linseed oil. While linseed oil is environmentally friendly and easier to apply, polyurethane is more resistant and durable. Considering that ceilings don’t get wear and tear, using linseed oil is preferable.
When Should You Consider Calling A Professional To Install Tongue and Groove Ceiling?
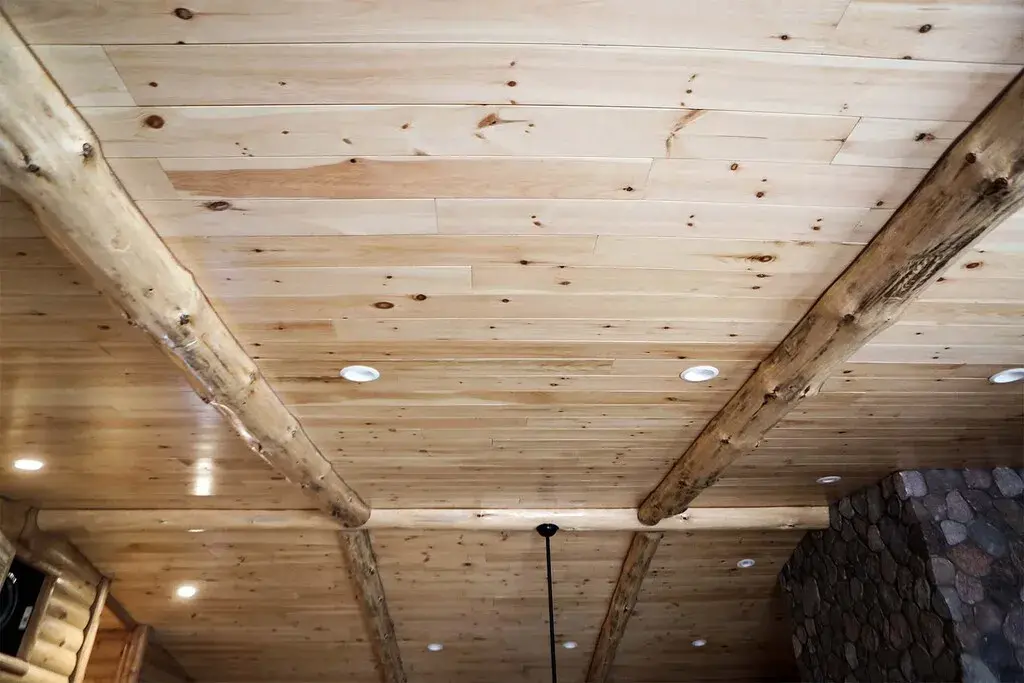
If you have difficulty installing the tongue-and-groove ceiling yourself, you can always consult a professional. A carpenter or any general contractor can help you out with working overhead for a longer period of time. You can even get a finish with higher accuracy if you consult a professional. They can handle tricky portions like bowed ceilings, joints, etc. better than you and give a better final result.
Let’s Install a Tongue and Groove Ceiling!
To conclude, it can be said that the tongue-and-groove ceiling provides you with several advantages compared to other types of ceilings. It’s an easy job to have a tongue-and-groove ceiling installed in your home; all you need is a little guidance. Being safe and quick increases its value. So, what are you waiting for? Go get a tongue-and-groove ceiling for your home!
FAQs
To professionally install a tongue-and-groove pine ceiling, you would require around $4 to $8 per sq. ft., depending on the cost of material and labor. It can even range from $3 to $4 per sq. ft. if you wish to install the tongue-and-groove ceiling as a DIY project.
The direction in which your tongue-and-groove ceiling should run depends on the dimension of your ceiling. If you wish to make your tongue-and-groove ceiling run in a longer direction, it will have fewer cuts, but keeping each row straight will be difficult. And, if you wish to make your tongue-and-groove ceiling run in the shorter direction, there will be more cuts but fewer butt joints.
In the tongue-in-groove ceiling, the natural long wood planks are arranged side by side across the ceiling. Unlike drywall ceilings, the installation of tongue-and-groove ceilings is relatively easy and can produce more beautiful results.
The tongue-and-groove ceiling can be your choice if you are searching for an affordable option that is easy to maintain and install. They have elaborate designs and are aesthetically pleasing.
Follow the following steps to easily install the tongue and groove ceiling
Decide your place for installation.
Make sure you place your boards perfectly.
Nail the tongues.
Keep space for ceiling objects like fans, lights, etc.
Use crown molding to cover the edges.
Caulk and seal, if any gaps are present. And then paint.
Choose The Finish Option For The Tongue and Groove Ceiling
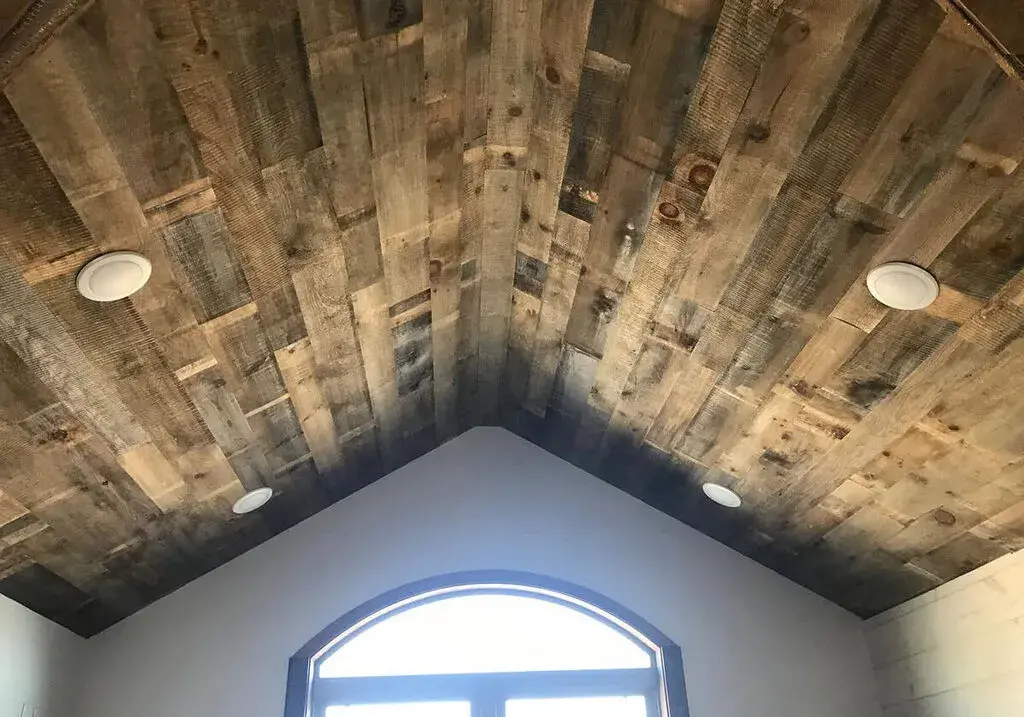
The type of finish you choose will determine the look of your tongue-and-groove ceiling. Stained, neutral, or painted, each will have a dramatic appeal. It is up to you, how you want to feel, and how you want your room to look.
A stained ceiling with darker flooring will create contrast in your room, while a light shade will brighten up the space. Whether you want an elegant and classy vibe or a natural and rustic appearance, it’s up to your choice. So, choose the shade and color that will define your space.
Explore more:

