Stair railings have been in fashion for several centuries now, but over the years, the aesthetics have changed. The new modern type of stair railings is glass stair railing. It has been in vogue for almost a decade and its stunning qualities would keep it in use for many years to come. Glass stair railings are visually attractive, and sophisticated, making a space feels bigger and generating the flow of light.
If you are looking for durability and sturdiness, then you should opt for a glass stair railing that is usually about 8mm to 10mm thick. Tempered or laminated glass is the recommended glass panel to be used for a glass stair railings installation. Do you want to know another positive fact about a glass stair railing? You can install it all on your own and with little or no power tools!
Your first and easy step to installing your glass stair railing is by searching for a “glass railings near me” shop to purchase your pre-made glass railings. You would also need to purchase other tools such as; stainless steel screws, post brackets, base plate posts, foaming glass cleaner, handrail brackets, and or glass clamps.
Although other types of stair railings i.e. iron railings have their advantages, for a modern home, most building codes would recommend glass stair railings. That aside, glass stair railings can take on any design and they can either be supported with a wood frame (preferably oak wood) or a steel frame.
Glass Railing Installation
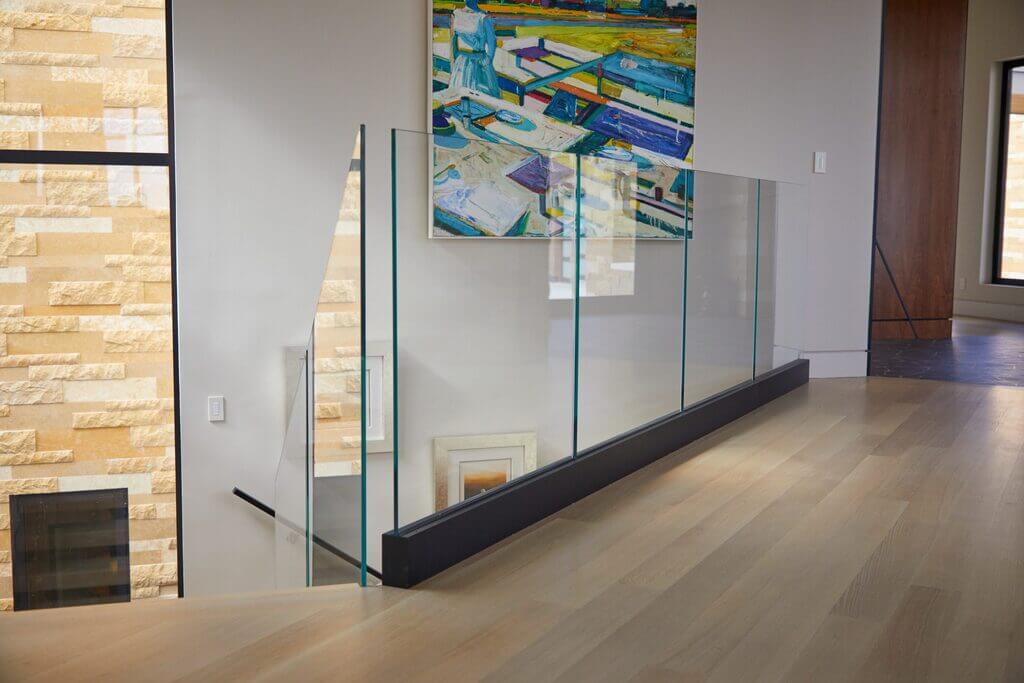
Glass railing installation can be classified into three and they are – standoff glass railing, clamped glass railing, and dadoed glass railing. The standoff glass railings don’t need any bottom railings before the glass panels can be held.
For this type of glass railing, the clamps are usually attached to the bottom part of the staircase. The Dadoed and clamped glass railings are quite similar because they both utilize newels to secure the glass frames.
However, this article would not focus much on these classifications but on the basic and simplest way that glass stair railings can be installed.
Step-By-Step Process to Install a Glass Stair Railing
Mark Your Spots
The first step to installing your glass stair railing is by carefully marking out the spots they would be placed. Figuring out the breadth of your railings is quite important, and chalk can do this job for you. You should also take into consideration, the height of your railing, and usually, a “34_38” inch is the recommended height.
Attach Your Railing Post

Your railing post, usually in the form of a “34-38” inches long stick can either be made out of wood or steel. Many modern house owners would prefer steel posts because they are way easier to install. Once you get your railing posts, the first step you need to make is to trace out the spots where each railing post would be fixed.
Post railings shouldn’t be so far apart from each other. At most, the railings should be about 5 feet from one another. After marking out where each post rail would be fixed, you should then place the base plates on the ground and drill them into it with screws.
Next, attach the post to the base plate and screw them also. Then, attach caps to the top of each post.
Attach Bottom and Top Railings to the Post
The bottom and top rail of a stair glass panel are quite important because they are the materials to fix the glass in place. To attach the bottom and top railing, all that is needed is to screw the bottom railing to the post (should be about four inches away from the ground).
Do the same to the top railing too. Do not also forget to attach end plates to the sides of the rail ends. Leaving the top rail ends open can be hazardous in the long run.
Place Your Glass Panel Between the Top and Bottom Railing
This is the last and easiest step, but it could also be quite tricky if one isn’t careful. Measurement is a necessity, so you’d need your tape rule here to measure which breadth and length of glass would accommodate the space between the railings.
Then after this, you can now center your glass panel between the top and bottom railing by proceeding to attach the panel at the top first before it slides into the bottom. To make this easier, you can first coat the top and bottom rails with foaming glass cleaner before attaching the glass panel. Then, your installation is done.
You Could Make Use of Glass Clamps
Instead of inserting the glass panels between the top and bottom rails, why not replace the method with the glass clamp installation? Glass clamps are usually attached or screwed to the sides of the railing posts. A clamp would be attached at the top, and another at the bottom, and the same process would be repeated for the other end.
Then, you can now easily and carefully attach the sides of the glass panel to the glass clamps. Note that, if you would be doing the glass clamp installation method, the top and bottom rails would be fixed after and not before the glass panels are secured to the railing posts.
Conclusion
Modern glass railings are fun and easy to install because of their minimalist design features, and the fact that it has been pre-installed. Any homeowner can decide to start and finish the glass stair railing project all on their own, depending on the length and breadth of the glass stair railing.
Although some glass railings would require the assistance of more hands when glass panels need to be fixed between the railings, apart from this, the other steps can be handled perfectly by one individual.
There are some other detailed steps homeowners should know about the glass stair railings installation but, the simple steps highlighted above cover everything a beginner needs to know about it.
Find out more: