According to the design experts, hardwood wall coverings have now reached their reputation as a common decor trend. This trend is not so much about being luxurious, or complicated. It is more about being traditional with a twist of modernity. But with the number of wood covering designs available nowadays, a property owner or renter can surely find something that stands out of the crowd.
Hardwood wall panels come with so much versatility that makes them suitable for both residential and commercial interior décor. Like other components of a building’s architecture, they create a cohesive, attractive, and functional whole, which endears them to property owners and developers. These products come in a variety of shapes, sizes, grains, patterns, and even finishes. But is that there is to these panels?
Introducing Hardwood Wall Covering Types
Either as a newbie or a seasoned pro in the home improvement business, one must know the basic concept of all types of hardwood wall coverings in the industry. They can classify into the following types:
Raised Panels

They are commonly referred to as raised panels because the planks of wood are slightly elevated above the base. This makes the panel appear as a three-dimensional surface. It requires a frame to be attached to them. The frame will provide the necessary support for the panel to lay on. Their unique design makes them perfect for any type of room wall.
These coverings were popular in the 18th and 19th centuries as they could be spotted in royal residences. They comfortably sit in any section of the building that requires an aesthetically pleasing design theme, including the kitchen and dining.
Plank Wall
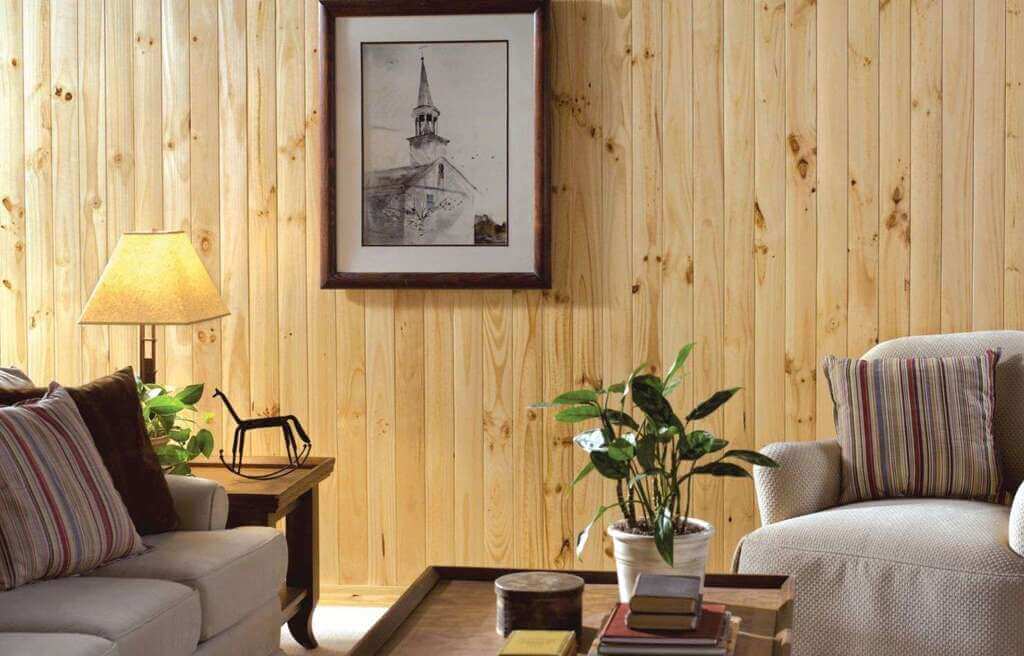
This type of wall covering is the most traditional one. The planks are arranged horizontally, vertically, diagonally, or even in herringbone style, Using the wall as a backdrop, and then they are attached. What even makes these hardwood wall coverings more appealing is the fact that they can spot any hardwood species of choice, depending on the interior designer or property owner.
This means that there are limitless options to the language design one can create. As such, plank walls are ideal for aesthetic interior décor. Another factor that makes this product stand out is its installation flexibility.
Installing this hardwood wall covering is as simple as laying wood panels next to one another, in any direction of choice. To wrap it up, adding a coat of unique paint or wood finish to it will add an extra layer of artistic charm to the room.
Beadboard
Beadboard employs the classic tongue and groove technique, which guarantees a clean and pleasant look for the wall. The proportions and color may be adjusted to fit the preferences of the homeowner. Likewise, the headboard allows for easy installation at any desired height. The beadboard finish gives the hardwood wall covering a conventional and timeless appearance in any home décor.
Board and Batten

The Board and Batten wall covering produces one of the most alluring interior décor vistas that would leave anyone mesmerized for a while. The batten adds a distinct design and edge to the board. The entire hardwood wall covering has a two-step installation process.
First, the board (either vinyl or wood) is installed on the wall, and then, the batten is attached to it. Not only does the batten augments the board’s aesthetics, but it also keeps it in place on the wall.
Replicating this design in any home is no cheap feat as it would set the homeowner back by thousands of dollars. Its high cost stems from the fact that more materials, including wood, will be needed for the project. However, the results are worth the cost. In addition, this hardwood wall design comes with low maintenance, which saves more money in the long run.
Shiplap
This wood wall covering is the most popular of the bunch, thanks to its iconic design. The installation process entails fitting the groove boards horizontally to the wall, each one closing in on the rabbet. Setting the boards using this approach creates a distinct and clean design.
One of the features that make this hardwood wall covering stand out is its sturdiness and durability, which outperforms standard drywall. However, owing to its ruggedness, it comes with high maintenance.
How to Install Hardwood Wall Coverings

The installation process for this visually pleasing wooden design is straightforward, provided that one follows the steps as highlighted. First, there is the pre-installation phase, which ranges from finding the right hardwood type to preparing the wall.
Selecting the Right Hardwood
The type of wood to use depends on the design one anticipates, which, in turn, is indirectly linked to the hardwood wall covering type. For example, plywood or wood would fit perfectly when replicating the board and batten design.
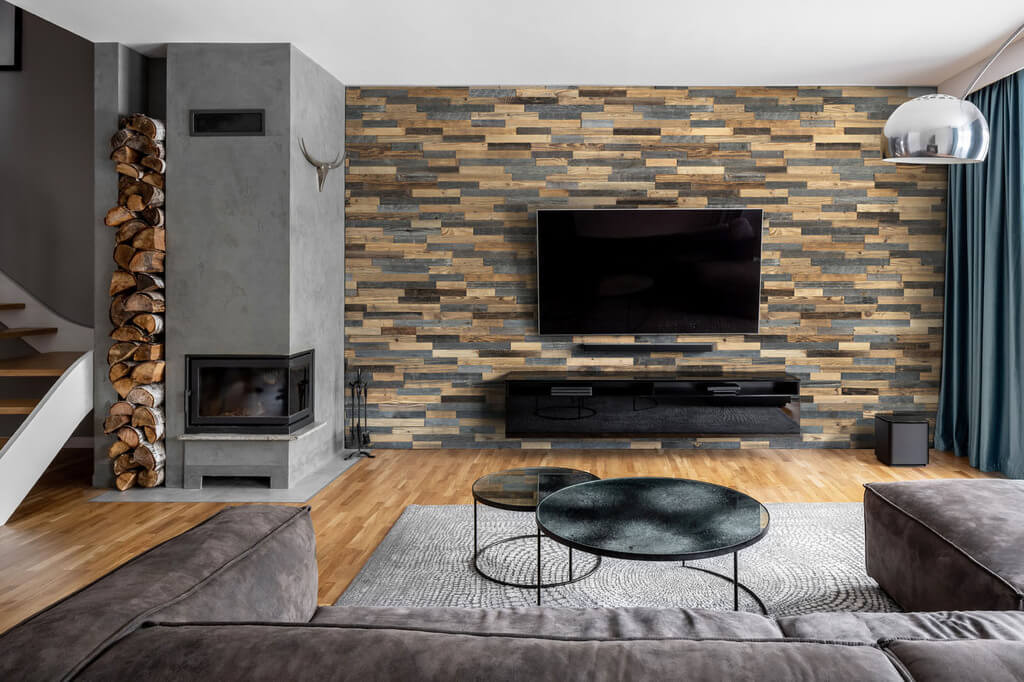
Other wood types one may choose from include fibreboard and reclaimed wood. Also, don’t forget that the wood finish influences such choices.
Acclimatizing the Wood
Whether it is hardwood flooring or wall coverings, wood panels must undergo acclimatization to prevent shrinkage and expansion. This is done by placing the panels in the room where they will be installed, under a controlled temperature. Simply arrange them in alternating rows and let them sit for about a week before installing them. By doing so, they will adjust to the room’s temperature and humidity.
Preparing the Wall
This is the last step before installation. Here is a rule of thumb; for new ones, it is highly recommended that one installs plywood first, before commencing with the hardwood wall covering. If it is a painted wall, clean it off using sandpaper. Painted walls are the least desirable surfaces on which to put any building material, including concrete plaster, since they will flake off over time.
Some homeowners use adhesive to hold the hardwood wall coverings to the main wall firmly. But this technique has its downside. When uninstalling the covering, the drywall will get damaged. On the other hand, using plywood before installing the hardwood is a better approach.
Installing the Wood

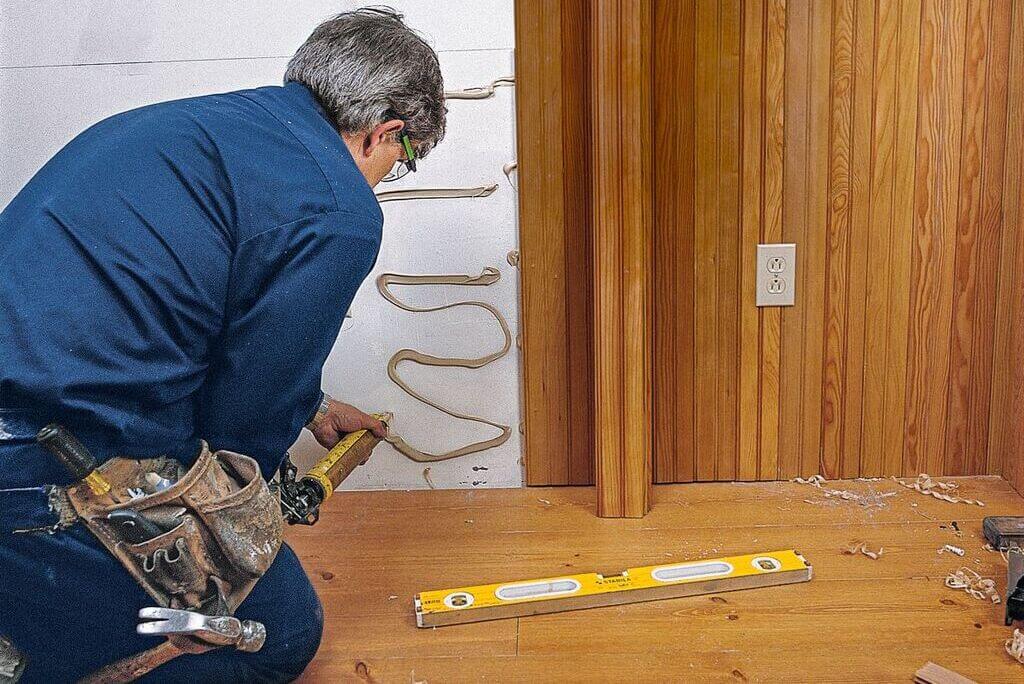
It gets easier from here. To install the hardwood, measure each side of the room to determine how many panels to use. Ideally, the installation height from the floor should be ¼ inches. Indicate any special opening, like wall lighting fittings, including socket outlets and switches, to exclude them during installation. Once done, fasten the plywood to the drywall using nails and a gun nail.
Place the first hardwood panel on fixed plywood, positioning it from the base, to determine if it fits. Apply adhesive to the panel and set it on the wood. Ensure that it is upright, using a level. At this point, the nail gun may come in handy again. Repeat the process for the rest.
In Conclusion
Having come to the end of this guide to hardwood wall coverings, it is time to apply one’s findings. For those who are true DIY enthusiasts, there is no better way to improve any space than DIY wood paneling. A professional may give some pointers, and if there are more Benjamins in the wallet, hire them for a custom makeover. Whatever decision comes up, here’s to beautiful wood wall coverings!
In case you missed:

