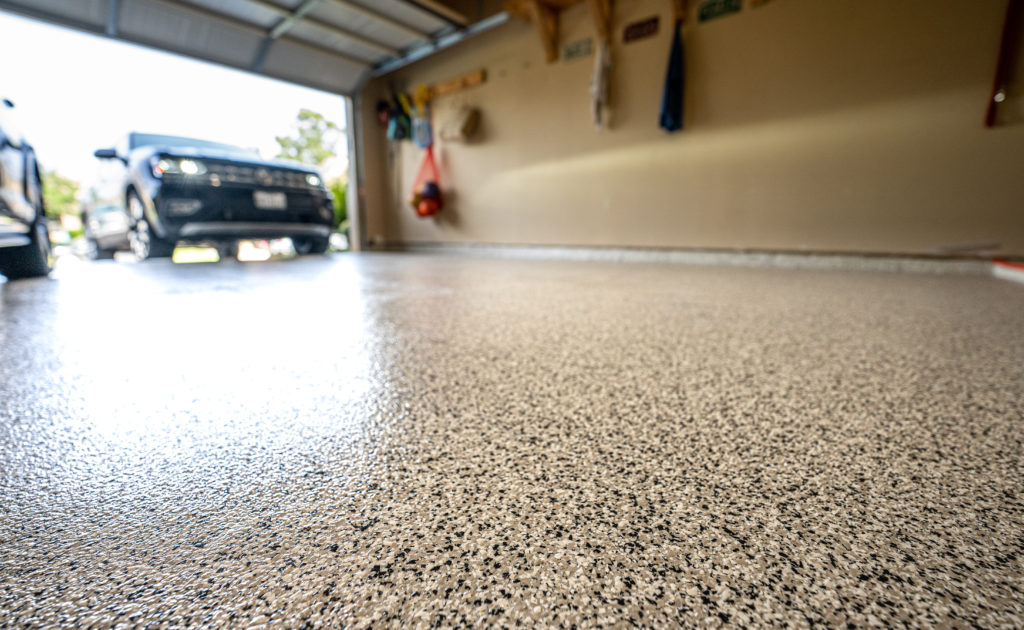
One place in our homes that we all usually neglect is the Garage! After years of usage, the condition of the garage becomes dirty and unorganized. Check whether your garage floors look old and unpleasant to look at. If yes, it’s high time to give them an epoxy floor makeover!
When it comes to garage floor ideas, there are many options available. However, one material that’s quite popular these days is the epoxy floor! The epoxy floor option is an extremely durable and cost-effective way to resolve all your garage floor issues. The best thing about the epoxy garage floors is that you can install or apply them all by yourself.
Yes, you can do all the process on your own, and that too without any need for any professional tools. Epoxy has many benefits, such as they will make your garage floors look nice, you can easily clean them, and they will give your garage an overall finished look.
Are you looking to give a finishing touch to your garage floor? If yes, a colorful, shiny epoxy floor coating will be best for you!
What is Garage Floor Epoxy?
Epoxy is a coating that is created from two components or two different chemicals, which is referred to as “resin.”
Many people think or get confused that epoxy is a type of paint, but that’s not true! It is made from a combination of two chemicals which results in resin. Some paints have a small amount of epoxy mixed with them to make them more durable than standard paint. These types of paints are known as epoxy paints or 1-part epoxy paint. So, in short, An epoxy garage floor coating is NOT a PAINT!
Now let’s move forward to the application of epoxy on garage floors and learn how to apply the epoxy coating in the easiest and simplest way possible.
How to Apply an Epoxy Coating to a Garage Floor in 10 Steps
Applying an epoxy coating is not that simple, but you can do it properly if you follow the steps correctly. Below we’ve explained the entire process in ten simple steps. So, read all the steps carefully and don’t skip any of them So, are you ready to transform your old garage floors to brand new shining floors? If yes, let’s start the procedure.
Before we start the process, there are some basic tools and materials that are required. Don’t worry; some of them have already come with your epoxy flooring kit, or you can easily find them at any hardware shop or painter’s shop.
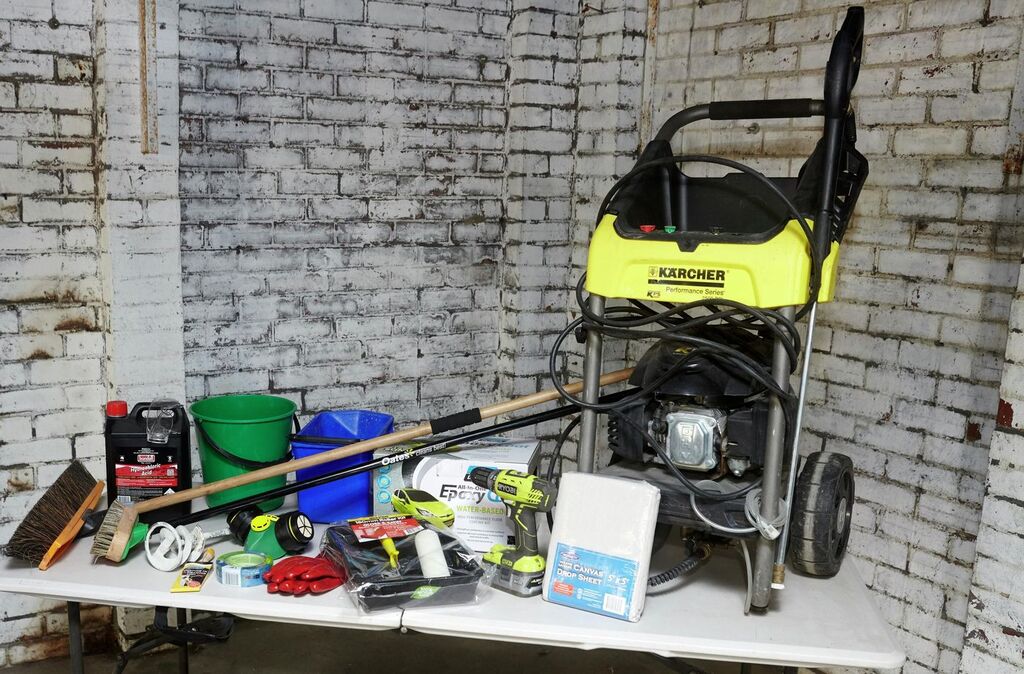
Tools & Equipment
- Bucket
- Broom
- Wet-dry shop vacuum
- Stiff-bristle brush
- Garden hose
- Work gloves
- Eye protection
- 3-inch paintbrush
- 9-inch paint roller with 1/2-inch-nap roller cover
- Paint tray
- Rubber gloves
- Safety glasses with side shields
- Tarp
Materials
- Concrete degreaser
- Epoxy floor coating kit
- Plastic sheeting (optional)
- Brick and concrete brush
- Heavy-duty painters tape
- Hydrochloric acid
- Long-handled compact deck scrub brush
- Protector respirator kit
- Rags
You can start with the epoxy right flooring process if you have all of the above tools, equipment, and materials. Let’s start with the first step.
Step 1: Clear Your Garage
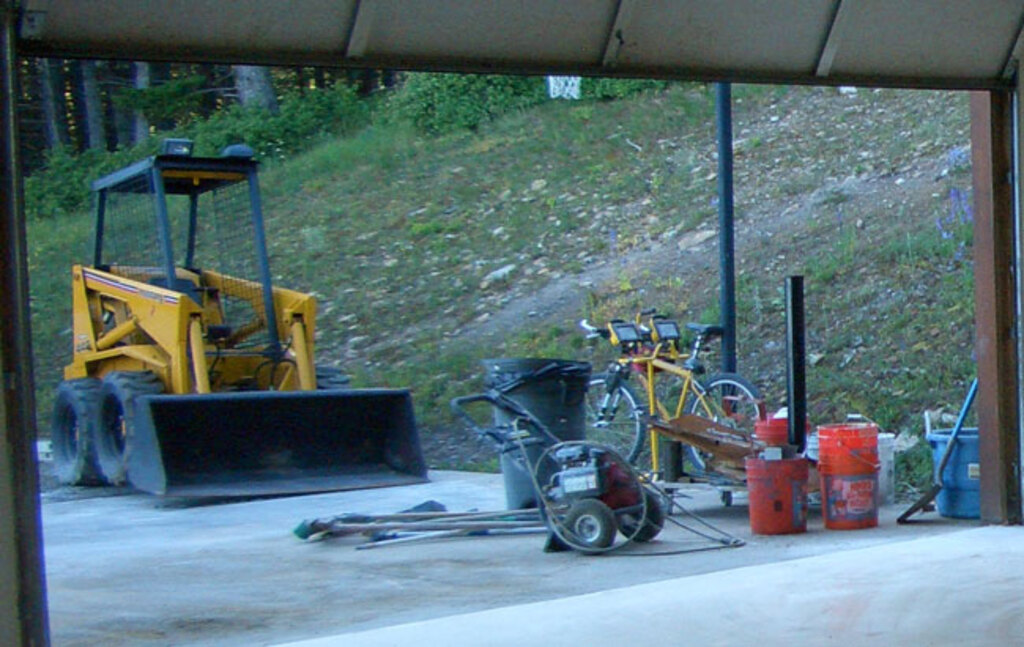
The first step is to remove everything from your garage floor. You can move all of your stuff in your driveway or yard or the outside area. You have to put these items at least 48 hours outside even after the second coat is applied. Don’t forget to cover all of the items with a plastic or tarp to protect them from dust and rain.
Step 2: Sweep the Garage
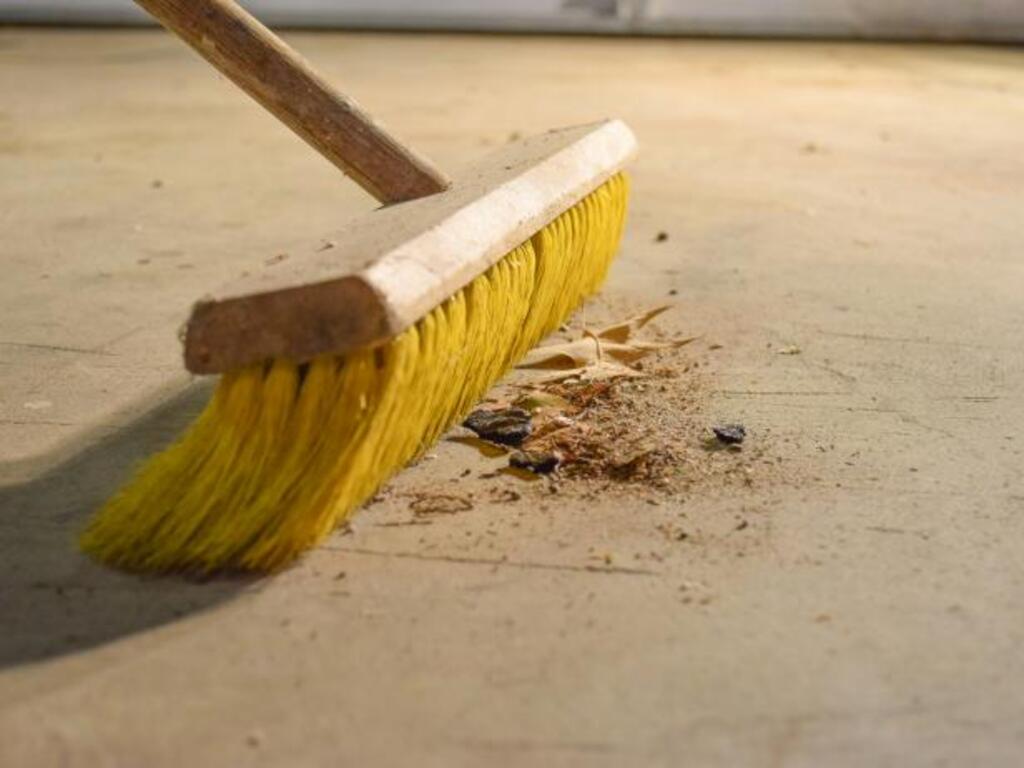
After clearing out your garage space, it’s time to clean it. This is an important step, and never skip this as you can’t start applying epoxy coating on a dirty surface. You can use a shop broom and start removing all the dirt and debris.
For the corners, use a small broom. If you feel the dirt isn’t coming off easily from the floor or it has some stains marks, you can also use a scrubber to scrub all the marks or dust.
Step 3: Check For Moisture
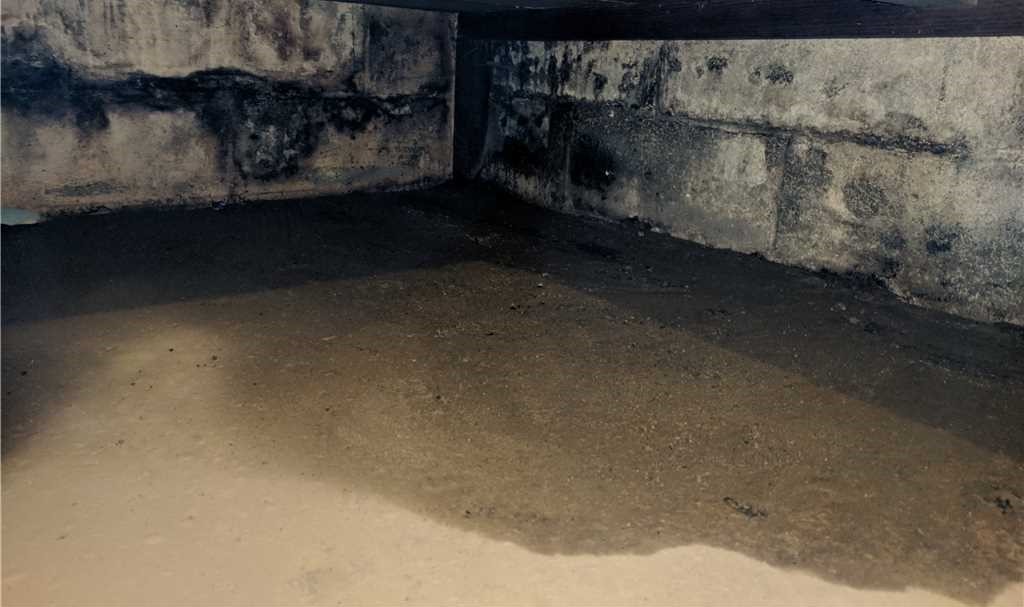
The third step is also quite crucial, which is to check the moisture content. Yes, it’s vital to check for existing moisture or related issues. Suppose your garage has high groundwater or the previous slab was placed with no underlying vapor barrier.
In that case, there are high chances that when you apply the epoxy coating this time, due to the water vapor pressure, it actually lifts coatings off the surface. This will make the entire floor look messy, and your hard work will get ruined.
So, how to check the presence of moisture on the floor? To check that, first, take a 2′ x 2′ piece of clear plastic and put it on a slab with the help of tape. Leave it as it is for at least 24 hours. After that, check whether the concrete is getting dark or if any water droplets are forming or not. If yes, consult an epoxy supplier for solutions, including surface applied vapor barriers.
Step 4: Apply Etch Pretreatment
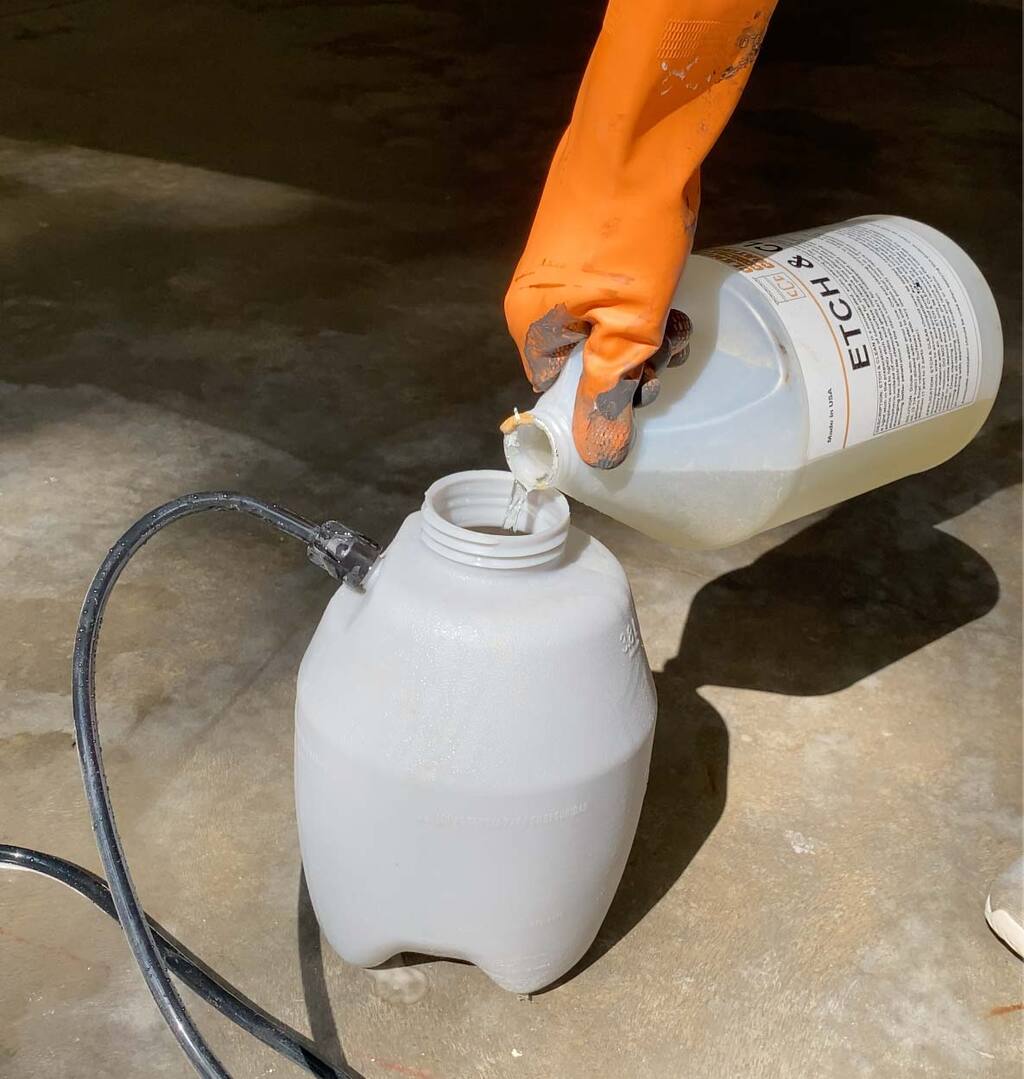
Etching is a necessary step as it helps to prep concrete for any type of stain or coating. Etching solutions mostly contain some type of acid which helps in opening up the pores of the concrete. When you’re applying your coating to this open-pore concrete floor, it will form a strong bond with the surface.
You can use the etching solution that is already provided in the epoxy coating kit to etch the concrete floor. Carefully follow the manufacturer’s directions and prepare the mixture.
Now, pour the solution onto the floor and clean it with a stiff brush or broom. When you see foam and fizz, don’t panic. This simply means that the solution is doing its job to abrade the surface. After this, rinse the entire area thoroughly with a garden hose.
Leave the floor to completely dry, and it may take up to several hours to days to get dried.
Step 5: Patch Cracks
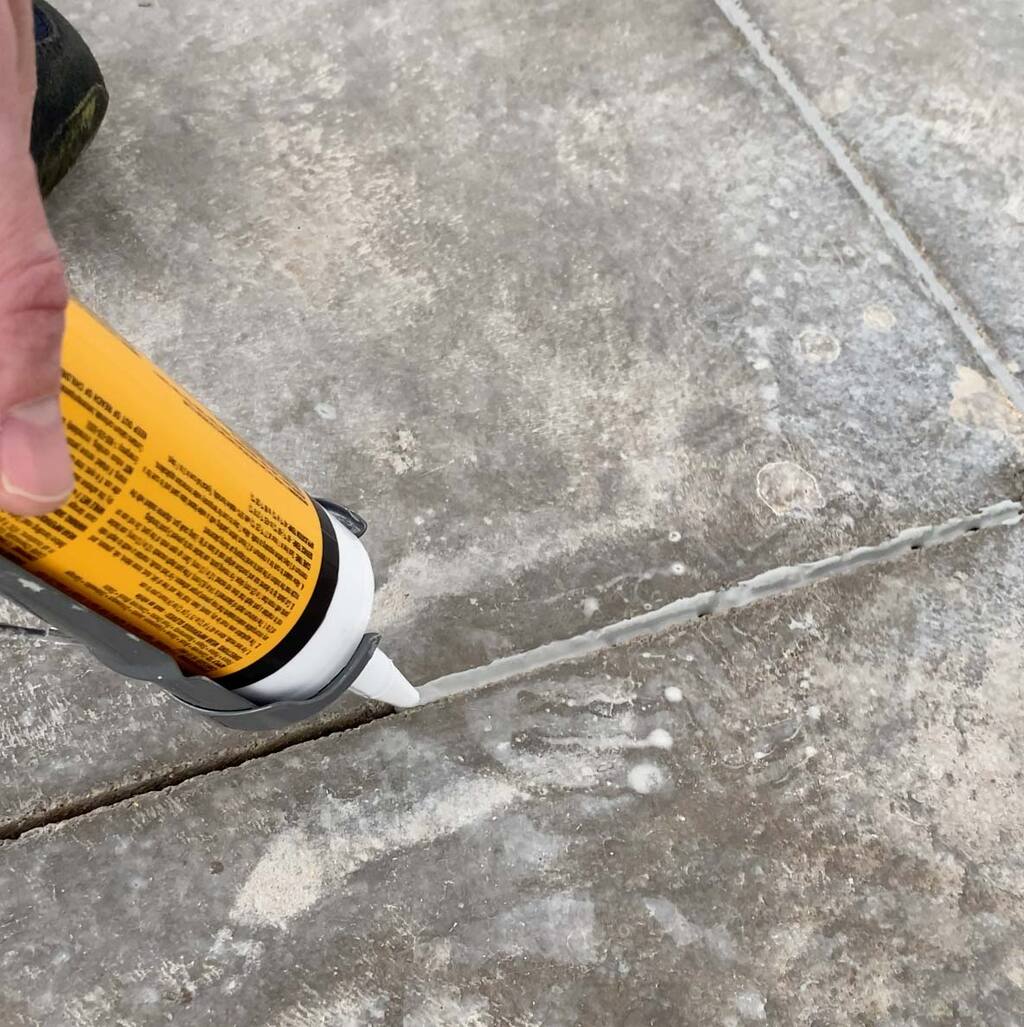
After your garage floor is all dried, you can move onto the next step, which is patching the holes. There are high chances that there may be some potholes or cracks in your floor due to usage over a long period.
Before applying the epoxy coating, it’s vital to resolve these issues to make the surface equal and clean. Else, these imperfections will show up more through the epoxy.
You can use a self-leveling filler to fill in all of these joints, which you can easily find at your local home improvement store. For minor joints and cracks, you can also use any concrete patching product. Just make sure the patched areas dry and cure fully before applying epoxy over them.
Step 6: Mask Walls and Baseboards
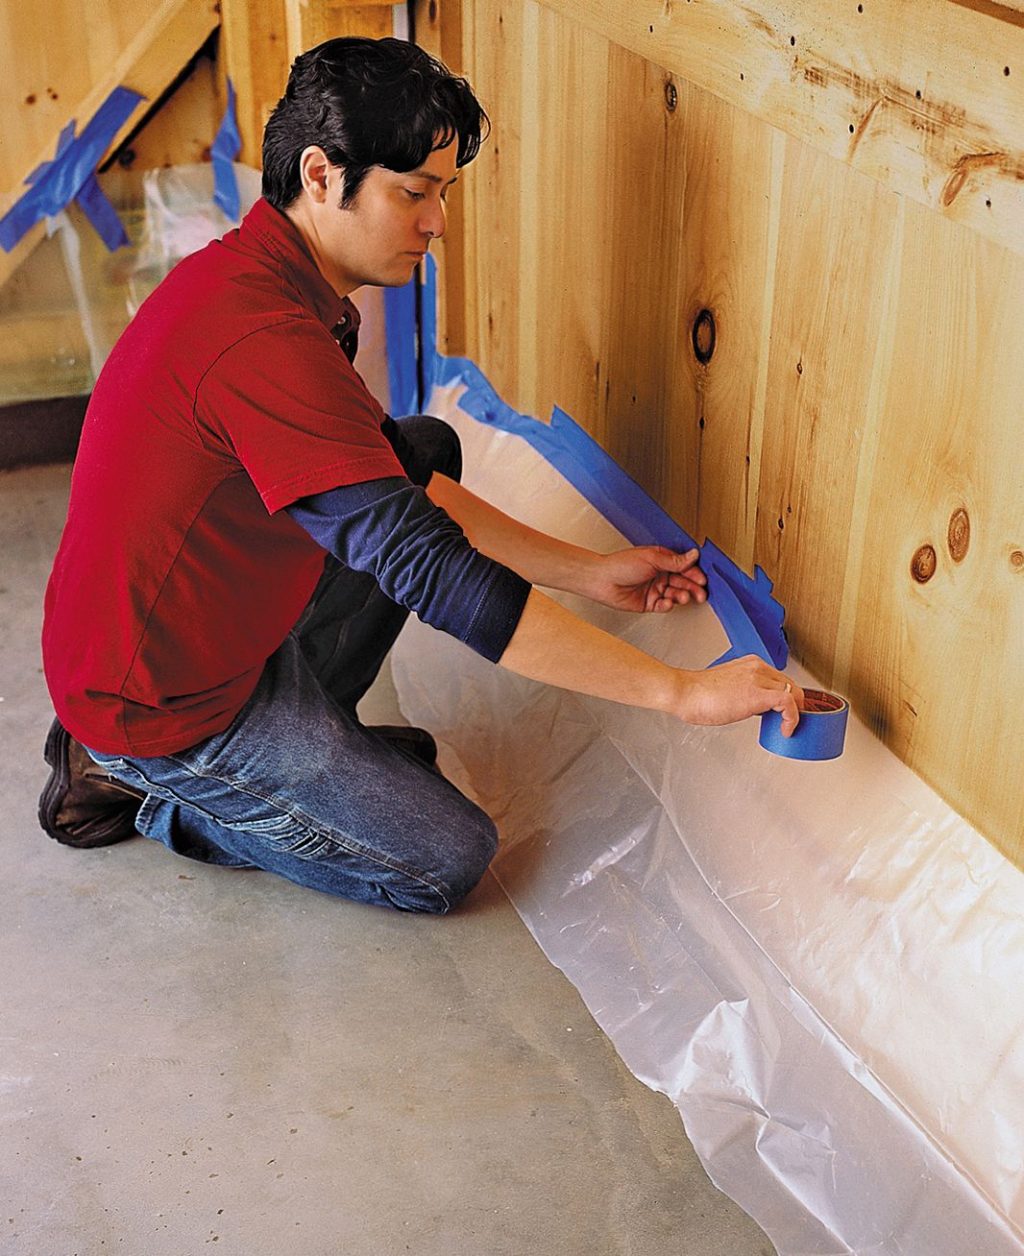
One last thing that you have to do before applying the epoxy floor is to prepare your floor garage. By this we mean, you have to cover the walls and baseboards areas. For that, take some wide painter’s tape and put it along the bottoms of the walls.
You can also tape some plastic sheeting to the bottom foot or two of the walls. If possible, remove the baseboards. This way, you can easily apply the epoxy right next to the wall.
Step 7: Mix the Epoxy
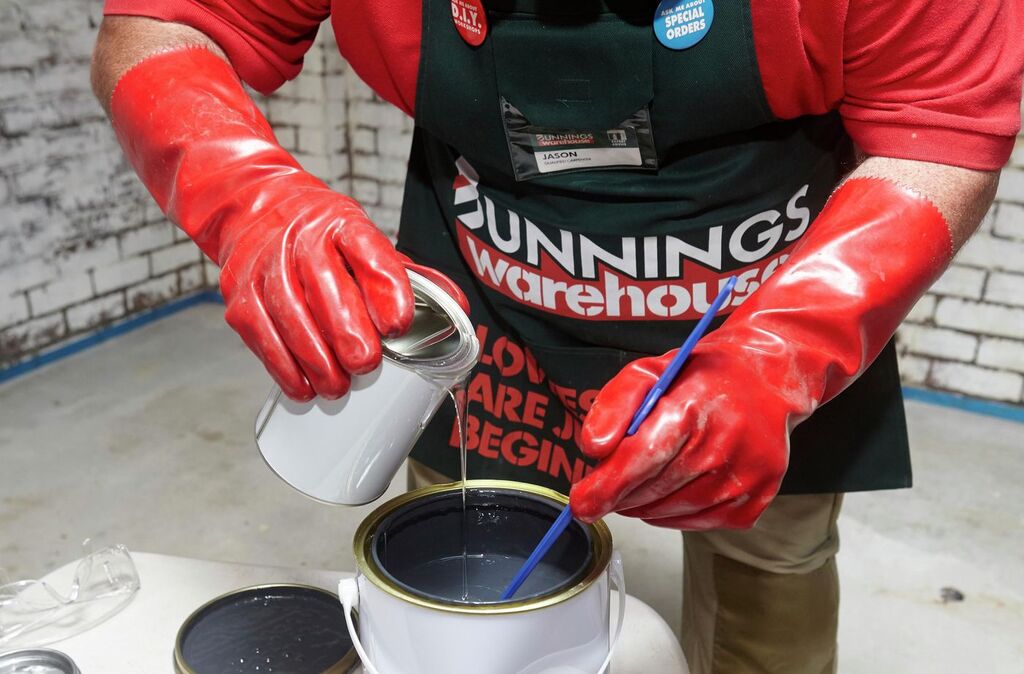
Now you have to prepare the epoxy solution by taking two-part epoxy: a catalyst (or hardener) and a resin (the “paint”). Only prepare this mixture just before application.
First, stir the paint a bit, then start pouring the catalyst into it. During this process, don’t forget to stir it continuously. Once you’re done pouring the catalyst, stir the solution for more than two or three minutes. Make sure that these two parts are well mixed.
After this, put the lid back on the container and leave it for the exact amount of time specified by the manufacturer.
NOTE: If you want to add some decorative color chips, DON’T adds them to the solution. They should always be applied later.
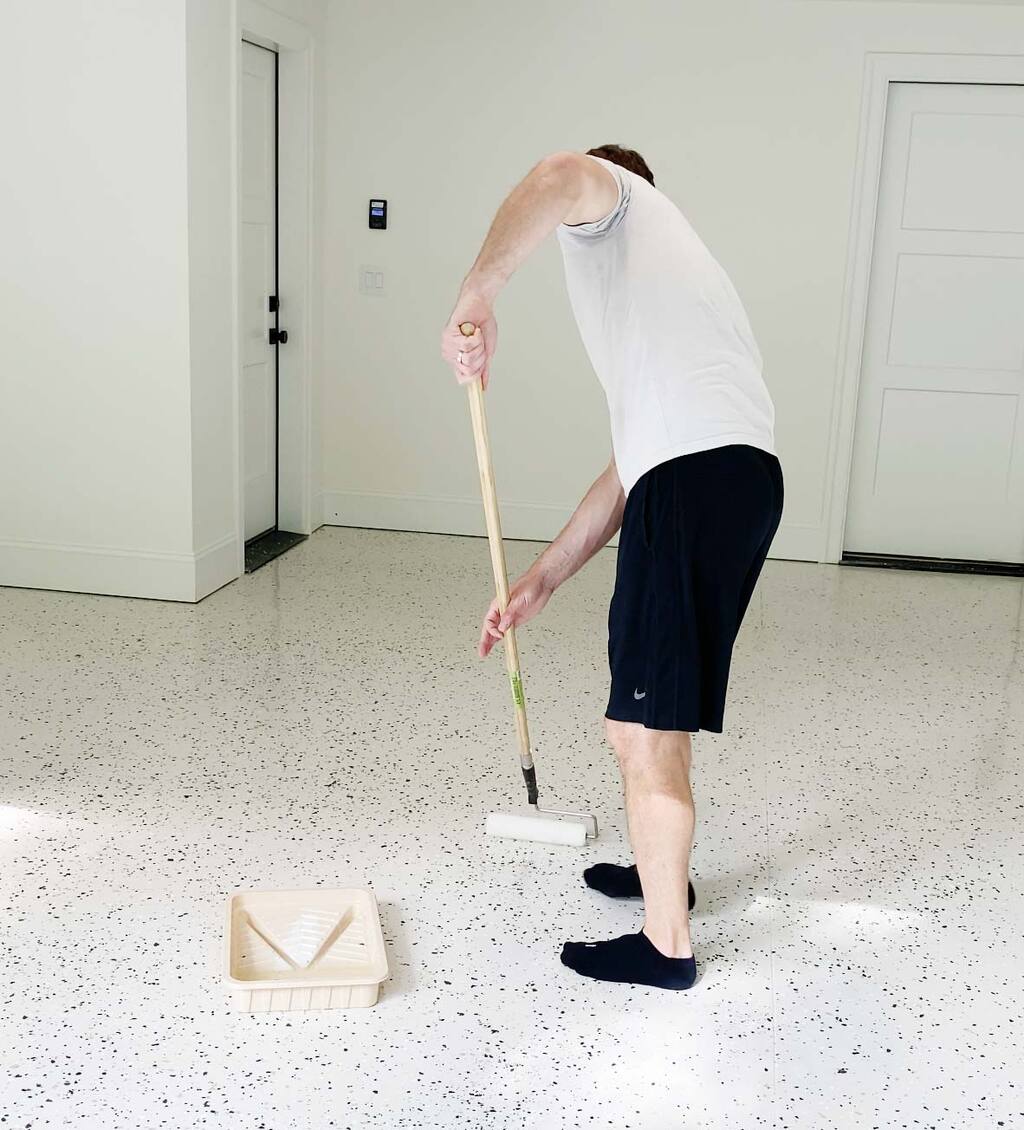
Step 8: Apply the Epoxy
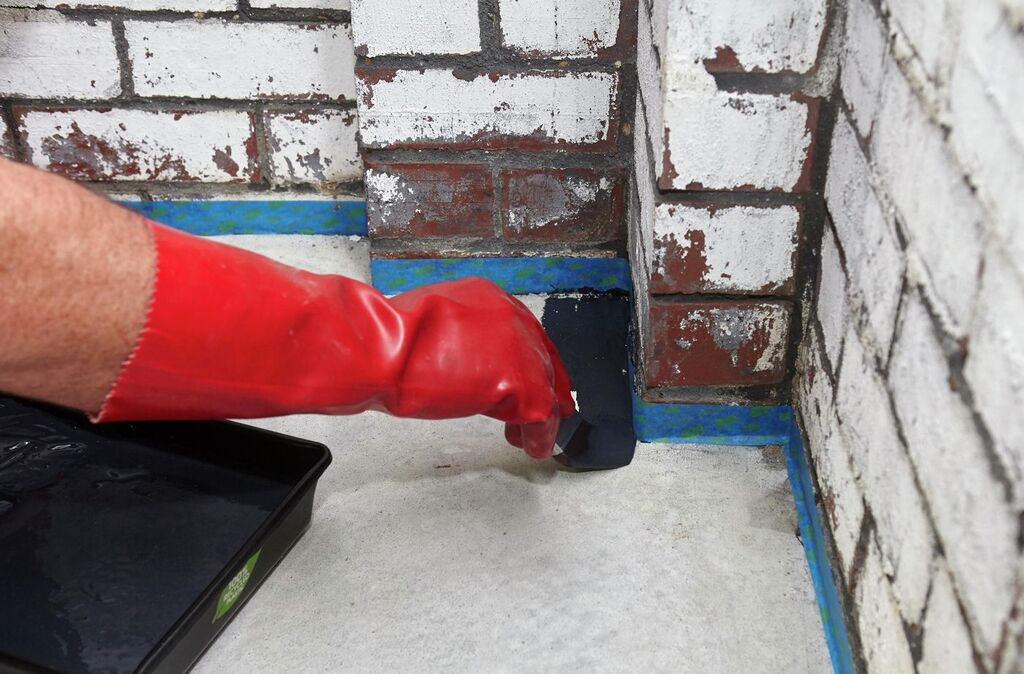
Finally, it’s time to apply the epoxy to your garage floors. You can start the application process as soon as the epoxy mix is ready. You have to apply this coating quickly. The estimated time will be around two hours or less than that if you live in hot regions.
First, take a 3-inch paintbrush and start applying the epoxy coating along with the edges. Later use a 9-inch roller with a 1/2-inch-nap roller cover (with an extension handle) to spread epoxy on the floor.
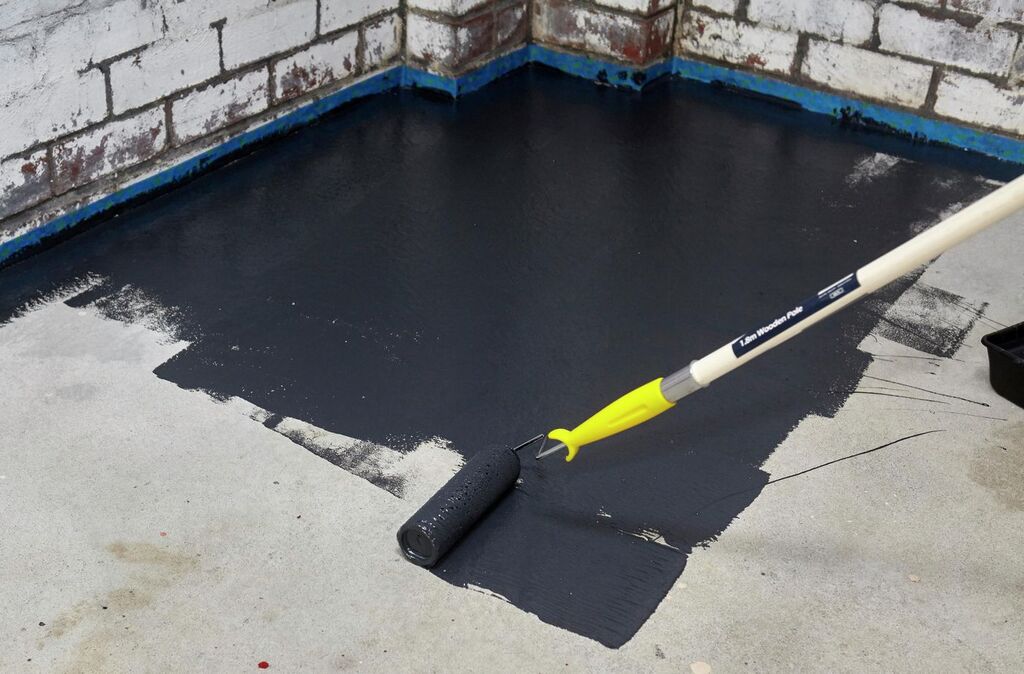
Try to work in small sections or, say, 10 x 10-foot sections. Try to maintain a wet edge by rolling over the edges of previously applied epoxy. Along with that, also make sure to roll an even coating.
Step 9: Sprinkle On Flakes
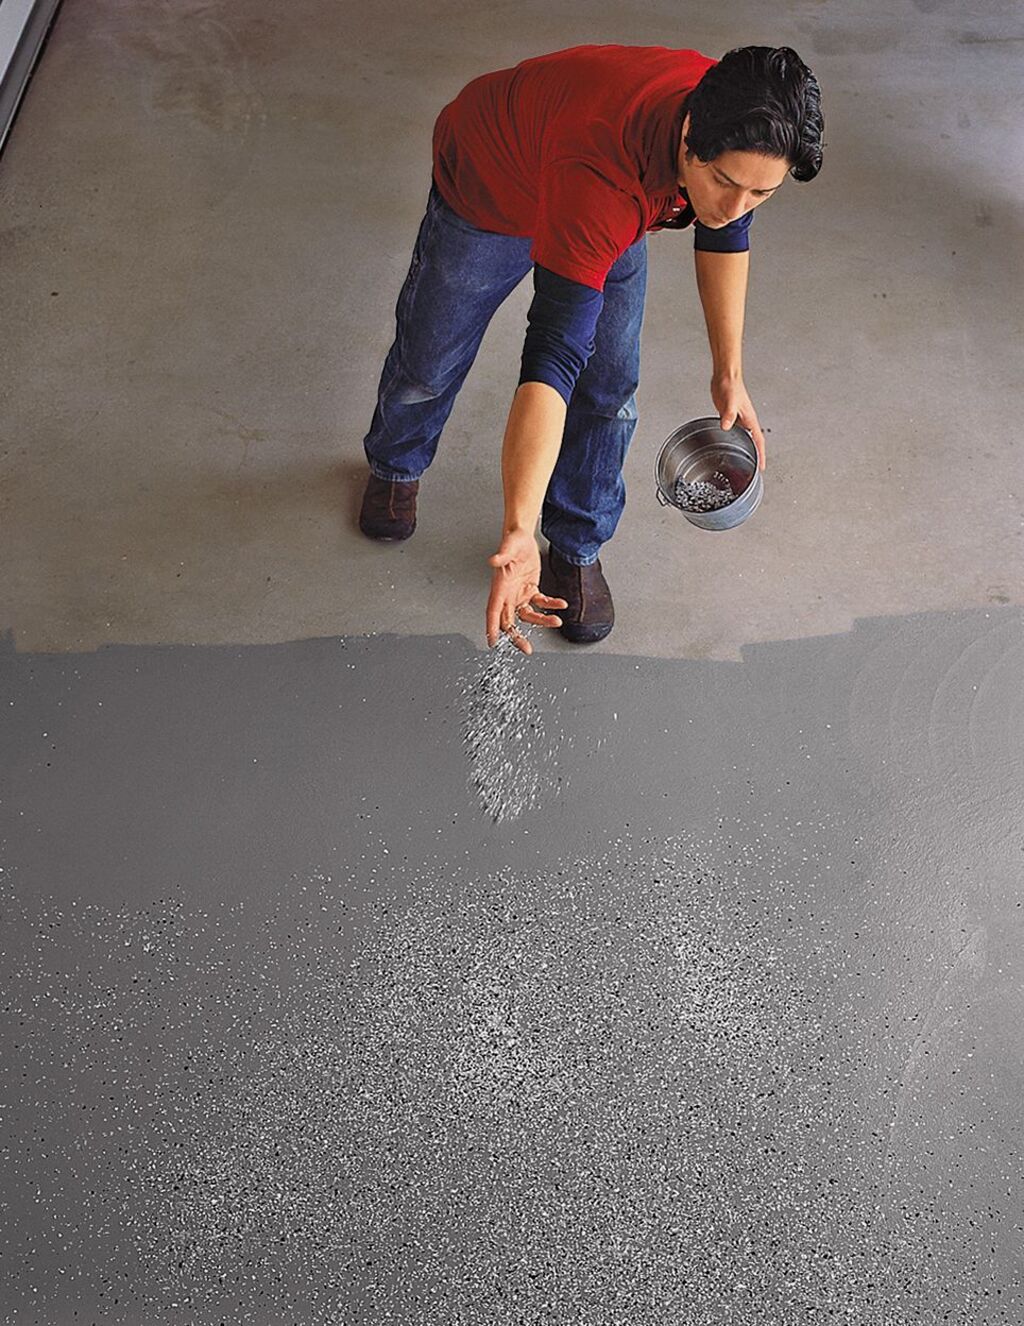
Want decorative shiny garage floors? Try adding decorative and colorful chips to the epoxy floors. At this stage, you can add these chips. Apply these chips by hand at a random pattern over each section after you’ve spread the epoxy.
Just take a random number of chips in your hand and toss them around onto the floor. You can also take help from your friend or family member. These chips will add a really attractive surface pattern and also provide some slip resistance to the floor.
NOTE: Those who want to apply a second coat of epoxy should at least wait for 12 to 24 hours. So that the first layer will completely dry before the second application.
Step 10: Apply a Clear Coat
The last step is to apply the clear coat. You can use a layer of Armorseal Rexane on top of your epoxy coating. This will add a protective layer on the epoxy floor and keep them safe and shiny for a long period.
The End Results
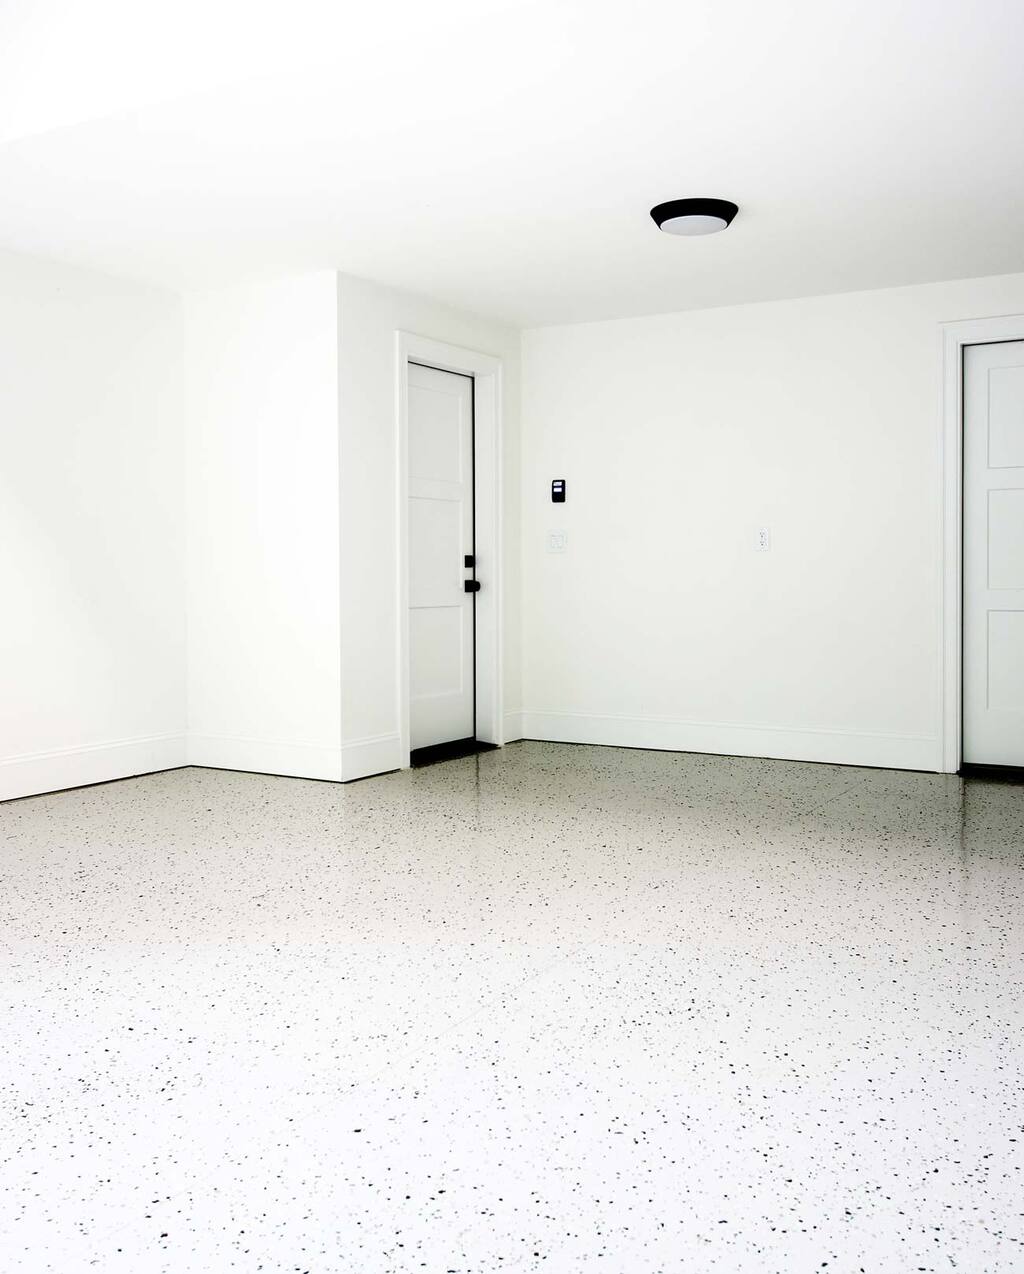
Don’t immediately start walking on your shiny and new epoxy floor after the application. Because you may ruin it. After applying the topcoat, leave the garage floors to dry for at least 24 hours to several days. Also, don’t place vehicles or heavy equipment/items for at least 48-72 hours. This is because your floor may seem hard or solid, but it is still curing, and this could lead to a huge floor failure.
Safety Tips
Here are some safety instructions that you must follow while applying an epoxy floor:
- Wear the appropriate protective gear and equipment as this application involves hydrochloric acid and epoxy.
- Always keep your garage well ventilated and airy throughout the application and initial curing.
- Turn off the water heater or any other appliances located in or near the garage.
- Never smoke while working on this project.
- Keep your kids and pets away from the garage until you finish the entire procedure.
The Bottom Line
Now you know everything about the epoxy floor and how to epoxy the garage floor. This epoxy application may take a few days, but you’ll get completely new floors after the treatment! This will immediately refresh the looks of your garage. Also, the epoxy floors are much easier to clean as compared to other types of flooring.
I hope you found this step-by-step tutorial on how to epoxy to the garage floor helpful and useful. Please share this blog with your friends and family who are struggling to renovate their garage or want to have epoxy floors.
Keep reading: