You might be in need of extra storage for your tools or garden supplies, but at the same time, you don’t want to spend a lot of money on it. However, building a metal shed is the right decision for you. It’s not just that metal sheds are easy to build, they require minimal maintenance. It’s good to know that they are resistant to various weather conditions. And you can paint them any color you want to fit the look of the house and garden.
In this article, you will find tips on how to build a metal shed from scratch, step-by-step.
1. Preparation
Before you can access the construction of your metal shed, you need to make sure you have enough space. That means you have to count that you have at least 1 foot of space on each side of the building. The point is that you can access your metal shed on each side. This will mean to you a lot when it comes to maintaining. It’s also desirable that you don’t have any trees nearby so that the branches won’t make leaves fall on the shed.
2. Flattening the Ground
Once you’ve made sure you have enough space and your space is clean, you can go to the next step. In order to even start installing your metal shed, you need to see if the grand place is square and level. If that’s not the case you need to prepare the land first. An uneven surface can open your metal shed to all sorts of problems like corners not matching up correctly. If that happens water may easily come in, even if you put a metal building vapor barrier. When you even the soil let it settle for at least 48 hours.
3. Base for Shed
Now you need to decide what will be the base of your metal shed. Of course, you can put your shed directly on the ground, but it’s not recommended. By putting your shed off the ground, both your shed and the items inside will be better protected. For the base, you can decide to put a metal shed base kit, a floor frame kit, a concrete slab, or a wood base.
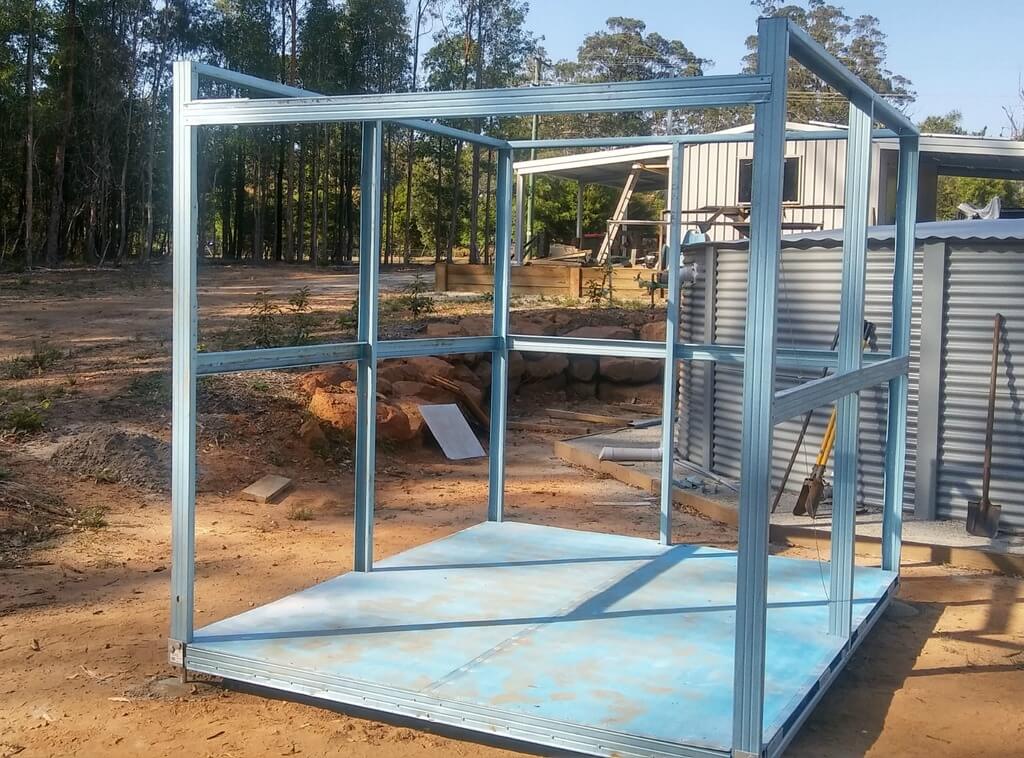
4. Corners and Walls Panels
After that, it’s time to fix the floor frame on the metal shed foundation, by positioning a corner panel for every corner. Make sure you place the widest part of each corner panel along the side of the building on every corner. And then you can attach the wall panels at both the top and bottom of the metal shed.
5. Secure the Walls
There are available braces in the market that hold the walls to stick with each other, use them. After that, you need to do a door trim. By doing that you will make it possible to keep the surrounding door area much stronger.
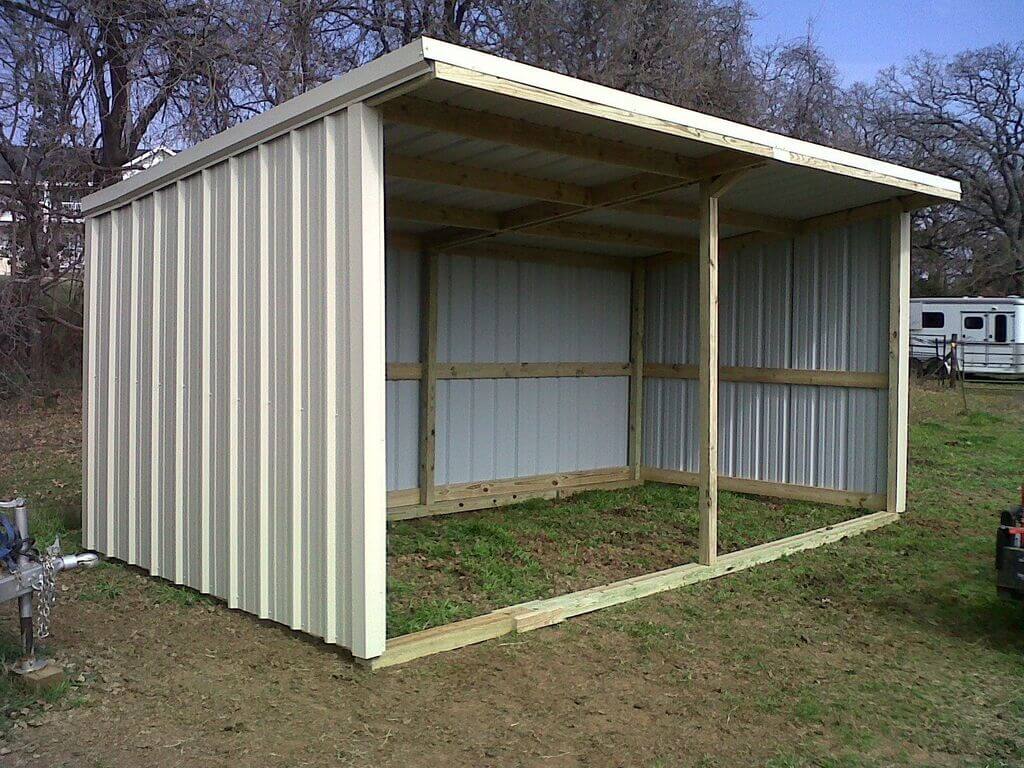
6. Place the Roof on
The next step is to install on the front and back of the shed gables and after that install the roof beams. They will give you a strong base to install the roof panels on and you need to screw your roof panels into them. When setting up, periodically measure the roof diagonally to make sure it stays square.
7. Installation of the Doors and Windows
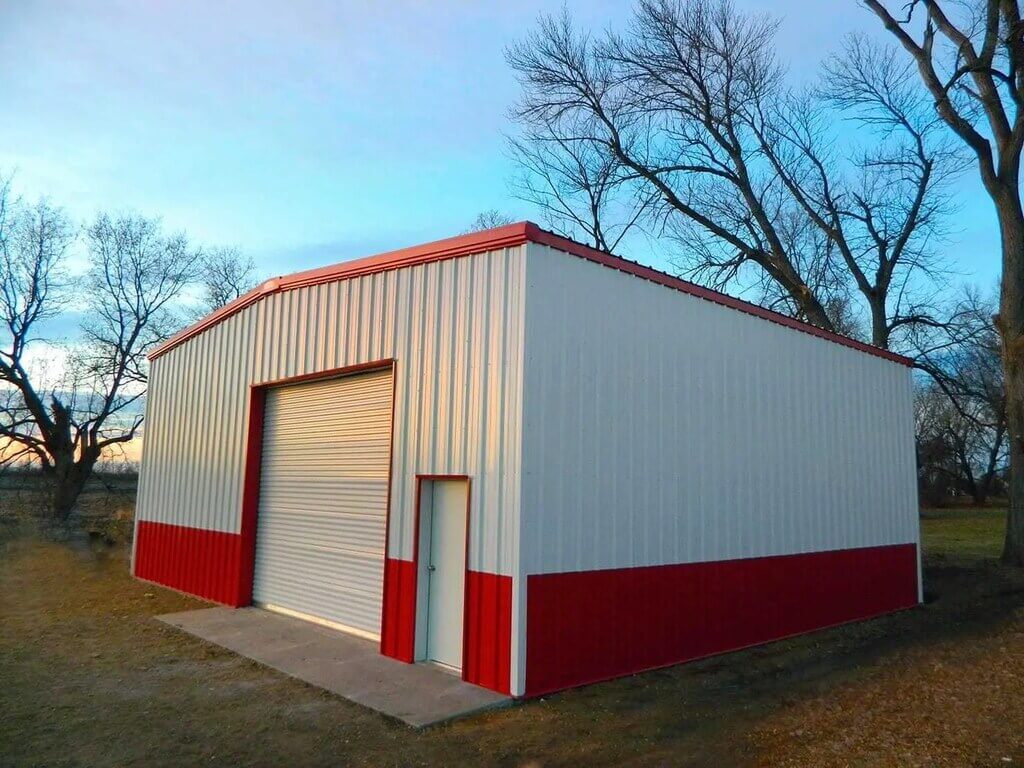
The time is to install the doors and any windows on your metal shed. It’s important to follow the manufacturer’s instructions for assembling your doors and windows. When they are installed, you need to attach the handles and braces. And remember when you are placing the door or windows, do it from inside of the shed.
8. Anchor Your Shed
Here comes the last step, after your metal shed is installed, it needs to be anchored. This is crucial for the stability and safety of your metal shed. Depending on the base you used for your metal shed, you should place the appropriate anchors. It’s very easy, just follow the manufacturer’s instructions for proper anchoring.
As you can see it’s very easy to build a metal shed. Here is another tip if you decide to DYS, follow strictly manufacturer’s instructions. Keep it always near the hand and review them from time to time during the building. Be sure to consider doing isolation on your metal shed. If you don’t want to do complete insulation, at least do roof insulation. The insulation of your metal shed will allow you to enjoy it longer, no matter if it’s summer or winter.
Conclusion
From cramped garages to overflowing toolboxes, storage woes begone! Building your own metal shed doesn’t have to be daunting. This guide offers a roadmap to a sturdy, weatherproof oasis for your belongings – all without breaking the bank. So grab your DIY spirit, follow these steps, and embrace the satisfaction of a personalized storage haven! Remember, with a little planning and elbow grease, your dream shed is just a hammer swing away.
Read more:-