Has it been a while since your last holiday? Ours too! While it may seem like a distant memory right now, do you remember a time when you would step foot into the hotel lobby, all ready to check-in after a long flight, and as you glance for the reception, you can’t help but notice the stunning hotel lobby’s centerpiece? Mesmerized, you inch closer to get a better look and when you reach there you realize, the artificial plants aren’t real but (oh my!) they look so convincingly real. The first myth about artificial plants that comes to mind is “These must be really expensive!”
You wouldn’t be the only one!
Back when fake plants were first introduced into the market in the 1970s. They were indeed expensive, with better quality ones that look realistic usually costing more.
But gone are the days when artificial plants were a luxury reserved only for the wealthy. These days you can purchase high-quality artificial plants at a fair price, and it’s more than worth it!
Here we debunk the myths surrounding the affordability of artificial plants.
Buying Artificial Plants Vs. Buying Real Plants
Which is better, artificial plants or real plants? It depends entirely on the individual, really!
Time, maintenance, pets, and costs comparisons are all factors to consider when choosing the right plant.
A big difference between an artificial plant and a real one is its longevity. While the biggest issue with buying a real plant is its maintenance. If you’re often busy with work or away for long periods of time and miss your usual plant maintenance routine (weeding, pruning, and watering) the plant may wither.
Plus, if you add up all the costs of maintaining a real plant for a year, you’ll be able to see the actual costs of owning a real plant.
With artificial plants, you get what you pay for! Some brands like Designer Plants Australia even offer fake plants and green walls that are UV Resistant backed by a 5-year guarantee. The UV resistance is the leaf itself and not a spray, making it zero maintenance! No watering and trimming or gardening needed.
It’s made of non-toxic materials and chemicals making it safe, especially if you have pets. Some common plants such as lilies, tulips, and azalea are toxic to your pets and can potentially harm them. In this modern-day, you are able to enjoy these beautiful plants at home without risking the health of fur babies.
Why Is Investing in Fake Plants Worth It?
Whether you are contemplating getting an artificial plant for your next home improvement project or as a business investment, artificial greenery has a great return on investment!
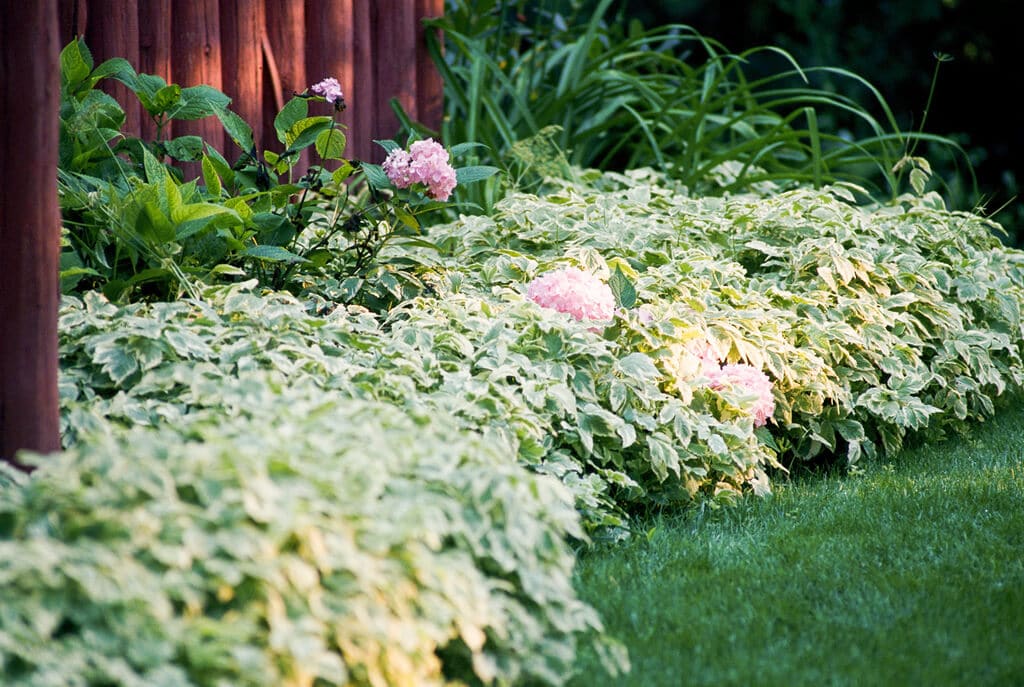
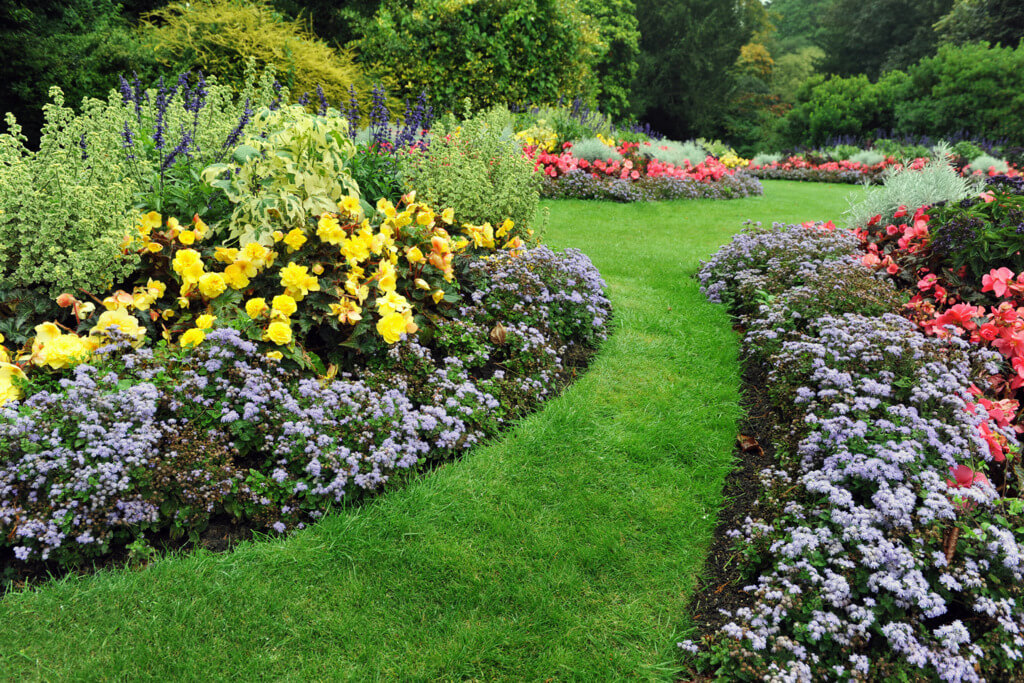
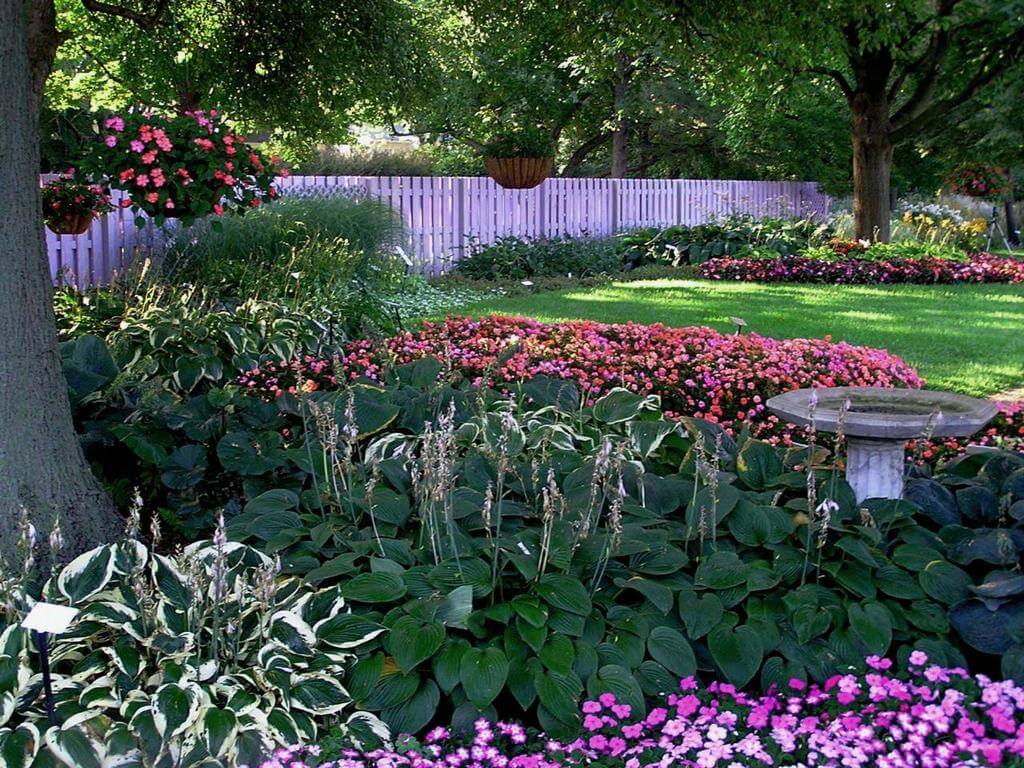
First of all, nothing enhances the vibe and aesthetics of any interior and exterior like plants.
For businesses, a commercial setup exterior is the first thing a customer sees and the appearance says a lot about the business. With some green landscaping aesthetics such as surrounding green walls, customers will attract to come over increasing potential sales and profits especially if you are running a café business or a coffee house.
An aesthetically pleasing-looking café is also sure to attract Instagram’s latest trendsetters and café-hoppers. It just makes sense for a commercial space to be Instagrammable in this day and age – it’s more than decor, it’s marketing!
When it comes to home decor, a green wall can make you feel closer to nature even if you are living in the city.
As artificial plants are made to last, it would be a one-time investment with just the cost of the initial setup. If you’re quite the handyman and very much into DIY (Do It Yourself). You can save on costs with these super easy-to-install Green Walls which come with a unique snap and lock system – no complex tools needed.
Artificial Plant Arrangement Ideas to Try
Artificial plants are versatile in design and décor. There are just so many ideas and options to try when decorating with artificial plants.
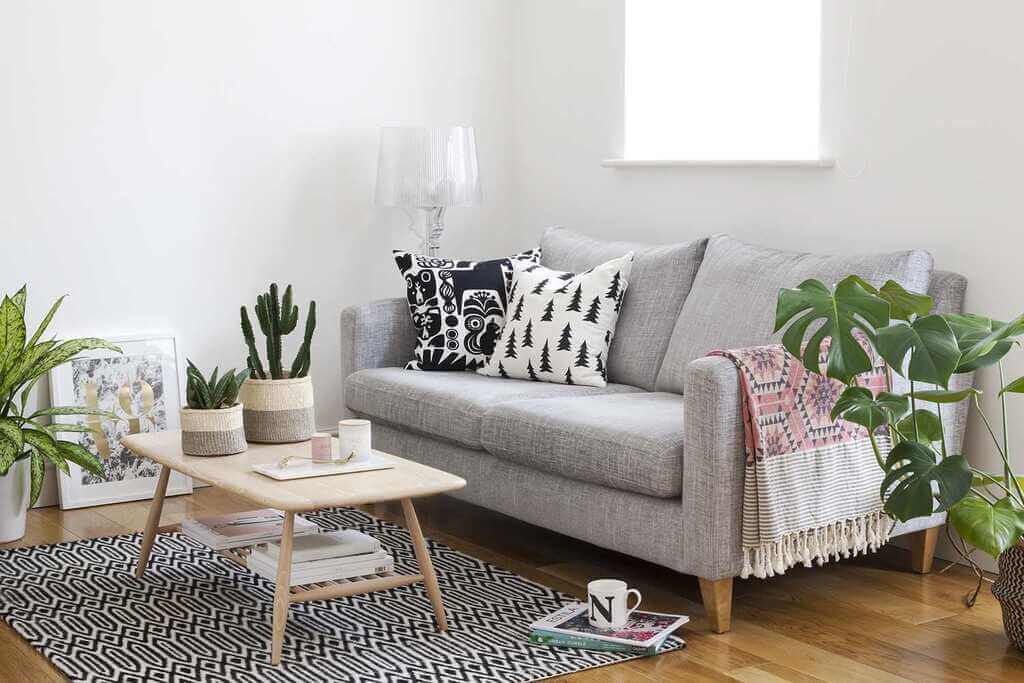
First of all, artificial plants can be kept anywhere without having to worry about sunlight. So you don’t have to be limited to sunny areas to place your greenery. Even dark walls and hallways can accessorize with foliage now!
With fake plants, you can switch them up anytime without any hassle, as there’s no need for digging and uprooting. They’re usually lightweight compare to their real counterparts too, which makes it that much easier to move them around.
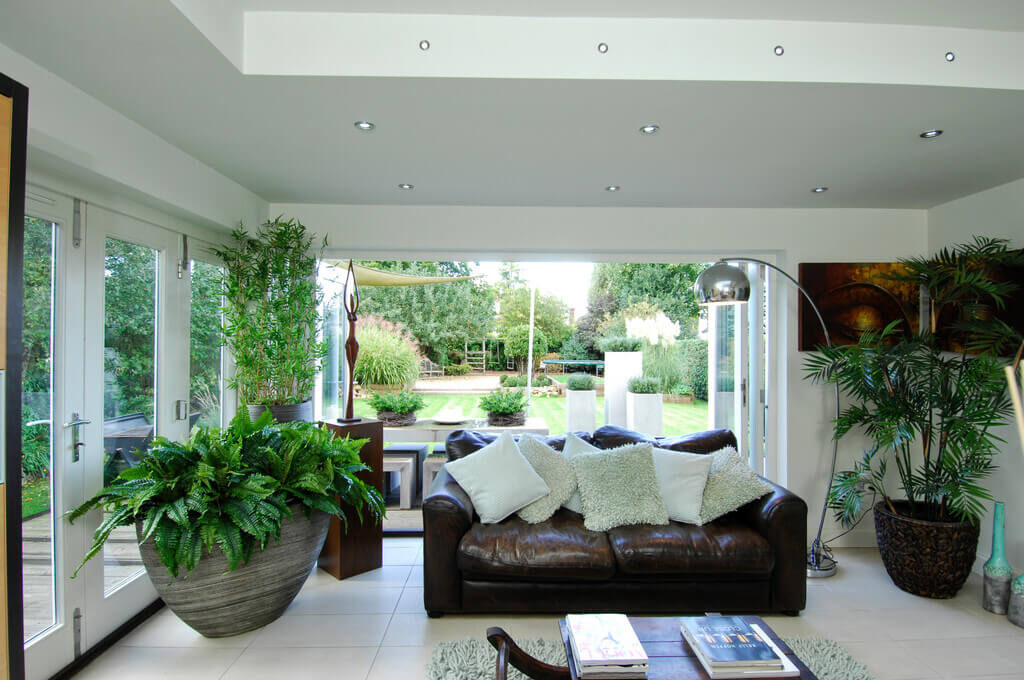
For wide spaces, give some tropical faux trees a try, it’ll make a room look abundant with green nature. Place your fake trees into some designer pots and give your room that needs extra color.
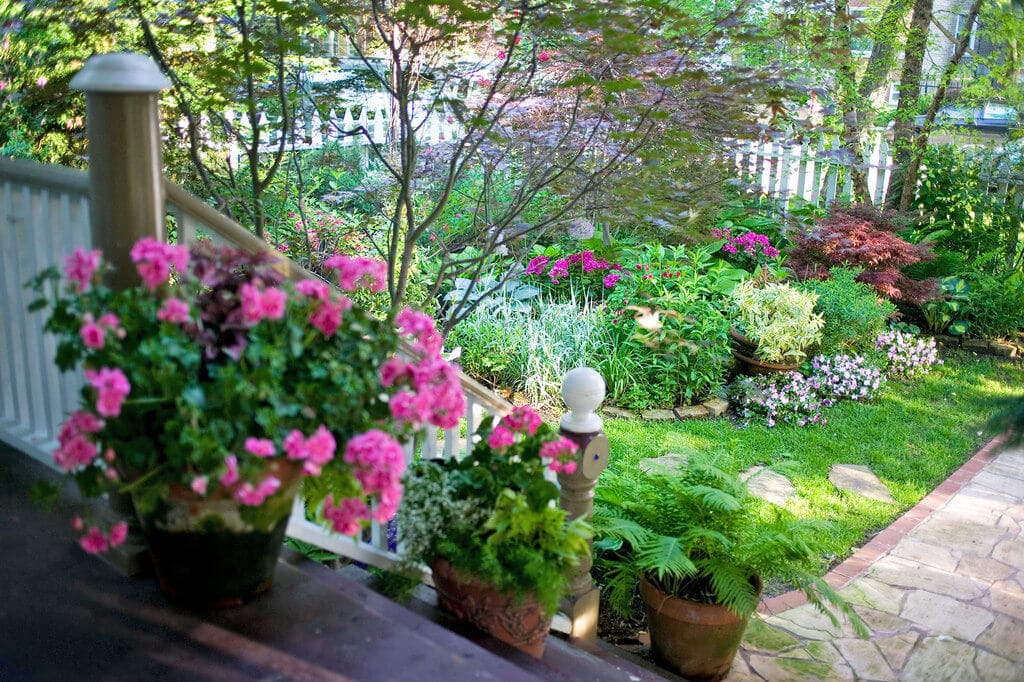
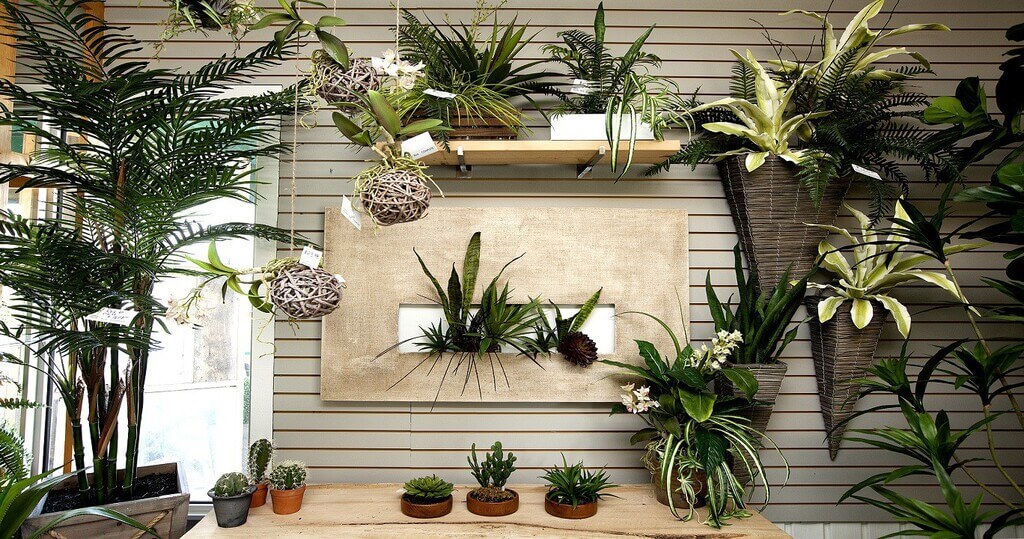
If there’s not much space to work with, artificial hanging plants can work wonders and provide some vertical appeal. There’s nothing quite as captivating as seeing a full, cascading row of hanging baskets, with lush greens catching the sun.
Spruce things up by mixing them up with some real plants for great effect and some floral wall art. Get creative!
Do keep in mind, when pairing artificial plants with real plants, look for fauxliage that looks real and natural and potted with fake soil, sand or stones as this will give the faux plant a realistic finish making it easy to match and blend in next to a real one. Unleash your creativity and see what works best for you!
Embrace the Fauxliage
Plants and greenery instantly uplift the mood and can brighten up anyone’s day!
Bring nature into your home and business with some artificial greenery, without having to worry about costly maintenance and upkeep down the road making it ideal for those with less time on their hands.
These days faux foliage can look ultra-realistic with lush leaves and can even recycle. Designer Plants is an artificial greenery manufacturer that happens to be the first in the world to offer 100% Recyclable Green Walls and a Green Wall Recycling Program.
When the time comes to dispose of their artificial greenery, people can prevent their wall from ending up in landfills and either repurpose the wall or turn the materials into something useful. How great is that?
As fake plants are also weather and mold resistant, they can last for years. This can save you much more when you compare to high-maintenance real plants, especially when other maintenance factors are considering.
With artificial plants, you can rest assured that you’ll get what you pay for!
Discover More: