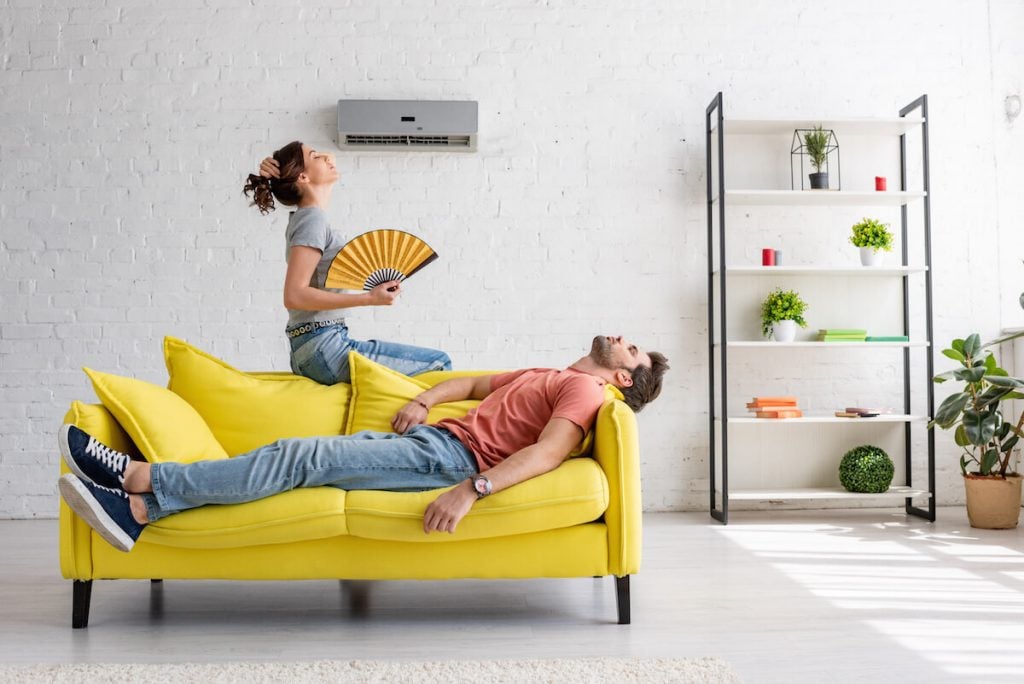
Air conditioner electrical problems can stop your unit from cooling your home and lead to expensive repairs if left unchecked. From tripped breakers to faulty thermostats, knowing what to look for can help you catch issues early and keep your AC running efficiently. In this guide, you’ll learn about the five most common electrical problems in air conditioners, what causes them, and what steps you can take to fix or prevent these issues.
1. Power Outage
Homeowners can experience a power outage due to a faulty electrical system, an overloaded circuit, or even weather conditions. To fix this issue, homeowners should check their circuit breakers and reset any tripped ones. If the problem persists, they may need to call an electrician for further inspection and repair.
2. Blowing Fuses
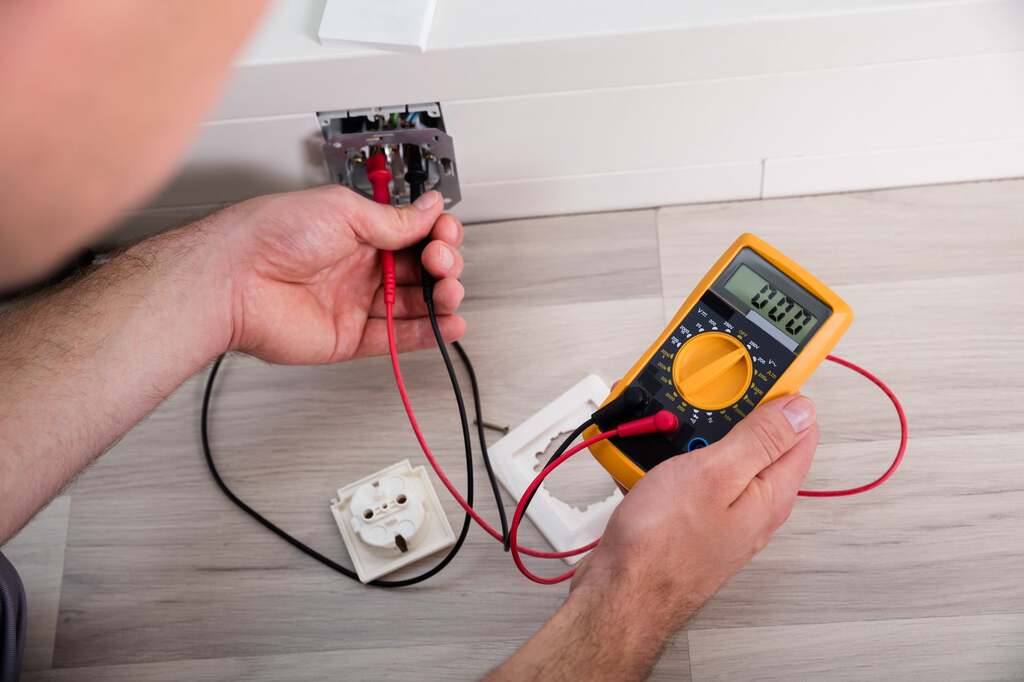
If an air conditioner is plugged into an old outlet or it’s overloading the circuits of your home’s electrical wiring, fuses may repeatedly blow until the issue is resolved. Homeowners should test their outlets with a voltage meter and replace any outdated ones if necessary. They may also want to consider installing additional circuits to reduce strain on existing outlets.
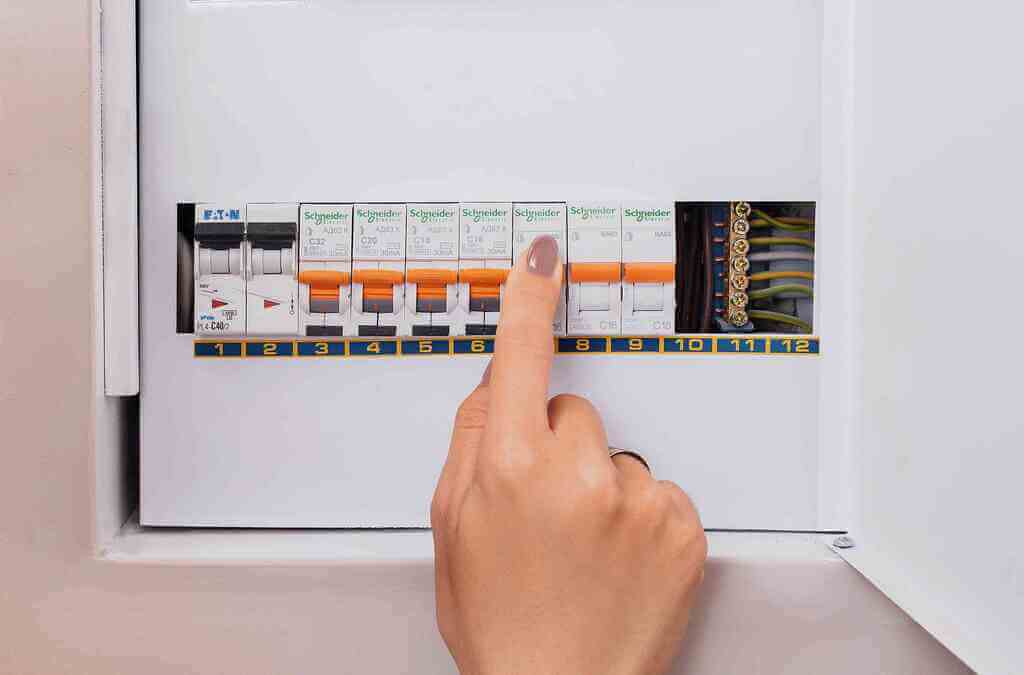
3. Tripping Circuit Breakers

The same factors that lead to blown fuses can cause periodic trips of all circuit breakers in the home—especially when higher wattage components such as central air conditioning units are involved. Homeowners should work with an electrician to find out what’s causing these issues and address them accordingly before running into more serious problems down the line.
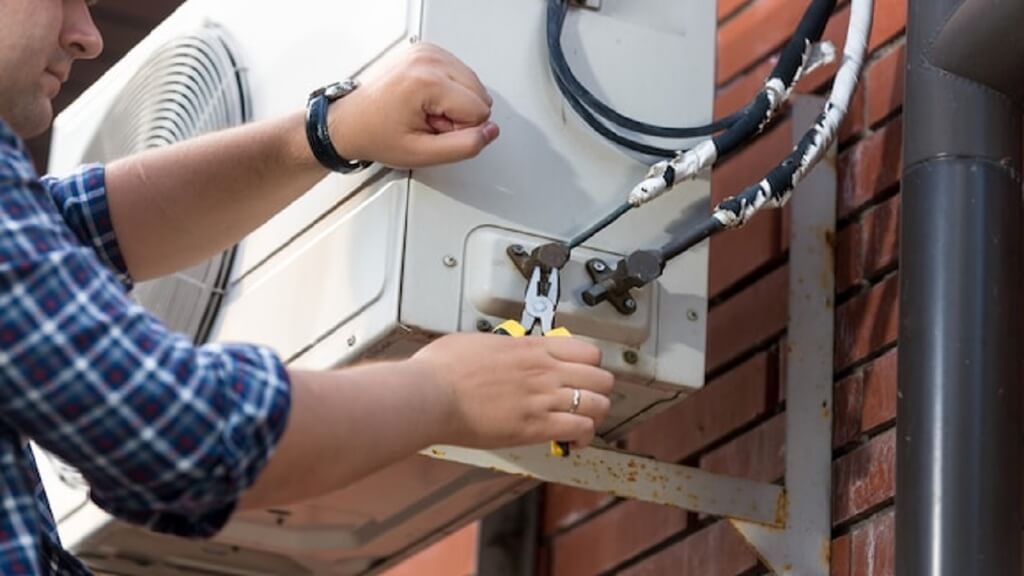
4. Faulty Wiring
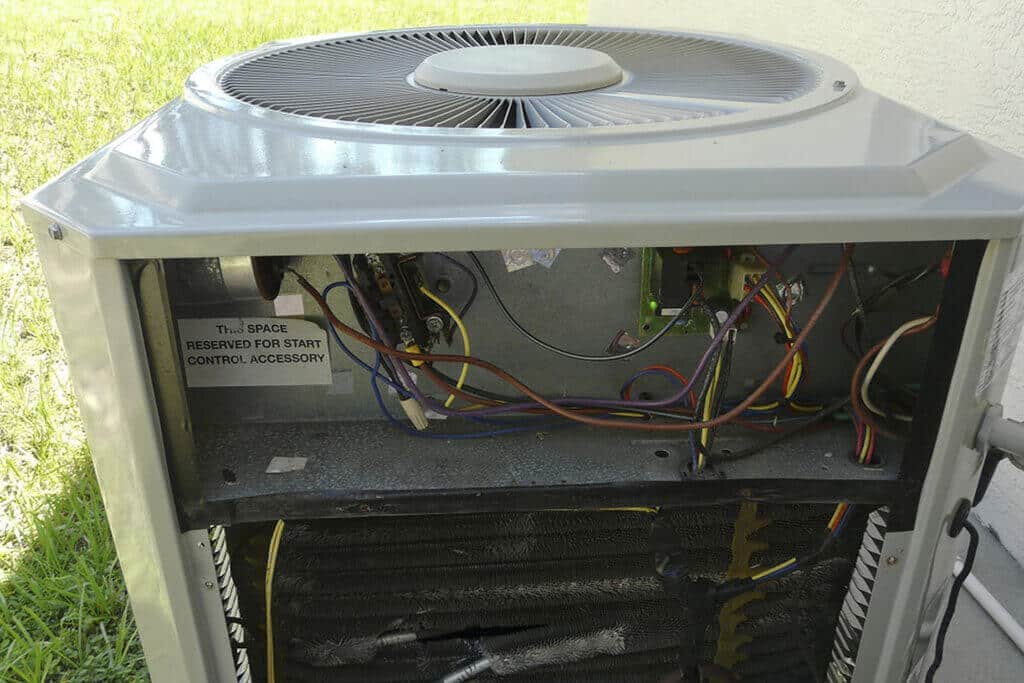
Over time, electricity will wear away at delicate wiring, causing issues such as shorts and sparks. Homeowners should have a professional electrician inspect all wiring in their home to ensure it’s up-to-date and functioning correctly.
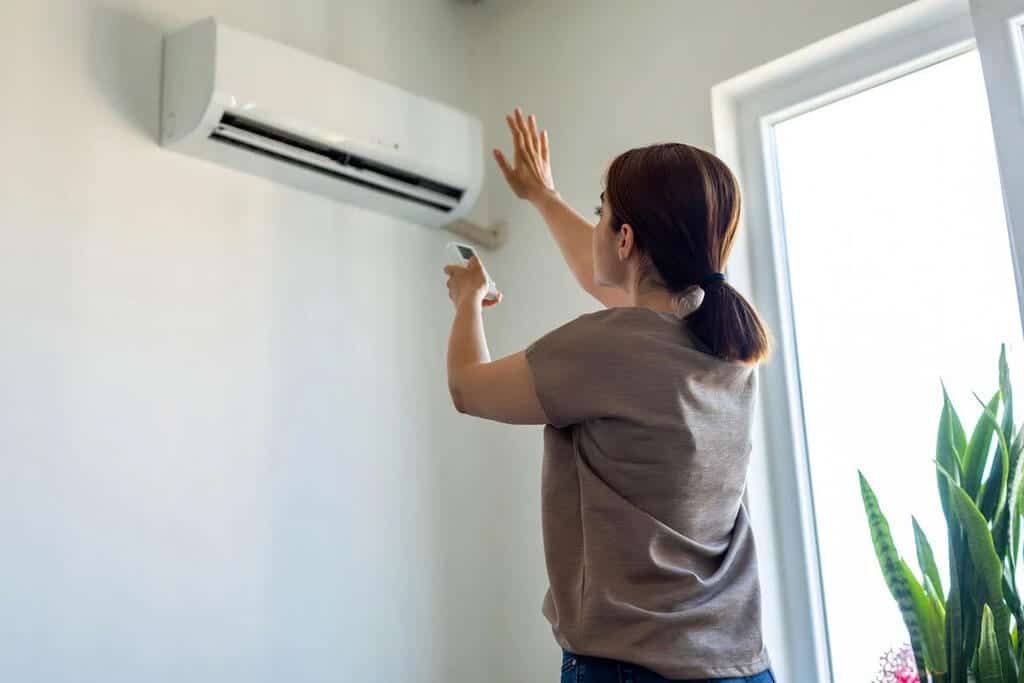
5. Faulty Thermostat
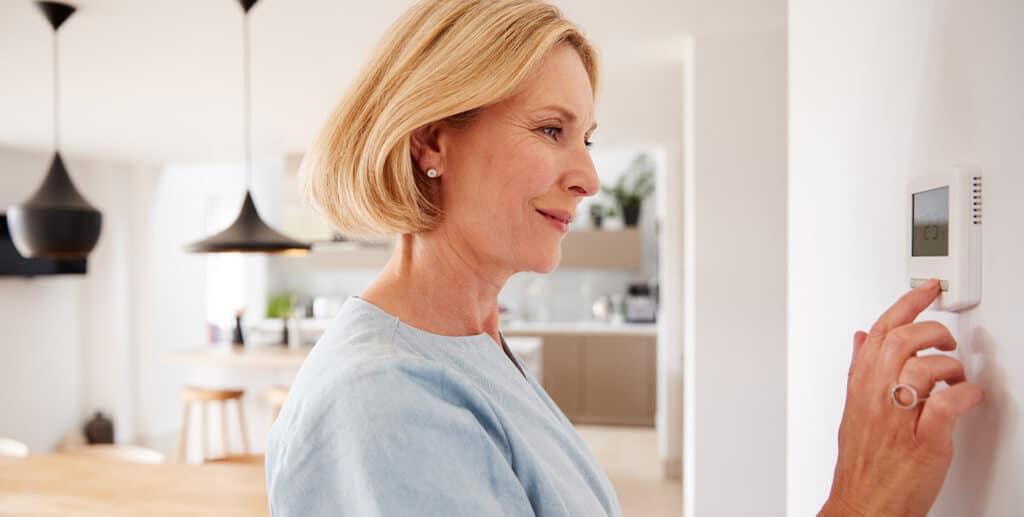
Homeowners could be experiencing electrical problems with their air conditioner if their thermostat isn’t working correctly. If the thermostat is old or outdated, the air conditioner may need to be replaced to function optimally. Homeowners should consult an expert for help identifying any underlying issues with their thermostats that require further repair or replacement.
Dealing with any of these electrical problems can be time-consuming and stressful. If you find yourself facing one of these issues, it’s best to contact a professional electrician as soon as possible so they can address the issue and get your air conditioner back up and running.
By tackling any underlying electrical issues, you’ll be able to keep your air conditioner running smoothly for years to come. Homeowners should keep an eye out for signs of any of these common electrical problems to avoid more serious repairs down the line.
Taking preventive measures like this will go a long way towards ensuring optimal performance from your air conditioner.
Who Should You Contact If Your Air Conditioner Has an Electrical Problem?
Homeowners should contact a reputable HVAC company if their air conditioner has any electrical problems. An experienced HVAC technician can help you solve the issue and provide a reliable solution.
With years of experience and access to the latest tools and technology, they can accurately identify electrical issues in an AC unit and offer repair or replacement services that are tailored to the specific needs of the homeowner.
Homeowners should also ask about preventative maintenance services to help them keep their AC running efficiently for years to come. Qualified technicians can inspect wiring, fuses, outlets, circuit breakers, and thermostats to ensure no potential problems are lurking beneath the surface. They can also offer advice on how homeowners can best protect their AC units and prevent future electrical issues from occurring.
Conclusion
Homeowners should be aware of the five most common electrical problems of air conditioners and take preventive measures like regularly inspecting wiring, fuses, outlets, circuit breakers, and thermostats. If they suspect any underlying issues with their AC unit’s electrical components or performance, it’s best to contact a qualified HVAC technician as soon as possible.
Hopefully, today’s article has been useful in helping you identify some of the most common electrical problems of air conditioners and provide solutions to address them. If you have any further questions or need help troubleshooting an issue with your AC unit, be sure to contact a professional HVAC technician for assistance. Homeowners should never attempt to repair their own wiring or components, which could lead to severe injury or worse.
Read More: