If you are planning to upgrade your home or commercial space, knowing the different types of stone tiles can help you choose the right option for your floors, walls, or outdoor areas. Natural stone tiles are valued for their timeless beauty, strength, and low maintenance, making them a popular choice for builders and homeowners. From marble and granite to sandstone and slate, each type of stone tile has unique benefits, textures, and colors that can enhance the look and value of your property. Here are the 8 different types of stone tiles and their features:
Slate
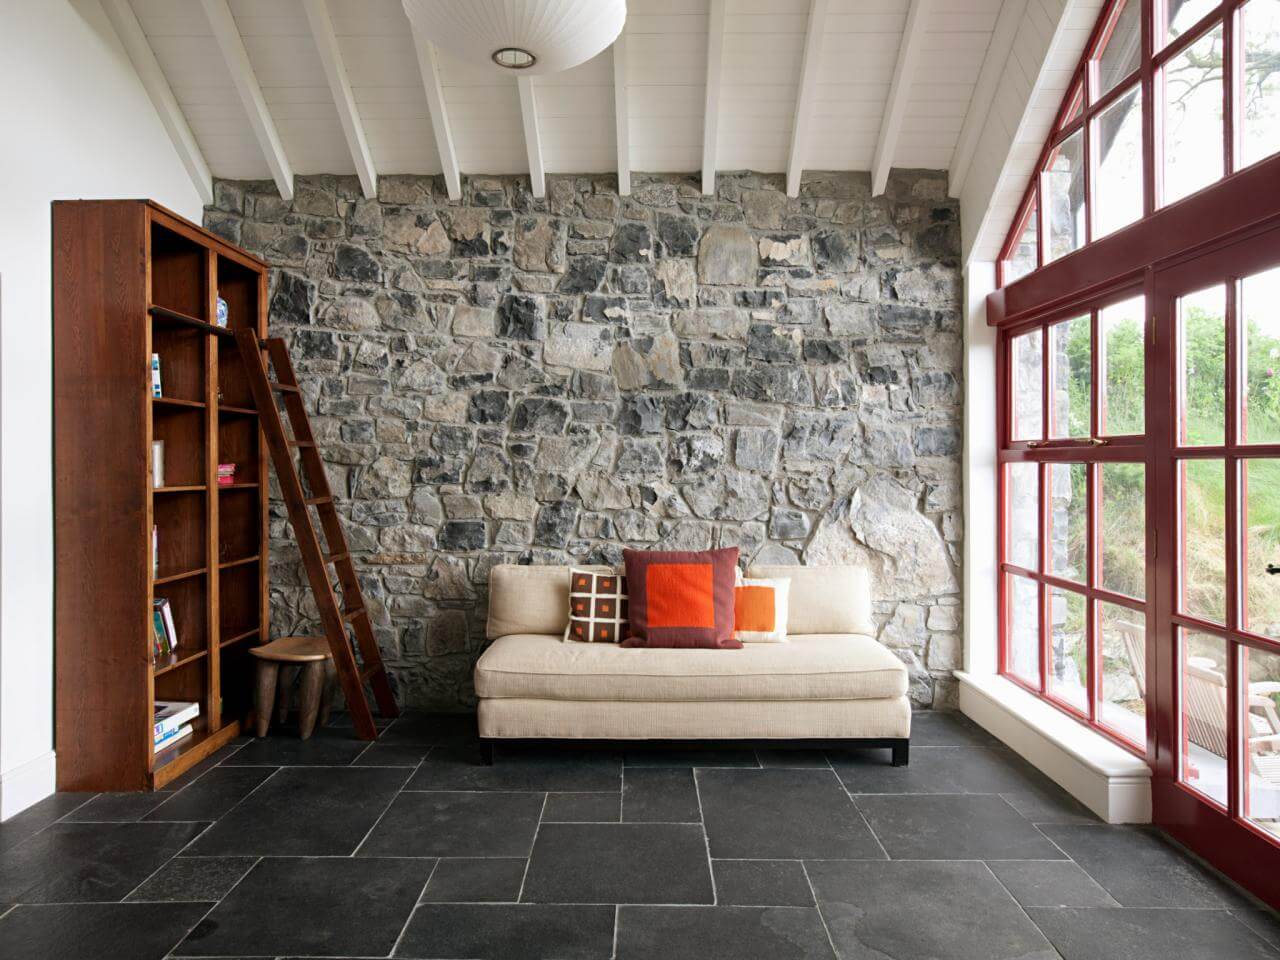
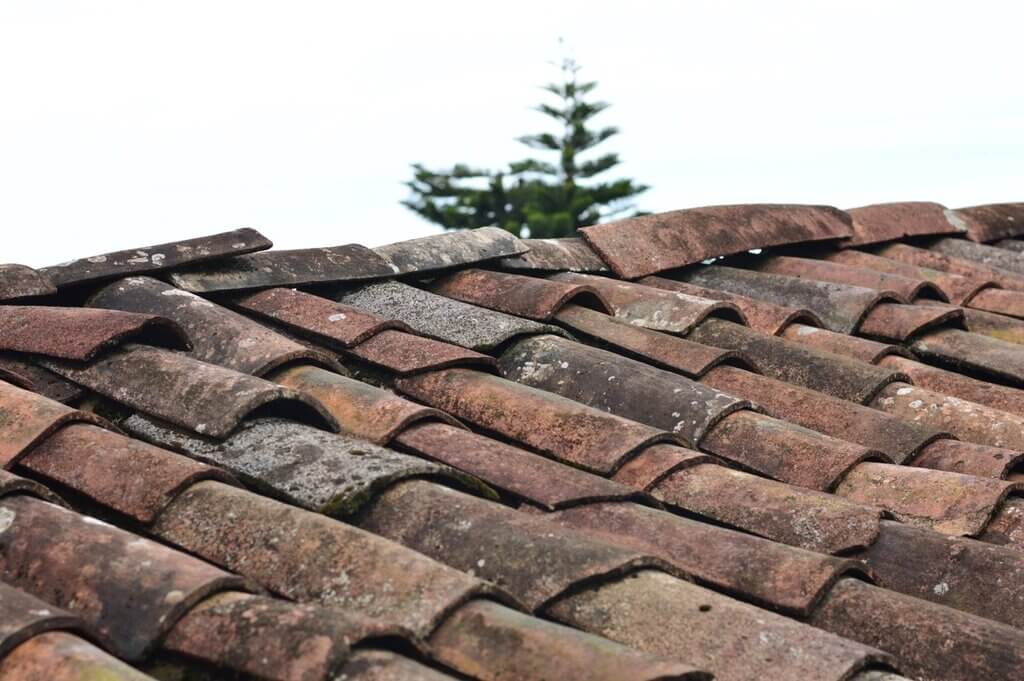
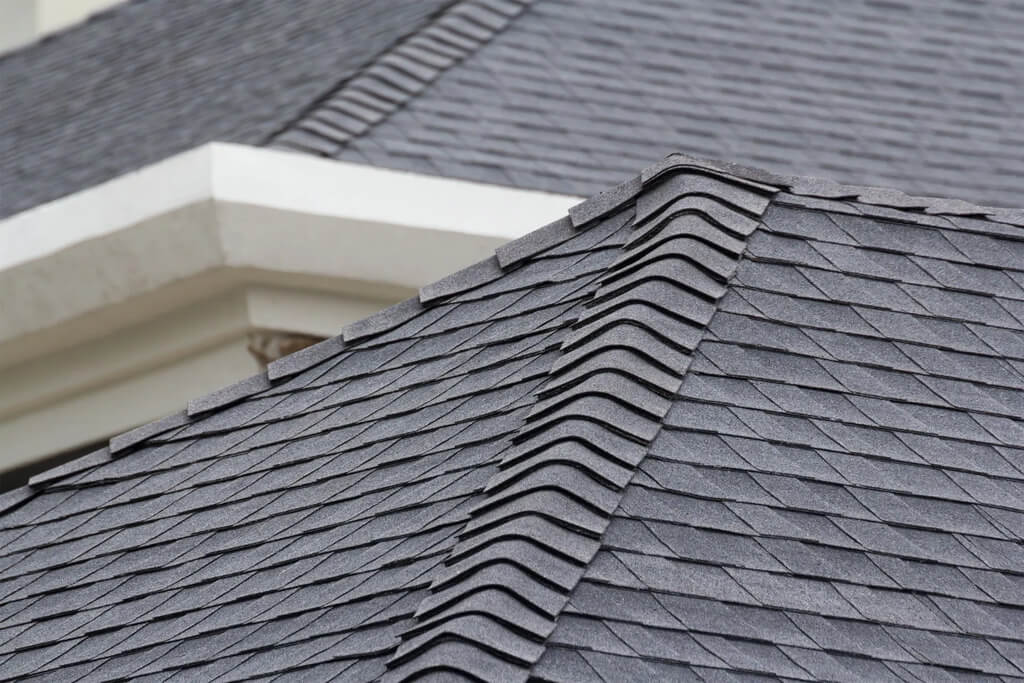
Slatestone has been used to make attractive and durable tiles for centuries. It is still commonly used in homes and even for roofs till today. Slate is a form of rock derived from clay or volcanic ash. Apart from its great aesthetic appeal, slate has many features that make it the perfect choice for your next tile work.
Slate has many versatile uses, but it’s most commonly used in flooring and roofing.
Some benefits of Slate tiles:
- Heat resistant
- Nonslippery
- Come in several colors and styles
- Durable
Limestone
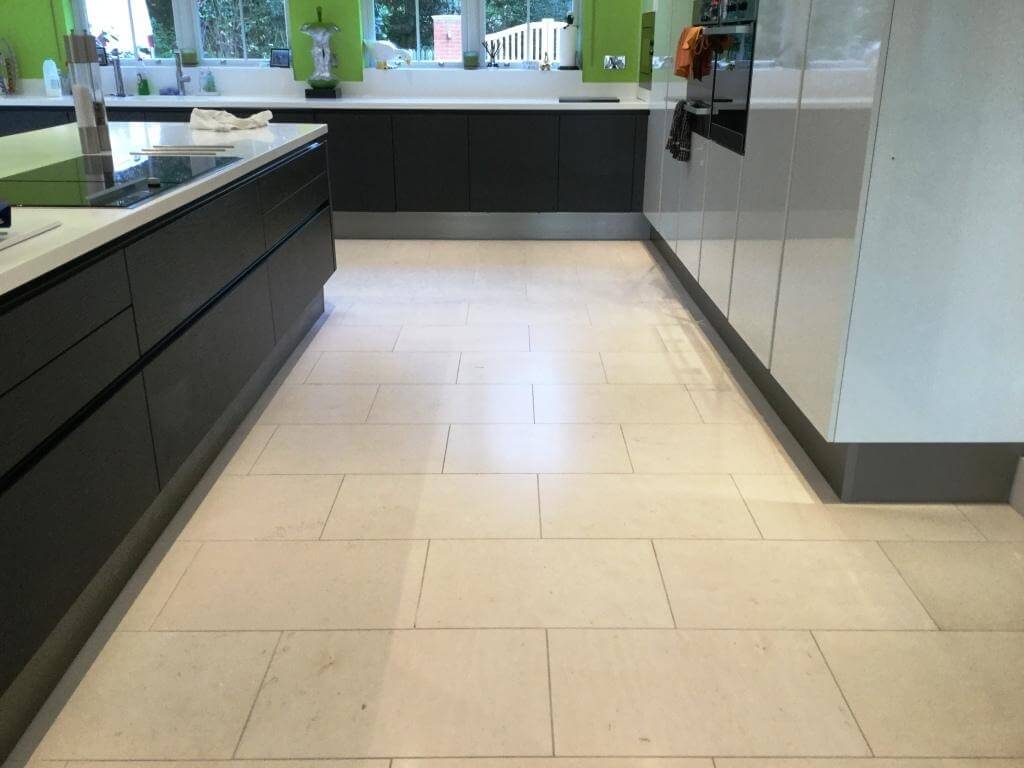
Limestone is a marvelous stone formed through a process that takes years to complete. In this process, small seashells and bones of sea creatures that have been deposited on the sea bed, change into solid rock with time. It is a beautiful stone that comes in a wide range of colors and shades. It enhances the interior or exterior of any residential or commercial property.
It is very strong, durable, and very easy to maintain. Interior designers love this stone and use it to beautify many areas.
Travertine
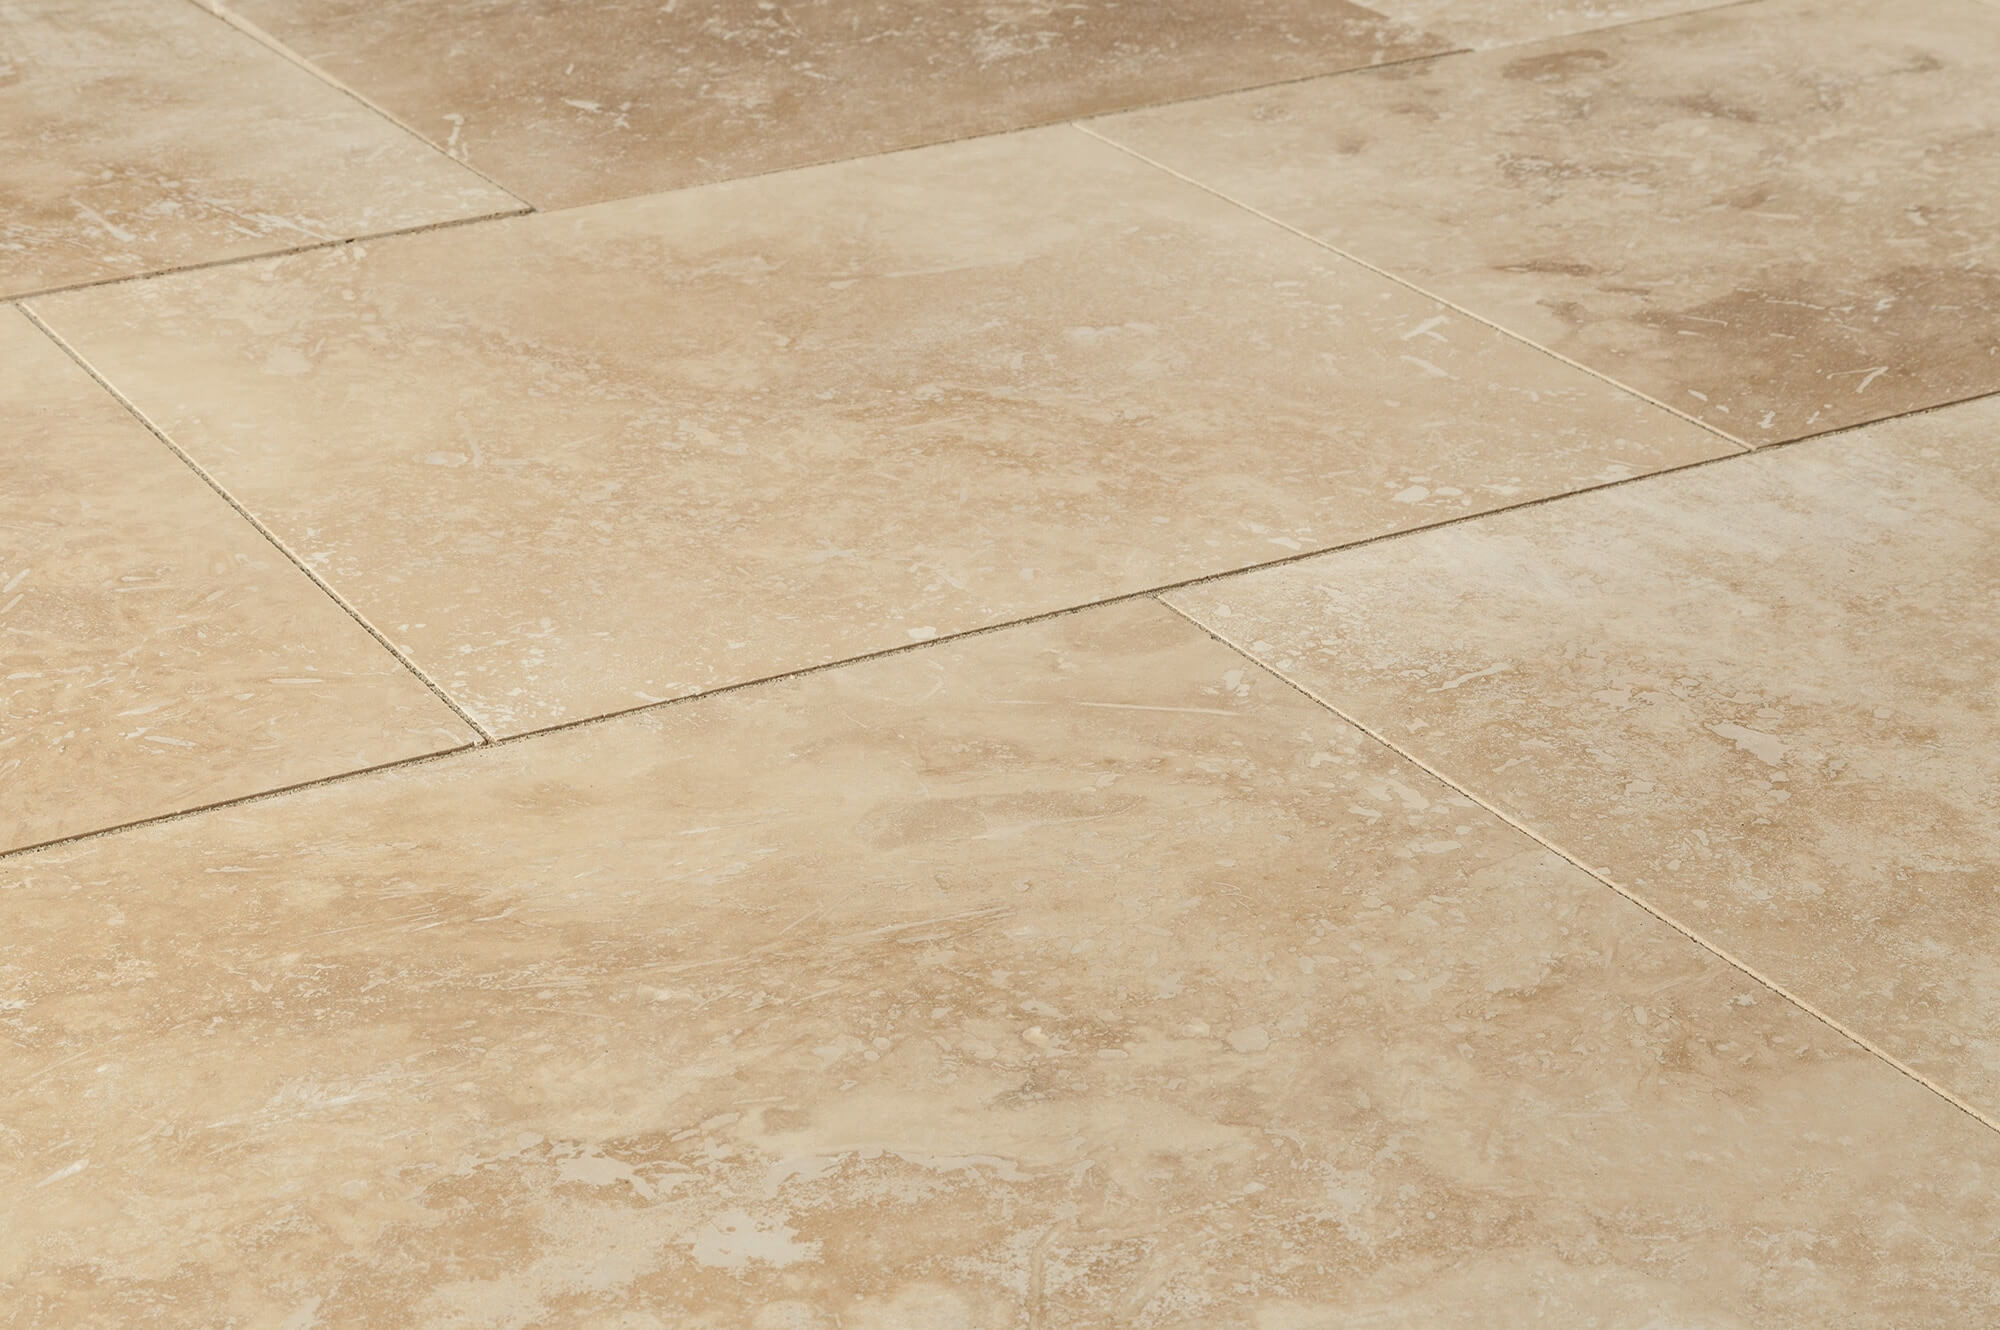
Travertine is a type of limestone that looks similar to marble. It is formed in hot springs or limestone caves. This stone is very commonly used in homes as a low-cost substitute for marble. Travertine can be found in many old buildings in Europe.
It has been used for a long time in the construction of buildings. Travertine tiles & pavers are the top choices for interior designers, architects, and developers because of their great features.
Top features of Travertine Tiles:
- These tiles are unique and each tile comes in a different natural look and design
- They look and feel great. In summer they are cool to the touch, while in winter they don’t get as cold as other tiles
- Very durable and long-lasting
- Add a beautiful look to any area or structure
- Very budget-friendly
Granite

Granite is a type of igneous rock most commonly used in flooring and countertops. Granite stone tiles are very tough, durable, and easy to maintain. They are a great option to use for paving in both residential and commercial properties. When polished granite tiles give a gorgeous look to your floor.
Granite tiles come in a variety of textures and colors to choose from. It is one of the hardest natural stones that can be used both indoors and outdoor due to its toughness and eye-catching appearance. They can be used in bathrooms, kitchens, living areas, patios, and around pools. The best part is while having so many benefits, granite tiles are an affordable option for all types of residential and commercial properties.
Sandstone
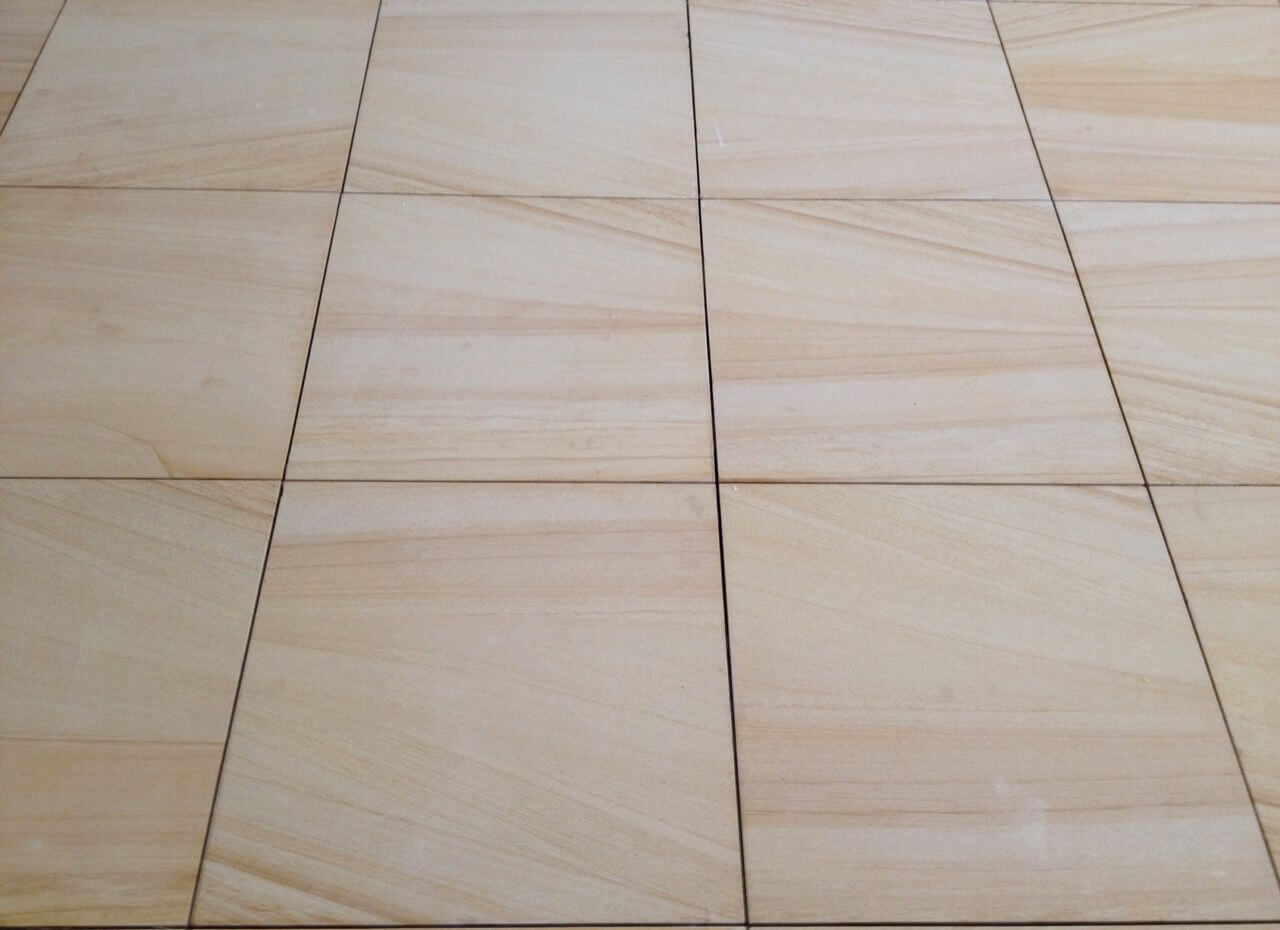
Sandstone has been used for ages due to its durable nature and the large variety of textures and colors. It was widely used in the colonial era and can be seen in many heritage buildings of Sydney. It is still used in many homes, mansions, and beach houses all over Australia.
The formation of Sandstone takes place in deserts or very dry places. Sandstone tiles are mostly used in flooring, walls, pavings, and gardens. It is a very common building and paving material. Sandstone is very unique and comes in a large variety of colors.
Quartzite

Quartzite is a metamorphic stone that is very strong and solid. Starting as sandstone, it transforms its structure due to long-term contact with heat and pressure. Such characteristics make it an ideal choice for paving. Thick and robust, its non-slippery surface needs minimum maintenance, even in wet conditions.
Quartzite tiles have a vintage look with lovely natural colors and texture variations. It is being used as a substitute for ceramic wall tiles. These tiles are great for poolsides and bathrooms because of their non-slippery feature.
Marble
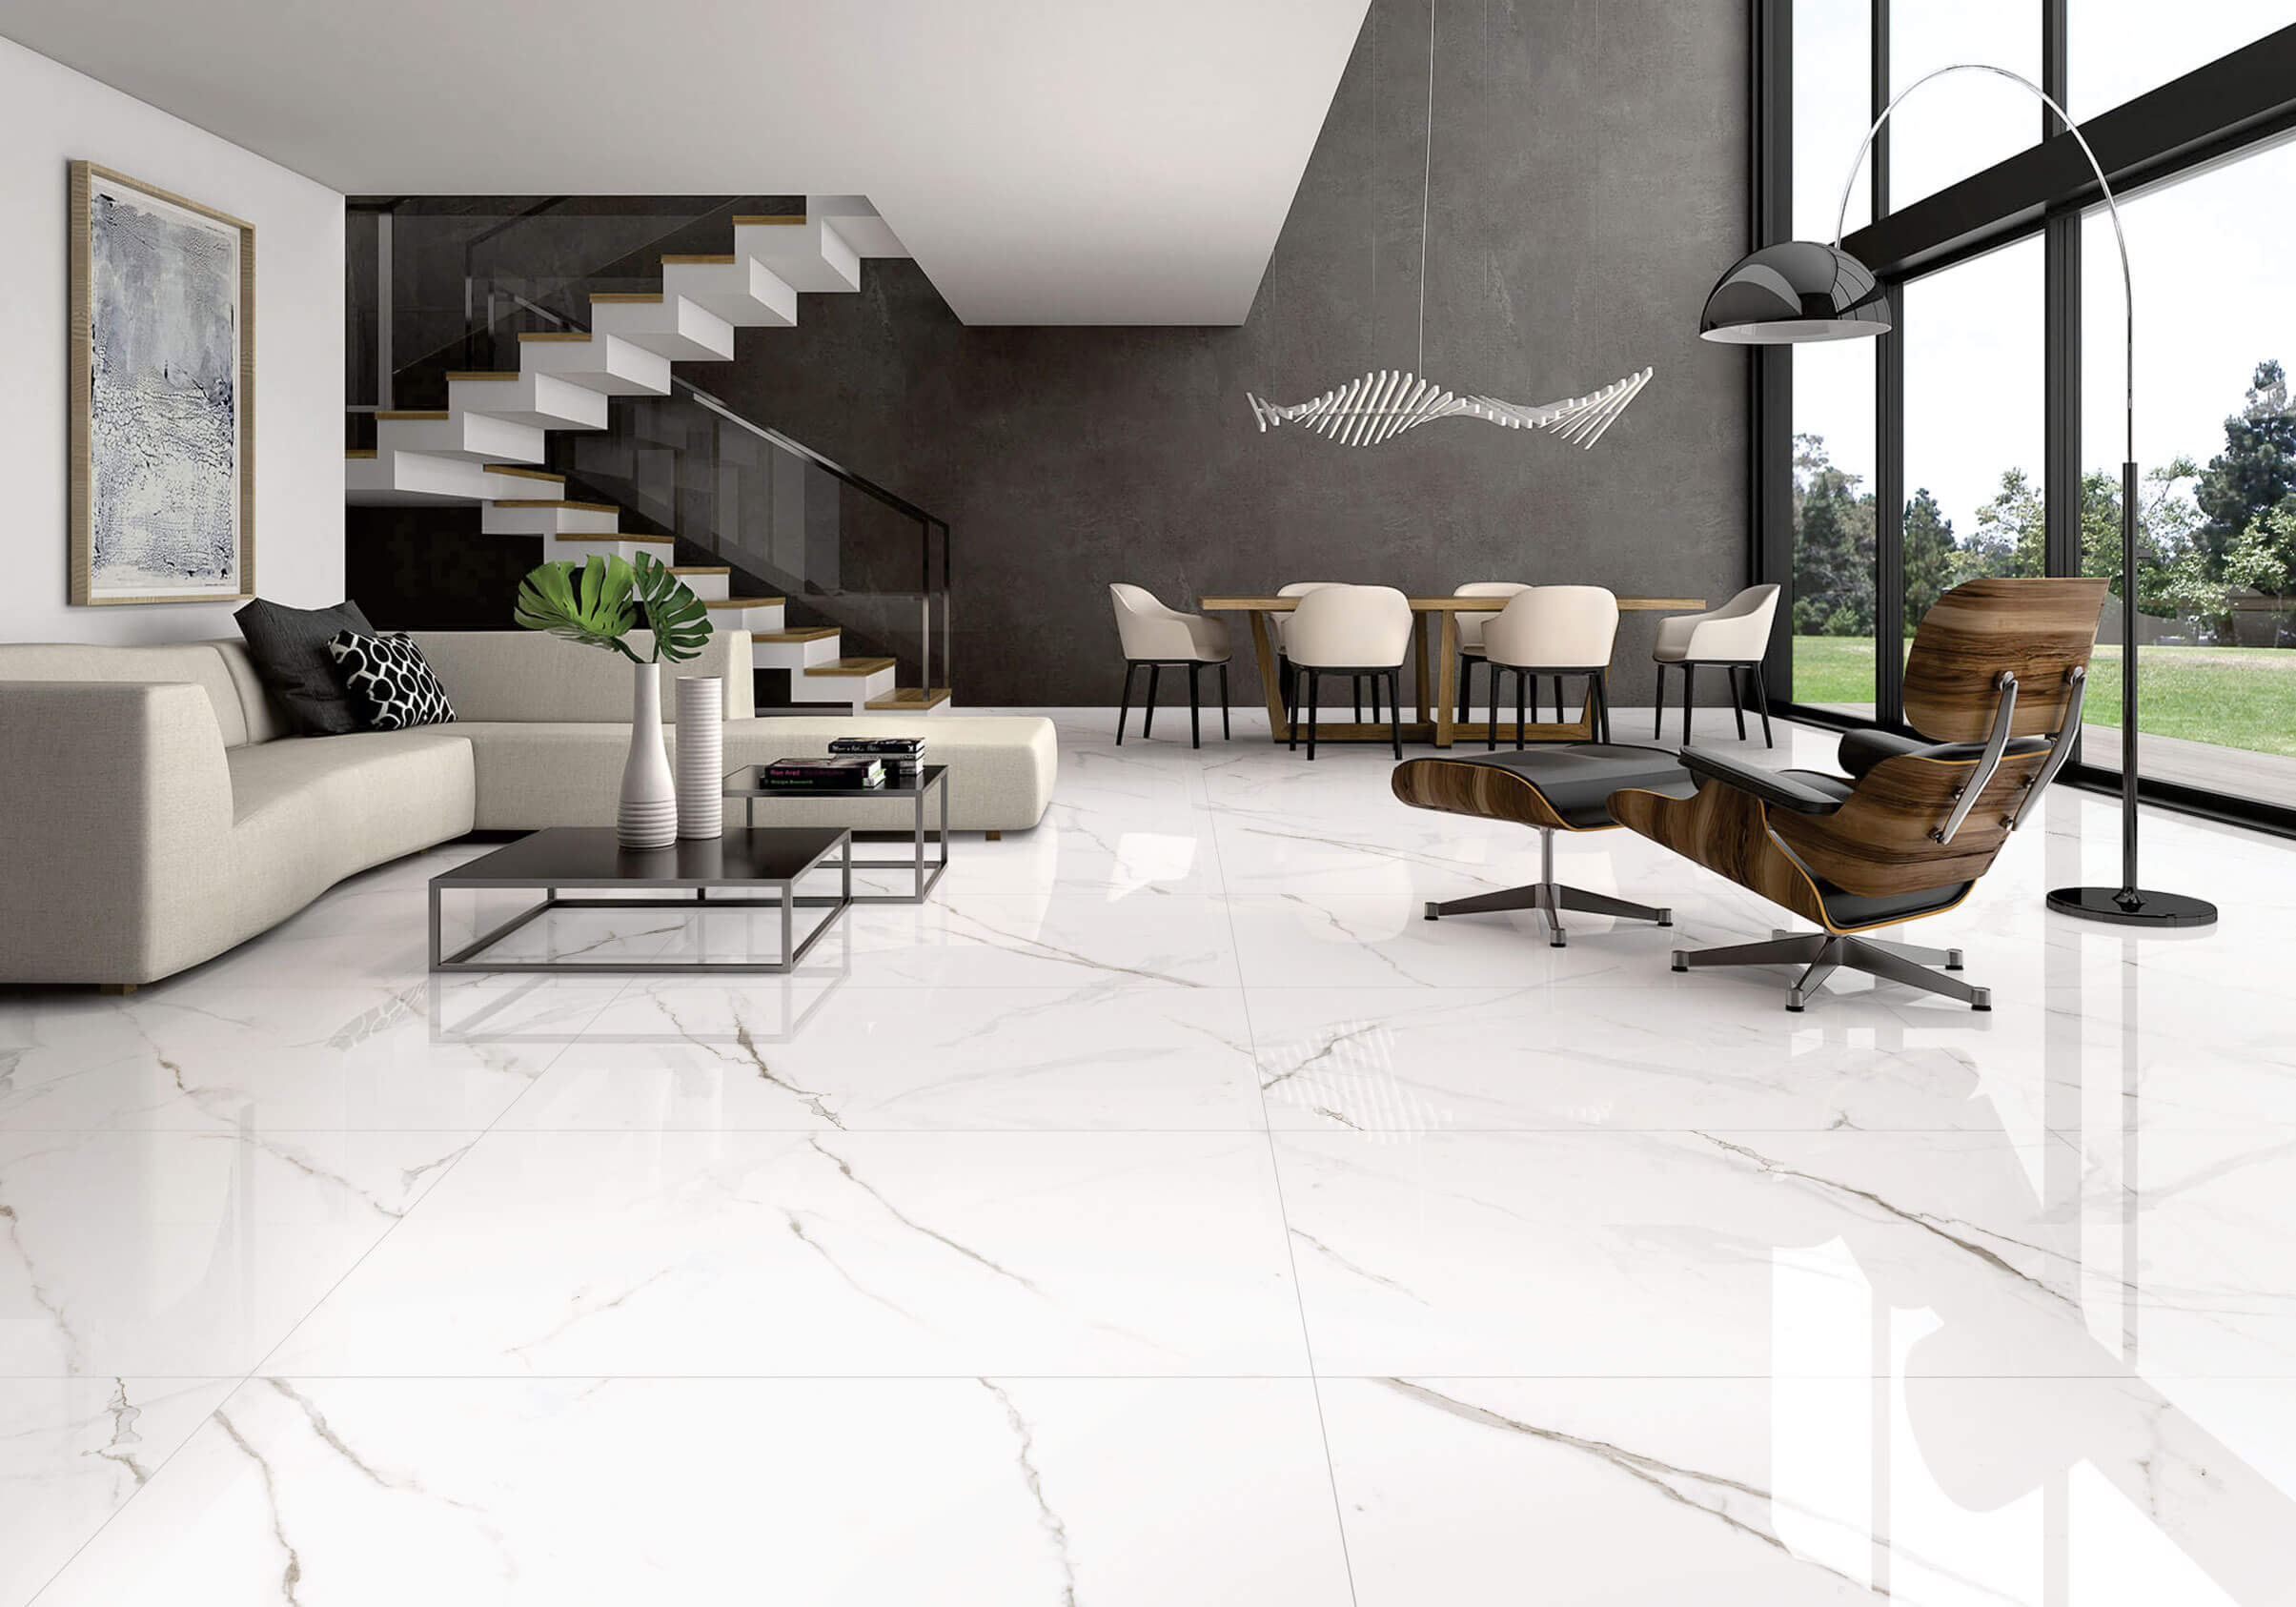
No other material exudes elegance than marble. Marble stone tiles are the perfect way to beautify your residential or commercial project. Marble floor tiles are not only perfect for use in bathrooms, kitchens or living areas, they are also great for high-end upscale hotels and restaurants.
Marble tiles are a perfect way to add a touch of class to your home or commercial property. They are available in different colors from beige tones to deep dark gray shades. Marble tiles are available in polished or honed finishes. A polished marble tile brings out the natural colors and grains of the stone giving it a unique and distinctive look.
Bluestone
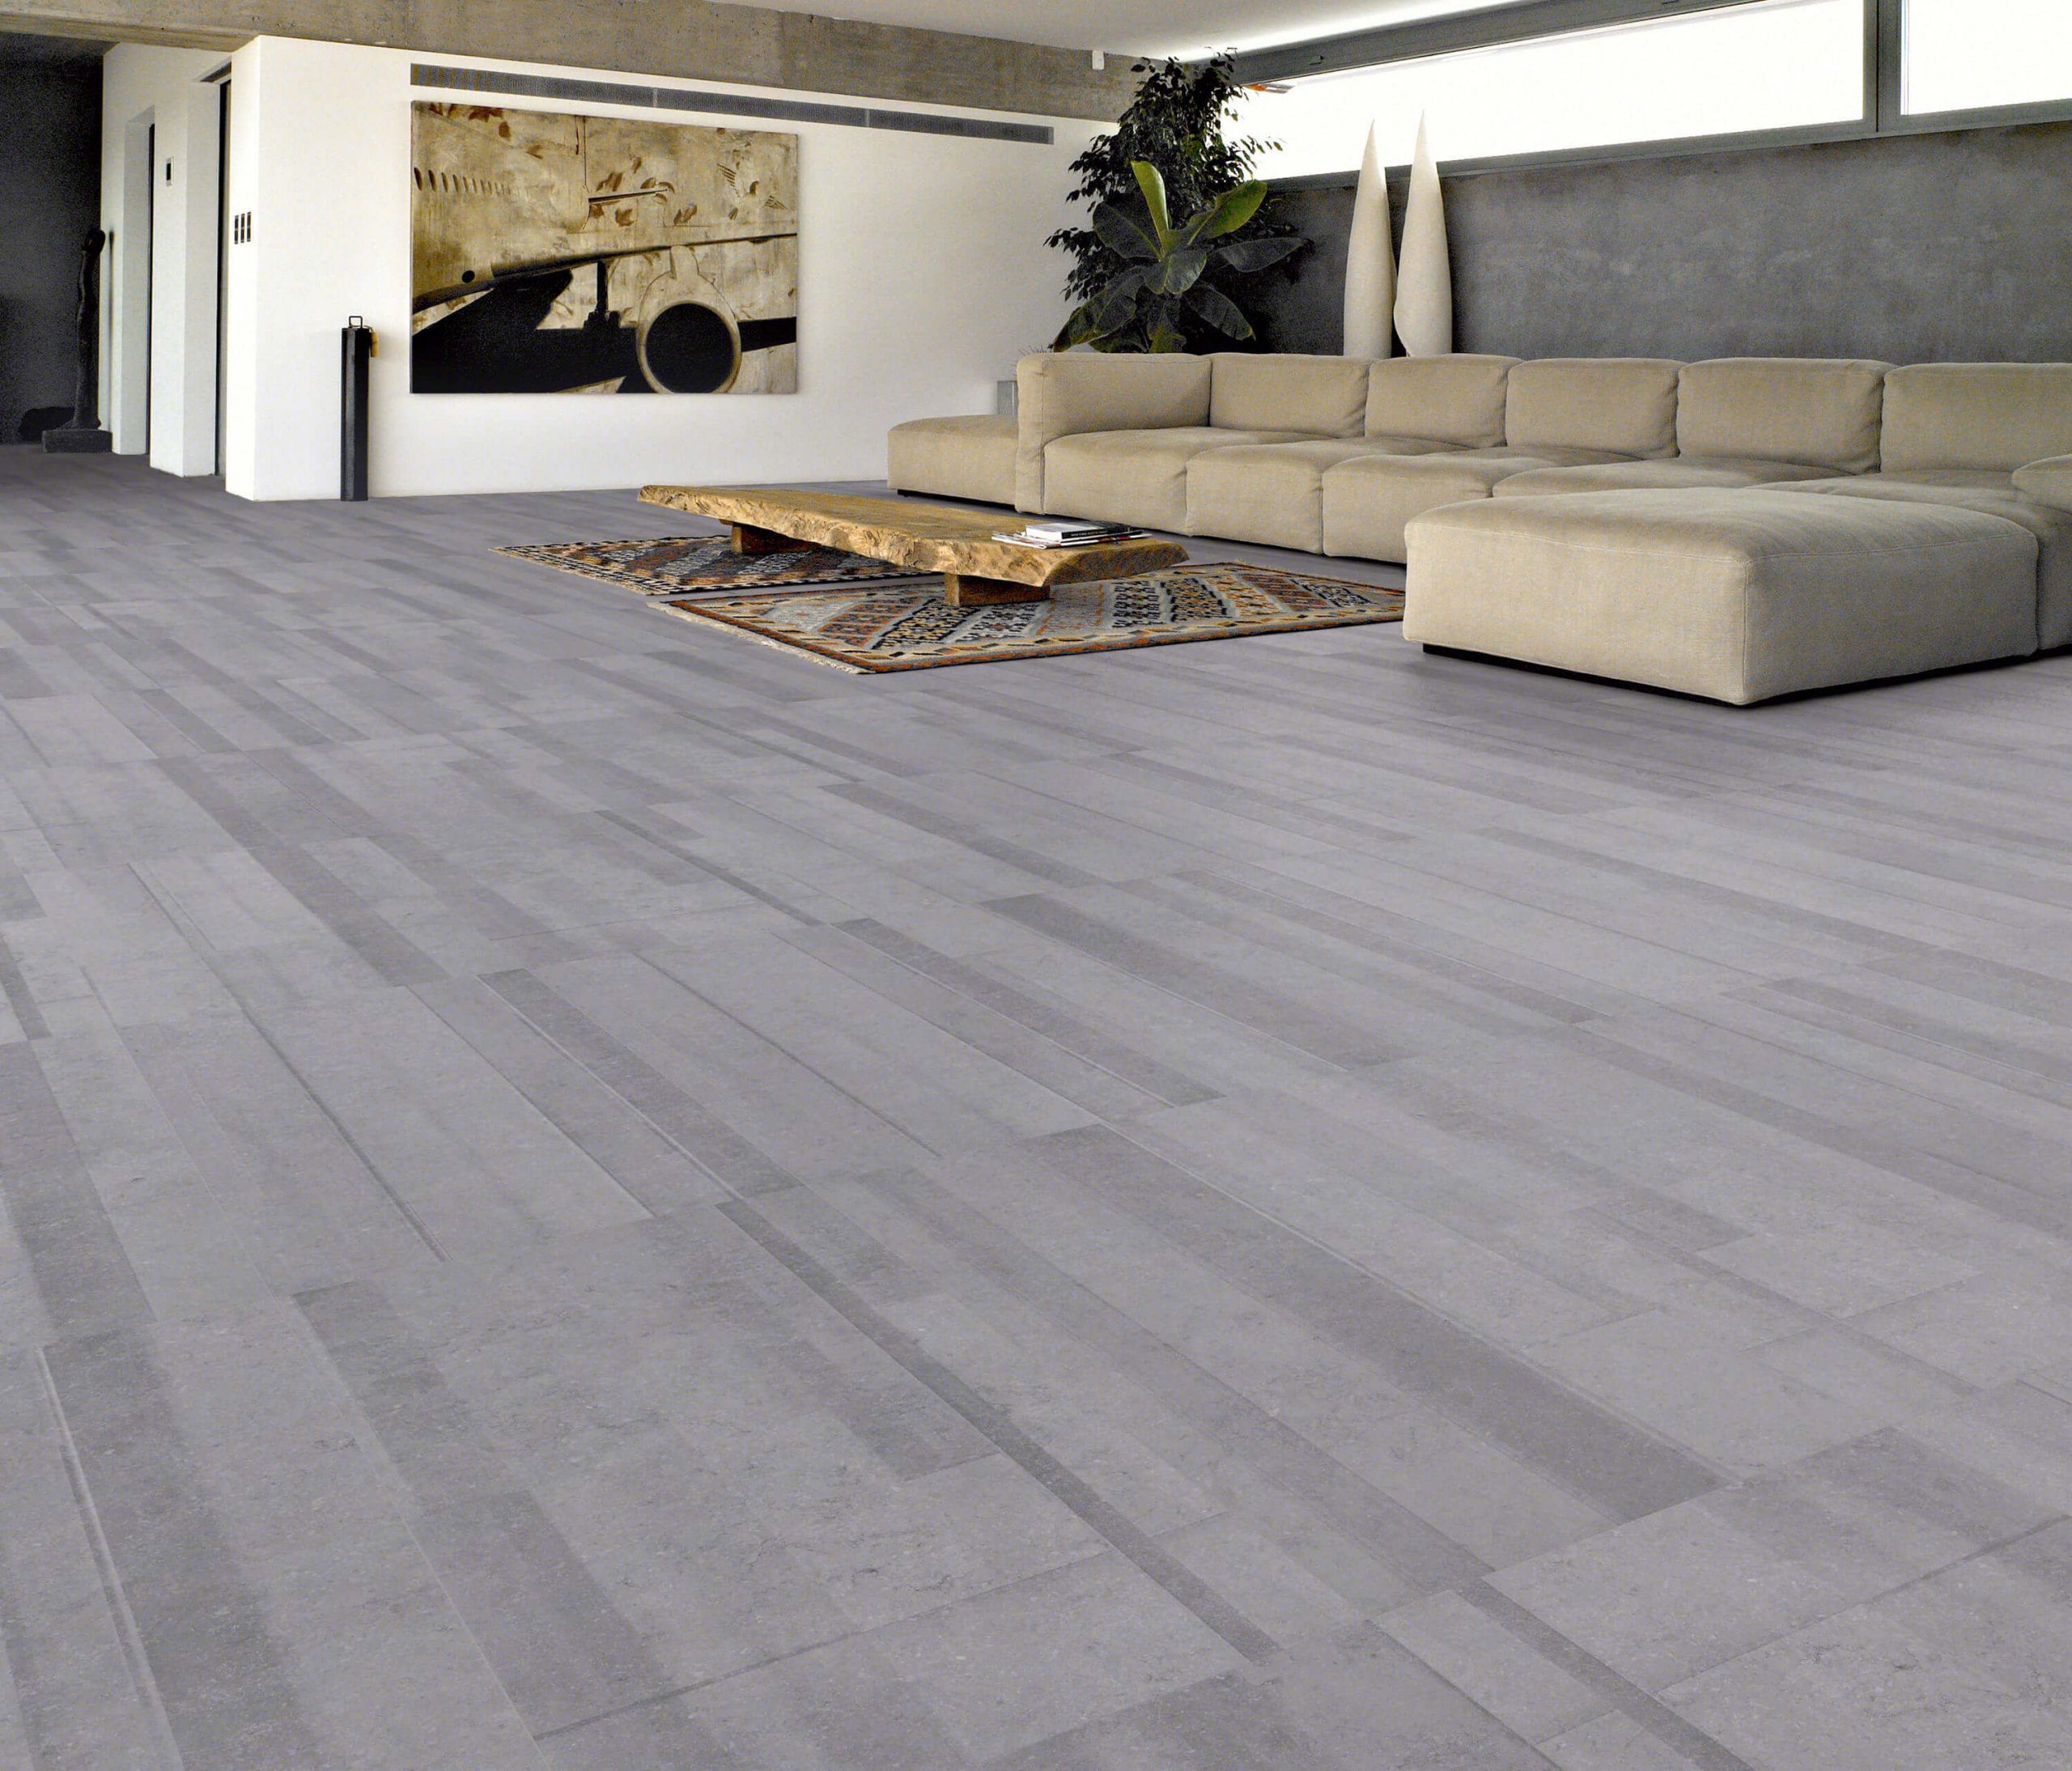
Bluestone is an igneous natural stone also known as Basalt. It is a medium-dark-grained rock that is even harder than granite. Bluestone has been used as cobblestone and for paving and gutters for many years in Australia.
Bluestone tiles offer a tough durable surface that is not known and scratch-resistant making it perfect for all indoor and outdoor areas of residential and commercial properties. Bluestone tiles are used for different purposes, from garden steps to large commercial developments. Bluestone may be used both inside and outside on floors and wall claddings.
This stone’s dark and earthy tones are a wonderful option for those who are looking for a simple and modern look.
Explore further:-