Outdoor wall decor may seem like a small part of your outdoor space, but it plays a big role in defining its character and giving it a polished look. These pieces are like the finishing touches that prevent those dull, empty walls and let you showcase your unique style.
Outdoor wall decors are in trend, and it’s easy to see why. These walls let you make the most of your unused yard space and add to your enjoyment when the weather is nice. Making your outdoor walls look great can make your outdoor living area even more appealing. What’s great is that there are lots of lovely ways to do it. Check out these ideas for some of our top picks on how to decorate your outdoor wall.
Let’s take a look at some of the freshest outdoor wall décor ideas to give your home a new look:
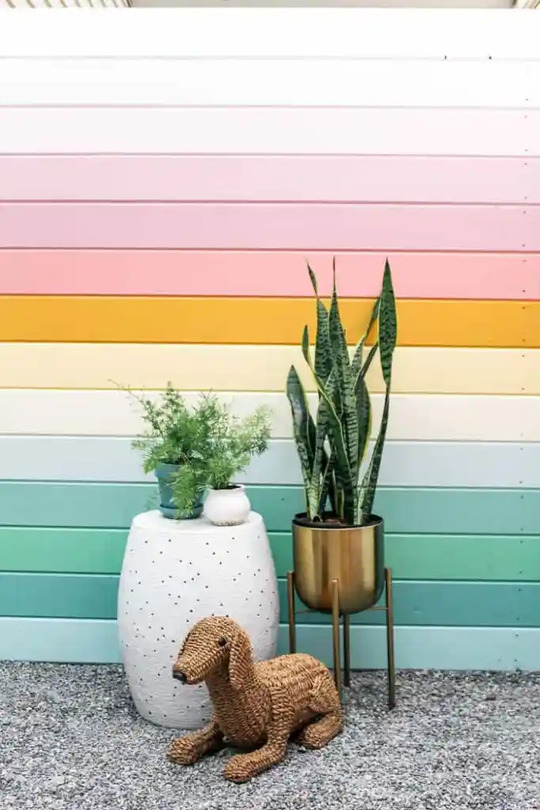
1. Rainbow Privacy Fence
A privacy fence can help you divide and define different areas in your outdoor space, making it feel more organized and private. You can get creative by painting each board a different color to get a colorful palette.
For instance, in the picture, they used a cool blue-green color that transitions from orange to pink. It gives the fence the appearance of a beautiful sunrise over a lush green hill. You can choose colors that match your outdoor decor to make your space uniquely yours.
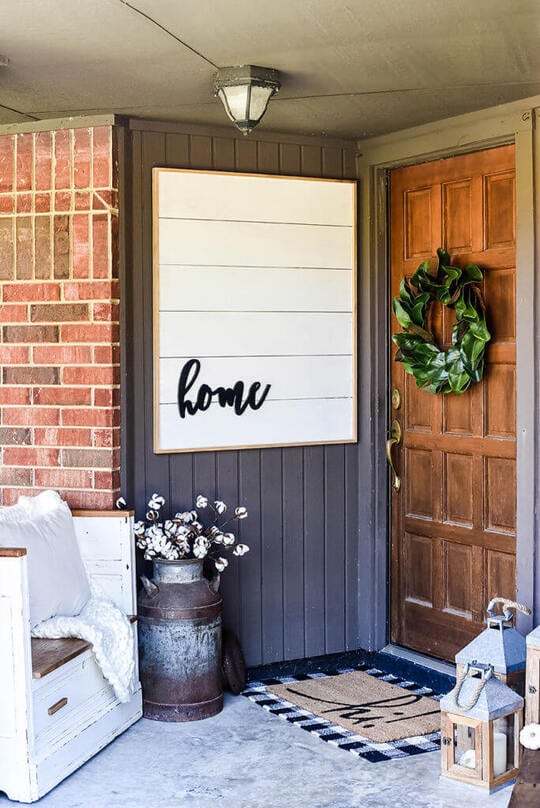
2. Asymmetrical Design Outdoor Wall Decor
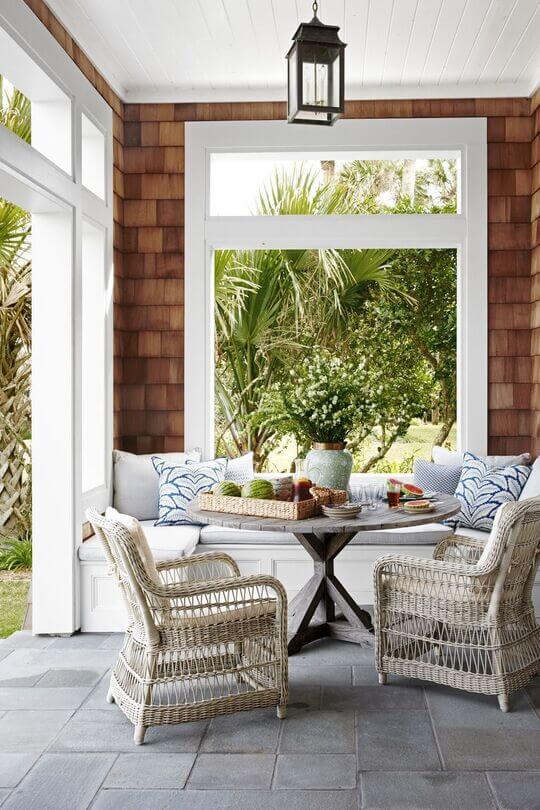
In the above decor, they’ve used fake shiplap and swirling text, and it looks really impressive. The word “home” is cleverly placed in the bottom left corner, highlighting the comfortable seating on this cozy, fall-themed porch.
This sign isn’t just good-looking; it’s also practical. It’s slim, so it doesn’t get in the way of the doorway, and it adds a nice final touch to the porch.
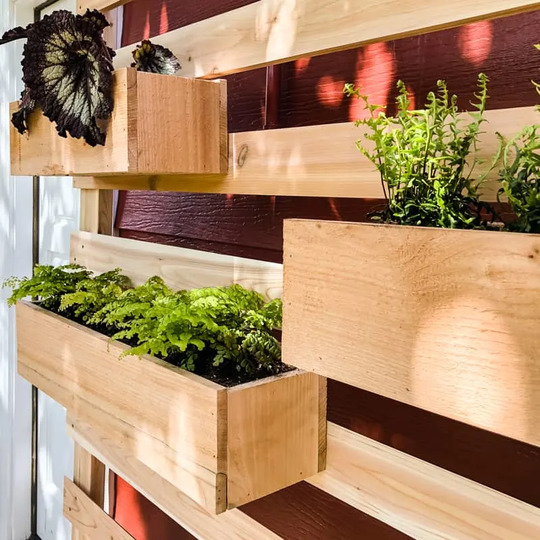
3. Freestanding Plant Wall with Removable Boxes
With French cleats, this design is super flexible, allowing you to adjust it to fit your specific gardening desires. If you want to create a beautiful, green living wall, just fill the boxes with climbing plants. They’ll grow and drape over the sides, giving you a lush look.
When it comes to what to plant, consider strawberries, herbs, or tomato plants. They’re not only gorgeous but also very useful for your cooking, making your outdoor wall decor both practical and lovely.
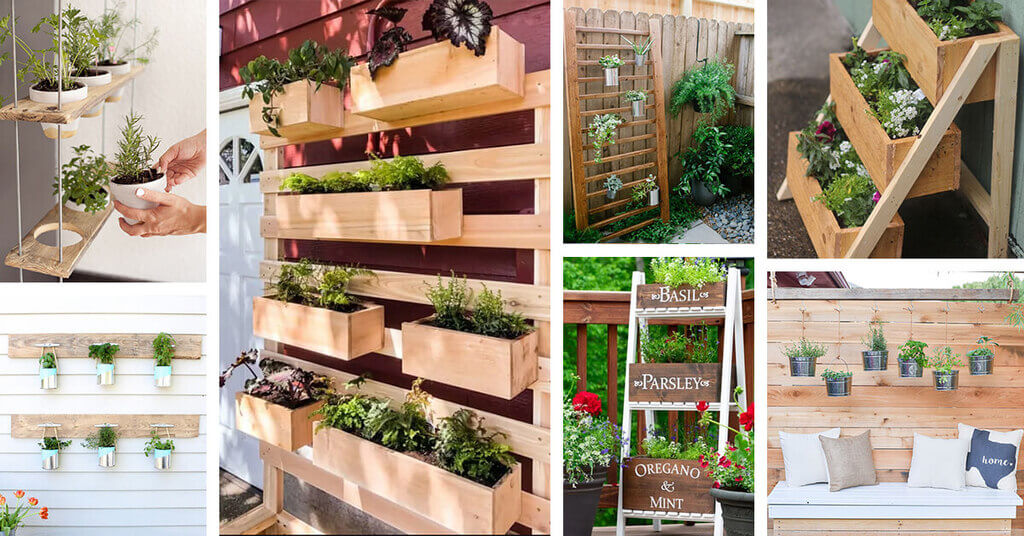
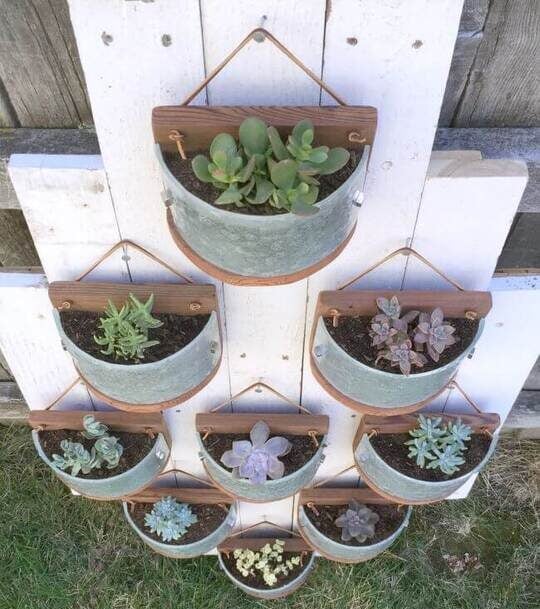
4. Vertical Herb Garden
When you have limited space, this vertical option is an ideal way to follow your gardening passion. If you love cooking, planting herbs is a fantastic choice.
To make sure your wall garden looks both beautiful and useful, pick a wooden structure with slats that match your style. Then, personalize it with baskets and buckets that suit your gardening needs.
5. DIY your Light Fixtures
Turning an old light fixture into hanging succulent plant holders is one of the clever exterior outdoor wall decor ideas to breathe fresh life into your garden. It’s like a mix of wood, leather, glass, and plants, blending different textures beautifully. Plus, with its modular design, it gives off a calming sense of balance and order.
Take a cue from this idea, and you’ll realize there are endless possibilities to repurpose your unused light fixtures at home.
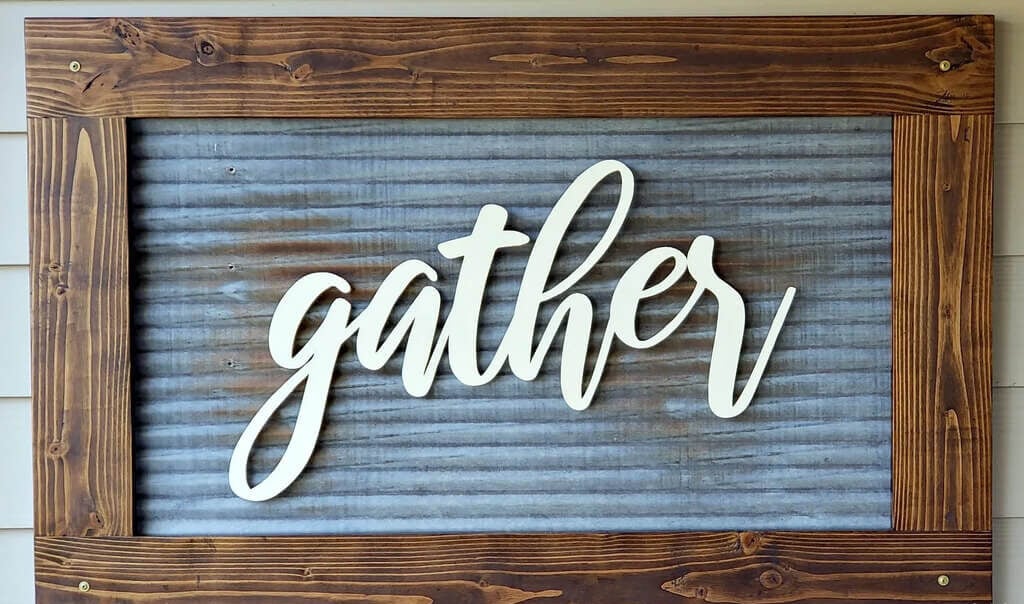
You can bring a farmhouse vibe to your porch throughout the year by making a wooden frame for a piece of rustic galvanized steel. To add a touch of fun and versatility, attach magnets to outdoor-friendly decorations that you can change with the seasons.
In this example, they’ve used cream laser-cut wood, but you can choose any lightweight material that matches your personal style.
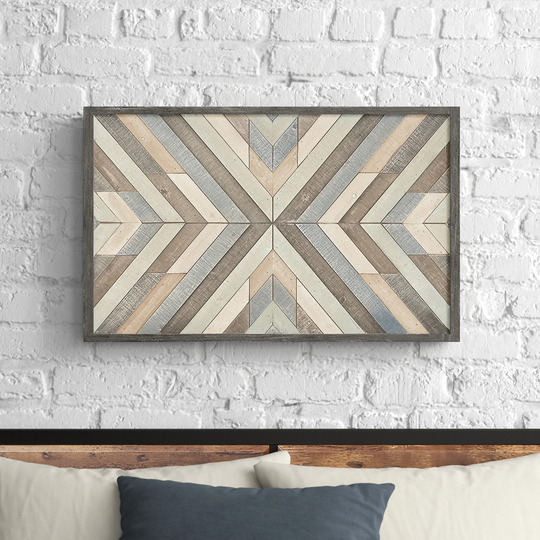
7. Geometric Outdoor Wall Art
Want to add some lively energy to your outdoor area? Try crafting this straightforward wooden wall art piece. Our ideas for outdoor wall decor will walk you through creating a basic geometric design that really pops. By using a whitewashing method for the paint, you can keep a hint of the wood’s natural texture. Get creative and use your favorite colors to make it your own!
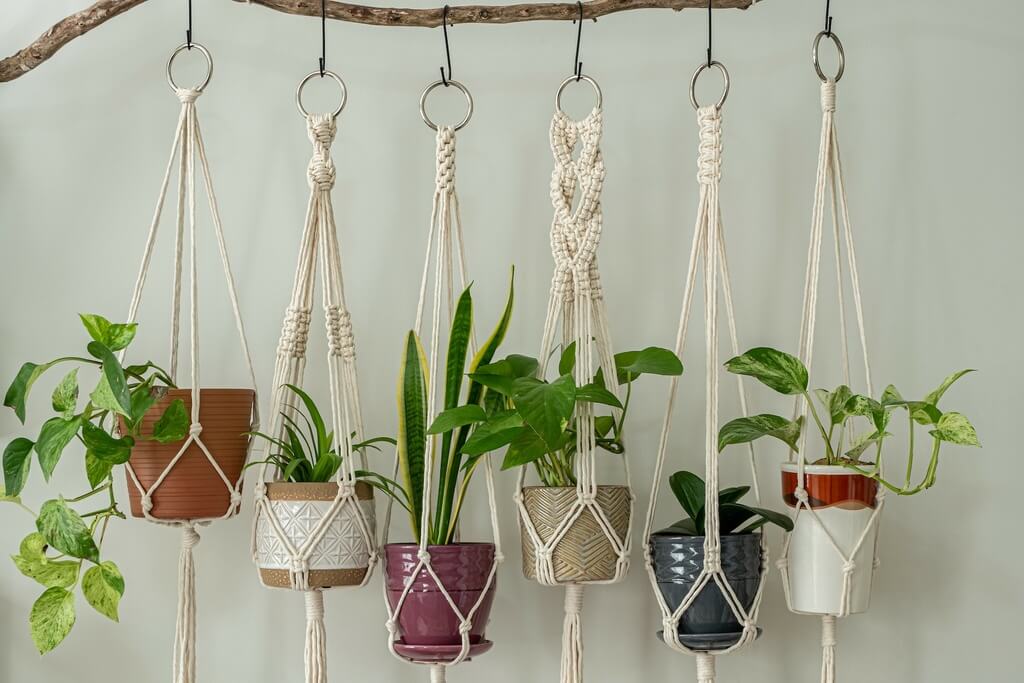
8. Macrame Hanging Plant Holder
When you make your outdoor wall art serve a purpose, you’re combining both usefulness and style. To make sure your macrame plant holder can withstand the weather, make sure to use nylon rope that’s designed for outdoor use.
If the ceramic pots in this example aren’t your thing, you can also use this pattern to hold canning jars for a farmhouse-style touch.
9. Abstract Starburst Outdoor Wooden Wall Hanging
This starburst design, made on a pressure-treated frame, really brings out the natural beauty of wood in outdoor areas like patios. But if you’re more into brighter colors than the wood’s natural look, make sure to use outdoor paint and pick a color that stands out from your home’s exterior.
To add some spice, you can even experiment with a few different colors to create a cool gradient effect, known as an ombré effect. And don’t be afraid to play around with the pattern to make it your own. It is also one of the best brick wall outdoor wall decor ideas if you want a more rustic feel.
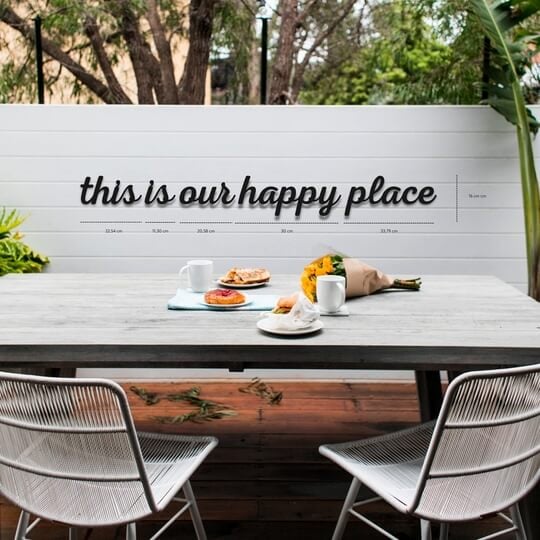
10. “This Is Our Happy Place” Adhesives
These letters are a great way to turn your outdoor space into a stress-free retreat. For a laid-back and fun feel, all the letters are in lowercase. And since each word is mounted individually, you can arrange them in a horizontal line like the example here, stack them vertically, or set them up in any way that suits your wall. Adhesives are one of the best large outdoor wall decor ideas if you have a bigger patio wall.
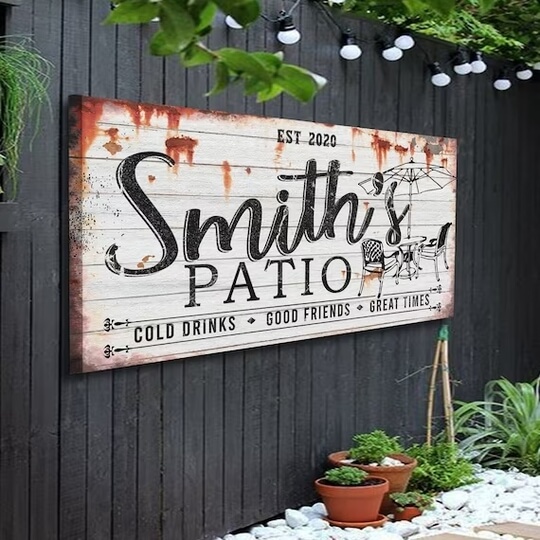
11. Farmhouse-Style Wrapped Canvas Patio Sign
No matter if you’re sprucing up a porch, patio, clubhouse, or deck, this wrapped canvas can add a touch of elegance. The vintage sign-inspired design can make almost any outdoor spaces look gorgeous. And the faux rust printed on it adds just the right touch of vintage.
To make sure the sign matches your area, you can personalize the text completely so it’s uniquely yours.
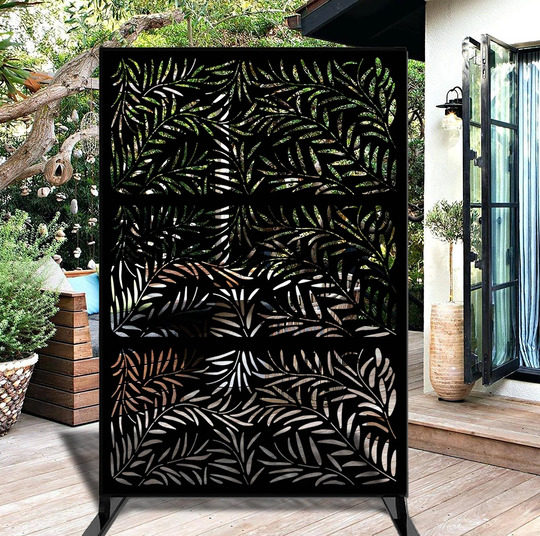
In almost every outdoor space, there are things like air conditioning units or trash cans that aren’t very nice to look at. But with these matching metal panels, you can hide those eyesores while enjoying beautiful artwork instead.
The panels in the picture feature lovely floral designs, but you’ve got several choices, like an elegant fleur-de-lis, nautical sailboat, or a southwest-style cactus to pick from. So you can pick the design that suits your taste best.
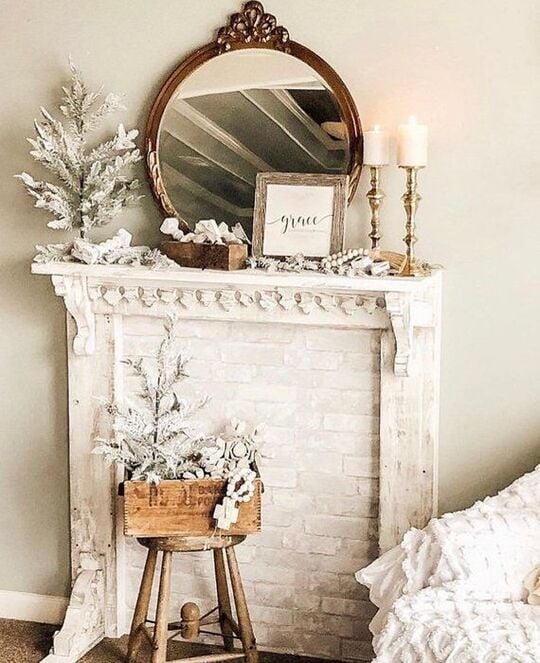
13. Create a Faux Outdoor Mantel
You don’t have to wait for special occasions like the holidays to make a faux mantel.
You can amp up your space with a slim console table as a substitute for a mantel. Place a big mirror above it to create a central focus. To add more visual appeal, add a couple of plants and decorative votive candles.
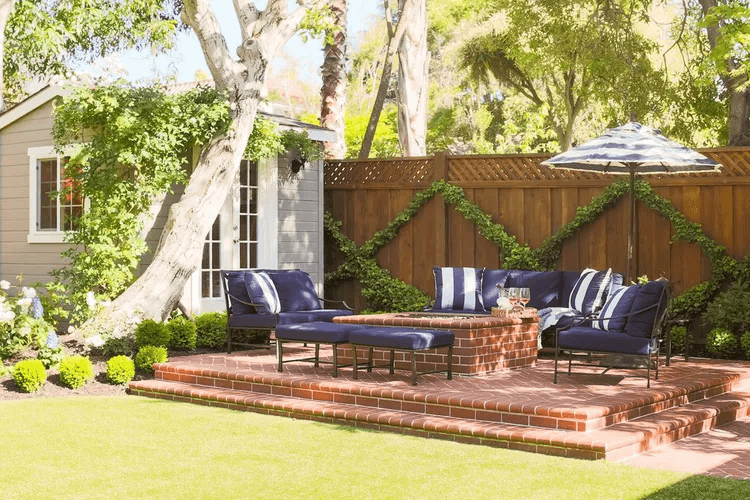
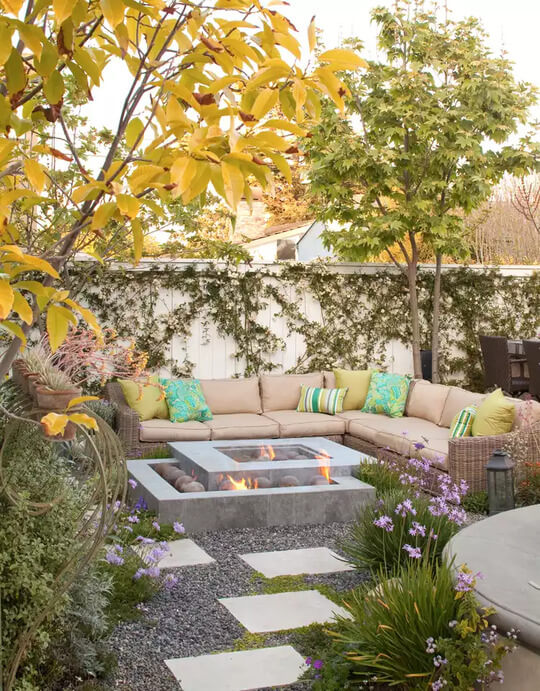
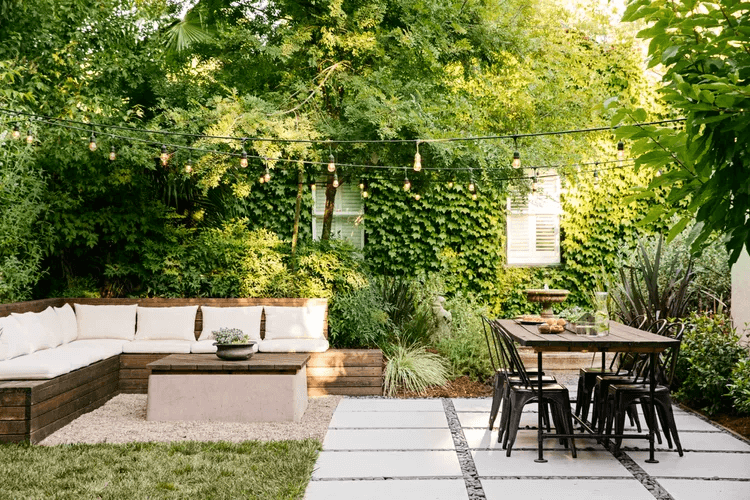
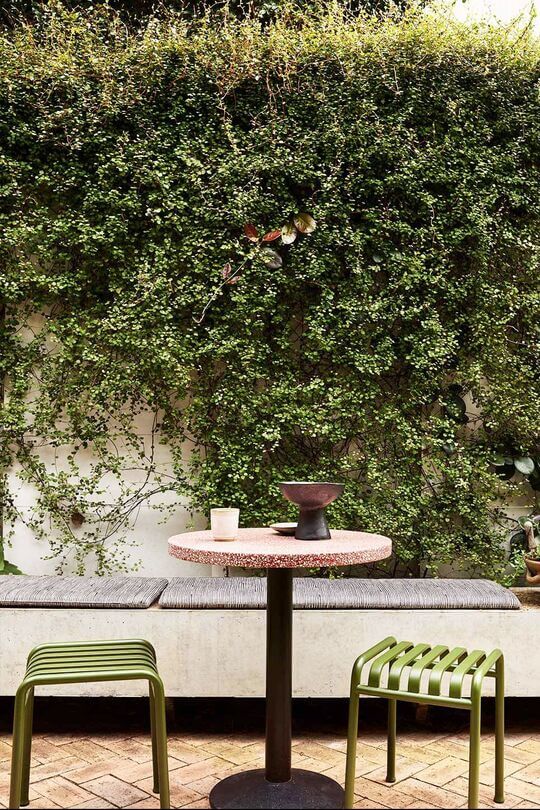
14. Play around your Wood Fence
Here’s another way to beautify an outdoor wall with natural greenery. You can cleverly transform a wooden fence into a stylish focal point using ivy. The ivy creates a charming crisscross pattern, and they added some small shrubs in front, making this outdoor lounge even more welcoming.
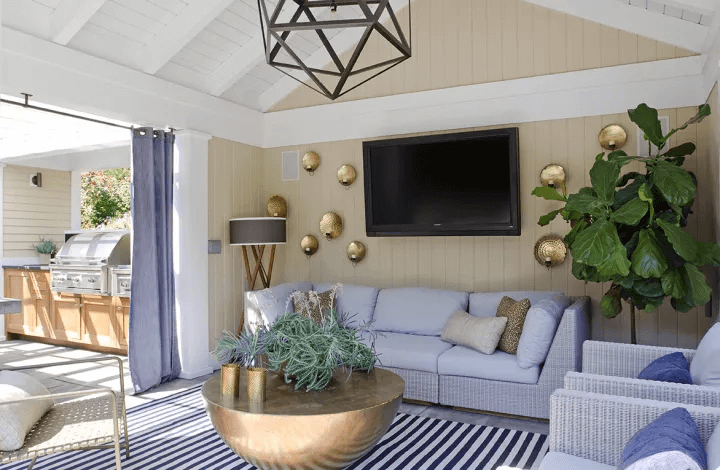
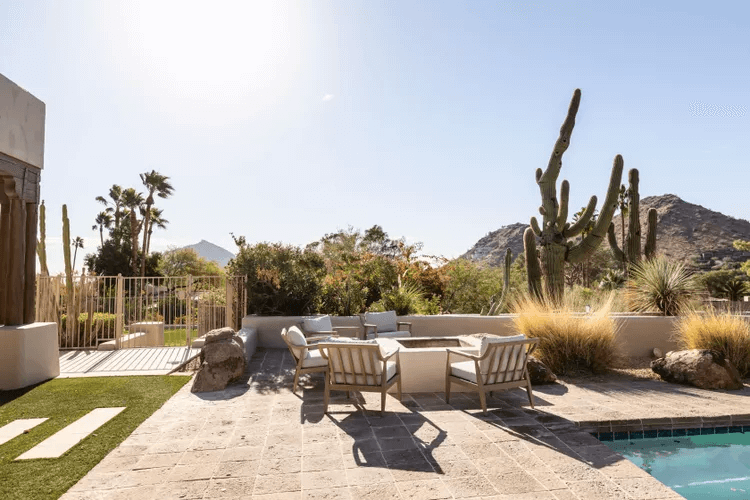
15. Pool Cabana
You can also go for a cool pool cabana as your outdoor wall decor. It can have a fantastic taupe shiplap wall adorned with lovely gold votive holders that have a cool hammered texture. Right in the middle, there’s an outdoor TV, ideal for watching your favorite shows by the pool.
When you’re decorating an outdoor area, it’s smart to choose furniture that’s made for outdoor use but still looks as comfy as indoor furniture. In this case, they’ve got a free-standing lamp, a furniture set, and a coffee table, which are all great examples of this approach.
FAQs
How can I make my outside wall look nice? You can make your exterior look nice by incorporating a few of the outdoor wall decor ideas that we have discussed above.
How to decorate a garden wall? You can decorate your outdoor wall by adding some planters and lights.
Which color is good for an exterior wall? You can go with bright and appealing color tones or muted tones, depending on the theme of your house.
Conclusion
Your outdoor spaces should mirror your personal style, just like your home does. To make your property feel harmonious, it’s a good idea to extend the look and feel of your interior design to the outdoor wall decor.
For example, if you adore the weathered, rustic look inside your home, you can experiment with unfinished materials outdoors to get that unique, aged appearance. Once something reaches the right level of weathering you like, you can seal it to preserve that look. On the other hand, if you prefer a fresh, clean appearance from the start, you can use paint or a clear sealant to decorate your home’s exterior. It’s all about making your outdoor spaces reflect your personal style.
Explore Further