Home Blog Page 180

Interior Makeover: Do’s and Don’ts

0
Interior Makeovers

Interior makeovers are far from simple: you need to make sure you have space for all the necessary furniture, you need to balance your budget and prevent overspending, you need to make sure the final design looks really good, etc. There are a lot of things you need to worry about, and it can be really hard for an inexperienced person to get it right. That’s why this article will help you by pointing out the most crucial do’s and don’ts when you’re in the process of an interior makeover. You’ll be able to avoid the worst mistakes and find a few new and helpful ideas if you continue reading! 

Interior Makeover

Plan and Prioritize

Getting a total interior makeover is quite complex and you don’t want to go in blindly without having a decent plan. If you’re usually not a person who likes to write things down and think things through, this might be a bit unusual and hard for you to do – nevertheless, it is paramount. You need to start by writing down all the necessary furniture items you need in the interior. These include things like the TV, carpets, sofas, wardrobes in the bedroom, etc. No matter the design you’ll come up with, you need these pieces of furniture in your home! That’s why you need to write them down and research them first. You’ll have a lot of leeways when choosing decorative and non-essential pieces of furniture, but you can’t just abandon the sofa in your living room because it doesn’t go along with the color of your lamp!

After you’ve written down the essential pieces of furniture and have researched and pinpointed the likely models you’re going to buy, it is time to set aside a budget for them! You want the overwhelming majority of your budget to go to essential furniture (unless you have a massive budget). If you spent the most money on decorative pieces, you’ll likely be able to create a really beautiful and breathtaking interior, but it will be far from practical and comfortable! You need to balance these elements. 

Interior Makeover

Try to be Unique

When you’re designing your interior, you need to try to be unique – this doesn’t mean spending a fortune and trying to get the most unique furniture out there (although that might help), but it means trying to bring together an interior that has a personal touch that shows your personality and character. Sticking to catalog designs might be the safest option, but you’ll rarely get anything truly unique out of it. On the flip side, you might truly mess up your design when you’re trying to be unique.

That’s why you need to be extra careful and double-check every decision. For example, getting indoor smokeless grills might be an excellent choice to give your interior character and have a household item you can use when you invite over your friends and family – but you also need to get its design and placement right if you truly want your interior to look good. It is a good idea to check out the best smokeless indoor grill reviews and choose one that fits your needs. 

Plan and Prioritize for interior makeover

Don’t Forget About the Windows and Doors

Although many people assume that you need to only care about the furniture and the walls when doing an interior makeover, that’s not necessarily true. Remember that windows and doors have a massive impact on how our rooms look. If your living room has two deteriorating windows with yellowing window panes, you can scantily do anything to make the room look better. That’s why you shouldn’t be misled by the term ‘interior’ and ensure your windows and doors also look amazing. Thankfully, that’s easier than ever with amazing manufacturers like  Walbert Windows that create custom windows and doors for your every need!

Explore More

Household Repairs You Can Easily Do Yourself

0
Household Repair

Whether you own or rent your home, it makes good sense to keep it in tip-top condition. But despite our best home care efforts, sometimes something breaks or goes wrong. Before reaching for the telephone to call for a professional, it’s always worth asking yourself, ‘can I fix it?’ as many household repairs can be done without the expense of a tradesman. To inspire you, we take a look at just some of the household repairs you can easily do yourself. 

Fix a Broken Toilet Lever

Fix a Broken Toilet Lever Household Repairs

You go to flush the loo and the response is a damp squib – chances are the toilet lever has broken or come loose. To be sure, lift the cistern lid and it should be obvious and could well be a simple case of re-attaching the chain. However, the handle can corrode over time or the connecting pieces that attach the flush handle to the lever can break – all these parts are cheap and easy to replace. 

Loosen a Sticky Window

Loosen a Sticky Window Household Repairs

A bad paint job, built-up muck or lack of use can lead to a window sticking when you try to open it. A putty knife, or even a pizza cutter, can be used to carefully break the thin seal of paint that may have dried where the window meets the frame. And for dirt-encrusted windows or seized up hinges, a lubricating agent such as WD-40 or even olive oil applied where needed and allowed to soak in before gently wiggling the window free will do the job. Just be careful to avoid applying the lubricant to any plastic parts. 

Boost Your Heating or Air Con

Boost Your Heating or Air Con Household Repairs

An underperforming air conditioning unit can really add to your energy bills so to keep everything smooth-running, regular DIY maintenance is essential.  An old or dirty air filter in the unit can really impact its performance so if you suspect your air-con is under par, check the filter. If it’s dusty grey in color and looks thick and dense then it’s time to swap it out. For optimum performance, a 18x20x1 sized air filter, and any other should be changed at least every three months.

Re-grout Tiles

Re-grout Tiles

If your tiles are looking less than fresh or a tile has come loose, you can do your own repairs. You will need to remove the old, loose grout first, then to re-grout, you will need a damp sponge, a bucket of water, grout spreader and some grout – ready mixed if you can get it. Using a grouting tool, spread the mixture over the tile surface, working it into the spaces between. Now take the damp sponge and clean off any excess grout until it’s all level and leave to dry. 

Silence Creaky Doors

Silence Creaky Doors

Conclusion

Creaking doors are a nuisance but can easily be silenced with the right lubricant, and they don’t have to be expensive. Petroleum jelly, soap or even cooking oil are all ideal to use and can be found in your kitchen cupboard. Apply sparingly to the door hinges and allow to soak in until the door opens smoothly. And, for a door that doesn’t quite fit tight and rattles, check the latch plate and gently bend the tab connected to the latch towards the stop until the door smoothly fits into place. 

Keep reading:

6 Reasons Why Real Estate Sign Riders Are Still an Effective Way to Promote Your Property

0
Real Estate Sign Riders

In the digital age, it can be easy to assume that traditional methods of marketing involving any kind of signage are obsolete. However, that cannot and does not apply to every kind of industry. In the real estate business, nothing can compare to a yard sign and a sign rider or two outside a listed property. In actuality, the rise of technology has made physical signage all the more important.

Real Estate Sign Riders

While your online presence can attract people all over the internet to check out a listed home and view the floor plan, the physical tour of the property is still very much needed.

Particularly, real estate signs can help generate more leads, increase sales, and make things easier for interested buyers. But why do you need them? Here are a few benefits:

  1. Sign riders act like a marker for the listed property. Even if the bulk of real estate buyers searches for properties online, signage can still help them pinpoint the home during the open house or scheduled private viewing. Despite its advancements, GPS and navigation technology can still be faulty and cause a person to get lost.

Having the yard sign outside of the property makes it easier to tell the buyer that they are in the right place. Additionally, a sign rider that displays something like “Open House Today” or another helpful announcement can help drive that point even further. This is especially helpful when the property is in a more remote place or located in a neighborhood with a lot of homes for sale.

  1. Sign riders make it easy to update real estate signs. For practical reasons, sign riders are great additions and easy fixes to any real estate sign if you feel like something is missing. You do not need to spend more money on having the sign replaced when you can simply attach a sign rider to the main sign itself. Information like your new contact details or an attractive feature about the listed property (hot tub, pet-friendly design, etc.) is a great example of missing details that can be added in with a sign rider.
  2. Sign riders provide all the necessary details even before the buyer contacts the agent. Everything from the unique selling point of the property to its status in the market can be indicated on the sign rider. Gone are the days when brochure boxes on yard signs were a common practice. Sign riders are sleeker and more straightforward, laser-focusing the buyers’ attention on the important and appealing details so they are aware of them before they call or message the agent.

In a way, it is up to the agent to be strategic about the wording on the sign riders. The yard sign is meant to grab people’s attention while the sign riders keep people engaged and invite them to take a certain action, like scheduling a viewing of the home through the listing agent. Thinking about what exactly to put on the sign riders is an important design and marketing aspect.

  • Sign riders can help your property stand out more in the market. Using a mix of traditional and digital methods to market a property can maximize its visibility and chances of being sold. What some agents or brokers fail to realize is that digital tools are not meant to replace physical signs on a listed property. They are meant to enhance each other and make up for what the other lacks.

Sign riders are often overlooked, which can give the listed home a competitive advantage. Using sign riders in addition to online promotion can attract more potential buyers to the property.

  • Sign riders can be tech integrated. As stated in the previous point, digital and traditional marketing tools are meant to be complementary. So why not make sign riders a physical aspect of your digital strategy? You can leverage them as a part of an automated lead-generating and nurturing process via different apps. Some apps are specially programmed to send an automated reply containing your contact information as well as details about the property when a buyer texts the number on the sign rider.
Real Estate Sign Riders

Moreover, these apps can collect the buyer’s information and tell you if that said buyer is currently at the property. This makes meetups more convenient and an agreement between you and the buyer. Your real estate firm can also use the stored data from the app to create detailed reports that refine and inform future marketing strategies as well. Sign riders may be physical markers, but they can also provide far more than that with the right app and marketing tactics.

  • Sign riders can be customized to increase their effectiveness. While you can readily purchase sign riders from a printer, you can also have them custom-made. Sign riders are not as boring as they used to be and come in many shapes and designs nowadays. Depending on the information you want to display and the branding needed, you can have sign riders created in the shape and colors needed to make them eye-catching, informative, and appealing as well.

Sign riders are more relevant and beneficial than they used to be. Aside from providing important details, they can be used to increase a property’s visibility and improve digital methods too.

To find out more:

How to Convert Your Backyard into a Personal Entertainment Zone?

0
Convert Backyard into a Personal Entertainment Zone

No one knows exactly when we will have to be homebound and it is legit hitting many of us. However, you can make the situation better by making your in-house outdoor entertainment area. All you need is a lawn, a backyard, or a spacious balcony or terrace. Here is how you can create your entertainment arena at home.

Trim Your Lawn

Trim Your Lawn

Most people do not pay much attention to their backyards. It is mostly a wild space with overgrowing vines and weeds and junk dumped all over the place. The first step is to clean up the area and trim your lawn. A trimmed and nicely kept lawn will give a neat and tidy look and will offer you a lot of vacant space to set up all that you want. It is much more relaxing when your lawn is decluttered with a lot of breathing space.

Landscape Your Lawn

Landscape Your Lawn

Once you have trimmed and cleaned your backyard, put some effort into landscaping it. Landscaping can add a lot of character to your space and can accentuate the look. You can use outdoor accessories such as rocks, boulders, artificial grass, pebbles, and creative planters to add to your lawn. A nicely landscaped driveway or walkway and a small pond will enhance the feel of your space and will make you look more relaxed and closer to nature.

An outdoor kitchen is a perfect way to spruce up your backyard. Read more about creating your own in this guide by Seriously Smoked.

Install Good Lighting

Install Good Lighting

If you are planning to spend an evening in your backyard camping out with kids or even watching a movie alone, you will need some nice lighting in your backyard. Install some pretty lampposts and walkway lights. You can also use fairy lights to put on the plants and trees for further beautification. However, fairy lights alone will not be enough for a bright and well-lit lawn.

Get a Hot Tub

Get a Hot Tub

We all are missing those relaxing spa trips and wish to take a dip in a warm pool. The good news is that the lockdown should not be a reason for you to not enjoy the dip. Get an inflatable hot tub and place it in your backyard. These hot tubs are inflatable and portable and can be moved anywhere anytime. You can set it up in your outdoor area and unwind in your home spa.

Get a Day Bed

Get a Day Bed

A day bed or a lounger is a must-have if you want to lie down and enjoy your favorite movie with your family on a hot breezy summer evening. There are several inflatable day bed and lounger options that can be used for your outdoors. Most of these days are very economically priced and are comfortable enough for even a nap.

Outdoor Entertainment System

Outdoor Entertainment System

At the end of the day everything comes down to entertainment and a great outdoor entertainment system will complete the setup. All you will need is an exterior projector screen, a good portable projector with good connectivity, and a set of good-quality outdoor speakers. You can visit product review sites such as Product Advisor to choose the right outdoor entertainment equipment.

To find out more:

Six Ways To Prevent Clogs In Your Drains

0
Prevent Clogs In Drains

For people who do not like to get their hands dirty, a clogged drain can easily be their biggest nightmare. Having a sink or flush that is filled with filthy water that will not flow through is a much-dreaded problem. And trying to clean a clogged drain has to be the least glamorous job in the world. The best way to save yourself from this cringe-worthy task is to prevent your drains from clogging in the first place. 

Here is a detailed guide on some of the quietest garbage disposals.

Whoever said ‘prevention is better than cure’ must have been a wise man. It only takes a few good habits and the basic maintenance to keep your drains clog-free. This practice will, in turn, help keep the plumbing system is your house in good shape and save you money that you otherwise have to spend on hiring professional plumbers. To help you keep your plumbing system running smoothly, here is a list of ways to prevent clogs in your drains:

Use Drain Strainers

Prevent Clogs In Your Drains

The easiest, most convenient way to stop debris from getting into drainpipes, is to collect it right in the sink. If you do not have a garbage disposal, prevent scrapes from flowing into drains by collecting them in a filter that you can place on the mouth of the drain. 

These simple products are available in a large variety at any local hardware store. Take a picture of the drain with you to ensure you get the one that fits best. Leftover food is the biggest reason for Blocked Drains in your kitchen and this cheap and easy to fit product is the optimal solution to this problem.

Create a Compost Pile

Prevent Clogs In Your Drains

Grinding up food waste in a disposer and then sending it down the drain is a convenient way of discarding food scrapes but even ground bits of certain items can cause a lot of trouble to your drains. Objects like banana peels, coffee grounds, vegetable leaves, eggshells, and potato skins can accumulate in pipe linings even when ground and form a thick layer that ultimately results in a clog. 

The most ingenious way to overcome this issue to store food waste in a container and create a compost pile. Most building communities collect organic waste disposal, but if yours’ does not, you can always build your compost bin. Not only is this great for the overall health of your plumbing system but also the environment.

Keep Grease Away

Prevent Clogs In Your Drains

Another product that is a major cause of drain clogs is grease. When you pour a volume of warm grease down your drain, it cools in the pipe and thickens to form a clog. Even if a grease block is small on its own, it will catch other debris, due to its sticky nature, resulting in a larger blockage. 

The ideal prevention is not to pour any grease or oil down a drain. Instead, store it in a jar and dispose of with regular garbage.

Keep It Flowing

Prevent Clogs In Your Drains

For kitchen sinks with the pre-installed garbage disposal, run a steady stream of cold water every time you wash your dishes. This will ensure that all waste material has been carried fully out of drain pipes into the drainage system. 

Additionally, pour down a kettle of hot water down each sink in your house, once a week to melt away any residual particles. You can also use vinegar for this purpose as the acetic acid in the solution helps break down any clogs in their initial stage. 

Catch That Hair

Prevent Clogs In Your Drains

When it comes to drains in the bathroom, the most prominent enemy is hair. Each time you have to clean a slow drain in your shower, you are bound to find a clump of hair and bits of soap that looks like a huge spider. 

To prevent this grimy, build-up, install a drain catcher onto your shower, tub drain and your bathroom sink. These products are available in different materials such as mesh and silicon. You can get a mesh screen that is placed atop the drain. Or you can install a new drain stopper that has a screen built-in. This way, you will only have to clean the drain catcher every once in a while and not the entire drain pipe.

Install A Lint Catcher

Prevent Clogs In Your Drains

The drain of your washing machine is another point of concern as it can get blocked easily by lint, fabric bits, and even a stray sock. To prevent this from happening, install a lint trap on the end of your washing machine hose.  

A lint trap made of mesh is readily available at most home and hardware stores, but you can even use an old nylon stocking for the same purpose. Just tie the stocking at the end of your washer’s discharge hose and use a zip-tie to secure it tightly.

Prevent Clogs In Your Drains

CONCLUSIVELY

As a rule of thumb, do not let any foreign objects enter your drain pipes. Be it hair, pieces of soap, fruit peels, or any sticky fluids. Ensure a steady flow by regularly cleaning drain covers and douse your drainage pipes with baking soda or vinegar every once in a while. Even though this regular cleaning may seem like a tedious task, remind yourself that it is better than plunging a blocked drain.

In case you missed it!

The Complete Guide to Buying and Installing Hardwood Floors

0
Hardwood Floors

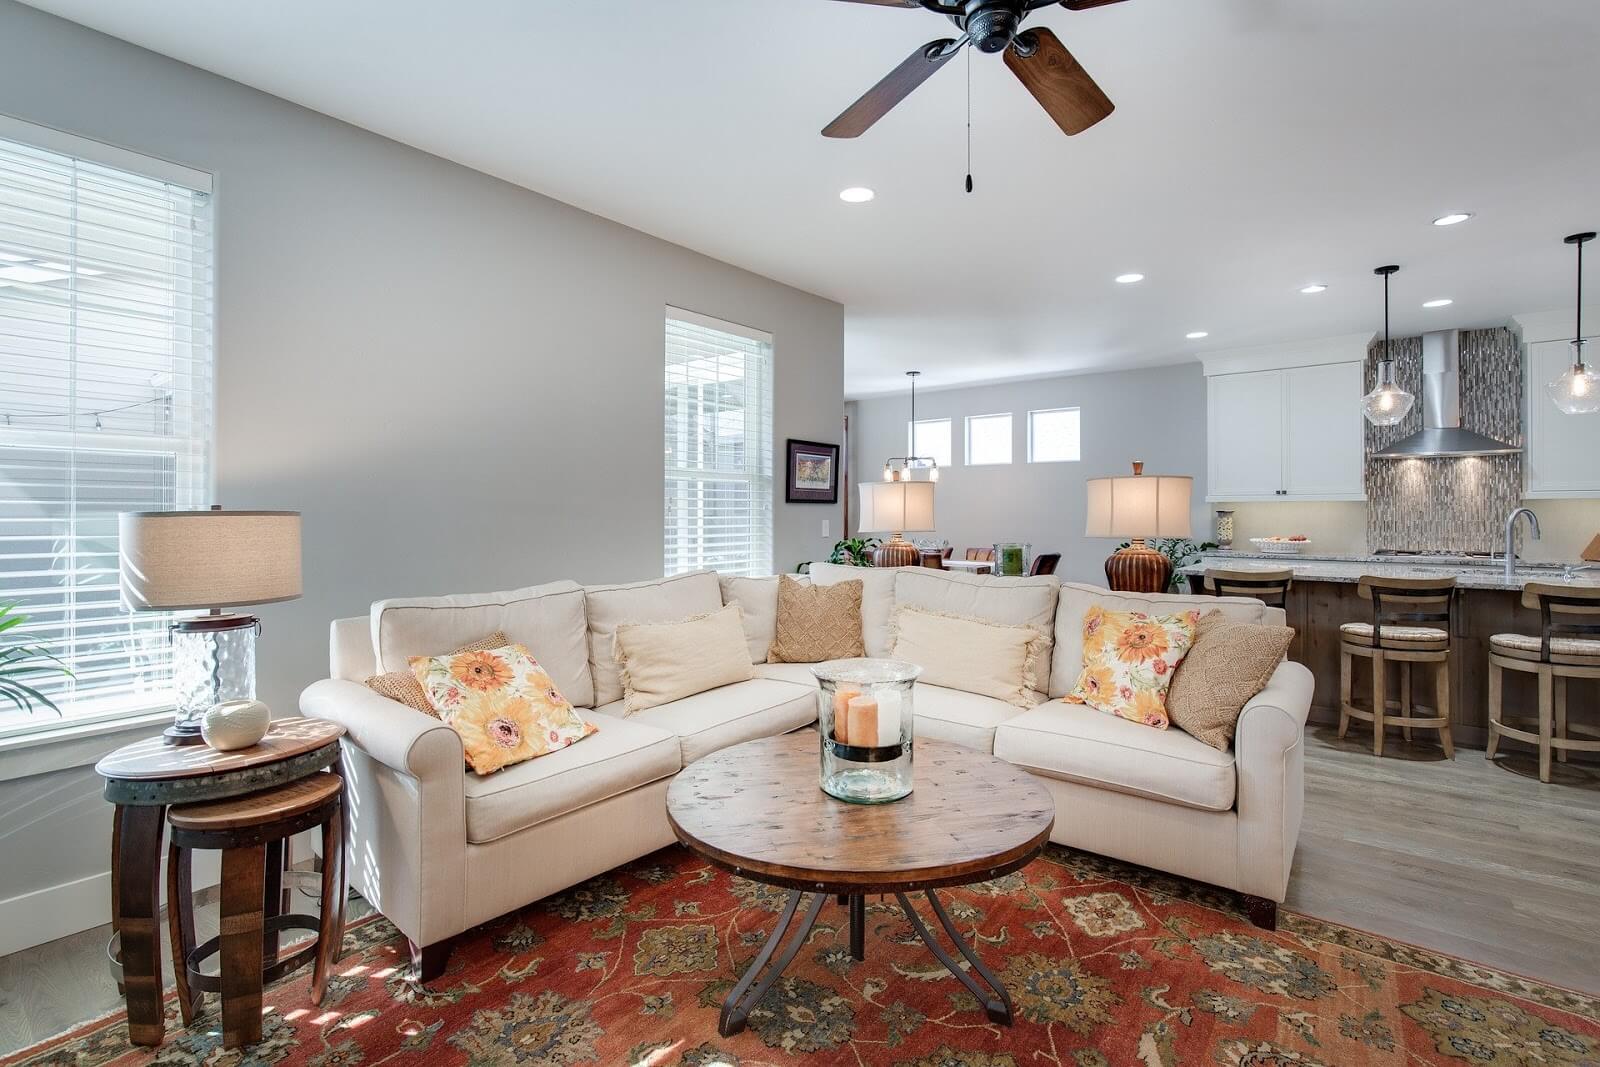
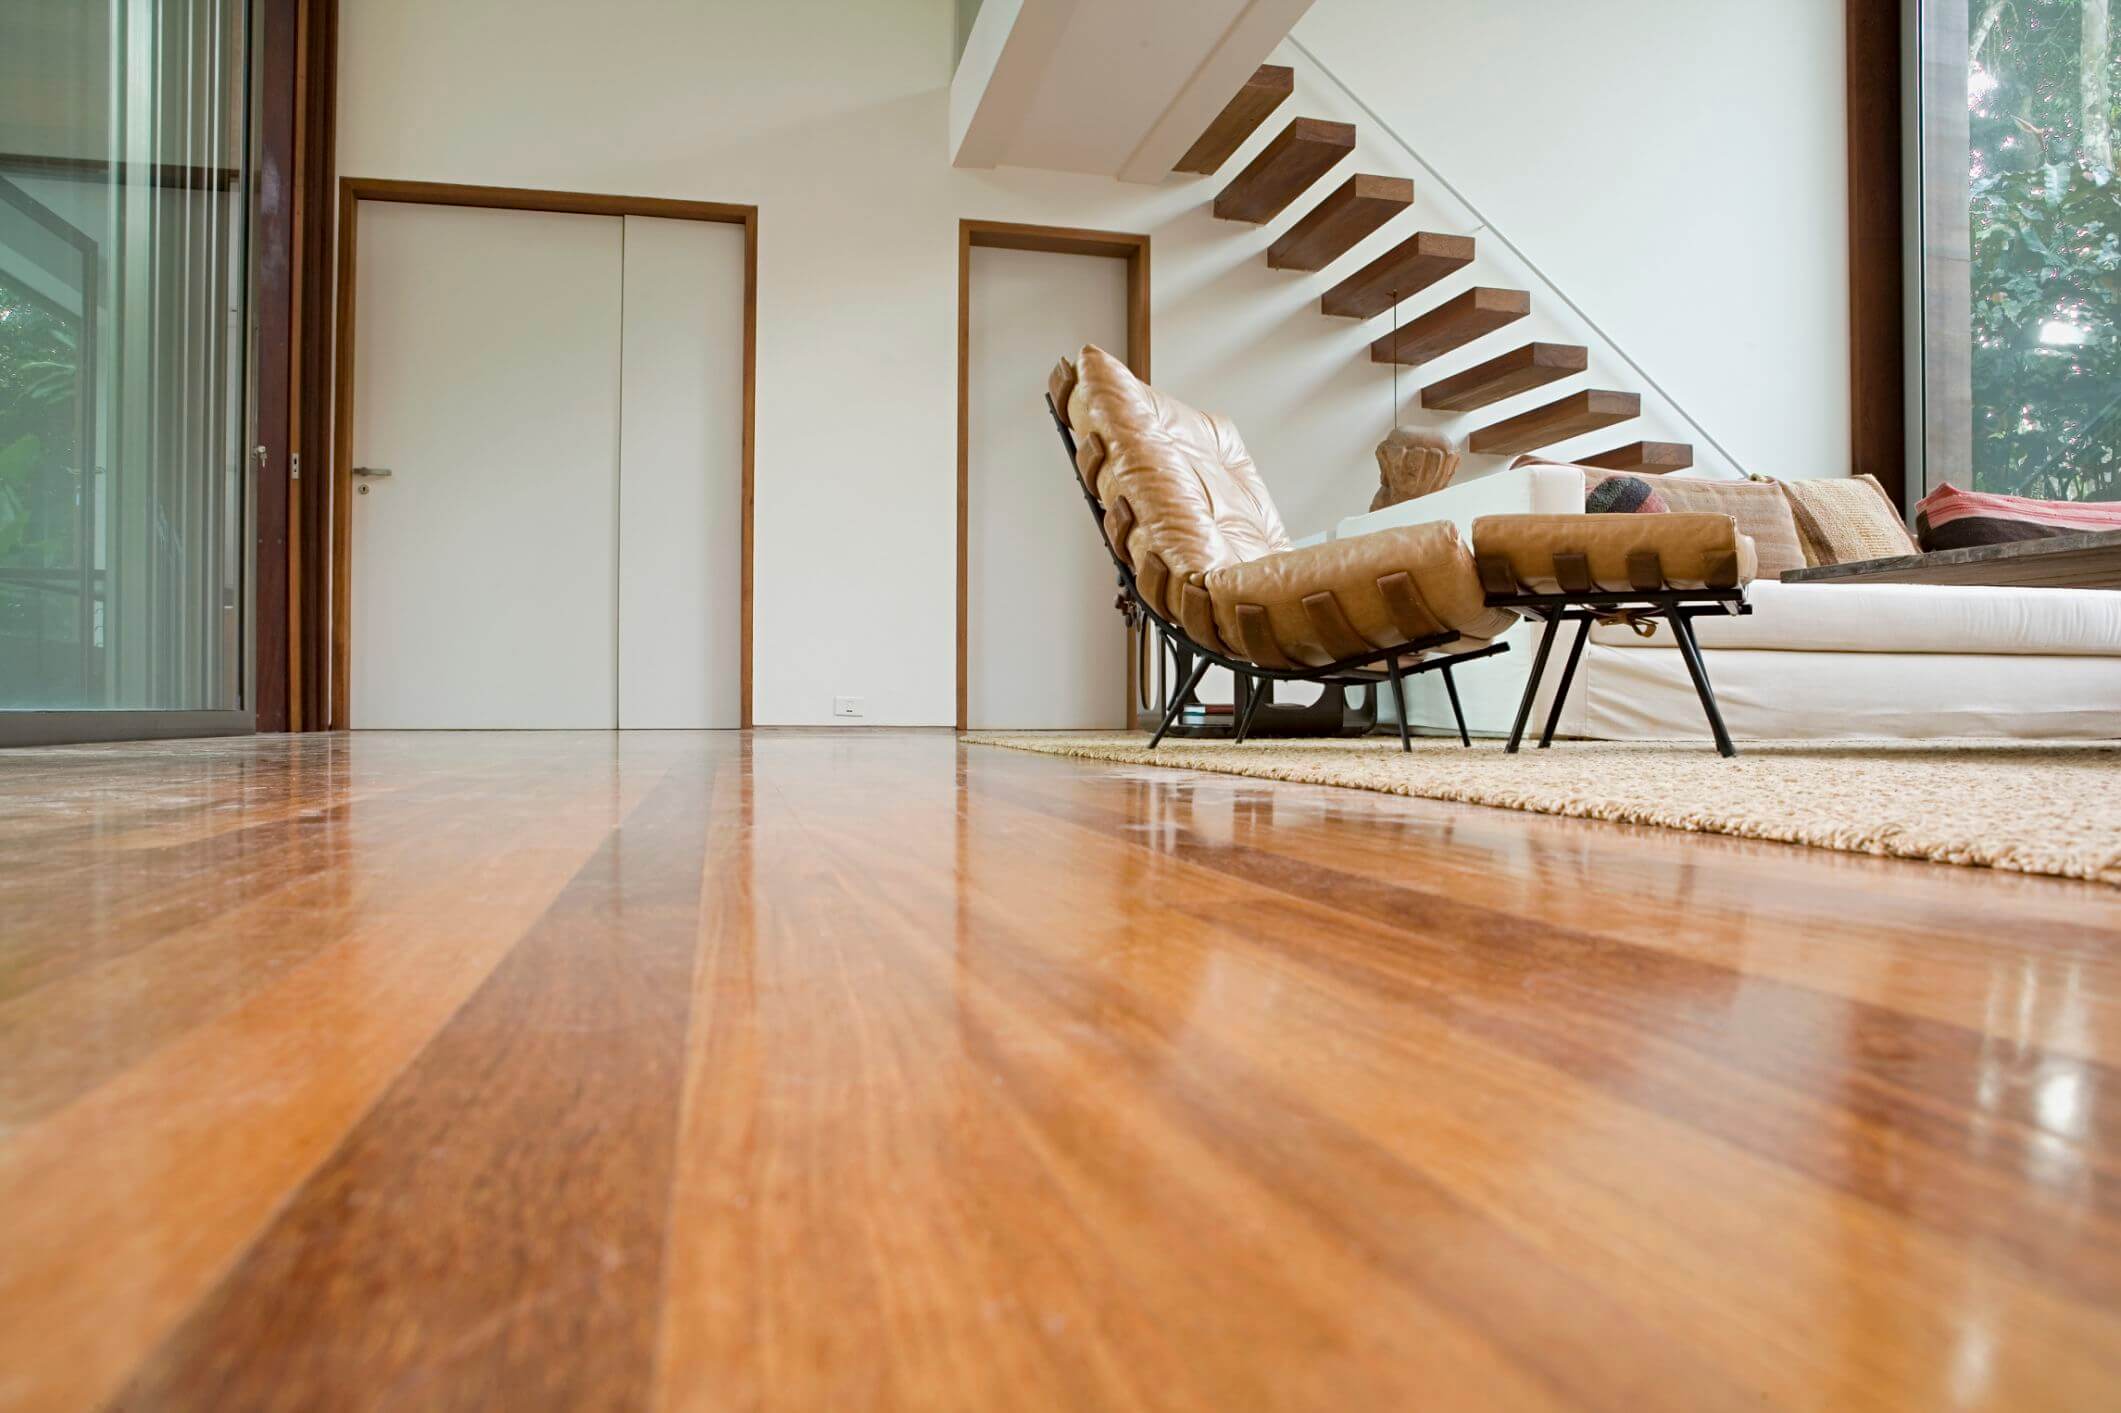
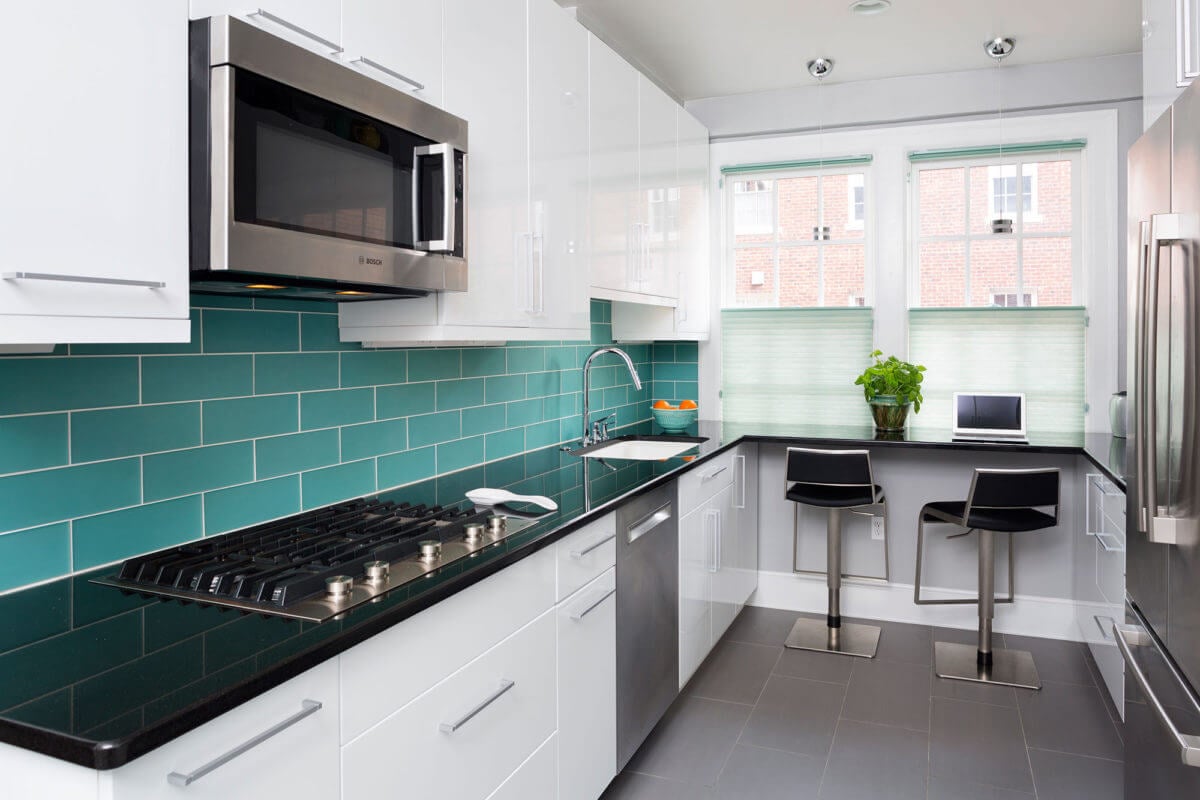
There are several decisions the house owner would have to take when building a home. Amongst all these decisions required, one stands out as the most basic but important decision that determines the beauty and comfort the home would provide to occupants and visitors. This has to do with the choice of flooring. Currently, the market is flooded with a lot of flooring materials. Nevertheless, one material that is acknowledged for standard flooring is hardwood.

If you would like to check out some flooring options that are ideal for your floor projects, please visit this link: flooring Melbourne

Despite the uniqueness of this material, not all hardwoods are equal. Hardwoods are not just limited to colours and finishes,  they are also influenced by aesthetics and performance. When flooring the apartment with hardwood, you need to think of the type of installation that would be required. In this article, we have laid out tips that will guide you towards installing hardwood floors the right way.

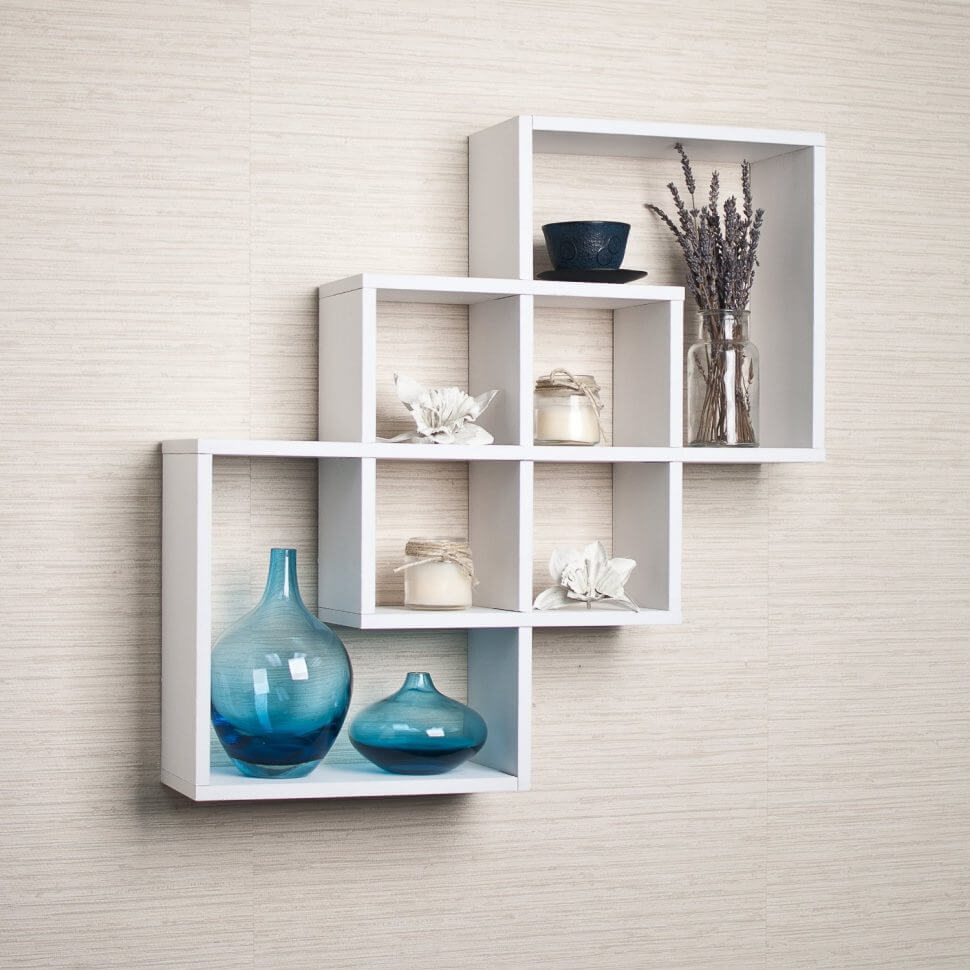
Selecting Hardwood Floors For Your Apartment

Solid Or Engineered Flooring

Solid Or Engineered Flooring

Hardwoods are generally made from thick planks of solid timber. Even till date, it is still installed in various homes and offices. Notwithstanding, technology has paved the way for engineered flooring. What does this term mean? In engineered flooring, the planks are manufactured with a thin layer of wood on the surface which is bound to other layers designed to stop the floor from shifting during contraction and expansion periods.

Interestingly, this may sound new to you; but all woods have three-directional movements known as radial, tangential, and longitudinal movements. The sole purpose of engineered flooring is to create opposing forces to counter these movements, thereby stabilizing the floor panels.

Engineered flooring can be advantageous when used in apartments and basements with concrete subfloors. The height of a floor can be raised by installing solid wood over a layer of plywood or more. The catch to this is that it reduces the ceiling height and interferes with existing doors. On the other hand, you can conveniently install engineered flooring to concrete or a soundproofing mat. By doing so, you still retain the ceiling height and door positions.

However, when selecting an engineered flooring for your apartment, you need to check out the size of the wood layer used. Whereby, the wood layer added is extremely thin, it may be difficult to smoothen or refinish the material in the future. High grade engineered flooring comes with a thicker layer of solid wood.

You Can Go For Either Prefinished Or Site Finish Flooring

You Can Go For Either Prefinished Or Site Finish Flooring

Depending on your choice, you may purchase hardwood planks with raw surfaces which will be finished by a professional after installation or woods that come with stain and topcoat finish. What makes prefinished flooring great is the fact that homeowners already know what they are purchasing in its final state. When ordering this flooring, you can customize it to fit the color scheme of your walls, cabinetry, tiles, textiles, and pieces of furniture,

Installing prefinished flooring is easy and less time-consuming, as you wouldn’t need to add stains or topcoats to it. On the other hand, site finish flooring requires the expertise of a flooring contractor to get the desired result you need. Hence, it may take a longer time to complete.

Nonetheless, site finish flooring provides independence for the house owner to specifically customize the flooring panels. In some cases, you may not find the exact type of flooring customization you need in the catalog of a flooring company. Hence, you would have to work along with your contractor to get the exact customization needed for your floors.

Select The Type Of Flooring Finish You Want

Select The Type Of Flooring Finish You Want

Hardwood flooring planks are available in various finishes. They include water-based polyurethane, oil-based polyurethane, moisture-cure urethane, shellac, wax, penetrating oil sealer, acid-cured finish, and aluminum oxide. These wood finishes are categorized into two main groups, namely, oil and polyurethane.

Oiled flooring planks produce a soft, matte, and natural look owing to the easy penetration of oil into the wood. However, this flooring finish can be affected by stains and damage. On the contrary, polyurethane plank finishes have better resistance to these factors due to their hard topcoat surfaces. Hence, you can use surface material for a house with lots of activities.

Although oil finishes are prone to scratch, these scratches are less detected. You can easily touch up some spots on an oil wood finish. For polyurethane finishes, you would have to change a board or recoat a section of the floor.

It is easier to maintain oil finished flooring, but this is being done more often, while polyurethanes require less maintenance but more work when needed.

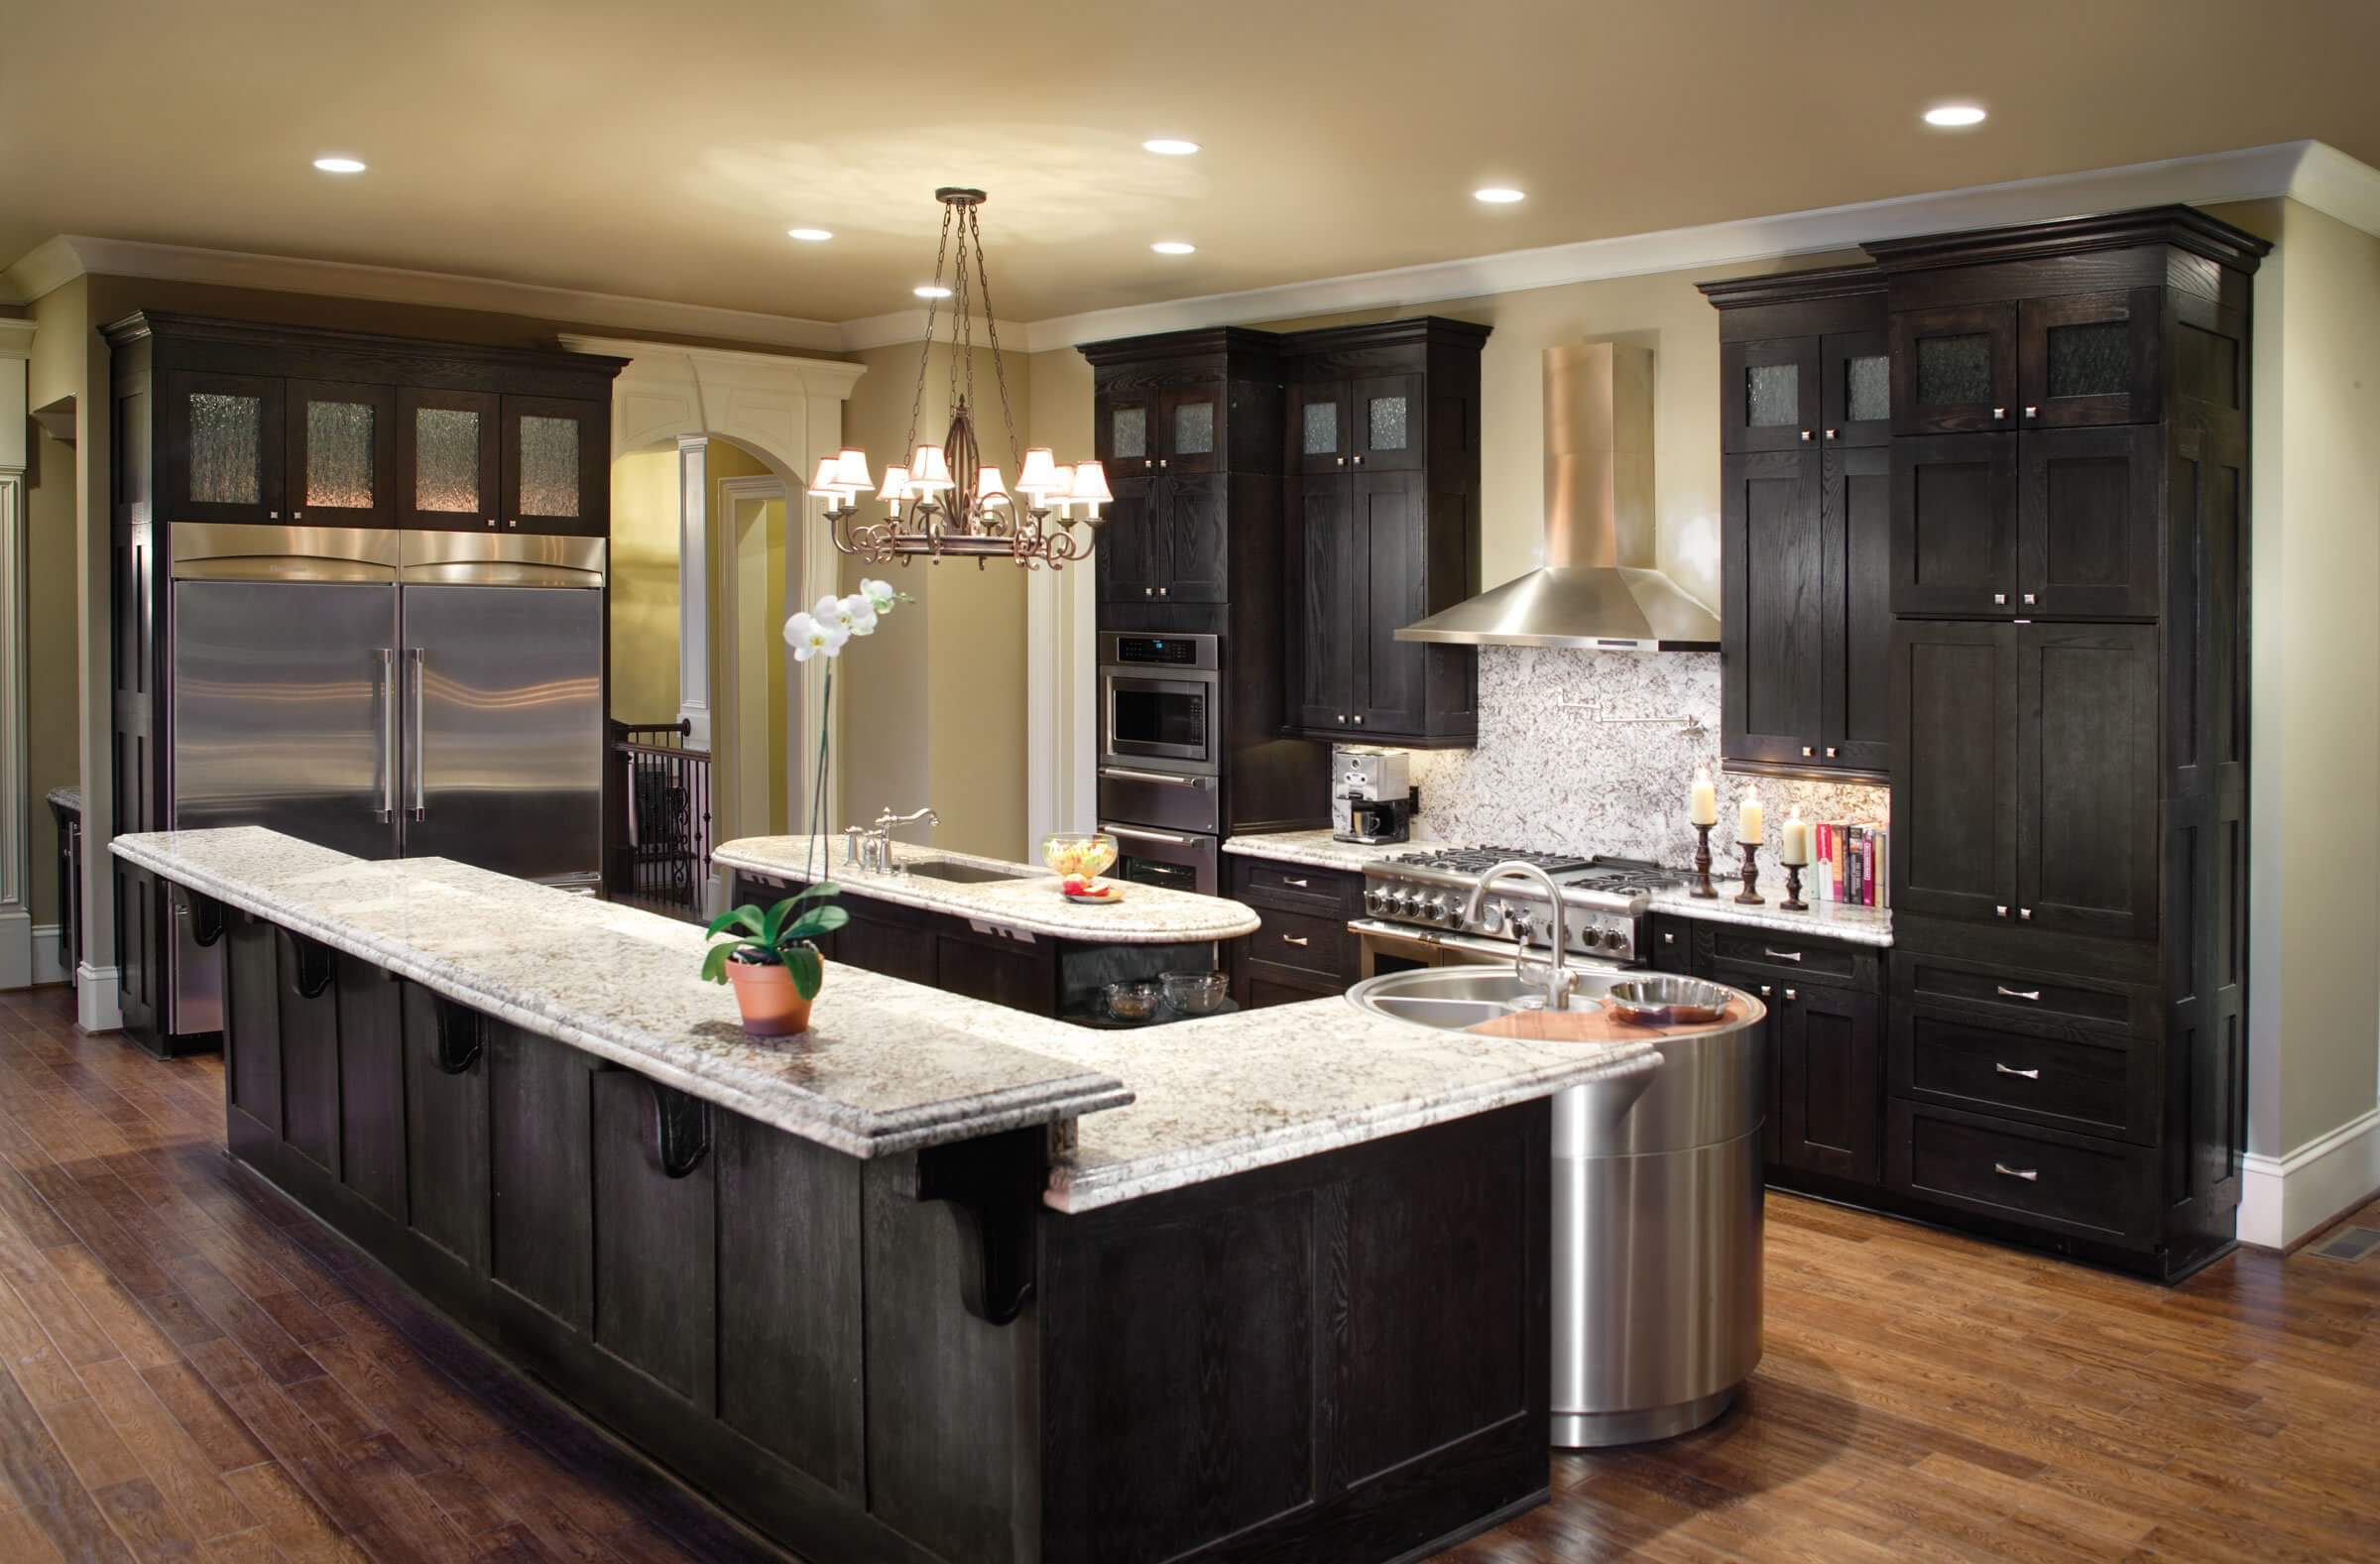
Other factors include evaluating the type of wood you need (oak, walnut, cherry, maple, hickory, and ash), selecting your grain pattern (rift-sawn, plain-sawn, and quarter-sawn), and estimating the width of the plank.

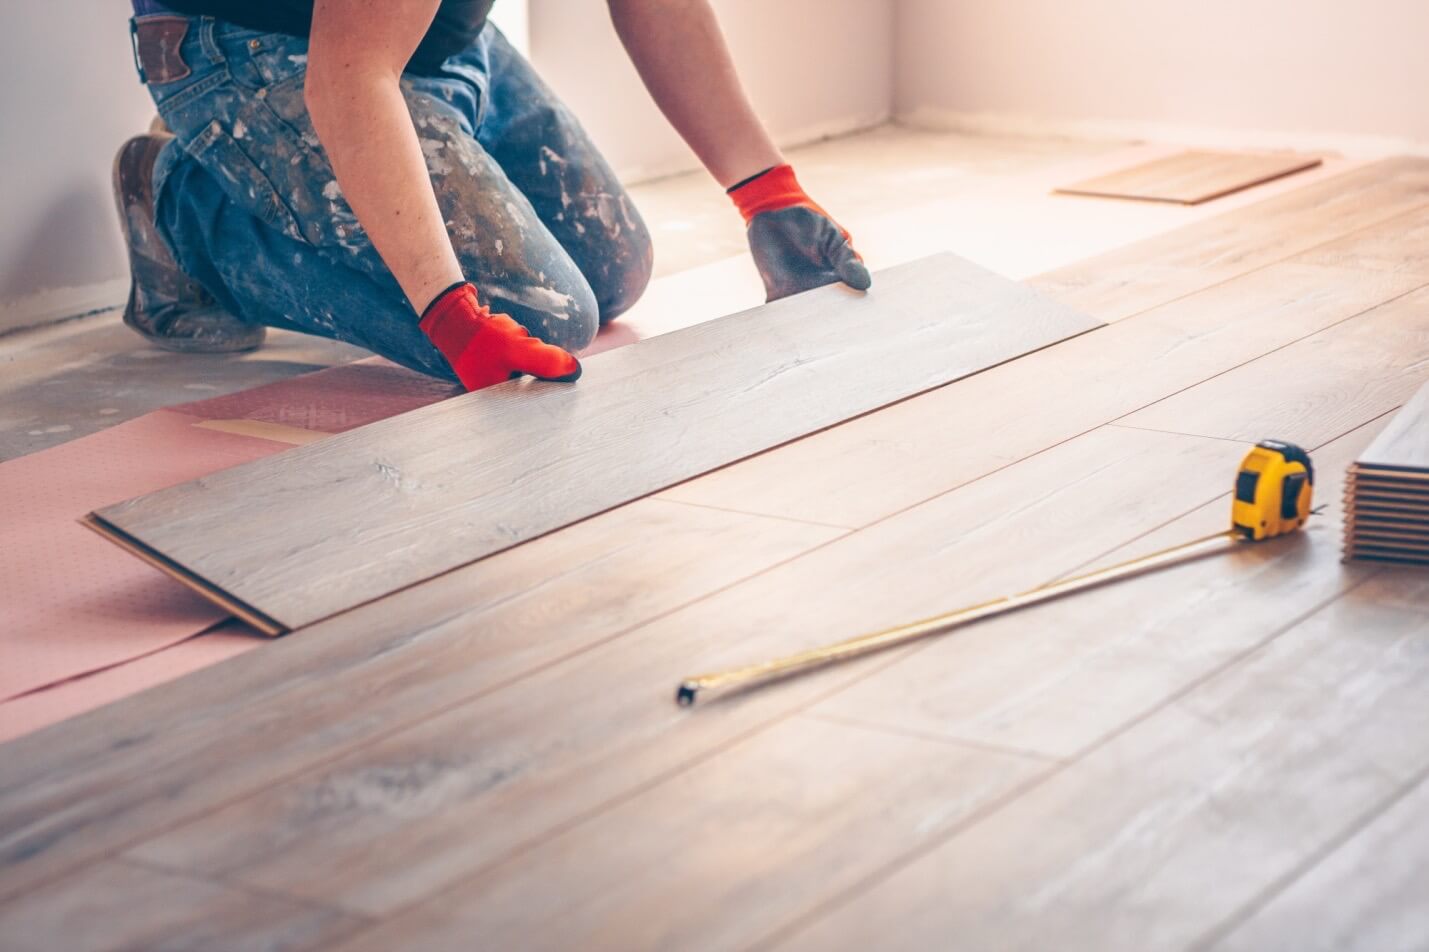
Installing Hardwood Floors: Steps To Take

Some various tools and materials would be needed to install your hardwood floor; although, this depends on the type of hardwood floor that is being purchased. Tools like hammer, drill and drill bits, pneumatic flooring nailer, pry bar and saw, and many more, may be needed for your flooring. Here are some steps in this section on how hardwood floors can be properly installed:

Determine The Right Procedure For The Installation

Wood installation methods vary based on the thickness, width, and construction of the hardwood material. Generally, solid hardwood flooring is stapled or nailed to one or two layers of wood materials such as plywood. The plywood acts as a subfloor for the solid wood added cut my plastic.

Engineered wood flooring can be glued, fastened, or installed on other materials as an elevated floor, based on the product selected.

Determine The Right Procedure For The Installation

Your Floor Should Assimilate To The Room Climate

You should not start the installation process as soon as you get your hardwoods. These materials need time to acclimate. They should be left in the room for some days. The importance of this act is to allow the wood moisture content to blend with the conditions of the room. Once this is done, you can proceed to prepare your space.

The Wood Installation Process Can Commence

Your hardwood planks come with an installation guide that contains instructions on how to install the wood panels. It is advised that you carefully follow the instructions laid out by the manufacturer. To get a better result, you can hire a flooring contractor to do the job for you. If you would like to check out some flooring options that are ideal for your floor projects, please visit this link: flooring Melbourne.

Keep reading:-

3 Simple Ways to Make Your Kitchen More Usable as a Home Office Right Now

0
Ways to Make Your Kitchen more Usable

As people start working from home amidst the coronavirus outbreak, they’re having to convert living space into functional office space. There was already a rise in teleworking before the pandemic, so home office design resources and ideas are plentiful. One great design trend is adding an office or workstation in your kitchen. Your kitchen is typically the center of your home, so you can keep an eye on your kids, prepare meals, and do your work – all in the same room. If you’ve never used your kitchen as a home office before, here are three simple ways to make it more office-friendly. 

Ways to Make Your Kitchen More Usable

Repurpose What You Have

As you’re likely in crisis mode right now, you don’t have the time or resources to renovate extensively for your kitchen office. Fortunately, you don’t need much to carve out a workstation in your kitchen. You can easily repurpose what you have, whether by using empty wall space or reorganizing cabinets. 

Kitchen offices fit well into any dead space you have. Position a small table and chair against an empty wall and you have an accommodating office space. Unused kitchen corners, window seats, and the ends of bar worktops can also be easily converted into office space.

If you situate your desk against a wall, use empty wall space to your advantage. Put up a corkboard so you can stick important documents or reminders to it – and some cute photos of your family! You could also reorganize your cabinets so that you have dedicated office storage near your desk. If you don’t have cabinets above your desk, consider installing some quick shelves to hold papers, books, and other office supplies. 

If you already have a desk to fit in your kitchen, then converting your office will be a breeze. If you don’t have proper office furniture handy, though, you can either set up a movable workstation at the kitchen table or grab a smaller table from somewhere else in the house and use it in the kitchen.

Repurpose What You Have

Use Storage Wisely

When it comes to dual-purpose spaces in your home, nothing is more important than smart storage. For an office that fits seamlessly into your kitchen, you might have to get creative to fit all the supplies and materials you need to do your work. 

Pull-out shelves are a great way to hide your printer or documents when you’re not using them. Another way to demarcate working space from cooking space is with a moving kitchen island or cart. You can set it between your desk and the rest of the kitchen to give you a sense of separation and to save on space. 

Speaking of space-saving solutions, you could also try under-the-desk storage. Stack up your printer, computer tower, documents, or other supplies underneath your desk and hide it all with a curtain. Another kitchen storage idea is stacking up decorative boxes or wooden baskets near your office space. 

Maximize Comfort

If you’ll be spending a lot of time at your workstation, you’ll want it to be comfortable. While some kitchen offices work fine with a barstool or small ottoman as seating, these won’t be ideal if you’re spending all day at your desk working. Use a comfortable, ergonomic chair – it could be one of your existing kitchen chairs or a chair from somewhere else in the house. 

Another feature to consider when setting up your kitchen office is lighting. If you don’t have the space available near a window for natural light, then make sure your workspace is well lit. Either overhead lighting, a desk lamp, or under-shelf lighting will ensure you don’t strain your eyes as you work. 

Finally, keep in mind the technical constraints in your kitchen. You’ll have to plug in several devices, so consider getting a surge protector. Keep all the wires and cords as hidden as you can, either by stowing them underneath your desk, or stashing them in a small storage box. Also, remember to set up your new office space a good distance away from where you cook and nowhere near the sink! You don’t want to risk damaging your laptop or other devices because of spills or accidents.

Maximize Comfort Kitchen More Usable

Final Thoughts on Making Your Kitchen into a Usable Home Office

Converting a room or space in your home into a viable home office is essential for many people at the moment. Luckily, adapting your kitchen into a home office is easy with these three tips. At Multiliving, a firm of North London kitchen designers, we advise clients on integrating home offices into their kitchens all the time. As long as you’re willing to rethink your current space, devise unique and practical storage solutions, and provide yourself with enough comfort and safety, then you’ll have an accessible home office in your kitchen. 

Explore More

Kitchen Remodeling: Popular Kitchen Interiors In Los Angeles!!

0
Kitchen Remodeling

The kitchen is the place where you spend most of your time, right? From morning breakfast to the late-night snacks, we all love to spend our time making delicious food recipes.“The kitchen is not only the heart of a home, but it is a perfect place to make a vibrant style statement.” So true!! If you’re thinking of renovation or remodeling of your old cooking place in your Los Angeles home but have no idea where to start and whom to contact? Don’t worry, read this article to know all the new ways to renovate your kitchen. We have also listed up the famous houses in the Los Angeles area where the expert interior designers innovatively remodel the kitchen along with other parts of the house.

You can actually contact many companies who are experts in interior design. It is always best to hire a professional to do this task as we all are not aware of each & every aspect of designing, right? Whether you want a sleek modern looking kitchen or the classy contemporary one, You can tell them your requirements, and they will design accordingly.

So, if you’re living in Los Angeles and looking for a company, you can contact H&A MY DESIGN. They’re well known for their kitchen remodeling in Agoura Hills & other parts of LA. They remodel the kitchen as per your specific needs and turn your dream into reality!!

Still, confused with the style and designs? Check out these insanely beautiful and popular kitchen interiors in Los Angeles and get some inspiration: 

1. Spanish Colonial House 

Spanish Colonial House 

Architect: Síol Studios

Area: 1,848 square feet (172 square meters)

Síol Studios designed this beautiful project for Sonya Yu and Zack Lara. The family of four, living in San Francisco. They wanted a second home in LA with the traditional looking but with contemporary detailing. Every part of the residence is crafted beautifully, mainly the cooking area. It is located in the rear of the house, so the architect placed a huge glass door that also provides a seamless connection to the backyard.

Spanish Colonial House idea

All the cabinets are kept in classic green color, and flooring is done with terra-cotta tiles with an arabesque motif. A patterned backsplash is used against the white countertops, which gives a fantastic contrast between the two. The most usual yet gorgeous thing in this kitchen is the bronze partition! It smoothly merges with a bar made of ash. The whole area is embellished with a structural lighting fixture. 

2. Stephen Kenn Loft

Stephen Kenn Loft

Architect: Stephen Kenn Studio

Area: 1,600-square-foot (149-square-metre)

The minds behind this brilliant project are designers Stephen Kenn and Beks Opperman. The Stephen Kenn Loft is actually a rental unit that is also available to rent for cocktail parties, art shows, and overnight stays. Stephen Kenn Studio transforms an apartment into an “Airbnb-style rental or micro-hotel,” where guests can try & buy the furniture. 

Stephen Kenn Loft idea

This 149-square-meter residence consists of a bedroom, bathroom, gym, kitchen, and dining area. There is also an additional loft with a meditation space. The overall theme of the apartment is Industrial. It has 14-foot-high (4.2-meter) concrete ceilings with large factory windows. This house also features an L-shaped kitchen with concrete countertops and wooden cabinetry. There is also a large dining table made of aluminum and plated nickel and an elongated sofa with ivory-colored upholstery. The light fixtures were also placed with the industrial theme in mind, as you can see the beautiful globe-shaped pendant lights, Well pendants, and Contour wall lamps everywhere in the house.

3. Manola Court Apartments

Manola Court Apartments Kitchen remodeling

Architect: Rudolph Schindler

Year: 1887–1953  

Manola Court is a sixteen unit apartment property located in the Silver Lake neighborhood of Los Angeles. Rudolph Schindler built this unit for his friend, Romanian-born artist Herman Sachs (that’s why it is also known as Sachs Apartments). The whole building is designed to keep California’s hot climate in mind. It features concrete construction, outdoor patios & walkways, and many other custom details. 

Manola Court Apartments idea

Each unit is designed in a unique way and with different floor plans, including the materials and other design elements. Like this fully furnished two-bedroom apartment, features wood-paneled ceilings with large windows, hardwood floors, etc. You can actually spend hours just looking at the details and the amazing Silver Lake hillside’s views. 

In the living room, Dark wood beams are placed while the lightwood is used in kitchen cabinets and cupboards. This was an old building, but after renovation, the whole look of it got changed. Now, it has all the modern furniture like a couch, hexagon seater & stools. The grand kitchen can also be used for events such as dinner parties, pop up events, exhibitions, and even for concerts & performances.

Definitely, after reading this blog, you have got some awesome kitchen remodeling ideas, right? With the help of experts, you can also easily transform your boring looking kitchen into a fun, interesting one!! Whether you are looking to transform your existing kitchen to match your home décor or wish to expand the space by adding new elements, choosing a Los Angeles kitchen remodeling expert is the first step. 

No matter what kind of design elements you want, or what shape you want for your kitchen, these interior design Professionals will surely fulfill your every demand. Hope this article gives you some inspirational ideas and also helps you in finding the perfect style and design elements that you’re looking for.

Read more:

How to Sand Drywall by 6 Easy Steps!

0
Sand Drywall

One out of 10 American homeowners has used drywall to decorate their interior. These are easy to install, repair and very flexible when you want to renovate your home. Sanding drywall is an integral part of the drywall installation and today, we are going to share with you the most efficient way to sand drywall.

Drywall Sanding is easy when you know how to do it. But for performing an effective drywall sanding job, you need to be patient, have some essential tools in hand, know how to do it and finally, execute!

How to Sand Drywall

So, collect these tools for sanding your drywall efficiently-

  • Drywall Sander
  • Sandpaper
  • Sanding Sponge
  • Marker (a pencil will do the work)
  • Dust collecting tray
  • Safety equipment

As you have the necessary tools, follow these easy steps to complete your job-

1. Take Proper Safety Precaution

Before you start sanding, take proper protective measures for preventing any subsequent illness due to the contact of the drywall dust.

A protective cloth, eyeglass, gloves, and a respiratory mask will save you from harmful drywall dust. Inhaling dust can cause severe respiratory problems and exposure of eyes to the dust can have a negative impact on eye health as well.

Despite using a dustless drywall sander, The Tooly says that around 5% dust remains uncollected and can harm your health.

2. Block all Entrances to the Jobsite

For making your house safe from those 5% uncollected dust, you should seal off all the openings of the room. Doing this will keep the dust on the job site and it will be easier for you to collect them later.

If you sand drywall with an open window or a door, get ready to see all of your house dirty with the drywall dust.

3. Mark the Wall

As you are now ready to go with the sander, you should start marking the wall for smooth sanding. Mark the places where you need to sand more for their raised surfaces, or where you need less as the surface is inadequately primed.

Apart from marking, you should divide the wall into different sections so that you can work efficiently. Those sections will reduce your risk of leaving any surface unsanded.

4. Start with Corners and Edges

When you start sanding, make sure to sand the corners and edges first. Since corners are the hardest to sand places, you will need the help of sandpaper and sanding sponges for a perfect finish.

Another important thing is that you must sand maintaining a line. Maintaining a line will help you to do the task faster as you will not sand a place unnecessarily in this way.

How to Sand Drywall

5. Collect Dust in a Dust Tray

When you sand manually with a sanding sponge or sandpaper, ensure that you pick a dust collecting tray to collect the dust at the source. Doing so will minimize dust exposure and keep the room relatively clean for you.

6. Look for Blemishes

After the sanding is done, you now need to look for any surface that remained unsanded or surfaces that need more sanding.

You’ll find this type of surfaces around the corners and electric outlet openings. These surfaces are hard to sand with an electric sander, and thus most of the time remain unsanded or sanded less than necessary.

Final Words

As you know how to sand drywall, you should be able to effectively sand your own home or help your friend finding the perfect rhythm to sand his house.

Ensure that you clean everything perfectly from the room after the sanding work is done as leaving the dust in the room will harm your respiratory health.

keep reading:-

The Benefits of Turning to Solar Energy

0
benefits of Solar Energy

We all rely on energy in both our working and private lives – so when there is a power outage, many people go into panic mode. However, while we certainly need access to electricity in our day to day lives, we risk causing continued damage to the environment as well as to our own pockets because of the way it is burdening the environment.

Solar panels on the roof of a building

The good news is that in today’s modern world, there are other alternatives you can turn to for your energy, such as solar power. More and more people have decided to utilize solar power over recent years, and this is because it offers a range of benefits. In this article we will look at some of the benefits you can look forward to when you use solar energy:

What Are the Benefits of Going Solar?

There are many benefits that come with using solar energy for your home, your business, and even when you are out and about. Some of the main benefits include:

Easy Access

A lot of people have taken an interest in solar power in recent years, and this has resulted in increased demand as well as increased supply. It means that you can now enjoy easy access to solar power, including power for your home from a green energy company Houston and portable power via one of the many portable solar power generators available. Yes, you can make use of solar power no matter where you are.

Environmentally Friendly

Many people today are eager to find solutions to the burden of our lifestyle places on the environment. The damage to the planet and environment has been highlighted over recent years, and everyone has to do their part in order to help. Solar energy is green, sustainable energy, which means that you can get the power you need while also protecting the environment.

Generally, using solar energy can benefit the environment in the following ways:

  • It helps conserve water: The regular production of electricity makes huge a large volume of water. For example, water is used to refine fuel, move fuel in pipes, and even cool off generators after use. But with solar energy production, you can avoid the risk of running short of water. 
  • It does not produce pollution: When producing electricity, certain gases are emitted into the environment, causing the air people breathe to be harmful. On the other hand, with solar energy production, you can ensure that no pollution from your supply will hurt the environment and endanger people’s health.  
  • It reduces the use of fossil fuels: With solar energy, you don’t need to use regular electricity to power up your home. As a result, you’re able to minimize the use of fossil fuels, thereby cutting down the dangers they produce, such as toxic gas emissions.
A house with a solar panel on the roof

Saving Money

Most people wish they had a little extra cash in their pockets at the end of the month, but often most of the budget is taken up by housing costs and household bills. The cost of energy has skyrocketed over the years, with many facing huge bills every month or quarter for their energy usage. Since solar energy takes its power from the sun, you won’t have to worry about dealing with sky-high energy bills any longer, making this a great way to save money.

Furthermore, if you want to get the most out of your energy savings with solar panels, you may consider purchasing a solar buyback electricity plan. Generally, consumers with solar panels can sell back power to the grid through their utility. This is called Net metering. For instance, in Texas where electricity is deregulated, you can consider Net metering in Texas by shopping for a solar buyback electricity plan from a retail electricity provider. This way, you can get more savings from your electricity bills in the run.

Perfect for Properties and Adventurers

Another great thing about solar energy these days is that there are so many options. You can get solar power for your home or business premises, which can make a huge difference in terms of costs and the environment. However, you can also turn to portable solar power when you are enjoying the great outdoors such as on a camping trip, on a road trip in your caravan, or spending the day hiking.

A Great Option in the Modern Age

Solar power provides us with a great option in today’s modern world. We can still continue to get the power we need to run our homes, use our devices, and more, but we can also help save some money and the environment.

To find out more:-