Parents can do anything for their little angels: learn hair braiding, skip a night with friends, and even turn their backyard into a paradise for kids!
Creating a kid-friendly backyard is an excellent idea for parents who want their children to be more active. The best thing is that you don’t need to spend a fortune on your crazy ideas! Just find some free time, make a plan along with your children and let’s get it started! That’s what you can do in your backyard to make your kid fall in love with it:
Plant a Garden
Before planting a garden, you should be aware that one day your kids might destroy it all. However, don’t let that discourage you!
Ask your kids to help you out. According to multiple studies, gardening improves sleep and lowers cortisol levels. Not all adults these days know how to grow their own vegetables and flowers. So, teaching your kids these skills can be beneficial!
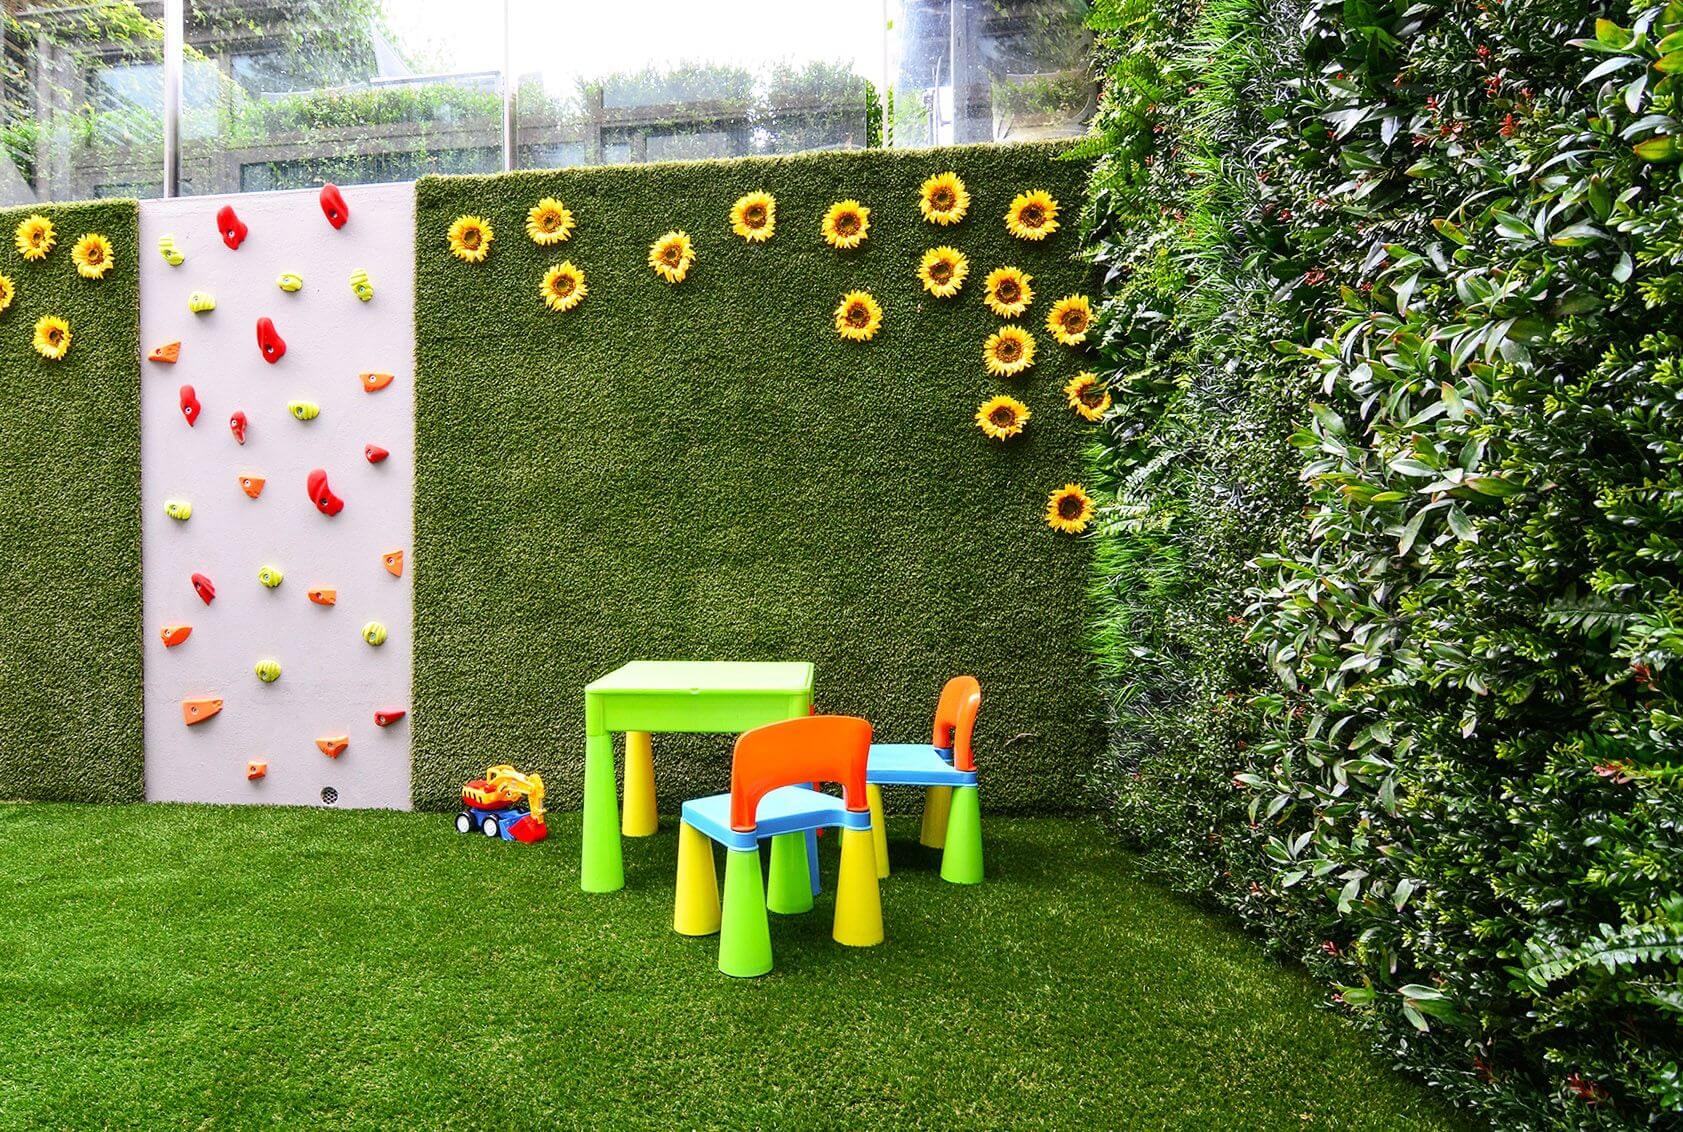
If you don’t want to spend time preparing the soil and planting a garden, at least install false grass so that your kids will not get dirty every time they play outside.
Use Pallets
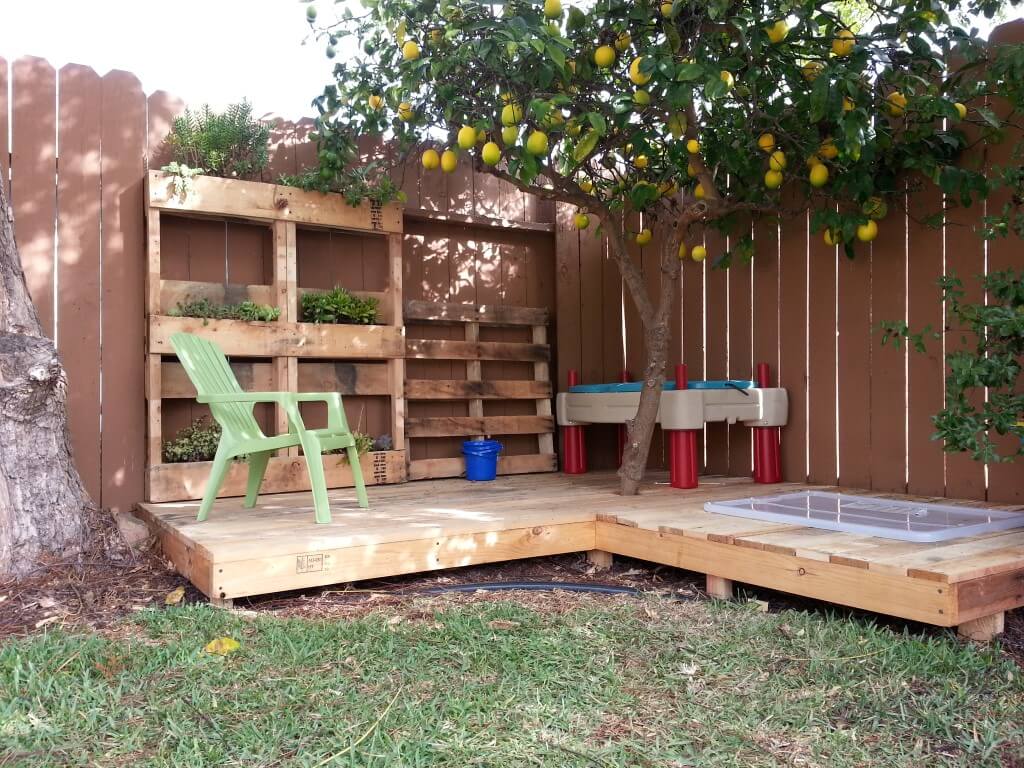
Get cheap wood pallets for your backyard. You can build a little stage where your kids can dance and sing karaoke.
Also, you can make a sandpit out of wood pallets or create a sitting area where your children can sunbathe and play board games.
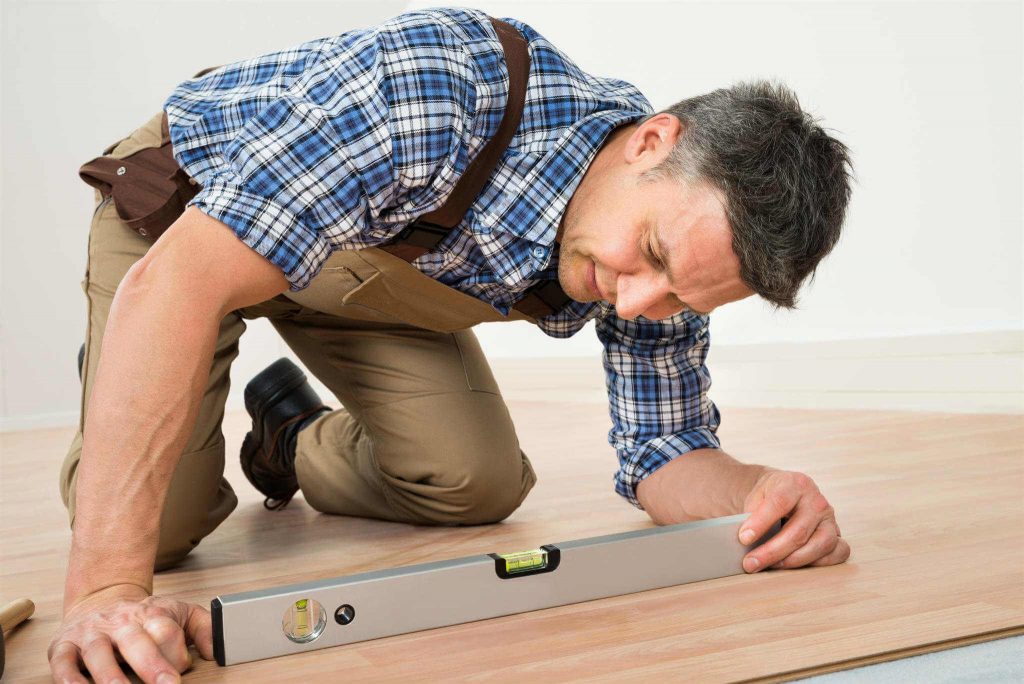
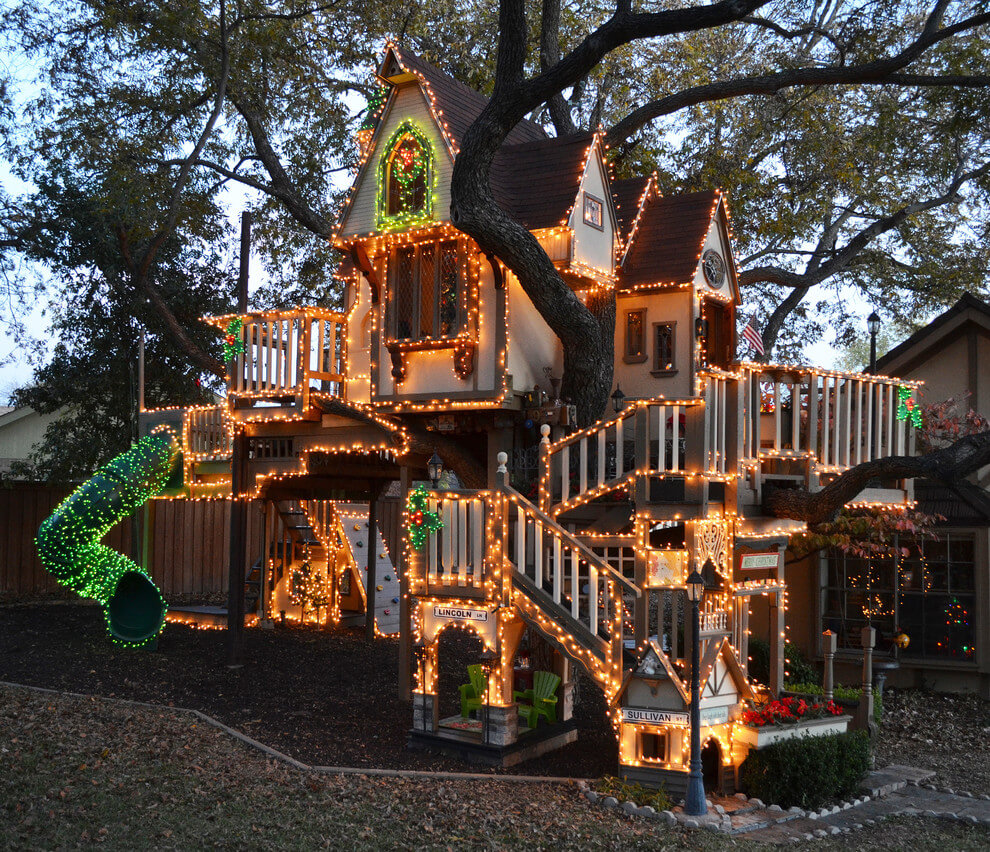
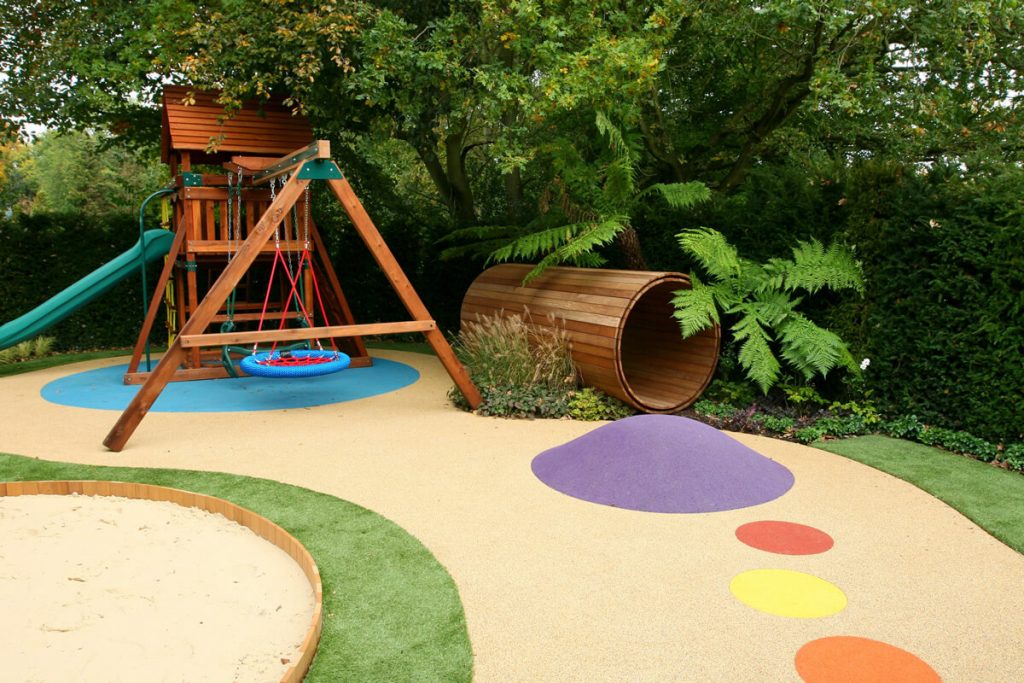
Build a Playhouse
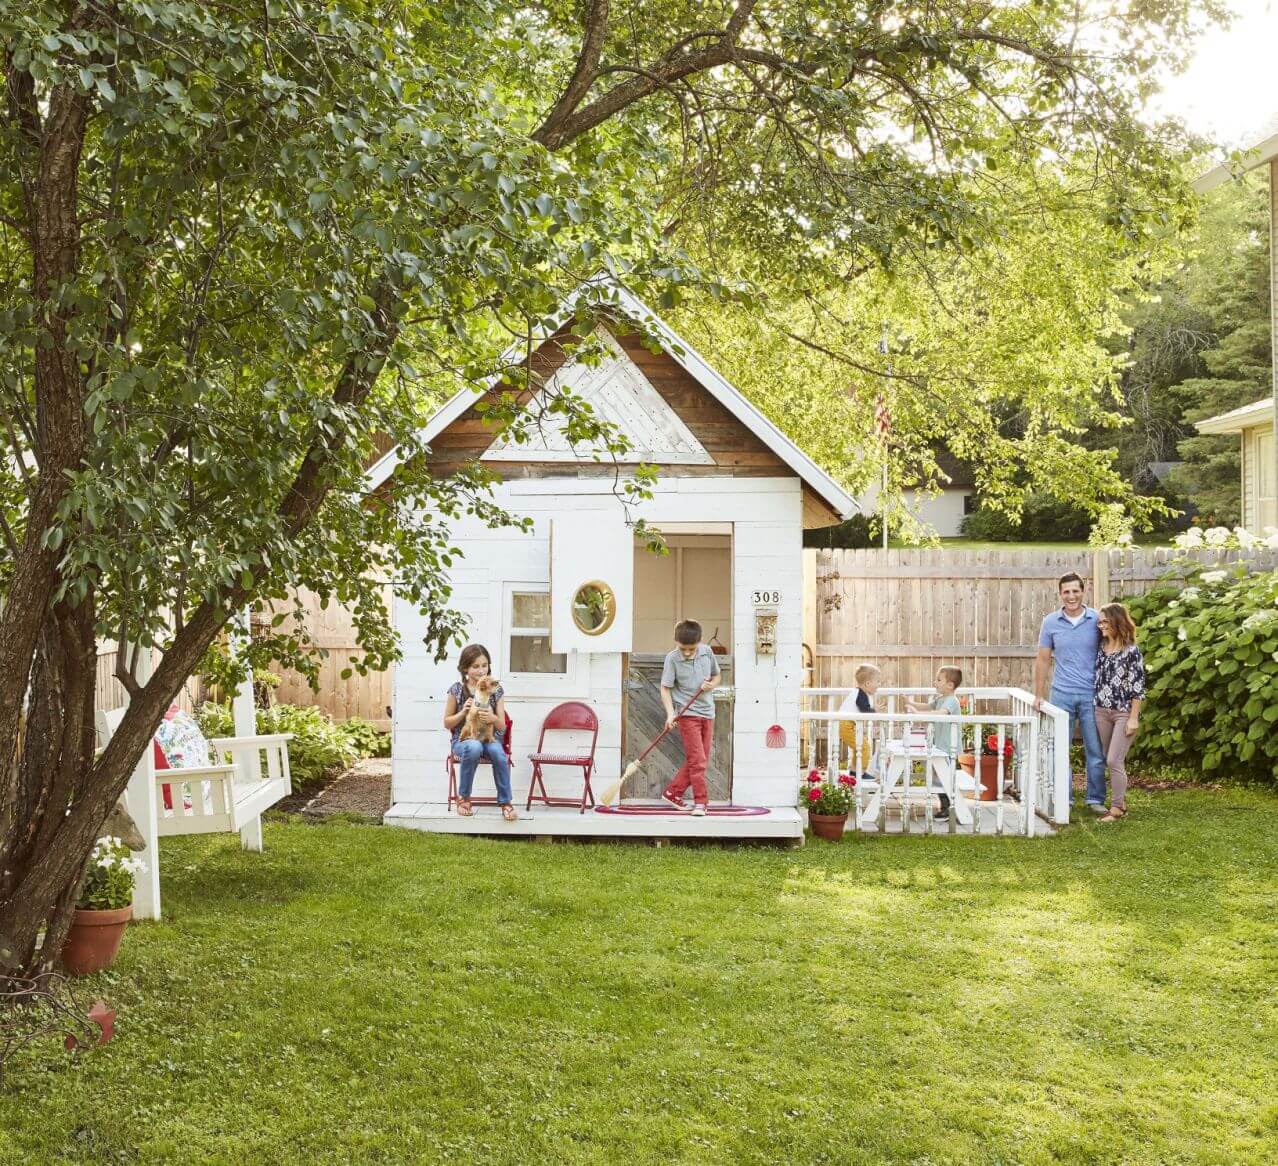
Do you want your kids to spend hours playing with their friends in the backyard? Then, consider building a playhouse for them. Kids love having their own space! There are a few options you can take into consideration.
The first option is to buy a plastic house. Also, a pack n play for your toddlers. These might be a bit expensive, though. On the other hand, you will not have to spend your weekends working in the backyard.
The first option is to buy a plastic house. It might be a bit expensive, though. On the other hand, you will not have to spend your weekends working in the backyard.
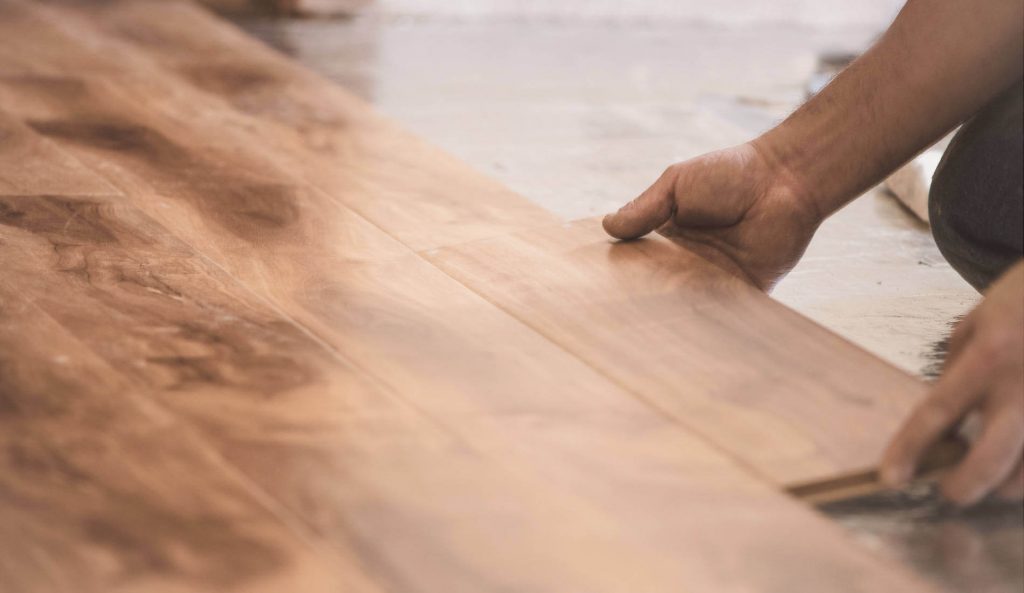
The second option is to build a playhouse on your own. To do so, you need to build the floor frame, level the foundation, and install porch posts. After that, frame the walls, sheeting, and the roof.
Make sure to test a house before showing it to your kids. Your little angels’ safety should be a priority!
Build an Outdoor Cinema
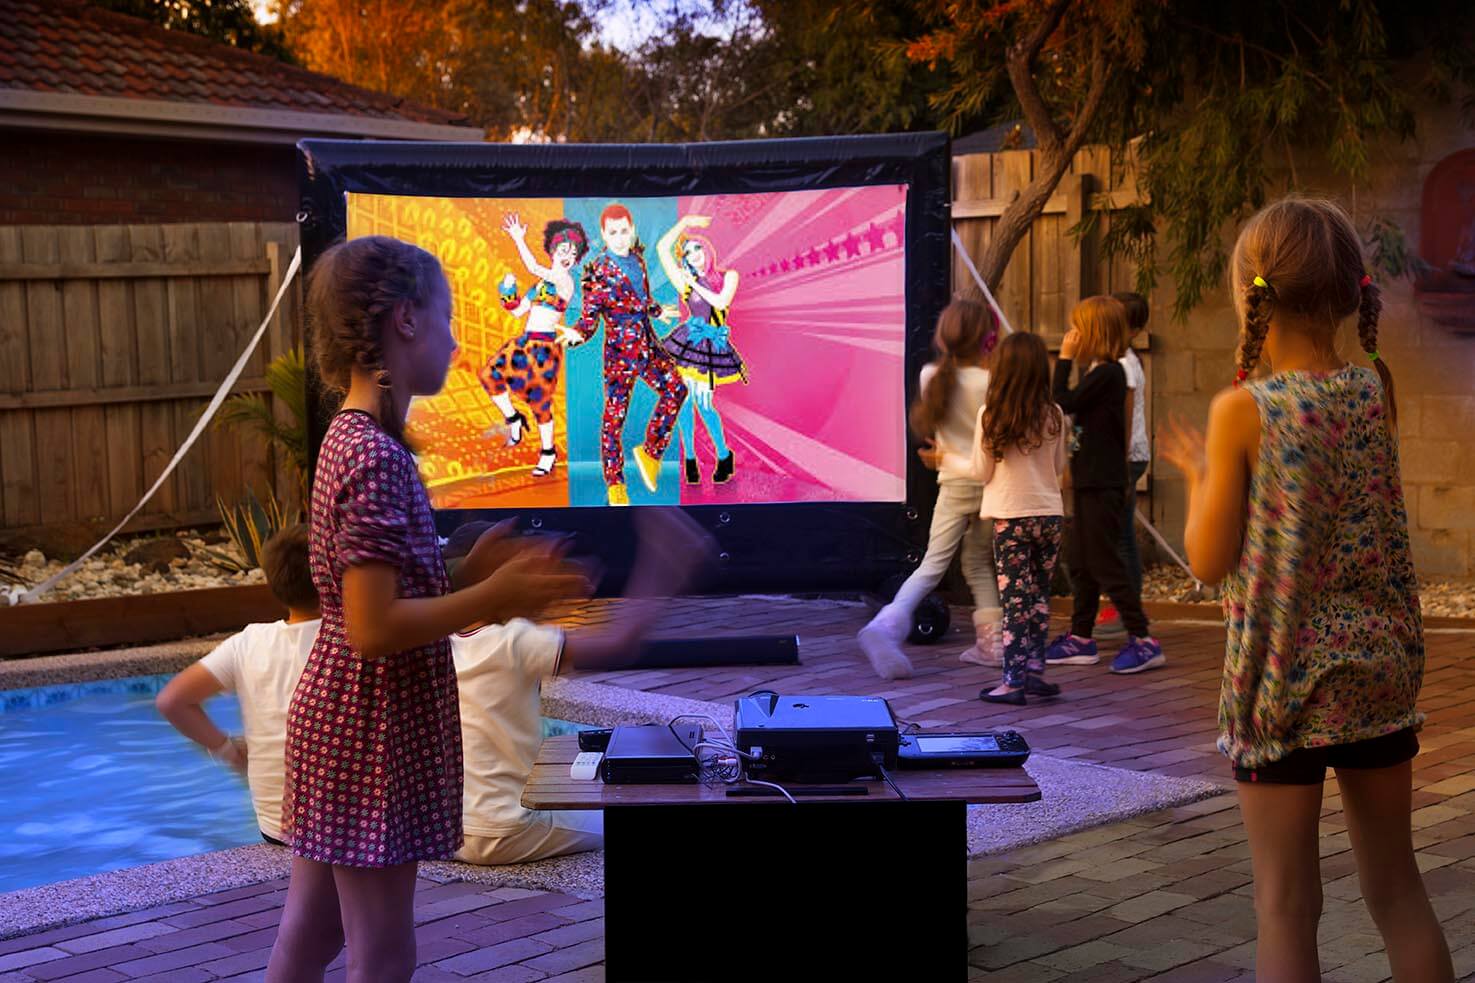
During the summer season, you can watch cartoons and movies in the backyard together.
To build an outdoor cinema, find the right location. Find a dry and sheltered from the wind spot in your garden. Also, make sure it’s not exposed to bright indoor lights.
You will have to invest in a video projector. Ideally, it should have at least 3000 lumens. There is no need to buy a cinema screen since you can always use an old white sheet.
Also, bring some pillows and string lights to make your kids feel comfortable! There are other creative things you can do. For instance, consider printing your own cinema tickets. It is a unique bonding experience your children will never forget!
Put Some Lights On
If you want your kids to play in the backyard in the evening as well, consider adding some lights! You can either get free-standing lights or string lights. Also, add some incandescent lights into the plants in order to make your backyard glow in the evening!
Unleash Your Creativity
You don’t have to spend thousands on making your backyard kid-friendly. To avoid breaking the bank, use your creativity.
For instance, you can create a spot for drawing by turning your fence into a chalkboard. Drawing with chalk on the street can be pretty dangerous. However, if you have a chalkboard in your backyard, you will not have to supervise your kids!
Also, you can blow up a kiddie pool and create a sweet outdoor lounge. All you need is to bring colorful pillows and blankets. It will make your angels feel super special!
In case you have tall trees in your yard, make a unique tire swing.
To make the coolest backyard in the neighborhood, build a rock climbing wall. You can paint it the way you want! This DIY project will definitely attract a lot of kids, so make sure to stock up on snacks!
Toddlers will enjoy playing on a massive water pillow. It’s not only an exciting thing to have in the garden, but it can also be that refreshing element that will help your little ones to survive the summer heat!
Create a Spot for Yourself
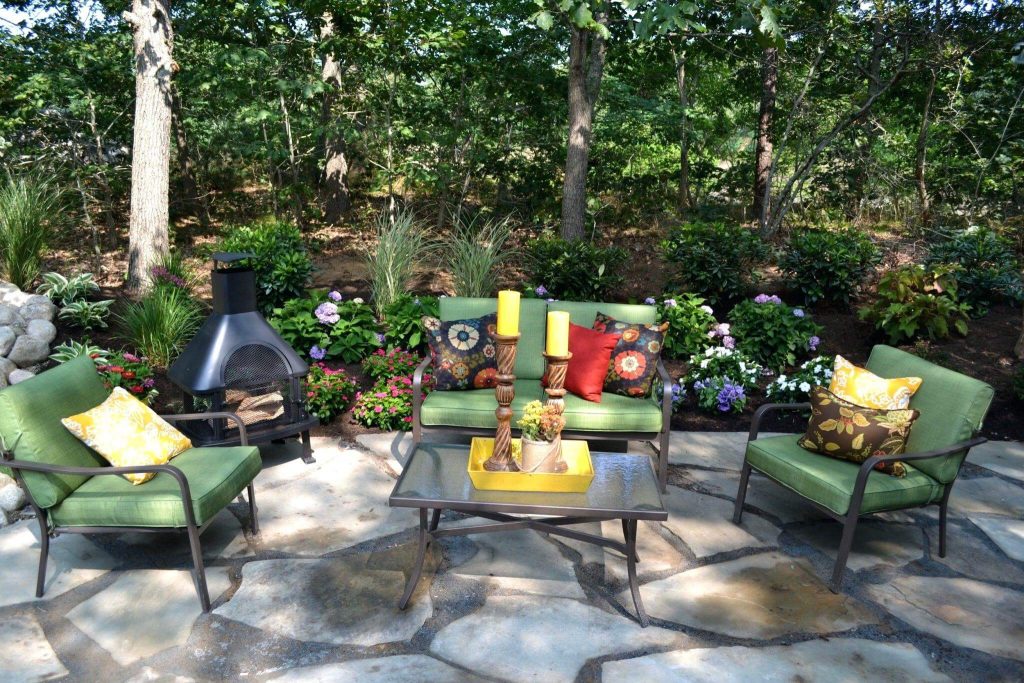
You also deserve to enjoy yourself in the backyard! Find an old sofa you can put outside. It will help you to relax after a long tiring day at work and supervise your little angels!
If you want to serve dinners outdoors during the summer season, take a table to the backyard. Make sure you have access to the kitchen.
The Bottom Line
Let your kids help you to build a backyard of their dreams. It’s a bonding experience they will always remember! Feel free to use some DIY project ideas from the list above.
Read More:-