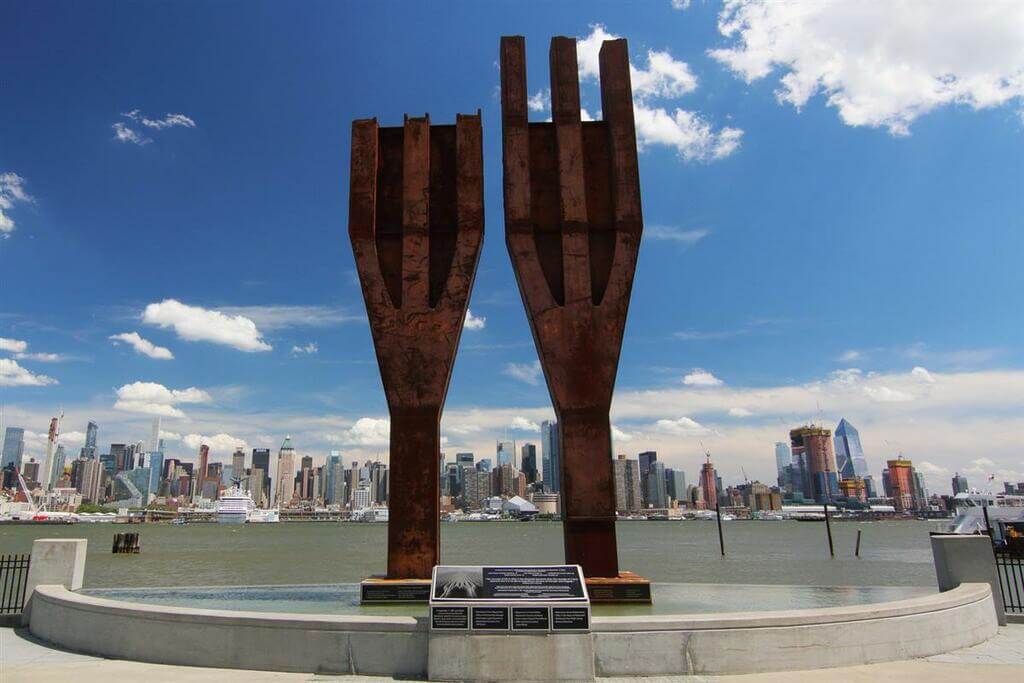
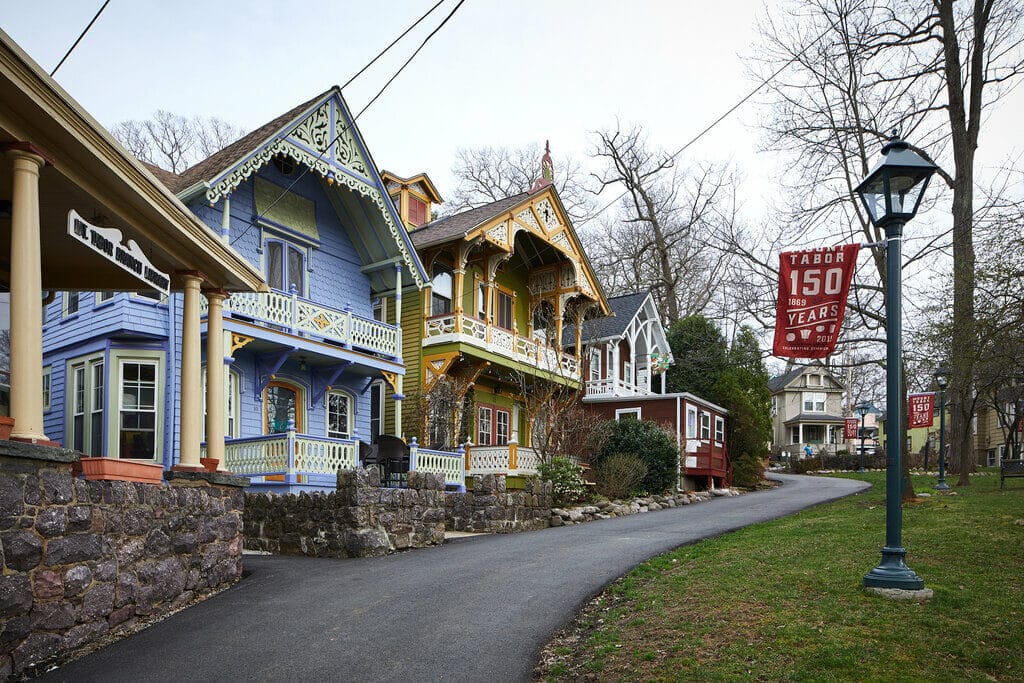
The state of New Jersey – like each of the 50 American states has its own characteristics. New Jersey is in fourth place among the smallest states in the United States, covering an area of 8,700 square miles. In comparison, the largest state is Alaska, with an area of 665,000 square miles. Today, we are showing Best Places to Live in NJ.
At the same time, New Jersey is the most populous state. About 9 million people live here. The state is among the ten most expensive and richest. The phrase “one-story America” very accurately describes New Jersey. Most people here live in separate houses, but you also can look at the new construction homes in New Jersey.
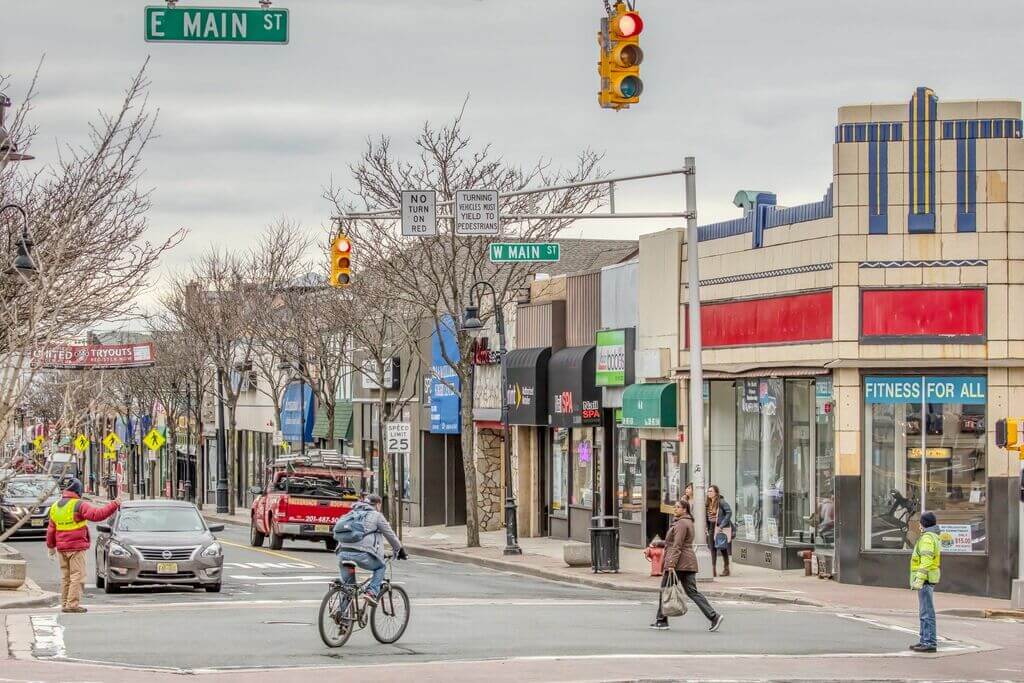
Let’s look at New Jersey’s best places to live.
1. North Arlington
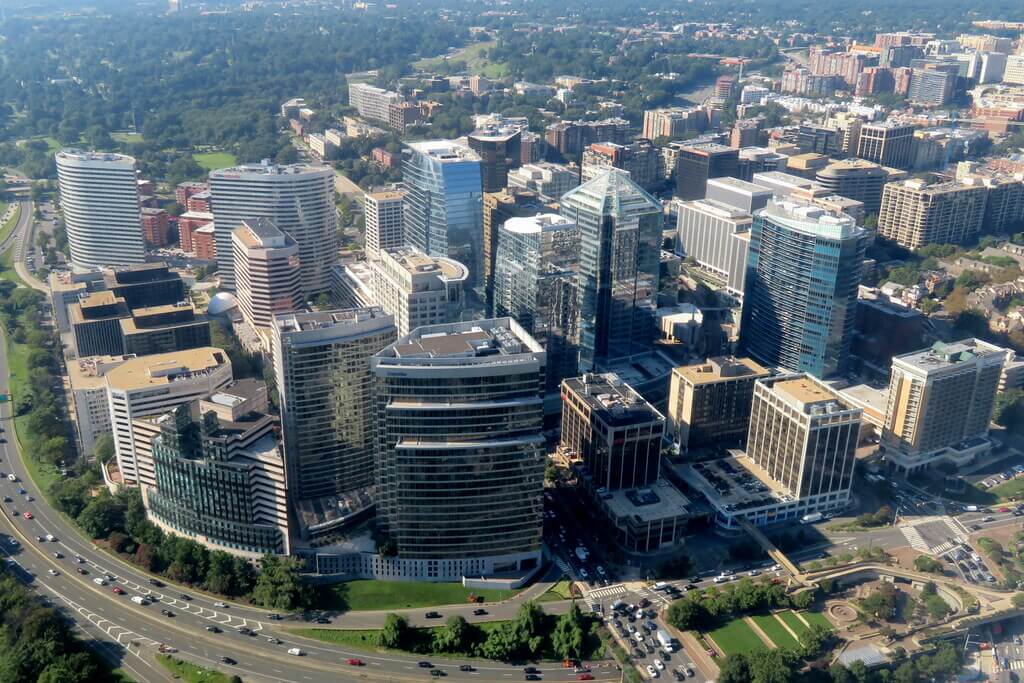
In the first place among all the area of the best places to live in NJ with low taxes is North Arlington. Despite the fact that this area is densely populated, it is still considered the best place. Not in vain in 2017, North Arlington was registered at number 8 as “the best place to live.” Despite the fact that the city is small, it gives residents the opportunity to feel free. The suburb offers a wide range of services and is located near the Big Apple financial district. The estimated home price is $ 350,000. As for rent, the average cost of a single-family home is $ 1,300.
North Arlington Benefits:
- There are many schools.
- Low crime rate.
- Developed infrastructure.
2. Ridgewood
Ridgewood took second place on this list of the best places to live in New Jersey. This area is famous for its beauties. There are houses for everyone here. Due to the fact that the neighbourhood is developed, the price of houses is corresponding. For example, the estimated home price in this area is $ 717,000, but the rent is $ 2,000. If you search on the iNew-Homes site, you can find cheaper houses. The difference is only in location.
Ridgewood Benefits:
- There are many schools and kindergartens.
- There are many parks.
- The presence of developed infrastructure
3. White Meadow Lake

The third place on the list is White Meadow Lake. The suburb is small, but it is considered very attractive for living. All the people who live here are kind and happy, which creates a pleasant atmosphere in the area. The estimated housing prices are $ 117,000.
Benefits of White Meadow Lake:
- There are many schools.
- Have a nightlife for young people.
- Incredible landscapes and surroundings.
4. Princeton
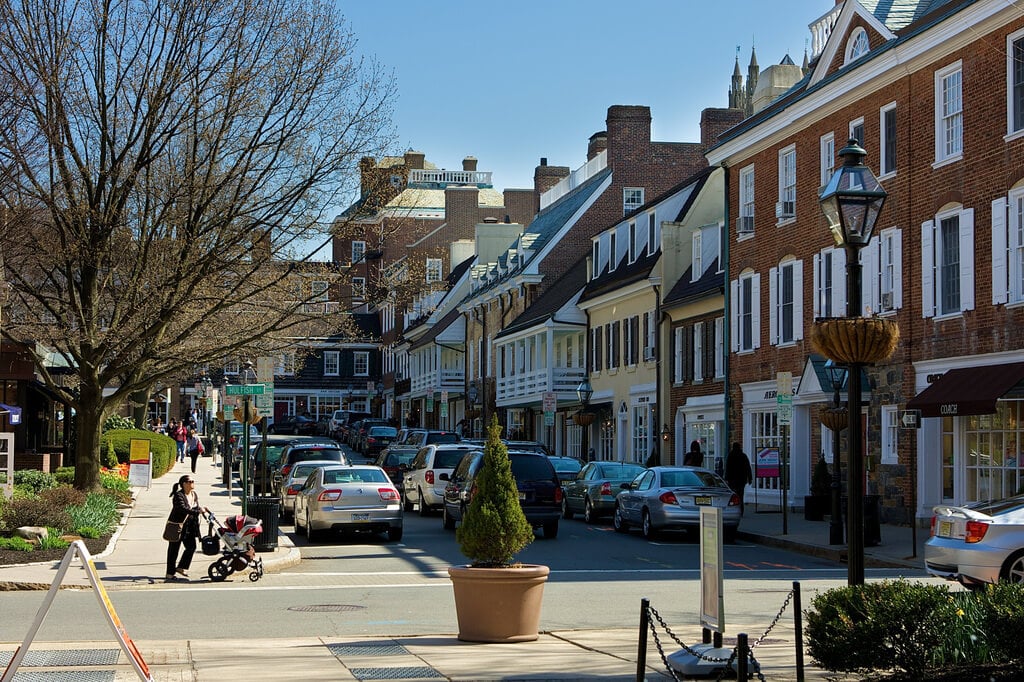
Fourth place is taken by Princeton. This area is distinguished by intellectual qualities. There are many universities here, notably Princeton University and The Ivy League university. Thanks to its good location, you can reach New York or Philadelphia in just minutes. The estimated home price is $ 781,000.
Princeton Features:
- There are many schools and universities.
- Good location.
- Low crime rate.
5. Oradell
Fifth place on the list of the best cities in New Jersey is Oradell. The district is very successful, the standard of living of the population is quite high. When living in the area, you can feel safe. The estimated cost of homes is $ 550,000.
Features of Oradell:
- Educated population.
- Safe area.
- High standard of living.
6. Edison Township
Sixth place on our list is Edison Township. The area is densely populated and considers being the cheapest places to live in NJ. This area is famous for its high standard of living. According to statistics, the unemployment rate is low and average wages are high.
Features of Edison Township:
- Good education.
- Low cost of living.
- Developed infrastructure.
7. Saddle Brook
Seventh place in the ranking of the best areas in Saddle Brook. The area is famous for its active life. Here adults and children can find entertainment. Estimated home value is $ 363,000,
Features Saddle Brook:
- Developed infrastructure.
- High salaries.
- Active life.
8. Succasunna
The eighth-place is taken by Succasunna. The neighbourhood offers its residents a high standard of living. Every resident of the neighbourhood is truly happy.
Features of Succasunna:
- Low unemployment
- Low crime rate
- High standard of living
9. Ho-Ho-Kus
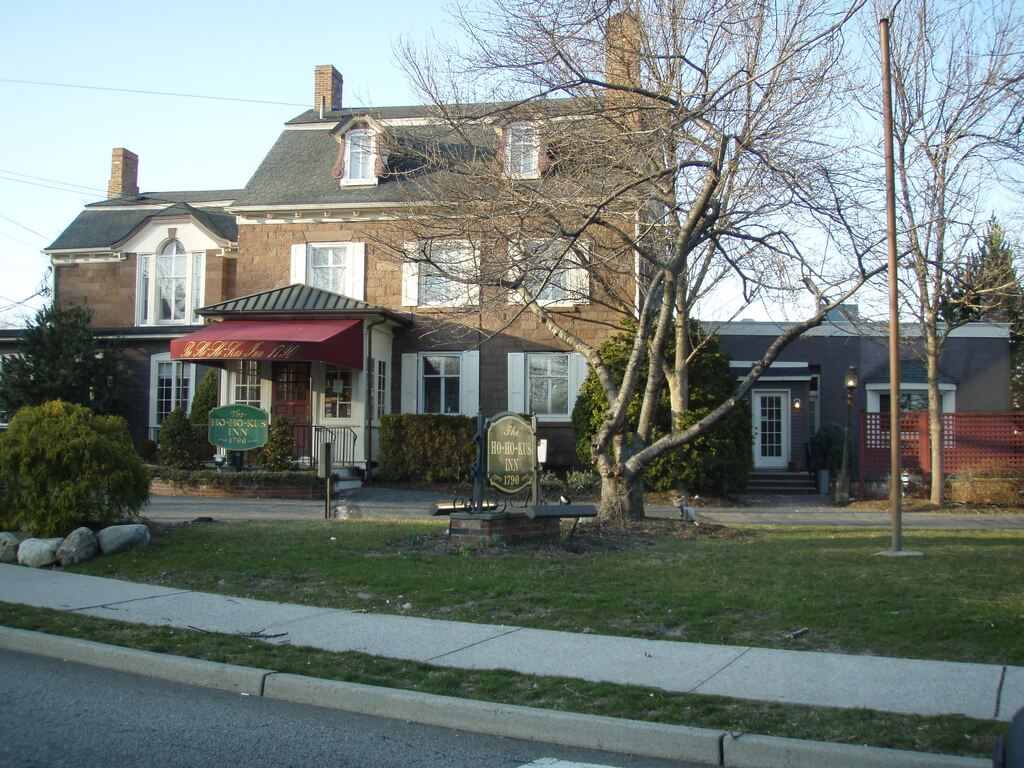
In ninth place is the vicinity of Ho-Ho-Kus. The area is small, but this does not prevent to be the best place to stay. The estimated cost of the house is $ 724,000, about rental housing – $ 2,300 per month.
Features Ho-Ho-Kus:
- Low crime rate.
- Developed infrastructure.
- The high cost of living.
10. Little Silver
In tenth place is the Little Silver. The location of this area allows you to relax on the famous beaches. The standard of living is high, as is the cost of living. The estimated cost of the house is $ 598,000.
Features of Little Silver:
- Low crime rate.
- Happily the population.
- The active city for recreation and entertainment.
11. Parsippany-Troy Hills
In eleventh place on the list is Parsippany-Troy Hills. Being in this area, a person is surrounded by incredible landscapes and landscapes. Nature is so beautiful that it is a distinctive feature of the area.
Features of Parsippany-Troy Hills:
- The clean and beautiful city.
- High standard of living.
- A vibrant city.
12. Bergenfield
The twelfth place was taken by the Bergenfield area. This is a fairly populated area. Bergenfield considers being the best towns in NJ to raise a family. The proximity to Manhattan makes this area attractive for living. The estimated cost of the house is $ 338,000.
Features of Bergenfield:
- There are many good schools.
- Low crime rate.
- Low cost of living.
13. Waldwick
In the thirteenth place was the Waldwick district. The area is considered quite large. Here, the standard of living is high, so the estimated cost of the house is 425,000 US dollars.
Waldwick Features:
- Developed training system.
- High salaries (standard of living).
- Developed infrastructure.
14. Concordia
In the penultimate place on our list is Concordia. So, this area attracts with its low cost of living. The estimated cost of the house is $ 165,000, about rent – $ 3,500 per month.
Features of Concordia:
- Low cost of living.
- The quiet environment in the city.
- Low crime rate.
15. Chatham
Completes our list of top best places to stay – Chatham. This area has a fairly high per capita income. Therefore, the estimated cost of the house is $ 707,000.
Features of Chatham:
- High standard of living.
- Low crime rate.
- Educated population.
Read more: