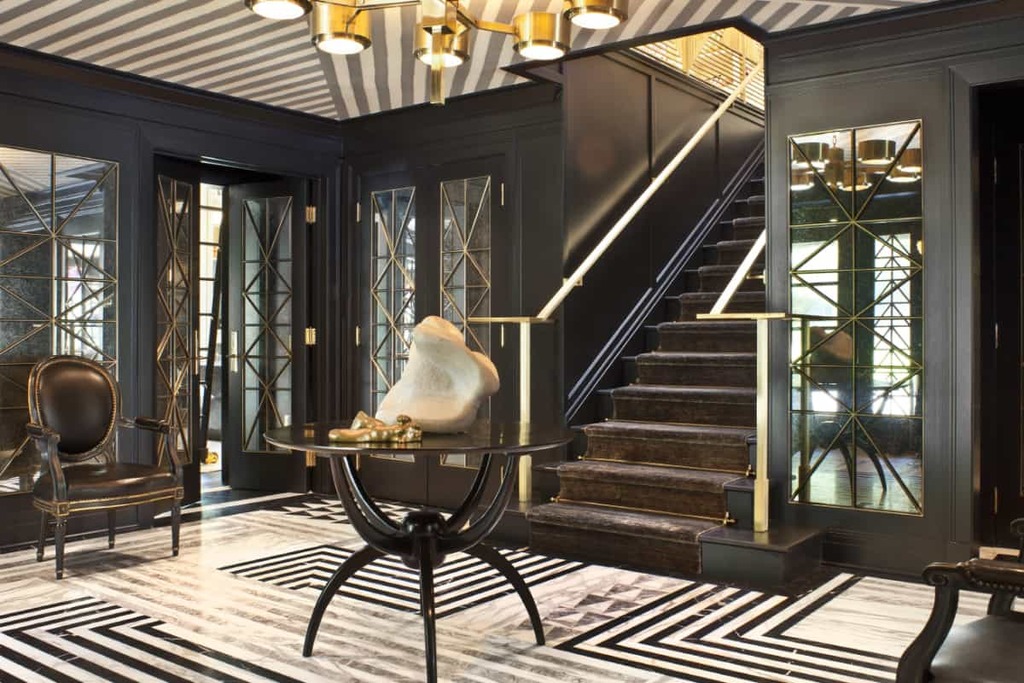
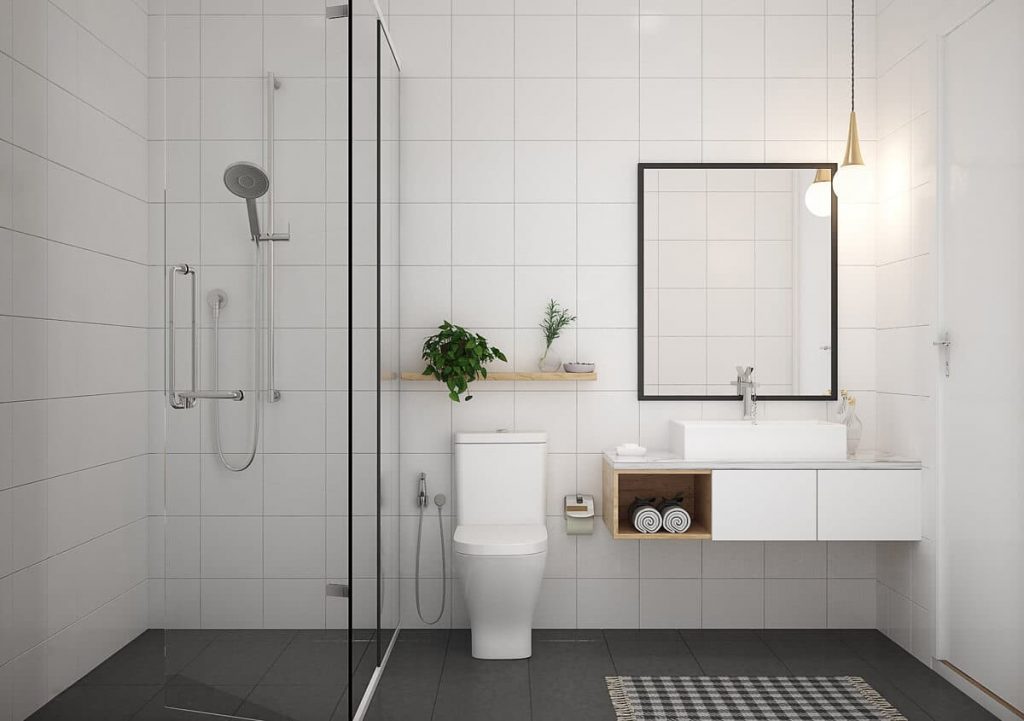
Have you given much thought into your bathroom lately? Or you just plainly use it as part of a routine? Sometimes, we take our bathrooms for granted and forget what they can offer us. It’s not just a place to fulfill hygiene necessities but also where we can find solace and even relaxation. Give your home a new look and let your family experience maximum comfort by booking bathroom renovations.
Top Five Reasons Why You Should Have Your Bathroom Renovated
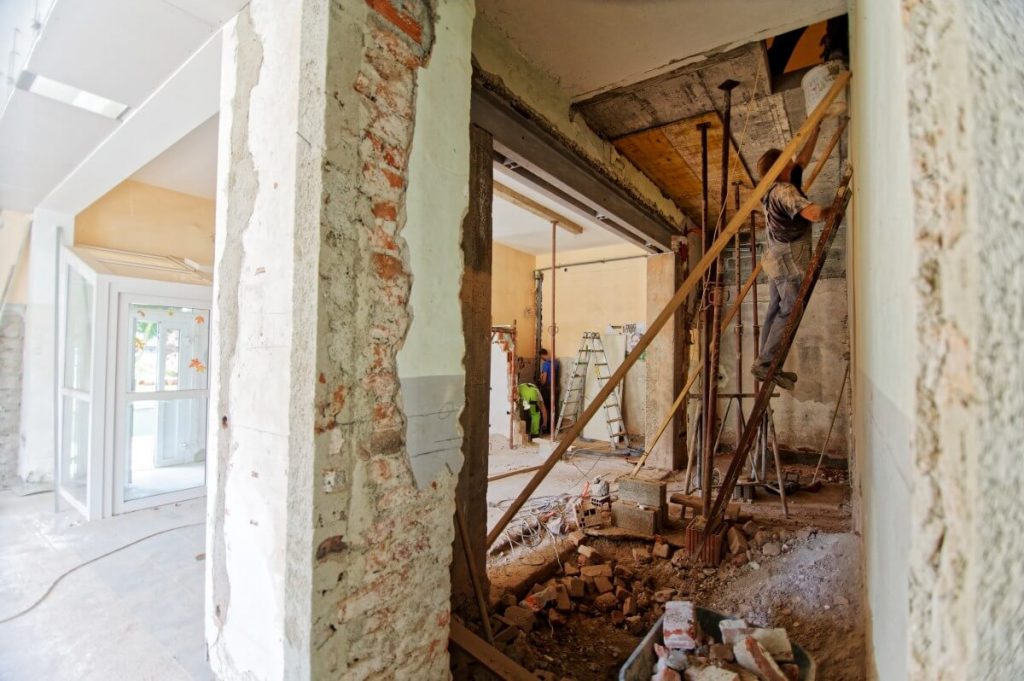
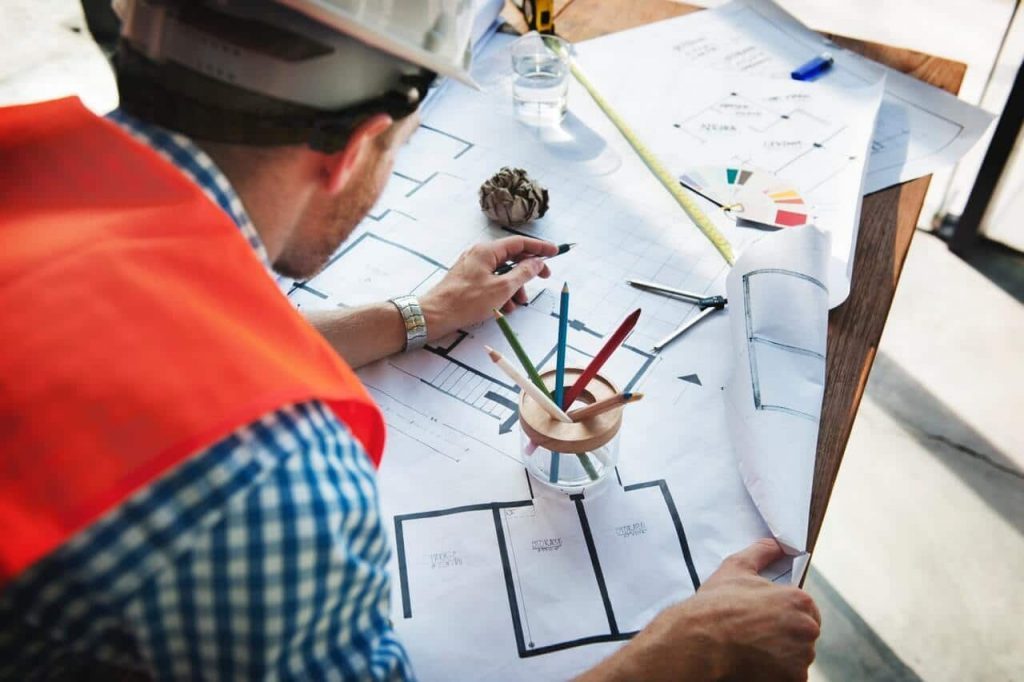
When we hear the word “renovation”, we sometimes relate it to something “major”. But the truth is, bathroom renovations don’t necessarily have to be grandiose. A simple vanity or shower replacement already serves as renovation work. If you’re still having second thoughts about giving your bathroom a new look, here are some reasons why you should give it a go.
Fix any problems
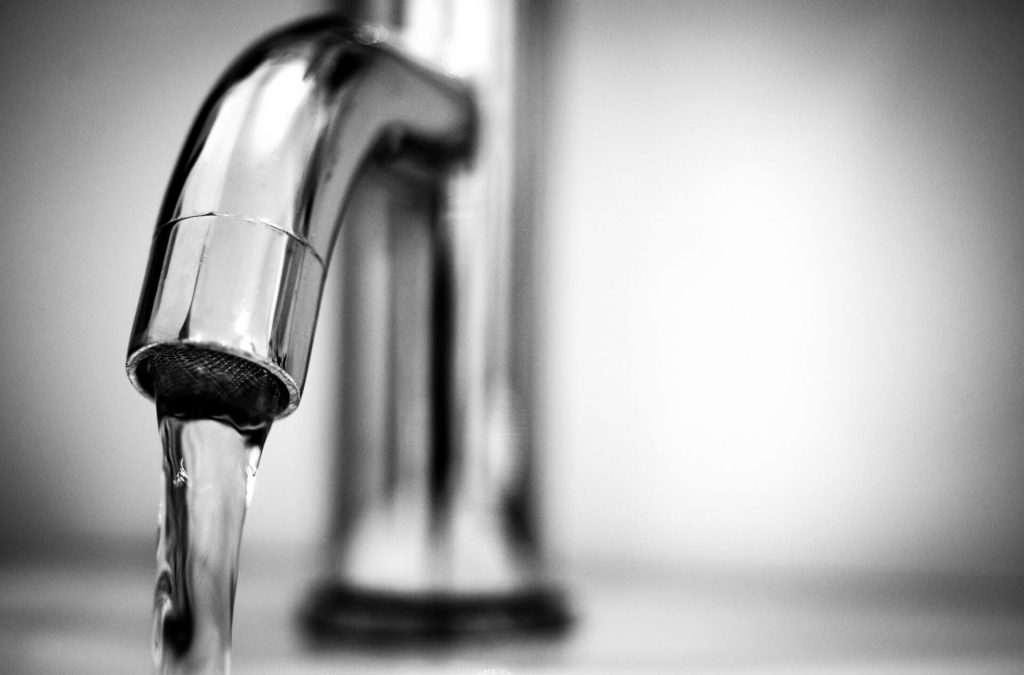
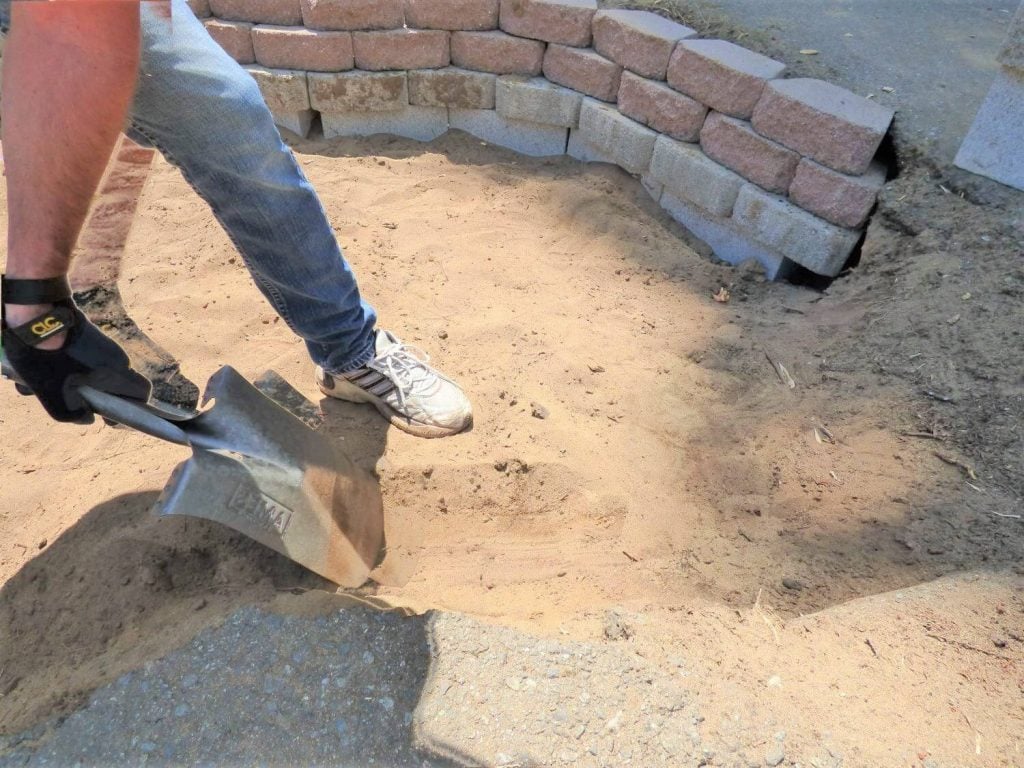
A bathroom that has been around for several years most probably has underlying problems. Homeowners sometimes set aside issues, such as rotting tiles and floor, water leaks, mould issues, and more. When you book a home renovations Melbourne service, all of these can be fixed. Besides, acting on these early on will help you avoid problems from being unmanageable in the future.
Add storage space
If you’ve been having problems on where to store your soap, shampoo, conditioner, and other toiletries, having your bathroom renovated is the solution. The most effective way to sort this out is to add cabinets to your bathroom. Aside from helping you organize your personal care items, cabinets also increase your bathroom’s visual aesthetic. You may want to consider adding mirrored cabinets for added functionality.
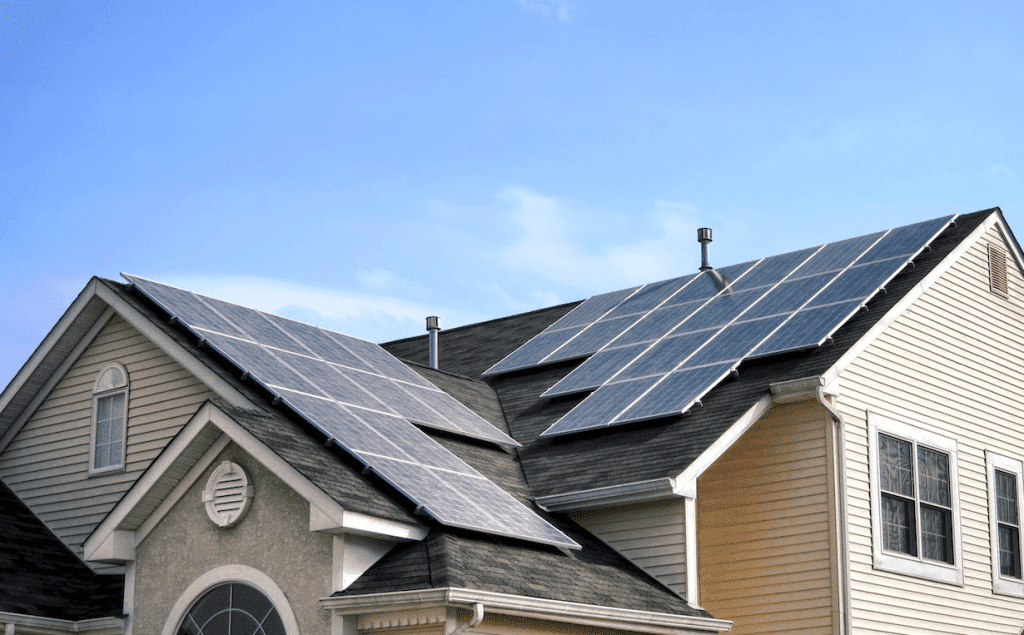
Improve efficiency and sustainability
Ten to twenty years ago, energy efficiency and environmental sustainability are not really the top factors in building a home. But everything changes and most homeowners now require these components to be included in their sanctuary. Through bathroom makeovers, your bathroom’s old pipes and fixture can be replaced which can help lower your utility bills. In the long run, a more efficient bathroom will not only save you money but can also lead to a healthier environment.
Increase your home’s resale value
Complete home renovations add value to a property. In fact, bathroom remodeling alone is already beneficial. Studies show that homes with modern or remodeled bathrooms are sold in the market at higher prices compared to ones with outdated bathrooms. Therefore, having your bathroom renovated offers a huge return of investment should you decide to sell your property.
For your safety
The most important reason why there’s a need for bathroom renovations is safety. Most accidents occur at home, most especially with children around the corner. It’s recommended to install slip-resistant floors, shower screens, and wider hallways to avoid any possible incidents. If you live with an aging relative, it’s best to add rails and a ledge to the shower to accommodate their needs.
Bathroom Renovation Company in Melbourne
Thinking of giving your bathroom a facelift? Count on MW Homes. They are a family-owned business with over 30 years of home renovation experience. Relay your vision to their expert team, and they will do everything to make it a reality. Visit www.mwhomes.com.au to schedule a consultation.
Explore More