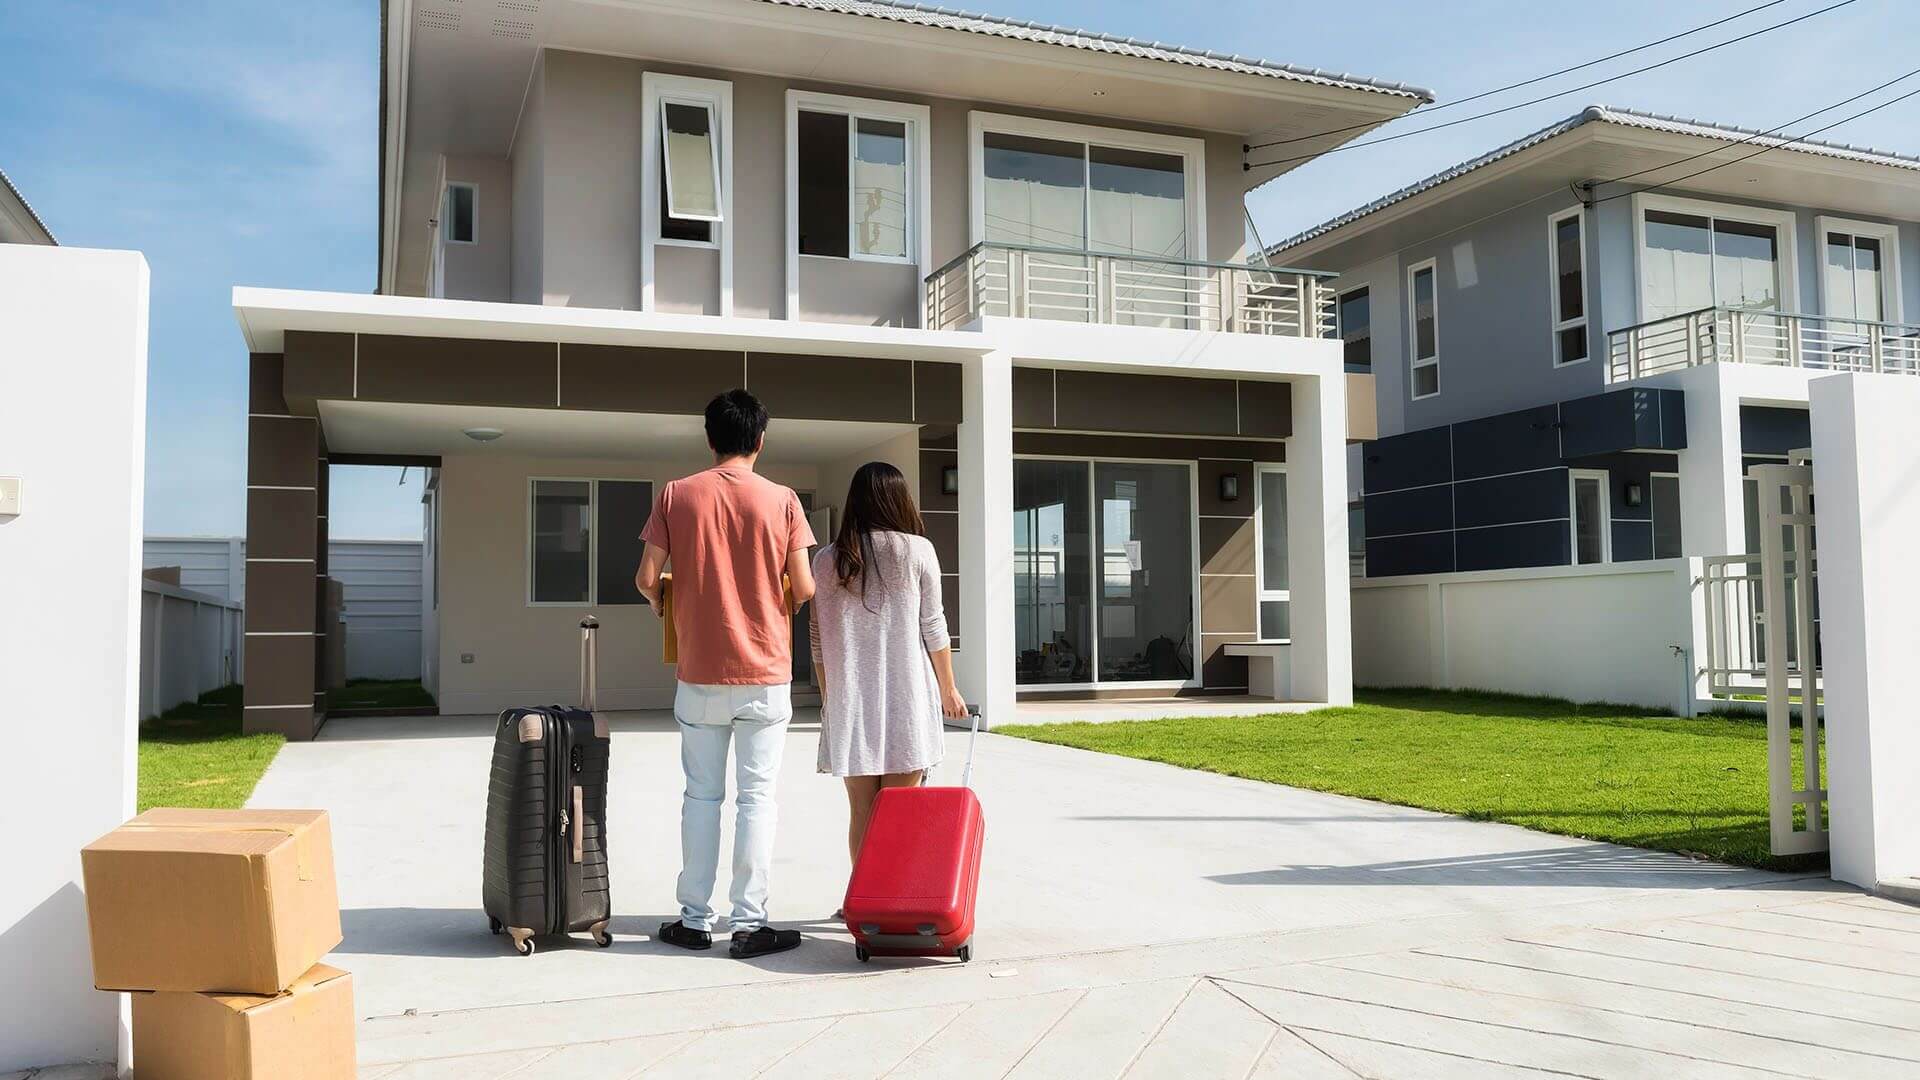
Long-distance moving can seem daunting, but with the right strategies, it becomes a manageable and even rewarding experience. Whether you’re relocating for a new job, family, or a fresh start, success hinges on careful planning, early organization, and choosing reputable movers. By starting preparations well in advance, creating a detailed checklist, and streamlining your belongings, you can reduce stress, safeguard your possessions, and ensure a seamless move to your new home. This guide outlines proven steps to help you navigate every stage of your long-distance moving process with confidence.
Preparing for Your Long-Distance Moving
When moving houses, the amount of tasks you have to deal with is stressful because you have to multitask. However, thorough planning helps manage your stress and reduce unpleasant surprises along the way.
There are many reasons why people move across the country. The statistics show that the main factors for making the move include family and friends (25 percent) and retirement (12 percent). At the same time, many people are also required to make the move due to their jobs.
Additionally, long-distance means more moving costs. Depending on the distance, these exhaustive moves can range from $950 to $17,000, especially if you’ve hired a trucking company.
So, if this seems like an overwhelming task as a first long-distance mover, let’s take a look at these steps you should take in the first phase:
Research Moving Companies
One of the first and best things you can do for long-distance moving is to hire a reputable yet affordable long-distance moving company. However, you must do your research carefully and read reviews from past customers to have a clearer idea of the potential company’s performance and service. This way, you can go through some of the highest-rated long-distance movers that have proven to be successful in their job.
Also, it’s essential to ensure the company is registered and has the necessary credentials. One helpful tip is to compare multiple moving companies’ costs, so you find the best long-distance movers for your goals and budget. Lastly, consider whether these companies provide the services you need.
Plan in Advance
The best type of people are the ones who plan their move. For example, as soon as you decide to relocate, you have to start making a to-do list and do lots of prior planning. Since long-distance moves take too much of your time, a to-do list helps you stay organized and within the deadlines.
Listing important items, selecting your budget, and allocating your finances must be your top priorities as they can help you stay prepared and save money when the time to move comes.
Declutter Your Home
Once you have a clear idea of where you want to start, it’s time to declutter your home and start packing the things you want to keep and declutter the rest. When you sort through your belongings, you can separate your items into different piles, such as donate, trash, sell, and keep.
If you tend to keep unnecessary things, start by using a timeframe. For instance, if you haven’t used an item for over six months or a year, then it’s time to get rid of it.
Pack Carefully
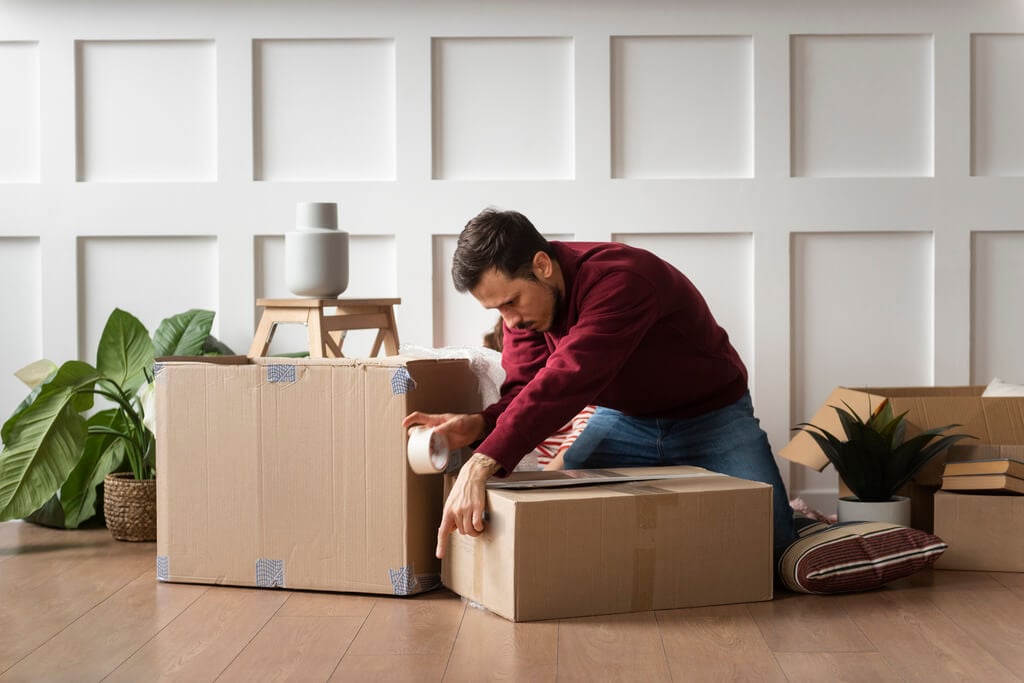
A long-distance move can be draining and stressful, mainly because your items will be on the road for a long time, so they’re at risk of being damaged. One way of preventing this is to wrap your belongings in bubble wrap and cushion them, so nothing gets absorbed. You can also use towels or blankets to wrap the things and minimize any movement in the boxes. In other words, try to pack compactly so there’s as little space as possible within the boxes.
Check Safety when Packing
One of the best tips you can use when packing for a long-distance move is to be cautious about your belongings.
You must protect your most valuable possessions by doing the following:
- Checkboxes for any signs of damage and whether they’re clean, dry, and strong.
- Tape the sides and bottom of each box.
- Stay within or below the maximum weight capacity (tip: your boxes shouldn’t be heavier than 50 pounds.)
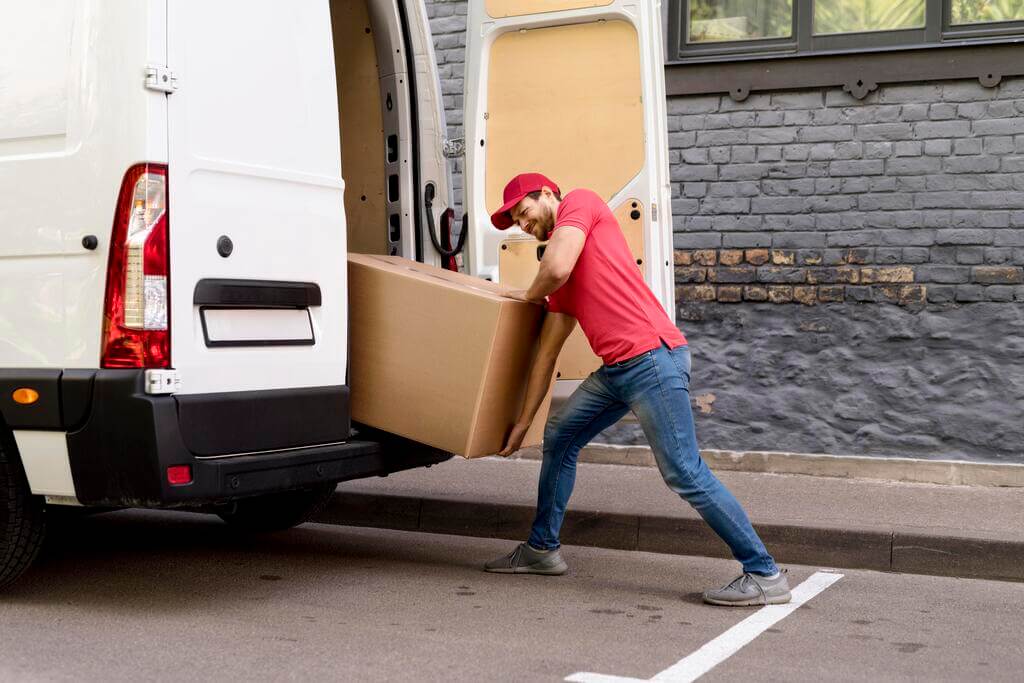
Load Your Items Strategically
Once you go through your belongings and pack them in a minimalistic way, you can use a strategic approach to ensure everything is secured. Start by labeling your boxes, so you know which ones should be loaded next to each other.
The proper moving boxes are crucial for the safety of your items. You should pick sturdy boxes yet not too heavy, so they’re easier to stack together.
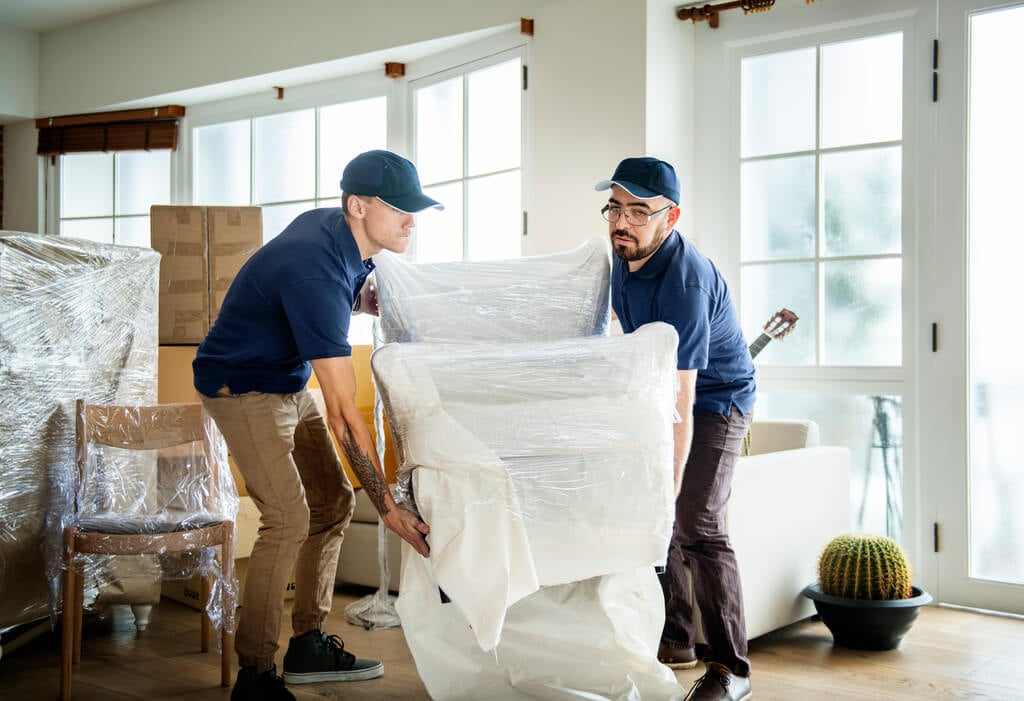
When packing your furniture, it’s best to disassemble them as it will help you load them easier on the truck and also help protect them from any damage. Again, you should keep all the pieces in certain boxes and label them.
Depending on the size of your house, the average mover uses approximately 80-100 boxes. You can use different-sized boxes, but avoid filling them to the top as they could break from being overweight.
Prepare for the Logistics
As the moving day approaches, you should take your time to understand the transportation and logistics of the move, such as the date, delivery, and any additional storage needs. Additionally, try to understand the type of truck that will transport your belongings and be prepared for any scenario.
Do a Final Walkthrough
On your moving day, it’s essential to walk around the house and ensure no items is left behind. Also, that can be the day you get to meet with the long-distance movers to oversee the loading process and answer any questions. Lastly, if you’re not going with the movers, it’s best to give them your contact information and the address of your new home.
Unpack and Make Yourself at Home
After the movers deliver everything to your new home, it’s time to unpack everything. First, check all your belongings to see if there has been any damage to the boxes during the move. Next, you can start by unpacking essentials, such as clothes, kitchen items, and bedding. Take your time to make yourself at home and place items where they belong, so you know where to find them later.
Final Words
Following this step-by-step guide will make your long-distance moving easier and more successful. With the proper planning and organization, you can minimize the stress and ensure a smooth transition in your home.
In Case You Missed It!