Flower wall decals are an affordable and easy way to refresh any room in your home. Whether you want to add a splash of color to your bedroom, living room, or office, these decals offer a beautiful alternative to traditional wall art and real flowers.
They allow you to bring the beauty of flowers indoors without the hassle of maintenance. From covering wall imperfections to creating a warm and inviting atmosphere, flower wall decals are a practical choice for anyone looking to enhance their space. They also make thoughtful gifts, allowing your friends and loved ones to transform their walls with minimal effort and cost.
In this guide, you will discover the benefits of flower wall decals, how to choose the best designs, and why they are a popular option for home decor enthusiasts.
Affordable and Easy To Apply
Sometimes, when you plan to give someone a gift, you may have a relatively small budget. But, wall decals perfectly fit within your budget. Flower wall decals are cheaper than paintings or artworks, and for a minimum amount of money, you can easily redecorate a home or office space. It gives you a new refreshing feel.
Additionally, they are easy to apply, and you do not need a toolkit to do the job. You can just peel off the sticker, put it to the surface you want, and use a flat-edge item like a card to remove any bubbles left while applying it. Unlike other costly home improvement options, you don’t need to call in professionals for its application.
High Quality and Original
Online wall decal-selling brands like NeverNever make products from high-quality sign vinyl, designed to last longer. They are durable and offer outdoor longevity of up to five years. Thus, you can imagine how long it would last indoors. It is extremely easy to stick flower wall decals on any smooth surface. If you gift it to someone, they will remember you for years when they look at your thoughtful gift.
Variety of Design
While searching flower wall decals online, you will often get a plethora of options to choose from. Wall decals are available in different sizes, types, and finishing options suitable for different spaces. So, make sure you determine the room type before purchasing the flower wall decal. Or, you can also choose a design purely customized for someone’s house.
Apply Them Anywhere
Flower wall decals can be applied on all types of surfaces. However, it is advisable to put them on flat surfaces if you want your décor to last longer. The following are some of the best places where you can apply flower wall decals:
- Glass
- Bookshelves
- Mirrors
- Stairs
- Windows and doors
By attaching flower wall decals to your bedroom, you can get a chance to bring nature inside your home without causing any pollen allergies.
No Marks
We all know that sometimes it is more important to remove wall decals than to stick to them. And, the removing task can become daunting and irritating. However, it is not the case when it comes to removing flower wall decals—giving something that does not cause any damage to someone’s home even after usage is the perfect way to make them feel that you value their things.
For removing wall decals, you need to add a little heat to the sticker, and the job is halfway complete. They don’t leave marks or stains on your wall, which is pretty convenient.
Reusable
When you give someone a gift, they generally don’t throw it or make changes to it. And when you gift flower wall decals to someone, they can reuse them multiple times. For example, if they’re moving into a new home, they can just peel them off and stick them on the new walls. Furthermore, if they don’t like the place they are initially in, they can move elsewhere.
Flower Wall Decals for Every Room
Every room would have a different mood, and wall decals significantly impact the mood of the space. Here are some tips you can consider while choosing flower wall decals for a particular room and personality.
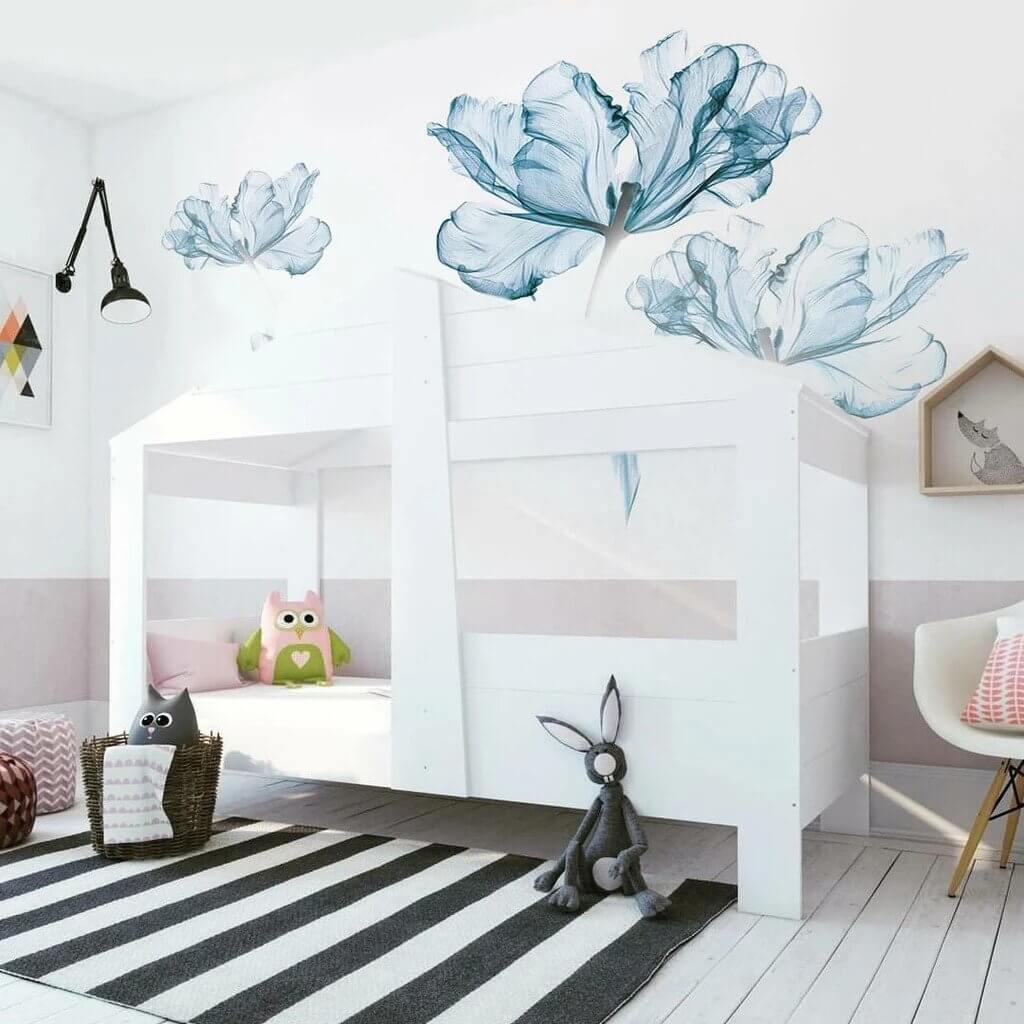
For Children
If you’re buying flower wall decals for children, you can choose creative floral designs with softer colors. This will completely transform their room into an imaginary land. Ideally, lily or daffodils wall decals are quite versatile for children.
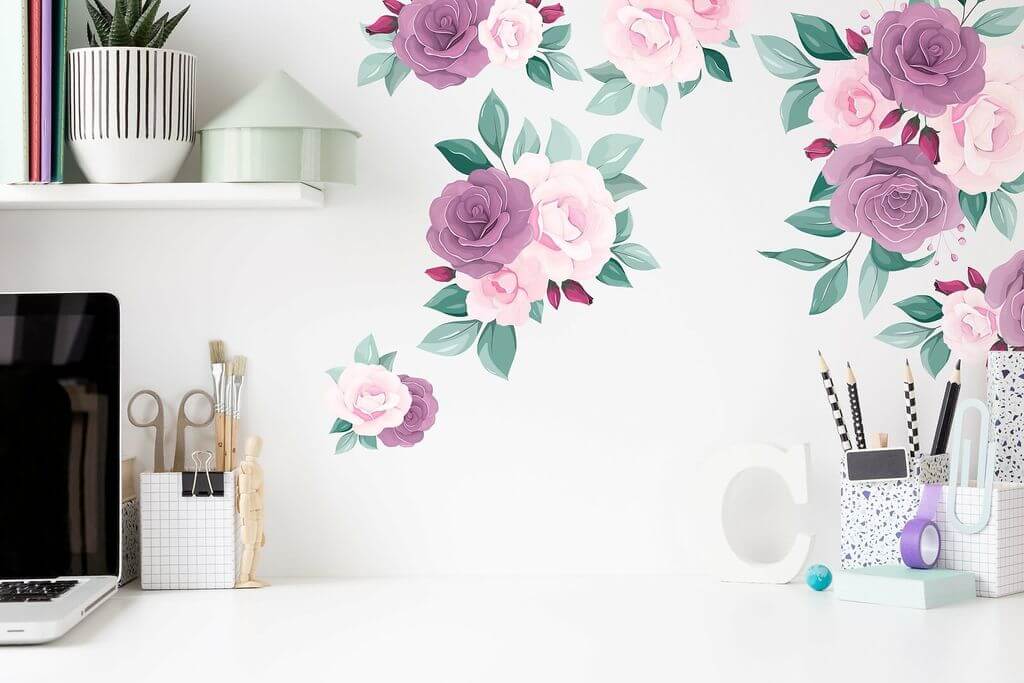
For Adults
If you’re buying wall decals for your friend’s bedroom, then it would be ideal to choose some grass wall decals with innovative and contemporary floral ideas. They will surely adore them, and it creates a soothing yet distinctive look in their bedroom.
For the Family
While giving flower wall decals to your relative or friend’s family on some special occasion, you can think of the spaces like the living room or dining table where you can add that little extra zing to the same. Choose from the traditional floral designs along with the basic shades. Use flower wall decals to enhance your friend’s family home.
Wall decals are indeed lovely, and they can enhance an interior without the need to spend too much. For sure, you will also agree with us that flower wall decals can undoubtedly add a touch of life to your walls.
Final Words
Whether you decide to gift flower wall decals or any other wall decals, you can find them in online stores like NeverNever. They are considered one of the most remarkable ways of bringing flowers into the home if someone has an allergy to pollen. Instead of sneezing and rubbing your eyes, you will love a realistic appearance.
From roses to tulips and many more flower designs, there is something for everyone. Adding flower wall decals to the home will add a dash of freshness and color to plain walls. Get the chance to open up space and create a relaxed feel!
In Case You Missed it: