If you’re looking to update your decor with something a little more traditional, the type of leg can make a huge difference to the overall look and feel of a piece. Even if you don’t have the budget for full-blown antiques, getting a reproduction gives you the traditional feel you want. So what’s behind some of the traditional or antique furniture legs and feet styles that you might like to incorporate?
Barley Twist Leg

If you’re of a certain age you’ll remember seeing one of these on furniture handed down from a grandparent or great grandparent. That spiral twist, which has connotations of the aniseed twist sweets, was heavily used in the late 1600s. Then as was the tendency with Victorians, they popularised the style once again and it remained fashionable into the Edwardian period too.
Very much a style used with oak wood, the barley twist most often found a home as a table leg.
Bun Foot
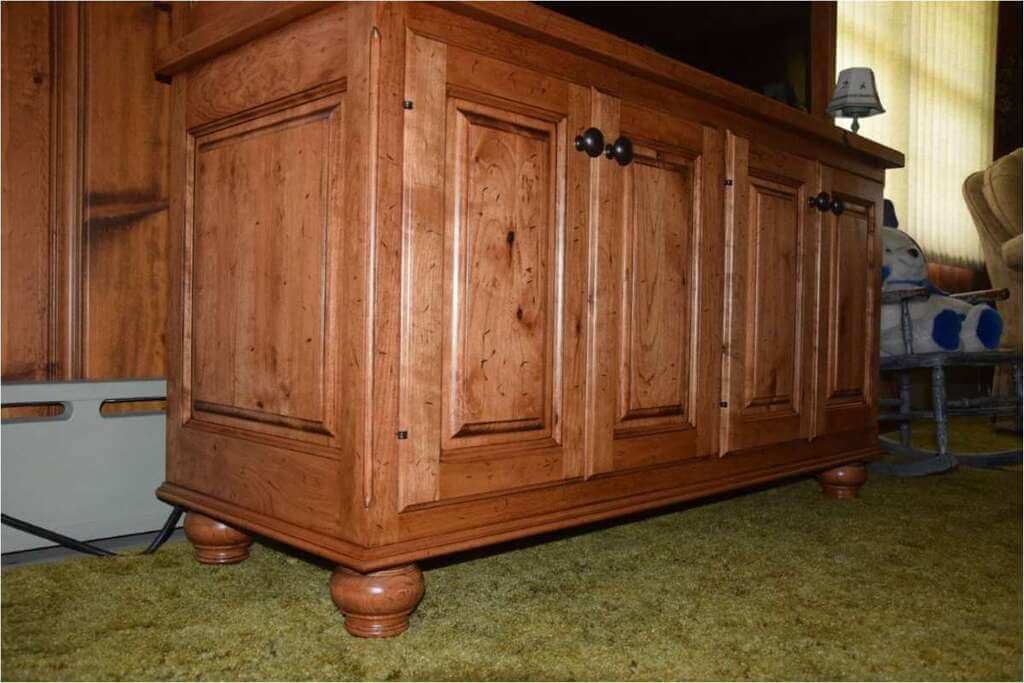
Like the edible namesake, the bun foot is a bun-shaped foot that’s as simple as it is elegant. A flattened ball, it’s the same shape as the hair bun and it’s one of the most popular feet types and was hugely popular in Victorian times (although it can be found on earlier pieces).
Occasionally you might find a bun foot with an extra turned section at the bottom, and occasionally a bun foot is given a small square plinth.
The bun foot was also popular on early baroque furniture, from around 1695 and into 1720, a period is known as the William and Mary period after the dutch monarchs who ruled England, Scotland, and Ireland around that time. It was brought up by those who wanted luxury and comfort in their furniture taste.
Bracket Foot
If you buy a basic wooden shelf you’ll probably find yourself unwrapping a solid wooden bracket with a few curves to make it look appealing. Imagine turning the bracket on its side and joining a second one to it to form a corner; (like a picture frame). There might be a simple wooden furniture block behind the brackets to take the actual weight of the furniture too. But, that is the bracket foot.
It came into existence in around 1680 and those curved inner edges are often found on Georgian furniture, like chests of drawers for wardrobes and the style was widely reproduced in the Edwardian period. And not all brackets have fancy curves or scrolling, some are plain squares or variations of squares.
Ball and Claw Foot
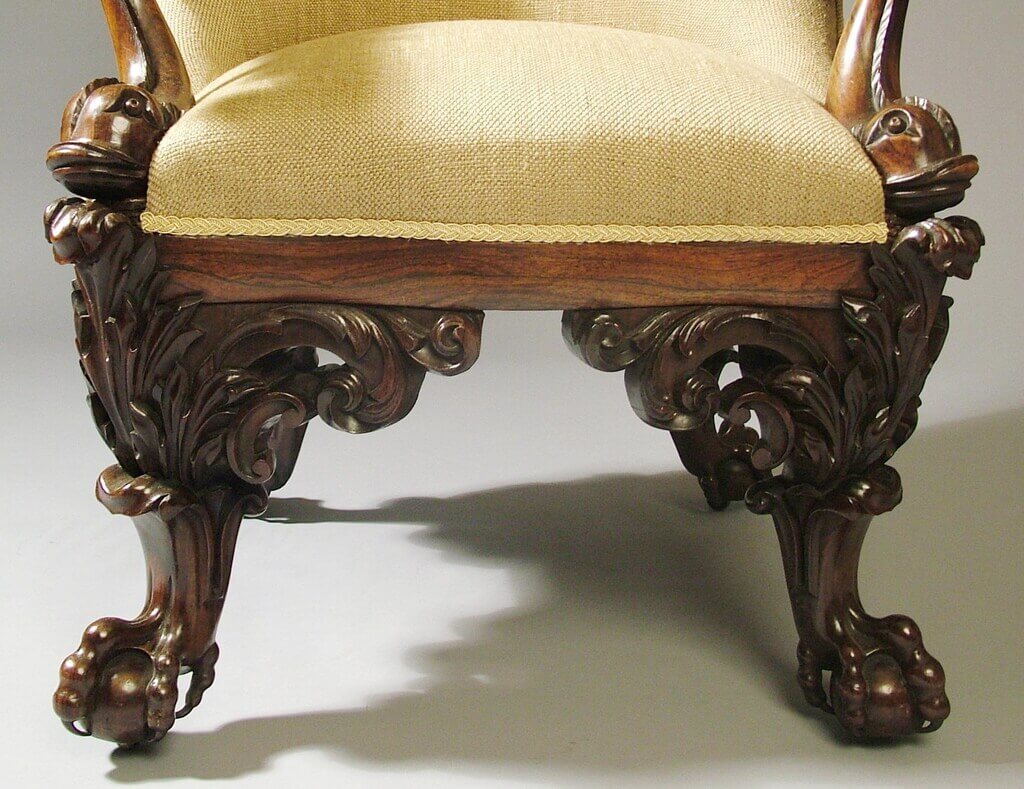
Much like it says in the name; the ball and claw foot is a ball with an animal’s claw gripping the ball to create an ornate foot. It’s usually an eagle claw but many different bird claws have been carved in this style over the years.
It originates from the Edwardian period, but experts believe the style was copied from earlier furniture styles when it was not uncommon to see a ball and claw foot in use. Popularised in the 1600s in Chippendale furniture, today it’s used on modern furniture where a traditional style is required. You’ll often find this foot on a chair or bookcase.
Sabre Leg
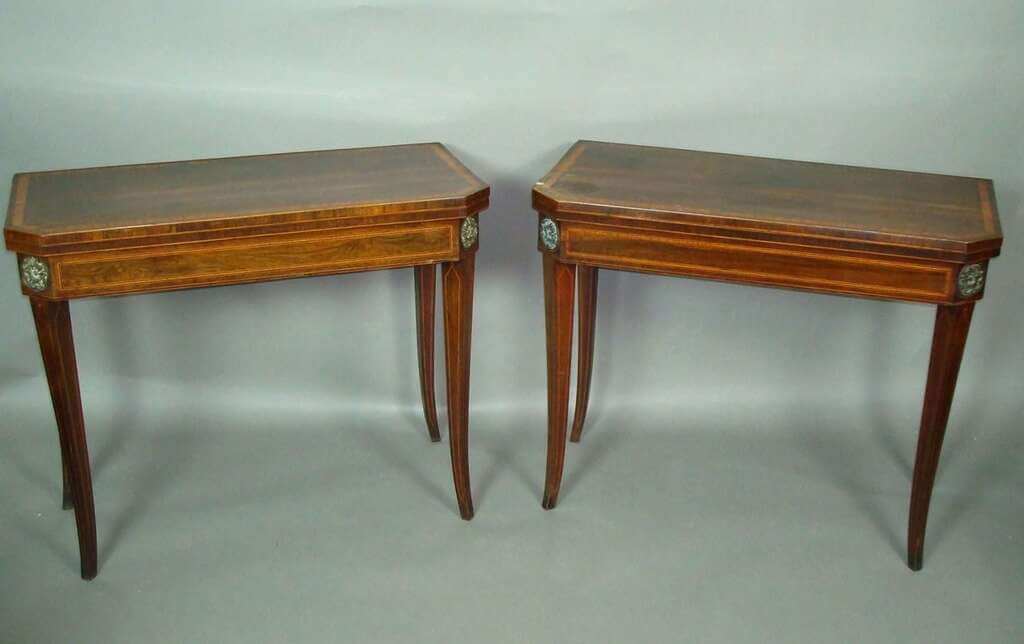
The sabre leg was one of the most frequently usedfurniture legs UK , especially in the Regency era (1795-1820), and is characterized by a swept-out leg that tapers towards the bottom.
Cabriole Leg
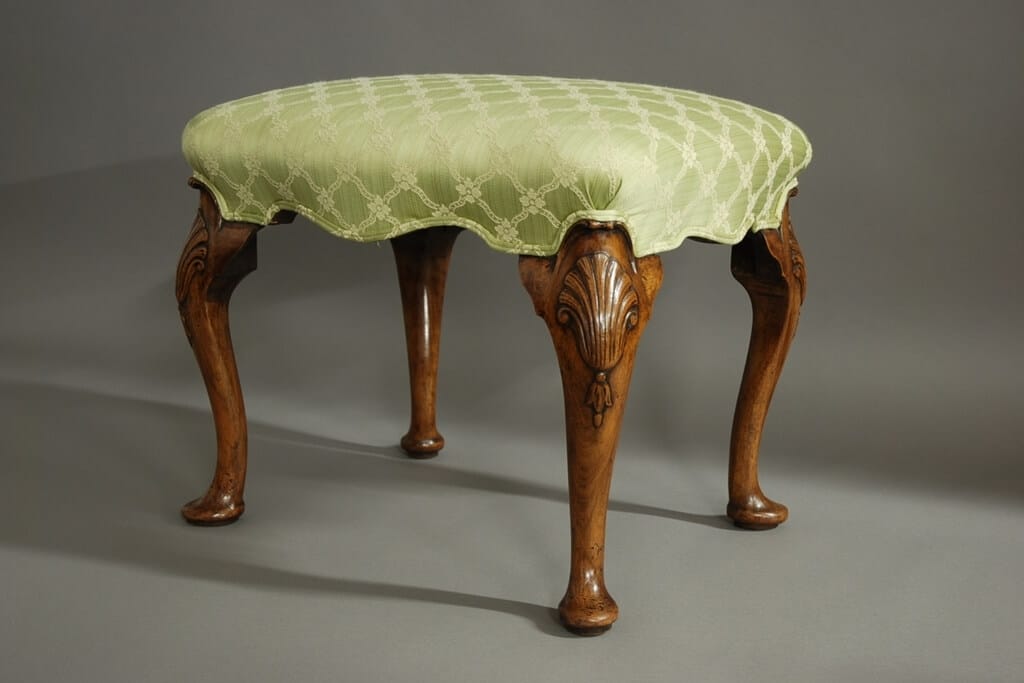
A cabriole leg is a curved leg that sweeps out and in many cases is finished off with a pad foot; (a variation on the golf club-shaped club foot). This would originally be found on Queen Anne furniture but was again often reproduced in the Edwardian period.
Spade Foot on a Tapering Leg
A Spadefoot is a short sofa leg with four squared-off and tapering sides. At the foot, the same shape is carved but in a smaller taper. This leg will then sit on a castor. Popular on Edwardian chairs and tables.
Conclusion
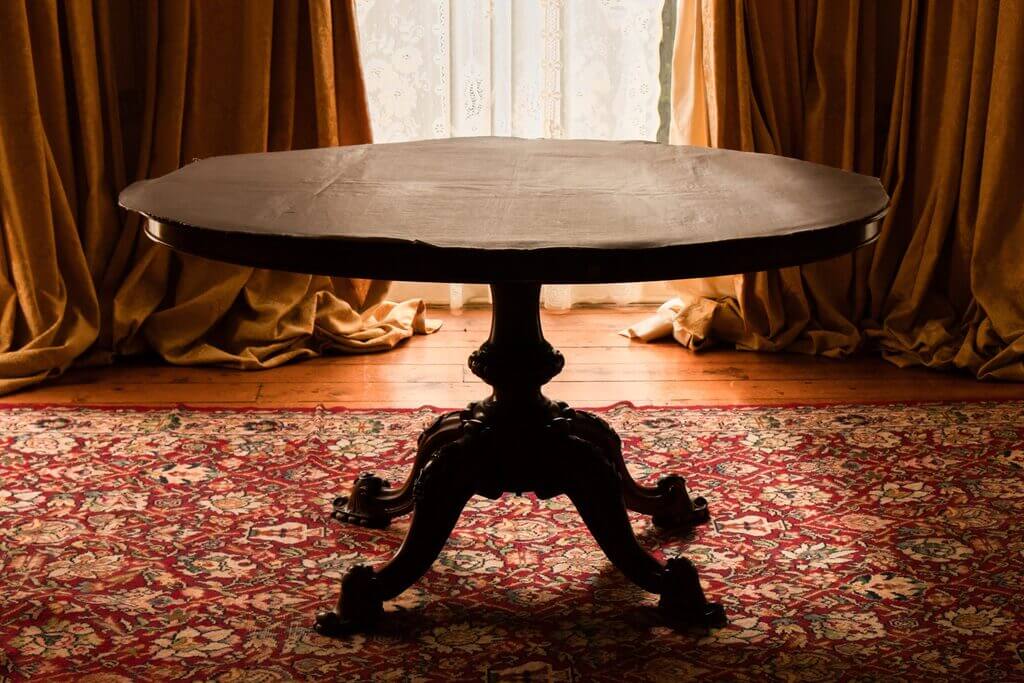
Once you start to look, you’ll find many different table legs and be able to recognize more easily which period they are from, or if other parts don’t match the style of the era. You’ll probably even recognize some of these in your own furniture.
In case you missed it!