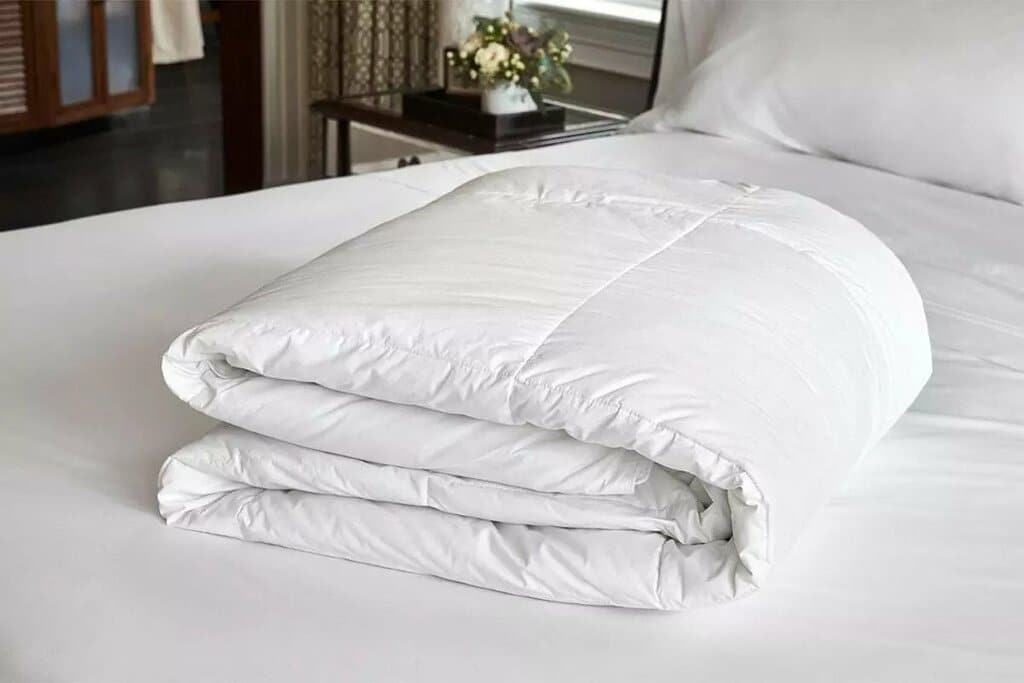
With all bedding collections, you must always have a variety of essentials to complete your linen closet and a comforter is one of them. A comforter is wonderful cozy bed covers that not only give your bedroom a rich, welcoming look but they are truly warm and soft to sleep under. However, regrettably, even with the day-to-day best care, they get dirty and need to be cleaned.
So, if you are wondering how to wash a comforter, then this blog is for you. In this blog, we will shed light on 13 easy steps to make your comforter look like new again. Therefore, without further ado, let us get started.
The comforter washing task is divided mainly into three parts.
a) Prepare Your Comforter For Cleaning
In this part, there are main 4 steps that you should do.
Step – 1 – Read the Care Label
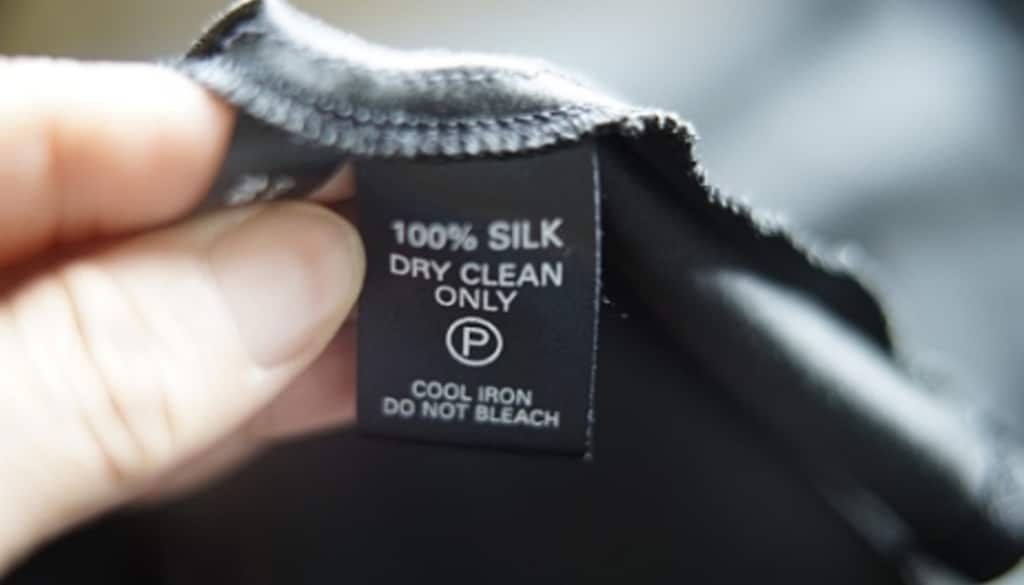
Before you decide to put your comforter in the washing machine, you should read the care label properly and see the manufacturer’s instructions on how to wash a down comforter. Most down and down-alternative comforters you can wash at home with mild detergent. However, few comforters can be washed only through dry cleaning. So, ensure you do not deviate from the specific care instructions. It may incorporate temperature settings for washers and dryers.
Step – 2 – Decide if Your Comforter Needs to be Cleaned
You must clean your comforter at a regular interval – once every few months. However, if you have allergies, you should wash it every month. Remember, it is not needed to wash your whole comforter if it contains a single stain. For it, read step no. 4.
Step – 3 – Examine for Seam Strength and any Holes
Before throwing your comforter into a washing machine, make sure it has no loose threads or tears. If a comforter has a tear then stitch it with a quick needle and thread. Of course, it will add some extra time to the washing process but it will prevent these small holes from getting larger during washing.
Step – 4 – Remove Stains

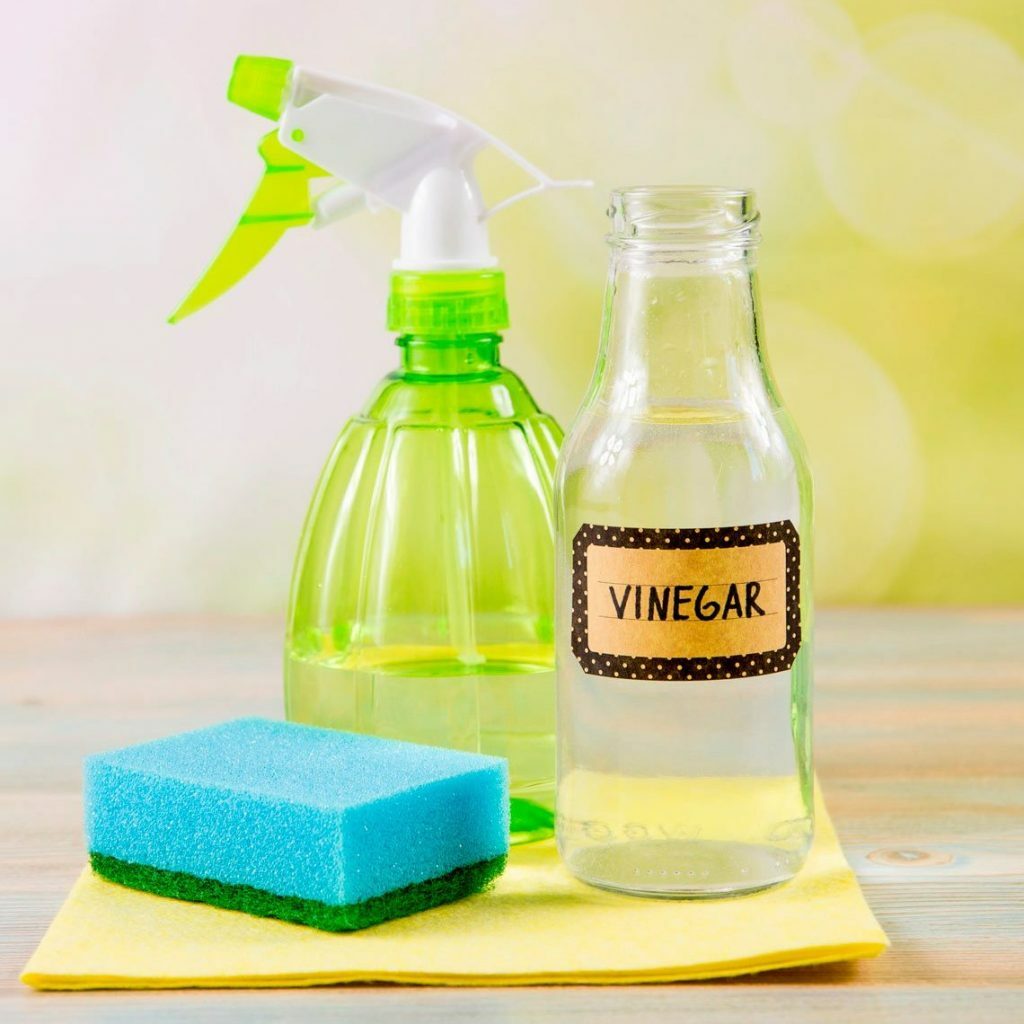
If your comforter has stains then make use of a small amount of non-detergent solution such as Woolite and dilute it with a little water. Also, you can use baking soda plus + water paste or baking soda + white vinegar or merely carbonated water.
b) Washing Your Comforter
Now, as you have prepared your comforter for cleaning, the next phase is actually washing your comforter. In this part, there are the main 5 steps.
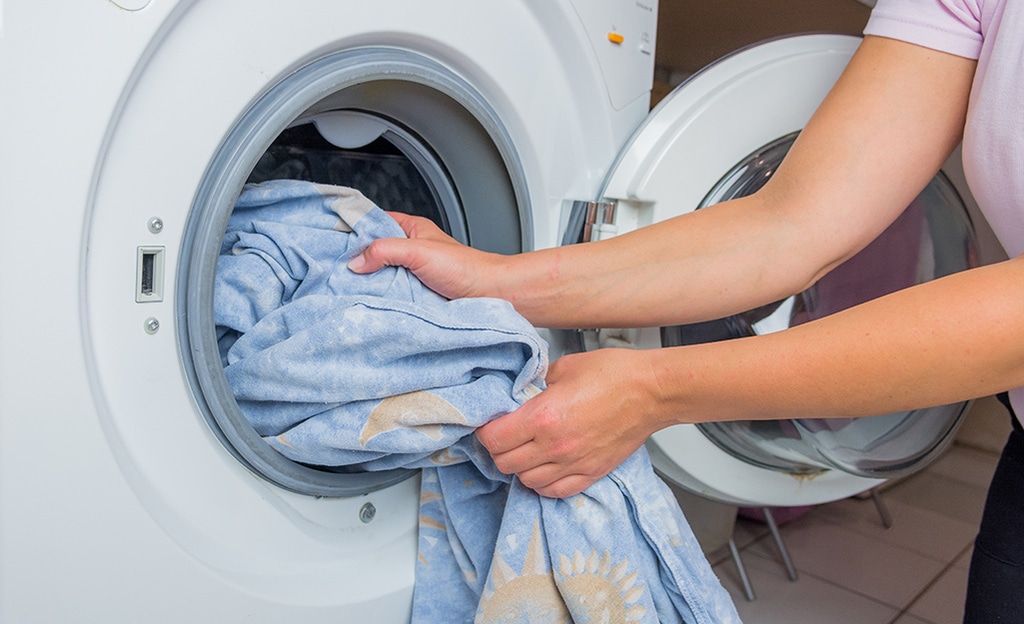
Step-1 – Make Use of the Right Washing Machine to Wash a Comforter
If you want your comforter to wash properly then ensure it gets distributed evenly. Your comforter needs adequate room to get cleaned thoroughly. So, if you feel your washing machine is too small for it then take it to a Laundromat and use the large, front load washers.
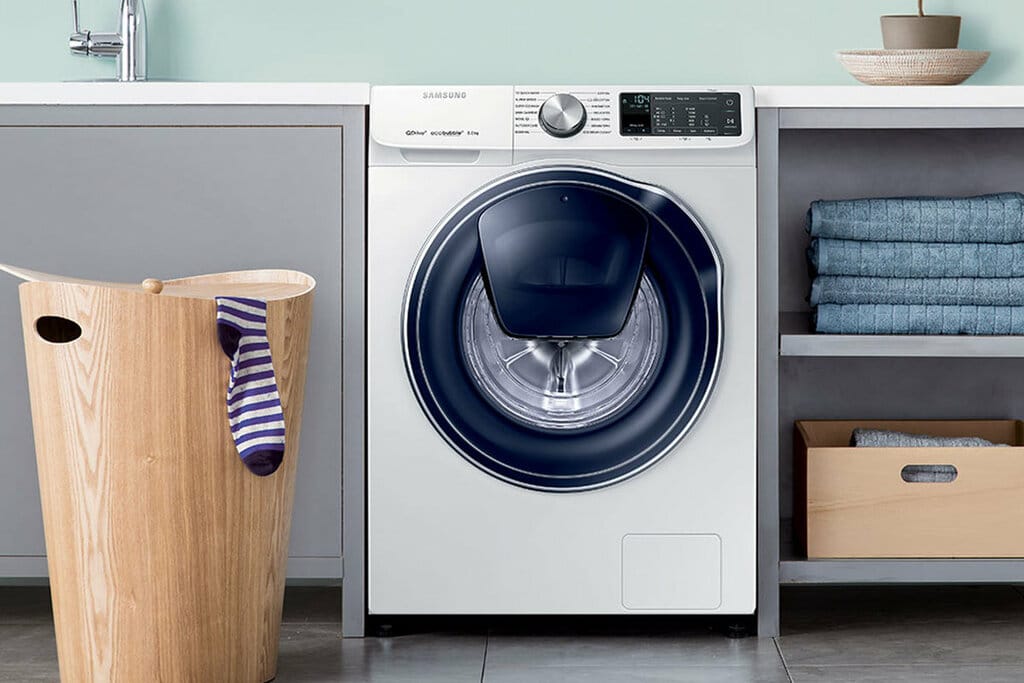
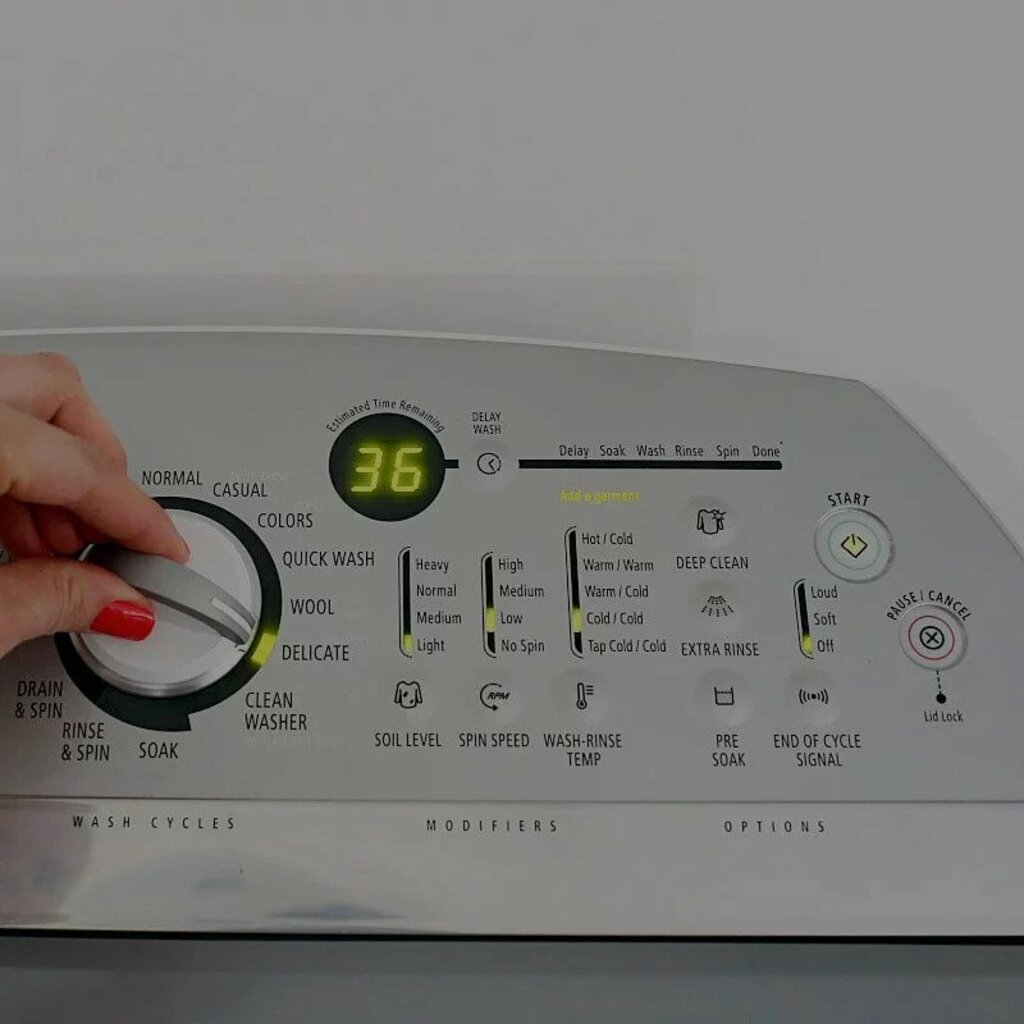
Step -2 – Set the Washing Machine to the Delicate Setting and Set the Proper Water Temperature
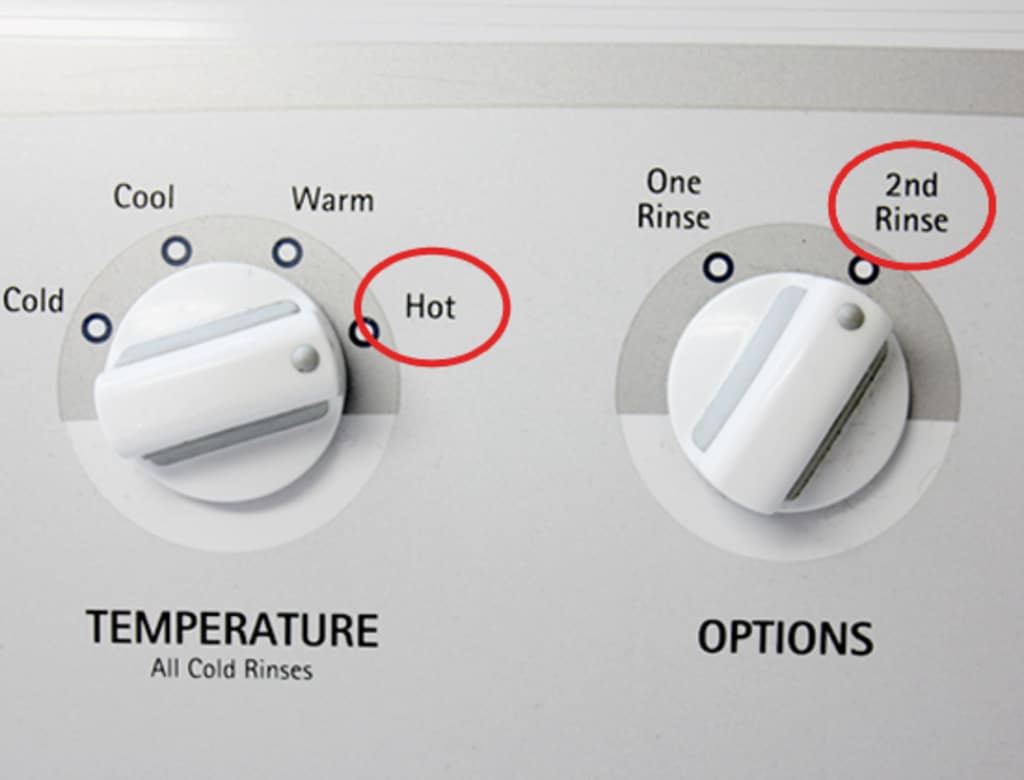
It is essential to use the delicate washing setting to prevent damage to the casing. Read the care label properly and select the water temperature accordingly.
Step-3 – Add an Extra Rinse Cycle Settings if Possible
According to your washing machine, you can set the extra rinse cycle at the beginning or if you feel a comforter is not properly rinsed then you can even add an extra rinse cycle step after the first cycle is complete.
Step – 4 – Make Use of a Small Amount of Right Mild Detergent

If you are wondering how to wash down comforter then you must select a detergent that is mild and safe for delicate materials. Also, if you make use of a small amount, then it will prevent over-foaming in the machine. It will also reduce stripping the feathers of down comforters.
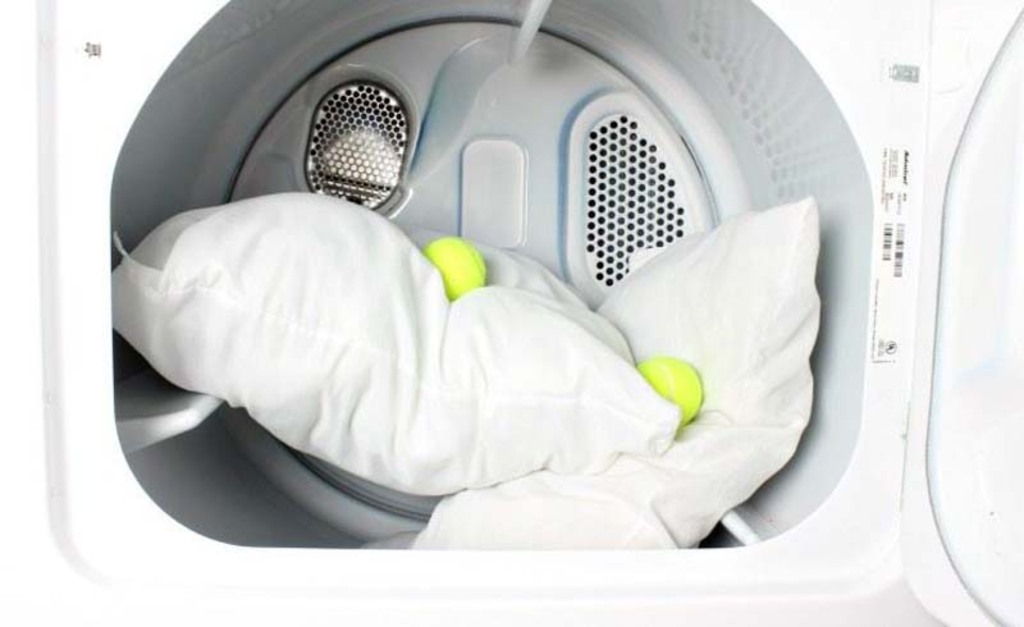
Step – 5 – Add a Clean Pair of White Tennis Shoes or Tennis Balls

When you add a clean pair of white tennis shoes or balls to the wash, it will help in balancing the load and make sure effective cleaning. Before, putting tennis shoes and balls into the washing machine, ensure it can go in the wash on the settings you have selected.
c) Drying Your Comforter
As your comforter is now washed properly, it is time to dry your comforter. This drying part includes four steps.
Step-1 – Put Your Comforter into a Dryer With the Tennis Shoes or Balls
In this step, you must ensure that a comforter is evenly distributed. The tennis shoes or balls will assist keep the fill equally distributed.
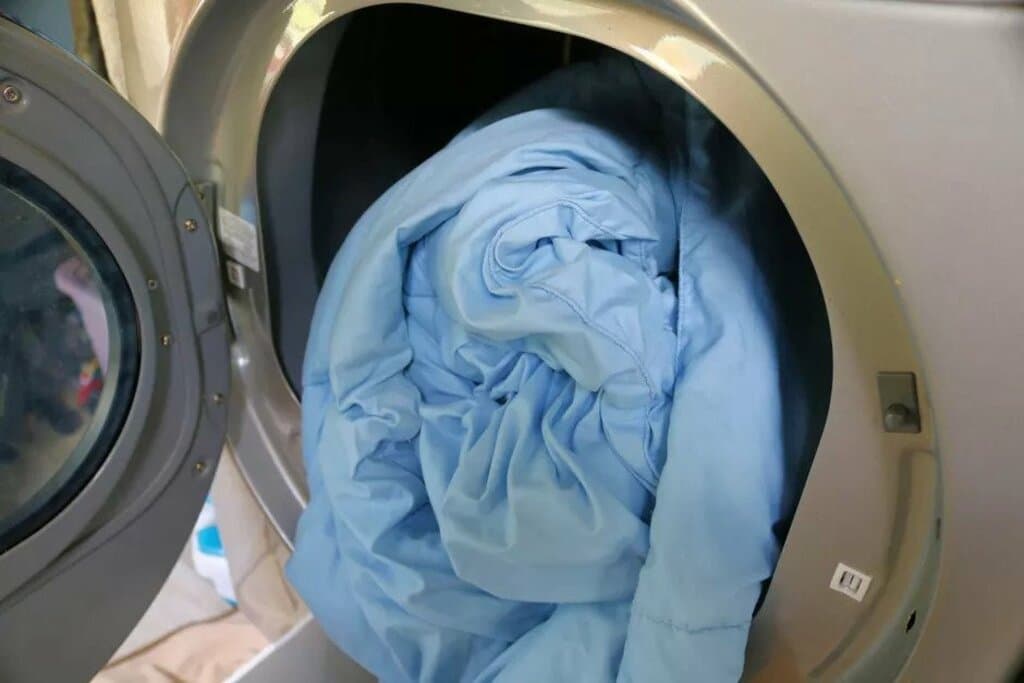
Step-2 – Dry the Comforter on the Low-Heat Setting Mode

Remember, your comforter will take some time to dry properly. Possibly, it can take a few hours. You can even use high heat to kill dust miles but do it only after checking the care label appropriately. Here one thing to note down is that tennis balls and tennis shoes cannot tolerate high-heat settings.
Step -3 – During the Drying Procedure, Fluff the Comforter Regularly
You should pull the comforter out of the dryer and fluff it after every half-hour. It will help in evenly redistributing the fill and keeping it properly aerated.
Step – 4 – Hang the Comforter Outside

If it is a sunny and dry day then you should complete the drying process by putting the comforter outside for a few hours. If the weather is not warm then hang the comforter in a dry, well-ventilated indoor area. You can even lay it over a drying rack as it will allow it to dry fairly evenly. Make sure you fluff and rotate it properly.
Bottom Line
In a nutshell, you might feel washing a comforter is a challenging task, but you will find it actually a simple, painless procedure if you follow the above-discussed steps. So, whether you are trying to clean your comforter at home to avoid potential virus exposure or you simply want to cut out the expense of brand-new comforter, this guide will help you to make your comforter look clean and fresh without sacrificing its fluffiness.
Always remember, with appropriate care, the comforter can last 15-20 years. Also, if you do regular cleaning and fluffing and minor sewing repairs, it will help your comforter last longer. Hopefully, this blog has solved all your queries. Still, if you have any questions then connect with us via the comment section below.
Explore More