As homeowners or living on our own either in rented or own homes we have to take full responsibility. We don’t realize a lot of small and big responsibilities that come along with being independent. Living with the parents we never realize things like plumbing issues, bill payments, and electrical problems can be really tricky because we never had to take care of them. electrical disturbance can be fatal and what seems like not a big deal could be a sign of a bigger problem hence as a precautionary measure we must get it checked by the best professional electrician in Camberwell. As most youngsters move to live on their own when they fail to figure out what seemed like just a little malfunction could be an indication of a bigger problem because they never experienced something like this before.
So here I would like to share some signs you can look out for to prevent any fatal incidents. Because minor electrical problems can be fixed quickly and fatal incidents can be prevented. To avoid any accidents, they may want to call an electrician in Claremont to help them with the task.
1. Your smoke alarm or it’s batteries haven’t been checked in a while
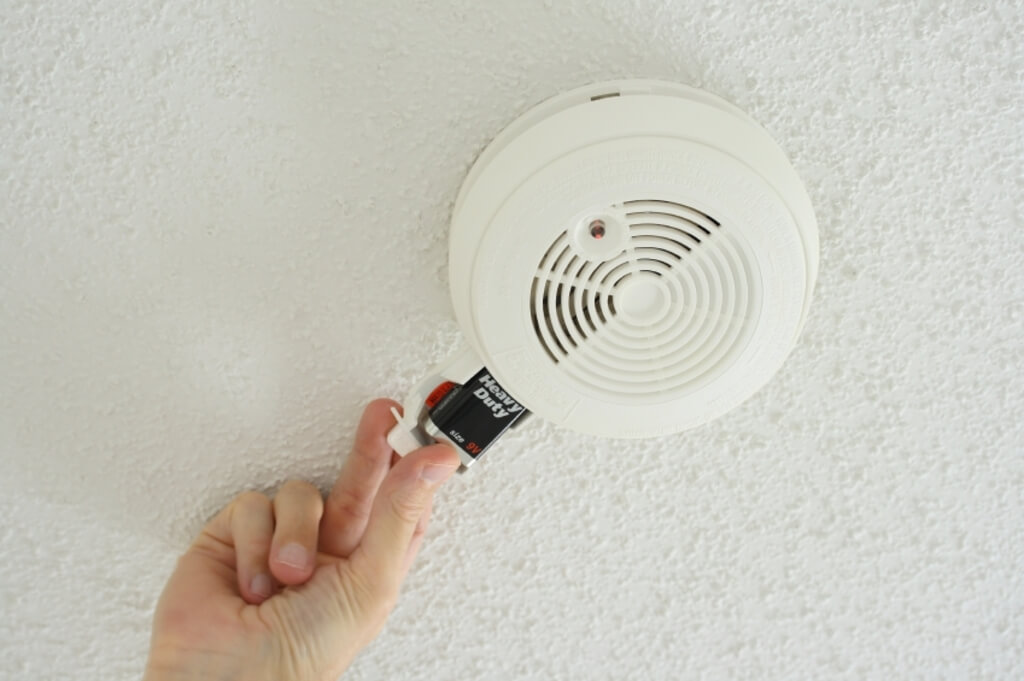
A smoke alarm is one of the most essential electrical safety devices in a house but at the same time one of the most overlooked as well. If you have recently moved into your new house make sure you get it checked from hottelectrics.com.au because you never know when the old tenants of the house got it checked.
Also if you have been living in this place for a while and you don’t remember the last time you got it checked or the batteries changed it is now time you get an electrician to inspect it to make sure it is working fine.
People overlook it thinking that you don’t need it but you never know when an emergency arises. The fatal incidents that many houses fall, a victim of the can, be prevented if only the smoke alarm could have been fine. So make sure you get it inspected by a professional.
2. Circuit breakers tripping
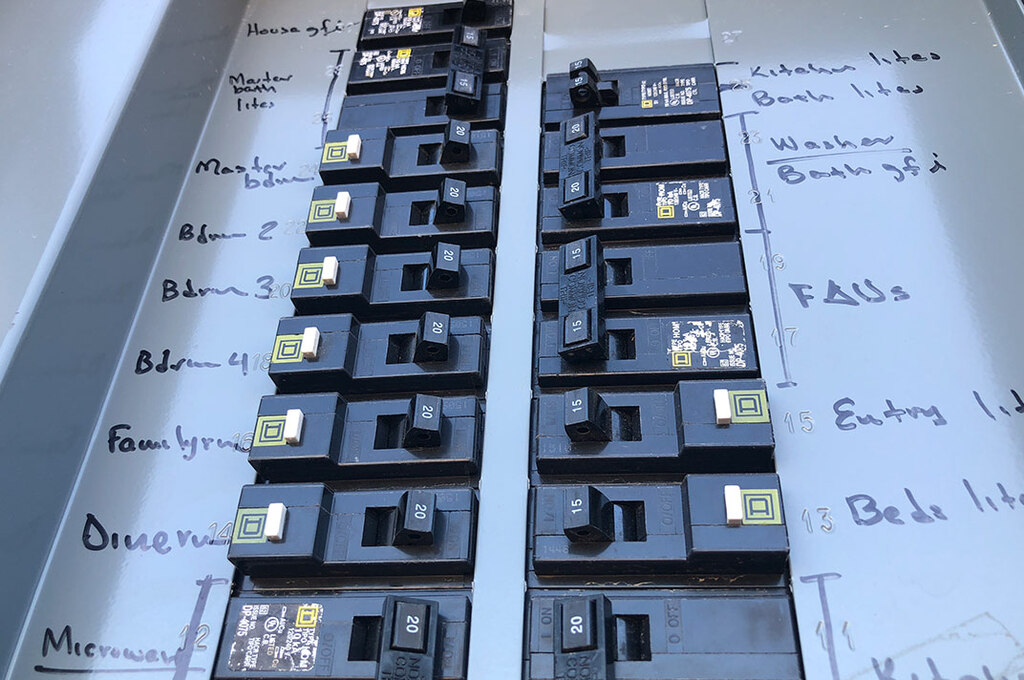
Circuit breakers tripping is not a problem as long as you are able to follow simple troubleshooting then you can easily find out if there’s some particular appliance that is causing the circuit to trip but if you are still unable to figure out the problem then you need to call a professional electrician Sydney for troubleshooting because there could be a bigger electrical problem. The important thing youngsters in their busy routine throw in the back seat is taking a step on time. If you fail to call a professional on time you might make things worse so time is key.
3. Light flickers

Flickering lights can surely be fixed by changing the bulb but if changing the bulb still doesn’t fix the problem it could be an indication that there is a problem in your wiring or in some cases when the appliances like the refrigerator and the air conditioner are working at the same time the two appliances can cause malfunctioning but these problems can be fixed with the help of a professional. In the areas like countryside or suburbs, problems like these can occur often but a quick call to electrician Baulkham Hill can save the day.
4. Warm or hot to touch

If the switches, outlets, or other electrical components feel warm to the touch then it indicates that the electrical system is overloaded that can result into electric shocks when you touch the appliance, switchboard, or the button that will be a high risk because sometimes the electric shock could be high voltage and this is dangerous for all the residents of that house. But his problem can be fixed real quick if you just contact an electrical professional. You will not have to redo the whole electrical system but only fixing or changing the wiring from some areas will be enough.
5. Sparks showing from the circuits
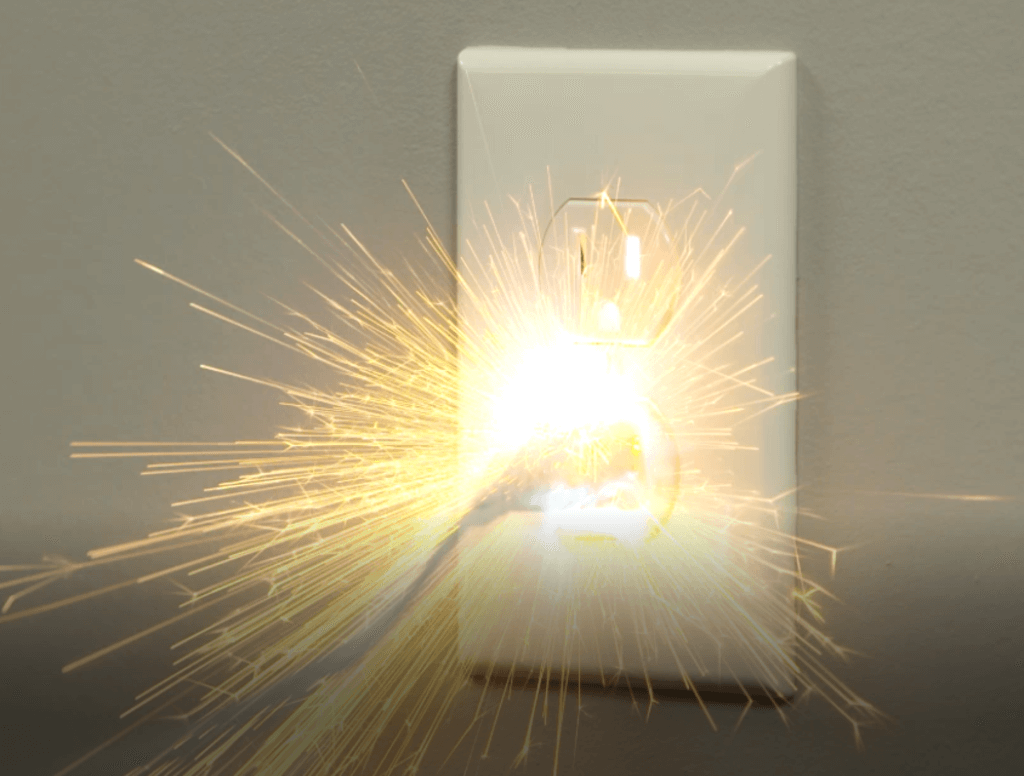

If you see sparks occurring at the PowerPoint it indicates that there is loose wiring. These sparks can be deadly and this situation can turn into an alarmingly dangerous situation so the quicker the problem is fixed the better.
A professional electrician should be able to do it for you. Just a quick fix can save you from deadly damage.
Just a little more attentiveness and quick extinct to act in an alarming situation is what you need. When living alone one has a lot of responsibilities so this is understandable but it’s dangerous and the danger can be ward off with a little more attentiveness.
Explore further: