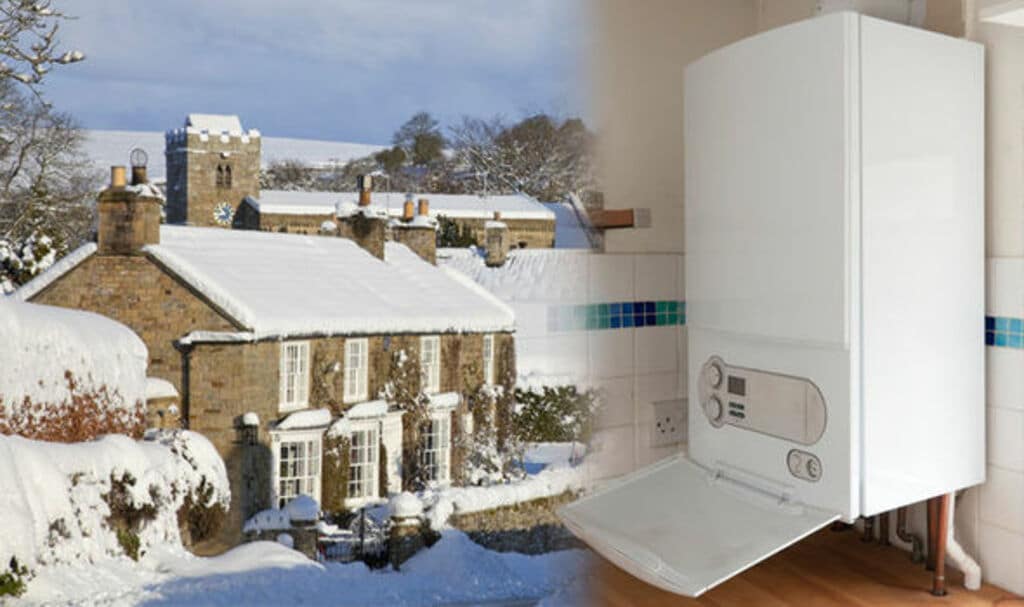
As the days get colder, many commercial operations will begin turning up the heat. To make sure your properties’ boilers and heat exchange are on par, here are some things you can do to prepare the boiler for winter.
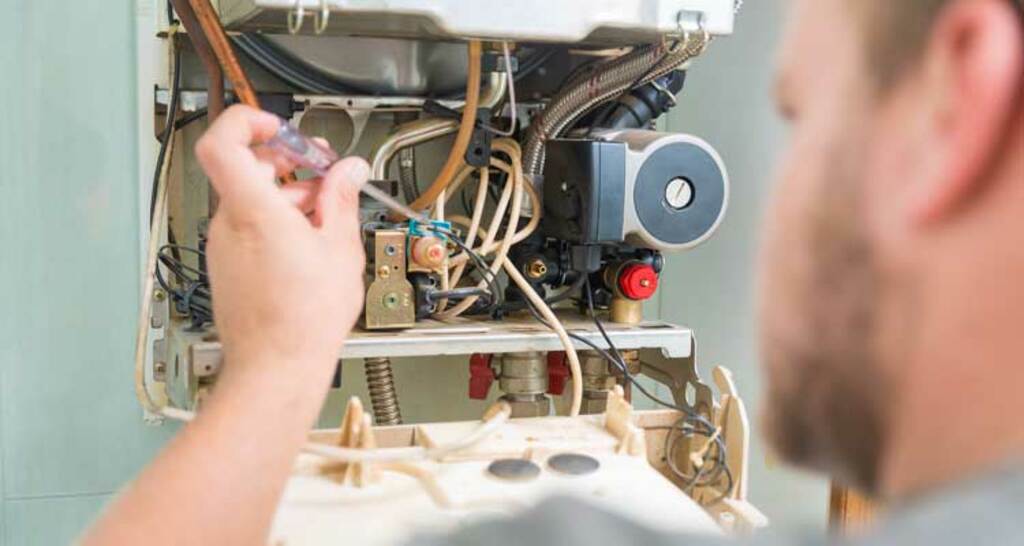
Regular Service
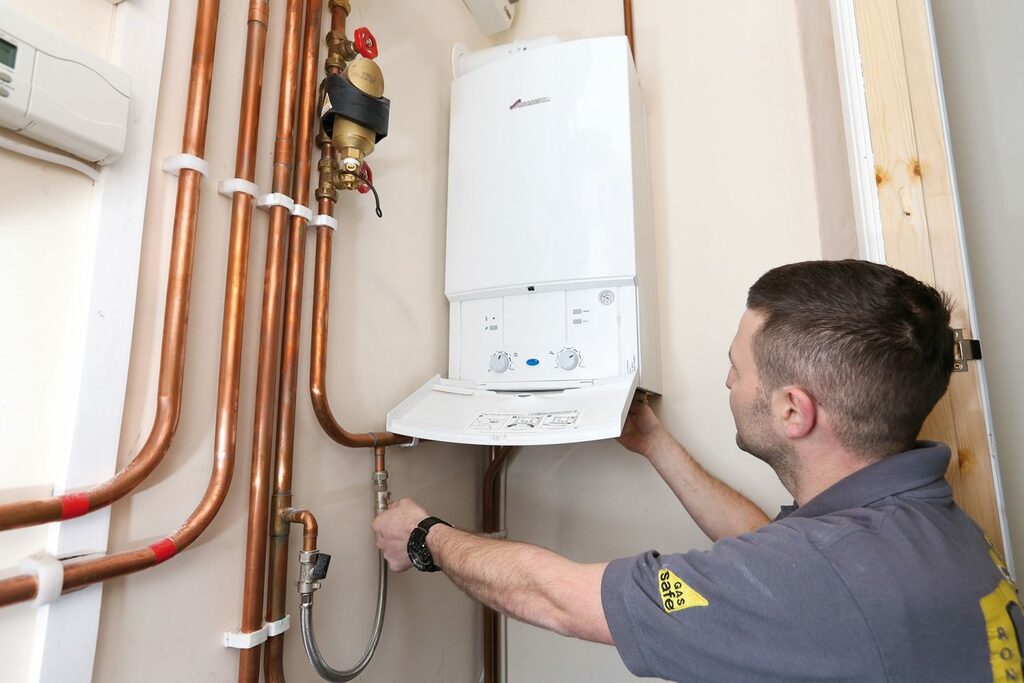
According to Absolute Gas Services, it is important that boilers are serviced regularly by an experienced engineer. An engineer will check all the parts of your component and review the logs from the boiler room. These logs are essential to understanding the usage, fuel consumption, and gas flue temperatures on a long-term basis.
This can then be compared to other recordings to see if your equipment is operating within optimal efficiency or if adjustments will have to be made. If trouble seems there is trouble brewing within, this will be a good time for you to take it in for a good servicing, which should be done every few months on larger industrial-sized boilers.
Turn it on

If your boiler is regularly turned on, it can act up and malfunction when switched on for the first time. To prevent this it is a good idea to turn the boiler on throughout the summer months, just to make sure everything is actually working correctly. Furthermore, these apparatus can lose pressure when not in use and this can cause inefficiencies.
For this reason, you will want to keep a close eye on the pressure gauge and keep your boiler topped off. You can find all the details for your water levels, proper temperatures, low-water cut-off, and more. Further, instructions on maintaining this pressure can be found in the owner’s manual.
Bleed it out
If radiators feel colder at the bottom than at the top, they will need to be properly bled out. This happens when air is caught inside the system and is not properly released. If this important part of maintenance is not addressed frequently and in time, the result can cost you wasted energy and lost money.
In order to bleed the radiator out properly, all you need to do is turn off the heat and open the bleed valve. You should hear air hissing from the valve, one the last of the air has gone out and a small bit of water begins to spurt out, close the valve and clean up any spilled water.
Check for warning signs
Some of the most common signs of a boiler on its way out of service include leaks, soot accumulation, clunking noises, and cracks. Another common issue is the buildup of particles inside fire tubes as well as regular rust.
This is why it is so important to keep your boilers properly topped off. If you have a problem with hard water in your region, this may lead to mineral buildup in your pipes and tube. In such a case there are chemical treatments that can be applied to improving the conditioners of your boiler and system. But, these chemical additives should only be applied by a professional in order to keep your boiler functional for as long as humanly possible.
Don’t forget that cast iron boilers don’t typically need these types of water treatments. As a matter of fact, this could actually damage the gaskets on some of these cast-iron models.
Professional installation and attention can potentially avoid a variety of problems with your boiler. If properly installed and maintained, your steel-construction boiler can last as long as 30 years. By the same measure, if your boiler is not properly installed and maintained it will see a greatly reduced lifespan. It is possible that it will spring a leak within 2 or three years of its service life.
No matter what type of boiler you have, whether it is steel-constructed or cast iron, it is imperative that leaks are taken seriously. Don’t assume the problem is isolated to the leaky pipe. The entire piping system will need to be replaced.
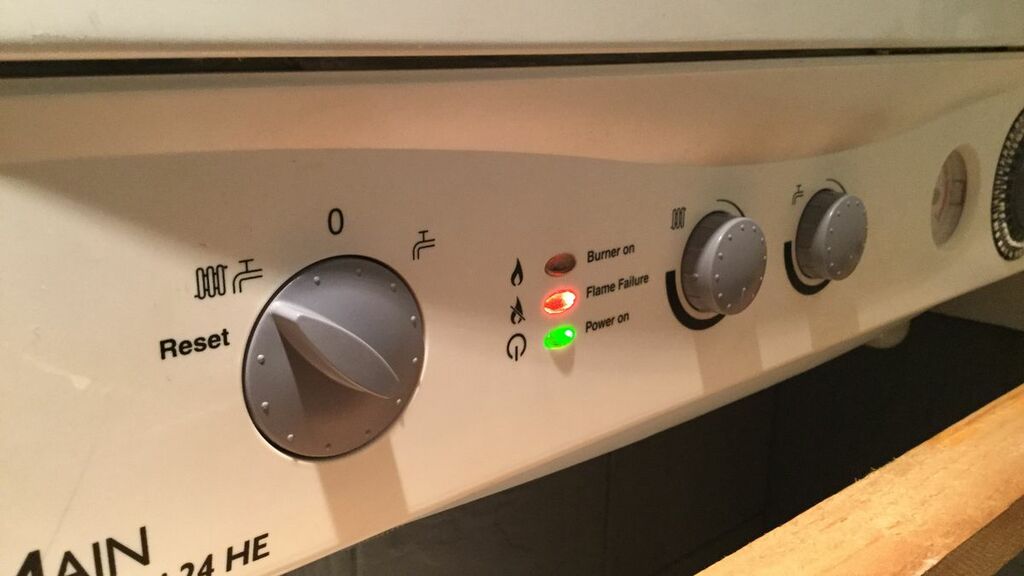
Open flame
When you start up your boiler, inspect the flame visually. The flame should be clear blue, the same color as the gas on any stove. If your flame seems to have a considerable amount of yellow or seems to be giving off smoke, you need to get professional help.
It is always best to catch the underlying causes of these problems before they become larger and do more damage. Make sure you check the flue gas temperature as well as the oil and gas pressure and temperature.
Let your boiler breathe
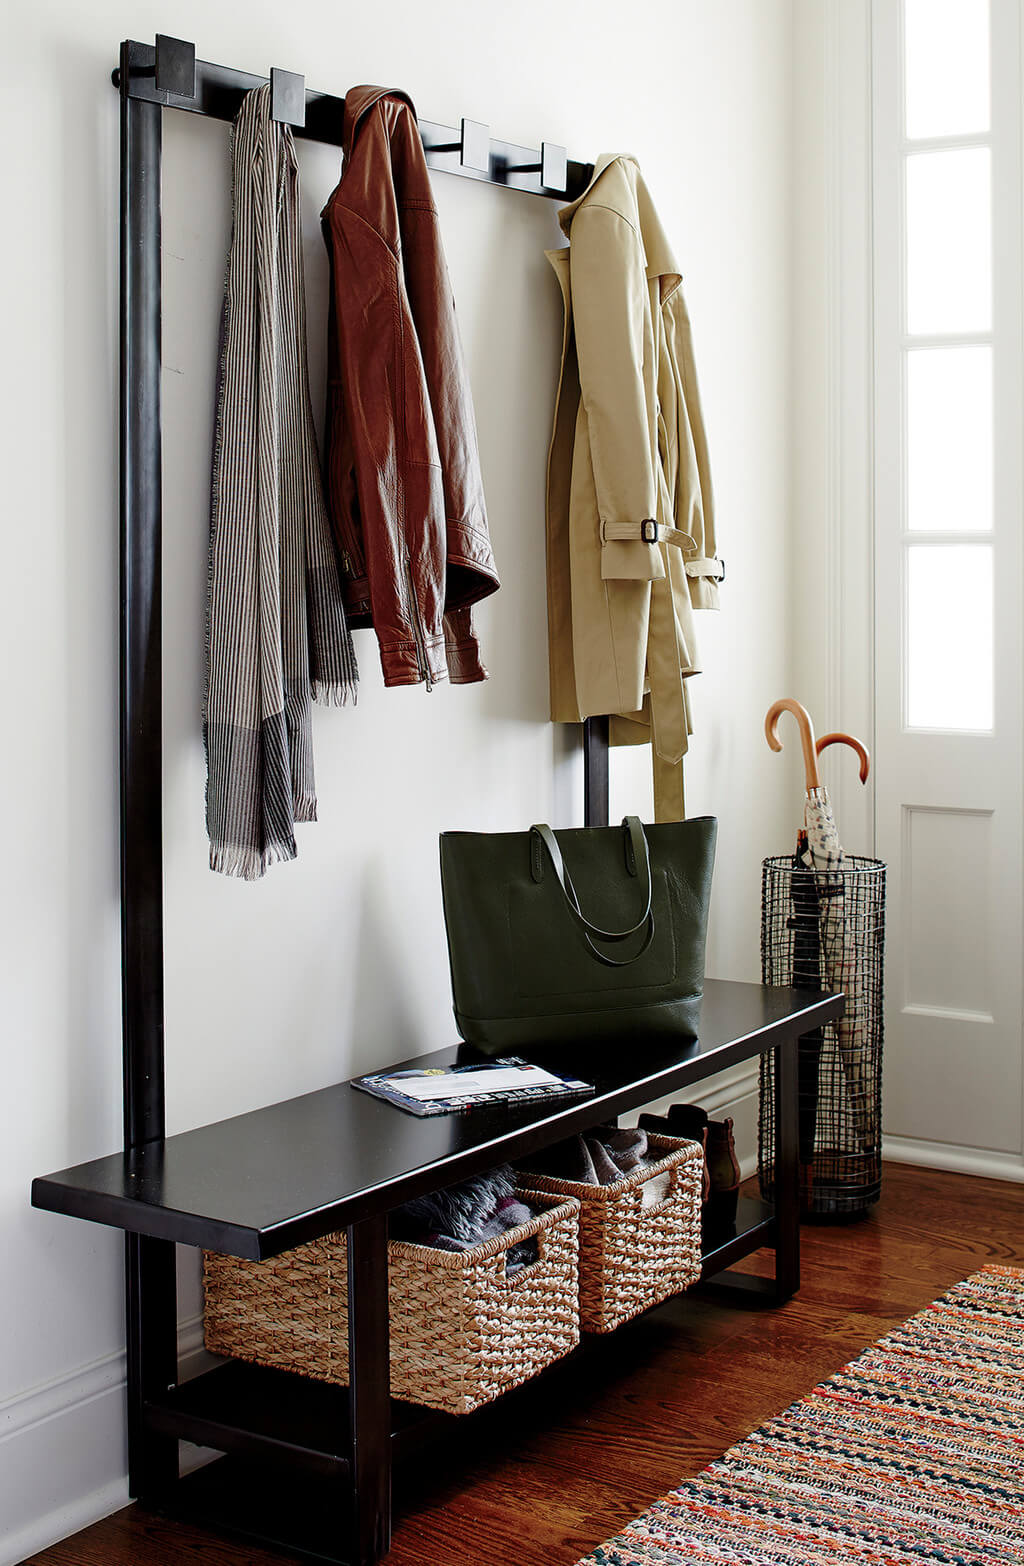
For optimal function and better health, it is important to have your boiler somewhere that it can breathe. This means that a well-ventilated room or outdoor location would be better than placing it in a shoe closet or under the stairs. Furthermore, don’t store shoes, or clothes in the same closet as your boiler.
Discover more:–