If you are a first-time real estate buyer in Florida, then you are sure to get overwhelmed by the different architecture styles available. Right from luxury-style condos to historic homes, you have many choices. Here the best step that can help you make an informed decision will be to know about the different styles before choosing one that best suits your needs.
Top Architecture Styles in Florida
There are plenty of architecture styles in Florida, of which the five most popular are as follows,
1. Contemporary Style
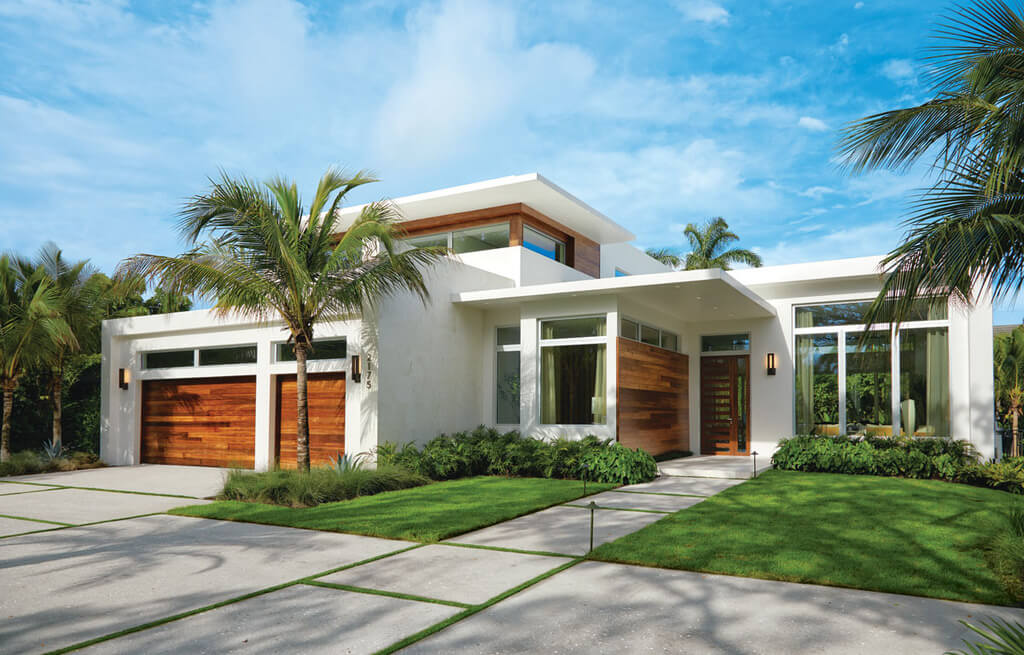
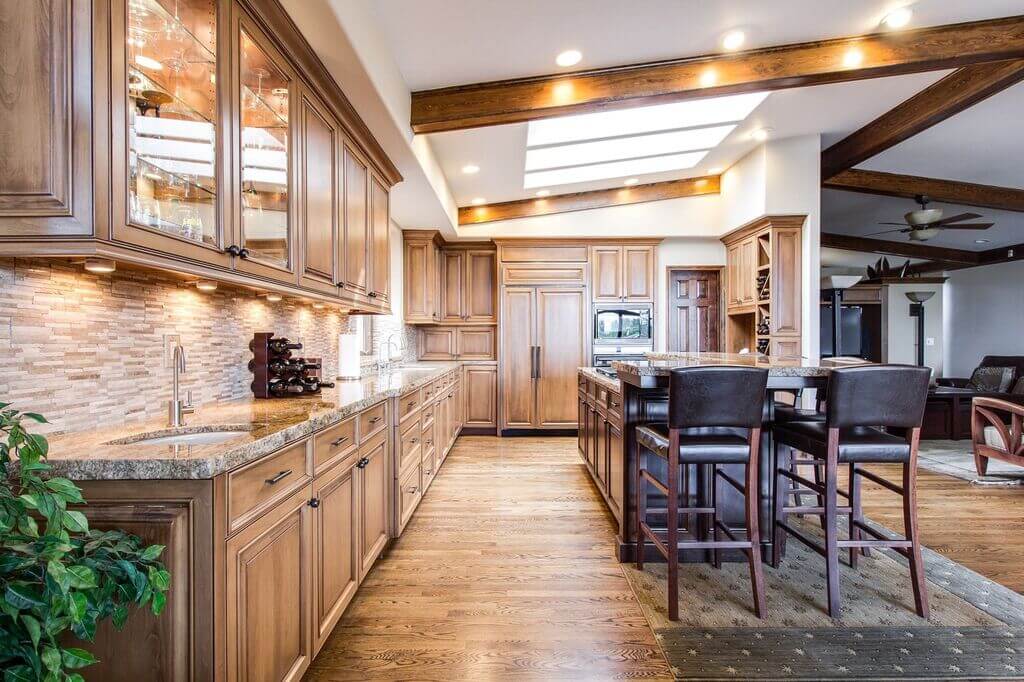
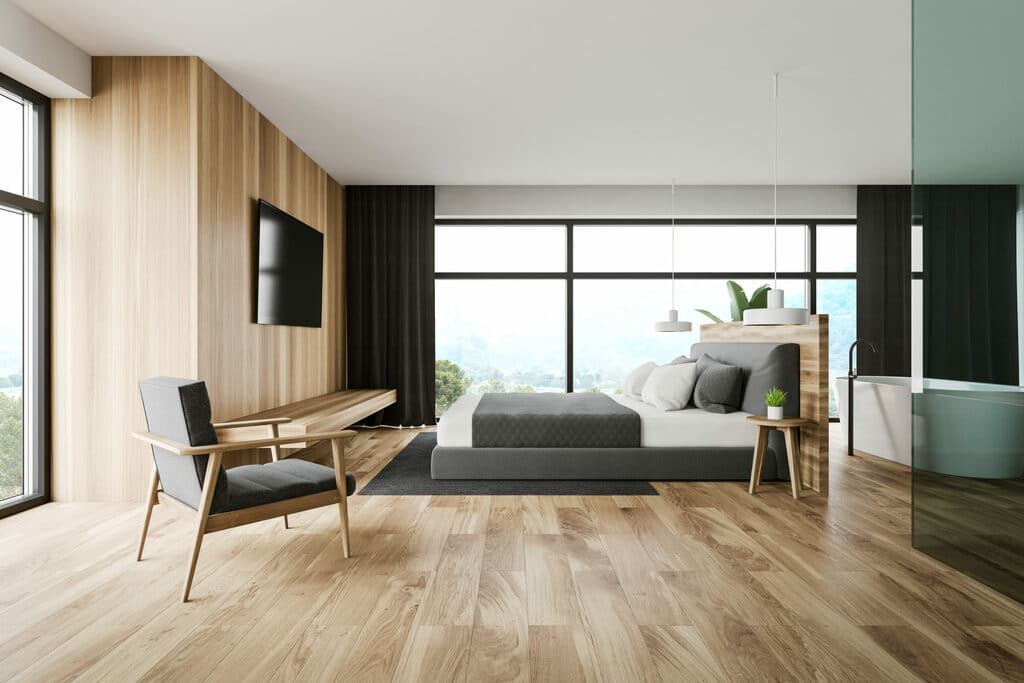
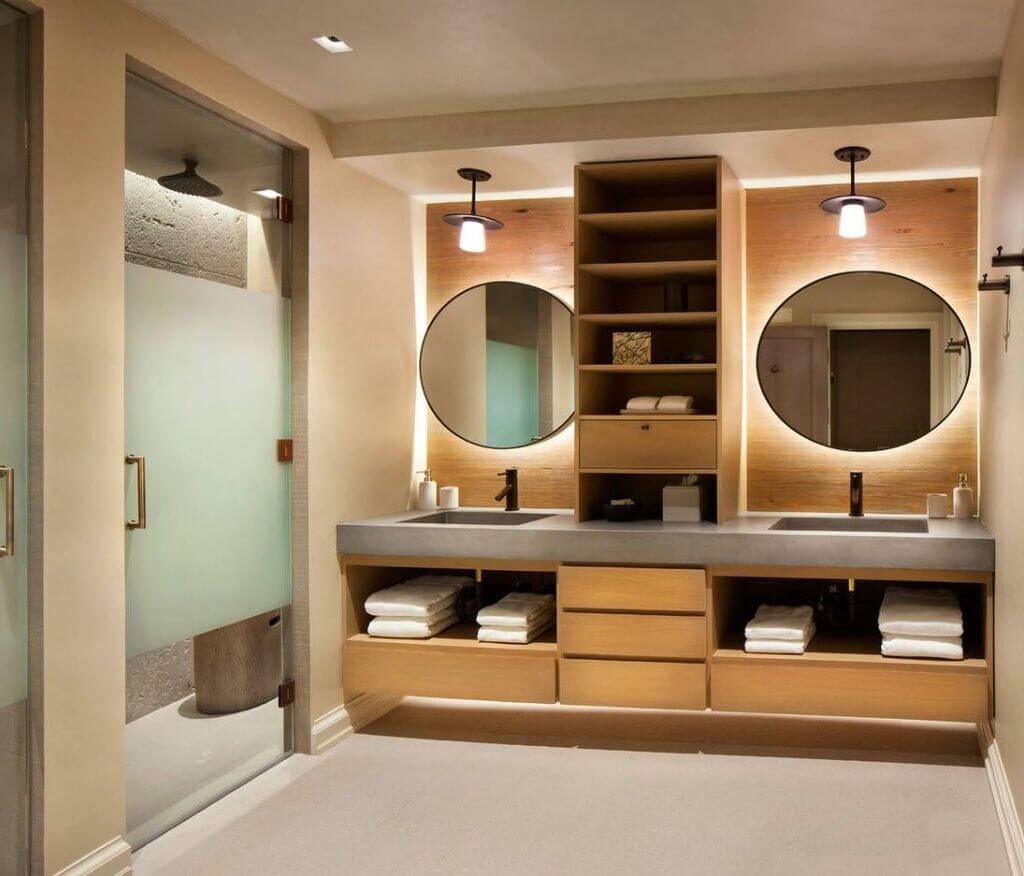
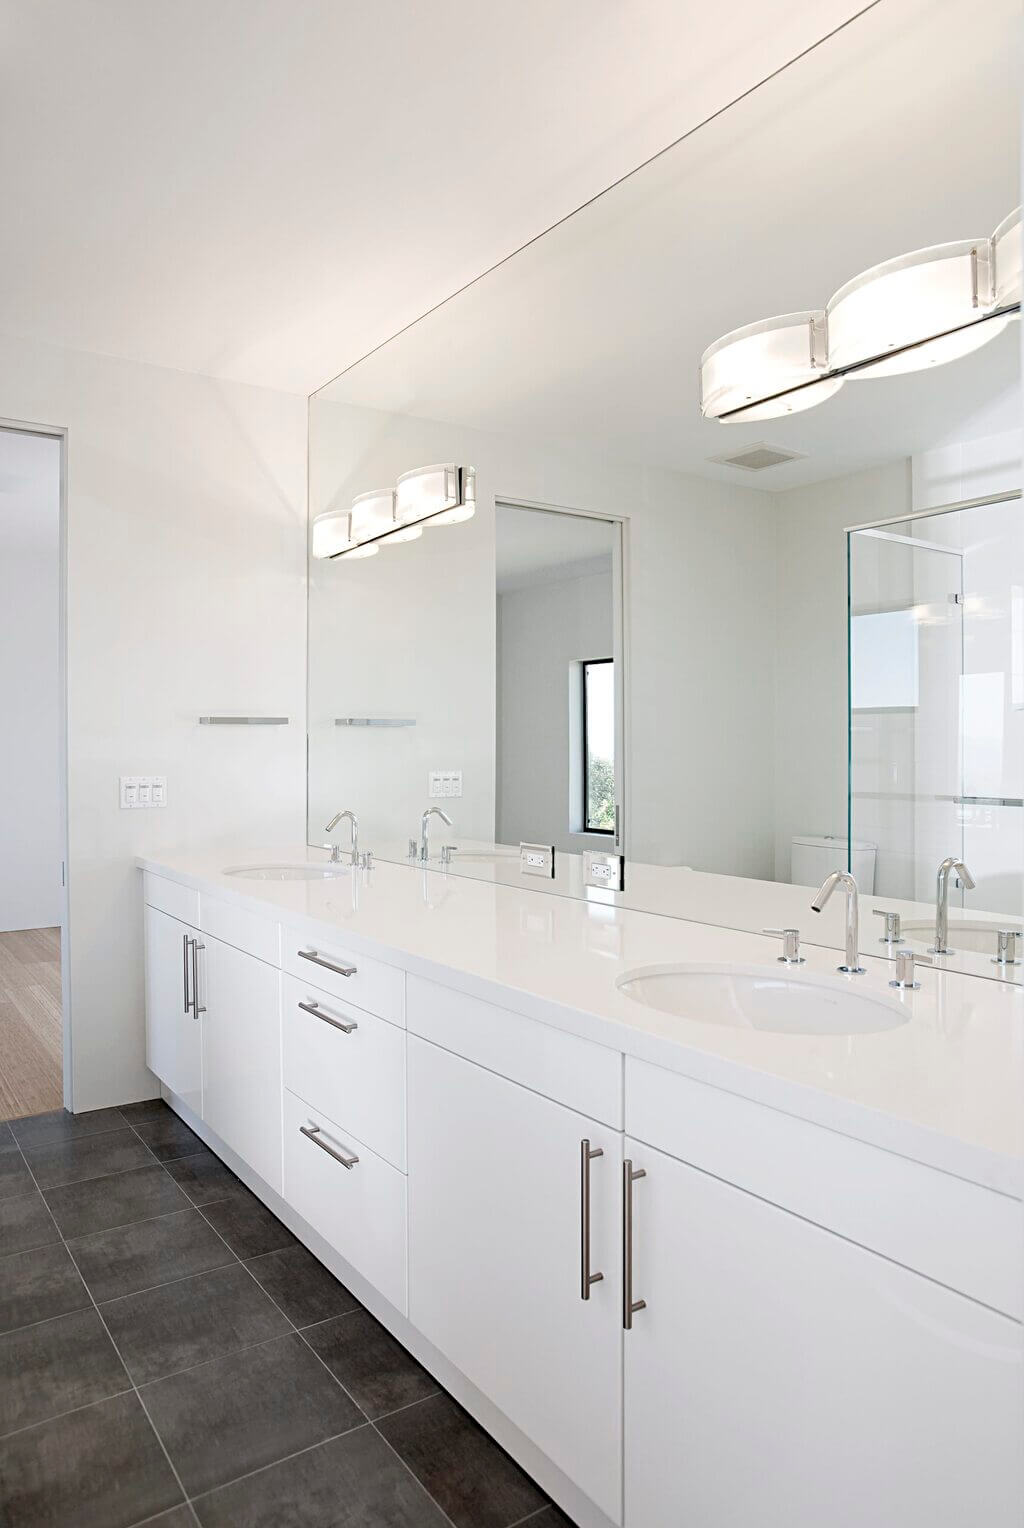
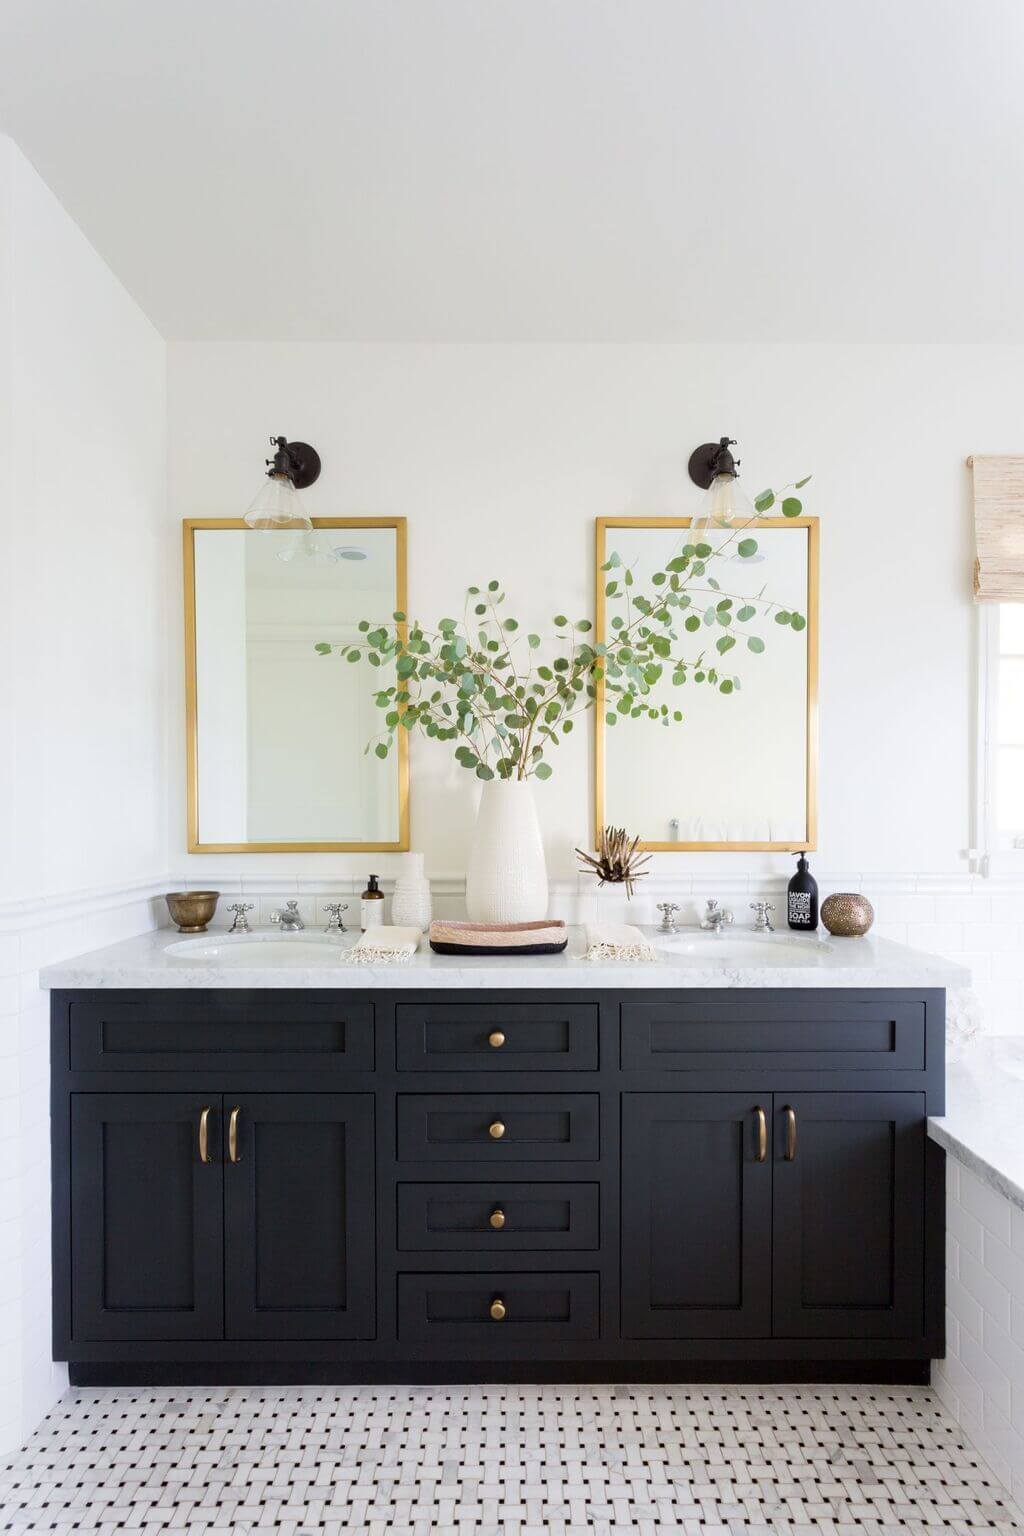
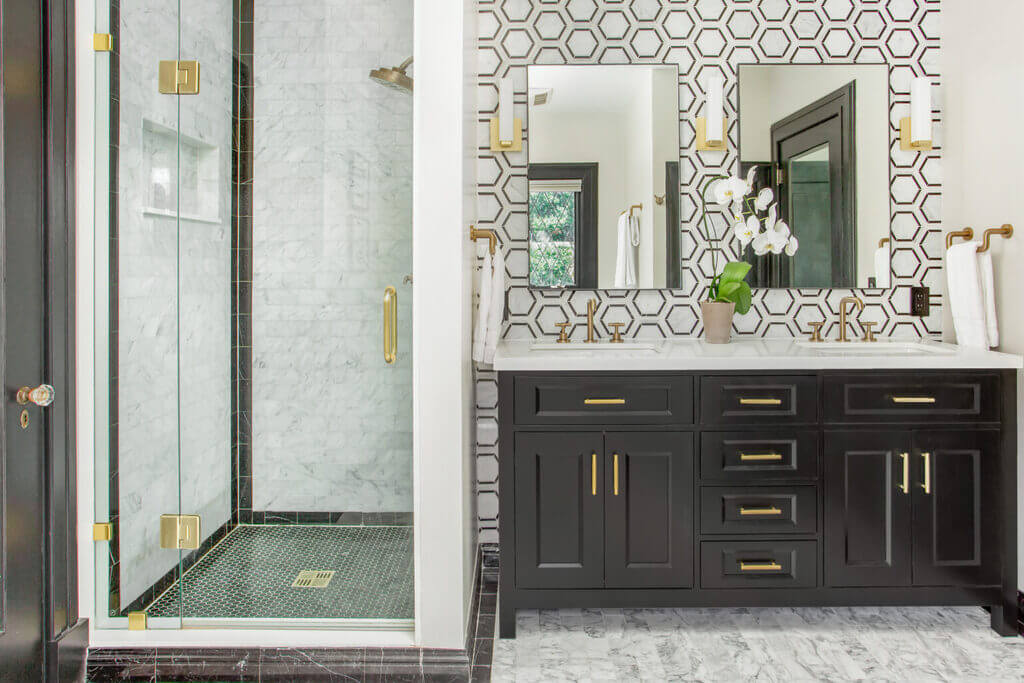
This is a modern style that entails features that most buyers in Florida desire like open floor plans and high ceilings. Some home buyers are not in favor of modern homes as they do not have the character of old houses and are not distinctive.
There is something special about contemporary homes as they have sufficient room for family members, possess a new construction, and possess durable and reinforced rain-screen stucco finishes. The first quarter of the 20th century marks contemporary architecture’s birth.
Concrete, steel, and glass were no longer the only option for the structure of the home. Architecture began using them for design. Modernism’s historical art movement inspired contemporary architecture.
Often people confuse contemporary architecture with modern architecture. They have a connection, though; contemporary architecture means current architectural trends. That means it is not restricted to a single style but has been narrowed and excludes certain historical styles. Today most contemporary architecture borrows a lot of elements from modern architecture. On the other hand, modern architecture is a creation that has been influenced by historical modernism movements.
The modernist concept came into existence at the time of industrialization with an effort to develop architecture more functional and at the same time maintain its simplicity. For the best contemporary architecture, make the most of Palm Coast Florida luxury homes for sale.
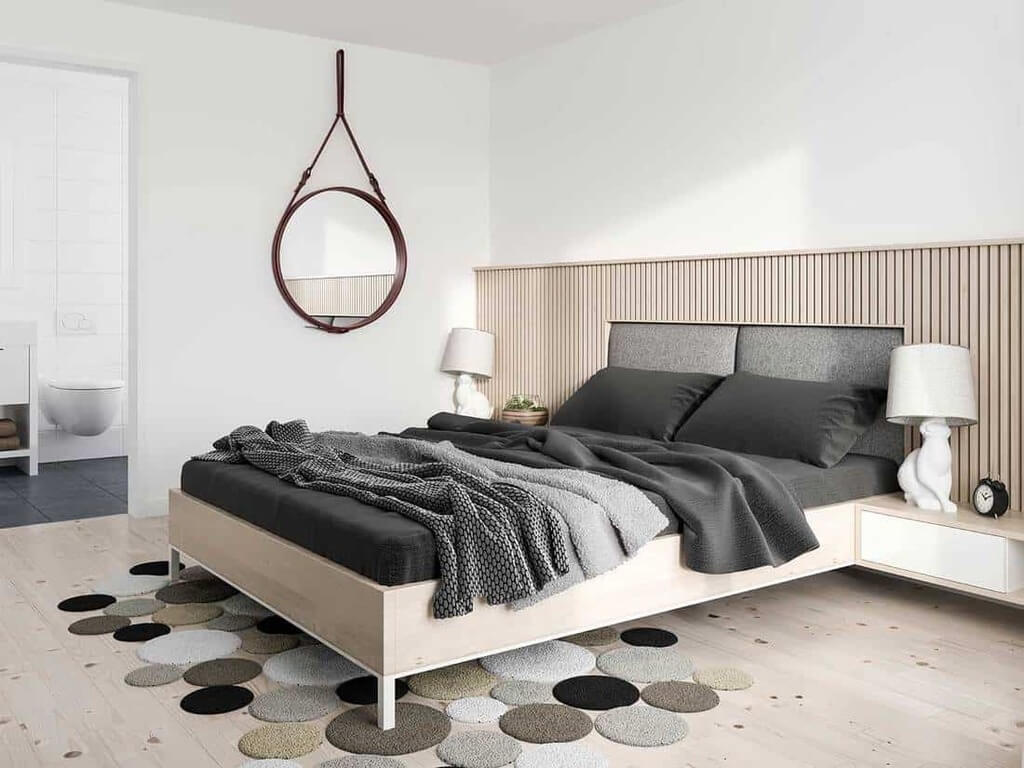
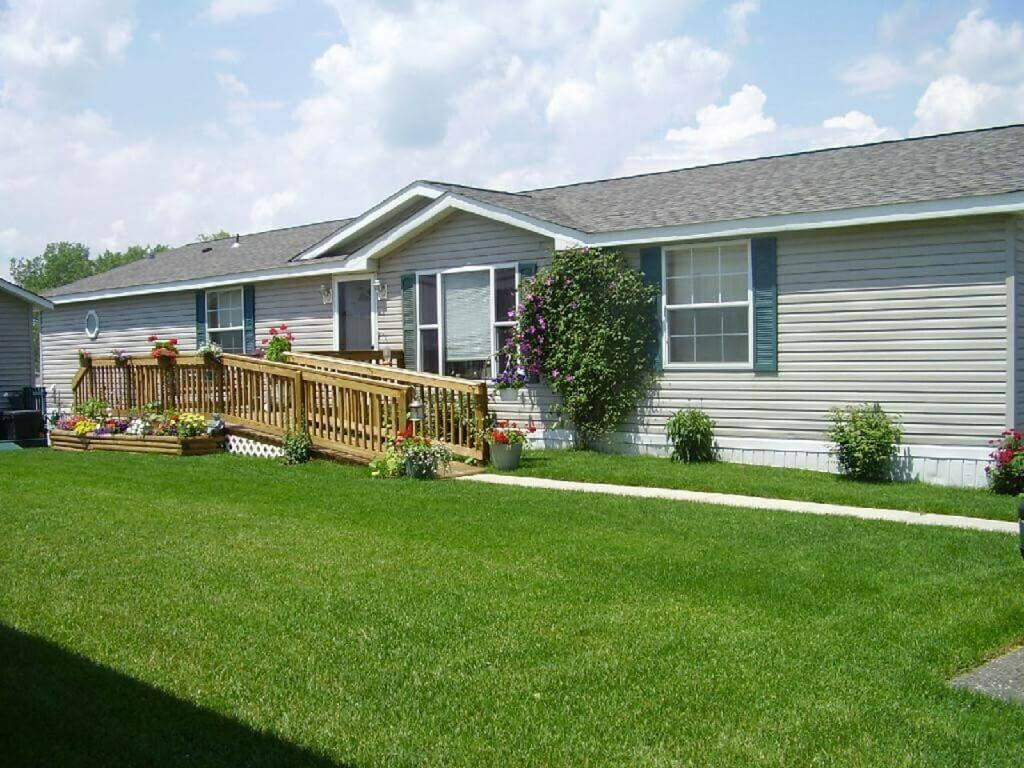
2. Ranch Architecture
This style of home is widely visible in Florida. Ranch architecture is generally made on one level while at an end has attached garages. As these homes have everything on one level, they are a favorite, especially among senior citizens, for their hassle-free access. Space is available in such architecture, so you can easily make additions such as a screened porch. Also popularly called a rambler, these are single-story homes with horizontal footprints.
Its original style was basic with no frills. These homes have free-flowing and open floor plans and a less-formal lifestyle. Some of the standard features of ranch architecture include simple, open layouts and a low, long roofline. As it gained recognition, it included more dramatic features like cathedral ceilings and varying rooflines, yet the basic premise stays the same.
Generally, ranches are U-shaped, L-shaped, or rectangular. Its long horizontal structure paves the way for hassle-free outdoor connection, and some rooms have a view of the back and the front of the home. This layout will also allow you to make a simple division between sleeping and living spaces.
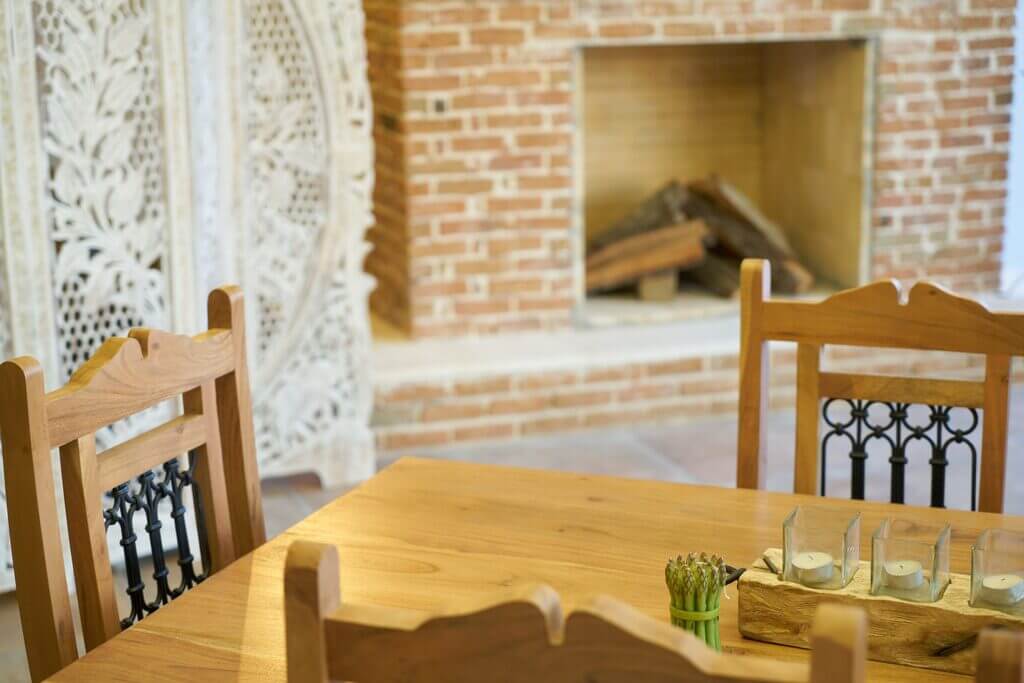
3. Spanish Style
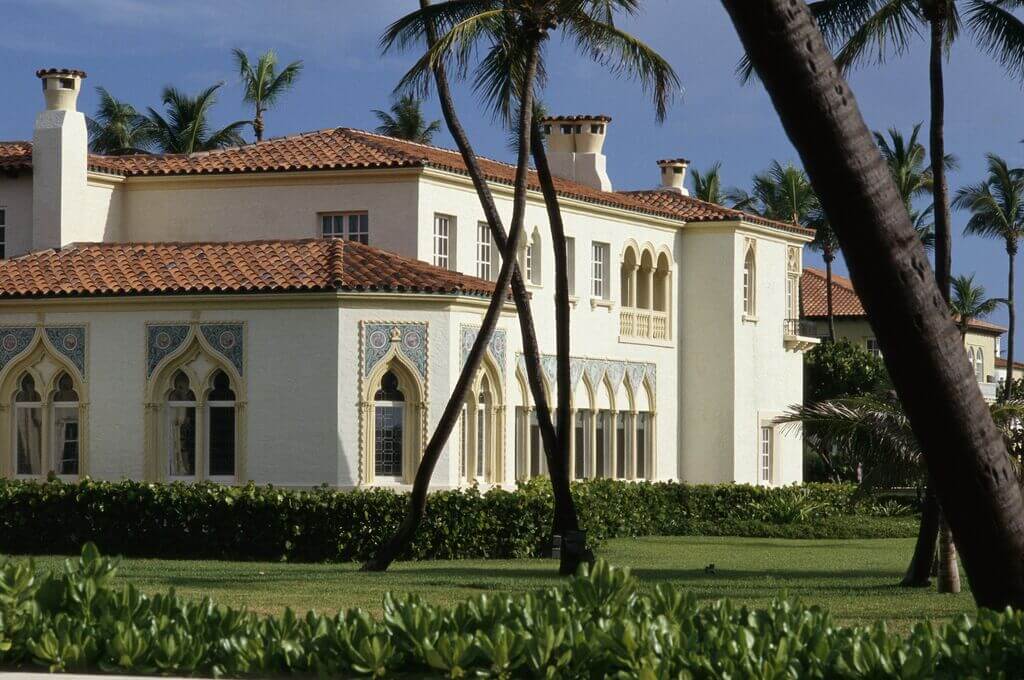
This is akin to Spanish architecture. Its style features low-pitched roofs and stucco walls. Spanish-style homes have details such as terracotta additions, clay tiles, and flat roofs. Additional features comprise wooden casements, Roman arcades, small-sized balconies, and similar accents.
This architecture style is quite commonplace in Florida, which is mostly on coastlines. The Spanish, especially the Spanish Colonial Revival and Spanish Colonial, are most commonly related to larger estates that populate the coast. Merging elements from the Moorish Revival, Spanish Baroque, and specific design touches from American Arts and Crafts movements, this architecture is trendy for its attractive features.
4. Mediterranean Revival Architecture
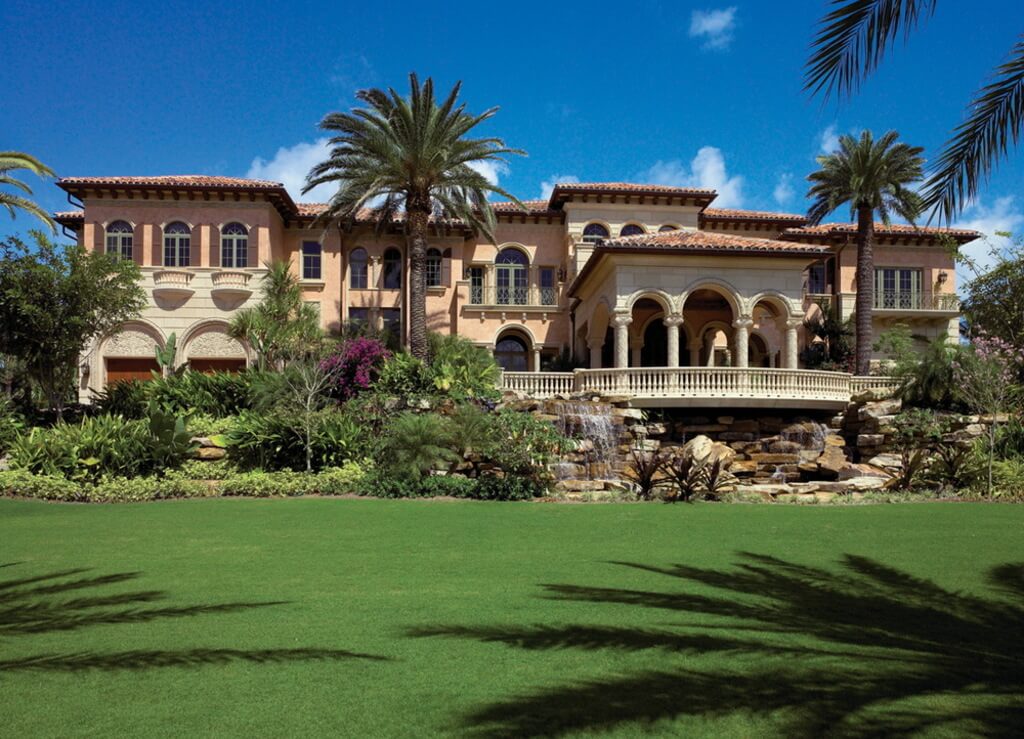
This architecture shares cultural and historical ties with the Spanish Colonial Revival and Spanish Colonial. Mediterranean revival architecture is also highly favored in Florida. Low-pitched tiled roofs and stucco walls characterize it.
The other design elements comprise large and symmetrical arches and facades, detailing keystones, intricate and articulated door surrounds, and parapet walls having tile capping. Further, delicate detailing in wrought iron in windows and balconies is also a common feature in this architecture style. Before purchasing any Mediterranean revival architecture, ensure it is pest controlled or check a pest control near me to get it done.
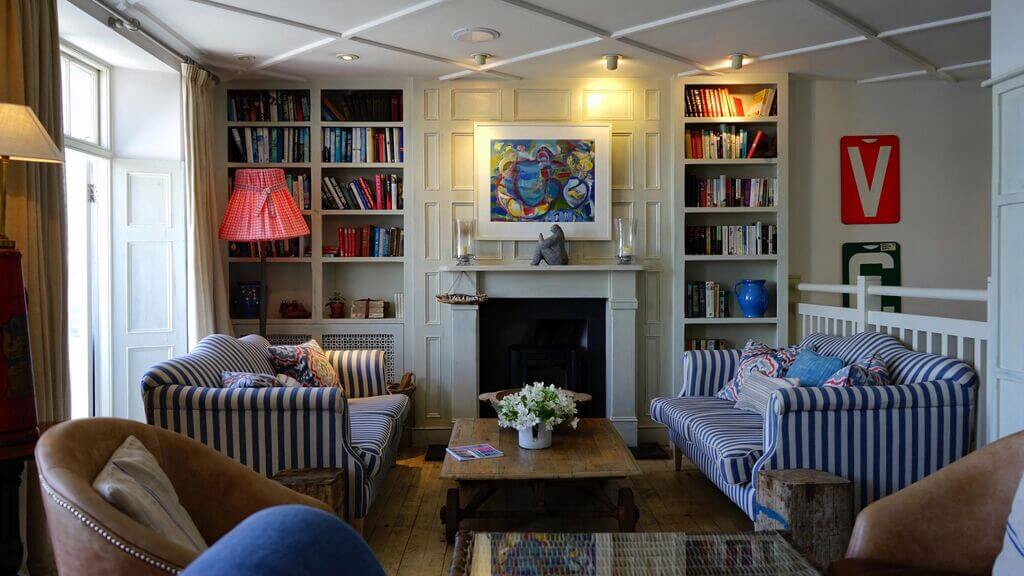
5. Victorian
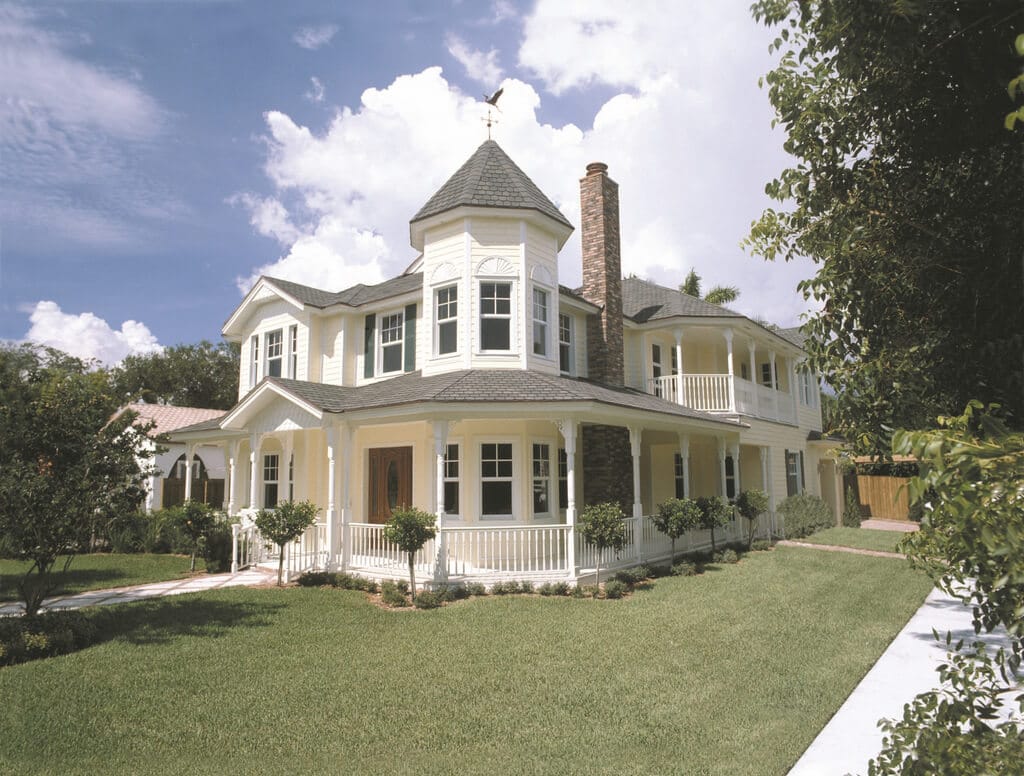
Victorian homes, simply put, are elaborate homes having intricate details both inside and out. Generally two-storied, it is made more for beauty than functionality. These homes have grand turrets and towers, large ornate porches, steep roof pitches having dormers, and asymmetrical floor plans. Victorian homes stylistically have decorative railings, eyebrow windows, bright, whimsical colors, and ornate trim. The vast porches that wrap the home enable outdoor/indoor living and connection to several rooms.
There are many options for you to select from and incorporate into your home. So which among these five architecture styles will be your choice?
For additional insights:-