Purchasing a house is a personal task that you should not underestimate. It should be more than just looking for a house with a great façade – you should look beyond and find a house that you can live with for years. Have a checklist. Are you looking for a house that is 100% concrete or just had concrete refinishing? If you are not sure what to look for in a house, here are some common house-hunting mistakes that you should at least avoid.
Not Having a Checklist
Having a house-buying checklist will help you trim down your options when choosing a house to buy. You can start with the number of rooms you want, the size of the house, how many bathrooms you want, the size of the back and front yards, its location, and what it is made of. Do you want a concrete house or are you looking for a house made of wood and something else?
Having a checklist will not just save you time checking all the available houses near you, it will also save you energy and money spent on gas to check every property.
Not Having a Price Range
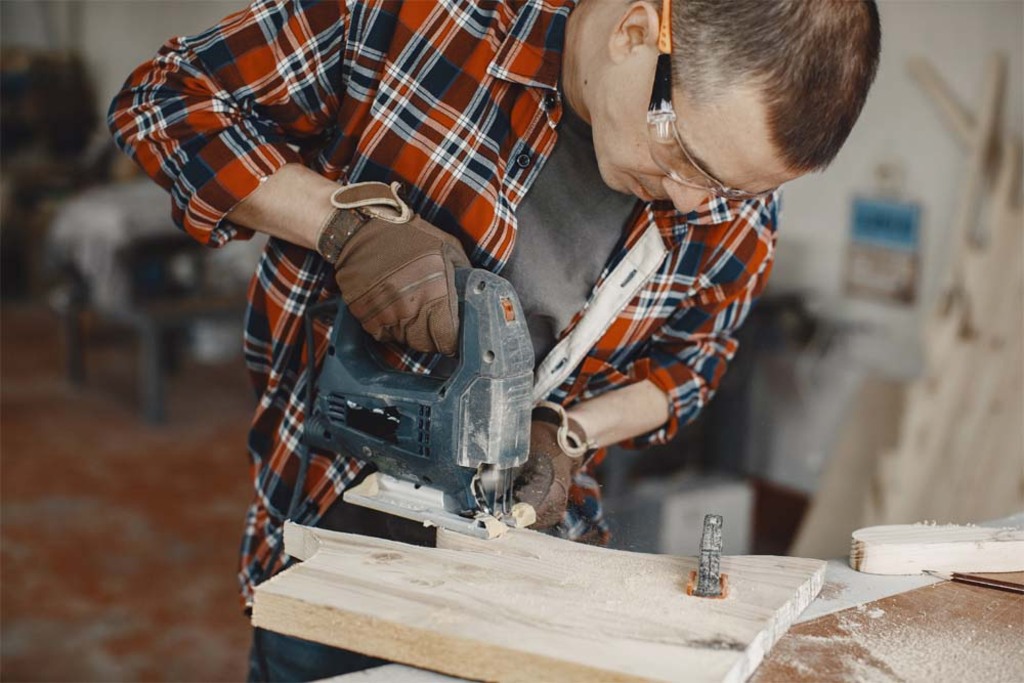
Before you start asking realtor agents or browsing different housing brochures, you must set your budget first. How much can you afford for a house? Are you looking for an expensive fully furnished home or are you okay with a semi-completed house and you can do the concrete refinishing yourself? If you are not sure how much it would cost to do concrete refinishing, ask a concrete contractor to give you an estimate.
With a price range in mind, you can easily trim down your options and find it easier to choose the best house that is within your budget.
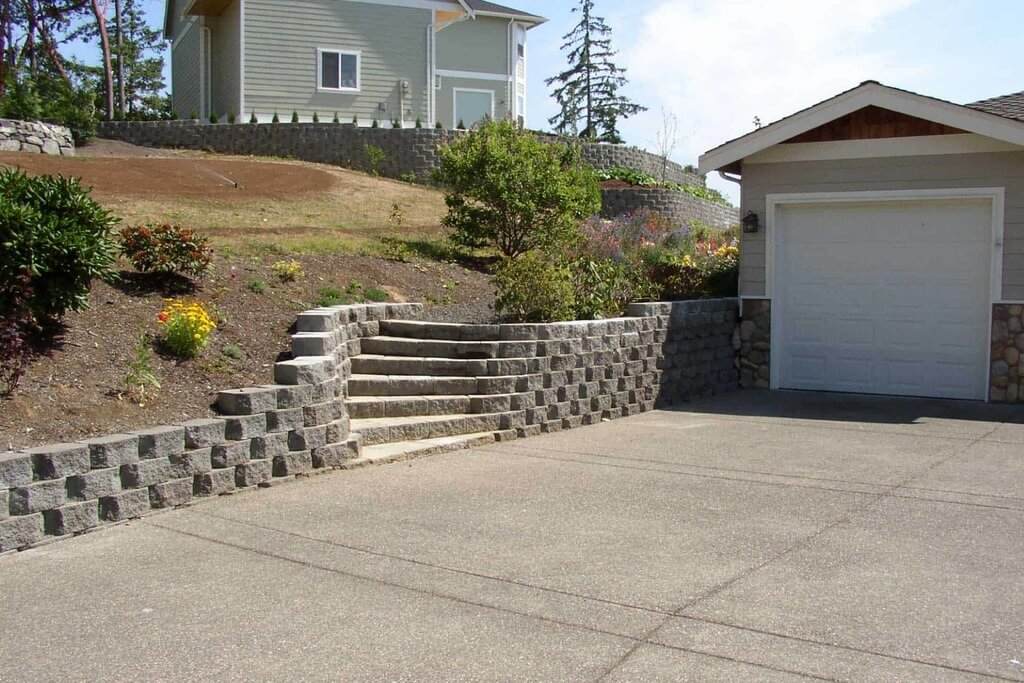
Not Checking the Property First

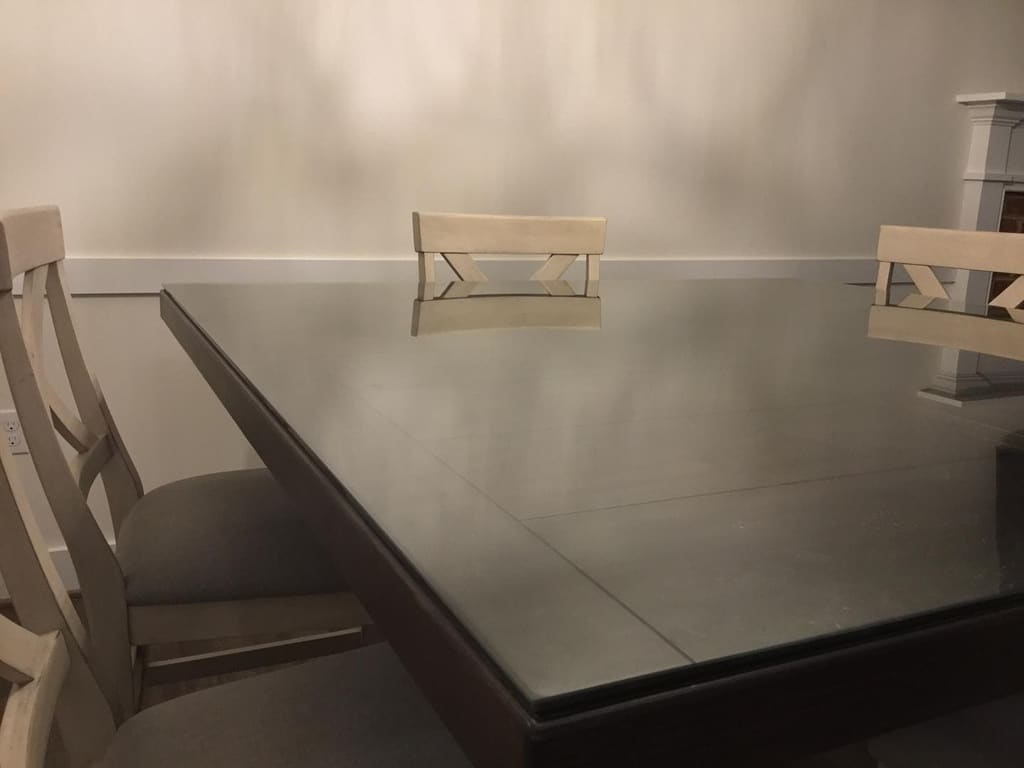
Even if you have hired the best and most reliable realtor agent out there, it is still best to check your house of interest personally before making a purchase. Don’t trust images and videos alone. You cannot see small floor cracks or faded paints in images. A small enhancement can remove those marks easily.
Doing an ocular visit will also give you a chance to check other details such as door and door locks, the roof, the foundation of the house, and the floors. These small things are often taken for granted and once they start giving a problem (eg leaking roof or easily chipped floor), then you will just realize that you were doped.
Not Hiring an Agent

Hiring a realtor agent is like hiring a professional concrete company. You should hire someone with good background and reliable experience. Hiring an agent is advantageous because they knew the ins and outs of buying houses, they knew where the best house on sale was and they knew how to talk to get a great price for you.
Just tell your agent what you want, give them your list and they can easily find available houses that fit your preferences. Again, you can trust them with this because this is their job, but you should still visit each house they recommend before you make a decision.
Making an On-The-Spot Offer

Once you find your dream house, avoid making an on-the-spot offer. You should ask yourself at least ten times if it is indeed what you want. Remember, you still have a lot of options out there and you need to balance each pro and cons before making that decision.
Purchasing a house is a long-term investment. It means you will be staying in that place for years. However, you will also be living in that neighborhood so make sure to check the neighborhood first. Is there any nearby hospital, school, train station, police station, concrete company, gas station, and food parks?
Aside from living in a beautiful house, you need to have a beautiful and accessible neighborhood as well.
Final Thoughts
As you shop for the best house to live in, don’t feel too much pressure. Make it a happy experience where you enjoy searching for options. Make a challenging one where the goal is to find the best house for your future. Whether you are looking for a concrete house or plans to do concrete refinishing with your future house, you should always think of it as a happy and challenging task.
Always ask for help from agents and concrete companies who know what to look for in a good house. An agent can find the best deal for you and a concrete contractor can tell you whether you are buying a highly durable house or a substandard one.
Discover More