Most people consider cars to be simply as a mode of transportation: be it a simple car or a high-end luxury Rolls-Royce. In the end, the concept has remained constrained to travelling from one point to another. And, what about the car that has gone past its prime time? You can sell them for scrap for sure, but some artists have decided otherwise and are turning them into a masterpiece which has given birth to a new trend – car furniture.
The new concept of car furniture has renovated the furniture style with a customised design by imbibing various car designs and vehicle parts. Be it for your home or for commercial use, you can go through some of the amazing car furniture designs given below.
5 Stunning Car Furniture Designs To Look Out For
Ambassador Style Sofa
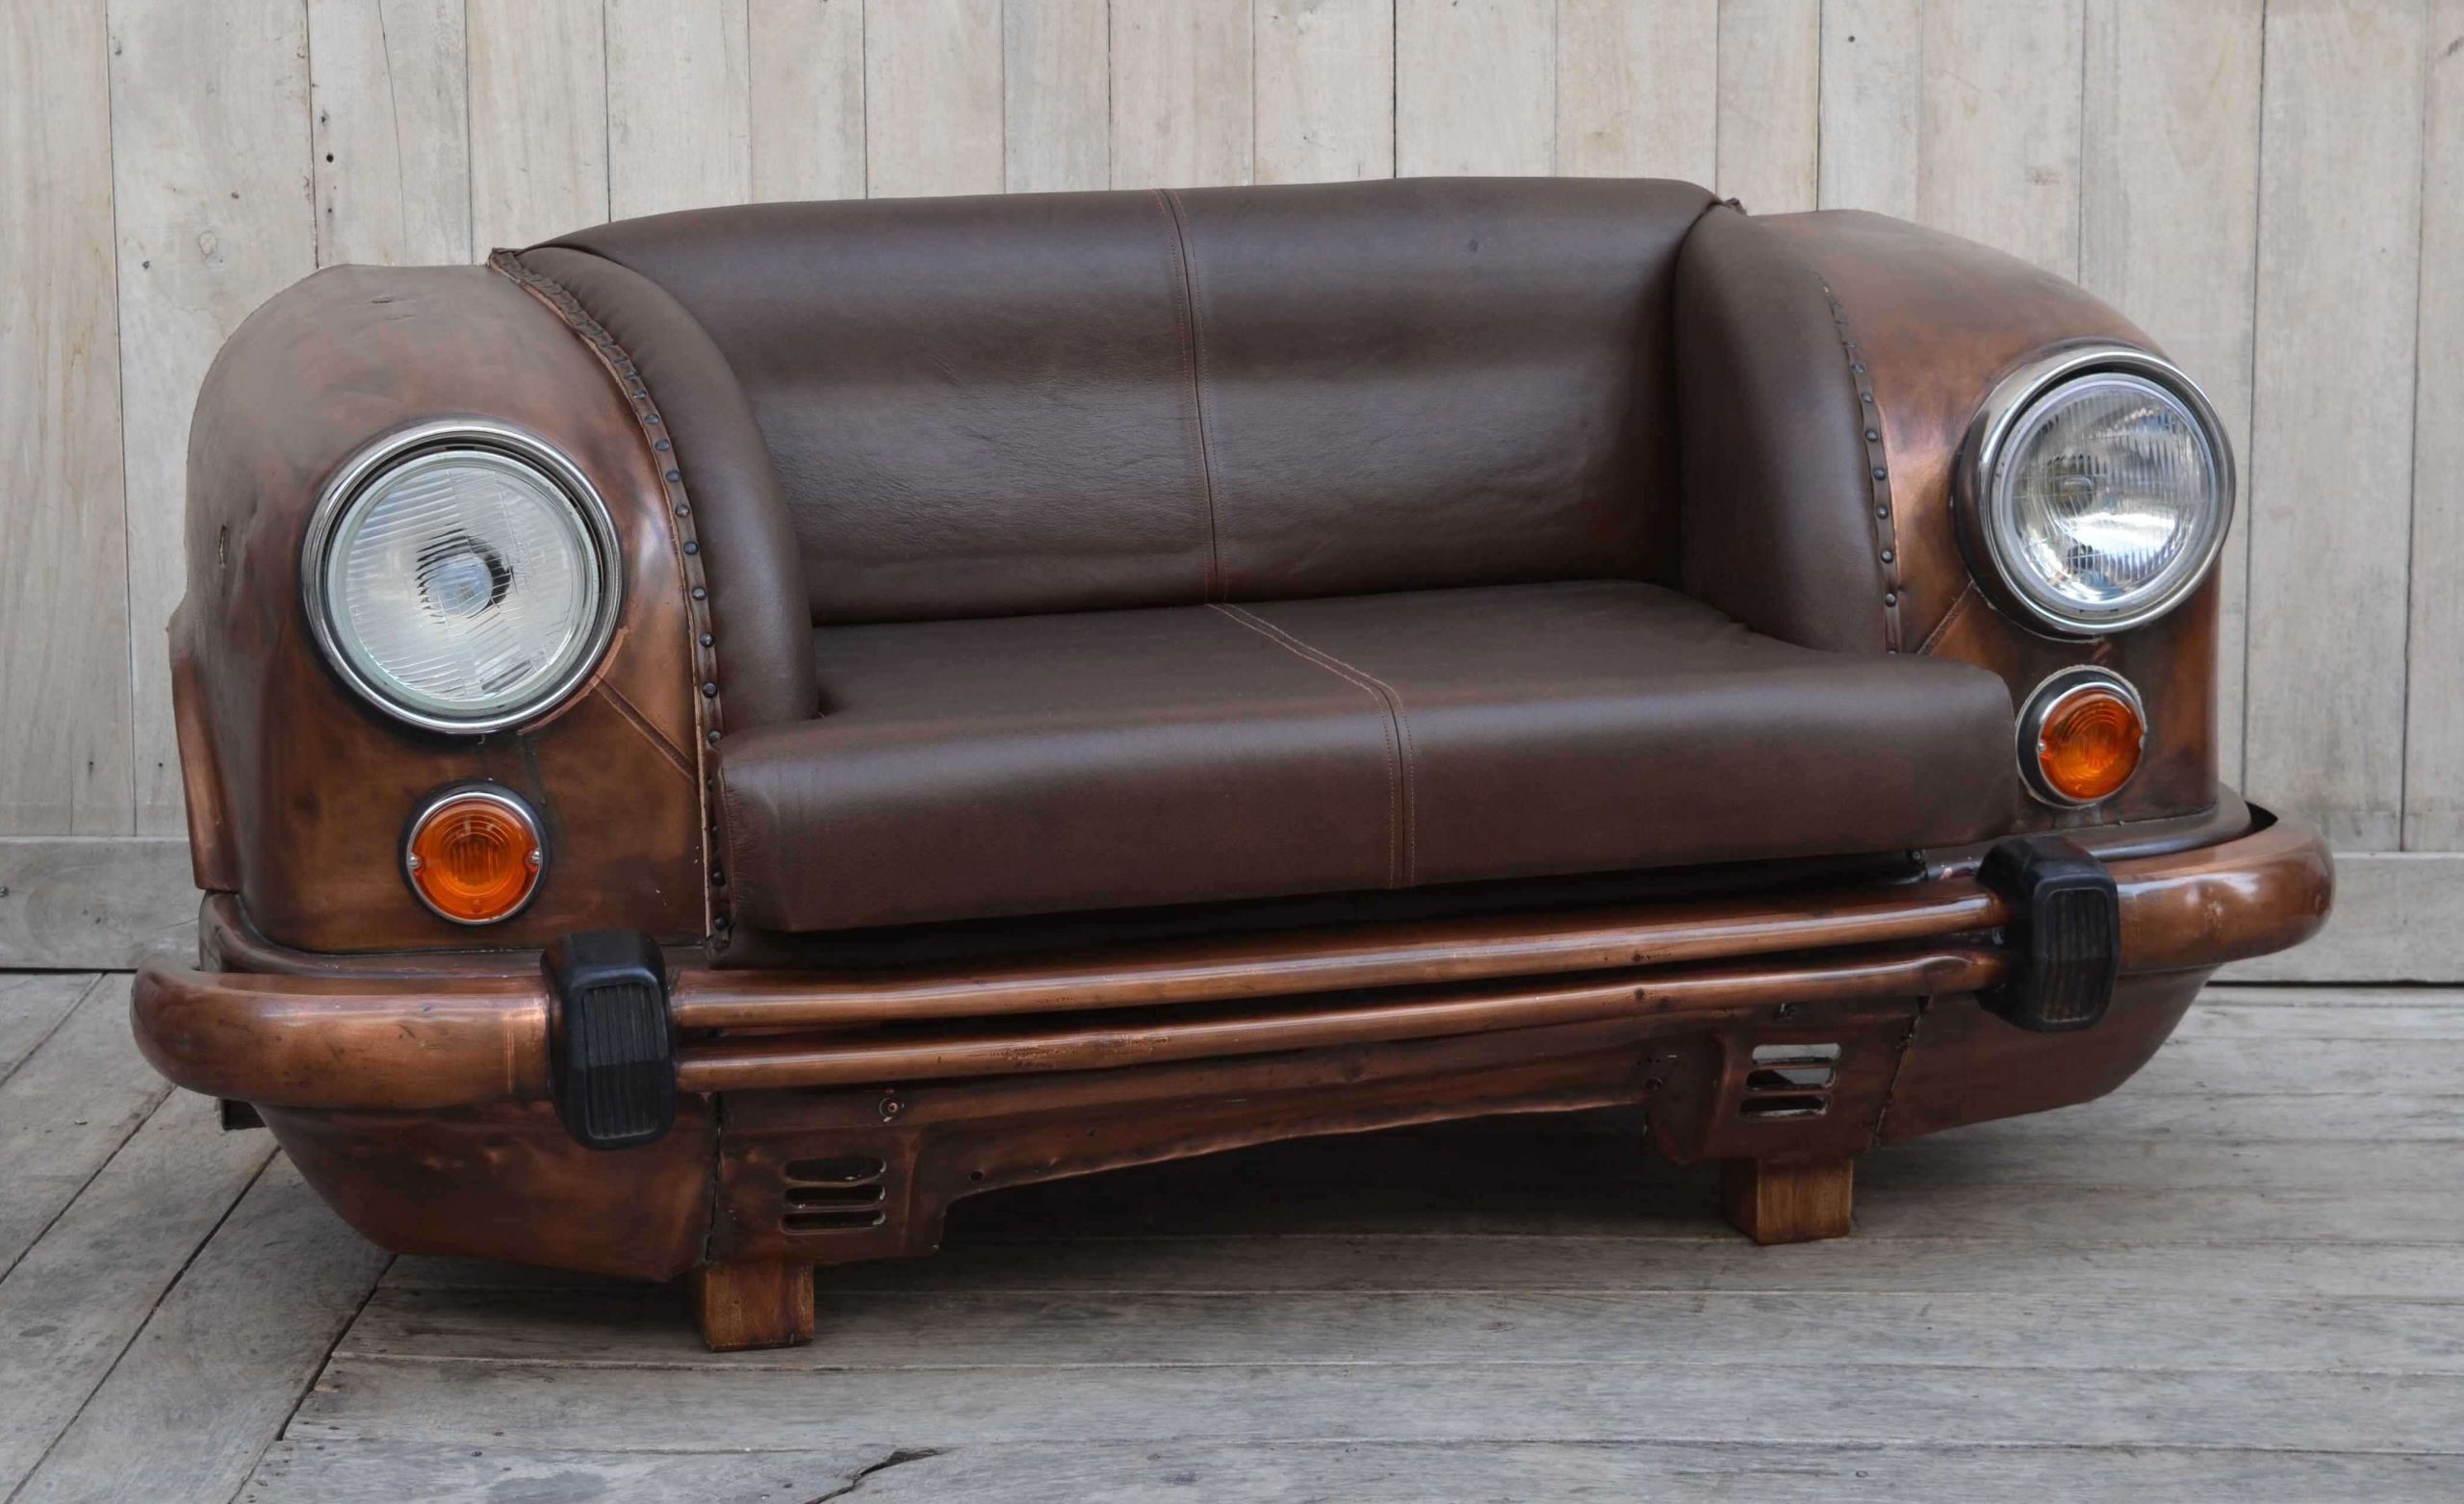
Ambassador is among one of the few cars that have bridged the history of the past era with the modern generation. In the present day, the model has lost its glam in the sand of time, but it has never failed to inspire the youths to look beyond the speed. To imbibe that feeling of nostalgia and the era of its glorious past the model has been reshaped in the form of stylish sofa. The concept has not been limited within a prototype, but various styles and design of ambassador style sofa are available these days that can give your home interior a distinctive outlook. This type of car furniture is also perfect for creating a retro vibe to your home interior. You can opt for a two-seater red and black ambassador style sofa which are currently in trend.
Crankshaft Style Designer Table
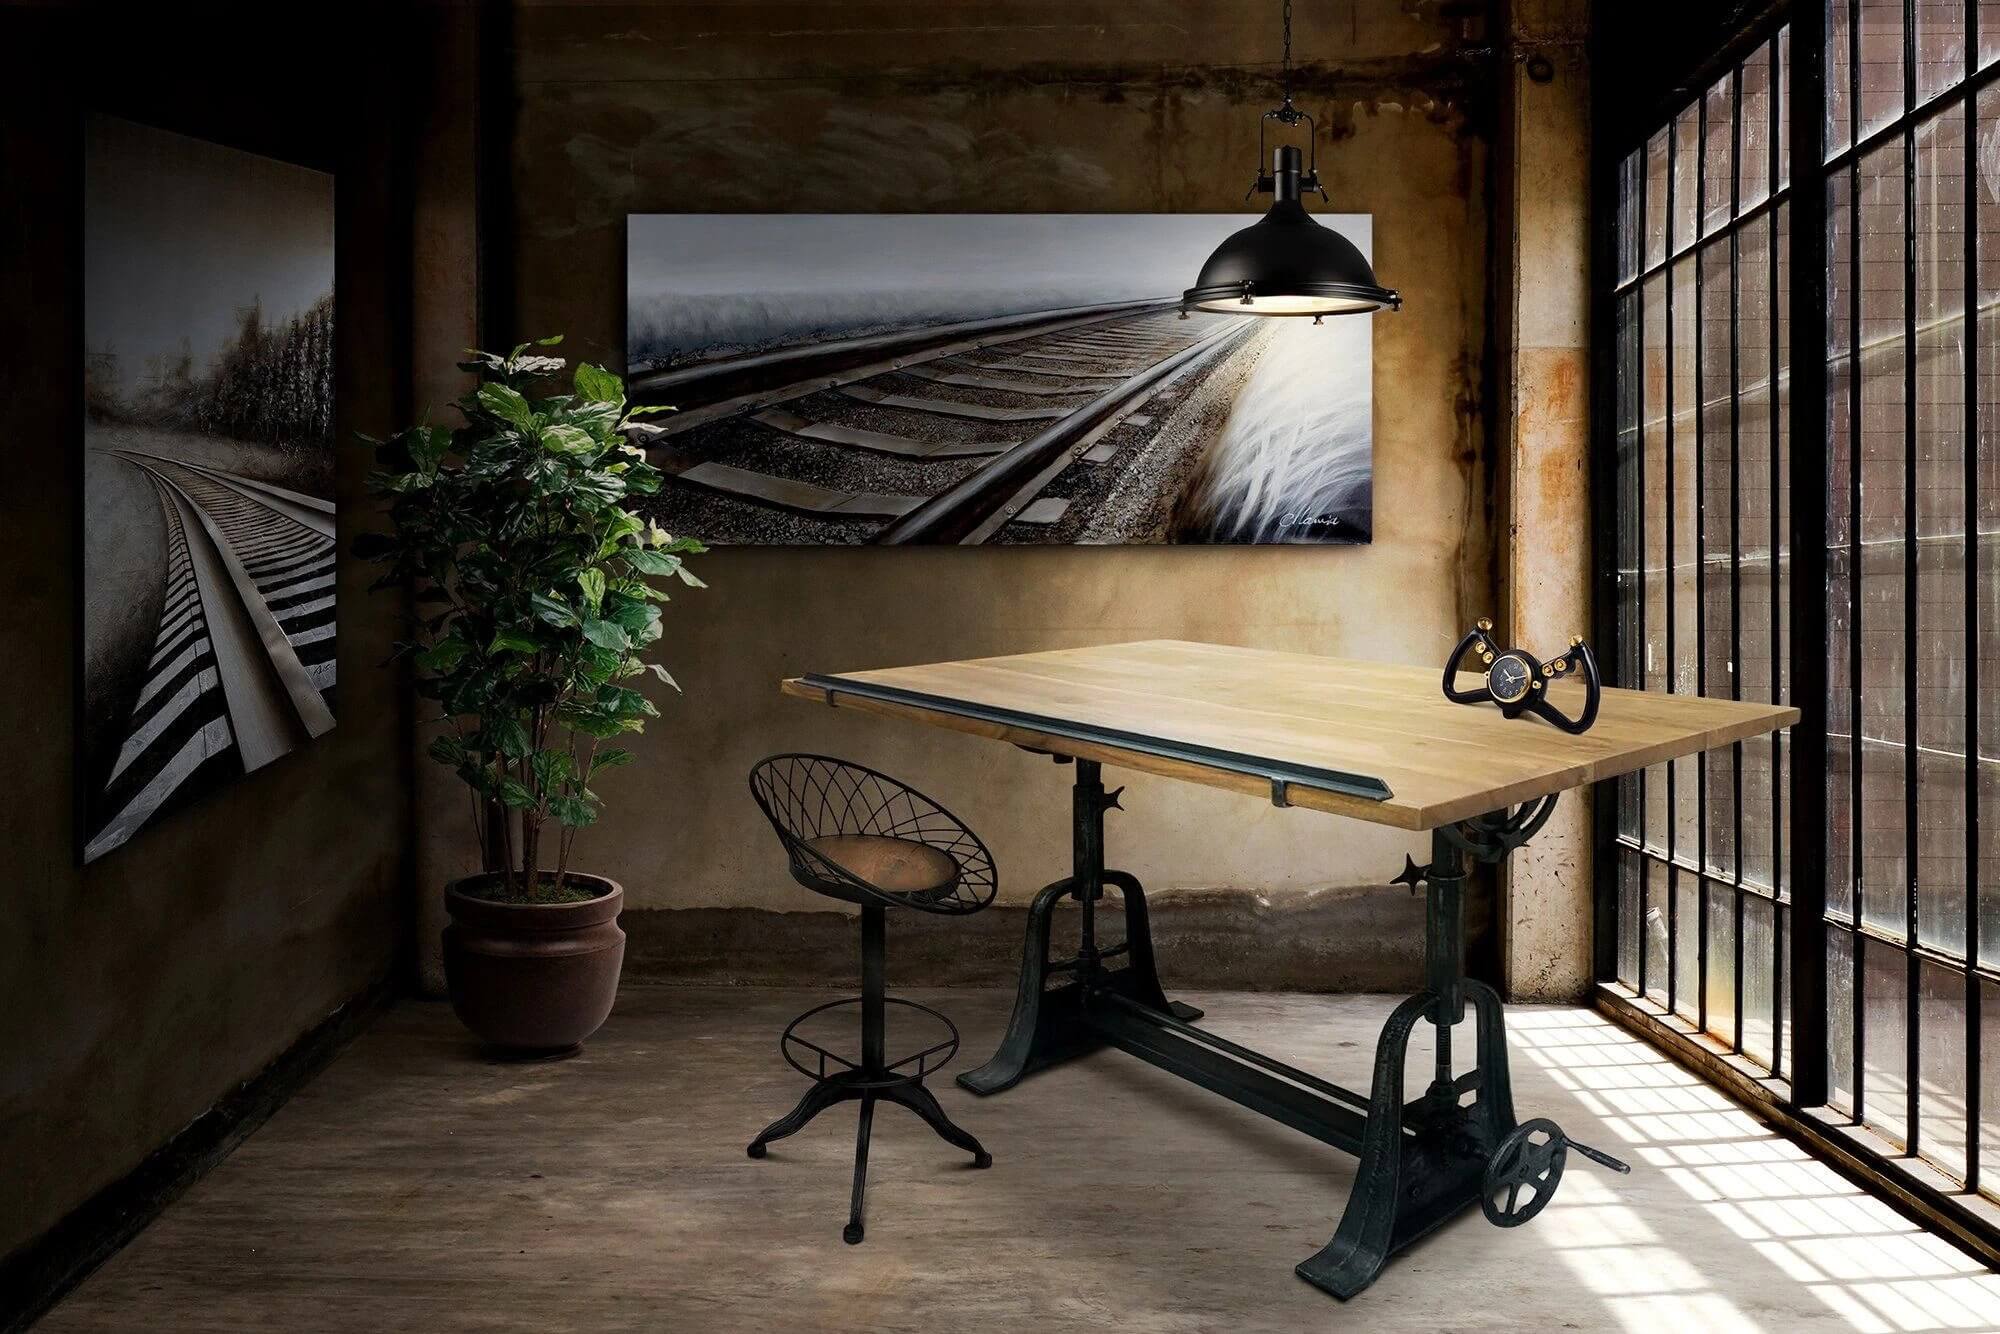
Ever experienced the groaning sound of a car beneath you while you were driving and the engine fueling for speed and setting new limits each day. Well, you can bring home the same experience with a crankshaft style designer table. It is one of a kind designer table where the tabletops are crafted in the shape of the hood of the car, and the stand is designed in a crankshaft style. The best thing about its design is that the crafting of the crankshaft gives a raw style and an edged look. The crankshaft style designer table can be a good addition to decorate your home interior if you have a passion for cars and racing. Moreover, this style fits easily both for home and commercial use.
Designer Car Bed
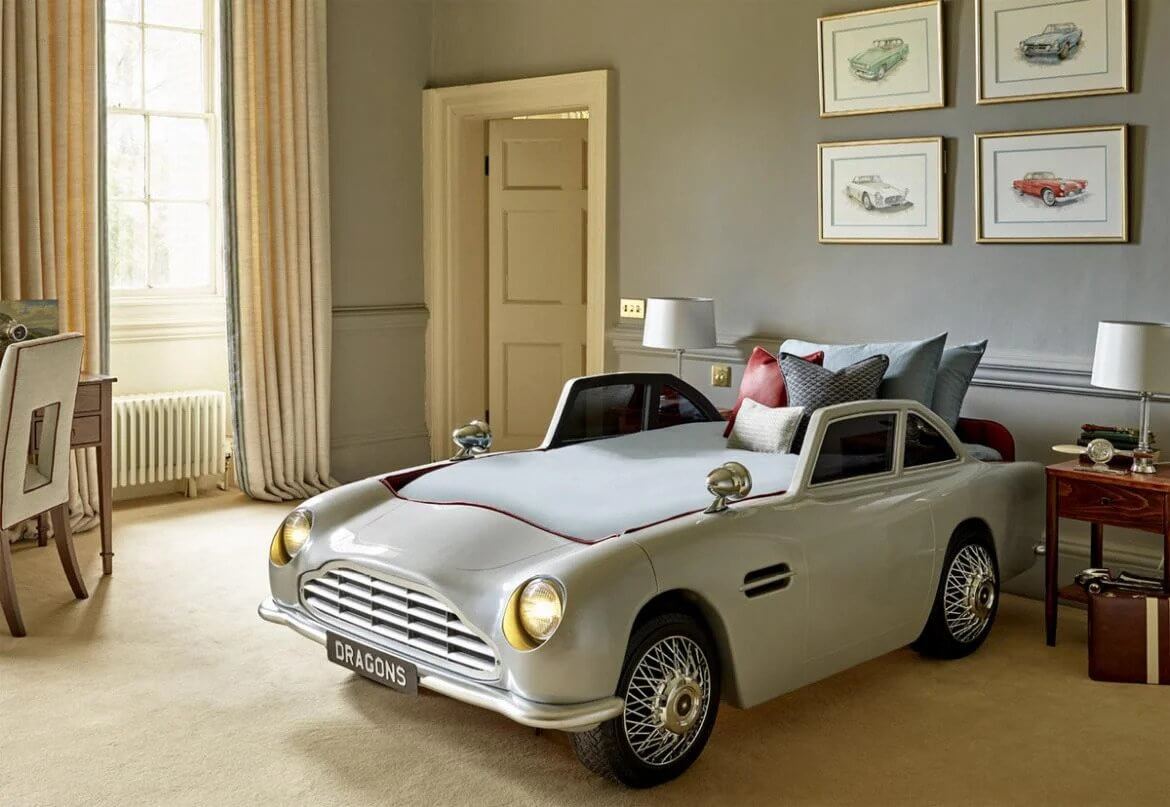
If you are deeply passionate about racing and cars, then you won’t mind turning your comfort zone into a designer car bed. Have you been craving so much speed that you have though to transform the ordinary bed into an imagination that can make you win races even in your dreams? Well, now you can experience all that fantasising dreams to be real by opting for a designer car bed. These days there are many furniture companies that are offering various style designer car bed. Besides, adding a designer car bed will add a uniqueness to your home decor provided, you add other car shaped furniture. This will not only give your home interior a distinctive look but also add an amazing vibe of racing and speed.
Car Rims Coffee Table
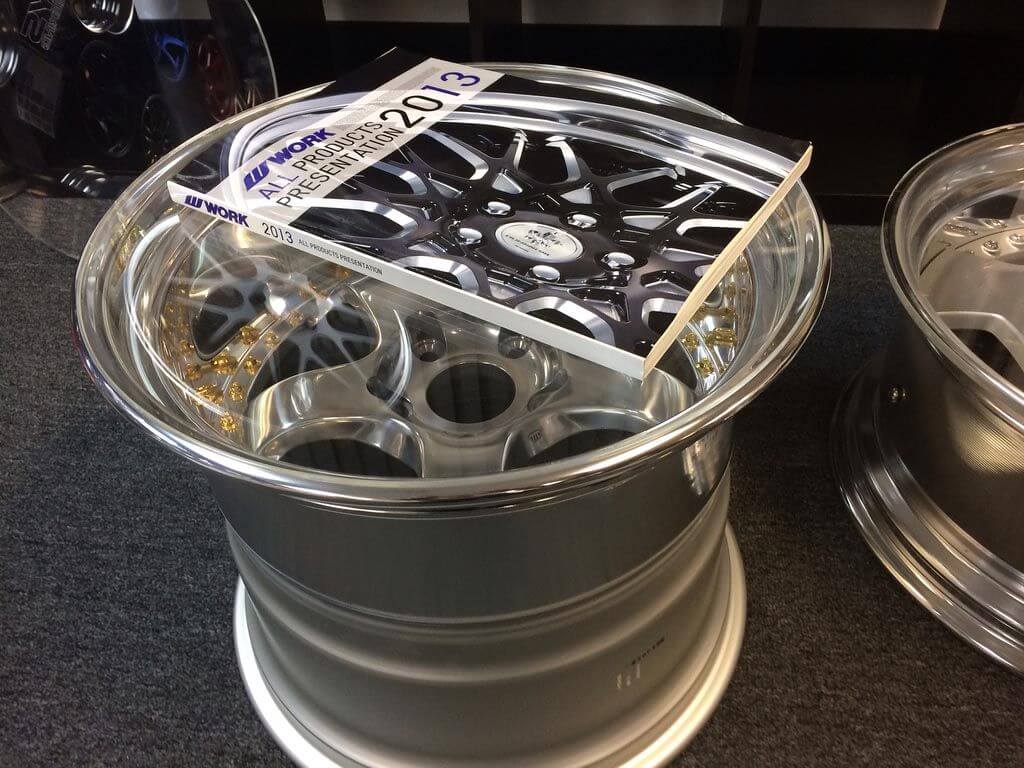
How about having a cup of coffee or breakfast in a garage-style atmosphere? If you are planning to start your day with brand new experience, then check-on the car rims coffee table that is currently in trend. This type of car furniture always adds an aesthetic look and a gunge style to your home decor. Most of these car rims coffee table are available at various designs and within an affordable price range. So, it’s always fun to add this exhilarating car rims coffee table as it gives a more of a subtle look to the overall home ambience. Moreover, this type of car furniture is also high in trend in the cafeteria and restaurant and is always a perfect piece of furniture for a car-themed restaurant.
Long Hood Style Sofa
Do you remember those retro-style muscle cars that make their way to the Gran Turismo? Those long hooded car may have found their places in the high-esteemed garages but never fail to inspire new minds. It’s has widened the scope of creativity and brought back the retro style by implementing and customising this style of design in car furniture. You can now opt for the various design of long hood style sofa that is currently in trend. This type of car furniture can add an elegant look to your home as it is crafted in a retro style.
Experience a New Design Trend
Innovation and creativity always bring something new each day for the present generation to explore, and car furniture is currently in trend. This type of furniture not only inspire the current generation to look back at the past but also create a nostalgic feeling for cars that are now part of your furniture design.
Read more:-