If you’re passionate about cooking and want a kitchen that’s both functional and stylish, a copper range hood could be the perfect upgrade. Not only does it add a striking focal point to your space, but it also helps remove unwanted odors, smoke, and grease, keeping your kitchen fresh and inviting. Whether you’re browsing the latest World CopperSmith designs or simply curious about pricing and features, this guide covers everything you need to know about copper range hoods, from costs and essential features to smart shopping tips.
What Is a Copper Range Hoo
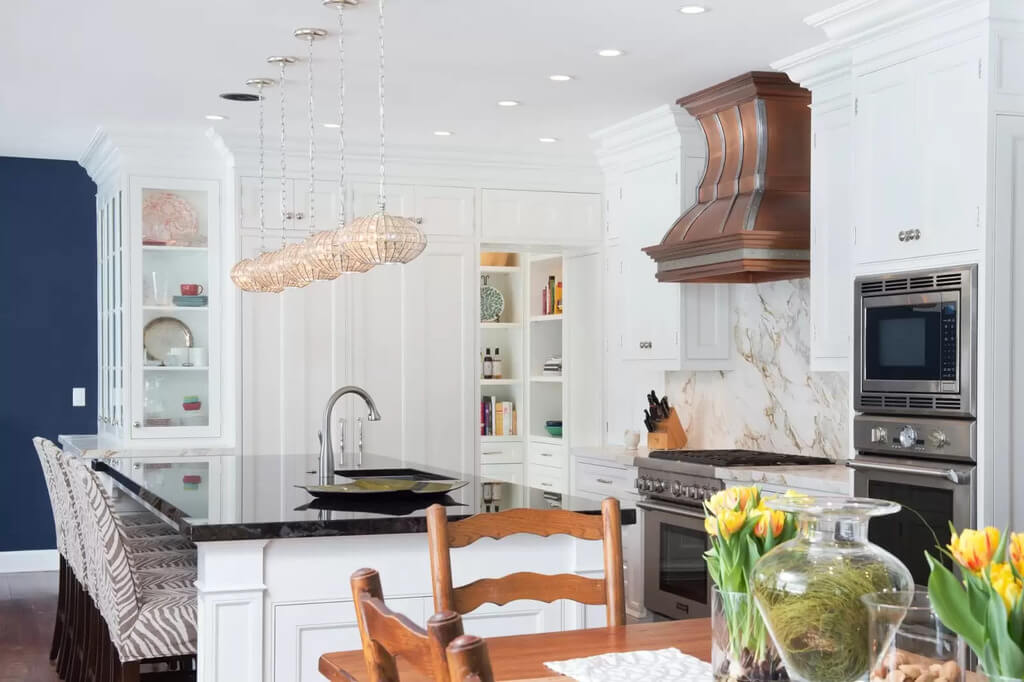
There is a ducted fan that mounts above a stovetop. Its purpose is to remove cooking smells and smoke from the air safely. It does this with an extraction fan that can be set to different speeds.
This fan can be ducted out through a wall or the ceiling.
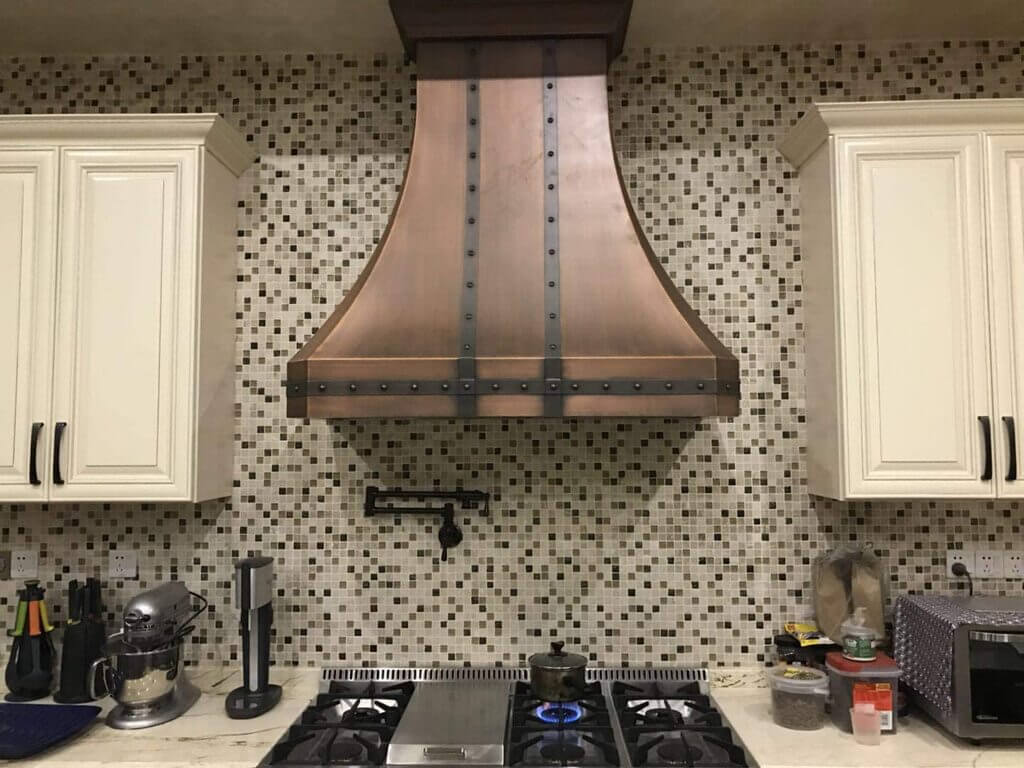
These are unique in that they’re made from copper. This is a material that has been used in household goods for thousands of years until today because of its versatility and durability. It’s still commonplace today for certain kitchen items and appliances, and a Coppersmith stove hood will often be made from the material if purchasing from this brand.
What Is the Cost of a Copper Range Hood
This is a very common question, and there’s no one-size-fits-all answer. The price of a range hood will vary depending on the model you choose and its features.
These have a few standard features on almost all models. These features include a ducted fan, an extraction fan, and filters. But range hoods with more features like LED kitchen lights, remote controls, sensor controls, built-in fans, and built-in filters can drive up the price. However, more features mean more convenience, so it’s worthwhile in the long run.
The size of the range hood will also play a part. Smaller-sized range hoods can cost between $500 and $1,000, while larger models can cost anywhere from $1,000 to $2,000.
Remember that it requires a little extra maintenance, so you might want to budget some extra money to hire someone to clean them occasionally.
Note that the price of these is not just the cost of the hood itself. You will also have to account for installation, as well as any other necessary accessories such as bulbs or venting. So, while you may pay $1,000 for that, you may have to budget a few hundred more for installation and accessories.
Essential Features to Look for When Shopping for a Copper Range Hood
The look of your hood may be vital to you, but it shouldn’t be the only thing you consider when shopping. You also need to look at the features.
A hood’s features set one model apart from another and will determine how effective a hood will be in organizing your kitchen. However, as pointed out earlier, the more features a hood has, the more it’ll cost.
Some of the features you should look out for include:
Ease of Cleaning
These are beautiful and timeless, but they’re not necessarily easy to clean. Make sure the hood you choose has a design that will make it easy for you to clean every part of it thoroughly.
Fan Power
The fan more powerful your range hood’s fan, the less noise it will make. You can expect most copper range hoods to come with a powerful fan, but it never hurts to do a little research.
Warranty
No matter what type of these you choose, it’s a good idea to ensure it comes with a warranty. This will protect you if anything goes wrong with your hood, covering any repairs or replacements.
The Hood’s Material
These are popular because they look beautiful and are unique. Still, you want to ensure the hood you choose is durable enough to last for years.
Energy Efficiency
These can be energy efficient, but some are more efficient than others. Make sure the kitchen hood you choose is both beautiful and energy-efficient. Check whether the hood you choose is intended for use with either an electric or gas range. If you choose one that uses electric ranges, ensure you have the appropriate wiring.
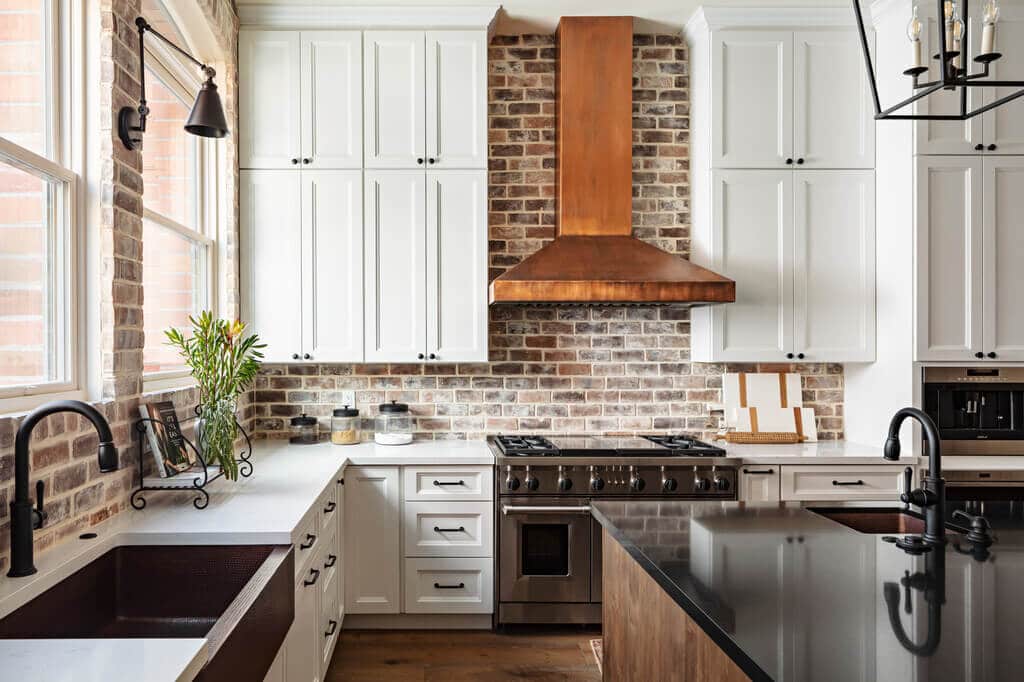
Size of the Hood
Make sure that you choose a hood that is appropriate for your available space. The last thing you want is to spend thousands of dollars on something that can’t fit.
How to Save on a Copper Range Hood
There are a few ways you can save money on it. Here are a few things to remember if you want to save money on this purchase:
Buy Used
While this isn’t always recommended, buying a used range hood has advantages. You can often find a high-quality used hood for less than you might pay for a new one.
Ask your local hardware store to see if anyone has an old one they are trying to get rid of. You can also try shopping online at sites like eBay, Craigslist, or Amazon.
Note, however, that you may have to replace parts if you buy a used hood. This is especially important if you buy a used hood with a catalytic converter.
Do Your Homework
Before you buy a copper range hood, make sure you do your research. Read reviews of different brands, and talk to friends who’ve bought range hoods. This will help you find the fitting hood for your home and your budget.
Ask for a Discount
These are expensive appliances, and it’s not uncommon to get a discount if you buy one. Before you buy, ask if there are any promotions or discounts available.
Things to Know Before You Buy
If you are considering buying a these, you should know:
- They require a bit more TLC than your average hood.
- Copper hoods are heavier than your average hood, so ensure you have the appropriate supports in your wall.
- The location of your gas line before you buy a hood. You don’t want to buy a hood only to find out it won’t work because the gas line is in the wrong place.
- How big the range hood you want is before you buy it. Not all hoods are standard sizes, and not all hoods will fit in your kitchen. Make sure you get the measurements of the hood you want before you buy it.
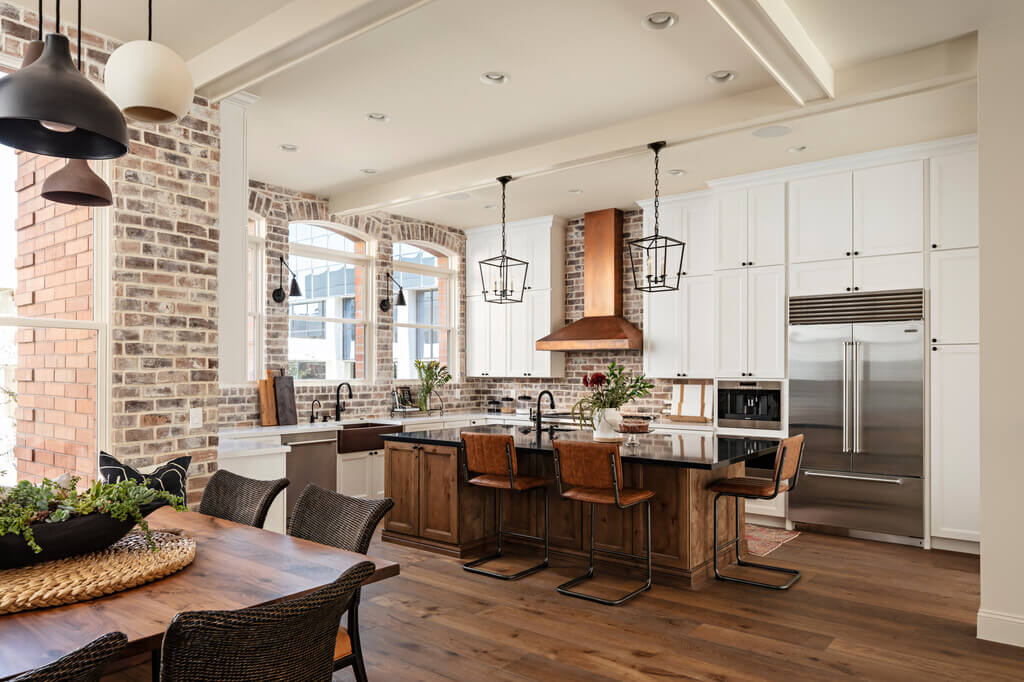
In Conclusion
Copper range hoods are a great way to add style and function to your kitchen. They’re a unique and beautiful addition to any home and help keep your kitchen clean and safe. If you’re in the market for it, keep the information in this article in mind. Doing so will help you find the fitting hood for your home and your budget.
Explore More