Do you have a house in a loft-style and want the doors that will maintain the overall style? Perhaps you are someone who loves functional designs and can’t wait to buy the perfect model for your home. Does that sound like you? You have come to the right place!
From French and rustic to modern designs, interior barn doors come in various designs and configurations. If you want to find the right key to your lock, keep reading!
What to Consider First of All Before Buying a Barn Door?
Barn constructions are used not only in farmhouses with a barnyard. Before we even jump into the different kinds of doors you can invest in; there are various factors to consider. If you want the best option for your house, then keep in mind these few key pointers and tips before selecting your perfect interior barn door:
- An essential thing while choosing the perfect barn door is figuring out its placement. Do you want to glam up your home doorways, or you’re looking for something simple? Having a sliding door is fantastic for tight rooms. That includes spaces at home like the closet, pantry or even bathroom!
- The number of slabs. Another thing to consider is whether you are going to choose a barn model with a single slab or one with a double. The more common one between these two is the single option. “Why is that?” you might be wondering. Well, it is because such interior doors can fit into any small space and don’t require as much room to be installed. Figure out your current living situation and decide accordingly.
- Finish. This is the part where you can showcase your personality. There are various coatings you can pick up from. These include an untreated finish, a stained barn door, a primed finish or a painted slab for a fun and jazzy look.
- Design and Aesthetics. There are various designs of such doors on the market. Barn doors typically come in flush, paneled, and glass clean or frosted designs. Aim for a look that matches your preference. Flush barn doors appear smooth and flat. So, if you prefer a sleek look, these doors can prove suitable.
- Hardware Requirement. To install a barn door, you need durable and appropriate hardware. Rollers and special tracks are the most common barn door accessories. Hence, consider models that are easily compatible with such hardware. Choosing an all-inclusive barn door kit can prove to be a smart option to minimize any installation hassle.
- Door Core. There are two basic types of cores in these interior doors — solid and hollow. The former is heavy, more durable, but expensive. If safety is your number one priority, opt for barn doors with a solid or solid wood core. Hollow doors, on the other hand, are lightweight and less costly. You can use them as closet doors or in an interior setting: select the core style depending on your location of installation.
Benefits of Sliding Barn Doors
Sliding barn doors for sale offer more than just aesthetics. You can notice these advantages after deciding to buy a suitable barn door for your lovely house.
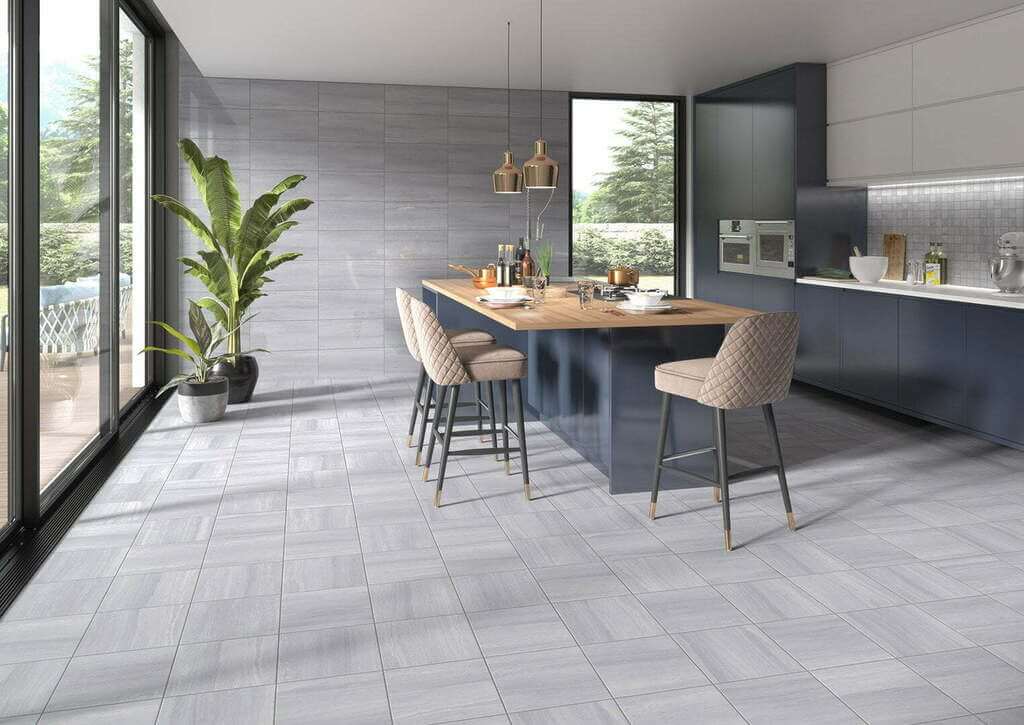
More Space
Unlike conventional swinging doors, these units save considerable space. They do not need extra room to open — you have an entire doorway to use. If you live in small apartments, barn doors can prove exceptionally ergonomic. As the installation is adjacent to the wall, you end up saving valuable floor space. So, this advantage is the highlight of buying single or double sliding doors.
High Versatility
Single or double, flat or with panels, barn doors for sale offer multiple choices. They fit any doorway with ease. Single barn doors are more simple options to consider. On the contrary, double sliding barn doors allow more flexibility. You can open the doorway on either side as per requirement.
Also, the variety of designs adds to the versatile style element of these doors. You can choose these units according to your preference.
Ease in Installation
You do not always need a professional to install barn construction. Unlike swinging units, these items minimize the requirement for accurate measurements.
In addition, you can easily replace barn doors with a new unit. This way, adding a new style to your interior becomes convenient.
Barn Doors for Different Interior Styles
The previous list is just the tip of the iceberg. Now you have a good idea about what to choose when looking for the perfect single or double barn door. It’s time to settle on the overall style and design of your home. Here’s a list of barn doors that will take your interior design game from zero to a hundred.
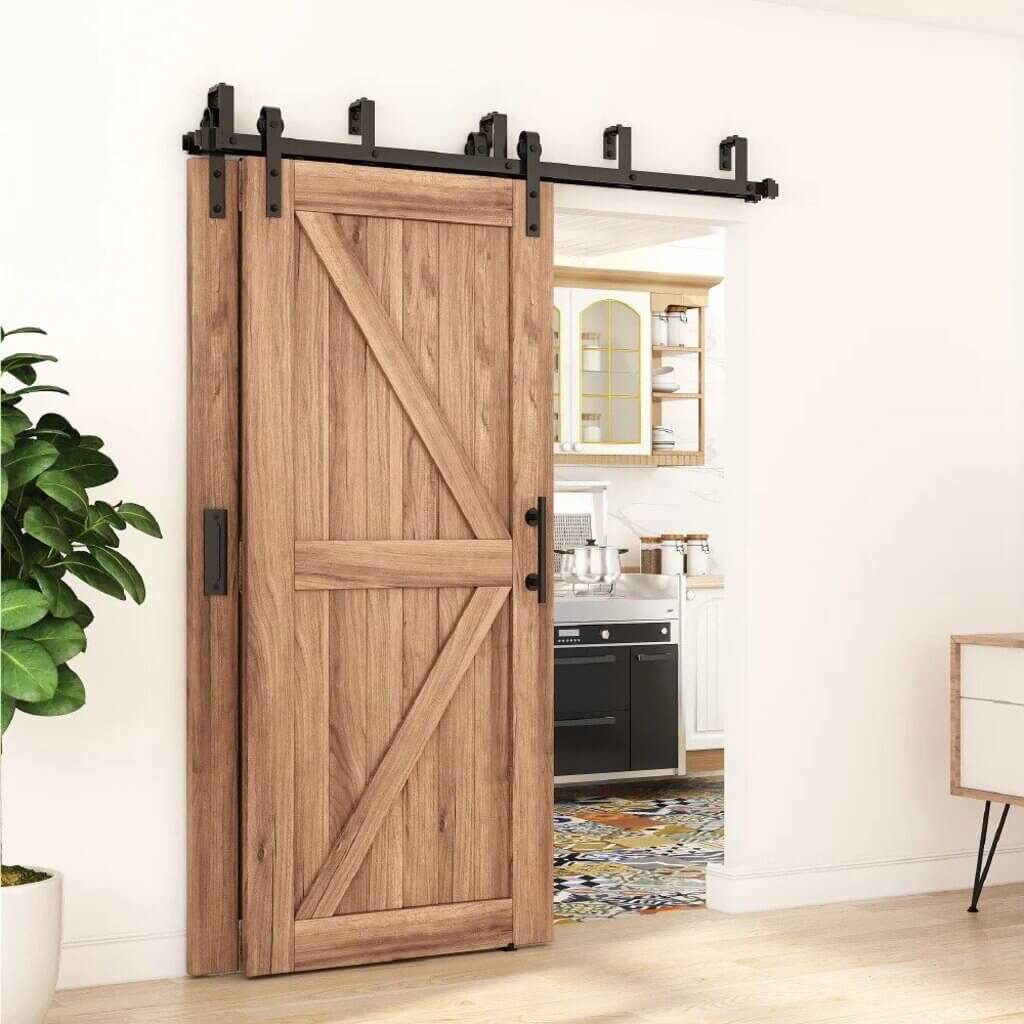
Sliding Interior Barn Doors
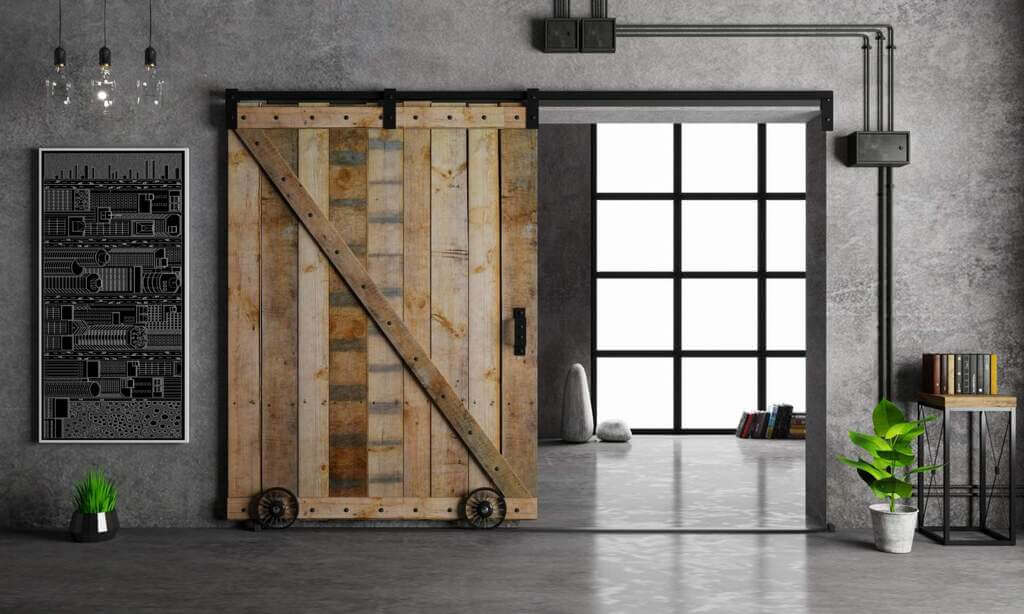
Barn models are becoming more and more popular not only with farmhouse owners but also with city dwellers. This type of door is the easiest to install anywhere inside your house. In addition to this, they come in various materials, including wood and even metal.
If you want to stray away from traditional decorative doors, then this one is the perfect solution. A sliding slab opens and closes by gliding along the tracks, and it neatly stands against the wall it is installed on.
Interior Barn Doors with Glass
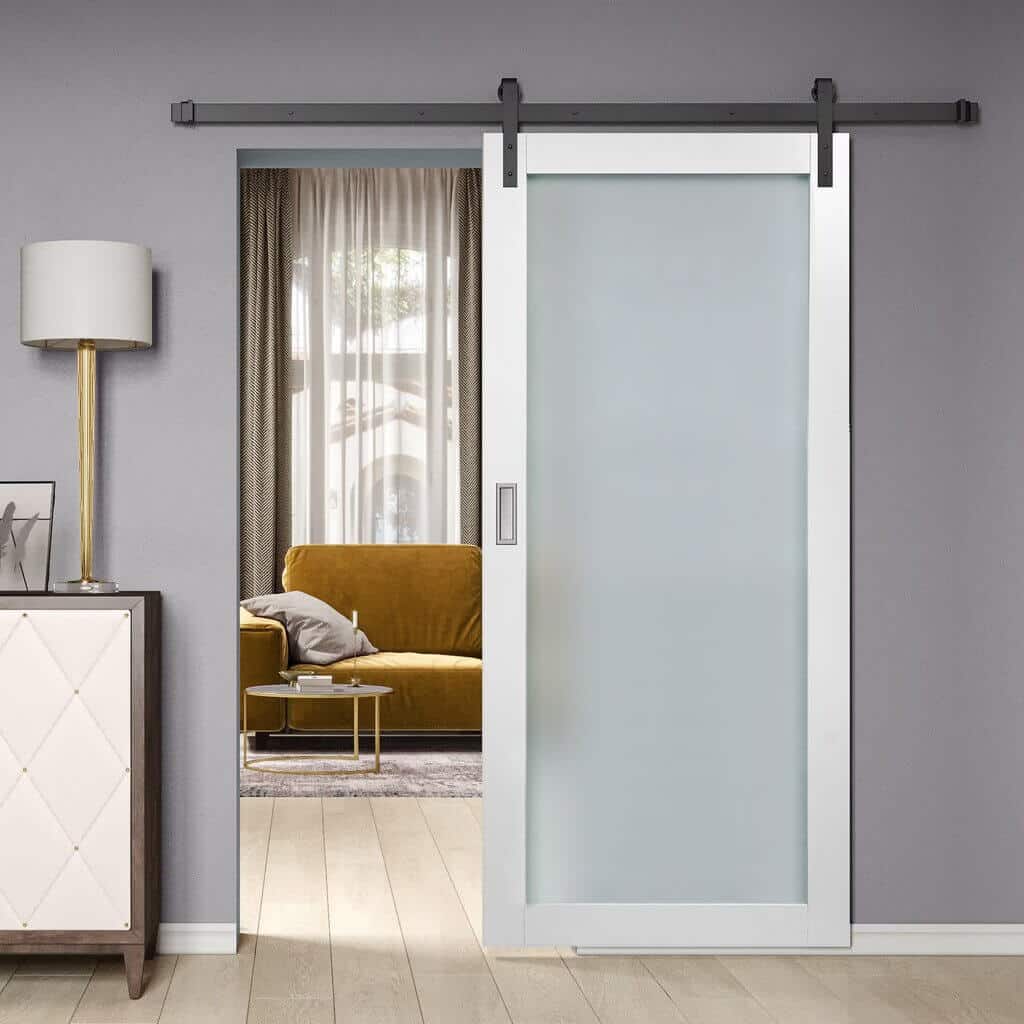
If you want to give a modern and chic view to your home, you should buy an interior barn model with glass. Due to the transparent or frosted inserts, sunlight can easily come into the room and provide a fresh and airy feel. Furthermore, you can use these doors to visually join two rooms together.
A really excellent example of this would be to join the master bedroom and the bathroom. You can choose matte frosted glass if you need more privacy and clear glass if that doesn’t really concern you much.
Interior Barn Doors with Frosted Glass
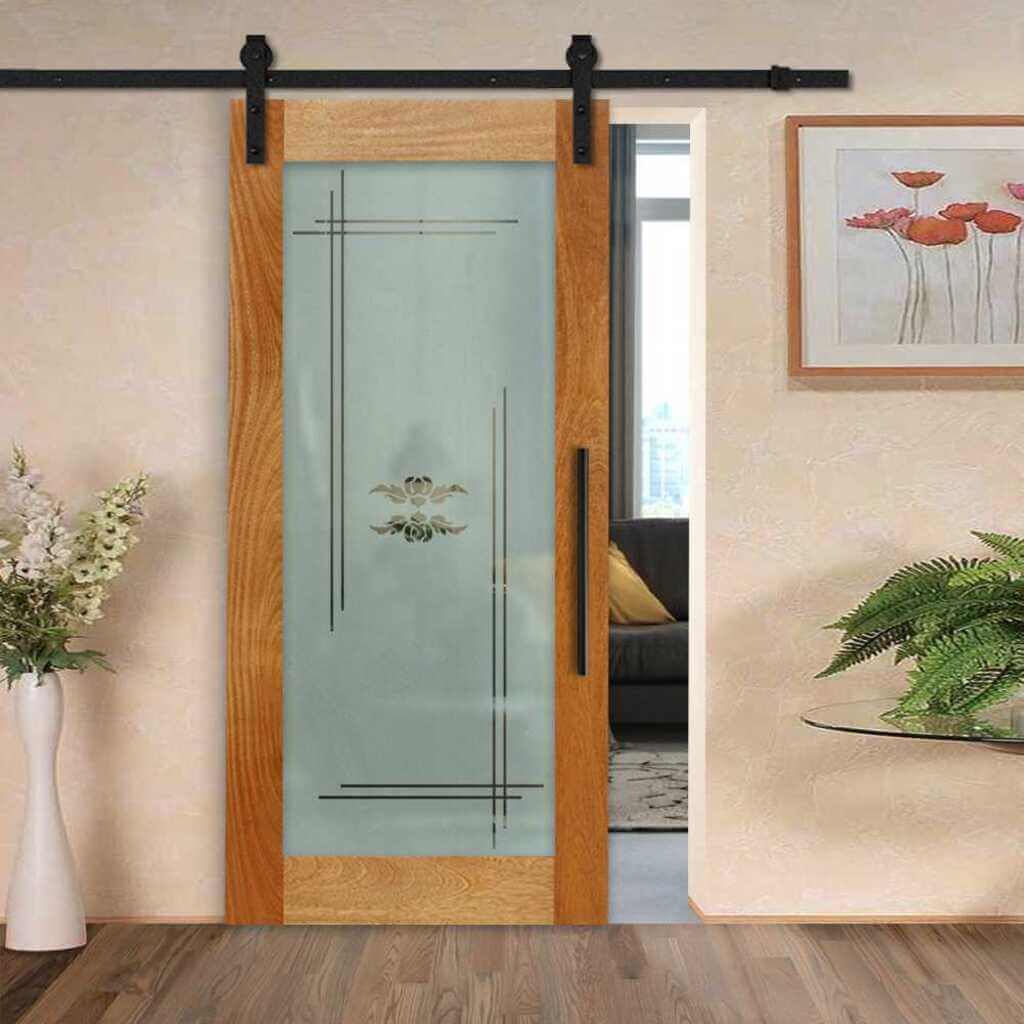
You can opt for a fogged or frosted sliding door which can act as a movable partition in your rooms. Generally, frosted glass gives a very rustic and sleek look. Moreover, if you’re looking for complete privacy, investing in slabs with frosted glass panels would be your best bet. That way, you can benefit from more light and a sense of privacy. A win-win situation!
Interior Sliding Glass Barn Doors
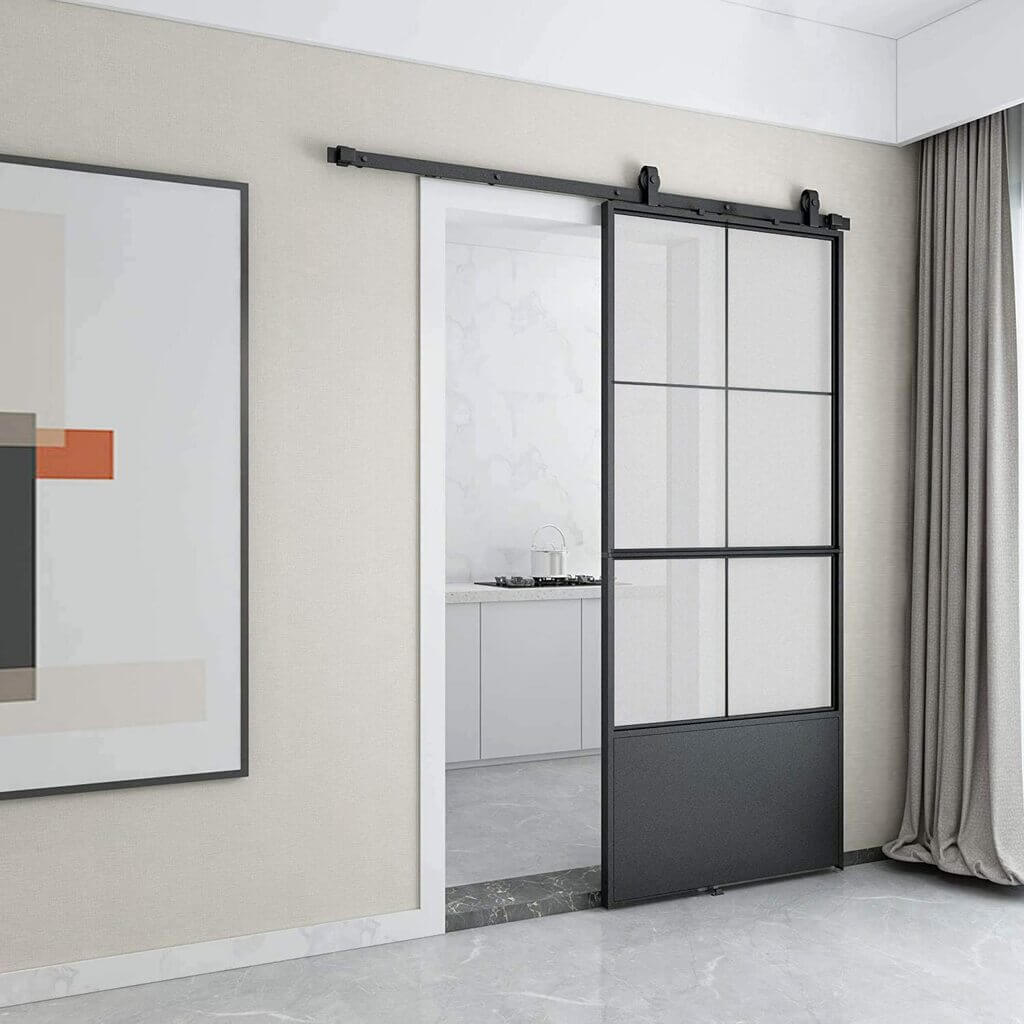
These models allow for the clear transmission of light into your house. They are made using safe tempered glass generally, as the chance of them breaking would be higher than a door made of other materials.
Interior Double Barn Doors
You get a double configuration when you install two slabs in tandem. If the doorway in your home is very wide, you should opt for an interior double model. Wide doorways look great and are comfortable in everyday life. They are very functional and also ensure complete privacy.
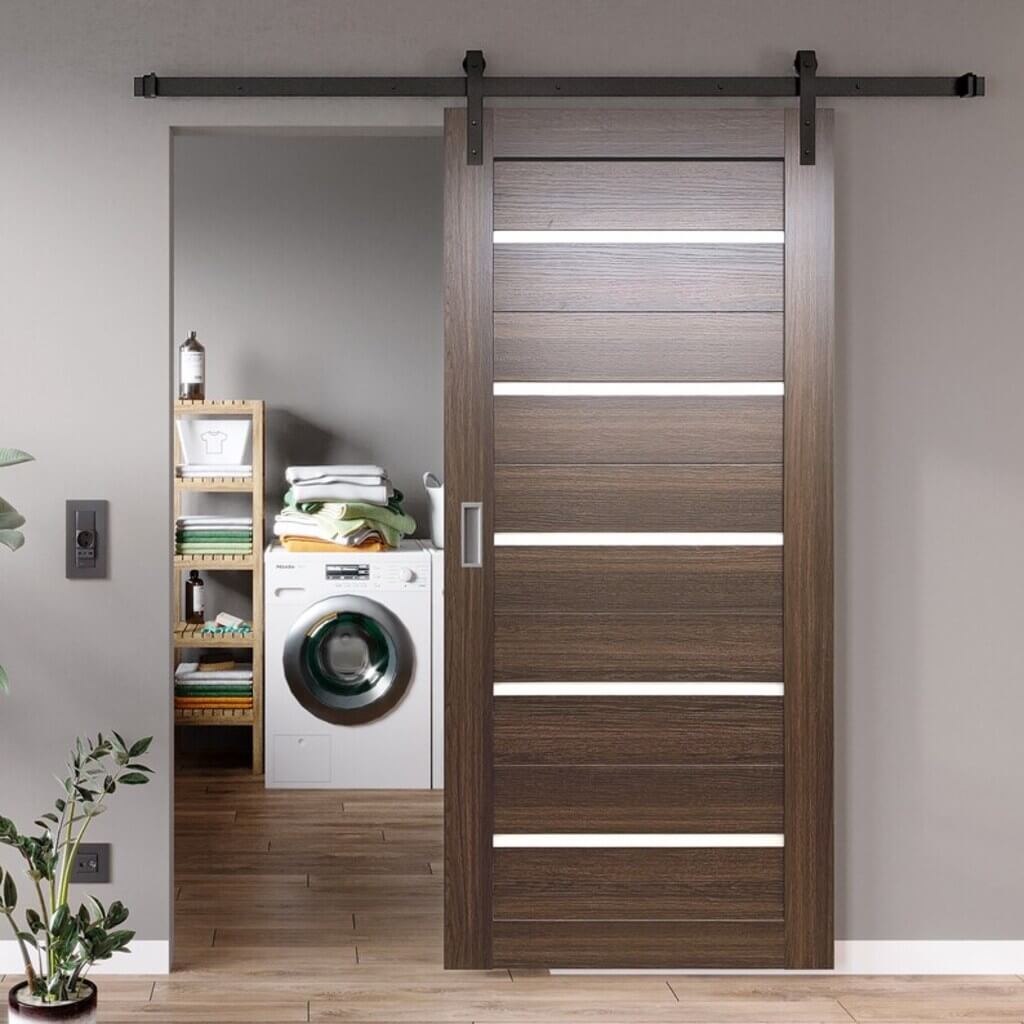
Double Sliding Interior Barn Doors
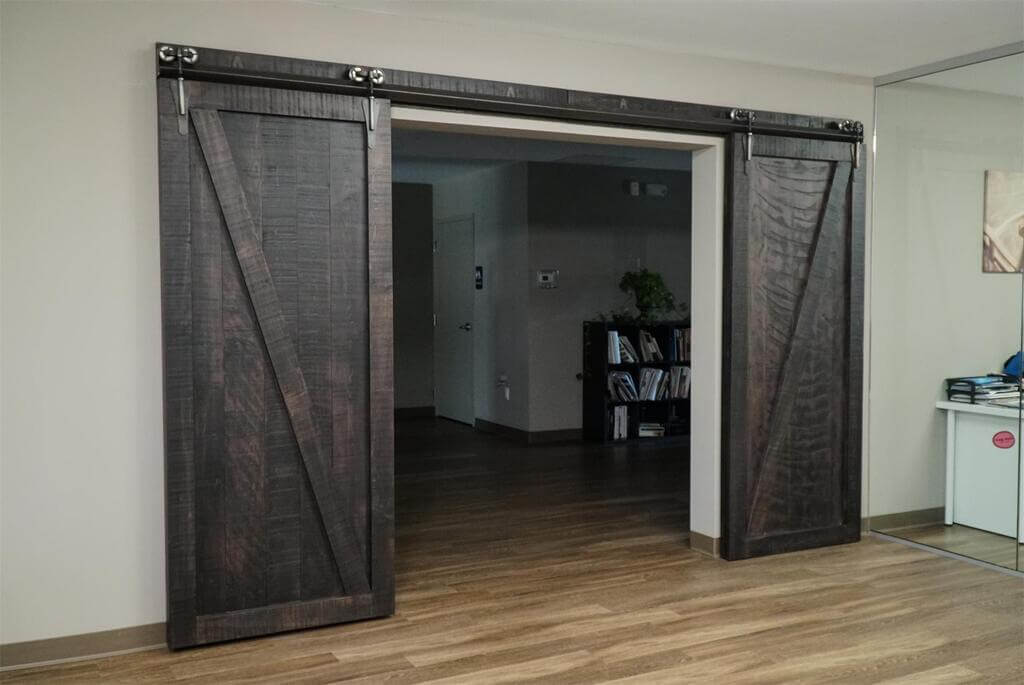
These types of gliding constructions are unlike traditional swinging open ones. You can use them in various spaces, including your pantry, laundry, mudroom, or even on the patio. Such configuration looks especially impressive when the owner simultaneously opens both slabs in front of the guests.
Barn Doors Hardware
There are so many details that go into barn door hardware that a dedicated section is in order. Firstly, you should know that when you choose the hardware, you will have complete control over the final design of the door. That means you will get precisely what you want.
It becomes crucial that you have a good idea about all the components and pieces that go into the hardware kit. Here’s everything you need to know about hardware to make the best decision for yourself.
Track
That is an essential part of the hardware required for such construction. A slab hangs from it. Therefore, you need to install it precisely above the doorway. The good thing is you can extend the tracks as much as you need. There are various types of tracks to choose from as well. You can customize the length and finish and decide upon the best one for you.
Roller
The next door part you need to keep in mind is that of a roller. What does that do? It helps the slab function the right way it is supposed to, for starters. That means a roller will slide your slab along the track when you open and close it. In addition to this, the roller will make sure that the leaf doesn’t simply fly off the track. It stops when it is at the end of it.
Hardware Kits
The next thing you need to know is about hardware kits. As the name suggests, this kit has all the hardware you need in a single place. Do you need nuts, screws, tracks, and rollers immediately? Well, buy a complete kit, and you will have all of those at your fingertips!
Hence, this is the best thing to invest in as a DIY lover. You can essentially fix whatever is required or build whatever is required in a barn door yourself with a hardware kit. However, make sure you know the suitable kit to buy for your door!
Handle or Pull
How are you going to open or close your door? With a handle or pull, of course! The more popular option is the handle. However, generally, handles come in big and bulky designs, so you can easily open and close the slab.
But you can indeed find minimal and chic designs on the market. Go check out sales online for a steal deal!
Read More:-