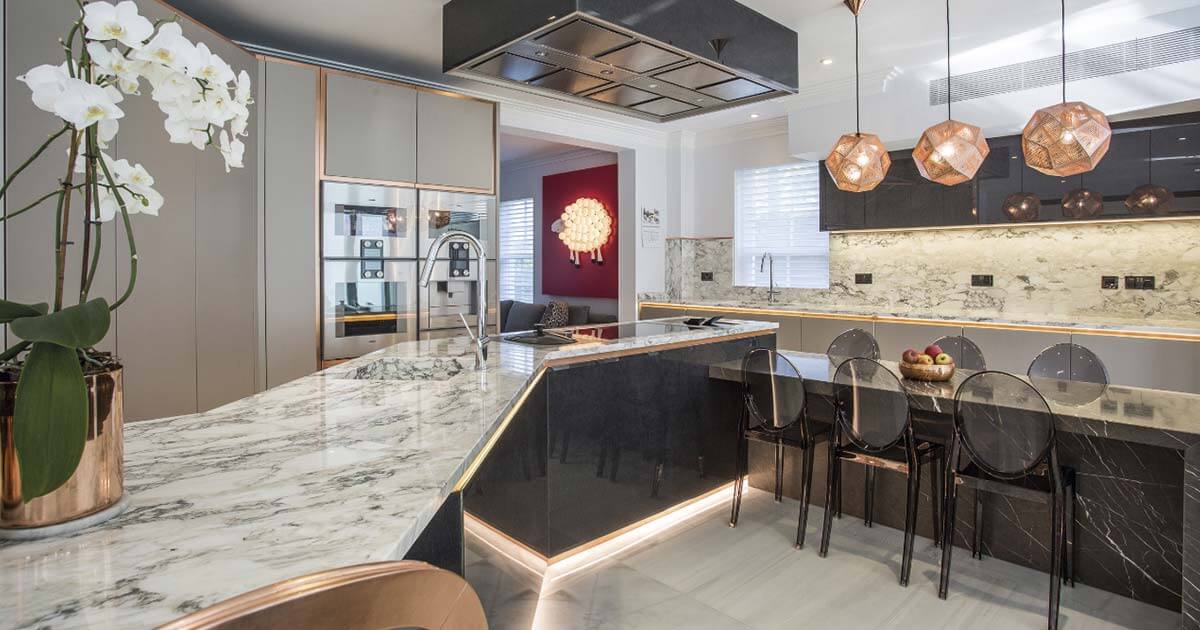
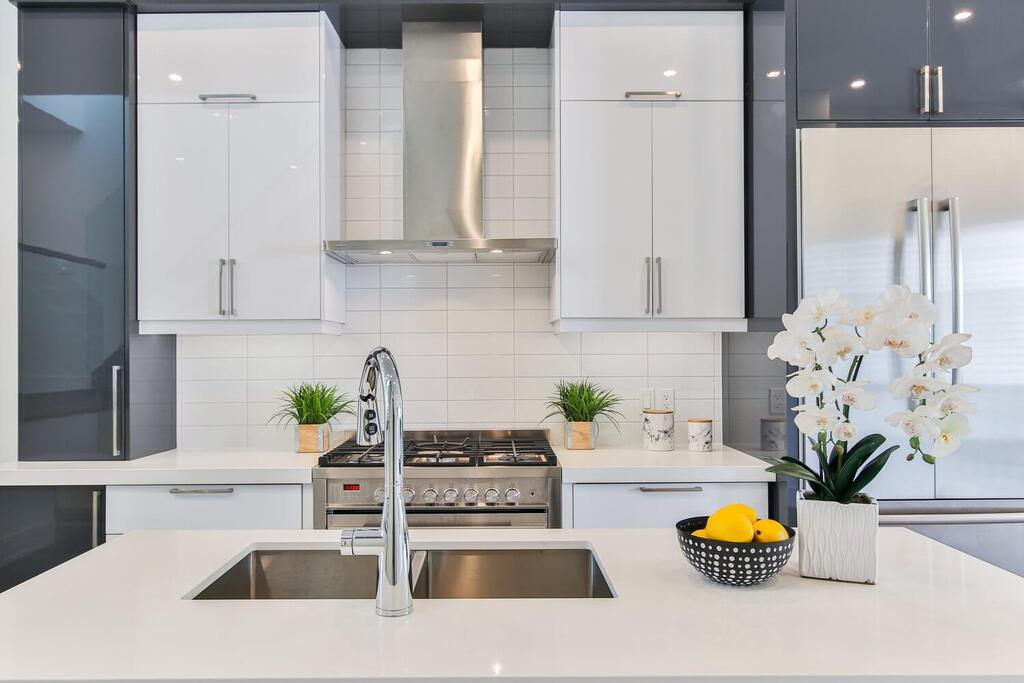
A kitchen is a place where people spend a lot of time. You not only prepare and eat food there, but you also talk, solve family problems, or just enjoy your morning coffee. That is why this room should always be clean, comfortable, and functional. However, not everyone can afford expensive repairs from a famous designer. Repairing a kitchen is a serious job that takes time, creates inconvenience, and is often a considerable expense in the family budget. In the case of a limited budget, there is a way out. You can still make your dream and stylish kitchens in Surrey without spending a large amount of money. To ensure a long-lasting and satisfactory result, we offer you some good tips on how to get the best quality for a good price.
Research the market and prices of designing a stylish kitchen on a budget
The first advice to you is not to rush with the choice of furniture and company that will make the interior design of your kitchen. Take a look at the offers and research the market. Make your choice according to your budget and needs. Find out exactly what you want and whether you have the opportunity to do it. It depends not only on your budget but also on the size of the room, the type of flooring on it, and a bunch of other details.
You can try to make a realistic account of the funds needed to carry out this activity. Round off the amount at the top and keep in mind that extraordinary expenses can always occur. Start by researching the prices in your area and ask for offers from several companies to find out the prices.
But above all, think and choose a reliable company that will offer you the finest unique styles to renew your kitchen. It is important to consult with professionals from an established company that will take care of the renovation of the room.
It is considered normal to spend about 5 percent of the total value of your home for a new kitchen. This way you will not lose money if you decide to sell the house. As the lowest amount, you can expect to pay around £ 3,000 for a quality medium size kitchen. Keep in mind that you should pay extra for worktops, appliances, and installation.
A flat-pack kitchen might be more affordable
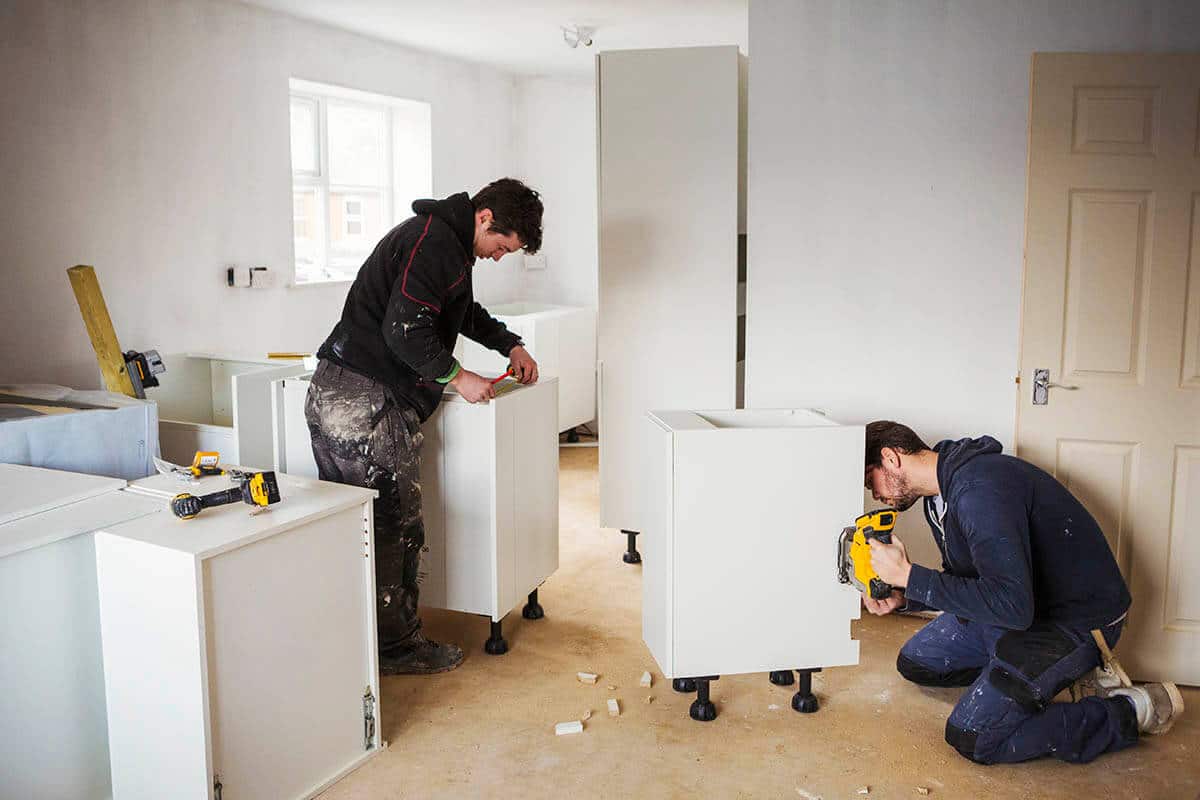
It is important to choose the right type of kitchen. There are different qualities of kitchens that will cost you different amounts of money. You need to know what quality you are looking at so you don’t overpay. There is also a huge difference in the cost you can expect to pay to get your cupboards. A flat-pack kitchen is a DIY type of kitchen. Cabinets are modules as you can choose the components to create the perfect kitchen for your space. For a flat-pack kitchen, you can expect to pay between 2000 and 5000 pounds. These kitchens are delivered to your house usually on assemble inboxes.
The good thing is that you can improve the end product by employing an innovative designer who can utilize the small number of kitchen cabinets that are available in the flat-pack range to get at least create some level of individuality for your kitchen design. And the important thing here is to make sure you’ve got a quality fitter because if anything it spits out of level your flat pack kitchen could literally just fall apart.
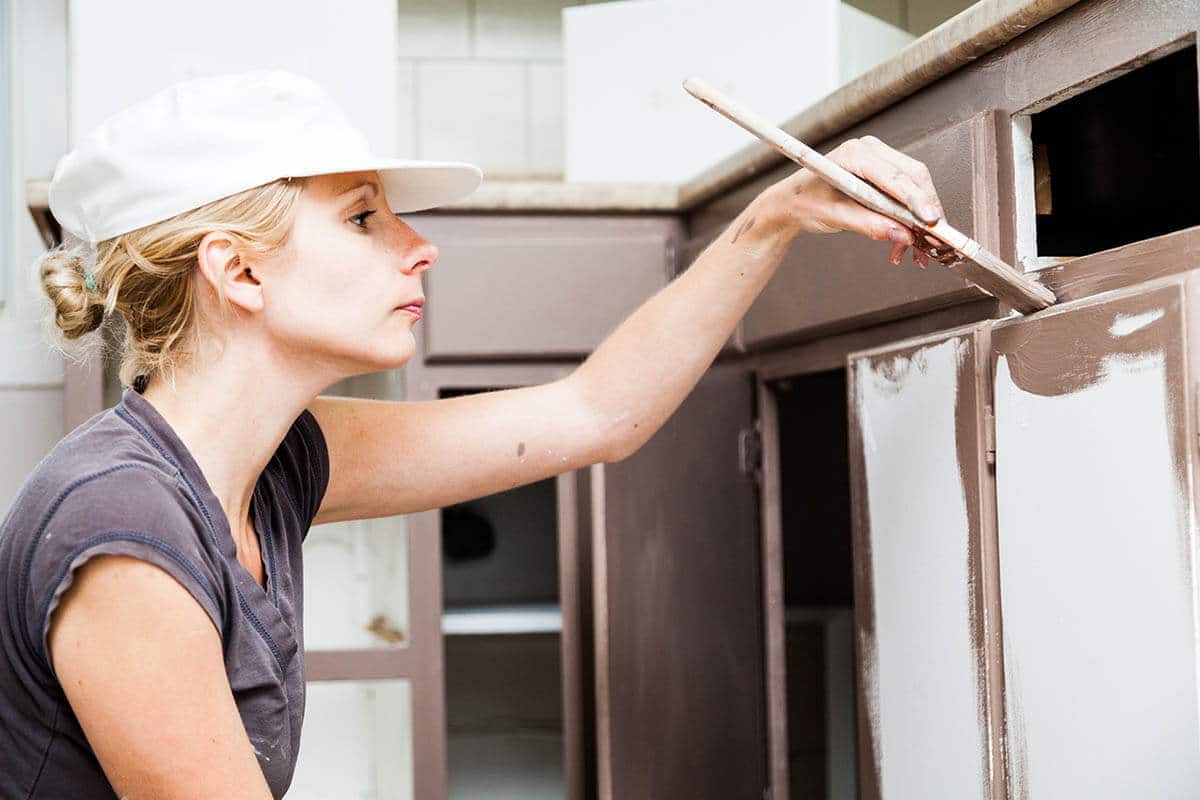
Buy affordable off-the-shelf carcasses and upgrade the doors
Do you want a kitchen on a budget with a solid wood finish? Maybe we have a solution for you. You can buy cheap off-the-shelf carcasses and then get a joiner to make solid wood front doors. This is the perfect way to create the look of a more expensive in-frame design at an affordable price. You can add some nice handles or a modern sink to finish your stylish kitchen.
If you decide to renovate your kitchen this way it may cost you around 5000 pounds which is pretty good.
Think about an ex-display budget kitchen
Do you want to save more for a top-quality kitchen? An ex-display kitchen can be a really good bargain as you can save 60 % on it. The original kitchen would have cost tens of thousands of pounds. These kitchens are new and the fact that they have been on display in the store and perhaps used to some extent does not make them of lower quality. In addition, everything on them is already assembled and ready, and in case you have taken the right measures, the kitchen can simply slide into place. But keep in mind that it is always better to hire a kitchen fitter in Surrey like Ace Kitchens to make sure that everything will be as you want.
Мix the budget kitchen with expensive pieces
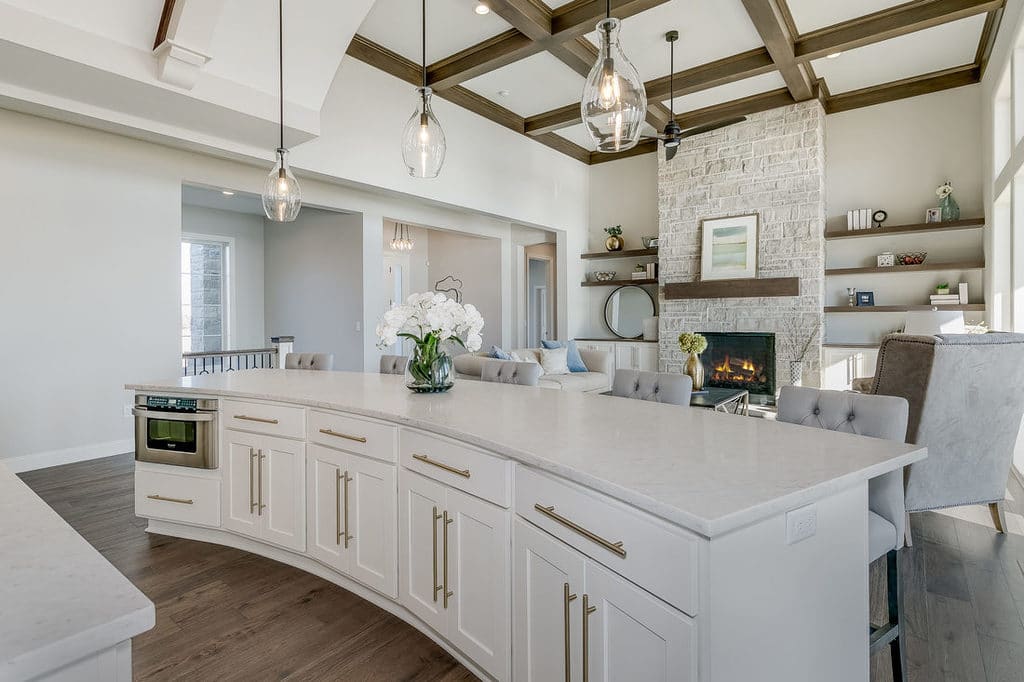
Mixing expensive with cheap materials can significantly change the look of your kitchen. For example, if you opt for an expensive high-quality worktop and affordable cabinets you can make your budget kitchen look expensive. Another option is to match striking accessories such as handles or sink faucet with a flat-pack kitchen. When you mix and match more unusual pieces with simple units your kitchen won’t look mass-produced. You can also choose the luxurious colour palette and play with texture – these work best and give a really stylish appearance. Choose two or three very close colours and then create visual interest by incorporating lots of texture in a room as your accent. You may add glass doors to your cabinets or consider a nice open shelf where to put your best items forward.
Pick kitchen worktops on a budget
Worktops are normally one of the most costly things you are going to buy but you are going to use them every day so it is really important to get the choice right.
The budget will ask you to choose laminate worktops for your kitchen. If you consider buying laminate make sure you choose a good dept. Keep in mind that you may order solid oak worktops online for around 100 – 150 pounds per 3m run.
If you are replacing only your worktops without repairing all off the kitchen you definitely will want to consider buying a granite work surface.
Buy an affordable but chic kitchen sink
There are three basic types of sink material – metals, porcelain, and composite stone. The metals are materials like stainless steel and one of the cheapest options. These types of sinks are also easy to clean. Porcelains could be a porcelain-enamelled cast iron sink or a fire clay sink. Composite stone sinks have an interesting design and they can withstand high temperatures. These are definitely a good investment but also expensive.
When it comes to budget kitchen stainless steel sinks can be a very good option. They reminiscent of commercial kitchen and they look professional. Also, stainless still will never crack, it will never chip, it will never fade or rust especially if it is a good quality stainless – something like an 18 or a 16 gauge, or something with high nickel content. However, it is a beautiful material but you’ve got to know that something that beautiful needs maintenance.
Choose a good flooring for your budget kitchen
Floors are often an expensive project due to the materials and labour used, but today there are many opportunities for low-cost flooring projects. If you want a nice floor for your kitchen on a budget, it is really worth looking over vinyl flooring design or laminate flooring. Browse the styles and colours of vinyl tiles to find something you like. Today’s vinyl tiles are affordable and they can even mimic more expensive surfaces. This makes them a perfect choice when you are looking for a high-quality appearance for your budget kitchen.
Choose inexpensive but nice tiles for your budget kitchen
Tiles have a great impact on the kitchen as they cover a large part of the wall. You don’t need to spend a tone of money for tiles, but when you choose nice and splashbacks with an interesting design you will lift the look of a budget kitchen.
To make the walls look modern, you can also think about bright colours. Such options will help you create a special mood and revive the room. In addition, the interior can include various types of beautiful accessories: pictures, family photos, plates, beautiful patterns on a tablecloth or napkin.
To fix a small kitchen, it is worth using the ideas of gentle tones and a light palette. Thanks to the light shade, the narrow kitchen will visually look bigger. In this case, an excellent option would be to use a restrained pragmatic style that includes simple, straightforward patterns and a simple range. Furniture of the same colour will help to complement the colour scheme.
Today, the idea of using ceramic tiles for a splashback is very popular. The market presents a huge abundance and many variations in the use of this material.
Don’t buy cheap kitchen appliances
Renovating a kitchen and furniture is quite expensive, whether you are repairing yourself or hiring a professional, but don’t try to save money by buying lower quality appliances. Instead, try to shop smarter. When it comes to kitchen appliances you can always find deals going on. Keep an eye out on deals and sales of the stores.
Replace the lamps
Light plays a big role in the look of the rooms. Replace the lamps and you will significantly change the look in the kitchen. We recommend that you choose something more unusual, and preferably handmade.
Do not refuse the help of a professional designer for your budget kitchen. Enthusiasts may be tempted to use their skills and creativity to make the kitchen redesign completely independent. But as anyone who has been renovated will tell you, the world of experts is always useful. The professional can help you refine your plan and offer you tips that can save you from buying ineffective products and materials or choosing a design that does not meet your needs.
Discover More: