Roofs are the silent protectors that protect us from rain, wind, and occasional stray birds
They are, however, more than simply functional necessities; they have the ability to convert a simple dwelling into a fascinating masterpiece or architectural marvel. But what matters most is the type of roofs that suit the personalities living beneath them, the climate around them as well the aesthetic appeal of the house.
Whether you prefer modern simplicity, classic elegance, or sustainable living, there’s a perfect roof type for you. Roofing should not only be practical but also stylish.
This blog will guide you through various roof types, highlighting their unique features, advantages, and functionality.
5 Key Factors that Affect Different Types of Roofs
1. Climate
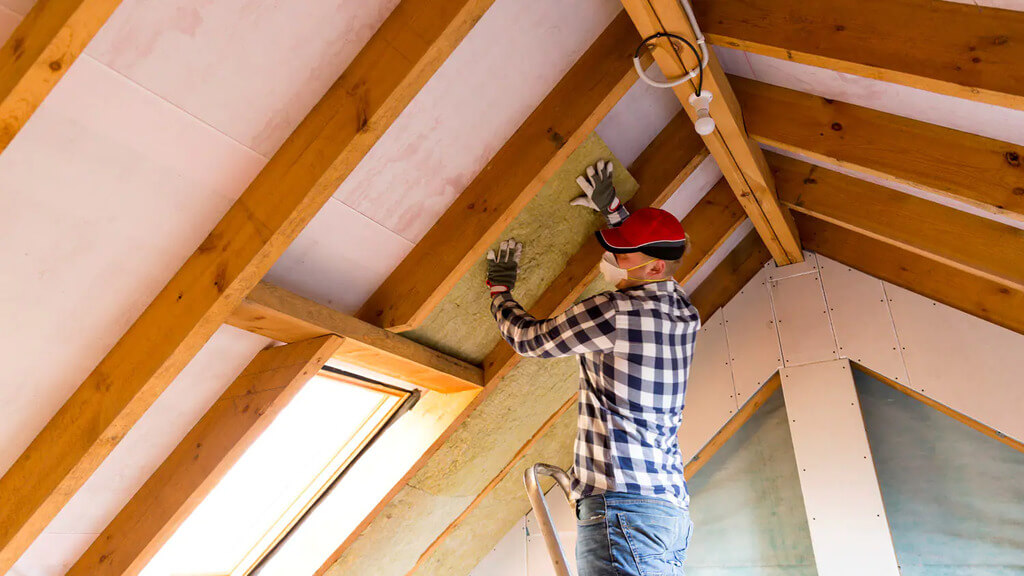
The temperature and weather conditions of a place have a considerable influence on most roof designs. Roofs with steeper pitches and good drainage systems are desirable in places with significant rainfall or snowfall to minimize water accumulation and potential damage.
Roofs with higher wind resistance and reliable fastening mechanisms are necessary for areas prone to high winds or storms. Understanding local climatic patterns is critical for choosing a roof that can survive the weather conditions it will experience. You can see home roof designs.
2. Budget Considerations
When it comes to selecting a roof shape, the cost is usually a deciding parameter. Roof types differ in terms of cost, installation, and long-term maintenance requirements. It’s similar to looking for the ideal outfit—you want it to look great without breaking the wallet. It is critical to strike a balance between the roof of your dreams and your economic realities.
Pro Tip: Before making a final decision on your roof type, consult with a professional roofing contractor or architect. They can provide valuable insights and recommendations based on your specific needs, budget, and local regulations. These are the best house roofs design.
3. Durability:
Considering the roof’s longevity and durability is critical for long-term investment and maintenance planning. Some roof types and materials last longer and require fewer repairs or replacements. Consideration should be given to factors such as the material’s resilience to weathering, its capacity to endure environmental conditions, and the availability of local contractors for maintenance and repairs.
Pro Tip: Some materials may excel in one region but deteriorate quickly in another. When assessing the durability of different roof types, don’t forget to factor in the climate and weather conditions specific to your area.
4. Building Codes
Navigating through construction laws and regulations may appear to be like a bureaucratic maze! But trust us when we say it’s an experience worth taking for the selection of types of roofs!
The minimal criteria for structural integrity, fire safety, and energy efficiency are dictated by building regulations. Before starting roof installation, it’s crucial to consult local authorities or experts to ensure compliance with regulations and obtain any required permissions or approvals.
5. Architectural Style
It is critical to consider the architectural style of your building when choosing a type of roof. Different roof styles are intended to complement certain architectural aesthetics, resulting in a visually appealing whole.
Choose a roof that complements the overall appearance and feel of your home, whether it’s a traditional gable roof for a colonial-style home or a sleek flat roof for a modern design. By matching your roof to the architectural style, you’ll produce a unified and visually appealing exterior that will last.
15 Functional Yet Fascinating Types of Roofs
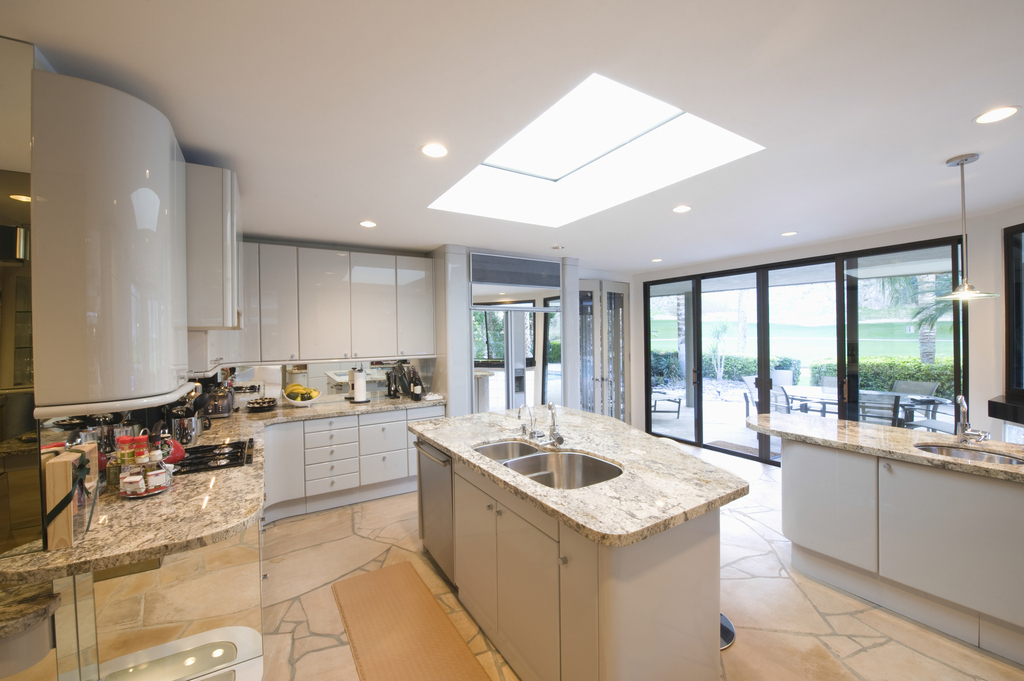
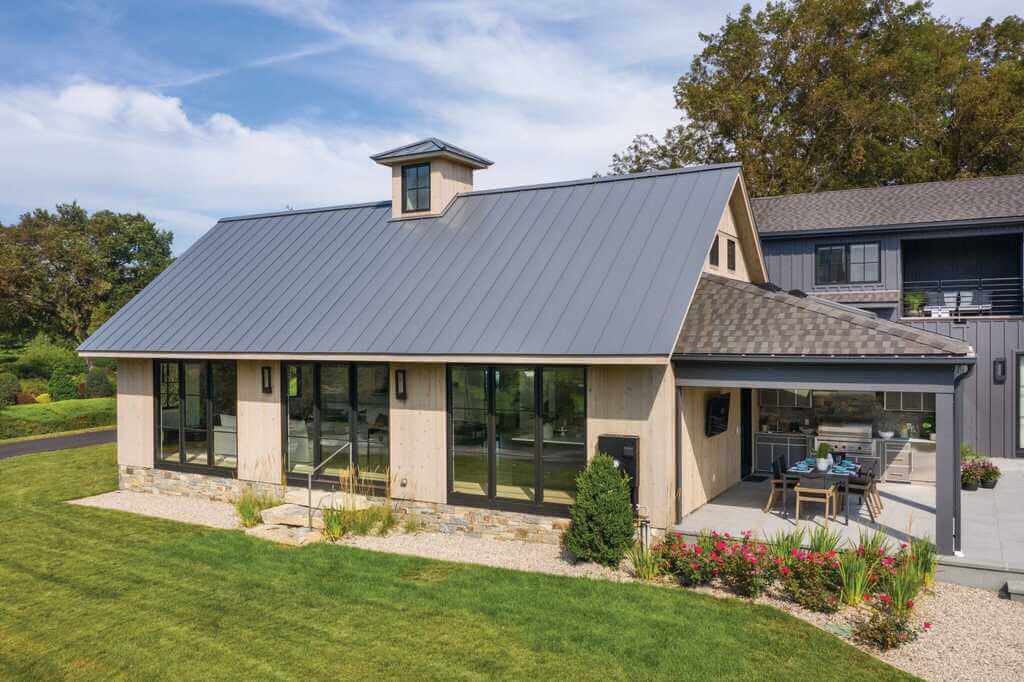
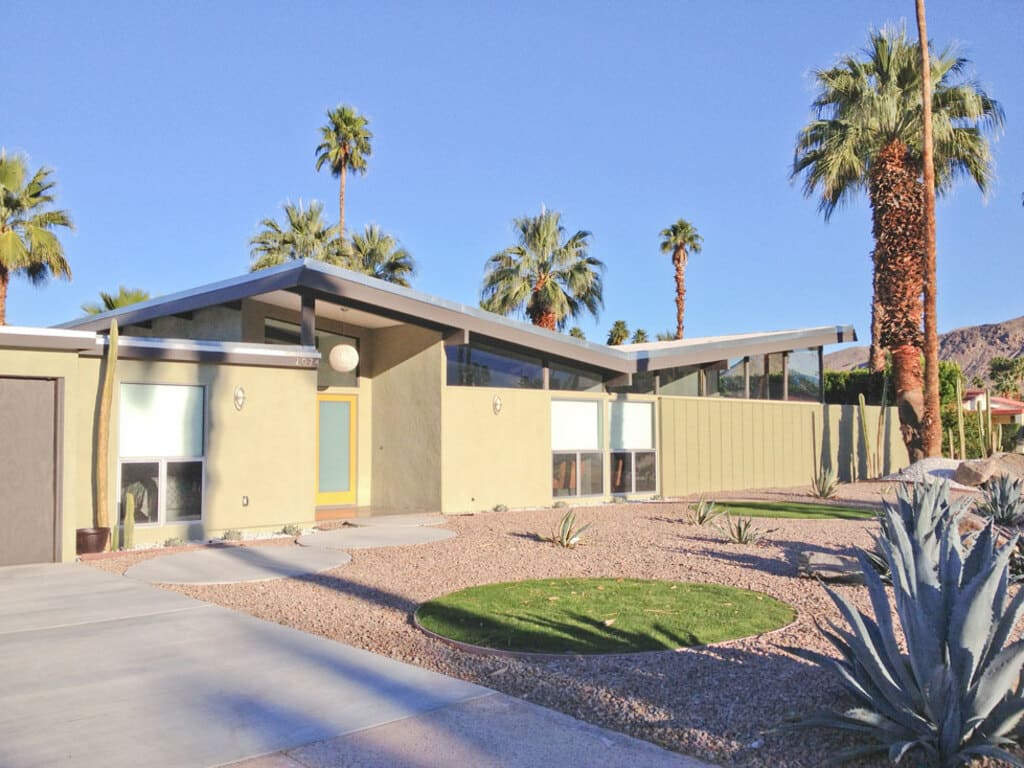
1. Flat Roof
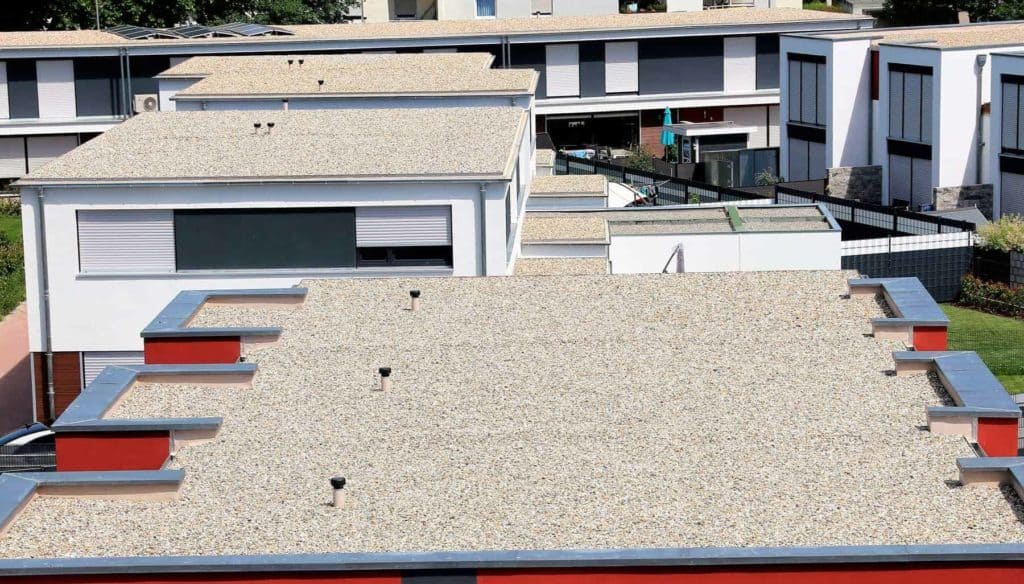
Flat roofs are a popular choice in contemporary architecture due to their clean and futuristic style. These roof styles are distinguished by their horizontal profile, which creates a clean and minimalist appearance that blends nicely with modern architecture.
While flat roofs have a neat style that is visually appealing, adequate installation and maintenance are required to assure their lifetime and function. To minimize water gathering and potential structural difficulties, adequate drainage measures, such as tapered insulation or roof drains, are required.
Pro Tip: Flat roofs also offer an ideal platform for the installation of solar panels, harnessing renewable energy and contributing to energy efficiency.
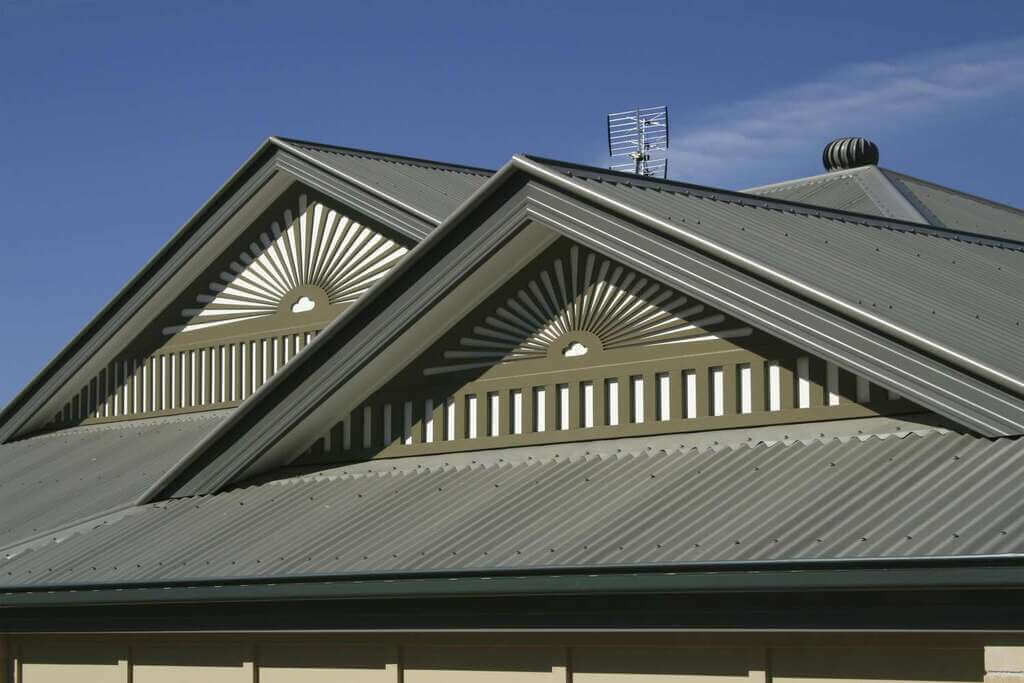
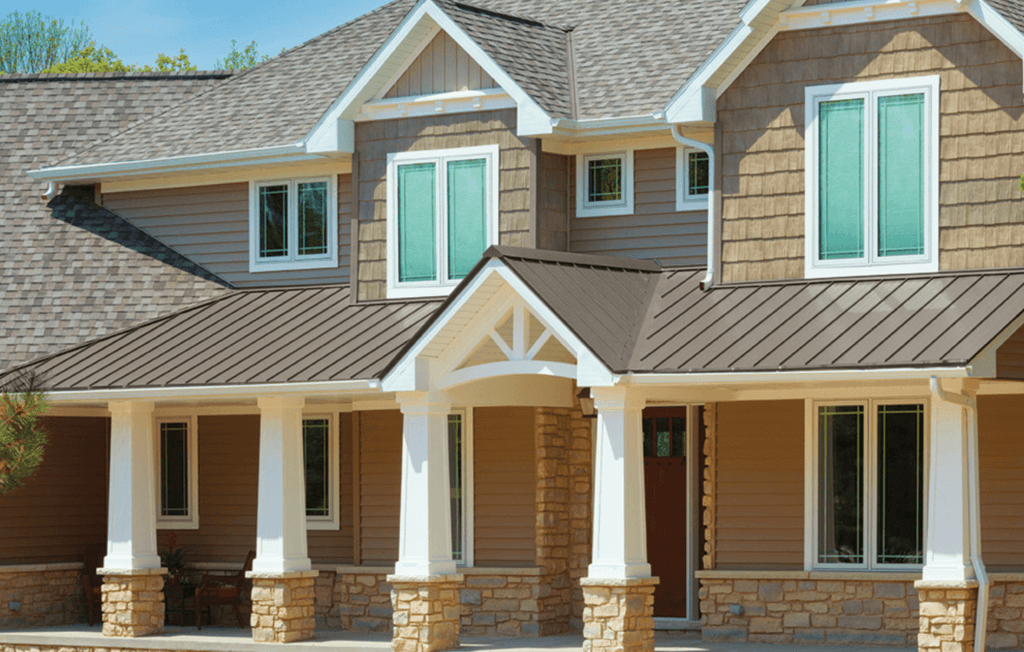
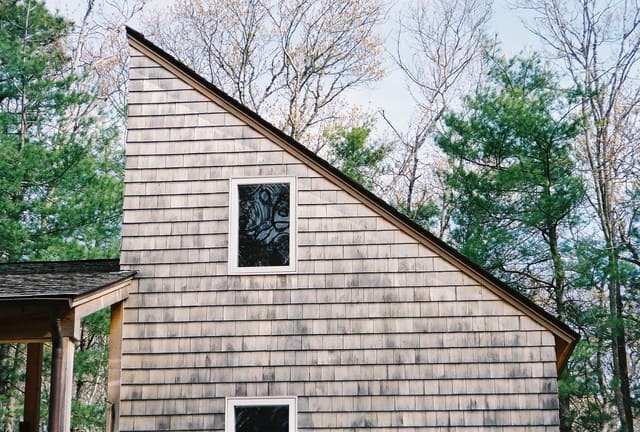
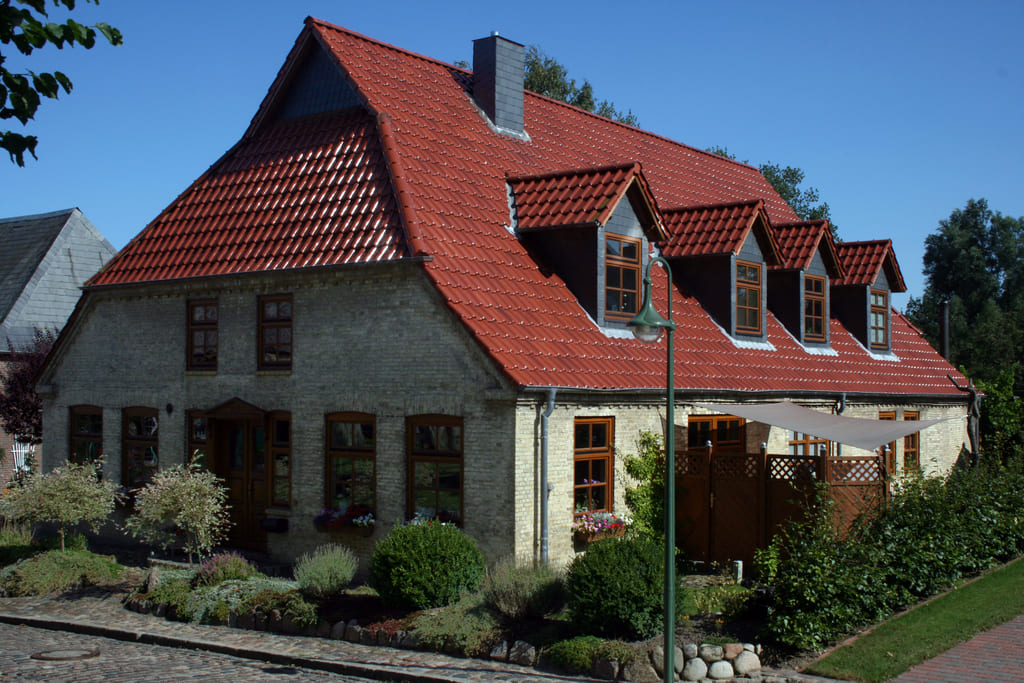
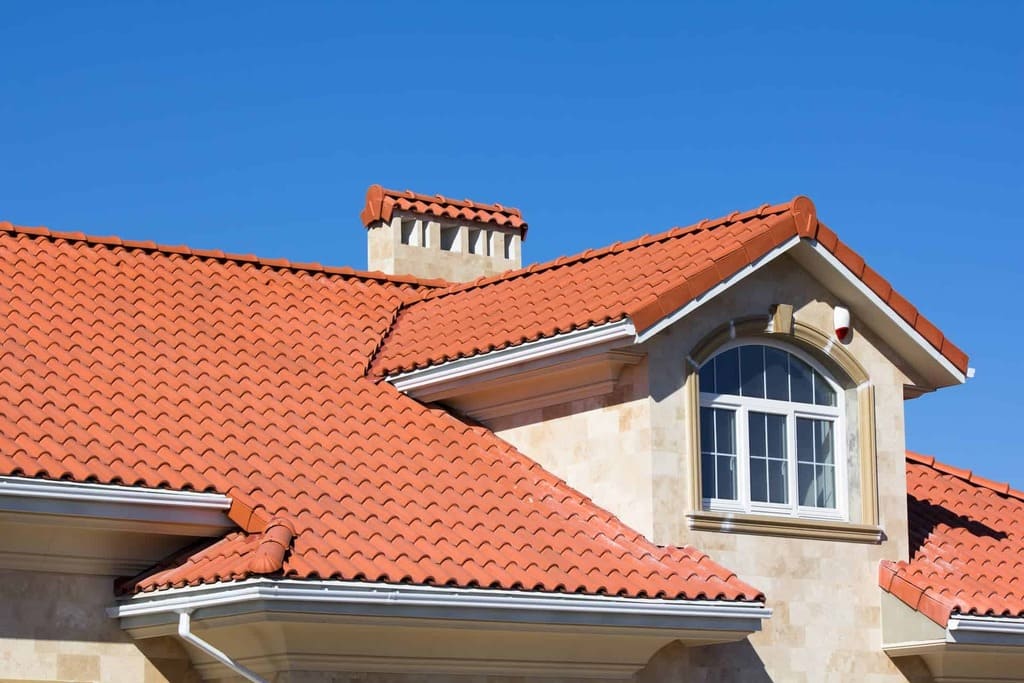
2. Gable Roof
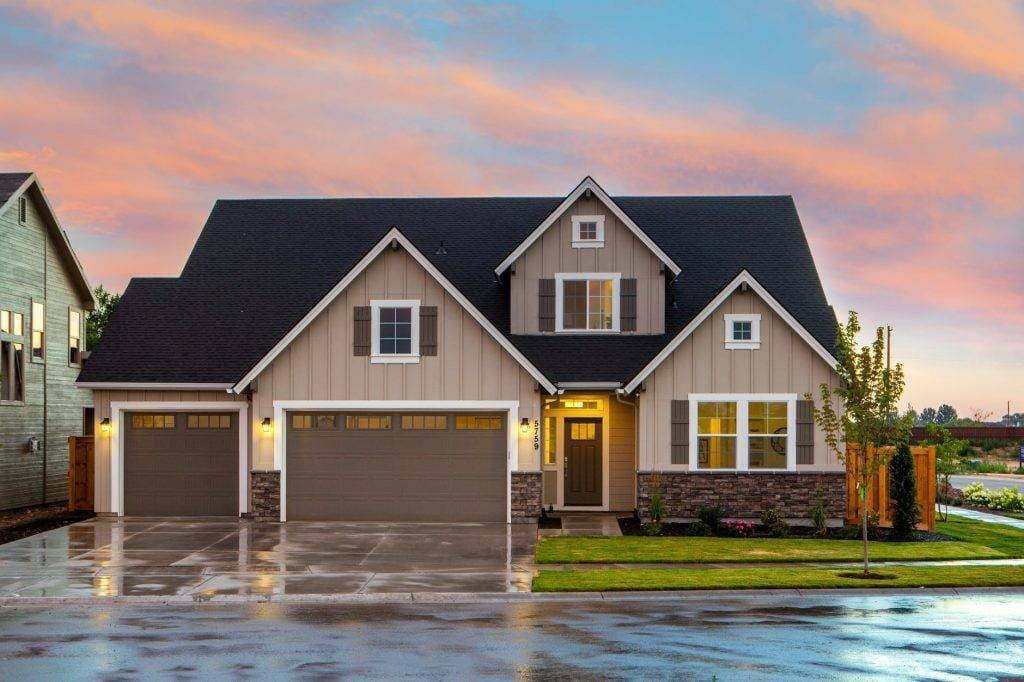
The gable roof, also known as a pitched or peaked roof, is admired for its clean lines and proportional balance. Its unique triangle design not only provides aesthetic flair to the façade of a structure, but it also has utilitarian benefits.
These types of roofs have great drainage qualities because they enable water, snow, and debris to readily flow down the roof, making them perfect for places with significant rainfall or snowfall. A steeper pitch, on the other hand, allows for easier maintenance and may be more appropriate for places with warmer weather.
Pro Tip: In windy areas, proper bracing and fastening procedures are required to guarantee the structural integrity of the roof and to withstand uplift pressures.
3. Hip Roofs
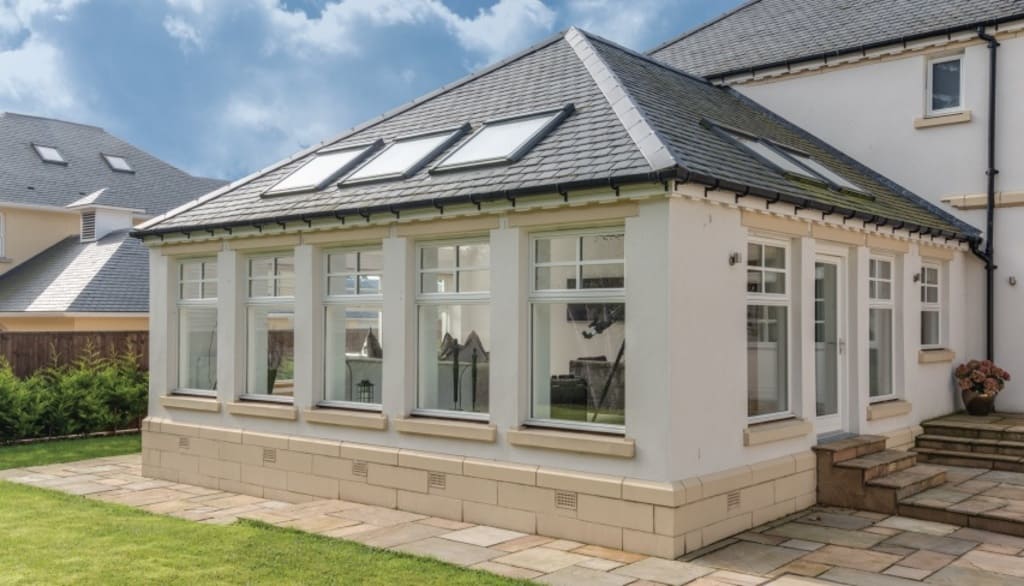
The hip roof is an excellent choice if you want a roof that seamlessly blends design and durability. These roof designs, with their characteristic four-sloping sides, provide both visual appeal and remarkable longevity.
Hip roofs come in a variety of styles, including plain hip roofs, cross-hip roofs, and mansard roofs. While hip roofs offer exceptional durability and visual appeal, there are several things to keep in mind. Their architectural intricacy may necessitate sophisticated building techniques, resulting in greater installation costs as compared to simpler roof designs.
Pro Tip: The slanted sides generate triangular parts known as hip ends, which may be used for storage or converted into comfortable living spaces such as dormer windows or attic rooms.
| Elements | Description |
| Four sloping sides | The hip roof consists of four sides that slope towards the centre |
| Central ridge | The highest point where the sloping sides of the hip roof meet |
| Hip ends | Triangular sections formed by the sloping sides of the hip roof |
| Eaves | The lower edge of the roof that overhangs the walls of the building |
| Dormers | Vertical windows that protrude from the sloping sides of the roof |
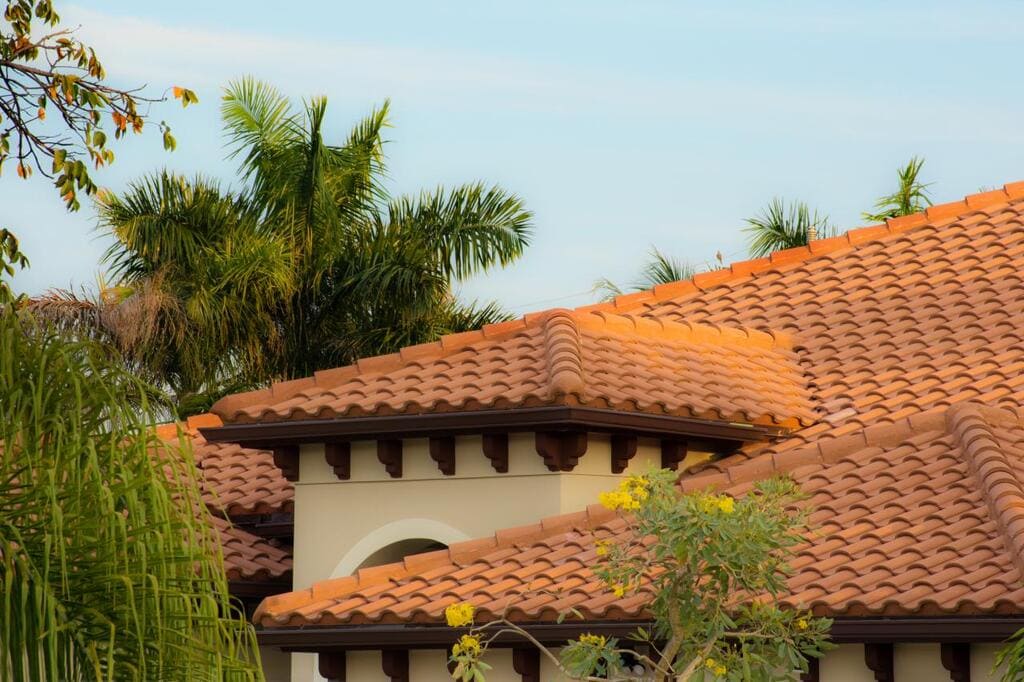
4. Mansard Roofs
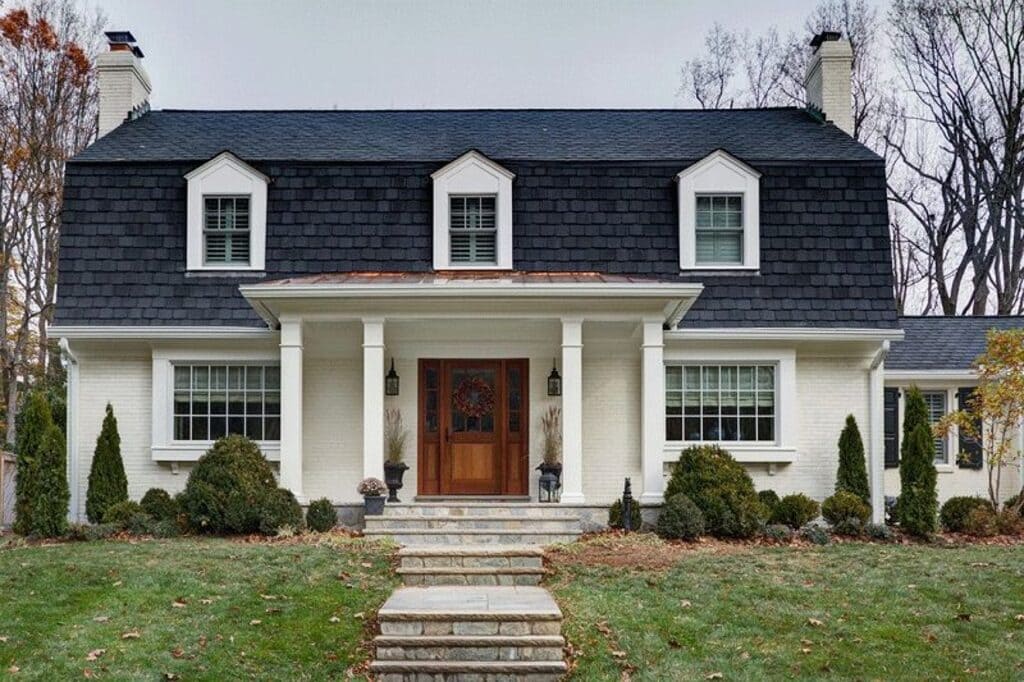
The Mansard roof, named after the French architect François Mansart, became prominent in France during the 17th century. These types of roofs are an excellent alternative for individuals who like a bit of European flare and architectural grandeur. This roof style emanates an elegant and refined aesthetic that has captivated homeowners for generations, thanks to its characteristic double slope and distinctive features.
Trivia: The renowned Mansard-roofed pavilions of the Louvre Museum in Paris, as well as the Haussmannian structures that line the city’s streets, demonstrate the architectural importance, beauty, and ageless elegance of Mansard roofs.
5. Shed Roof Styles
The shed roof is distinguished by a single slope that dips down from one end of the construction to the other. This simple roof design avoids the need for complicated trusses or various slopes, making it a cost-effective and simple roofing option. Let’s see types of roofs on houses.
Due to the single slope, efficient rainwater gathering is possible, making them an ecologically favourable solution for people interested in sustainable practices. However, gutters and downspouts must be installed to adequately drain water away from the structure’s base.
6. Butterfly Roofs
The butterfly roof is an excellent alternative for individuals looking to create a striking architectural statement while also embracing new types of roofs. This roof style has captured the attention of eco-conscious households and forward-thinking architects because to its unusual V-shape form and energy-efficient features.
The upward-sloping roof surfaces produce a natural funnelling effect, collecting and channelling rainfall into a central drainage system. This design allows for rainwater gathering, which may then be used for a variety of applications such as irrigation or greywater systems.
7. Gambrel Roof Designs
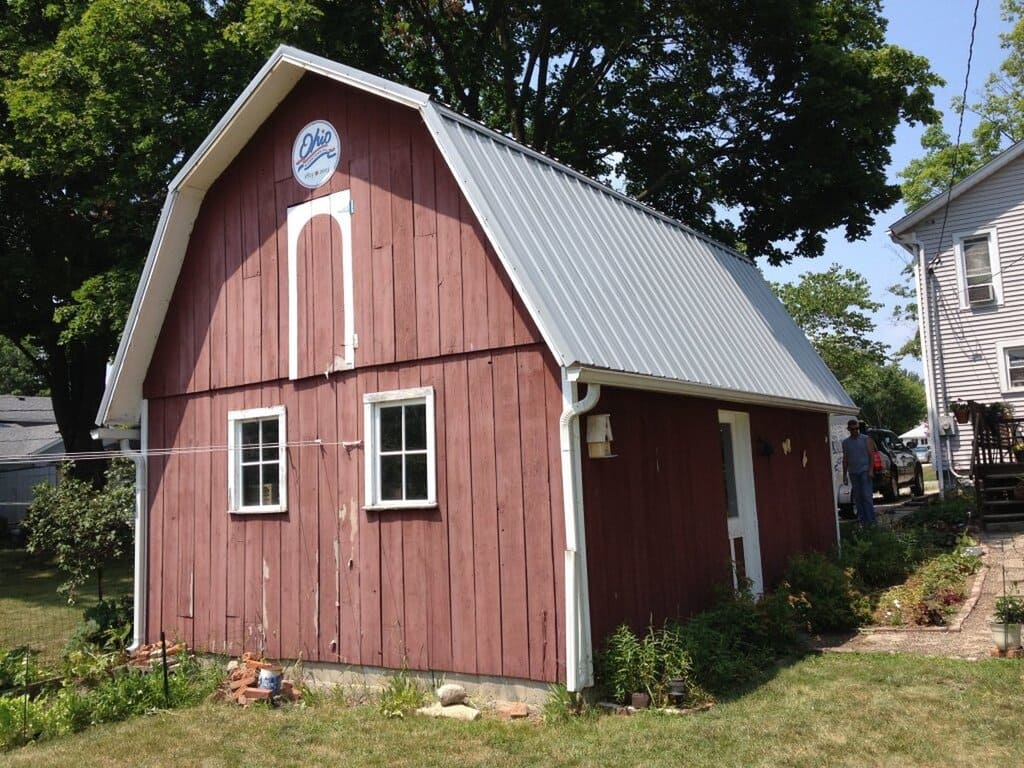
The symmetrical double-slope design of the Gambrel roof distinguishes it, with two separate slopes on either side of the roof. Compared to the higher slope, the lower slope has a steeper pitch. This unusual arrangement adds headroom and useful space to the roof area.
These types of roofs are used in a variety of architectural styles and building types. While it is most frequently associated with barns and agricultural constructions, it is now becoming fashionable in Residential Roofing, notably in Dutch Colonial and Victorian-inspired designs.
Trivia: Did you know that the Gambrel roof design became popular in North America during the 18th century? It was influenced by the Dutch architectural style brought by early settlers from the Netherlands.
8. Saltbox Roofs
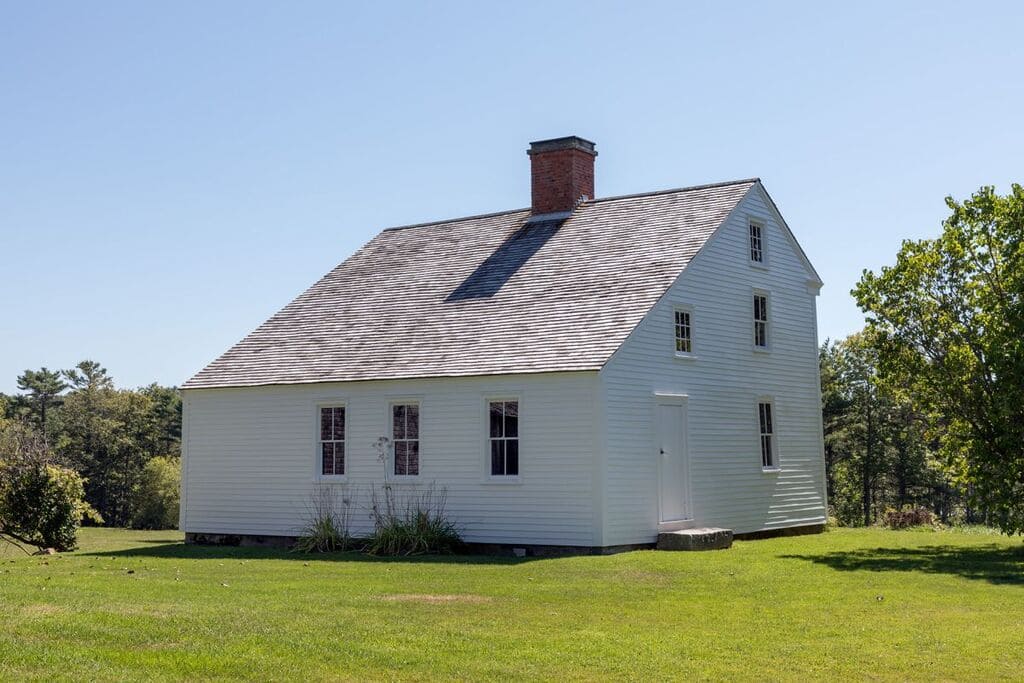
With its striking asymmetrical shape and long, sloping roofline, this design not only looks good but also serves a useful purpose. The saltbox roof design has its origins in 17th-century colonial New England. It gets its name from its resemblance to a wooden salt box, with one side much longer than the other.
Trivia: Deerfield, Massachusetts, is home to numerous well-preserved saltbox houses that exhibit the elegance and beauty of these types of roofs.
9. Pyramid Roofs
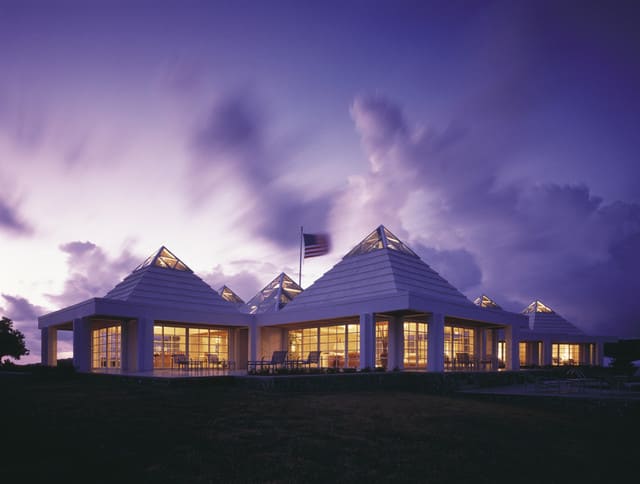
This roof style has a pyramid-like design with four equal triangular sides that culminate at a single point, as the name suggests. The pyramid design evenly distributes weight over all four sides, making it very resistant to varied weather situations such as strong winds and large snow loads.
Another feature of the pyramid roof is its adaptability to various roofing materials. The choice of roofing material, from typical shingles to metal or even thatch, can further improve the intended beauty and endurance of the structure.
10. Sawtooth Roofs
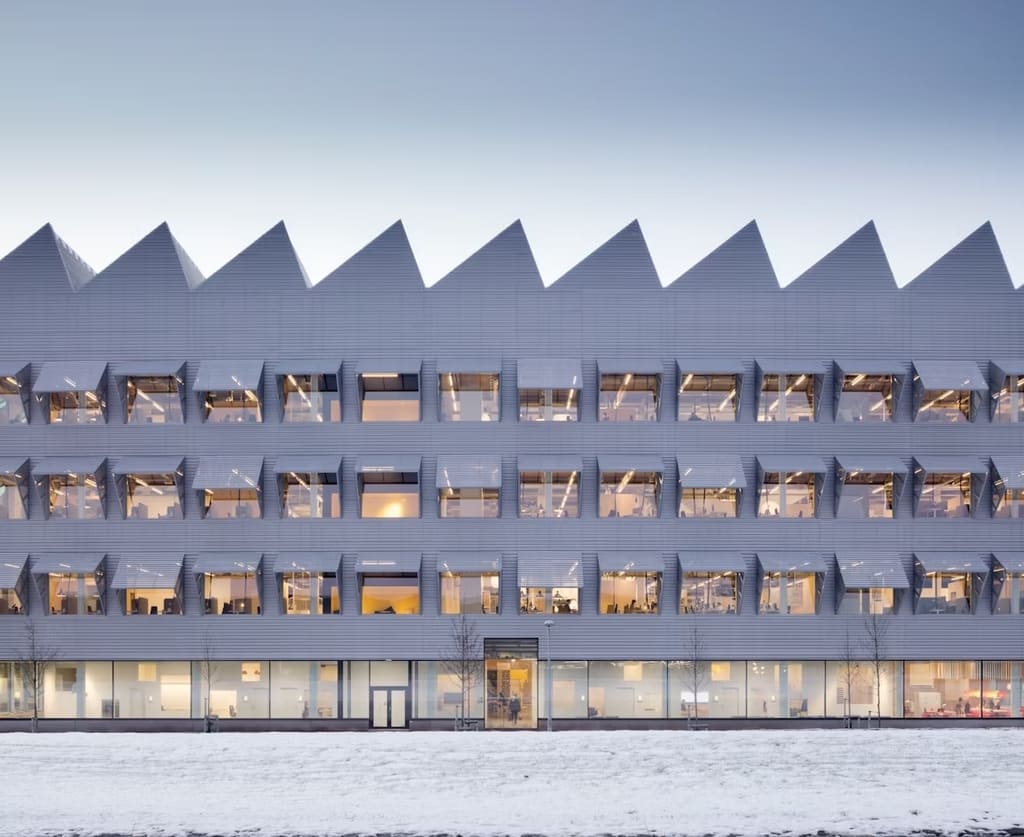
The sawtooth roof stands out as a distinctive and useful architectural option in the field of industrial and commercial structures. This roof form, with its characteristic pattern of ridges and vertical glass panels, not only provides functional benefits but also floods the interior area with natural light.
These types of roofs are commonly found in factories, warehouses, and other industrial environments, and are distinguished by their distinctive sawtooth-like form. The roof is made up of a series of pitched ridges that face north to maximize indirect sunlight while reducing glare and heat gain.
11. Domed Roof Designs
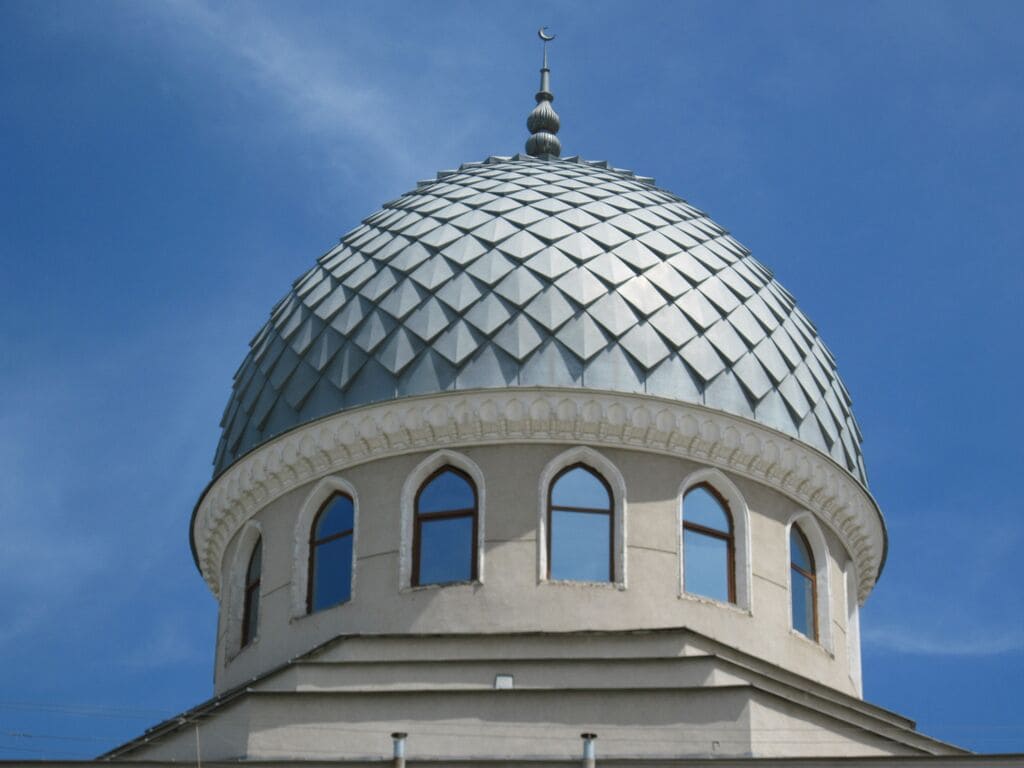
Few roof styles catch the mind like the dome roof when it comes to architectural marvels. The dome roof, with its exquisite curving shape and awe-inspiring presence, is a monument to human skill and structural beauty.
The dome’s curved shape provides for uniform weight and stress distribution, making it resistant to external pressures like wind, earthquakes, and large snow loads. Furthermore, the dome’s curve enables for effective water discharge, lowering the possibility of leaks and water damage.
12. Barrel Vault Roofs
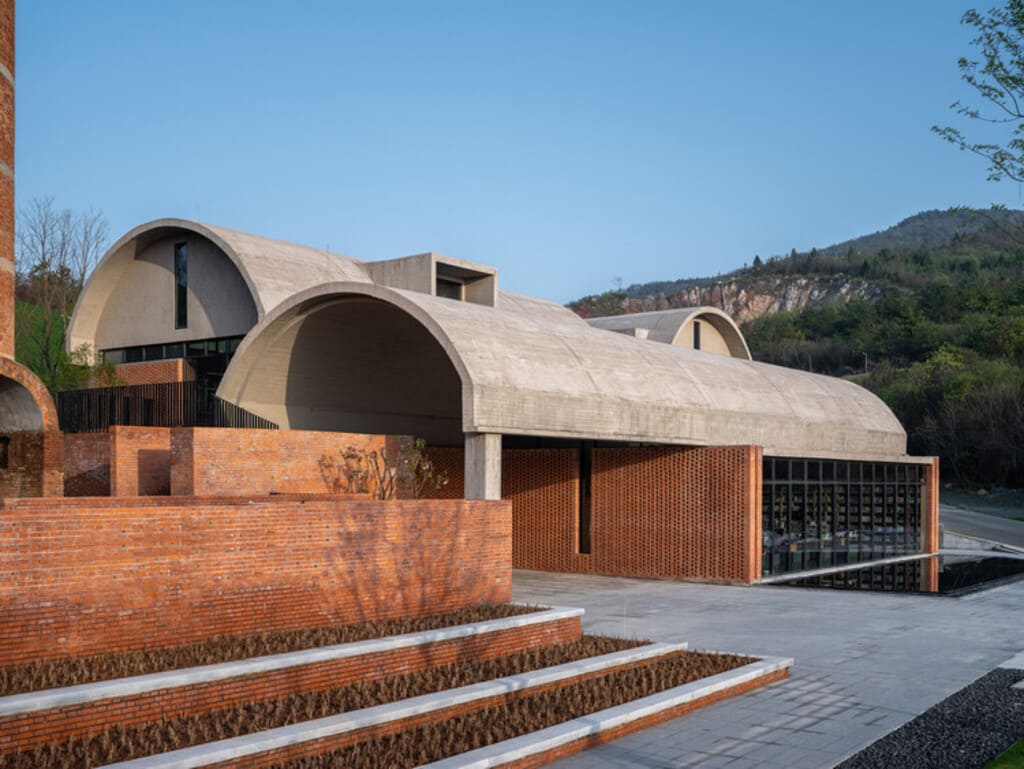
The barrel vault ceiling is an ideal choice for creating a feeling of vastness and architectural drama in a commercial or industrial structure. This unique roof design has a semi-cylindrical shape that forms a continuous arch across the breadth of the roof.
These types of roofs can be built using a variety of materials, including steel, concrete, or architectural fabric systems. Furthermore, its curved design adds structural strength and stability, allowing for longer spans without the need for internal support columns.
13. Dutch Gable Roofs
The Dutch gable roof is a distinctive and eye-catching roofing type that incorporates characteristics of both the gable and hip roof designs. This form, with its gable at the top and hipped sides, provides a visually pleasing and flexible solution for a variety of architectural styles.
The gable part of the roof adds verticality and grandeur to the roof, making it a noticeable feature. The hipped sides create a moderate slope that not only improves the look but also adds to the overall stability and structural integrity of the roof.
14. Quonset Hut Roofs
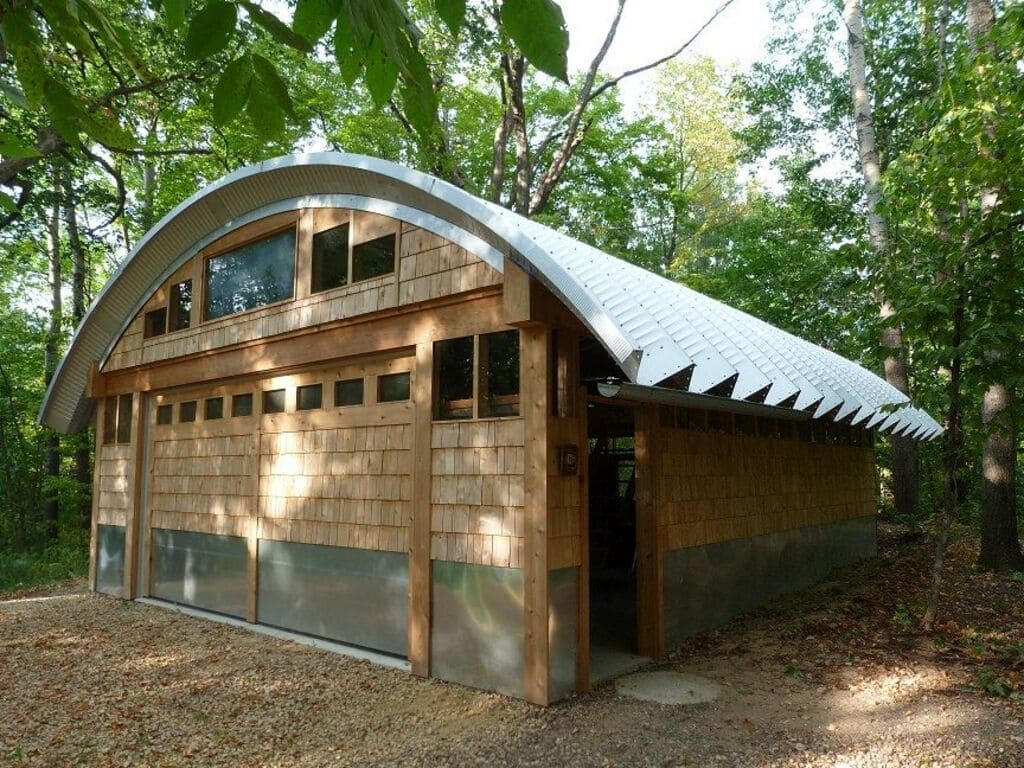
The Quonset hut roof is distinguished by its distinctive arch-shaped form. This roof is mostly made of metal and has a curved profile that continues from the eaves to the ridge, simulating a half-cylinder form. Quonset hut roofs have found broad application in agricultural, storage, and military constructions due to their low cost and simplicity of installation. This asphalt shingle roofing is also a best option to try.
Trivia: The Quonset Hut roof design was developed during WWII and was called for the location where it was initially produced, Quonset Point, Rhode Island, USA.
Read More: Step by Step Guide to Putting Together a Prefab Metal Storage Shed
15. Green Roof Designs
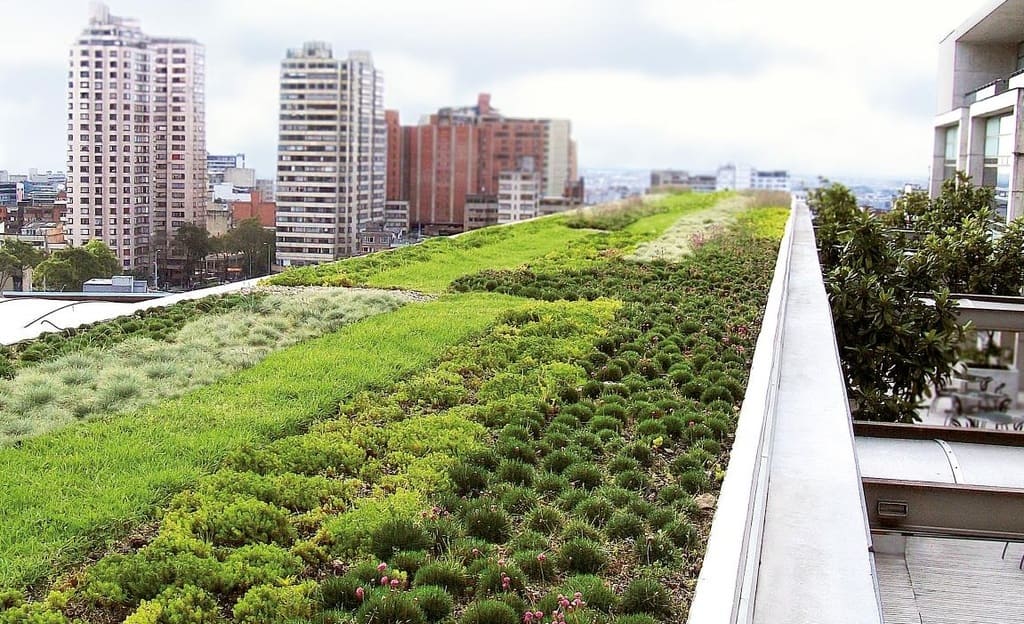
This type of roof, also known as a living roof or a vegetated roof, is a type of roof that is partially or entirely covered with vegetation and plants. It has several environmental and aesthetic benefits and is becoming increasingly popular in sustainable building.
Green roofs, on the other hand, are heavier than standard roofs due to the additional weight of vegetation, soil, and water. To guarantee that the building can take the added load, proper structural analysis and reinforcement are required. These are the types of metal roofs.
Choosing the Perfect Type of Roof!
Finally, the world of roofing is vast and exciting, with several possibilities to fit various architectural styles, climates, and personal tastes. There is a type of roof style that may perfectly suit your vision, whether it is a traditional and elegant gable roof, a sleek and modern flat roof, or a distinctive and eye-catching butterfly roof.
FAQs
The cost-effectiveness of a roof type depends on various factors such as materials used, size of the roof, and local labour costs. Generally, flat roofs and simple gable roofs tend to be more cost-effective compared to complex roof designs like mansard or butterfly roofs.
A steeply pitched roof, such as a gable or hip roof, is typically recommended for areas with heavy snowfall. The steep slope allows the snow to slide off easily, reducing the risk of excessive snow accumulation and potential roof damage.
Solar panels can be installed on various types of roofs, including flat roofs, gable roofs, and hip roofs. However, it’s important to consider the structural integrity of the roof and consult with a professional to ensure proper installation and support for the solar panel system
In hot climates, roofs with good insulation and ventilation are desirable. A combination of proper insulation, reflective materials, and ventilation features can help reduce heat absorption and improve energy efficiency. Flat roofs and hip roofs with proper insulation and ventilation can work well in hot climates.
Green roofs can be installed on residential buildings, but it’s important to consider factors such as structural capacity, maintenance requirements, and local building codes. Green roofs provide numerous benefits, including improved energy efficiency and environmental sustainability, but they require proper design, installation, and maintenance.
In case you missed it!