We all have a dream of living in a big house. But what if your living space is tiny? That doesn’t mean that your dream is crash. Smaller homes can also fulfill all your wishes that a bigger house can. Simple plans include minimalism and modern elements. So today, we gathered up some simple small house design ideas.
Nowadays, it is very difficult to purchase a large area plot in urban cities. Due to the high price and lack of land, buying a property seems impossible. Nowadays, people are going for smaller homes as they compact, affordable, and easy to maintain. A small house means fewer bills, with low living costs, in short,” living small means living affordably.” So if you’re planning to construct a house and looking for simple house designs, keep on reading this.
Building a house sometimes cost you a lot. But this is the only way to get the perfect house with all the requirements. Because you’ll never be satisfied with the apartment or house, you bought. Mini home is ideal for a family of two-four, and also it is less expensive to build. Today we bring simple home design ideas to help you out in creating your dream project.
When you have a less plot area, and you want to fit everything in your house- that’s really a big challenge. But it is more fun to design a small space!! Here we are going to tell you about how you can make a small house to feel spacious. By simple construction techniques or modifications in the existing home, you can even make it roomier.
What Is Small House Design Ideas?
A simple house design means creating space where there are all the basic and necessary things but are uniquely designed so that they do not take much space.
Below are nine simple house design ideas:
Exterior
The exterior of the house is an essential factor. Not only they made your home appealing, but also they protect you from harsh weather conditions. So, here are some things which you can include in your house exterior part to utilize outer space in your simple small house design
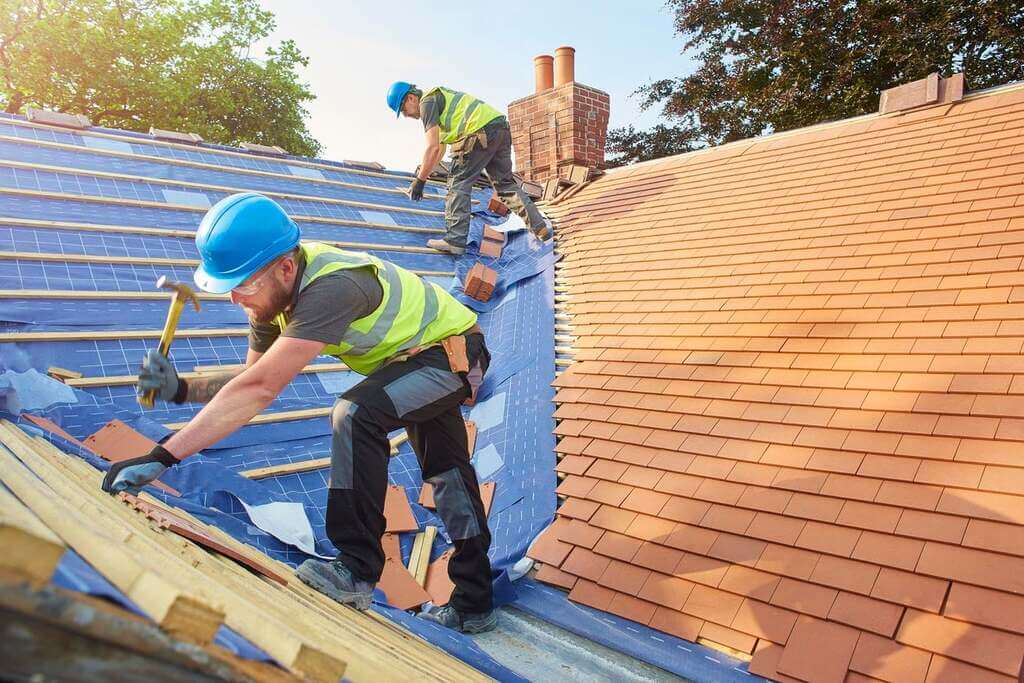
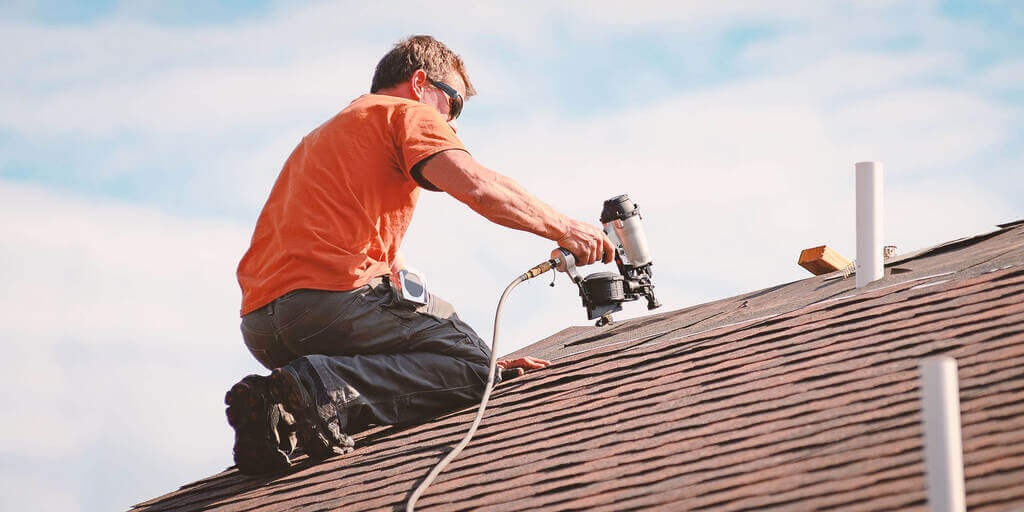
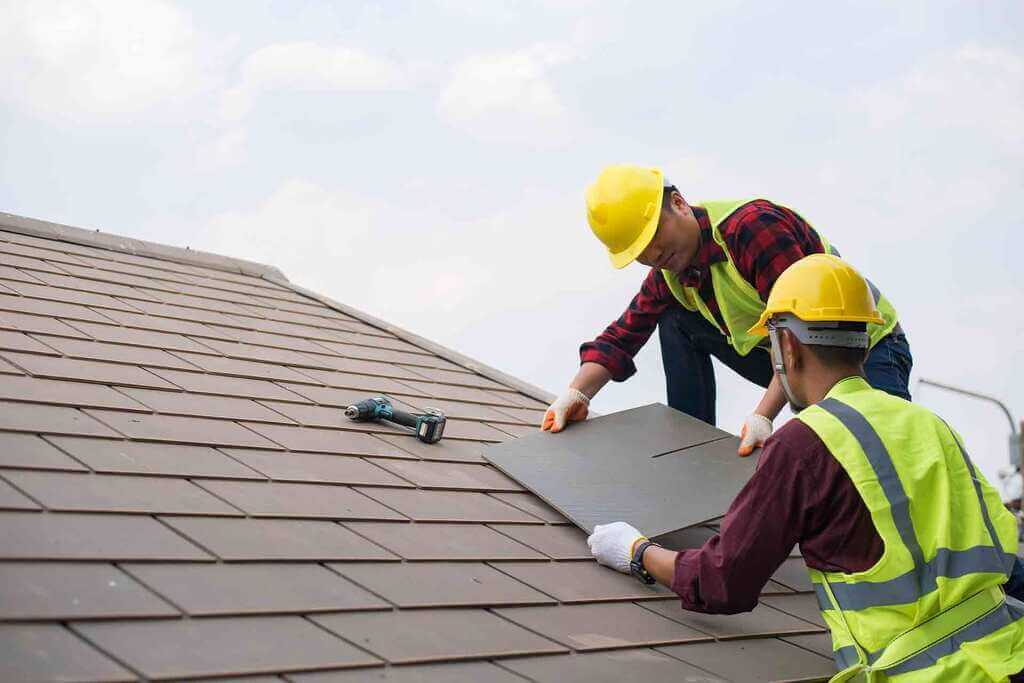
1. Roof Designs
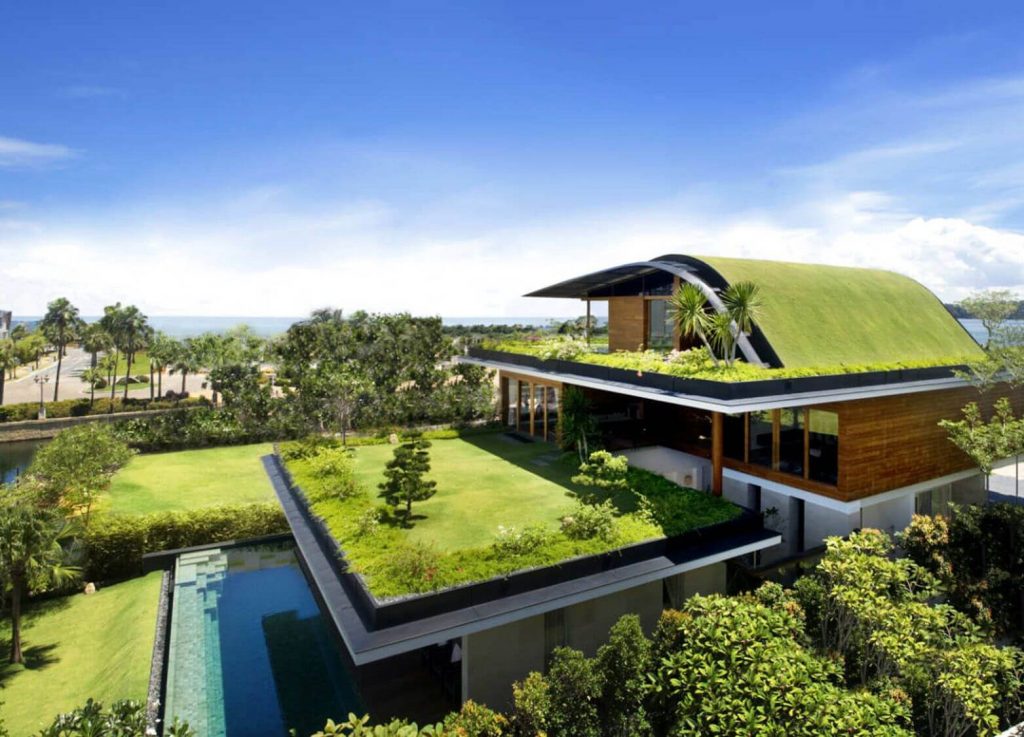
Tiled your house roof with either stones or tiles. This terrace area can also be used to enjoy the landscape. You can also make a rooftop garden!!
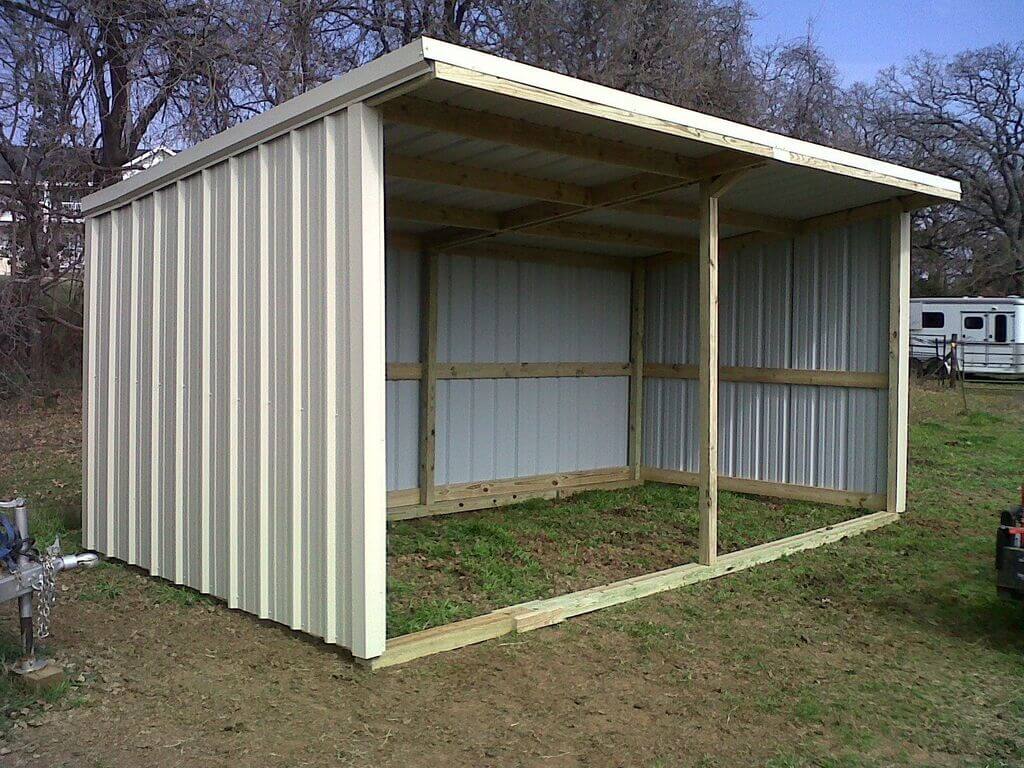
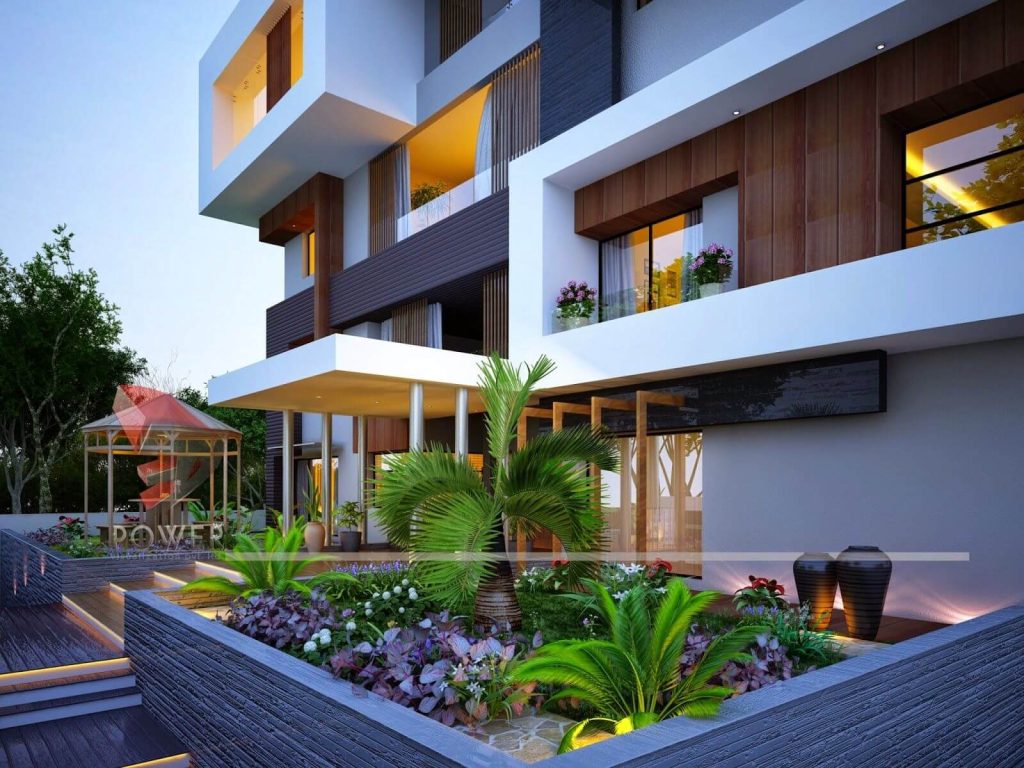
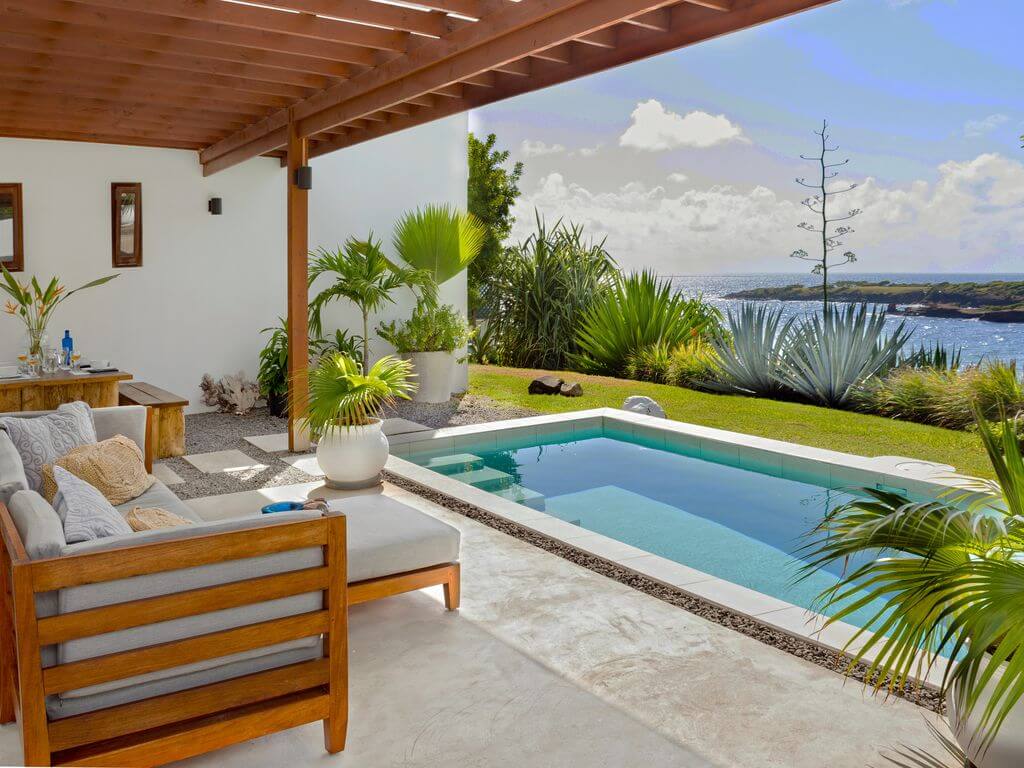
2. Extended Areas
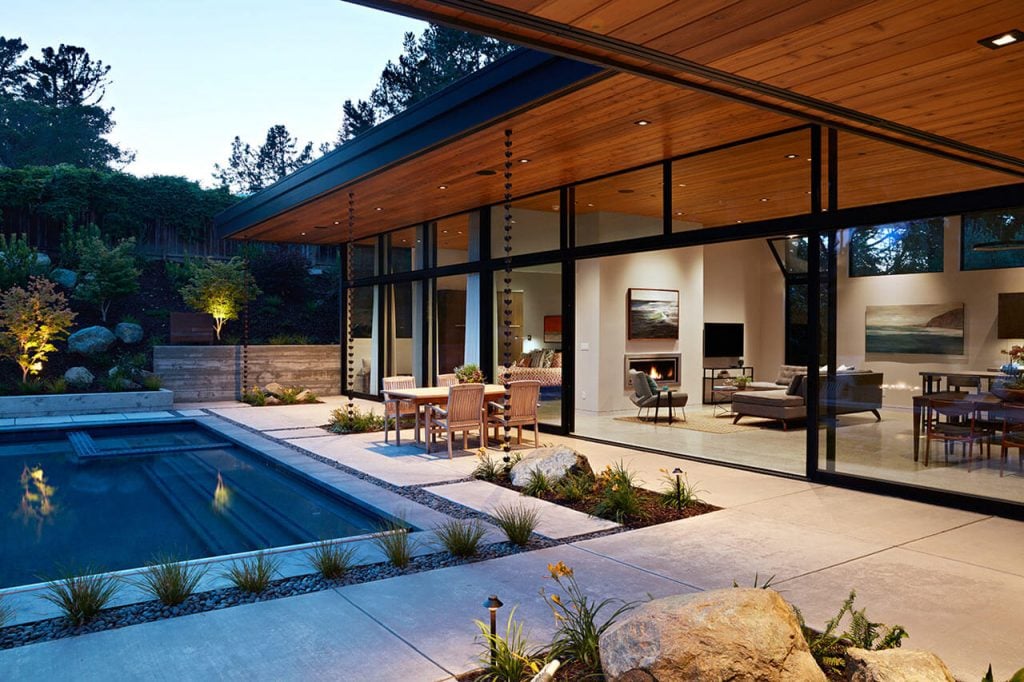
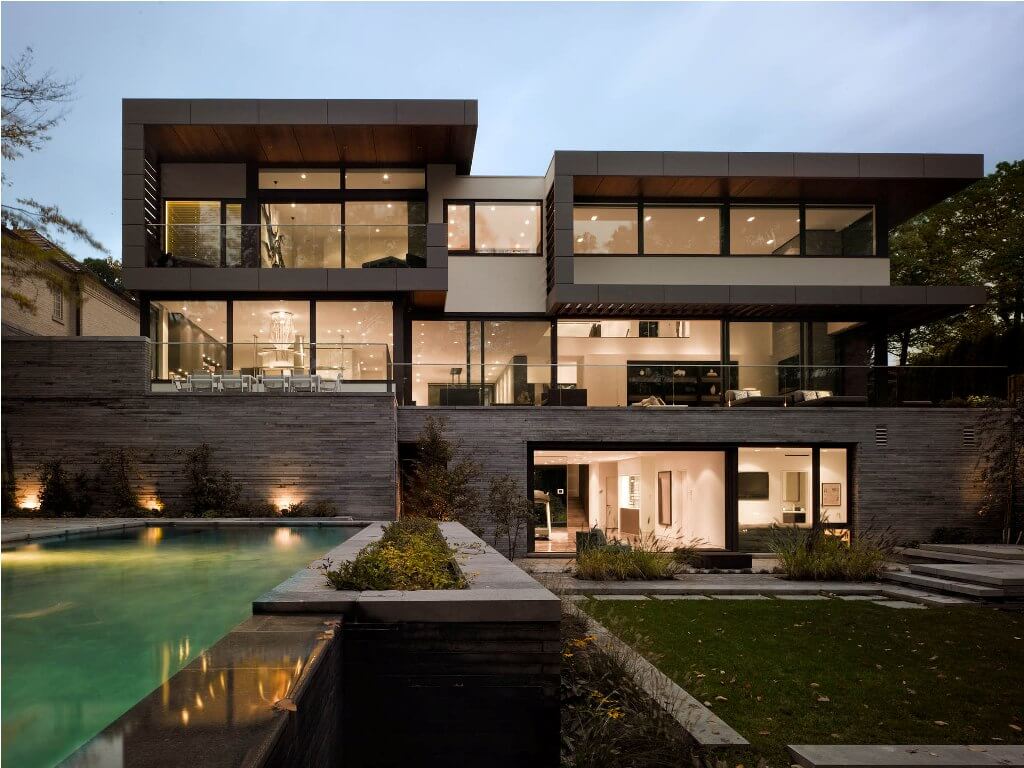
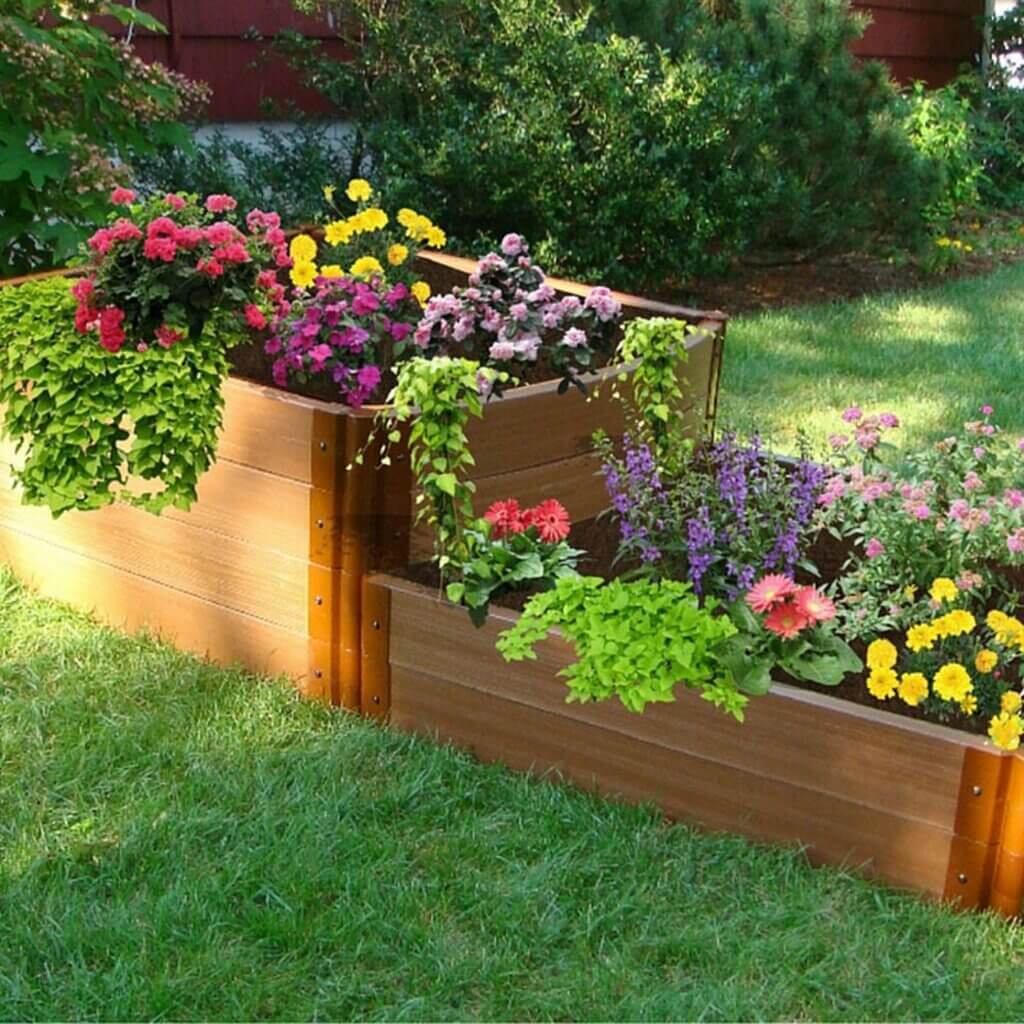
Do make use of barren outdoor space; it can also make your space feel larger. You can include an outdoor swimming pool, where you can enjoy with your family and friends. You can also add an extra seating area in your garden; it will be perfect for your late-night barbeque parties.
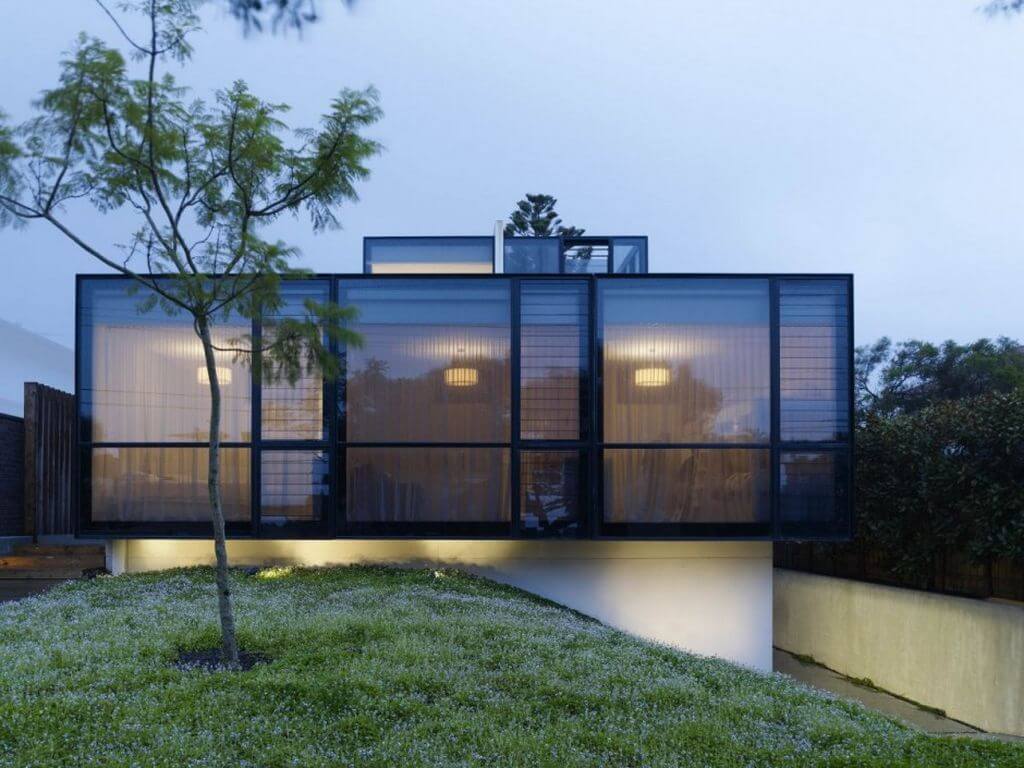
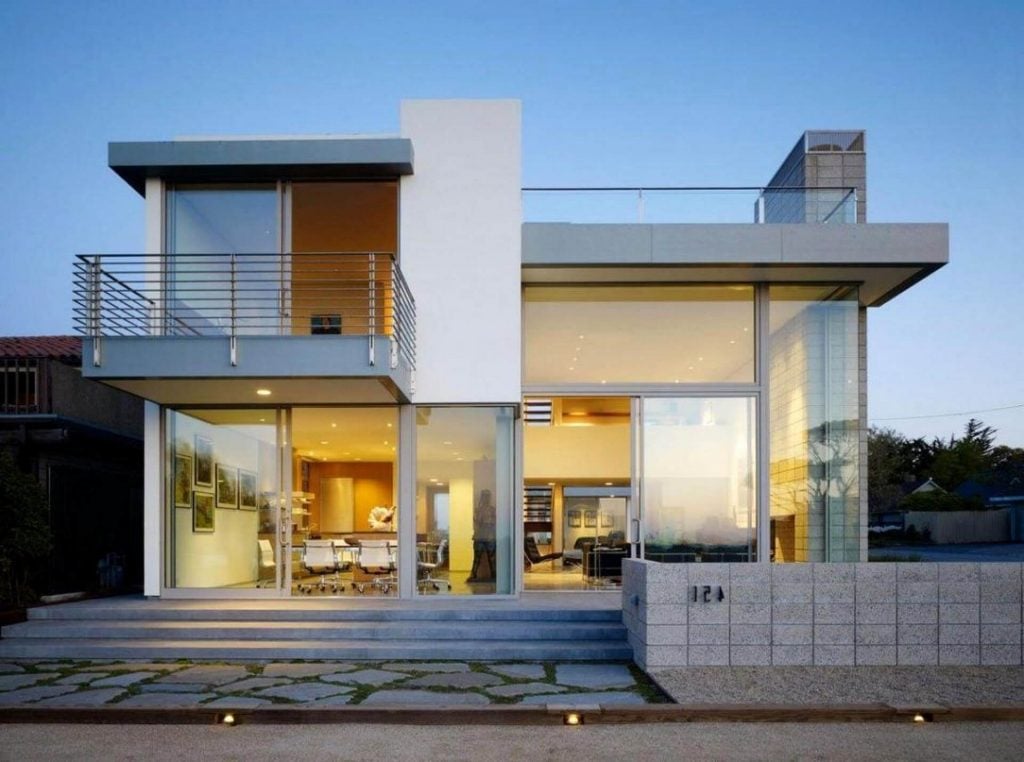
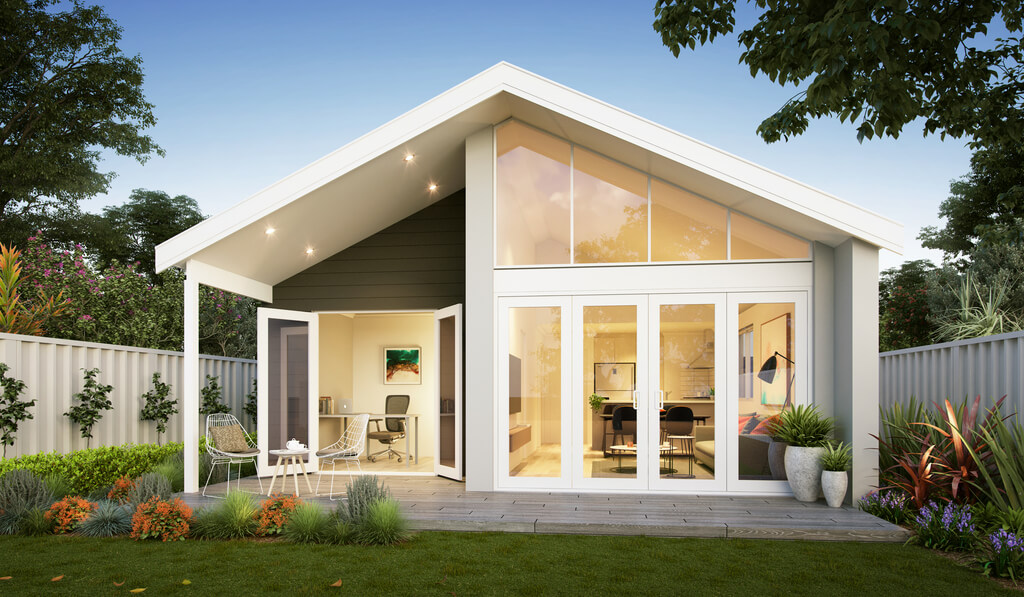
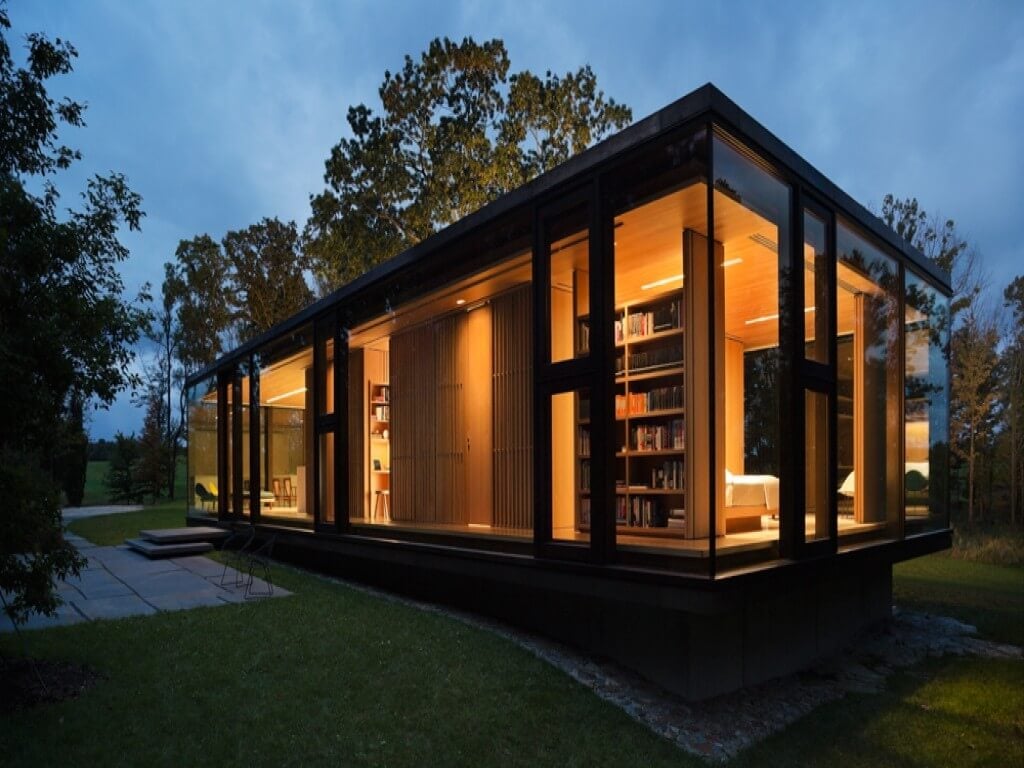
3. Clear Glass Walls
Glass is another building material that is widely used nowadays. Not only it is used in windows and doors, but also to create walls. Yes!! People love a crystal clear wall in their living area. They provide both- privacy and luxury at the same time.
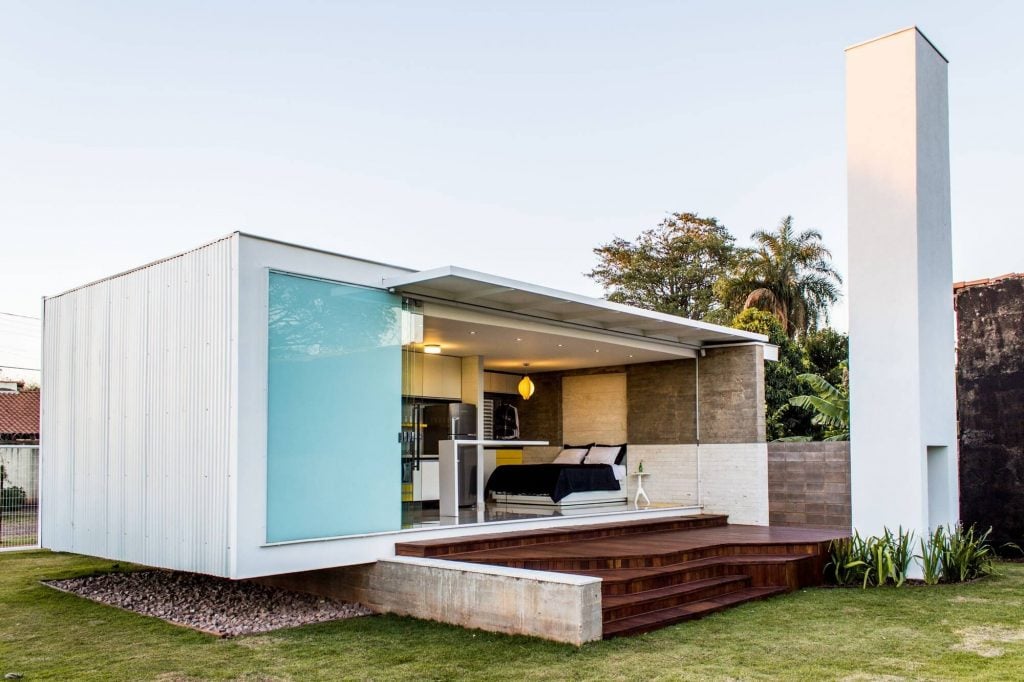
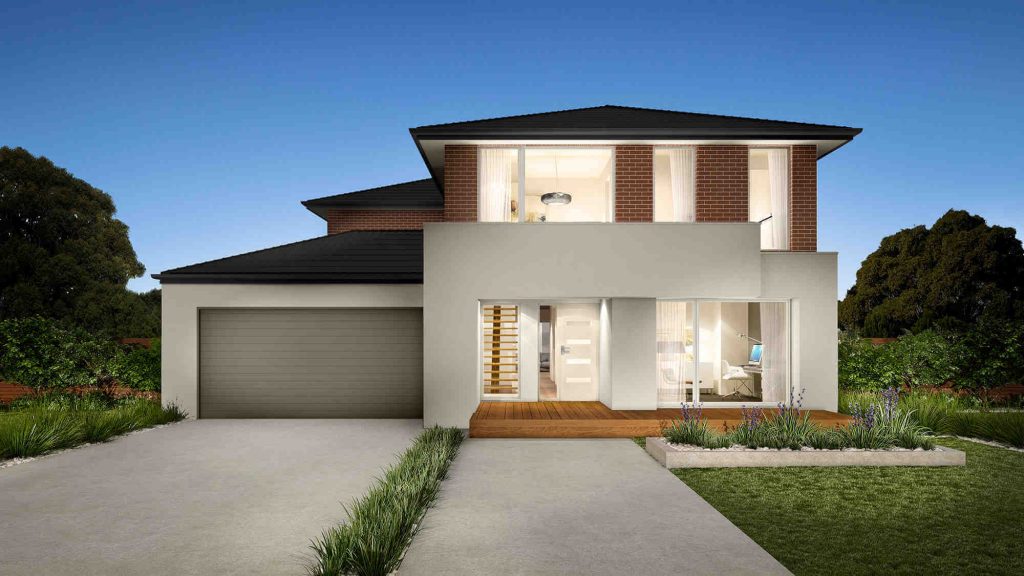
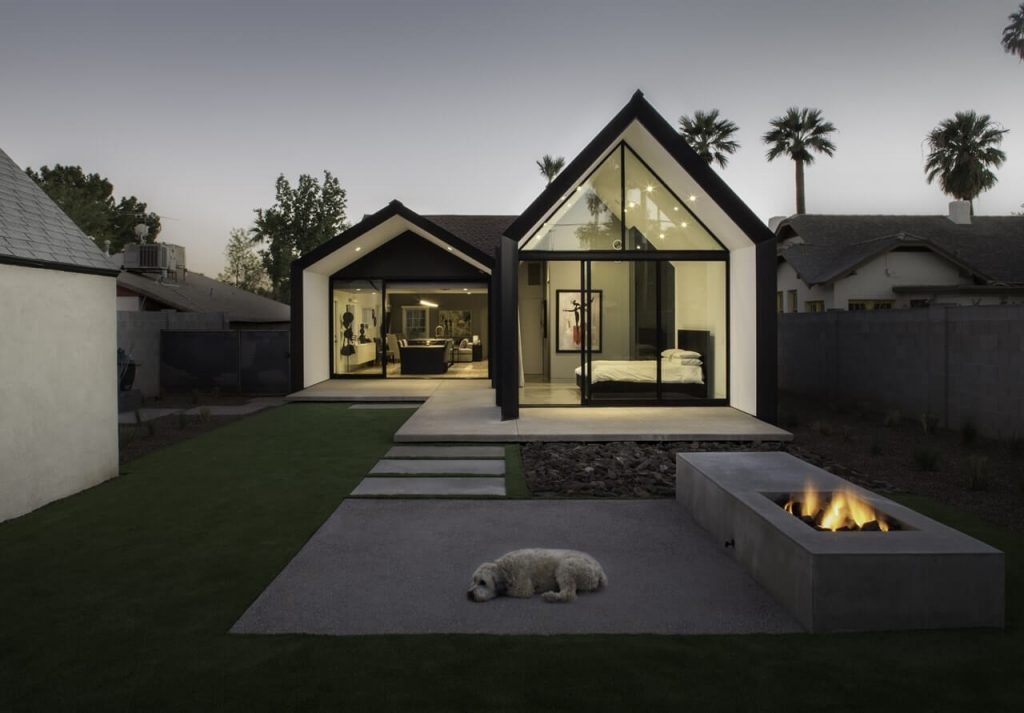
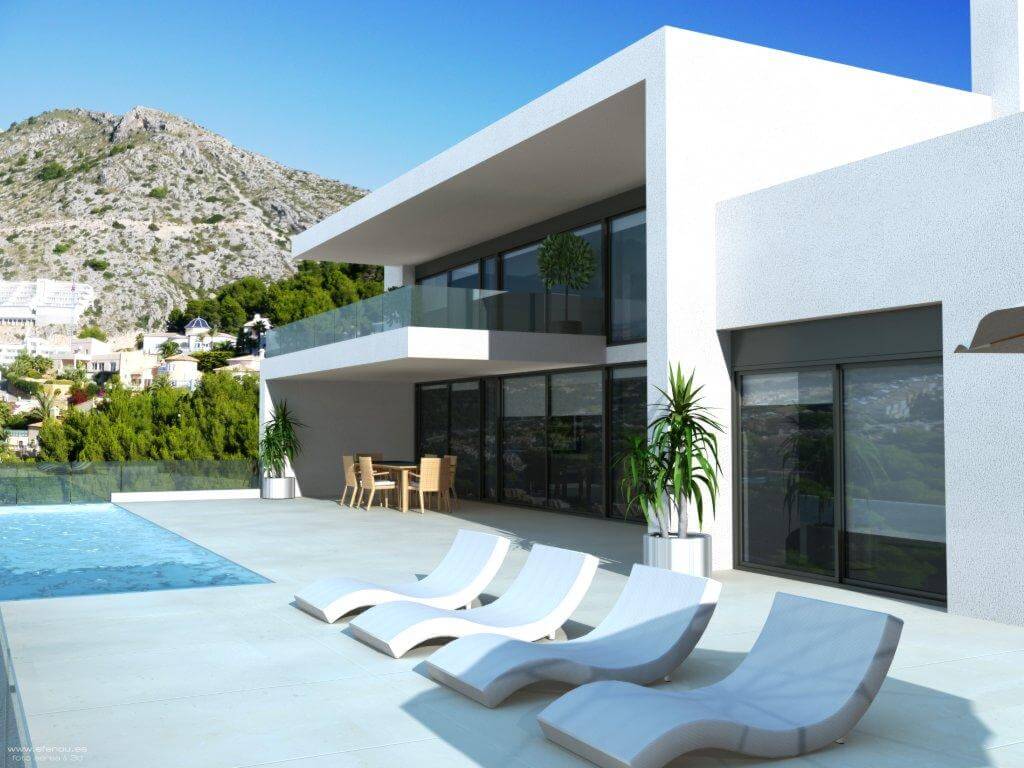
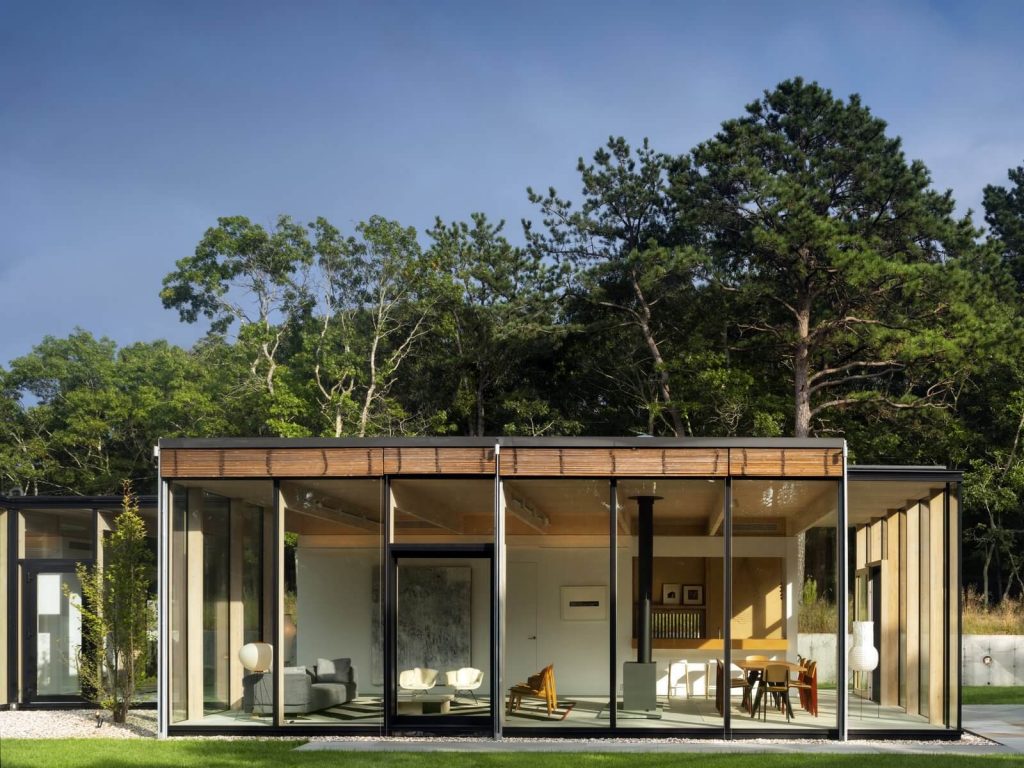
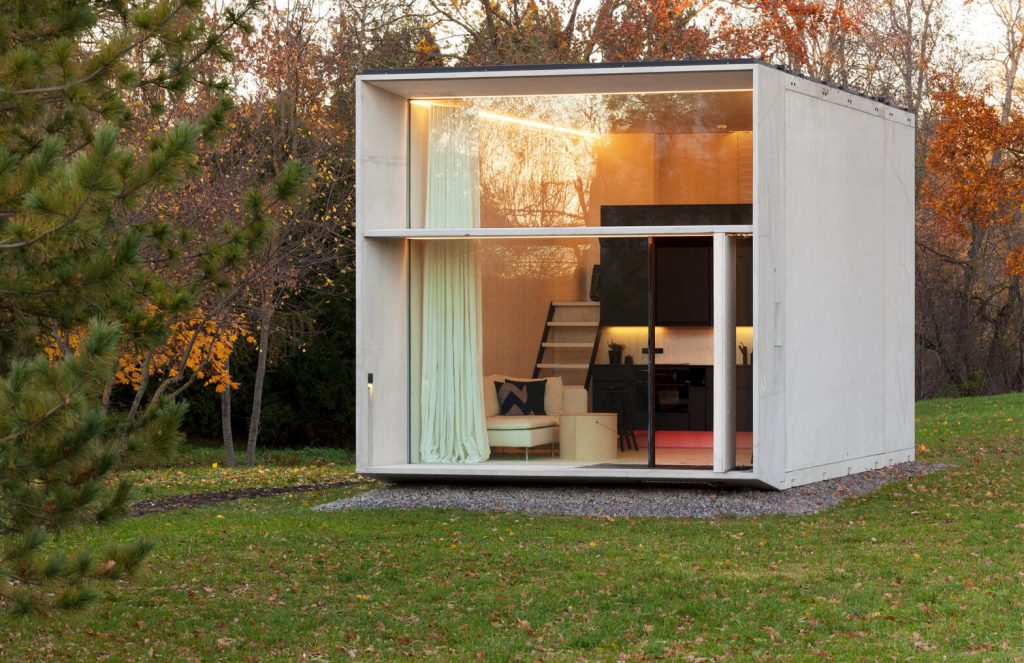
4. Cute and Compact
It is not neccessary to enjoy a lifestyle in a massive house. You can also enjoy and get pretty comfortable in cute homes like this one.
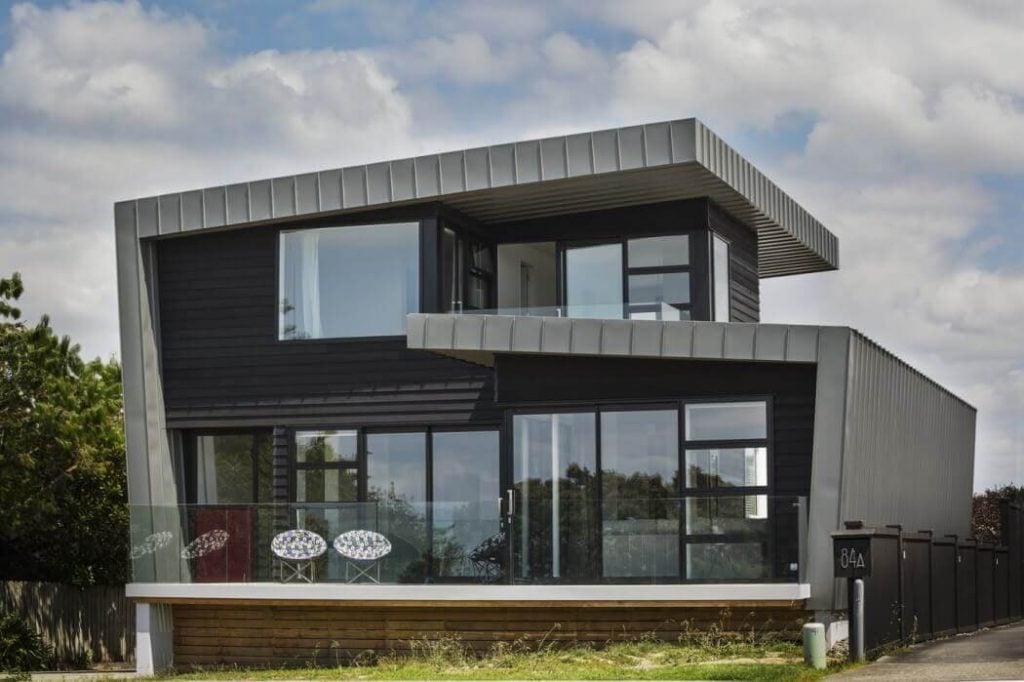
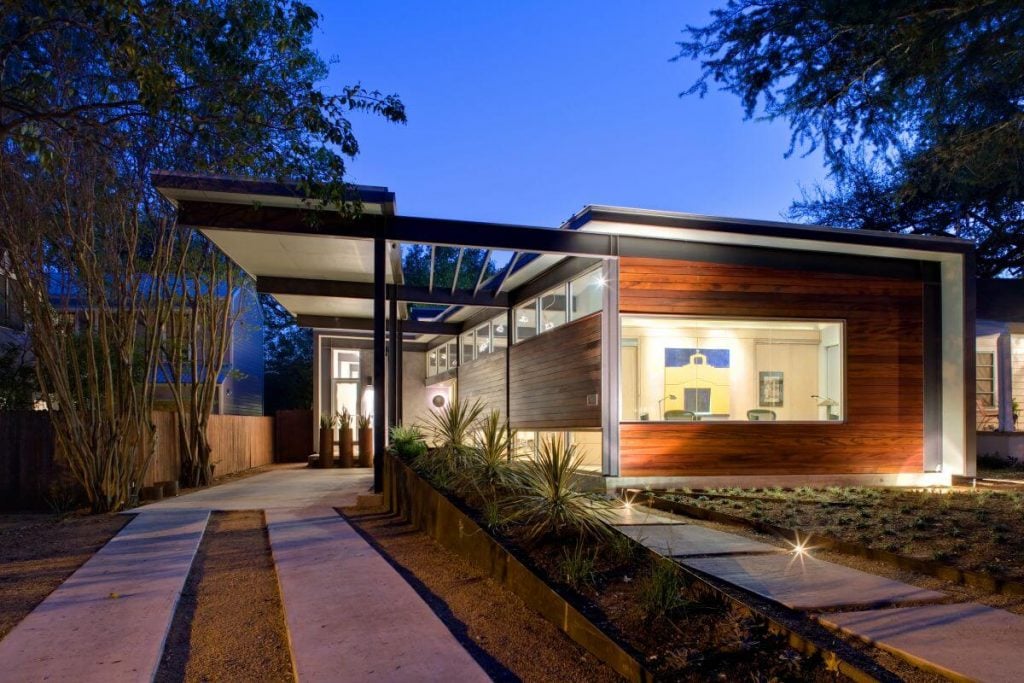
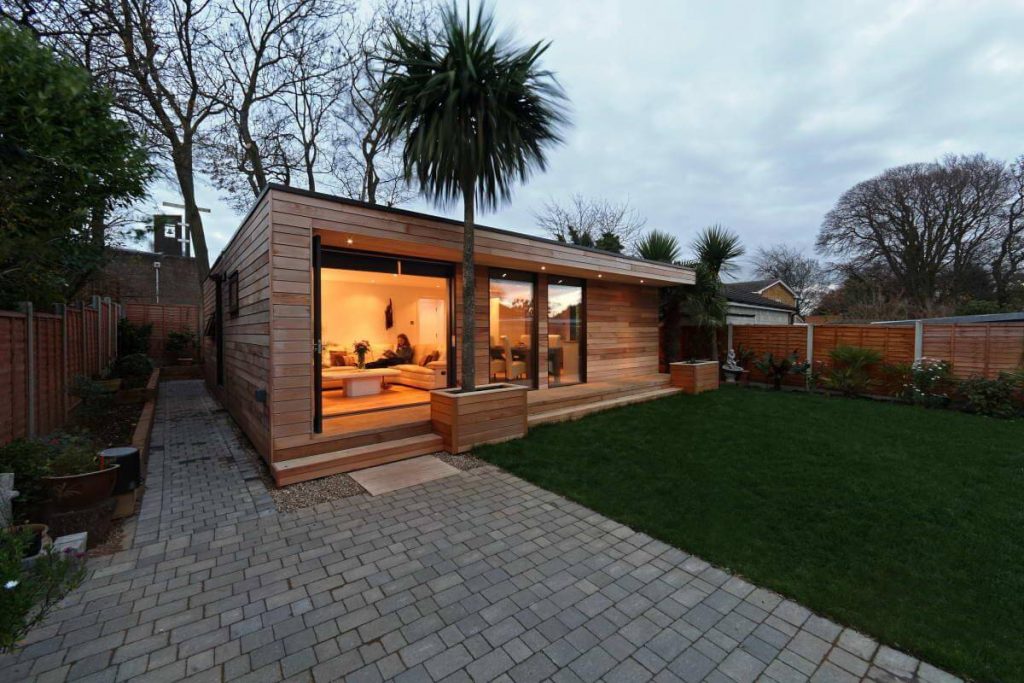
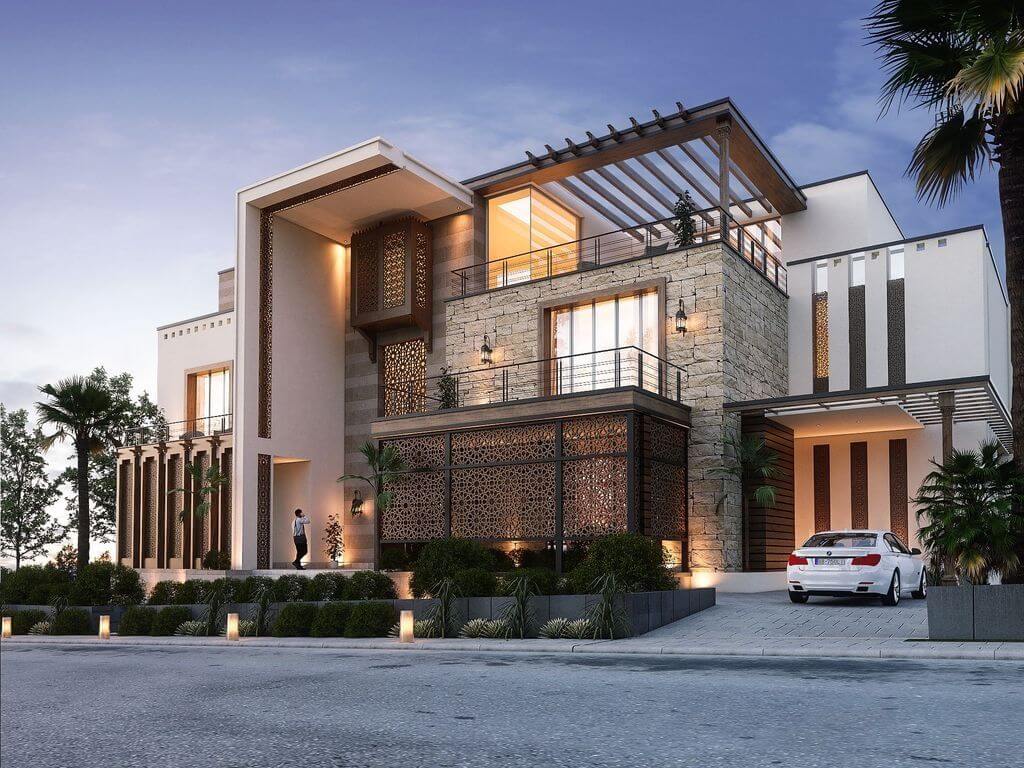
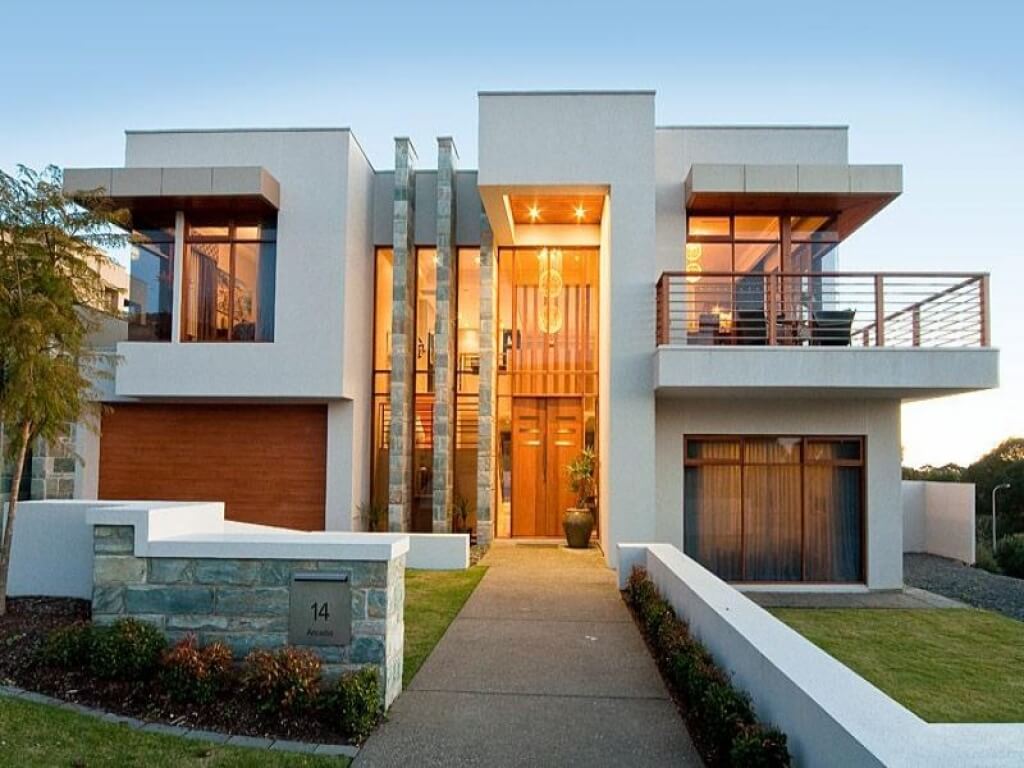
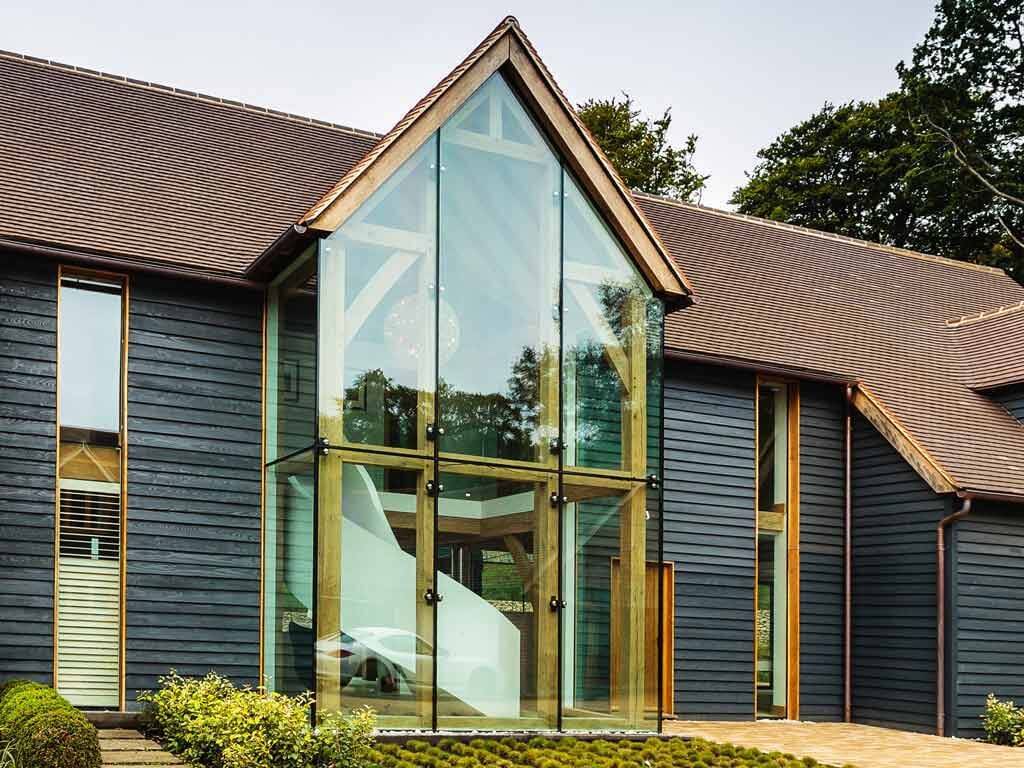
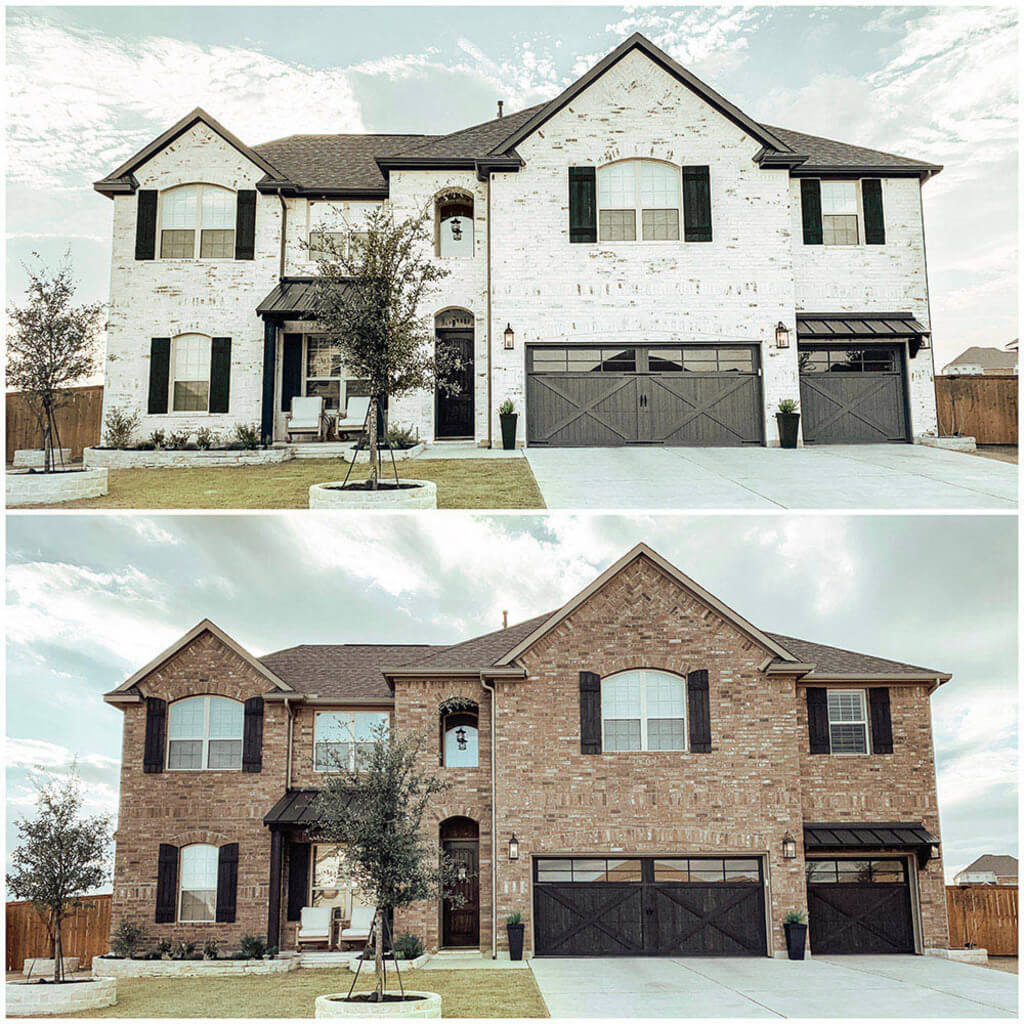
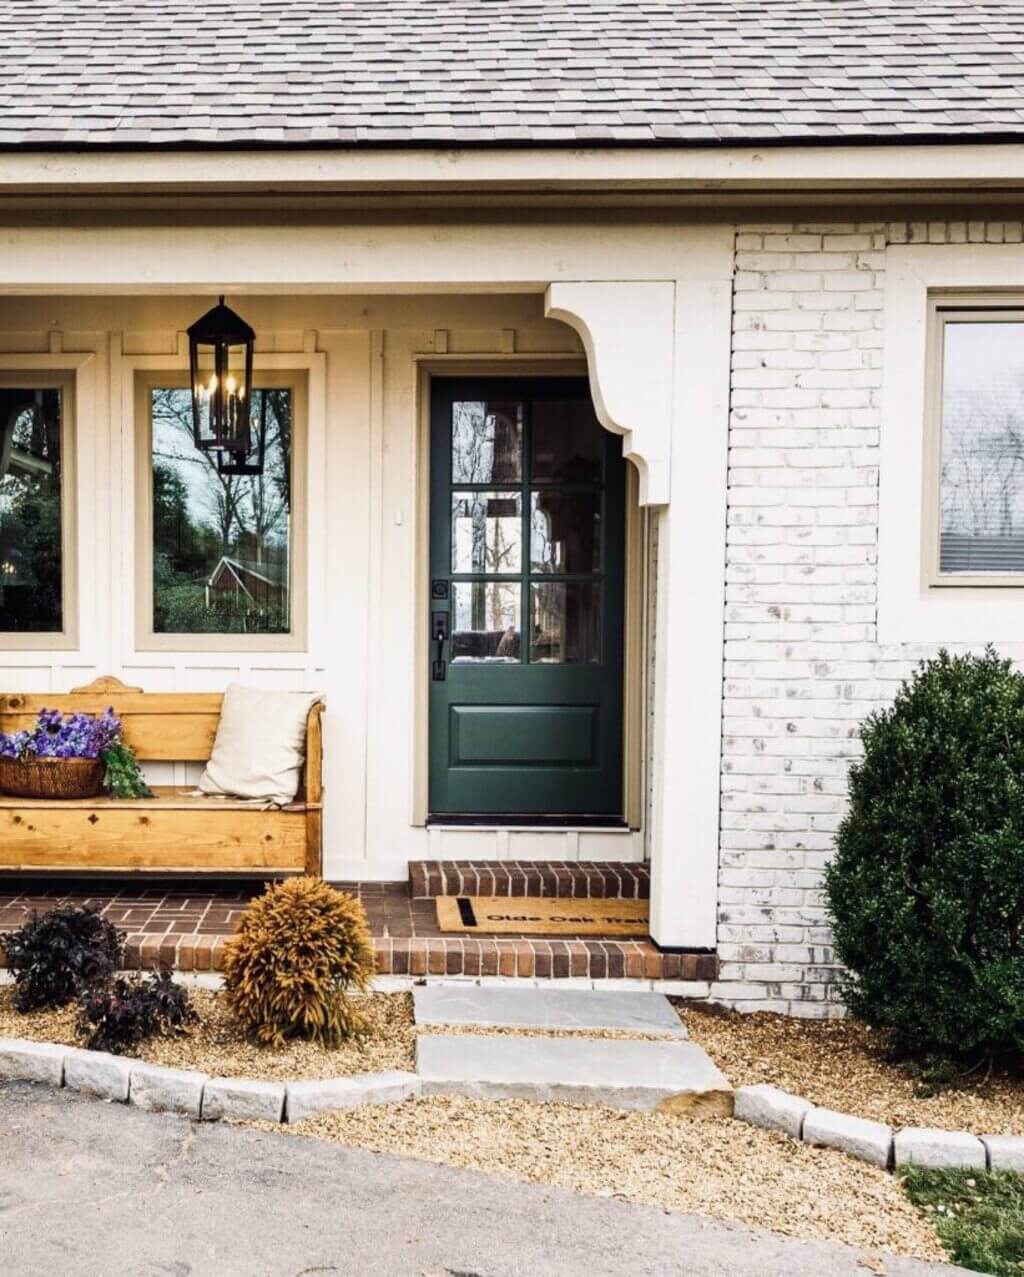
5. Full Of Details
Even a tiny house with a simple structure looks good. Include some minute detailing with wood in your exterior to make it even prettier.
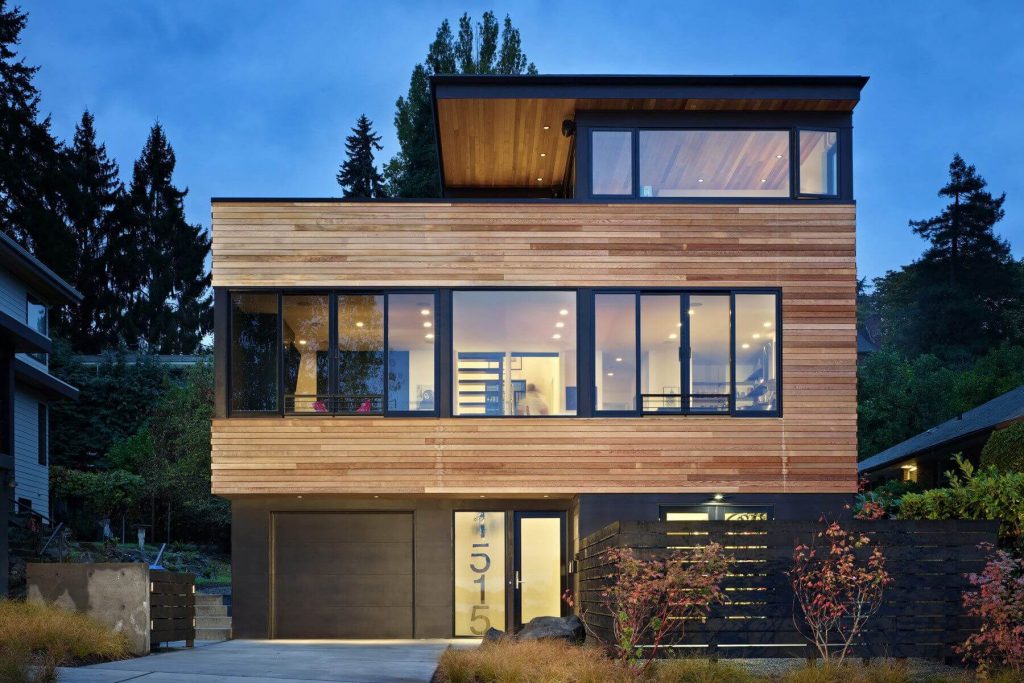
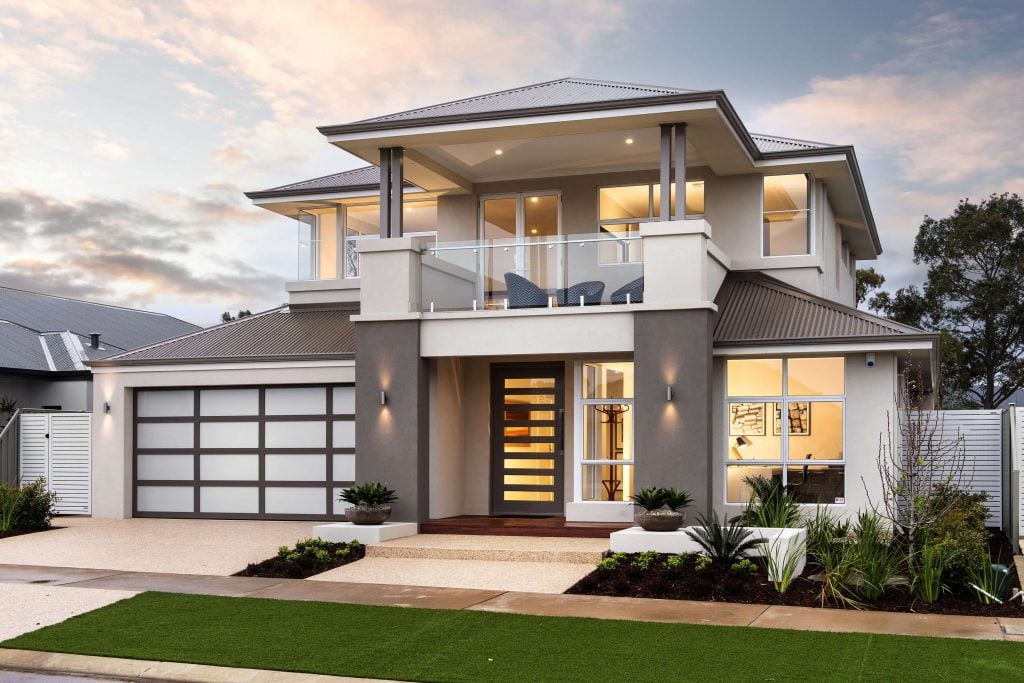
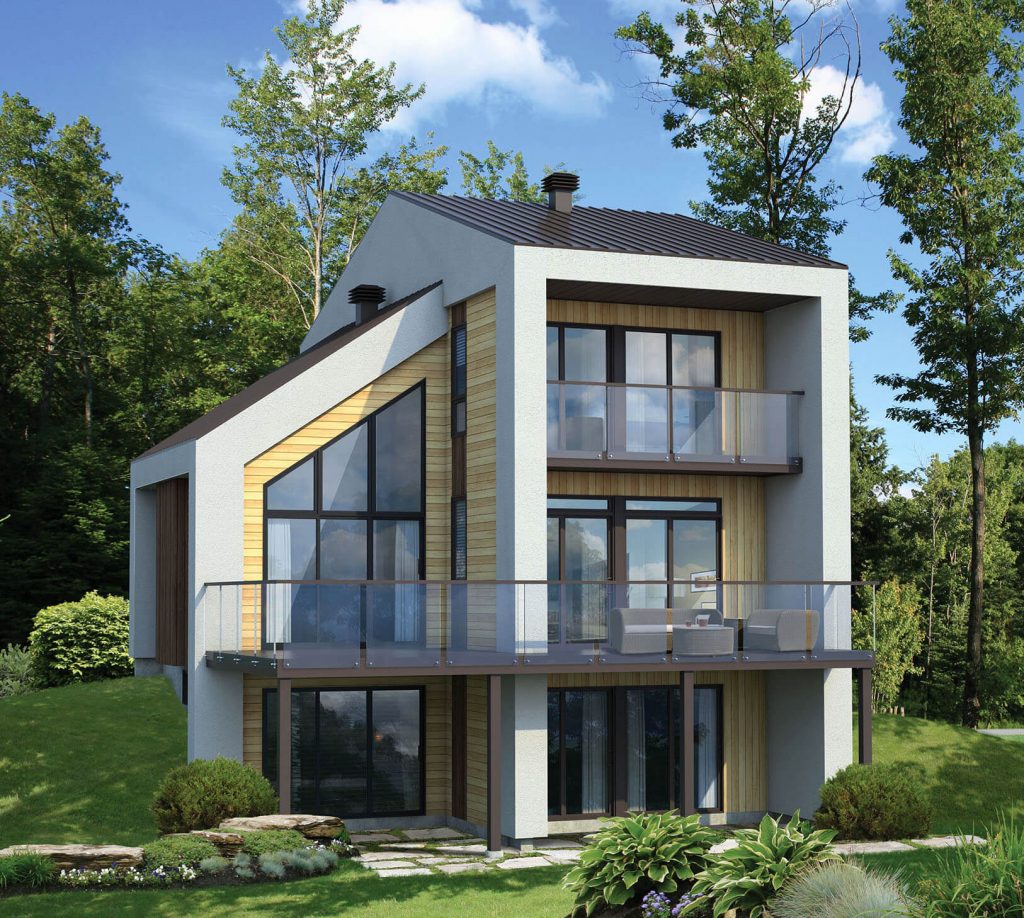
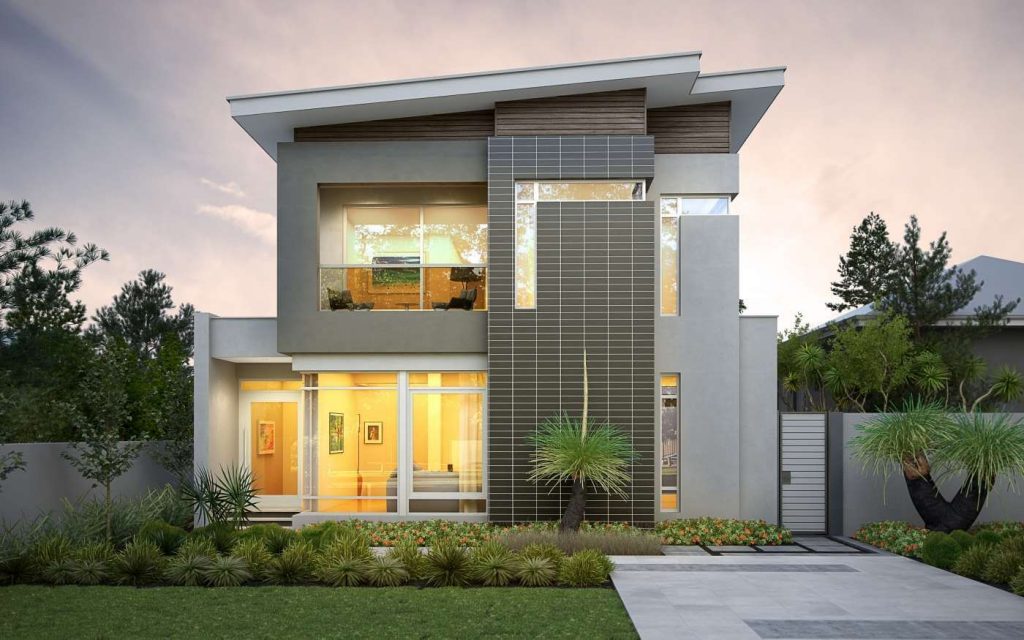
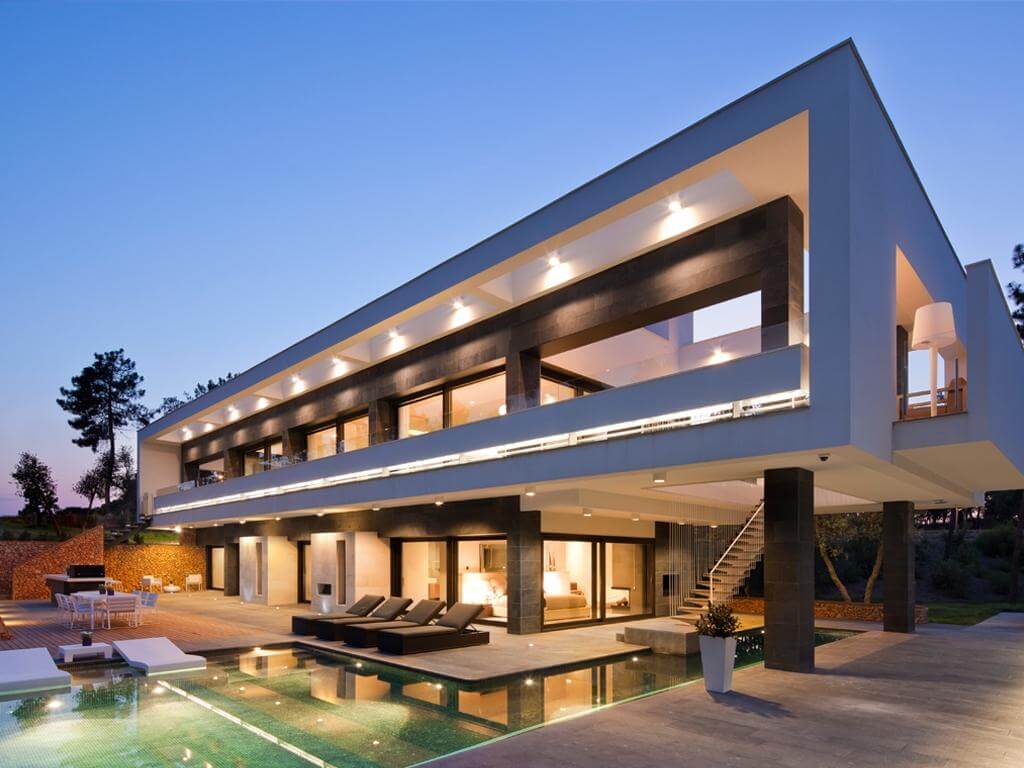
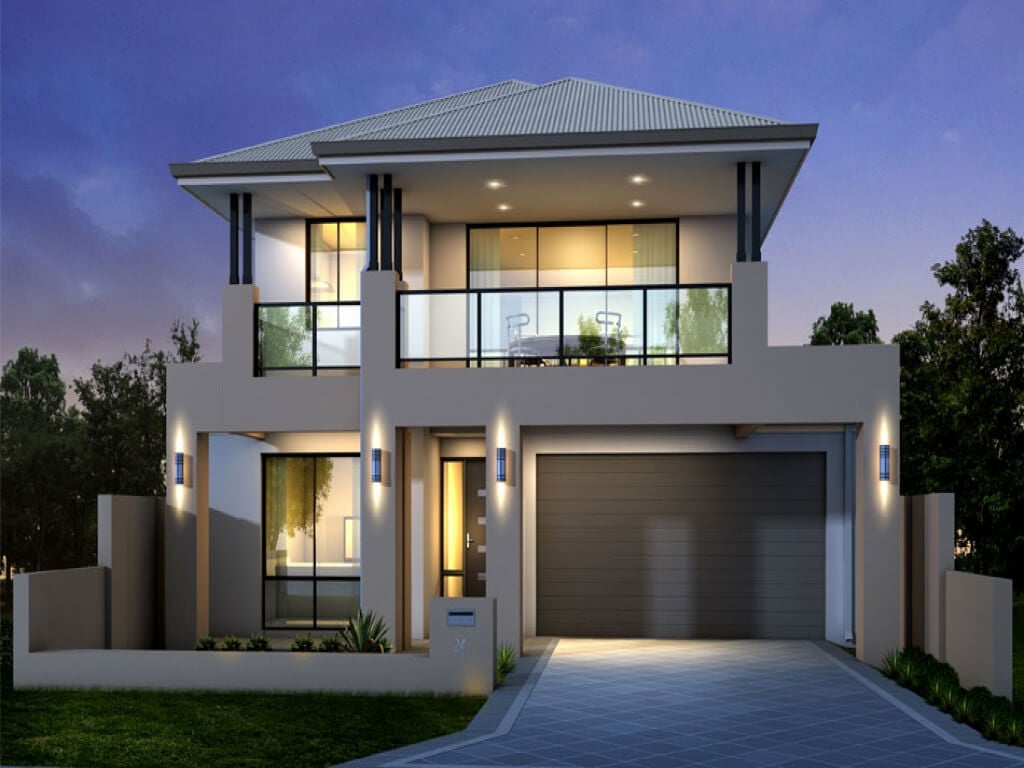
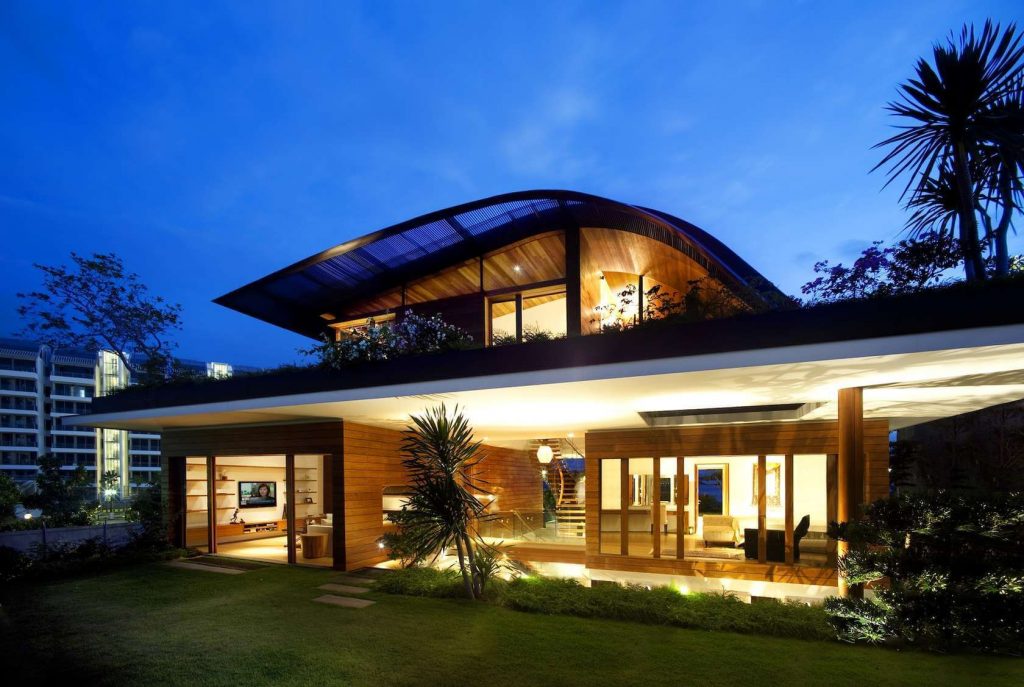
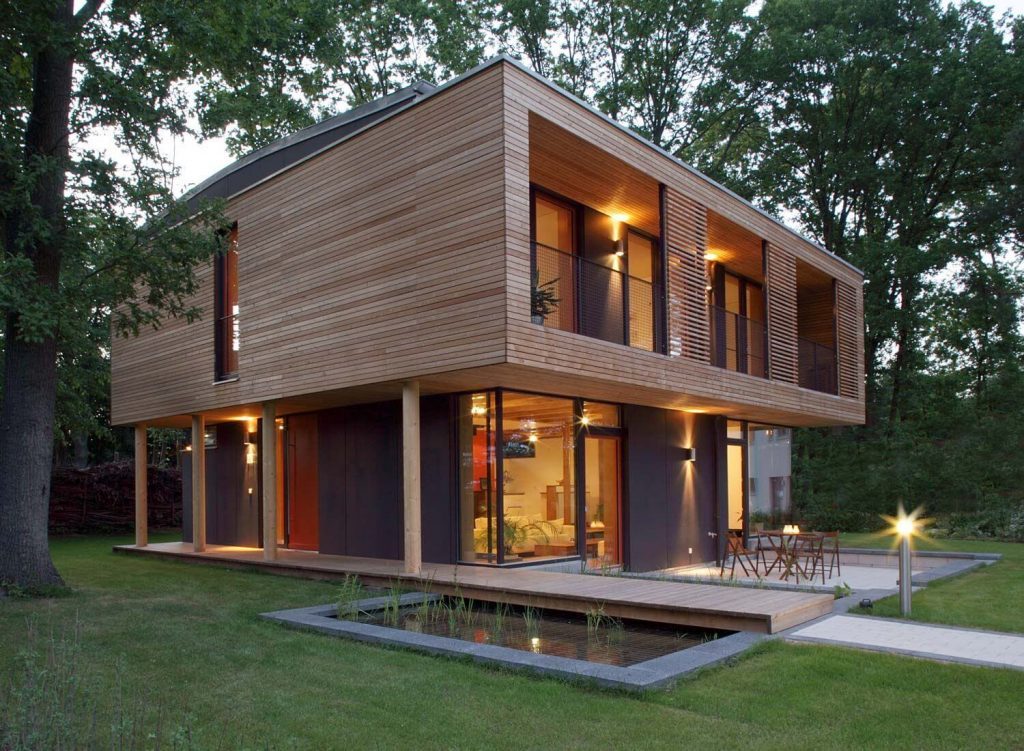
6. Two-Storey (Multi-Level)
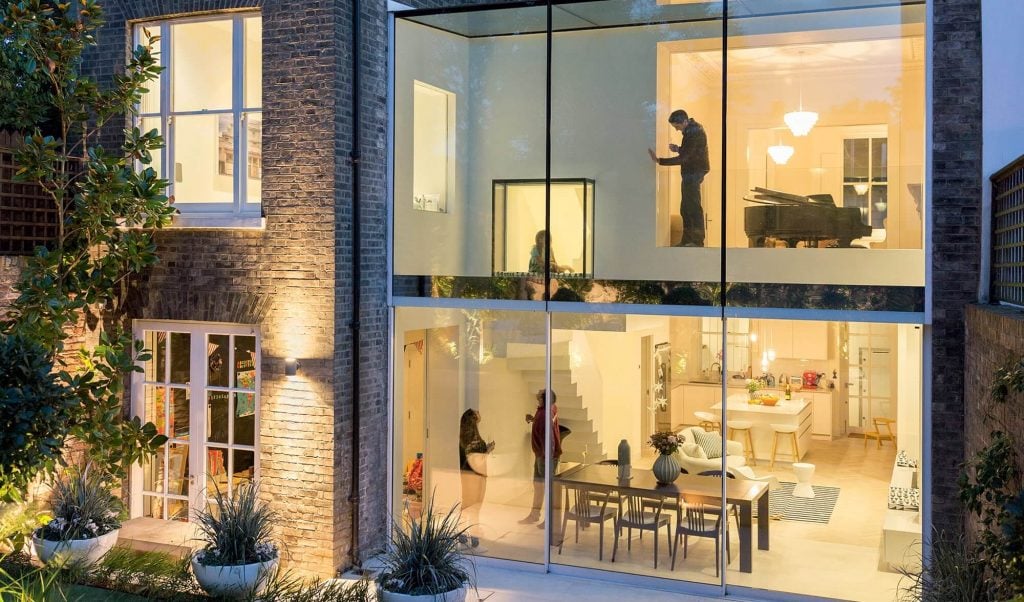
Don’t bind yourself with a single storey. You can also create two levels in the smaller plot area. It seems hard, but believe us, the two-storey homes will perfectly divide the spaces, and you will get multiple spaces. Like this house, it has two bedrooms on the top level and living and dining area at the bottom level.
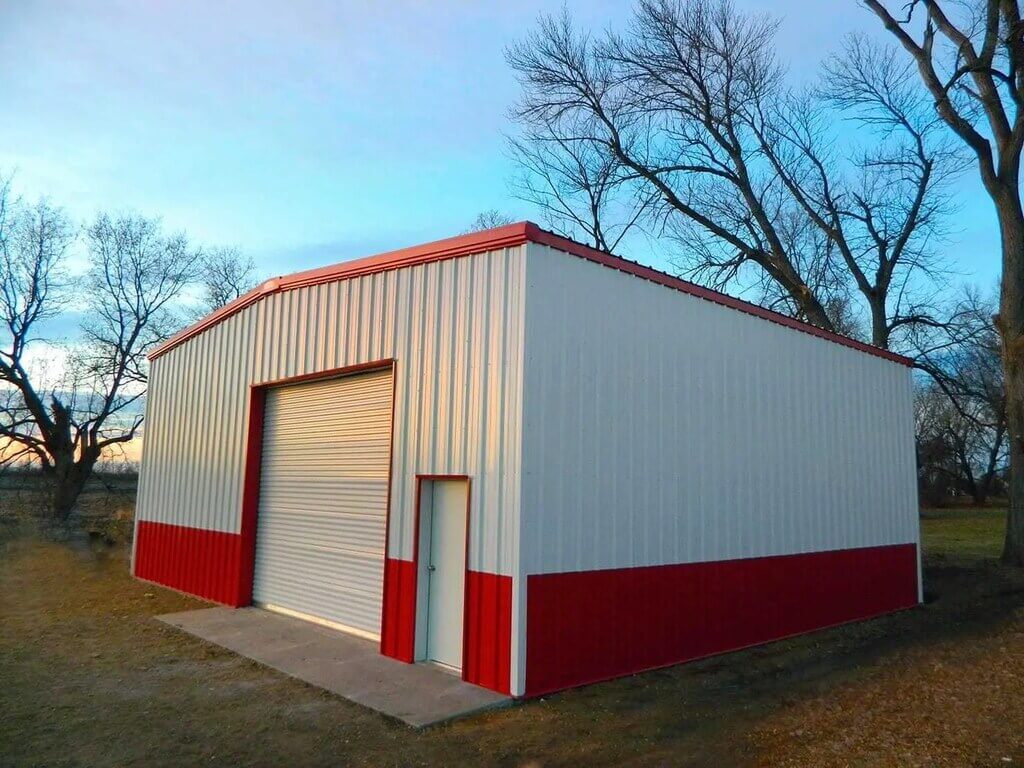
7. Container House
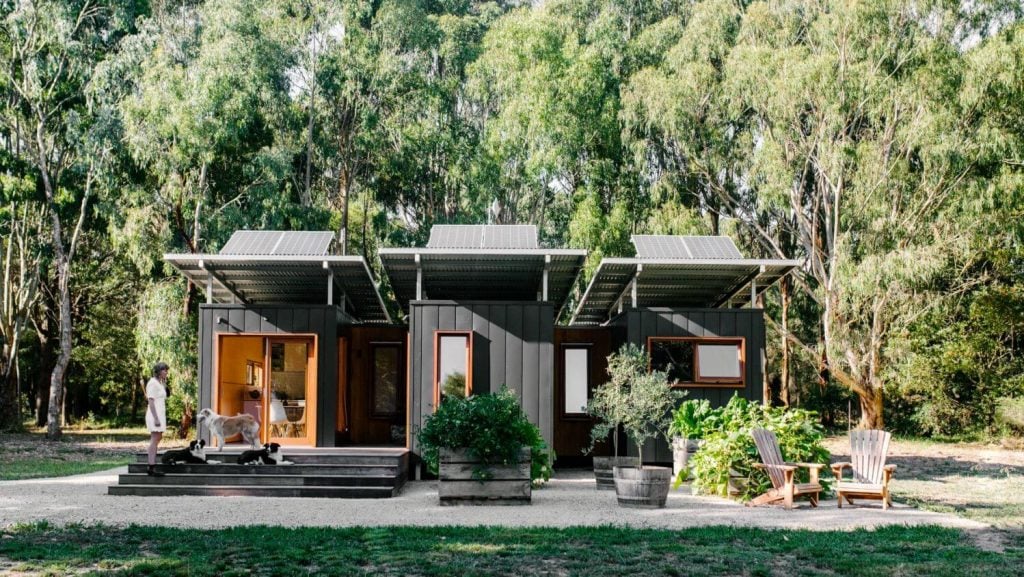
Yes, we know that containers are used to move goods, but you can also use them to build your house!! These container houses are very much in trend. Without many building materials, you can easily build your dream home. They are small, compact, but very attractive-looking.
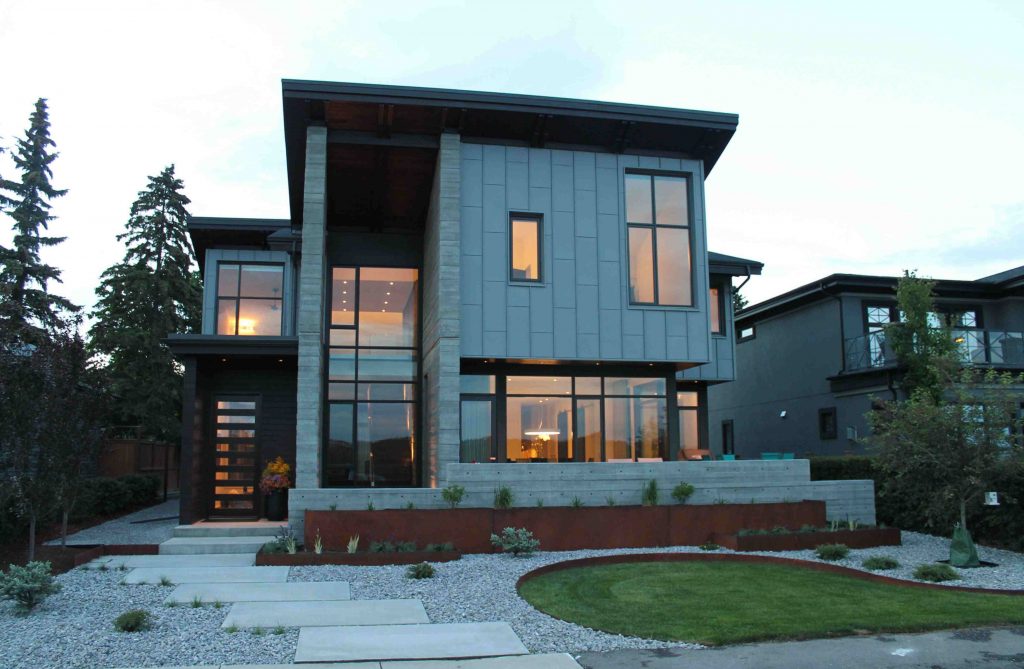
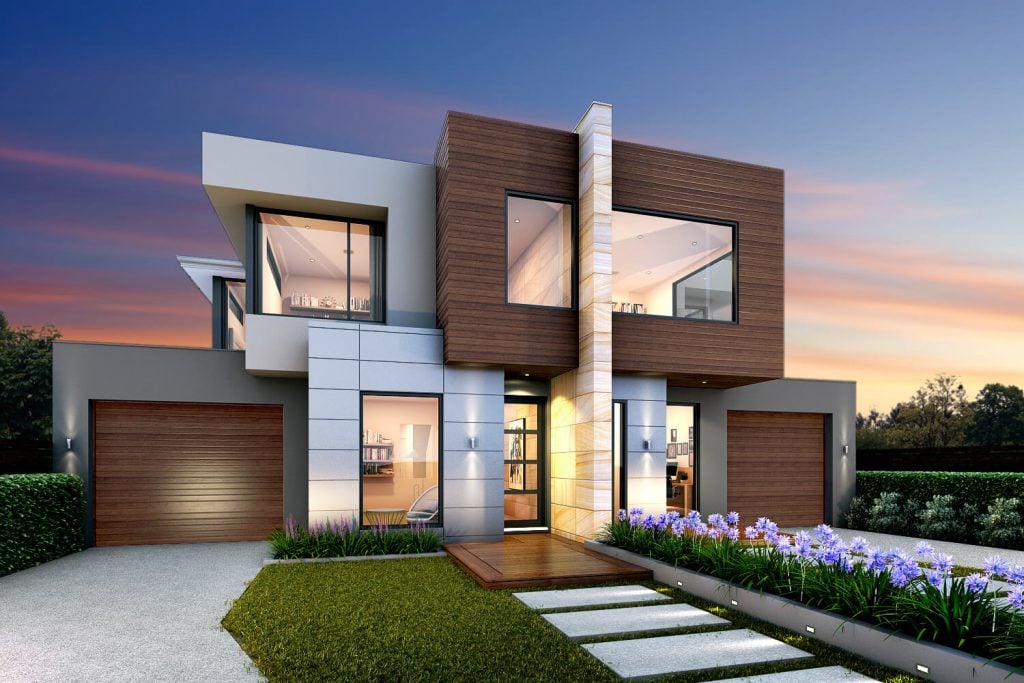
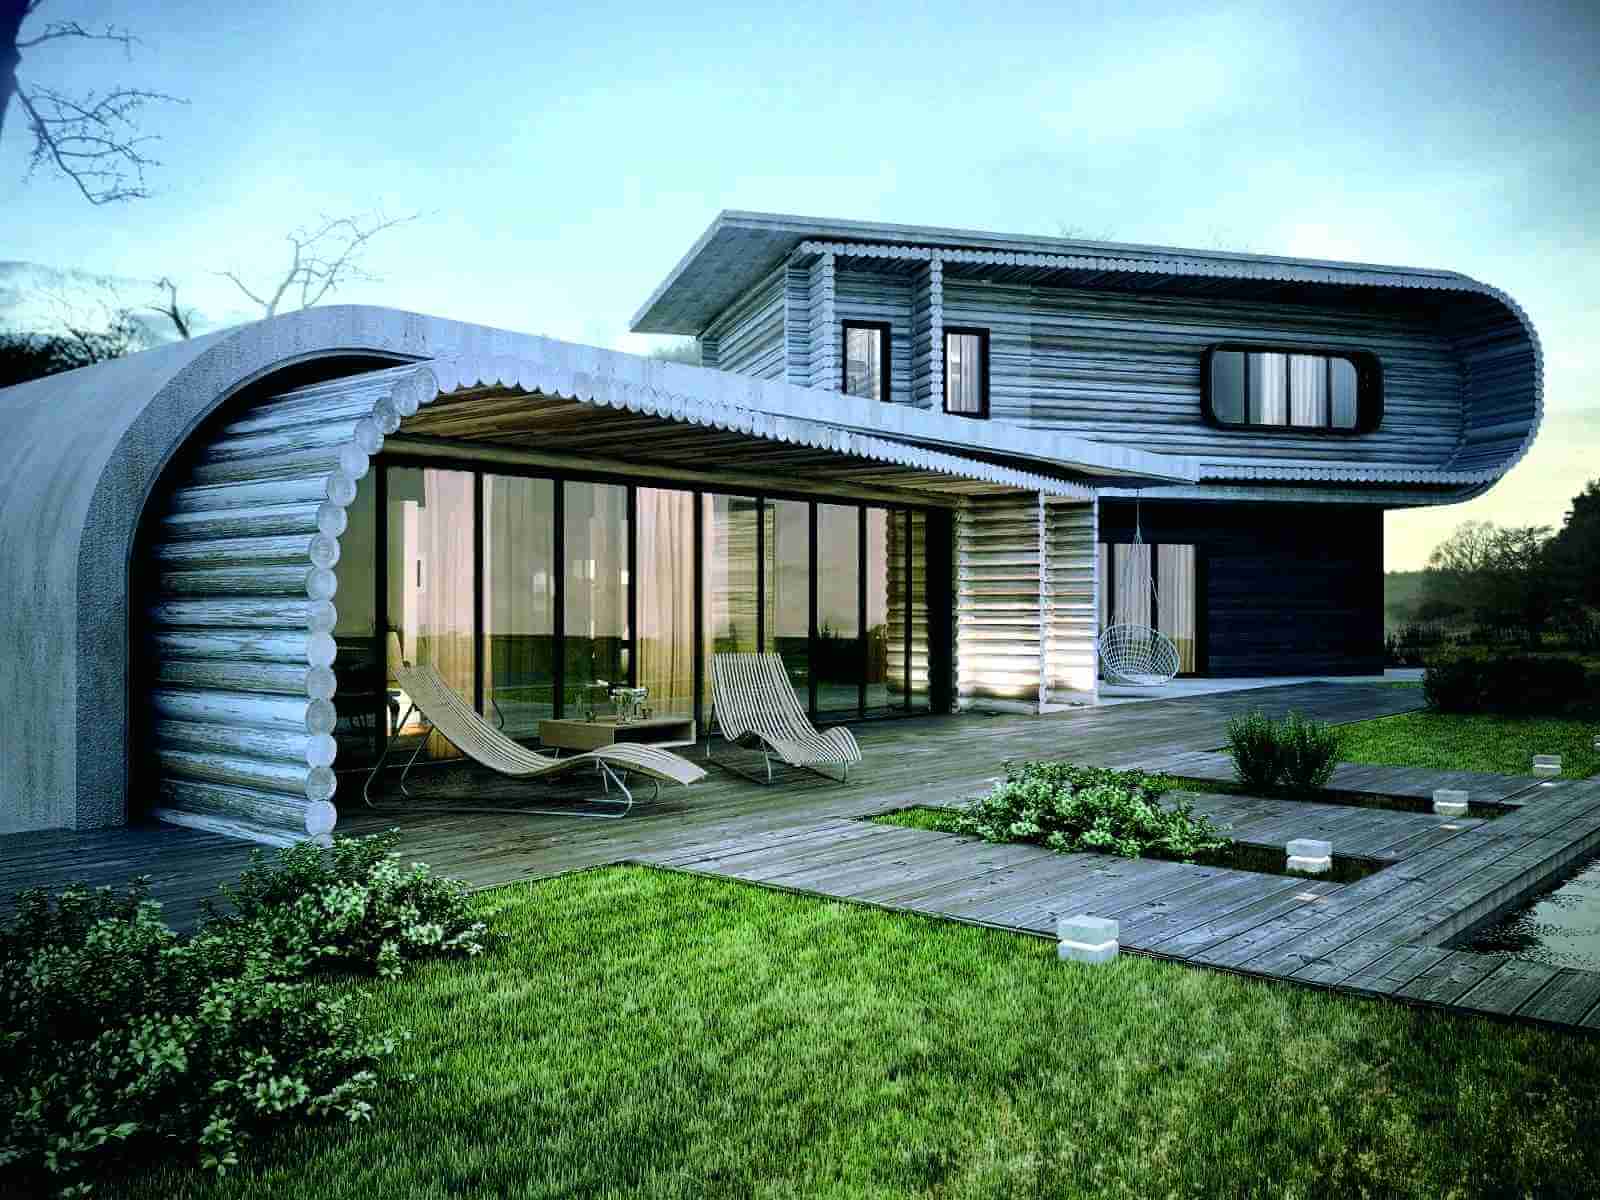
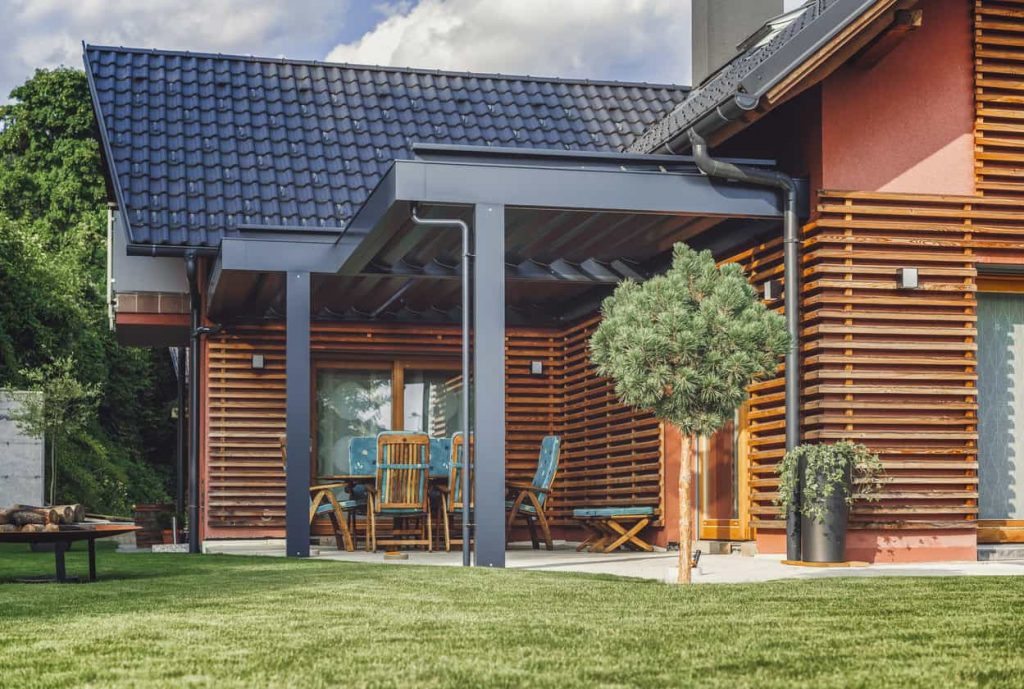
8. Mix Different Materials
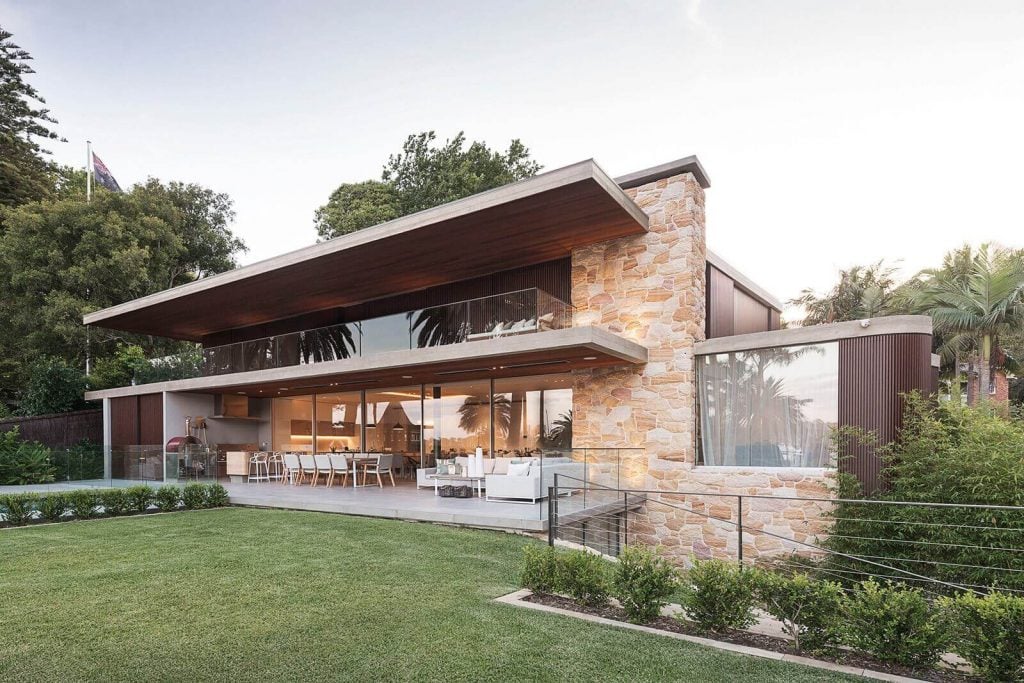
Try using various materials to create a unique and personalized house. Combinations such as Wood + Cement, Concrete + Metal, Glass + Stones.
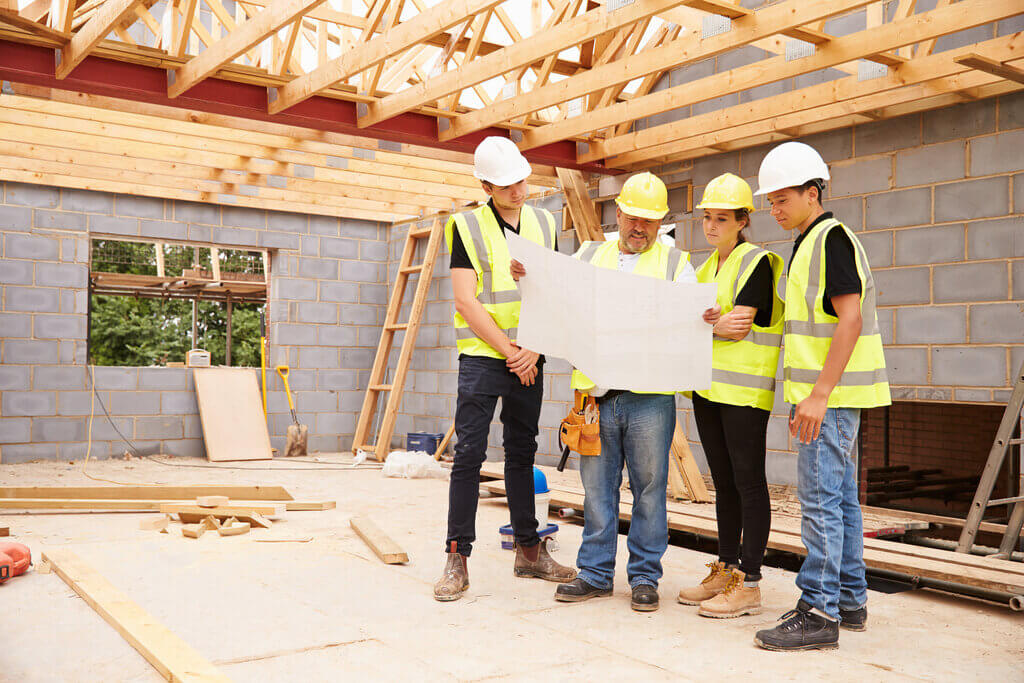
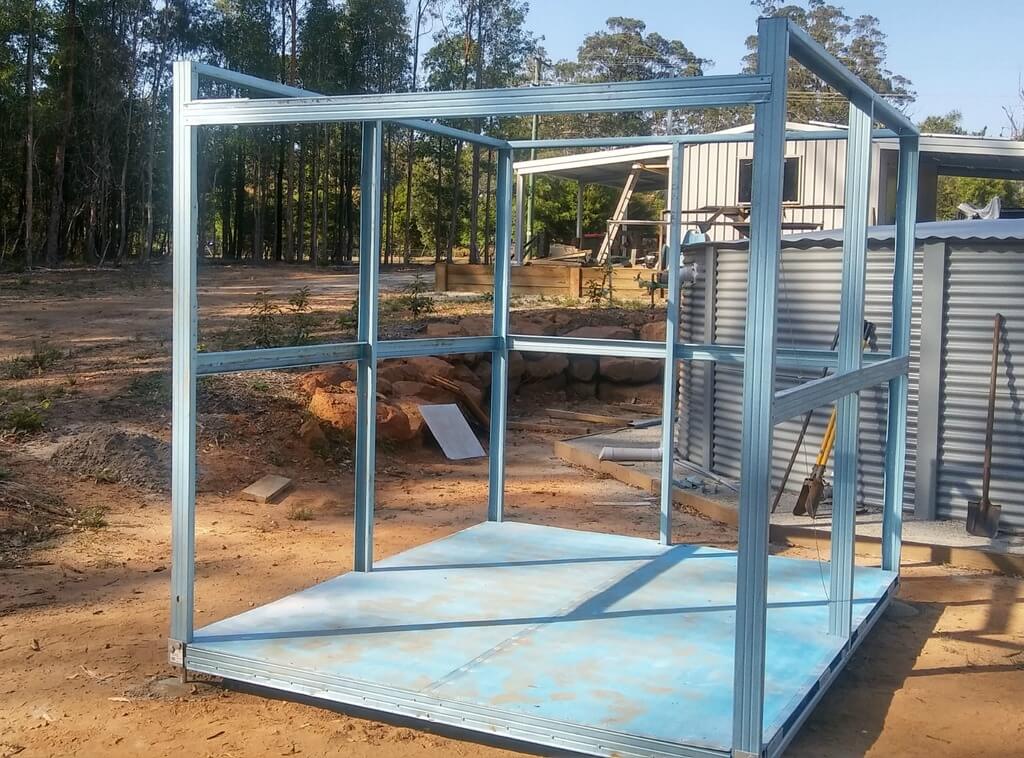
9. Pre-Fabricated Homes
If you don’t have sufficient time and don’t want to spend much, then try Prefabricated homes. They are a cheaper option than the traditional construction of a house.
Interior:
Not only exterior plays a vital role in house designing but also interiors. To achieve a well-designed home, you have to work on both.
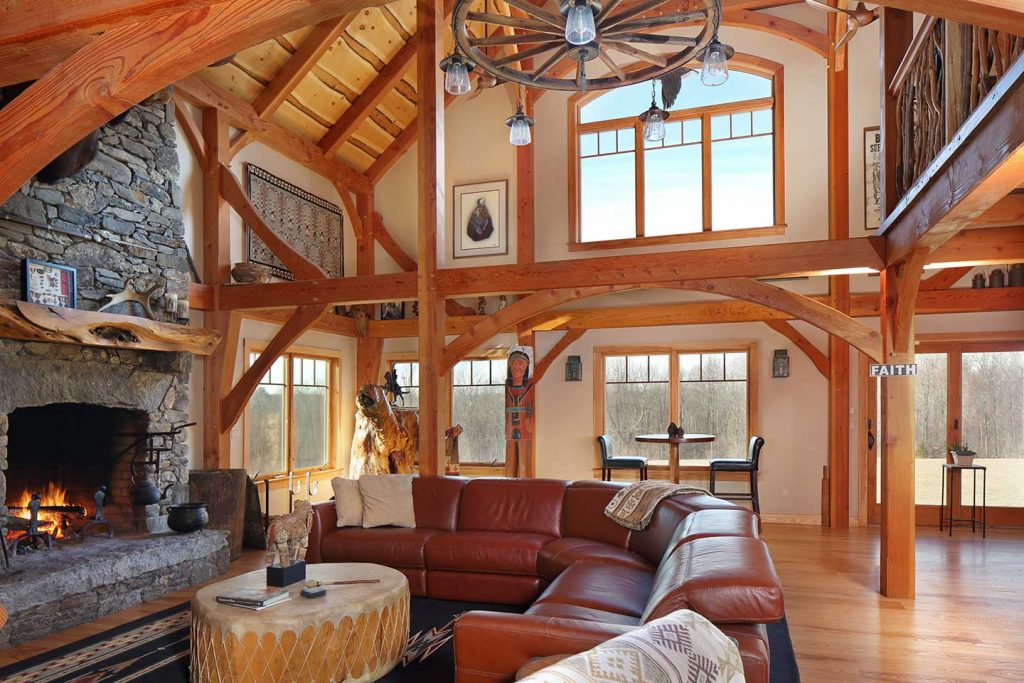
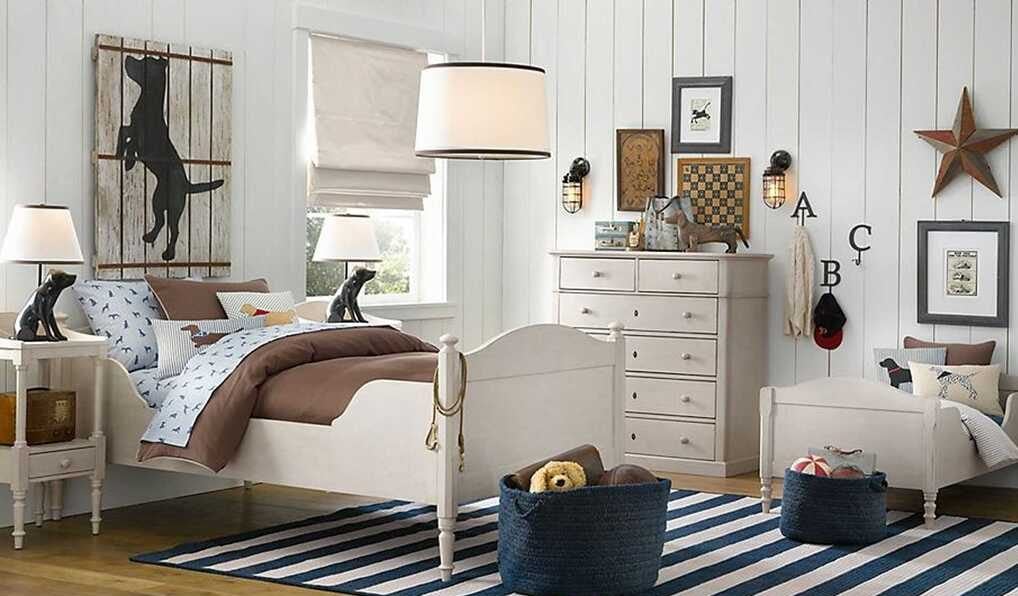
1. Wood
Feel free to use wood in your inside of your home. You can use timber in multiple ways, like use it to build your stairs, cover your ceiling, or create a textural wood wall.
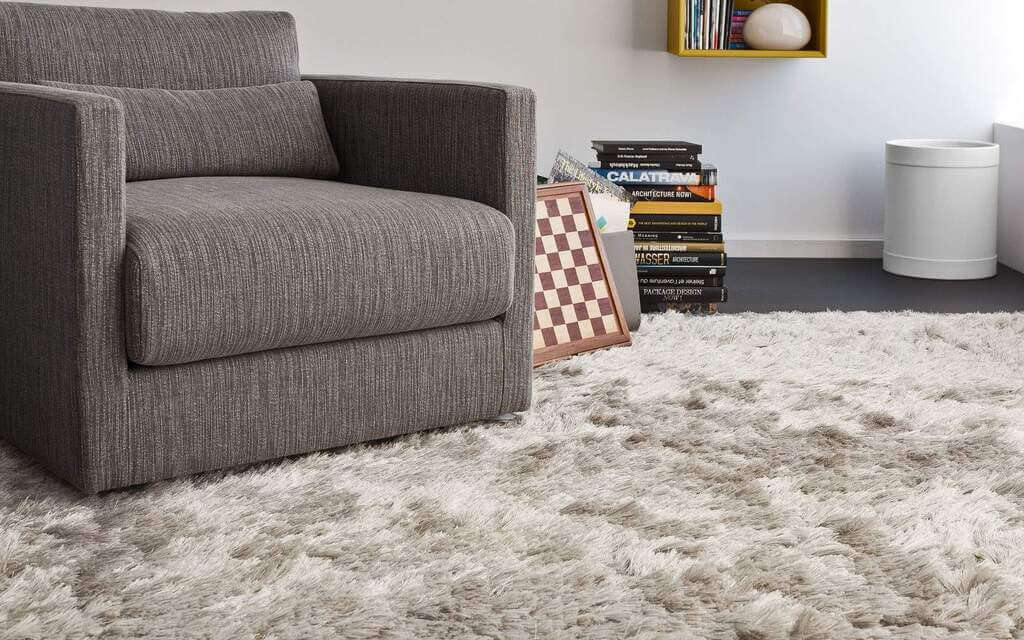
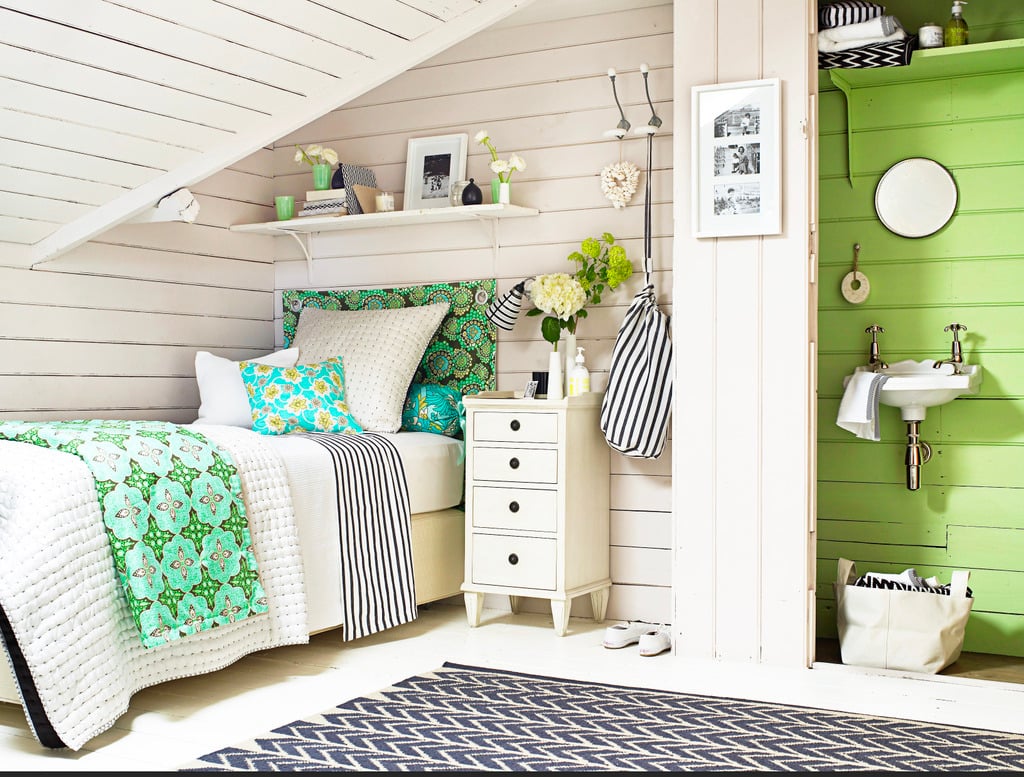
2. Be Resourceful
When space is limited, you have to be smart with the furnishings. Avoid bulky furniture items, instead of that use light and multi-usable furniture to create a simple small house design.
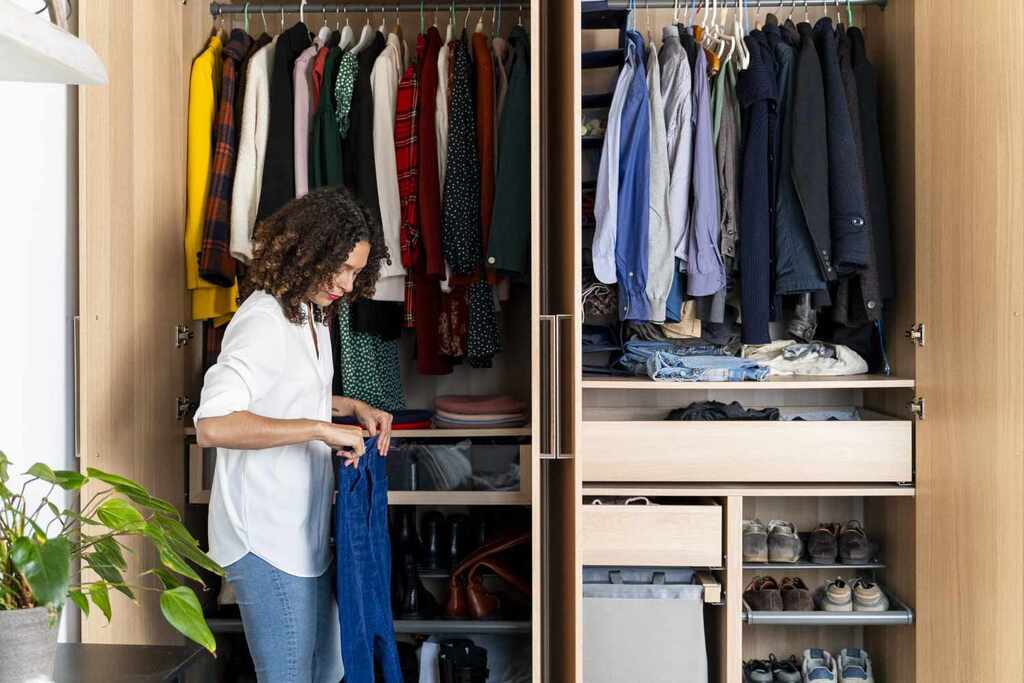
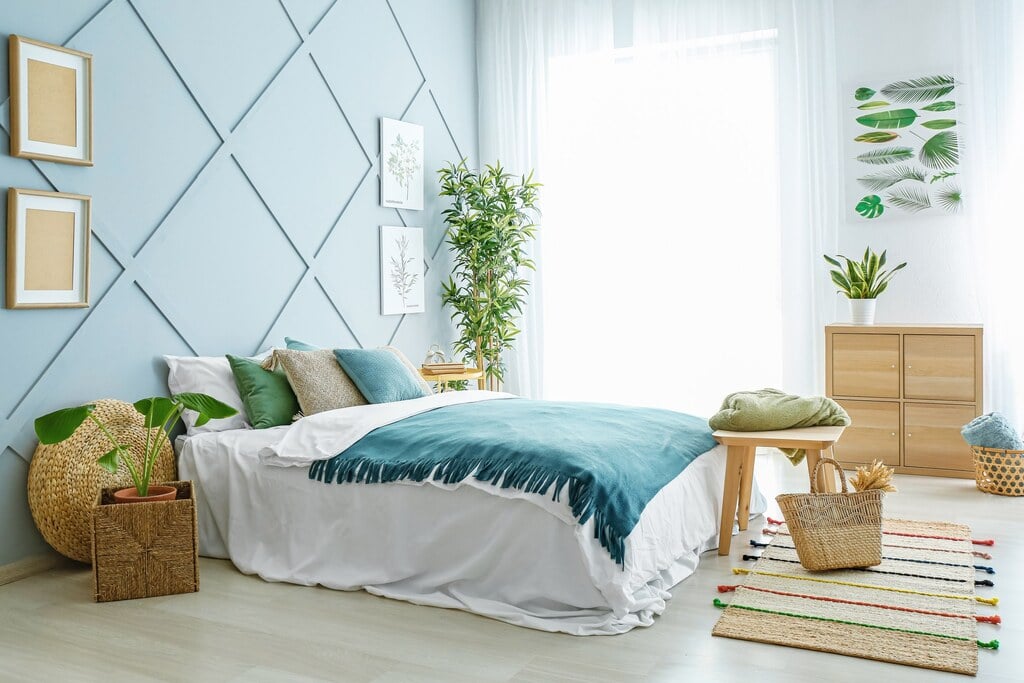
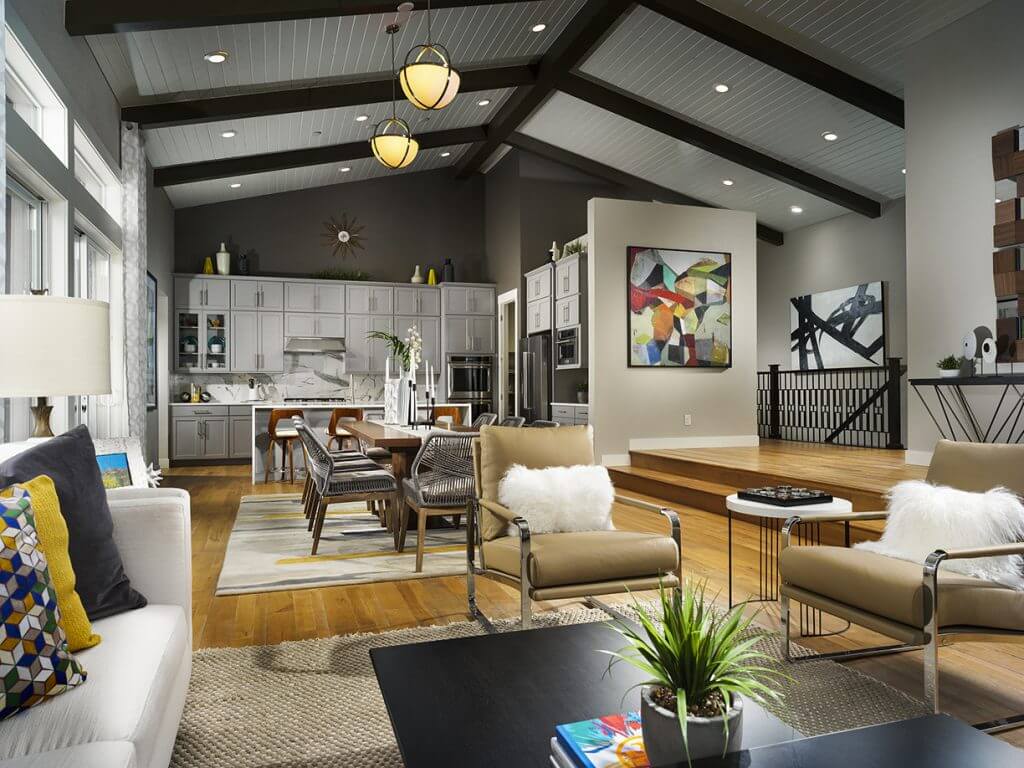
3. Open Spaces
“ Create Spaces” I know it sounds kinda weird. Now you think that how you can create a space because you already have a smaller space?. The thing is, when you create little open spaces around, it will create an illusion of a bigger space.
Types Of Simple Small Houses:
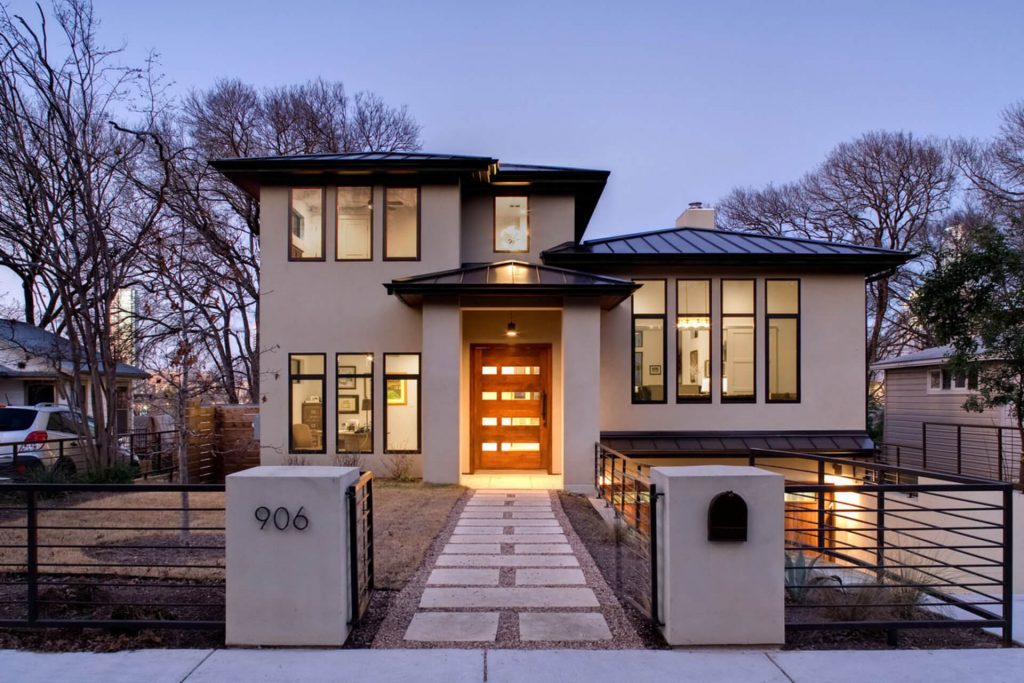
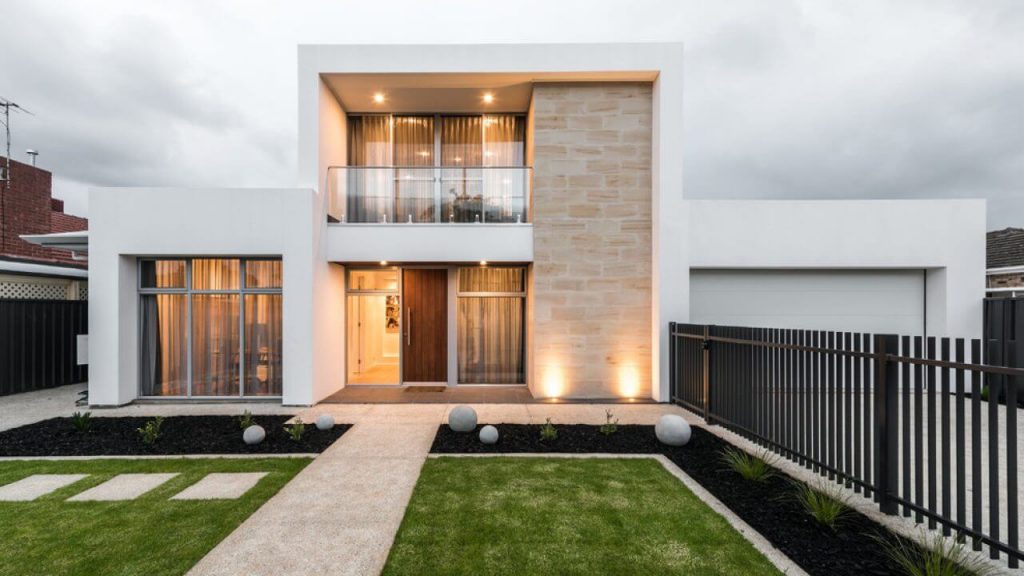
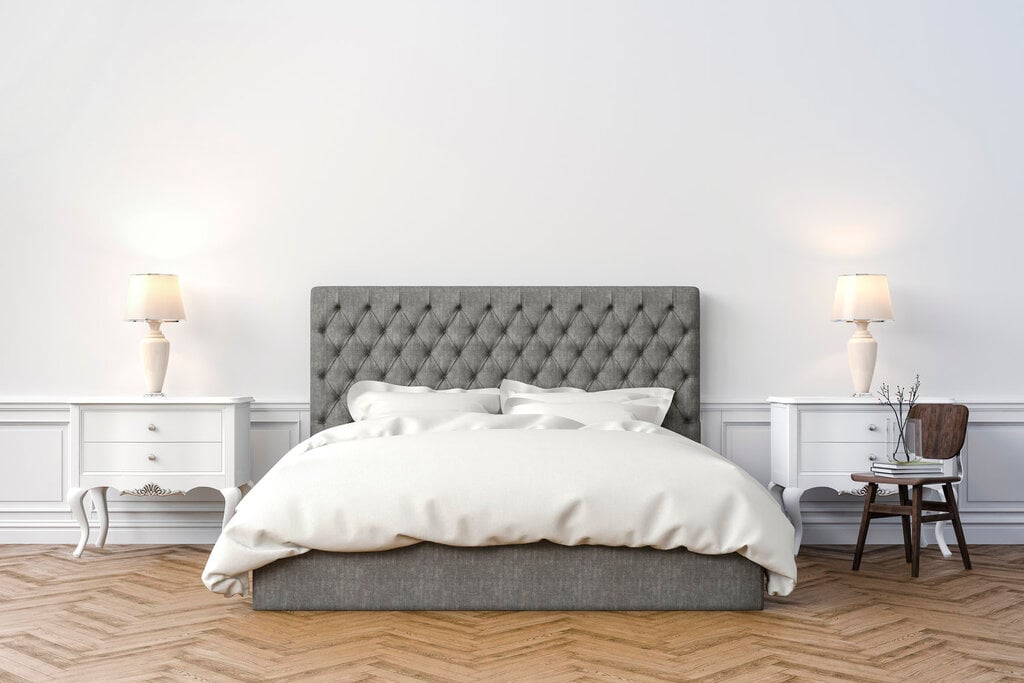
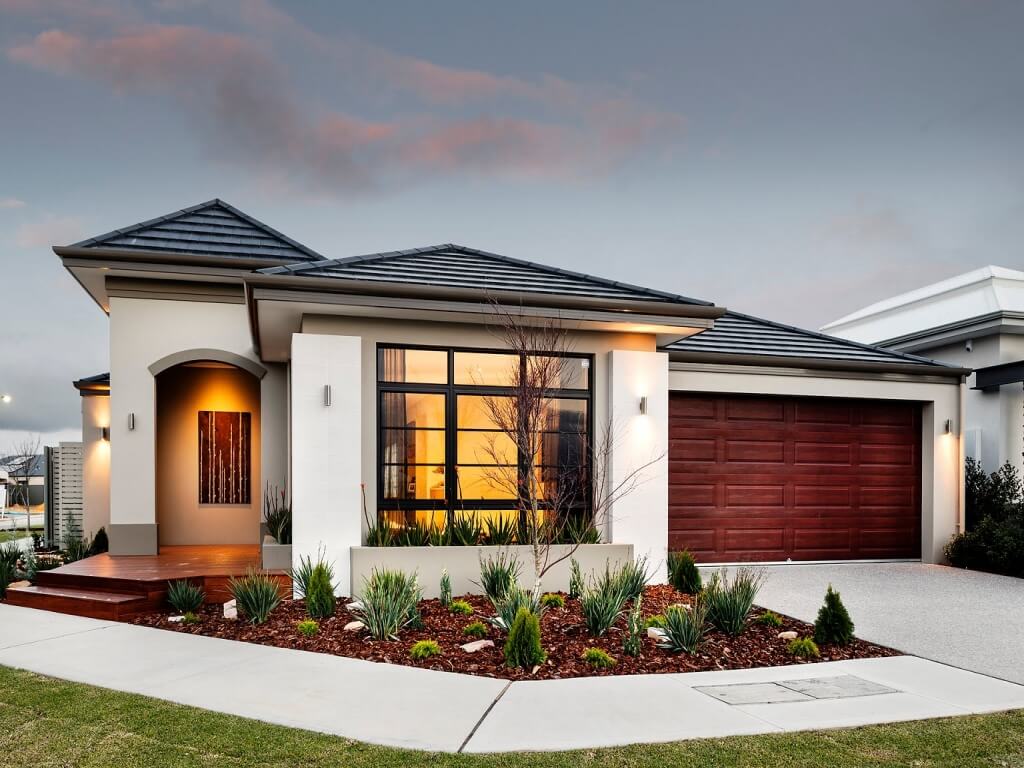
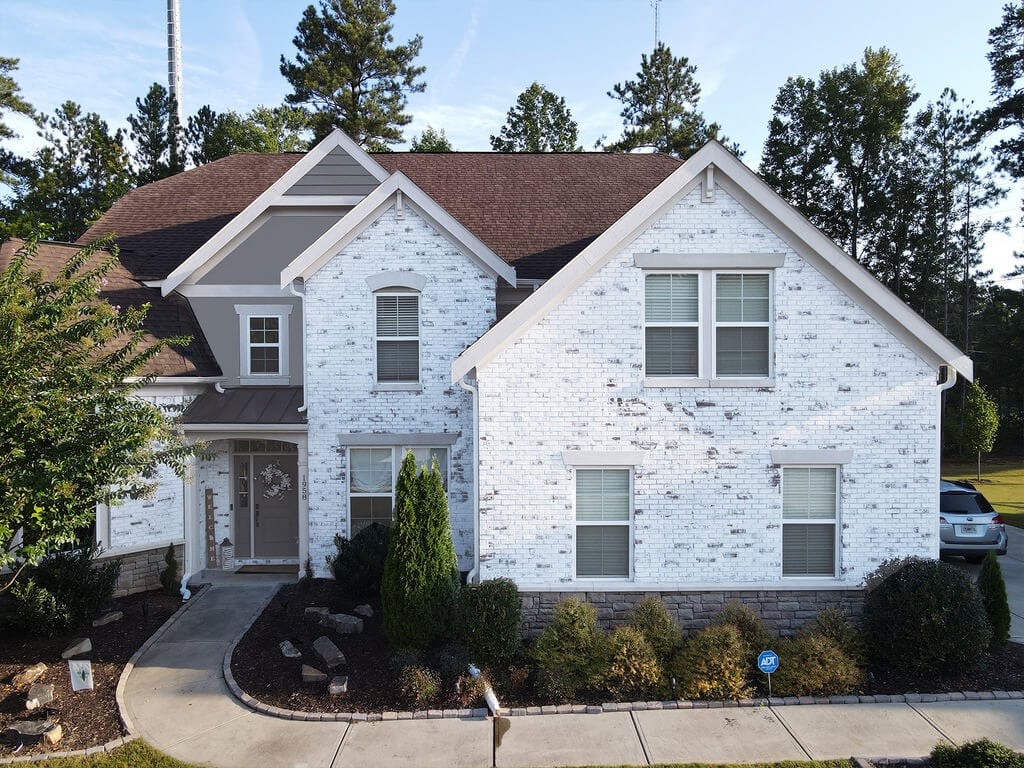
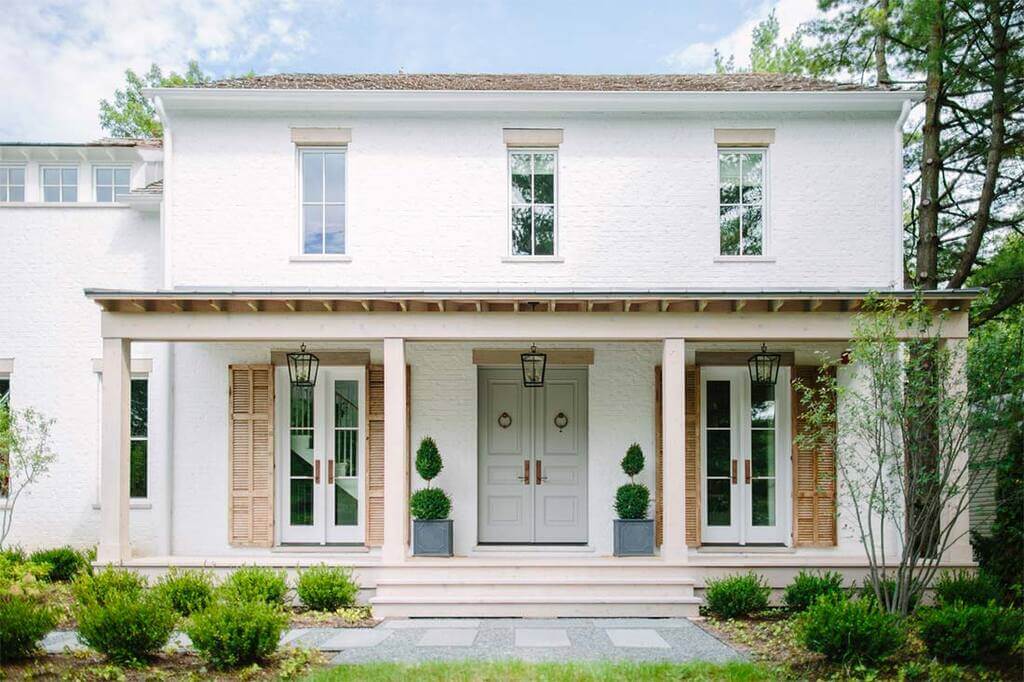
1. Simple Modern House
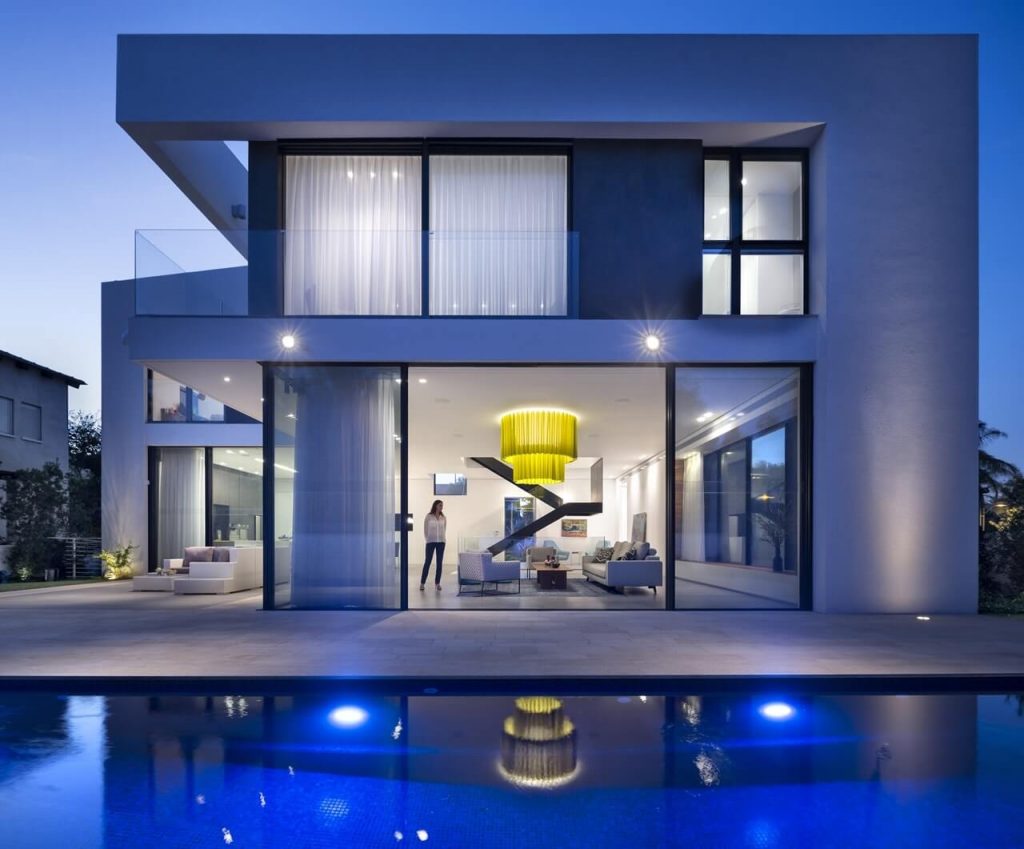
Modern houses have clean and symmetrical design elements. The clean lines, expansive windows make any house modern looking.
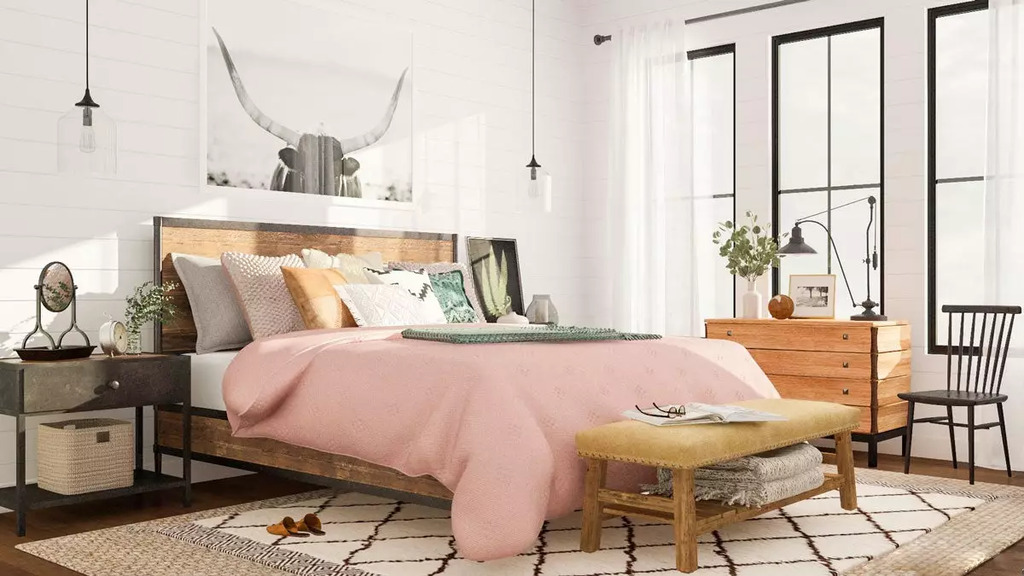
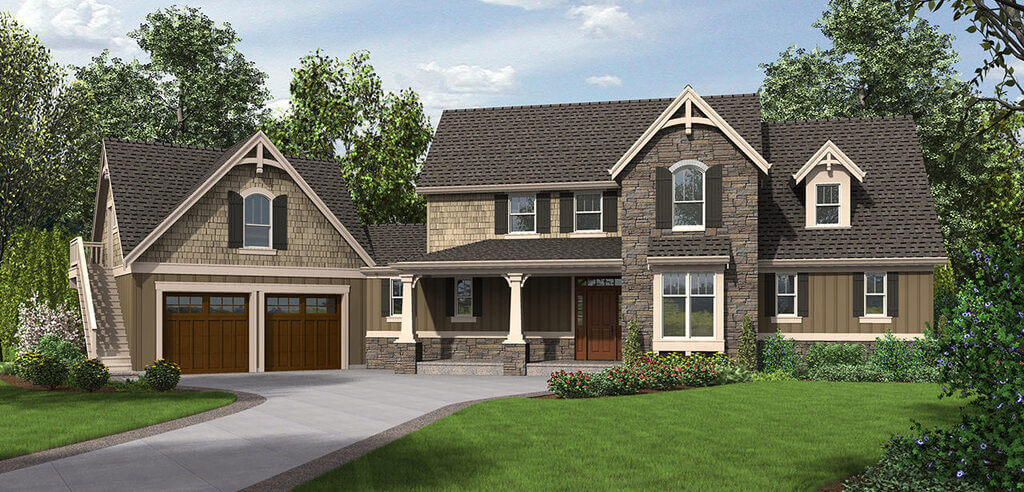
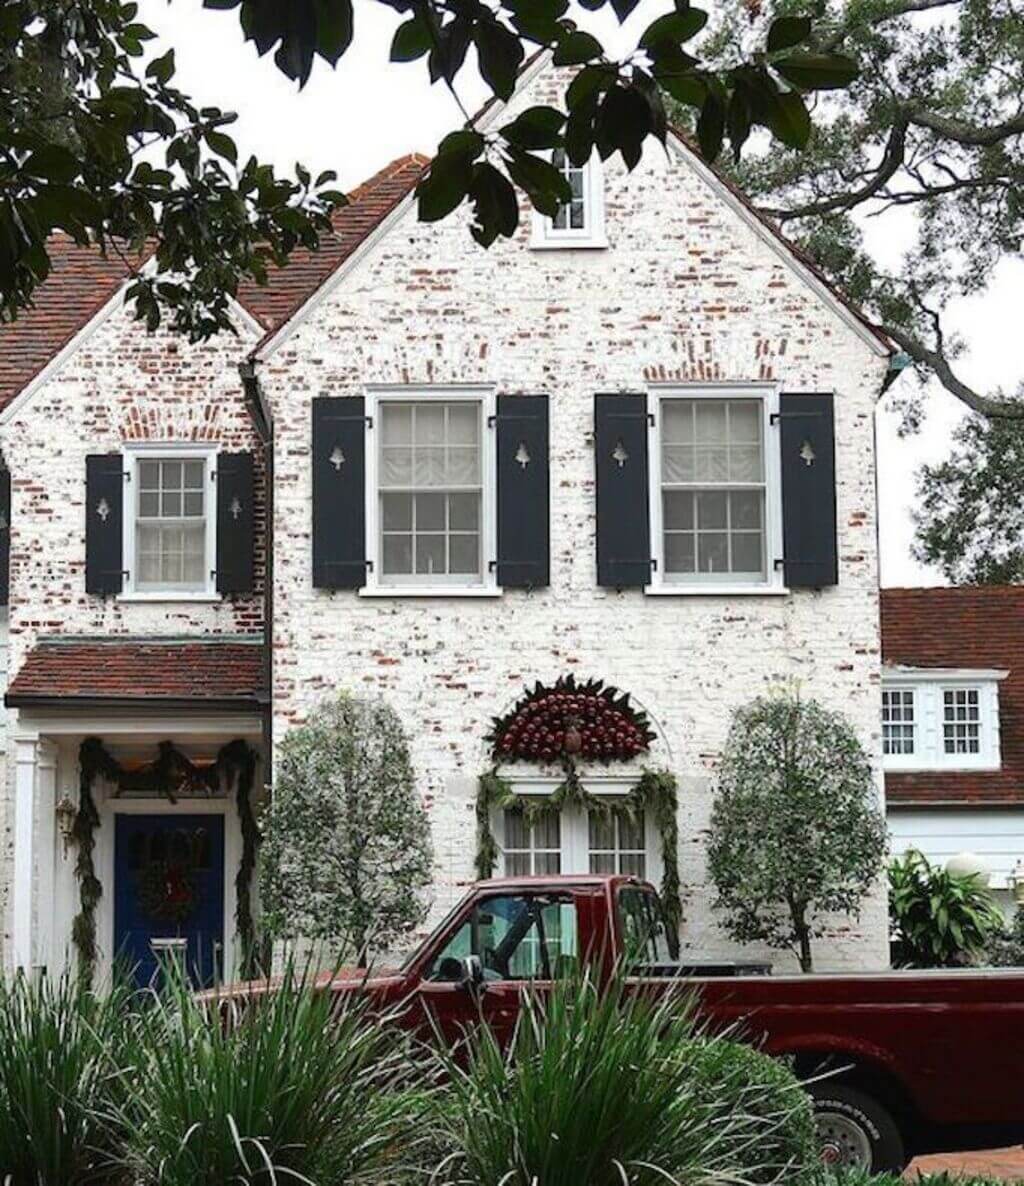
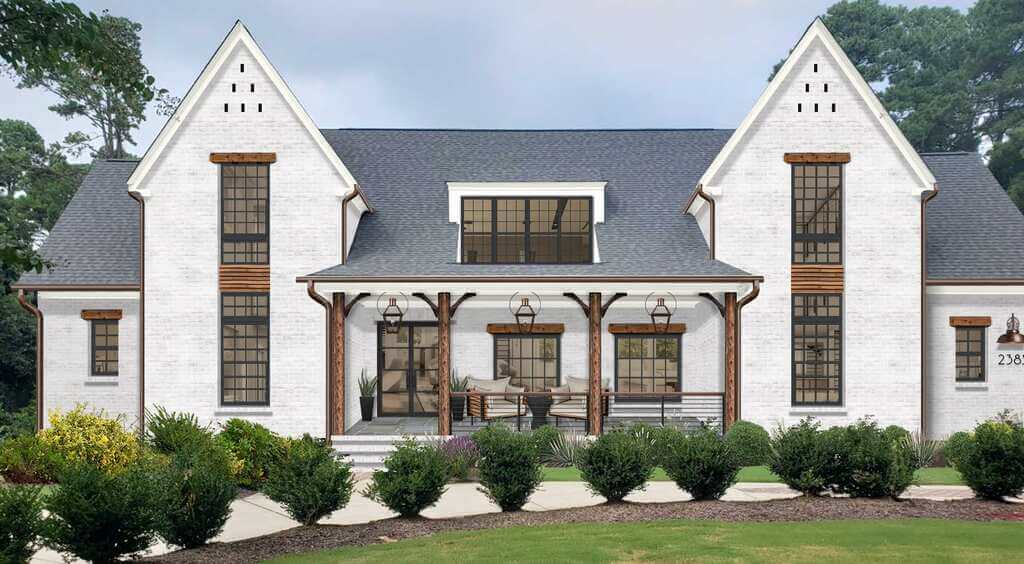
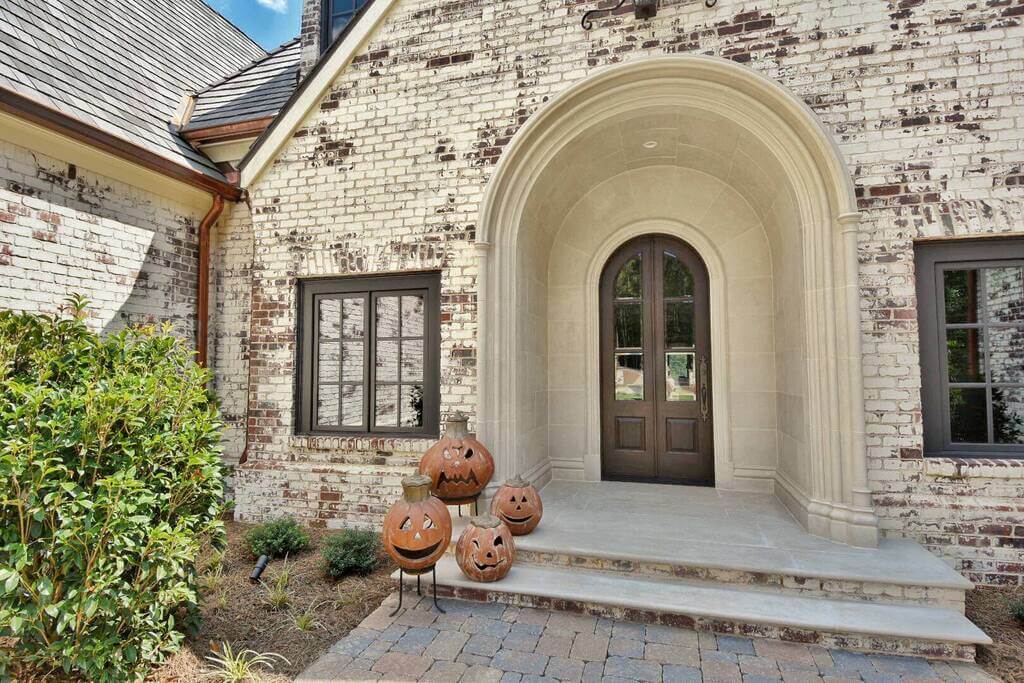
2. Rustic And Dreamy House
A combination of natural materials with earthy tones will look absolutely astonishing and give rustic vibes. Choose the colors for your house wisely, as they play a significant role in the appearance of the home.
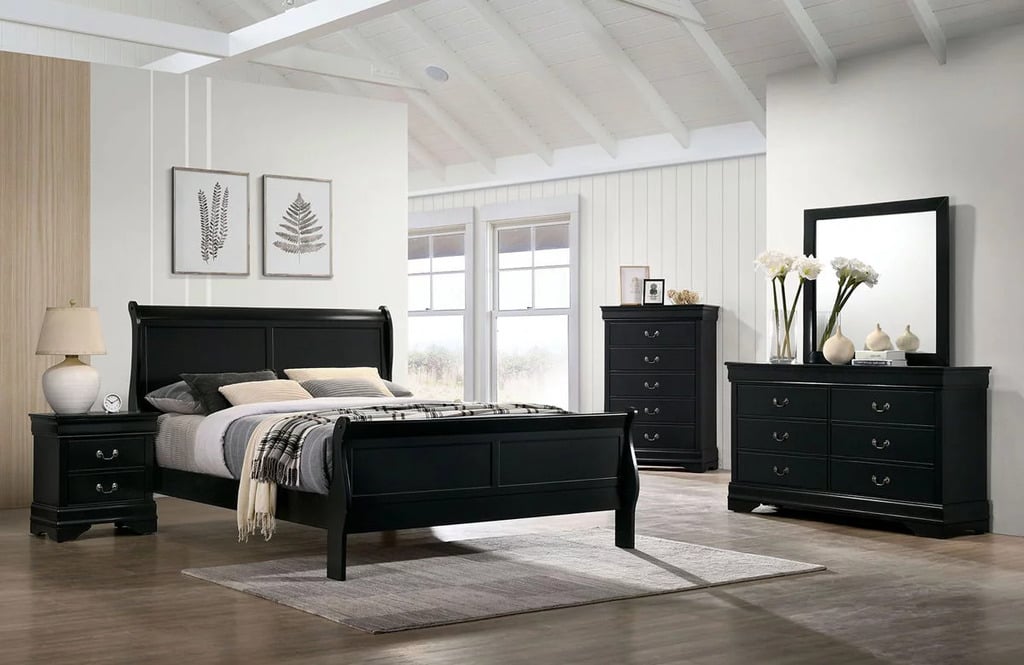
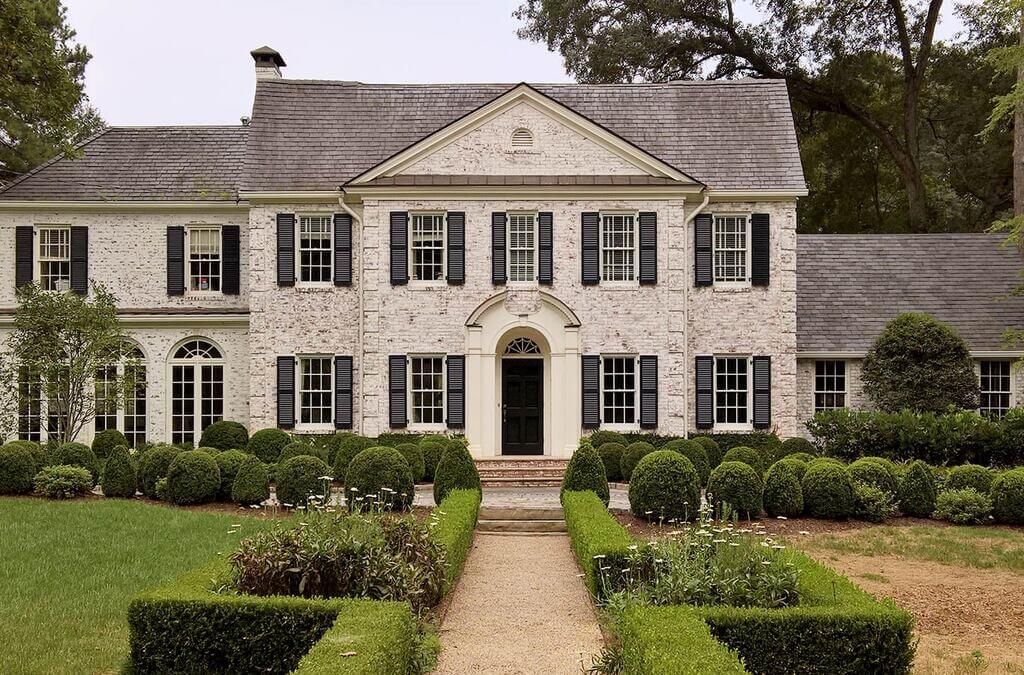
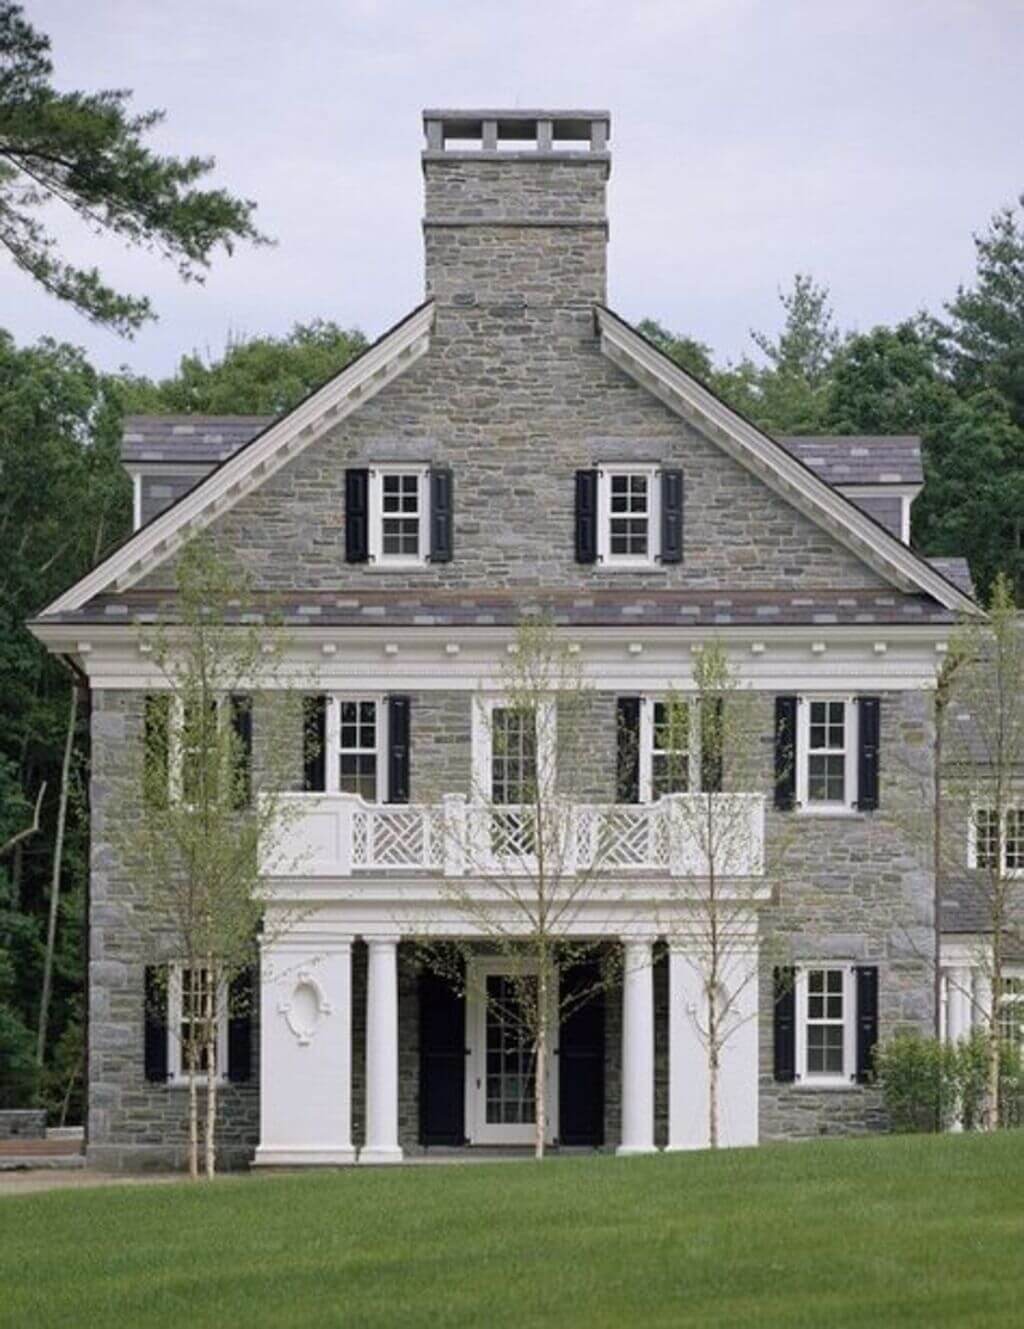
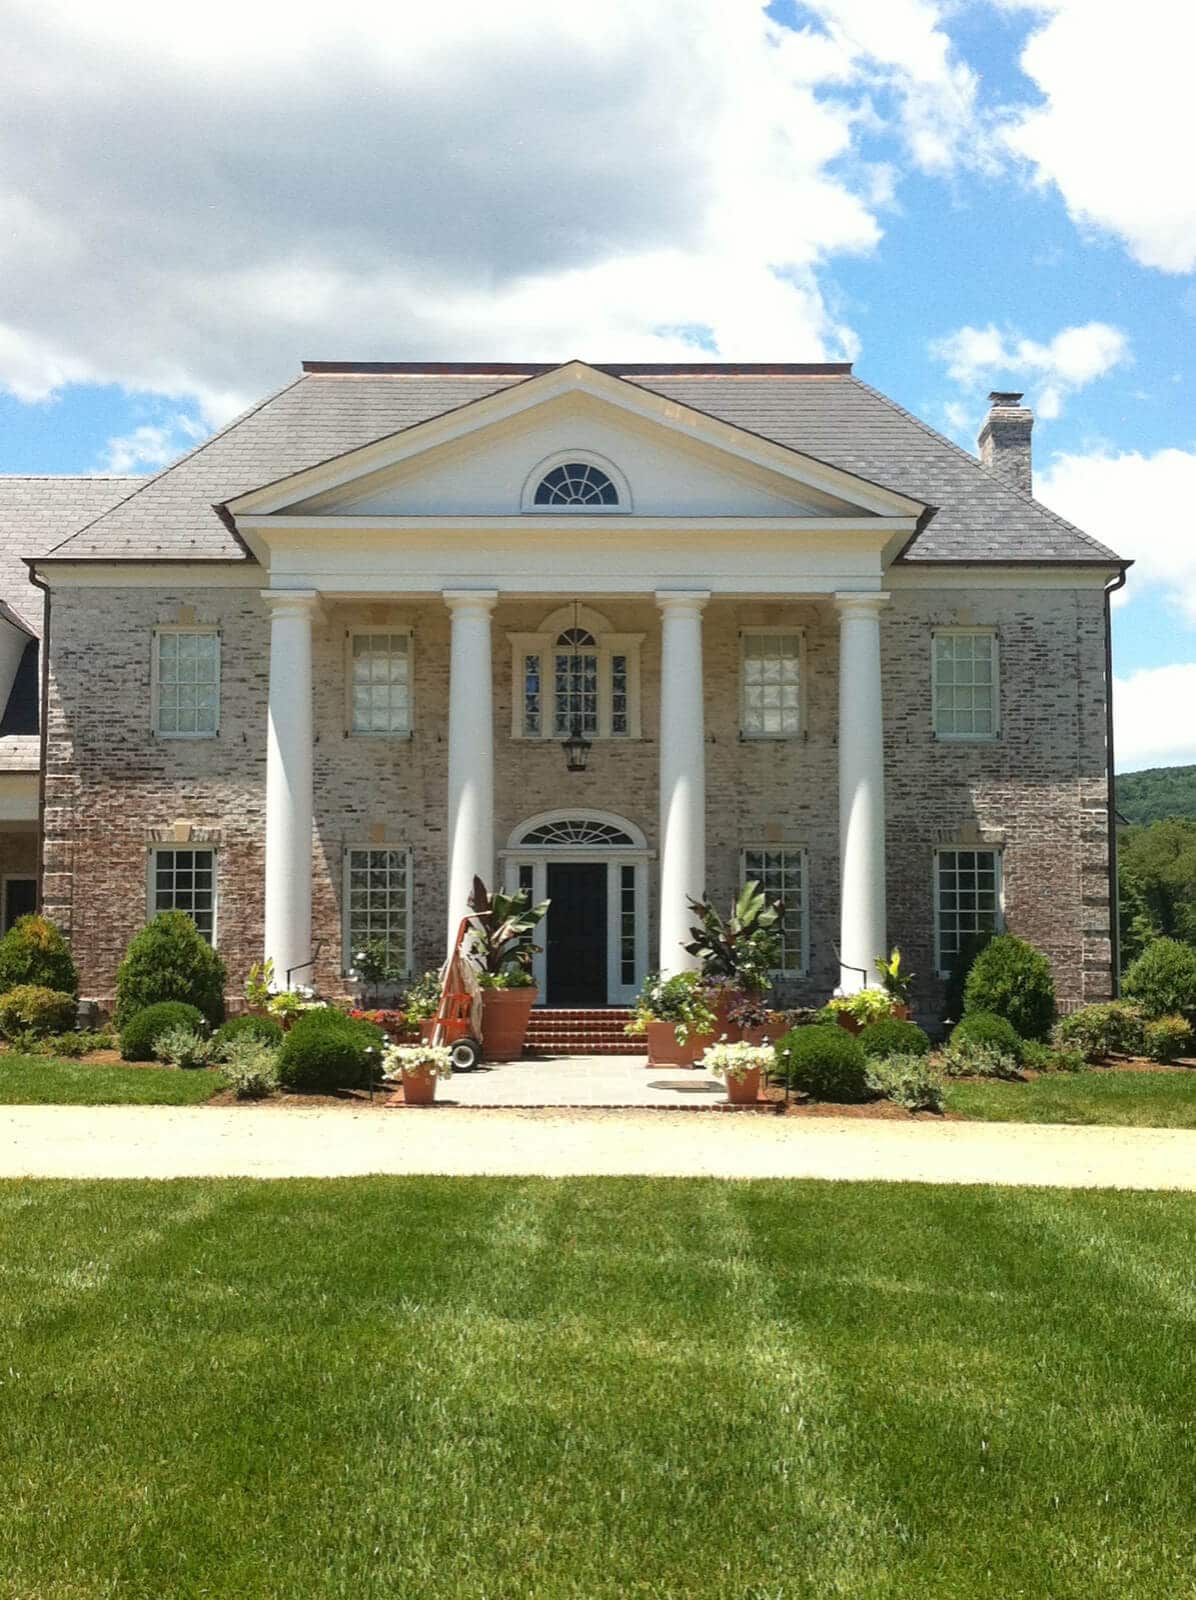
3. Traditional House
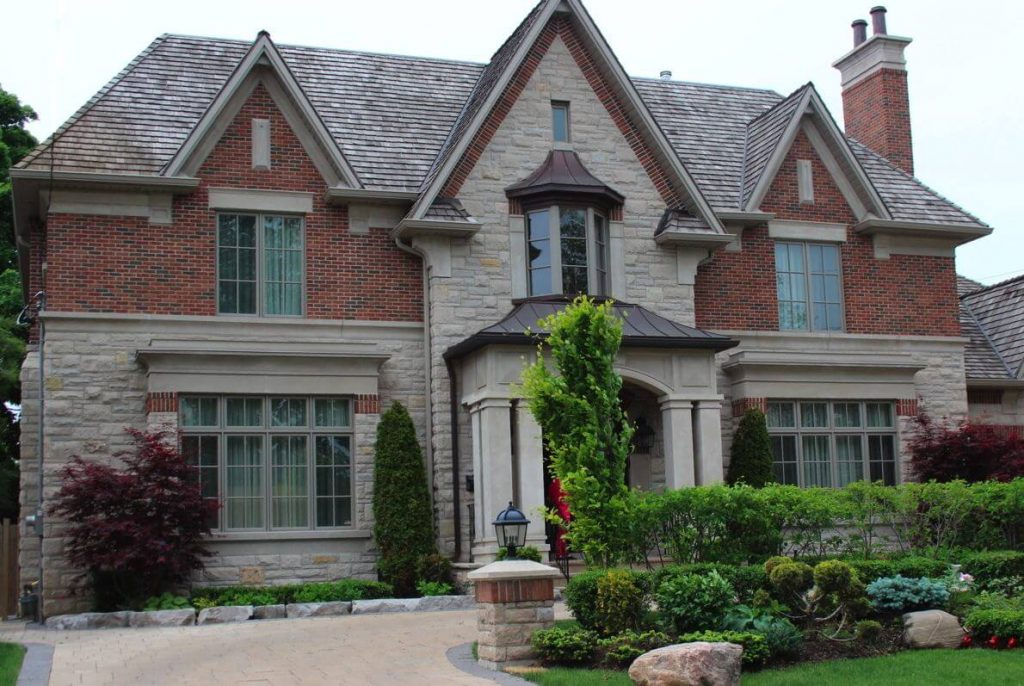
Want to achieve a classic look for your home? Use iron grills on the windows and antique wall mounted lamps to achieve this look.
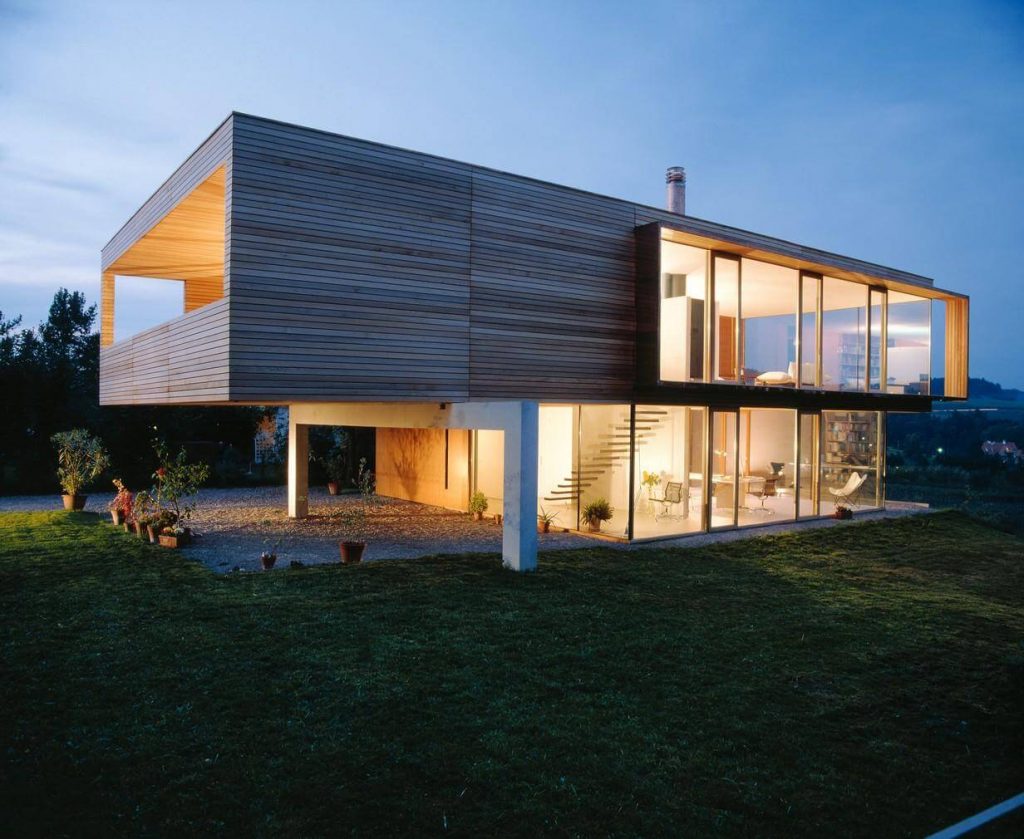
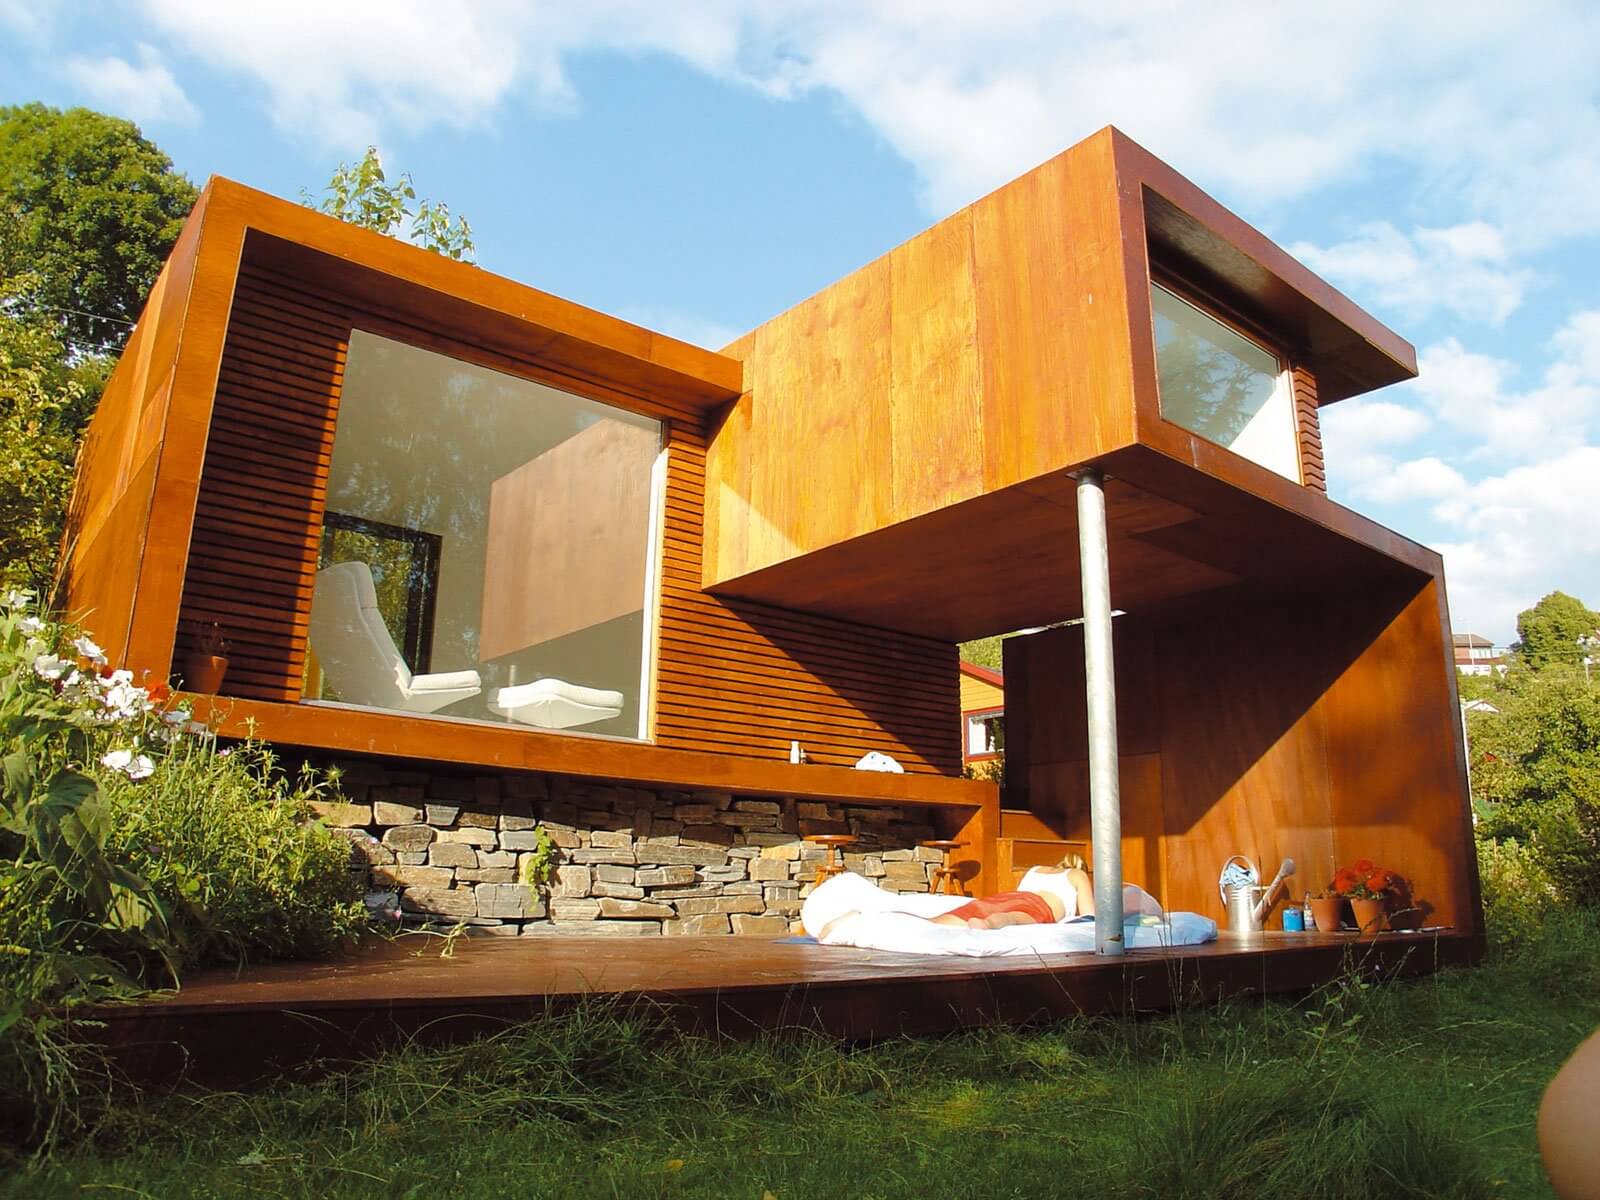
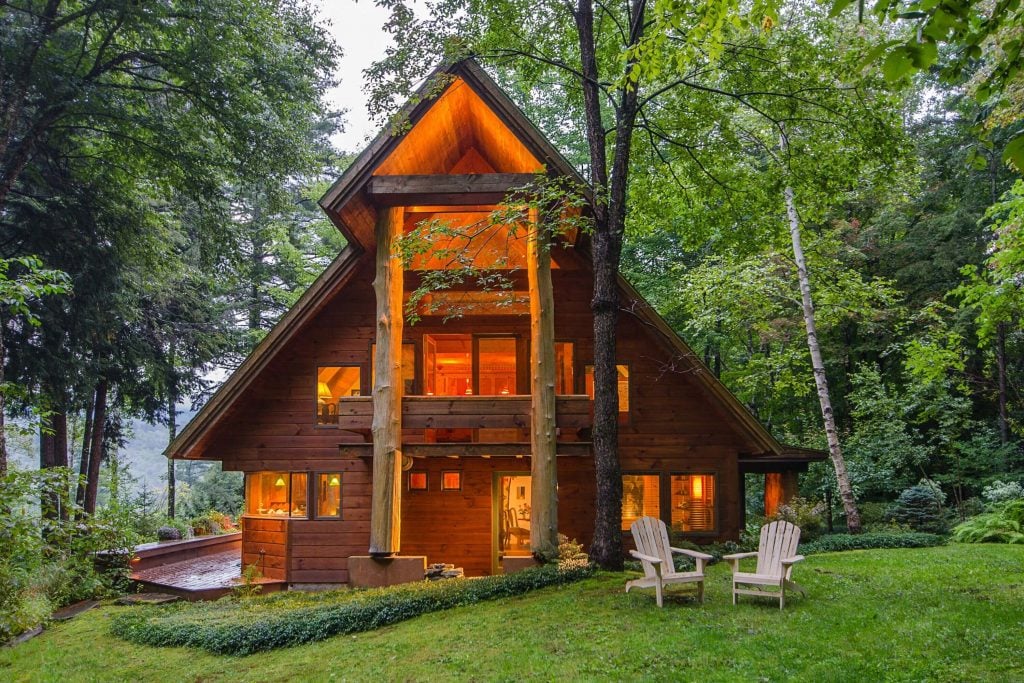
4. Wooden House
Whether for an urban or countryside, a wooden house is perfect for anyplace. They are suitable for any environmental conditions.
A simple house is not only smartly designed from inside but also it is brilliantly designed from outside. When you smartly designed every corner of the house, you can get everything you wanted in a house. So, above are the simple house designs and ideas that you can implement in your on-going construction house.
Discover More