There are many reasons why people want to get their houses painted professionally. They get to save energy from painting the house themselves and know tricks and techniques to effectively do it, especially with the house painting services in Denver CO. But how long does it take to professionally paint a house in Denver, co?
If you want to get your home professionally painted in Denver, it would usually take about two to four days when they are painting a room that has an average size since they are still going to prep the room, prime the walls, and make sure that they paint the wall correctly.
But it would generally depend on how big your house is, what you are getting painted, and how many people are in their team to work on your project. They may give you a rough estimate when you meet and consult with them.
6-Step Painting Process in Denver
Cleaning of the Walls
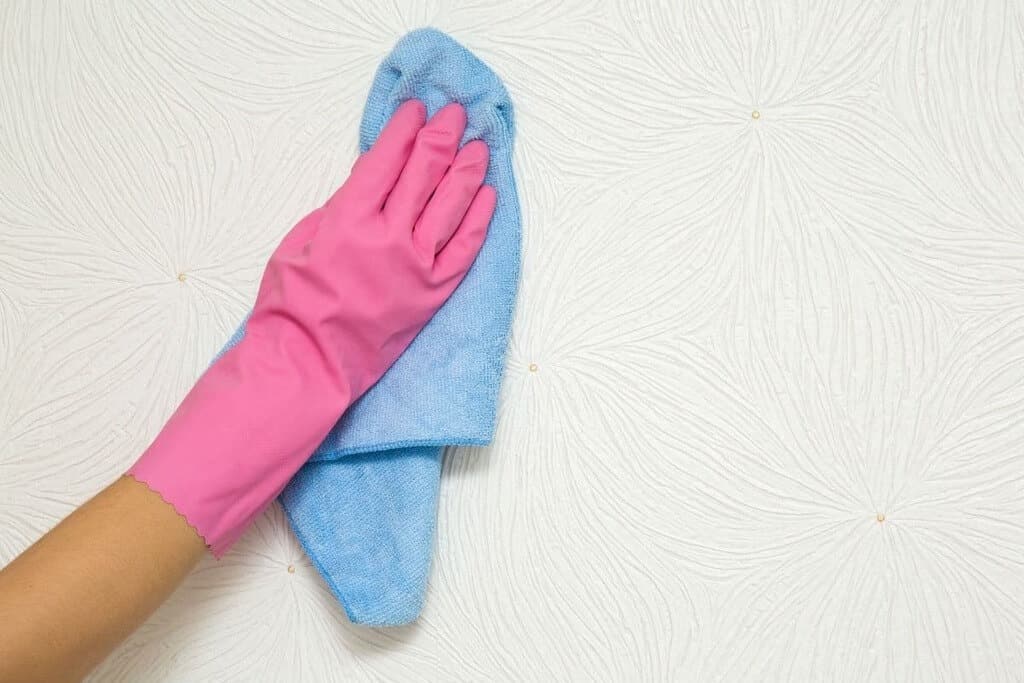
Denver painters offer commercial painting, industrial coatings, and sandblasting services to clients in and around Denver, Colorado. But before they do anything else, your walls must be cleaned. Use water, add a little bit of dishwashing liquid, and use a cellulose sponge to remove all of the dirt, dust, and grease spots on your wall because all these things could ruin your smooth finish.
Once you have cleaned those, you could use clean water to help remove some soap residues and rinse the walls.
Taping Up the Trims, the Windows, and the Door Frames
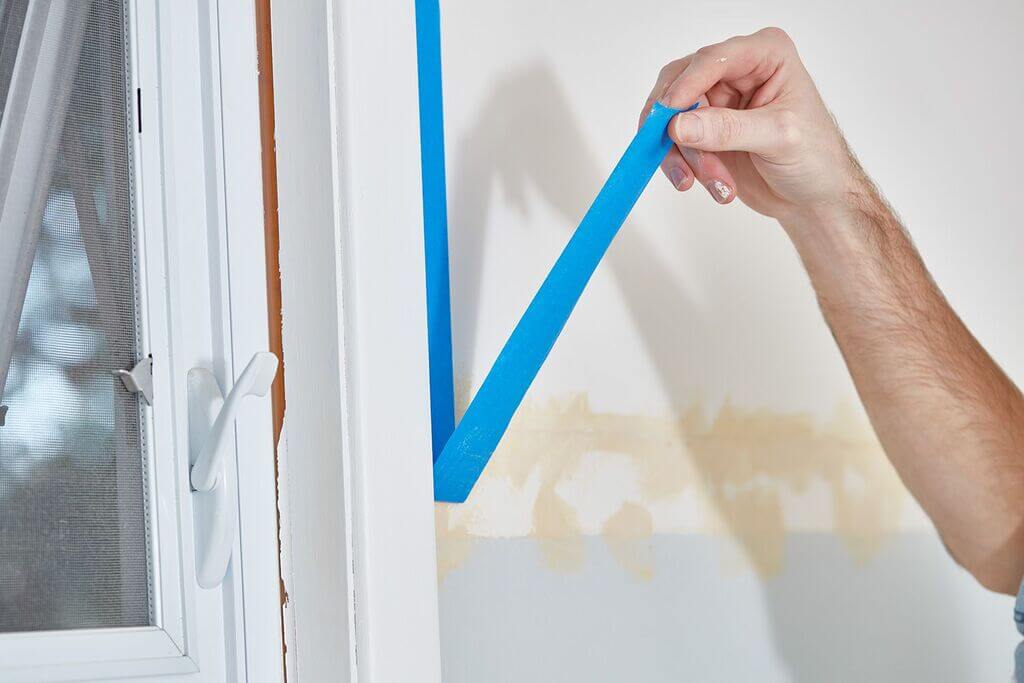
Get painter’s tape from the closest hardware store and make sure that you tape the trims, windows, door frames, and all of the other things on the walls that you don’t want to get paint on.
You could apply this tape on these places a week before you start painting, but you have to make sure that you remove these after you get done painting and the walls dry. Removing it after that could cause some of the paint on that area to get peeled off as well.
Priming the Walls
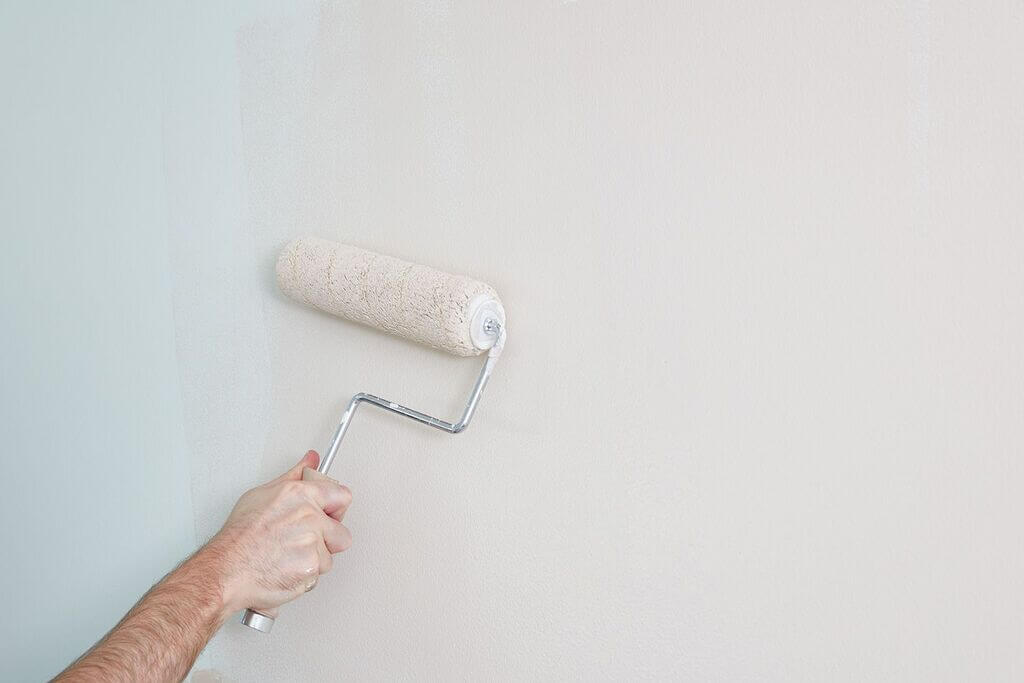
There is a common misconception that is going around that you would not need primer, especially when you are painting it over and over many times.
But it’s the complete opposite actually. The primer would be able to help maximize the coverage of the paint and sheen, effectively giving it a smooth, equal, and uniform finishing coat.
Brush the Areas That You Can’t Use the Roll-On
There are some areas of the wall that just seem to feel impossible to roll over, especially those corners and it could be frustrating.
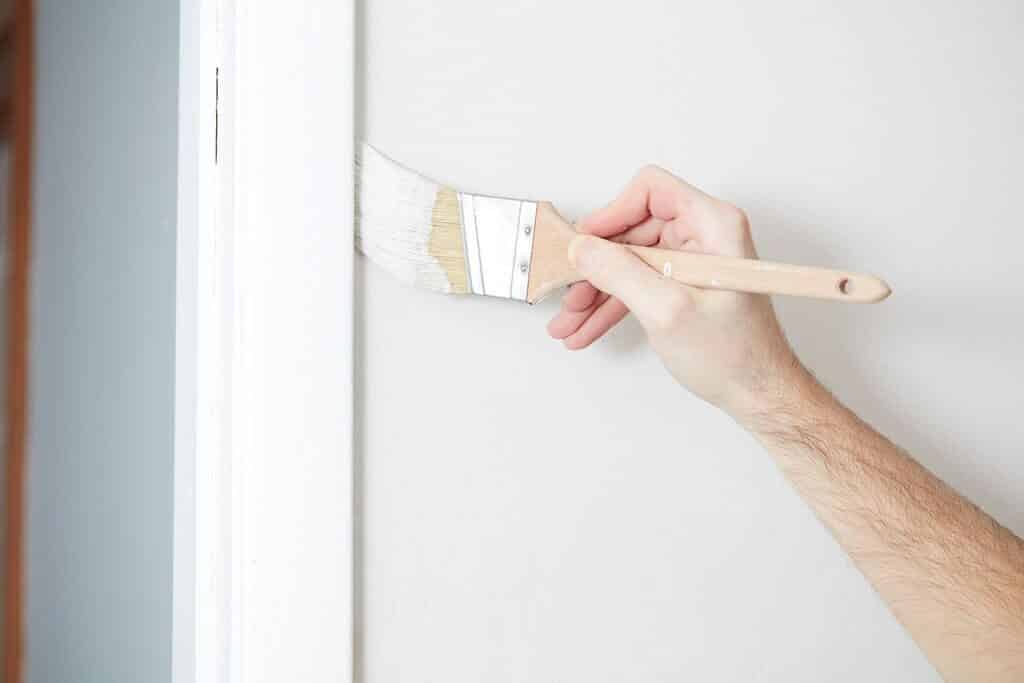
Use a two-inch angled paint brush and paint the trim and the corners of the walls, and extend it out for about 2 to 3 inches from any of our doors, moldings, and windows to make sure you don’t get extra paint on it when you are back to using your paint roller.
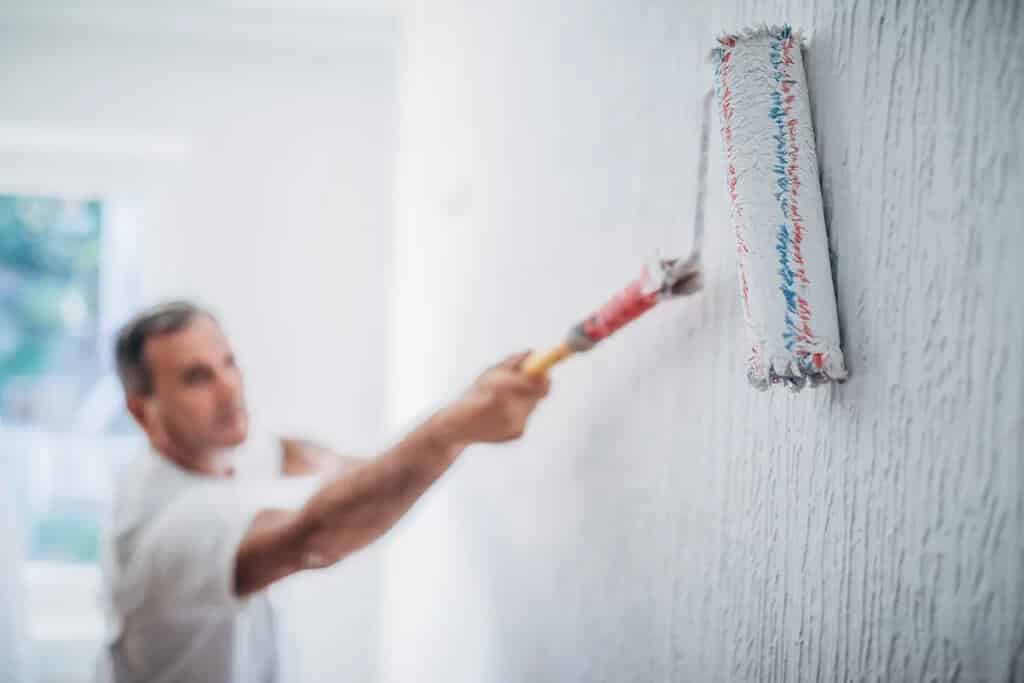
W Techniques
If you want to be as efficient as possible, you could use the W technique.
This is the technique that you could use where you start from the corner of the wall and then roll on a 3-by-3-foot pattern that looks like a ‘W’ without lifting the roller you are using.
You could continue this technique until you’re done painting the whole wall. Make sure that you paint one wall at a time.
Painting Over the Trim
Once the walls are completely dry, you could put painter’s tape on the part where the trim meets the wall.
After that, you could start painting some of your moldings, doors, and window frames. When you are doing this, you could use a 2-inch angle brush for better accuracy.
What Is the Best Type of Paint to Use for Homes?
Water-Based
Another name that water-based paint is known is latex. It would have to be one of the most common types of paint that people use on their homes because it could dry fast, is environmentally responsible because it has fewer volatile organic compounds, it’s effective, and you would be able to clean it with just the use of soap of water.
Latex is very flexible, and it could prevent mildew and moisture from forming and invading your home. Many colors are available in this paint, and you could apply it to almost any application and surface in your home.
Oil-Based
Another name for an oil-based paint is alkyds, and it’s the best kind of paint for places that are very high in moisture, like kitchens, floors, bathrooms, and even cabinets. When you compare it to Latex paint, Alkyds dry so much longer, making you see the brush strokes.
Comparing prices, oil-based paints cost more than Latex, contain more volatile organic compounds, and have a stronger odor. The clean-up is another story because you are going to need chemical solvents, mineral spirits, and paint thinners.
How Often Should You Paint Your House?
How often you should paint your house would generally depend on your living conditions and how often your walls get dirty, moldy, or dented.
But you have to paint your house every 5 to 10 years. You also have to consider the type of surface your walls are, the quality of paint you just used, and the signs of wear and tear.
Conclusion
You could start painting your home when it’s time to sell it if the color of the walls is fading already, when you have a cracked or a hardened caulk when you are patching stucco, and before you notice any signs of possible wear and tear. You don’t have to wait before there really is damage that you have to fix already.
When you are working with surfaces that are made out of wood, then the appropriate time to repaint is 4 to 7 years. But working with aluminum, then you have to repaint it every 5 years.
Discover More