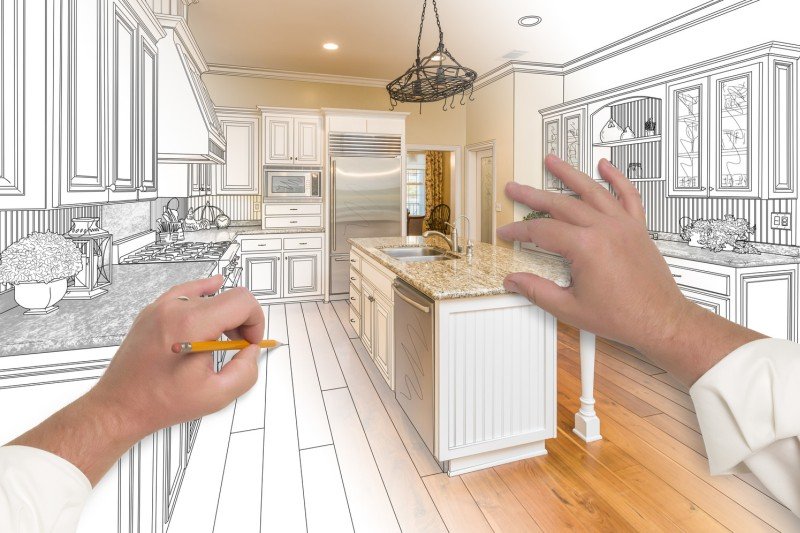
Various areas of your home play different roles in your comfort and lifestyle. Your living room is the shared space where you can spend precious time with your family, pets, and guests. The cleanliness, maintenance, and interior design of your living space can say a lot about you. Since your common area will be of frequent use, investing your time, effort, and money in enhancing it can be worthwhile.
You don’t have to spend on a large-scale home improvement project to beautify your living room. Whether your living room is lifeless or inconvenient, you can redefine your space with the addition of these items:
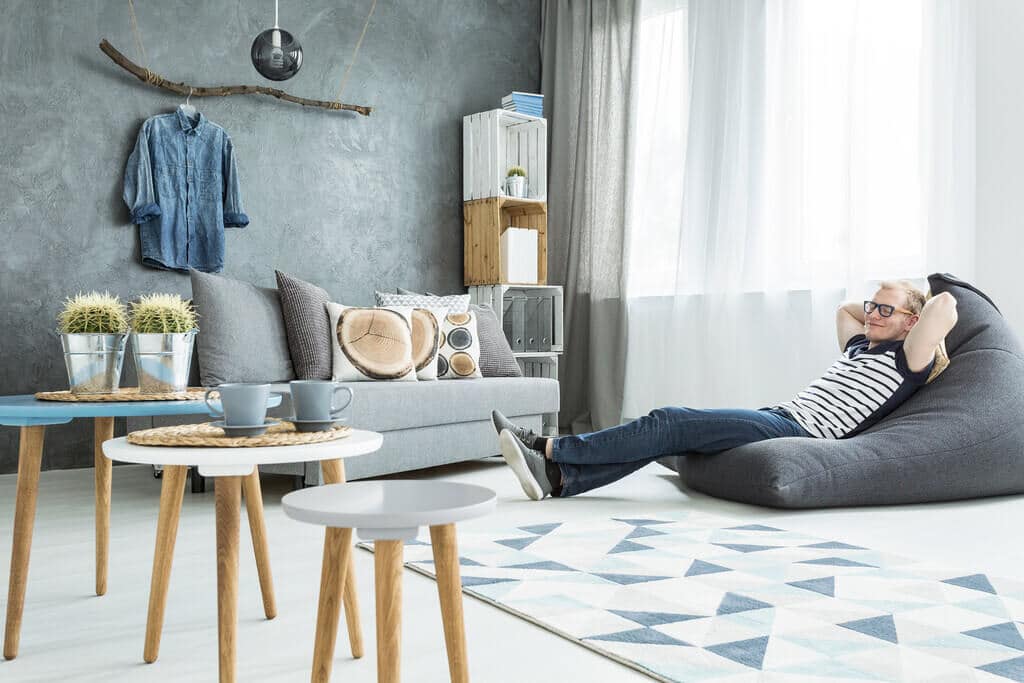
1. Bean Bags
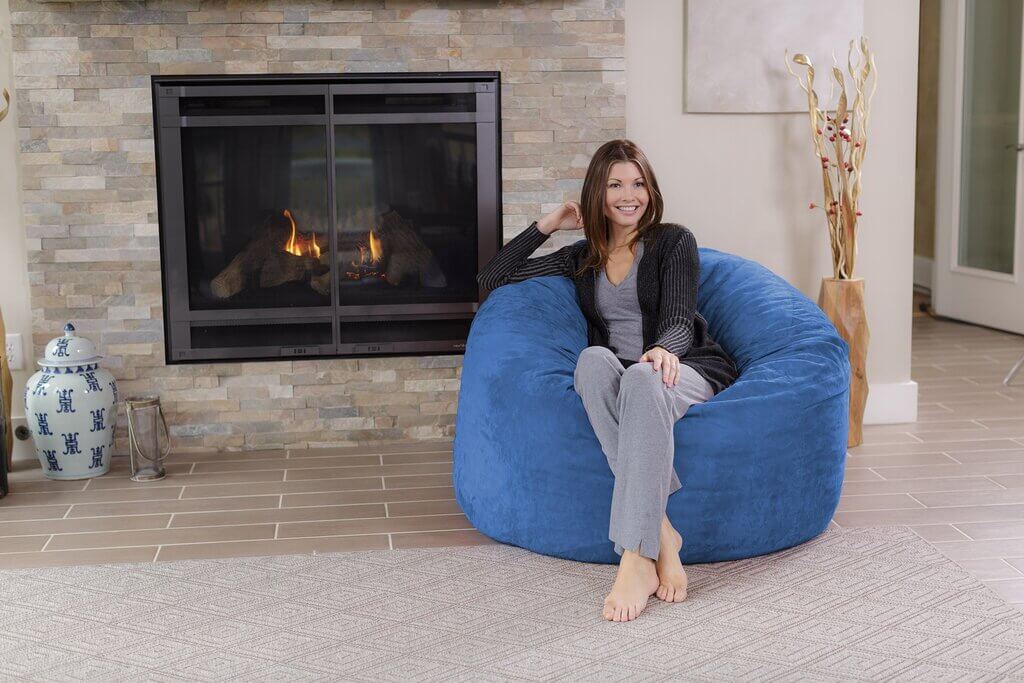
Keeping elegant, well-furnished chairs and couches in your living room can be a great idea to provide seating to your family members. But if you’re looking for a seating option other than sofas and chairs, you can consider using bean bags for numerous reasons. Bean bags are versatile and practical seating options that will work well in any room, including your living space.
Bean bags come in various shapes and sizes. Aside from the donut-shaped classic bean bag, other bean bag chairs can be square, round, body-shaped, and reclining. There are even gaming bean bags. To ensure utmost comfort while sitting on a bean bag, find a suitable size for those who regularly use it.
However, take note that it’s difficult to get up from sitting on a bean bag, so pregnant women and people with mobility issues will find them inconvenient. They’re also less durable with constant use as they flatten and wear over time. If you’re planning to use them frequently, make sure to prepare for replacements.
2. Wall-Mounted Shelves
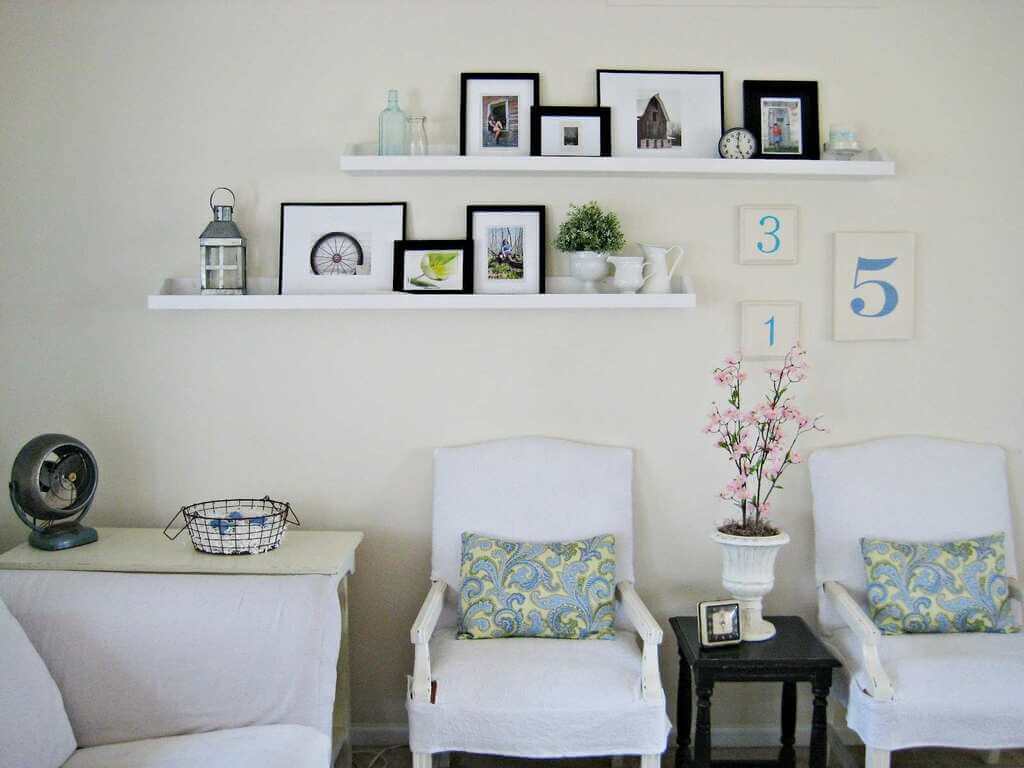
Shelves are a timeless furniture staple that almost every house has. While they’re a tried-and-tested feature that contributes to your home’s design and functionality, it’s tricky to get wall-mounted shelves right. With the wrong choice of material and styling approach, your shelves will highly affect the entire appeal of the living space.
Instead of adding built-in shelves that will take up floor space, wall-mounted and hanging shelves are better alternatives that serve a similar purpose. They’re also customizable and can complement your interior design.
Here are some ideas when incorporating wall-mounted shelves into your common space:
- Store your books and succulents
- Display novelty item collections, but be careful not to place them too low
- Don’t limit yourself by adding pops of color
- Showcase your family memorabilia and children’s artwork
3. Succulents
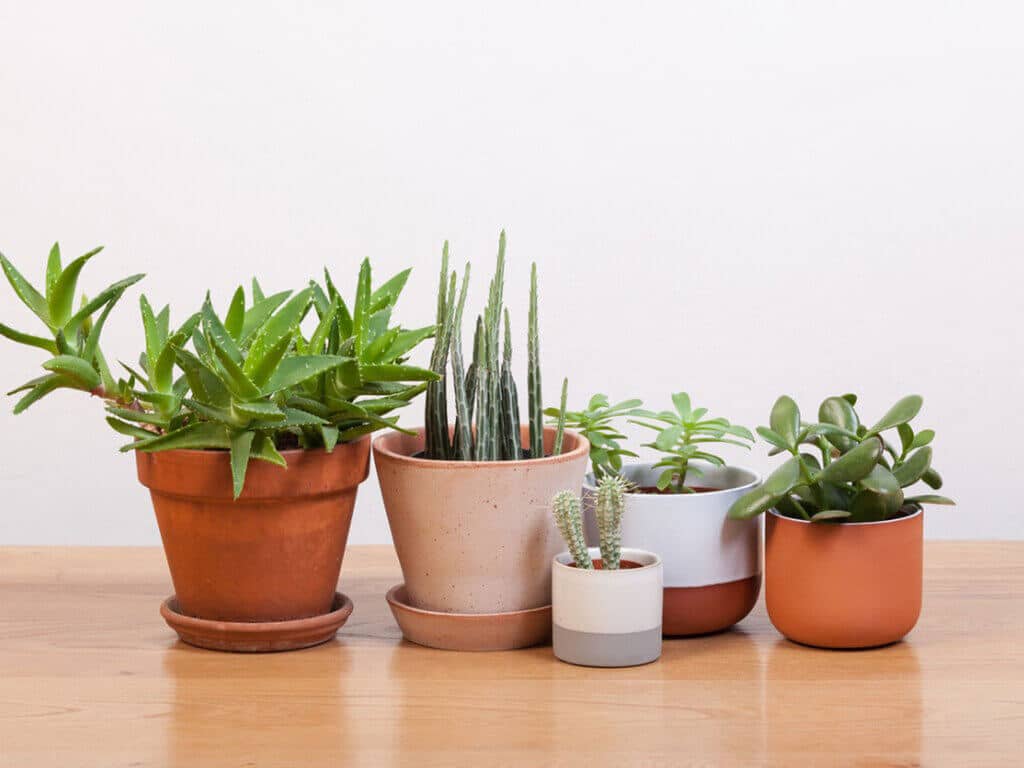
Have you always wanted to nurture your own plants but don’t have the time and energy to take care of them regularly? This is what succulents are for, and you can readily find them everywhere.
Essentially, succulents are plants that possess fleshy leaves and stems for water storage. Since they can hold large amounts of water themselves, they can manage independently, thus requiring minimal care and maintenance from their owners.
Because of succulents’ intriguing sizes, shapes, textures, colors, and overall striking appeal, they’re trendy home decorations that the young and old both enjoy. You can be creative in using your succulents as accents to your living space in the following ways:
- Place them on your wall-mounted shelves
- Use them as your coffee table centerpiece
- Decorate your window sill
- Hang them on hanging planters
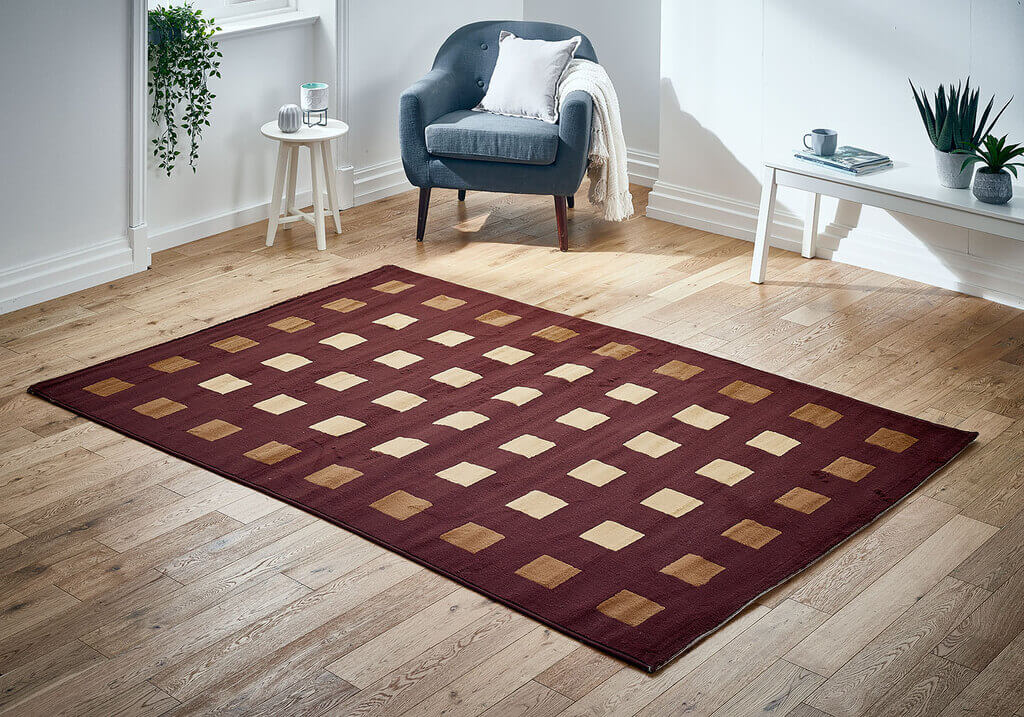
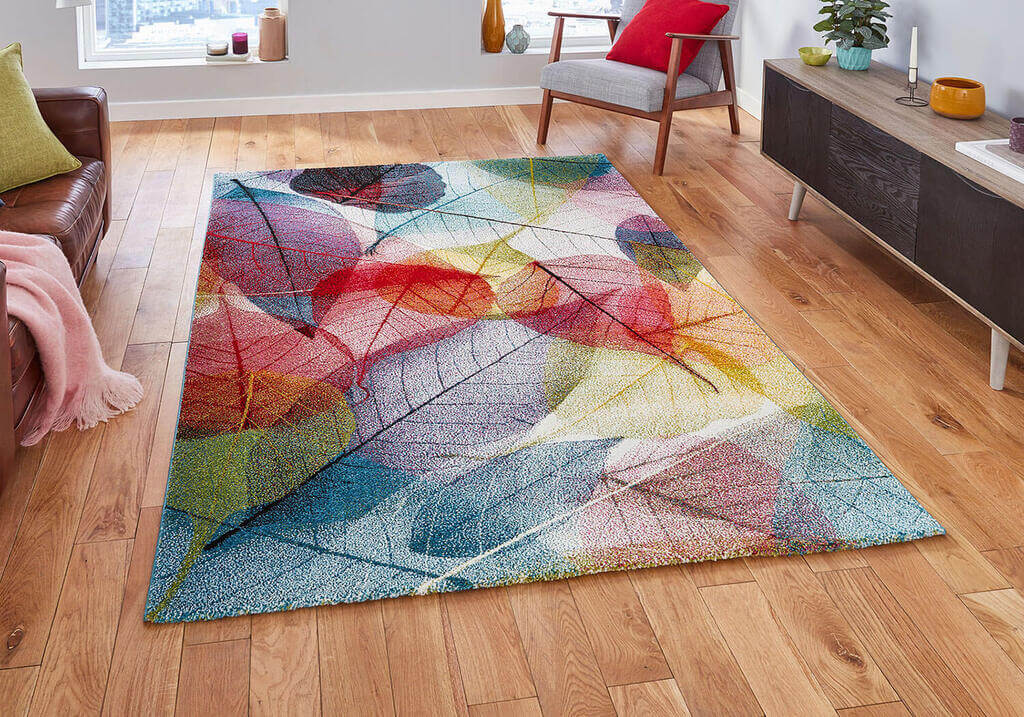
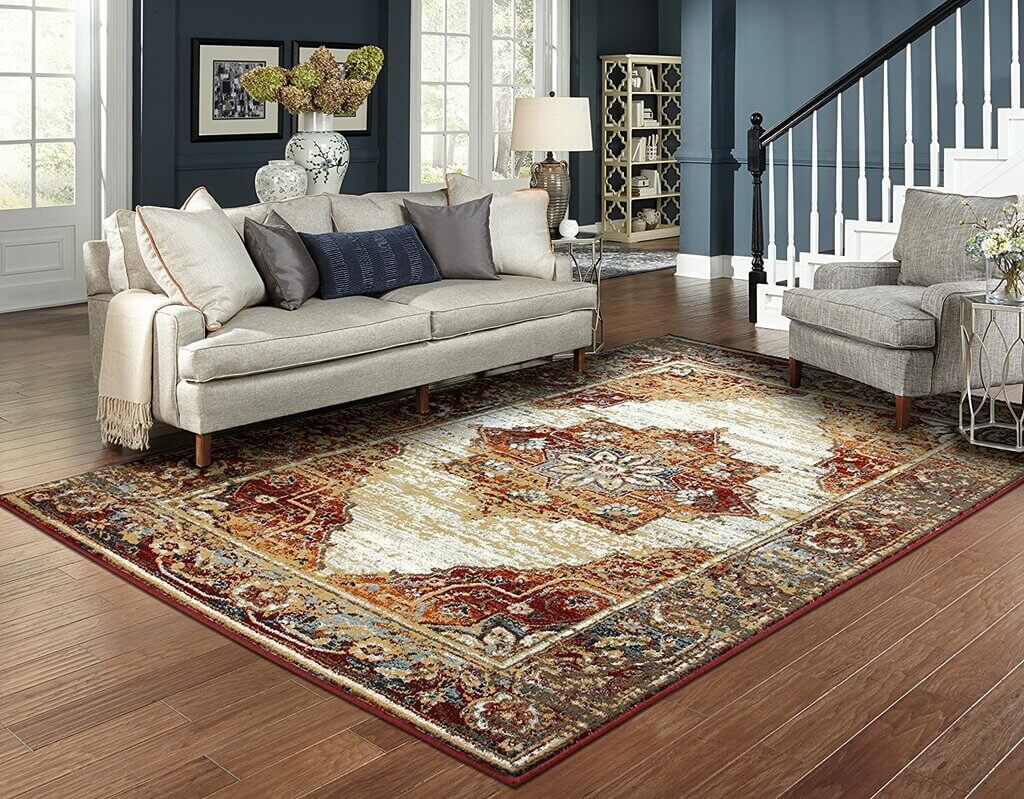
4. Area Rug

Hardwood floors can be challenging to work with, especially if you have children, pets, and relatives with mobility issues in the house. In terms of your living room’s interior design, you can boost your flooring’s appeal by adding another modern designer’s favorite known as area rugs.
An apparent reason why many homeowners use area rugs is for their exquisite appeal, but did you know that you can reap other benefits from having one in your living space? It’s significantly quieter to walk and move around spaces dressed with an area rug instead of bare hardwood flooring.
Moreover, the delicate fabric in area rugs provides the utmost comfort to walk and sit on. However, keep in mind that you should choose a high-quality area rug made of the right material that doesn’t feel cheap. The area rug’s size and placement are the two most important factors to consider when adding one to your living room.
5. Scented Candles
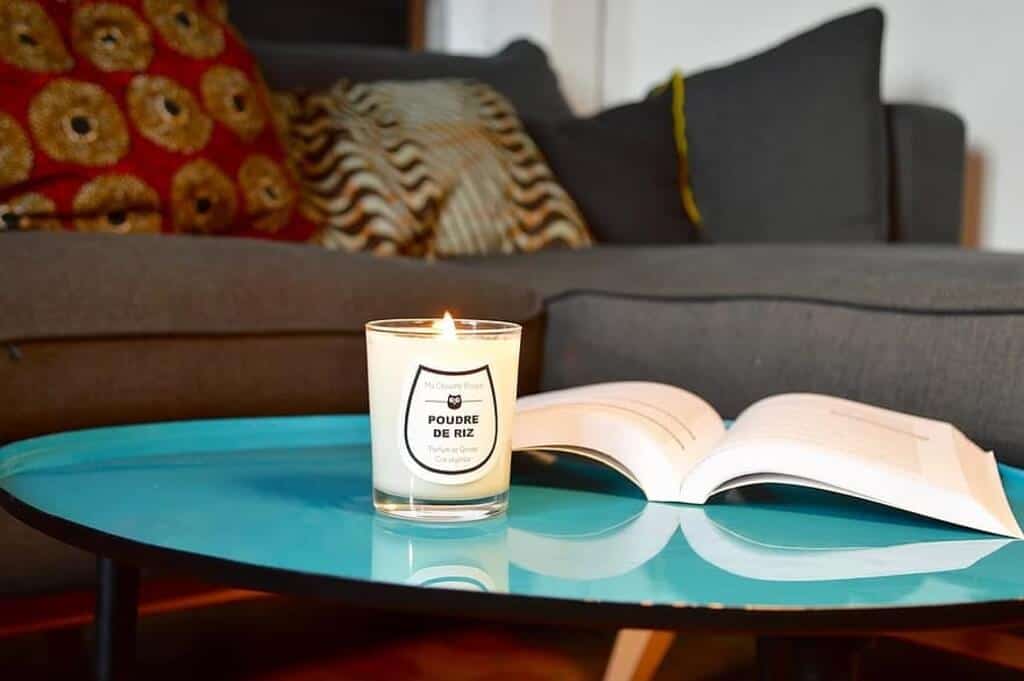
Your living space is typically the first room to welcome occupants upon entering the home. Lighting up a few scented candles during your stay in the living room can freshen up the air quality and ambiance of the space. Your scent of choice also heavily impacts your mood and focus.
But do take note that scenting your room is more than lighting up scented candles. Check out the following tips when using scented candles in your living room or any other areas of your home:
- Light a 180- to 220-gram candle for every 10 square meters of space. If your living room has vast space, three to four candles are ideal for keeping the smell consistent.
- Trim the wick to 0.5 to 0.6 centimeters before lighting them. If you light a candle with a long wick, it will generate heavy smoke and an unpleasant burning smell.
- As much as possible, use a candle snuffer to put out the candle. The snuffer inhibits oxygen supply to the flame, preventing the burning smell and smoke.
If you have pets at home, make sure to buy candles made from natural ingredients like blue corn, beeswax, and soy, without any artificial fragrances. You can also use flameless candles to prevent smoke that may irritate your furry friend’s respiratory system.
6. Pillows and Throw Blankets
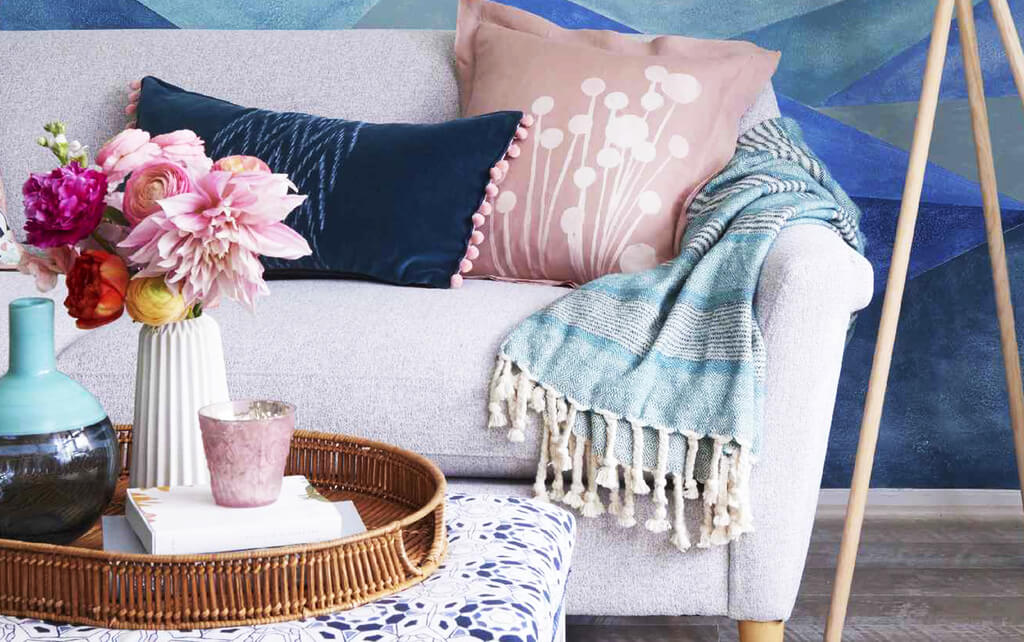
Movie nights are excellent ways to spend time with your family in the living room. It’s even more exciting and relaxing to have pillows and throw blankets that can make your movie-viewing experience even better.
Adding pillows and throw blankets can accentuate your common space by incorporating color, texture, and warmth into your furnishings. Pillows and throws make a good pair, especially if you have various sizes and designs to play with. You’re not limited to using these items as decoration for your sofa, as they also work well with chairs, stools, and baskets.
7. Robot Vacuum Cleaner
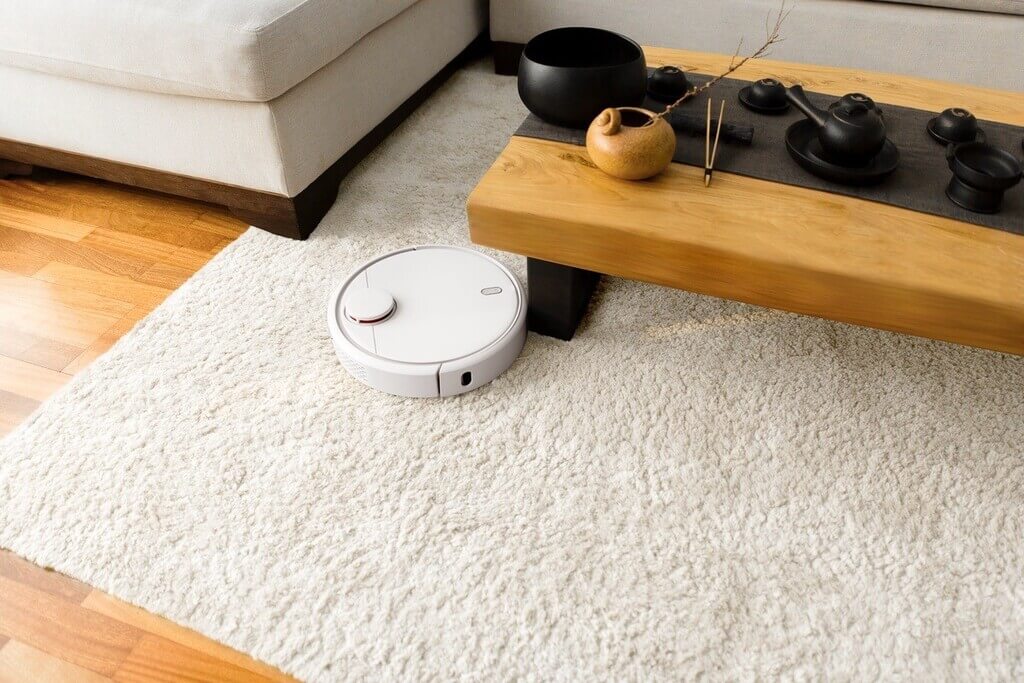
When looking for items to include in your living space, you don’t need to splurge too much on accents and decorations. Instead, you can look for devices that can make your life more convenient and functional—like robot vacuums.
Much like traditional vacuum cleaners, robot vacuums aid in hardwood, carpet, and tile floor cleaning. However, these are autonomous devices, meaning they work on their own and require very little assistance.
Since robot vacuums cleaner possess more complex technology than ordinary vacuum cleaners, purchasing the best ones in the market can be too expensive for some homeowners. Before looking for any robot vacuums in the market, weigh the pros and cons of using one according to your lifestyle and living room setup.
8. Air Purifier
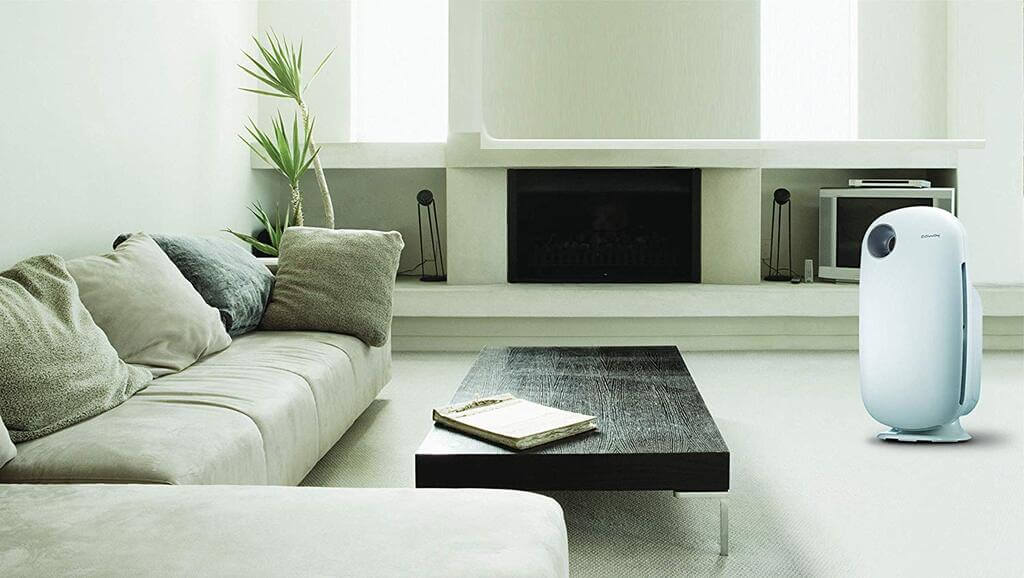
Investing in meaningful items for your health should also be your priority. As reported by the United States Environmental Protection Agency (EPA), your indoor air quality can be five times worse than the air quality outside your home. A large contributor to indoor air pollution can be attributed to lower air circulation and indoor pollutants.
Regardless of your health or condition or that of your housemates’, everyone can benefit from an air purifier. An air purifier is essentially an appliance created to filter pollutants and impurities from your indoor air and freshen up the stale air.
Since your common space will regularly house your family members, pets, and guests, you’ll need a strategic location to place your air purifier. Take a look at these science-backed advantages of using an air purifier in your living space:
- Relieves symptoms of asthma.
- Neutralize unpleasant odors from aerosol sprays, air fresheners, paints, and upholstery.
- Enhance sleep quality if one of your family members likes to nap and sleep in the living room.
- Eliminate harmful chemicals like carbon monoxide and carbon dioxide, especially if your residence is surrounded by high vehicle traffic.
9. Smart Electrical Plugs
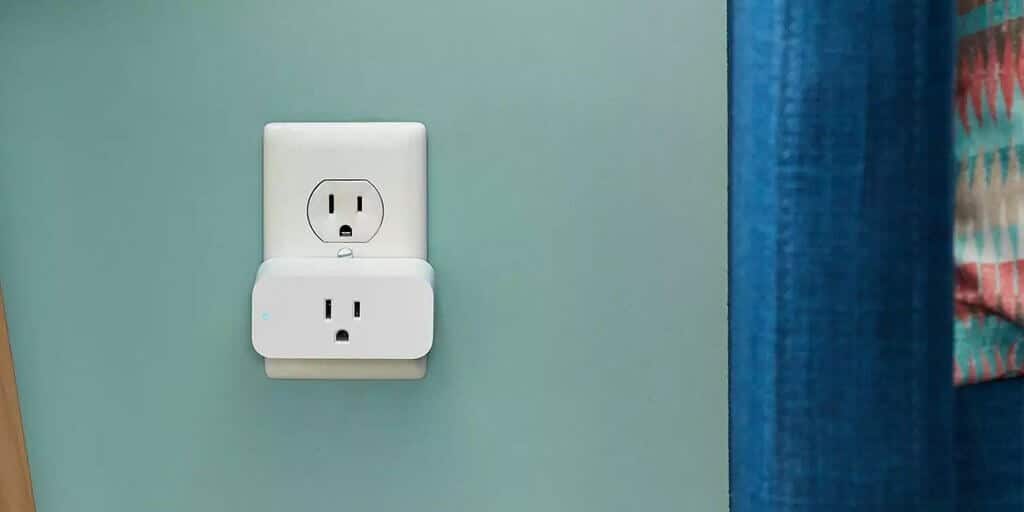
Nothing gives homeowners peace of mind better than having a safe home. Since you can’t predict potential disasters and accidents inside your home, your best bet is to eliminate safety hazards. While electrical safety is deemed crucial in every household, you’ll never realize its utmost importance until you’re exposed to safety threats and inconvenience.
To manage your electrical appliances and devices better, it’s worth considering investing in smart plugs that bridge the gap between your electrical sockets and devices. Before directly plugging your appliances and devices in, you can attach them first to a smart plug.
Using a smart plug enables users to have more control, wherein you can set on and off schedules, manage plugged-in devices from anywhere, and control them with voice commands. To drive the point home, here are more reasons why you should add smart plugs into your daily life:
- You can regulate your children’s TV and gaming console time.
- Prevent the overcharging of your mobile devices.
- Deter burglars from entering your home by controlling your devices to show signs of activity, like turning your lights or TV on.
- Control devices in other rooms if you’re busy spending time with your family in the living room.
Key Takeaways
There’s no limit to adding new items to your living space as long as these purchases play an essential role in your daily life. Nevertheless, watch out for any unnecessary additions to your home that’ll only be worn and torn through time without contributing anything significant to your life.
With that in mind, the items discussed in this article are only some of the great things you can incorporate in your common room. Make sure to decide carefully before making any of these purchases and, most importantly, conduct regular cleaning and maintenance of these items for their optimal performance and longer life.
Find out more: