If you’ve invested well enough in your outdoor space, you naturally want to find out the right way to maintain outdoor lights so you can make the most out of your investment. Aside from your plants, trees, landscape, and other outdoor elements, you should also remember one important aspect: your outdoor lights.
Lighting dramatically enhances your home’s value and curb appeal. It helps give off that welcoming and warm ambiance that your friends and family would always want to feel whenever they pay you a visit.
If you’re going to enjoy such benefits for a long time, you have to exert time and effort in making sure they’re functioning correctly at any given time. You must also know how to maintain and clean your exterior lighting fixtures so you can extend their life and avoid having them repaired or replaced sooner than intended.
Exterior Lighting Maintenance Tips
Outdoor lighting is creating in a way that they’ll be able to withstand the outdoor setting. Even so, that doesn’t mean you’ll forego a standard maintenance routine. Failure to do so will reduce the lighting’s capacity to function well. Remember, not all outdoor spaces and designs create equal, and you need to pay extra attention to the proper maintenance of all aspects involving them.
Outdoor lights, in particular, are exposed to outside elements that could potentially damage them. No matter how small the lights maybe, natural hazards, such as debris and harsh weather conditions, may disfigure them. It’s better to take precautionary measures to ensure they’ll be protecting all the time.
For easy outdoor lights maintenance tips and tricks, here are some tips:
Hire a Professional to Do the Job
It can be tempting to experiment and do things on your own, but that might only apply to an extent. When it comes to the proper maintenance of outdoor lights, it’s best to leave the job to the professionals, especially if you don’t have any prior knowledge or experience about it.
Lighting specialists, such as Washington Outdoor Lighting, can greatly help in ensuring that all components of your lighting system will be properly maintained and repaired when needed. Having a go-to specialist or electrician would be one less thing to worry about in case you ever come to a point where your outdoor lights won’t function as they should.
Clear the Obstructions
Check if any obstructions are blocking or too close to your light fixtures. Such obstructions could be plants and branches crowding your outdoor lighting. Yes, it can’t be avoided to place the lights on areas where there are shrubs, trees, and plants, but it doesn’t mean you should allow the branches or leaves to get in the way of your lighting’s proper function.
What you can do is cut the branches obscuring, affecting, or even damaging your lights. In some cases, you may also find your lighting fixtures covered in leaves or grasses, and because of that, they may accumulate dirt and moisture. Over time, the accumulation could affect the function of the lights. Before you know it, they’re no longer working efficiently.
Even the smallest of blockage can affect the quality of illumination that the bulbs give off. Additionally, they can also prevent the light from reaching areas that are supposed to be lit up by your outdoor lighting. So, it’s essential to always clear obstructions and cut back growing plants that are already affecting or obscuring your light fixtures.
Replace Bulbs as Necessary
It’s necessary to perform maintenance checks on your outdoor lighting at least twice a year. Doing so will make you more attentive to what needs to be replaced or repaired. Bulbs that are no longer a bright as before will most probably need replacement. If you’re not using energy-efficient bulbs yet, it might be the right time to consider going for these options.
When it comes to outdoor lighting fixtures, Light-emitting diode (LED) lights are among the best choices you have. Not only are LED lights durable and long-lasting, but they’re also more cost-efficient on electricity. They’re easier to clean and require little maintenance, too.
For an effective maintenance check, you can perform it at night when all the lights are turned on. Look for areas or spots that appear dimmer than others because those are most likely in need of new bulbs.
It’s better to replace dimmed bulbs before they get completely burned out, especially if the areas where they’re installed are pathways or steps that could be a potential hazard if dimmed or not appropriately illuminated.
Check for Exposed or Damaged Wires
Wires can still get exposed or damaged even after getting a professional team to install your outdoor lighting. This can happen more if you just had some trees cut in your yard or lawn. Sometimes, plant placement may also cause wires and cables to come out in the open. Or, it could also be because of animals or pets you have that like to dig in the garden.
If you see any exposed wire or cable, make sure to check first if they have any damage before you go ahead and bury them again. Whenever you will sure there’s no damage or anything of that sort, you can rebury the wire to prevent tripping hazards and possible injury. If you’re not sure how to check for any wire damage, you can call a professional electrician. They may also help you safely rebury them.
If the cable is indeed damaged or compromised, you can’t easily rebury them. You need to replace or reseal them properly to ensure they won’t be exposed to water and moisture. Again, if you’re not comfortable doing it on your own, call in a professional electrician to help you assess the condition of the wire and take care of the replacement if necessary.
Inspect and Clean the Fixtures Regularly
As mentioned, outdoor lighting is permanently exposed to harsh elements, such as the weather, debris, mud, and dirt. You may think that cleaning the fixtures is senseless since they would accumulate dirt or mud again after some time. But then, it’s one of the best steps you can take when it comes to maintaining your outdoor lights.
One of the reasons why you need to inspect and clean the fixtures regularly is because they’re not a good sight in any way. Guests can easily see if an exterior design is well maintaining or not. If your lighting fixtures are already too dusty and dirty, they’ll get the impression that you don’t give it enough care and attention.
Secondly, dust and debris can affect the quality of light that the fixtures give off. There’s nothing worse than entertaining guests in your backyard and not get enough illumination to make the event fun and delightful.
Lastly, too much dirt and dust can lead to the fixture getting too hot and could make them char, melt, or even ignite, which could be dangerous to you and your family. Needless to say, you must take the time to inspect all fixtures and clean them as needed.
A Little Professional Help Won’t Hurt
There’s a lot of steps you can take to make sure your outdoor lights are properly inspected, maintained, and cleaned. However, as mentioned, there are instances that call for a professional perspective, especially those done annually. It’s best to call in your lighting specialist for services that are for preventive and safety measures, such as checking your transformer.
A professional electrician or lighting specialist would know how to check and set your timers properly. They’ll also perform the fastening and tightening of terminal blocks in your transformer. In addition, only a professional can tell if there are under boosted or over boosted lines and power draws in your electrical system.
Moreover, a skilled electrician can only check and repair certain aspects of your fixtures and lamps. For example, they’ll know the proper way to strain and redirect lighting fixtures that have moved or shifted. They’ll also take care of scraping and scrubbing any hard water deposit on your fixtures’ lenses.
Conclusion
It’s every homeowner’s dream to have the perfect outdoor setting for their humble abode. And, of course, no outdoor environment will be complete without the right lighting to accentuate it. With all these in mind, it’s highly recommended to know how to properly maintain outdoor lights to ensure they’ll be functioning well for as long as they can.
Always clear obstructions that may affect or damage your exterior lighting. Replace bulbs as necessary and consider going for LED lights that are most cost-efficient and durable. When doing your regular inspection, check for any exposed or damaged wires while making sure all lighting fixtures are clean and free of dirt and dust.
Lastly, consider getting professional services at least once a year to help you with any aspects of outdoor lighting that are already beyond your grasp and understanding.
There are more than enough ways to ensure your investments won’t go to waste or be affecting, quality or performance-wise. Through these outdoor lights maintenance tips and tricks, you’re well on your way to enjoying your outdoor space even better.
If you think about it, what you need to do won’t even take much if you’re to consider the benefits you’ll get out of it. If you compare the maintenance and inspection you need to perform on your outdoor lighting, the effort and cost won’t even come close to what you may need to spend on completely replacing the whole lighting application if you neglect your duties as the owner.
Keep reading:-


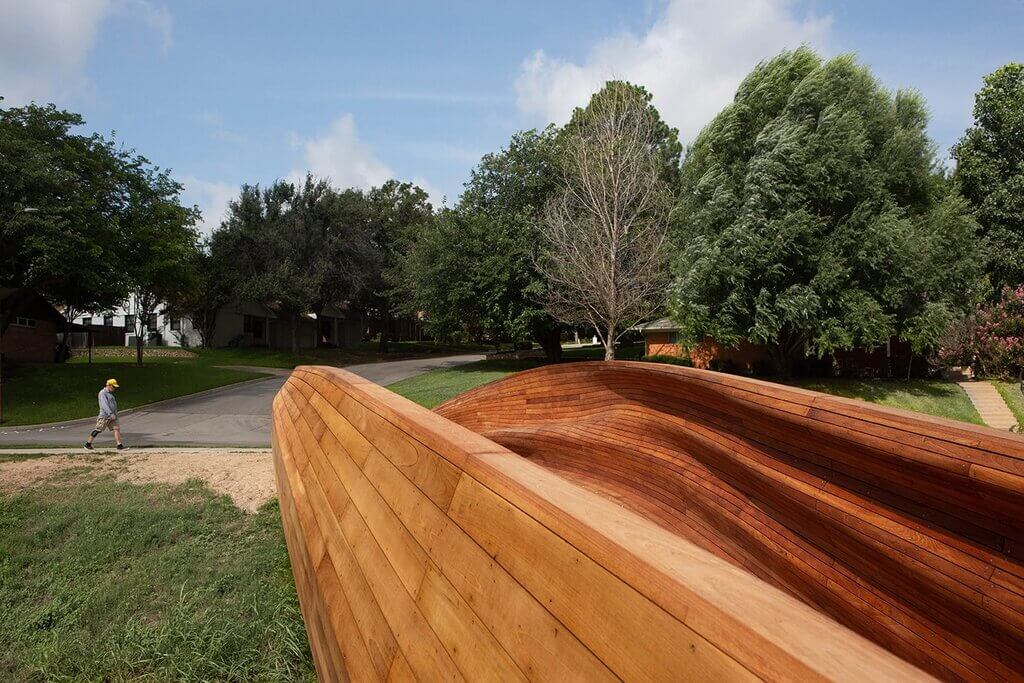
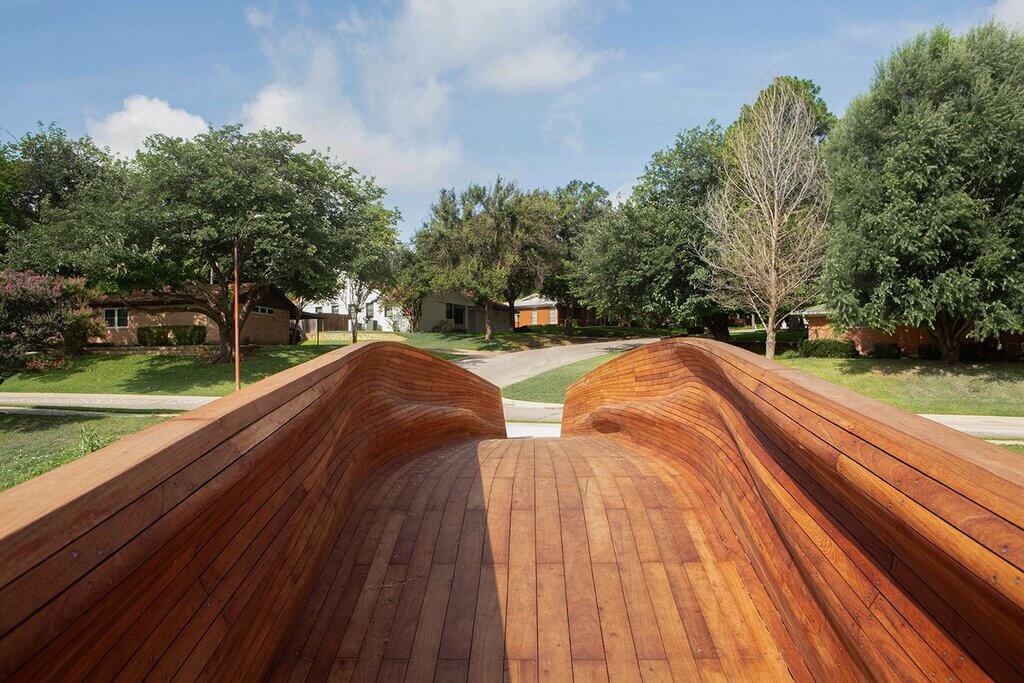
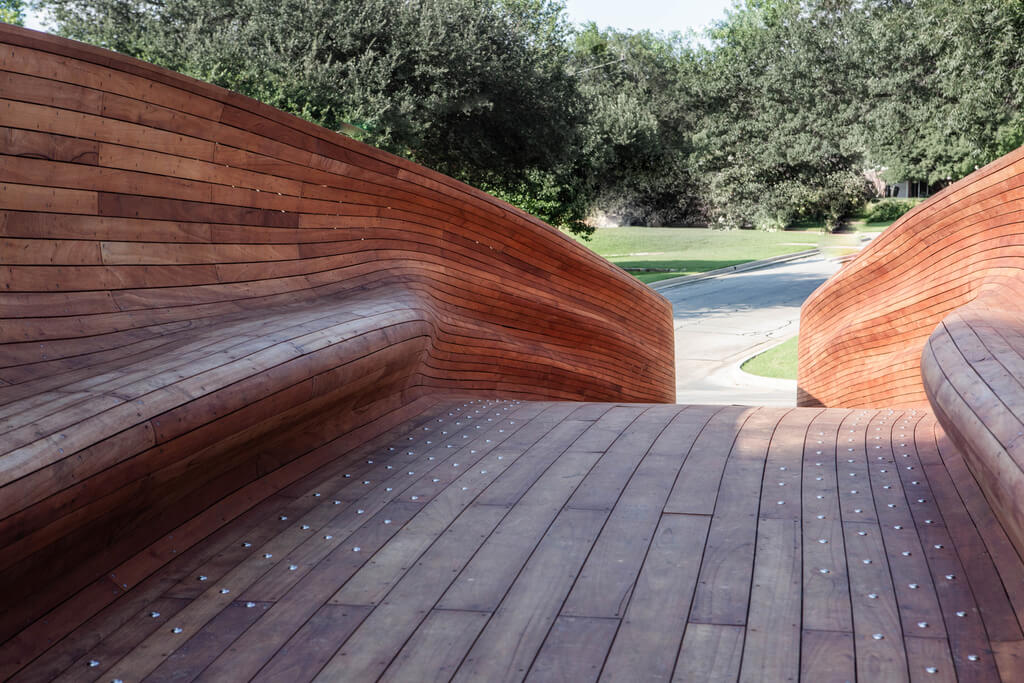
![A]'Drift' Bridge sitting on the side of a road](https://architecturesideas.com/wp-content/uploads/2021/08/drift-bridge-design-by-volkan-alkanoglu-5.jpg)