It is interesting how humankind built houses to suit their situations. This is evident with different housing designs and materials used by people in different countries and weather.
For instance, housing built in the Antarctic to keep people warm, or in Egypt, a desert country, where residents need to stay cool. Yet, it must not be forgotten that necessity is the mother of invention. Housing designs have also advanced steadily, with residents using their home sizes and shapes to show their social status.
Building houses has also become more manageable with technological advancements. This article will take you through a journey in history, from ancient ways of building homes to contemporary designs.
Mud Bricks: Ancient Greek and Egypt
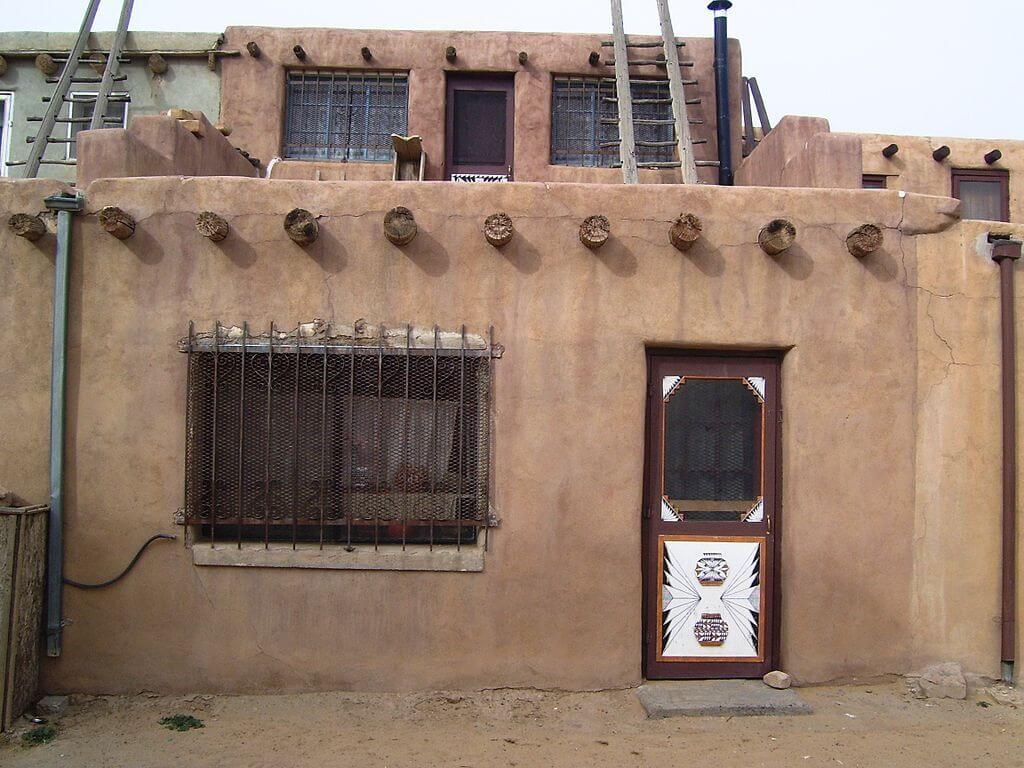
Mud brick housing is one of the most ancient methods for constructing homes. The materials for the bricks are loam, sand, and water, with the roof sometimes made of thatched grass. Ancient Greek insulation and Egyptian homes were made of mud bricks. Apart from their availability, mud bricks were also highly loved due to their coolness.
The homes also had one thing in common; they were not quite durable, with most homes having to renovate constantly. This issue is evident with the old ruins of the ancient Greek houses and temples and the artifacts they used. Learn about the history of their artifacts here www.learning-history.com.
Rammed Earth: China
Rammed earth was a common ancient house construction method that utilized chalk, lime, and gravel. Buildings made of rammed earth date back to the neolithic age, with the Chinese people. This construction method was even utilized in the construction of the great wall of china.
Rammed earth is still used to date in the construction of contemporary houses in areas experiencing high humidity and average temperatures. It is also highly advocated for its sustainability, as it does not emit harmful waste. However, this construction method could be better for areas experiencing high rainfall and colder temperatures, needing additional protection to insulate heat loss and rain.
African Layered Mud Housing
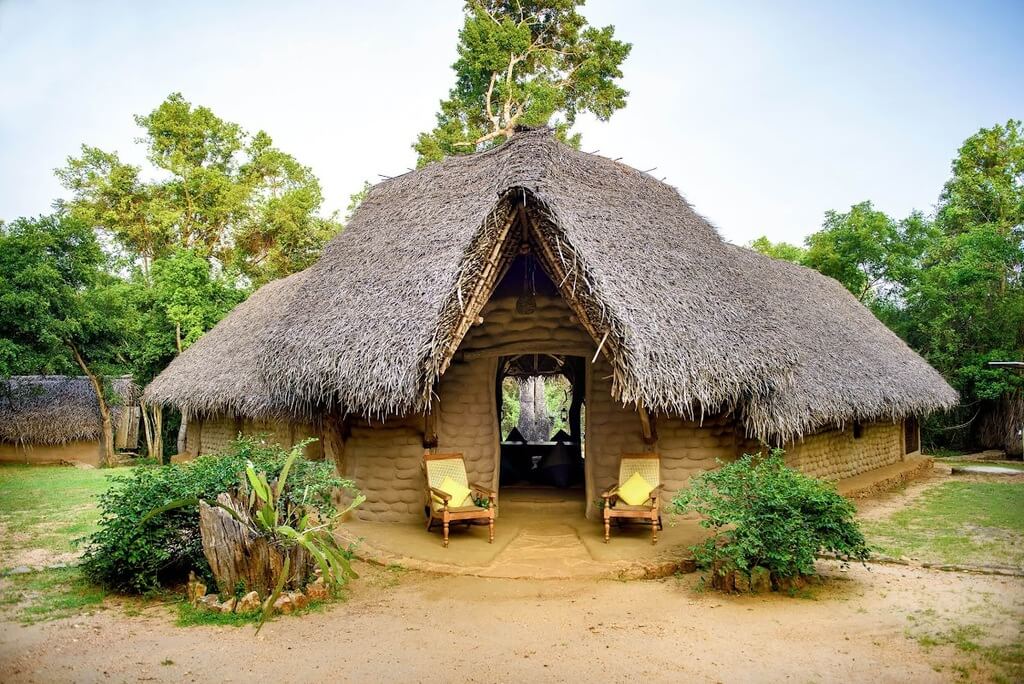
Mud Houses are prevalent structures all over the African continent. The houses are typically circular, made of locally available clay soil that can be combined with cow dung and straws that act as binding elements to the clay. The roof is made of dried thatched grass or reeds. These houses have different names, from the manyattas of the Maasai in Kenya to the rondavels of southern Africa.
These houses are excellent for hot weather, as they are cool. They are also excellent shade during the cold and rainy season and are easy to build, with one mud housing taking at least one week to erect. This type of housing is, however, nowadays associated with poverty, as more and more Africans adopt the westernized form of housing, using stones and cement.
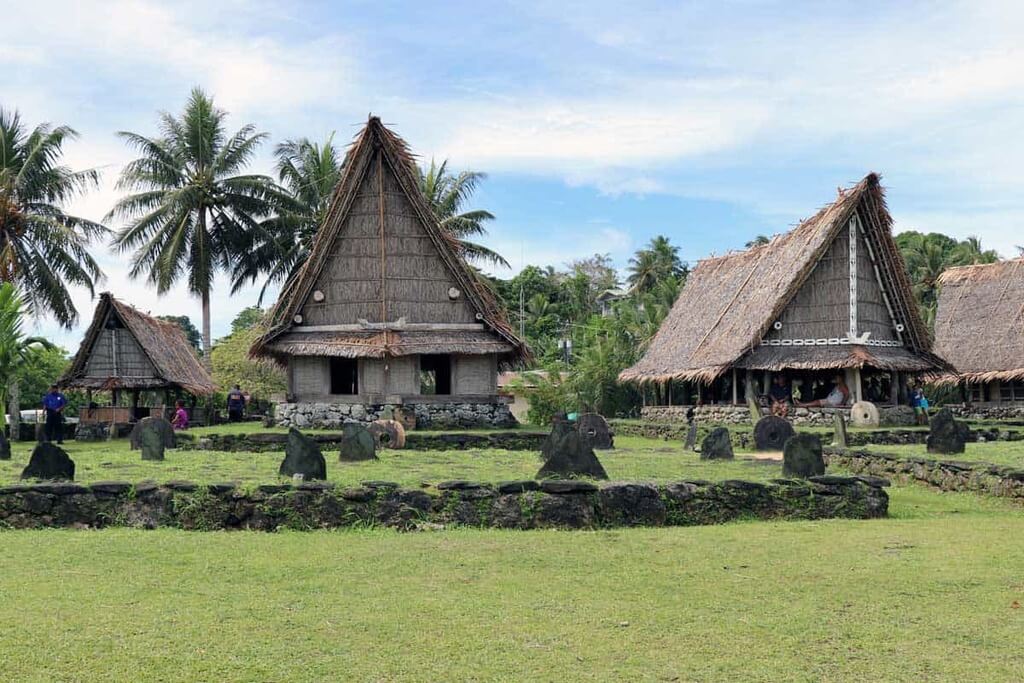
Bamboo and Stilts: Asia
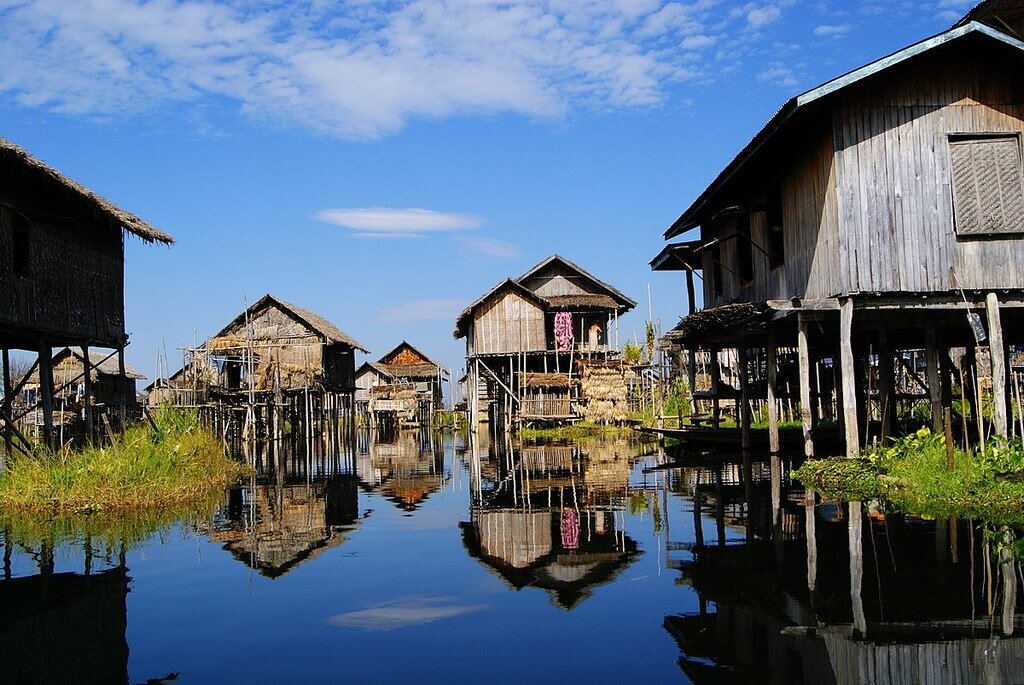
Bamboo and stilt housing was and is still common in parts of Asia like China, Thailand, Myanmar, and Bangladesh. The bamboo tree was a locally available material for the residents and provided durability. The Asian continent is also adorned with many rivers, and most land is low-lying. It is why many Asians living in areas that often flood or living near rivers to practice fishing use stilts to raise their homes above the ground, which is protection against flooding.
The bamboo and stilt housing design are today quite common as contemporary housing for luxurious exotic hotels in places such as Bali and the Caribbean. Many tourists love this housing design as it helps them feel more connected with nature. It is, however, interesting to see how much a night in those hotels is worth, while the form of housing in other parts is free and associated with non-civilization.
Layered Stones Colchians: Ireland
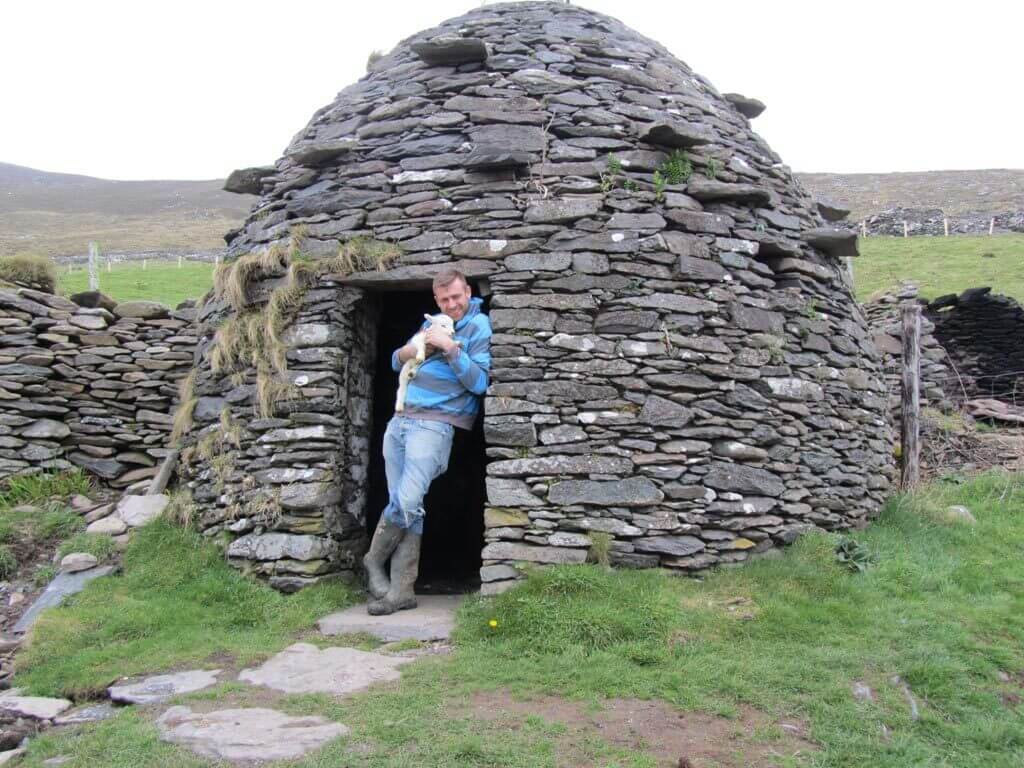
This form of housing was most common among the Celtic community in southwestern Europe and some parts of central Europe. The homes are also known as beehive huts and are said to date back to 700 BC.
These homes were primarily round or rectangular-shaped, with a corbelled dome-shaped roof. They were around 1.5 meters tall and usually had a small rectangular doorway. The remaining clachans could be located in locations such as the church islands in the dingle peninsula, southwest Ireland and Iona on the Scottish island.
Mangrove Homes: Ecuador
These homes are mostly the face of Asian and South American countries such as Ecuador. Mangrove as a building material is highly preferred as the plant is resistant to rotting and attacks by insects, proving to be durable. The homes are a typical go-to material for communities living near salty water bodies, as that is where the mangrove trees grow.
Like bamboo and stilt, the material is used in constructing exotic luxury hotels almost on every coast and is worth a fortune.
Palm Frond Houses: India
Communities in parts of Asia have been weaving their way into their homes for the longest time. Houses made of palm fronds are surprisingly quite durable, lasting at least 20 years. They do, however, need structural support from beams to enable them to weather rainy days.
Luxurious hotels also use palm fronds to thatch their roofs, which proves attractive, economical, and environmentally sustainable.
Palm Frond Houses: India
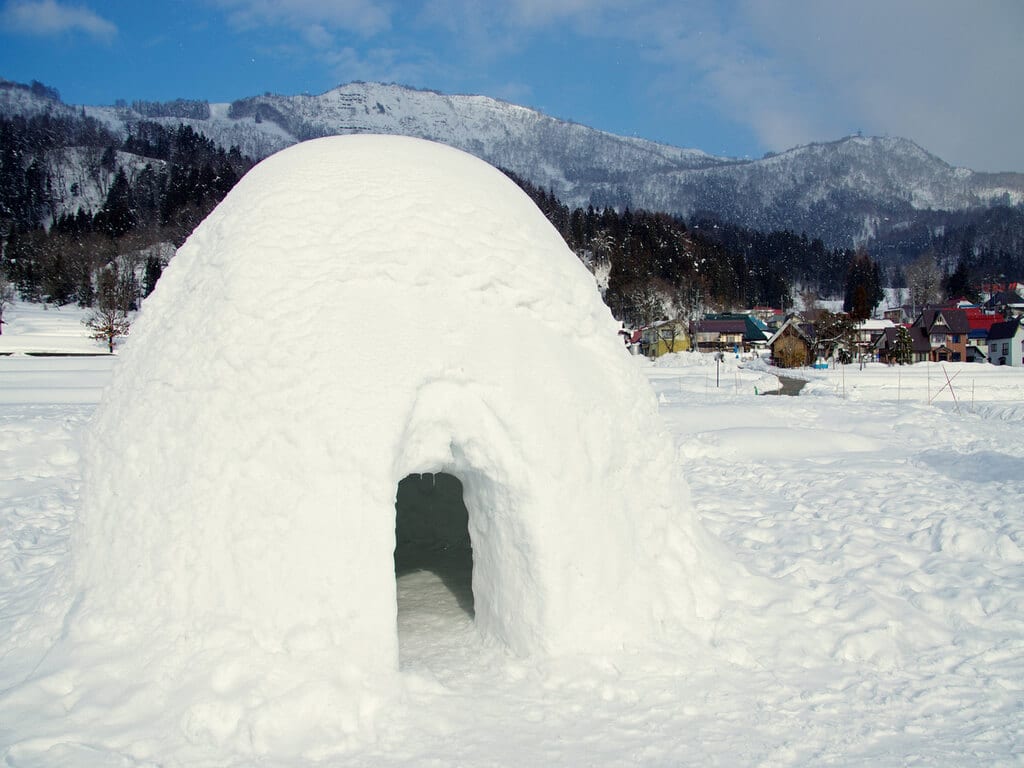
These houses defy human logic, as they are built using the same thing residents are trying to protect against. The houses are typical in icy places such as Canada and Greenland.
The houses are made of compressed snow, which is an excellent insulator. They are, however, relatively small, only able to house a maximum of five people. They are also a form of temporary housing used mainly by hunters.
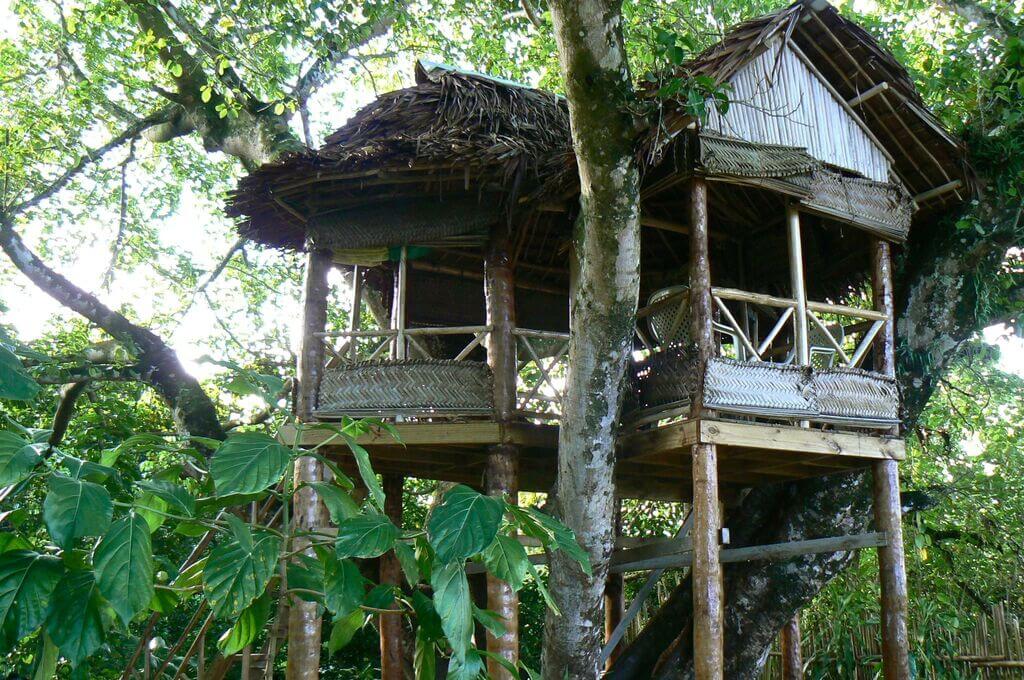
Korowai Tree Houses: Papua New Guinea
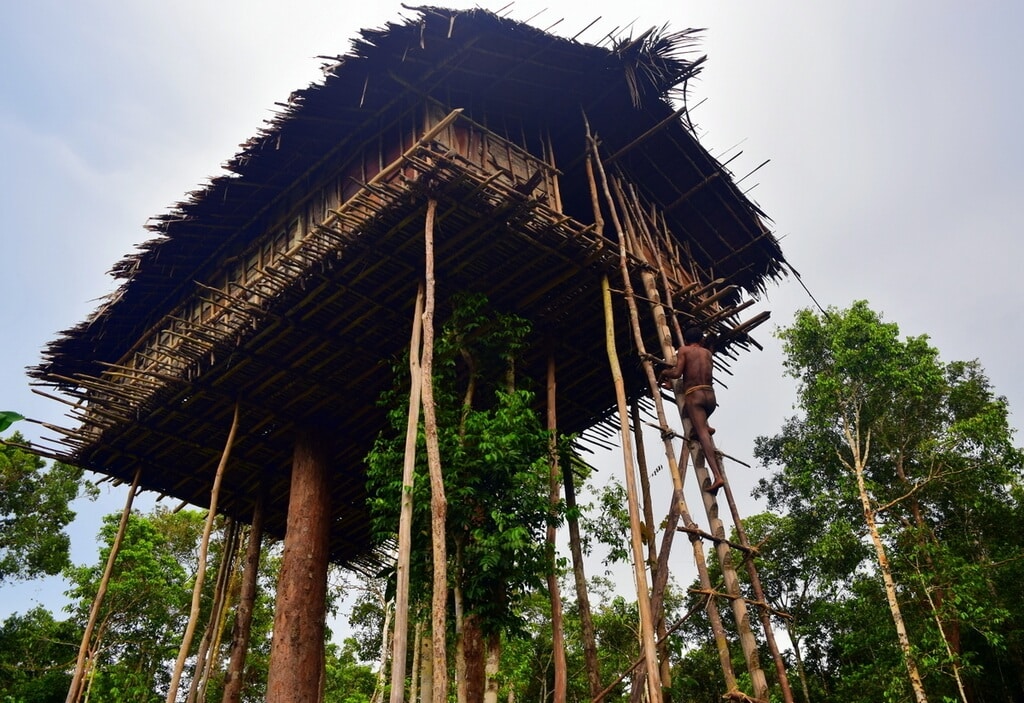
These houses are named after their inventors, the Korowai tribe, which is found in Papua new guinea. The houses are tree houses, having been raised at least 12 meters above the ground. In a real-life jungle story, the Korowai community gets their livelihood from the forest, including materials used for their homes.
Their homes are built from tree branches and the bark of the sago tree, and they may sometimes use long bamboo poles to erect their houses. These houses are strong, quite durable, and house a maximum of 12 people.
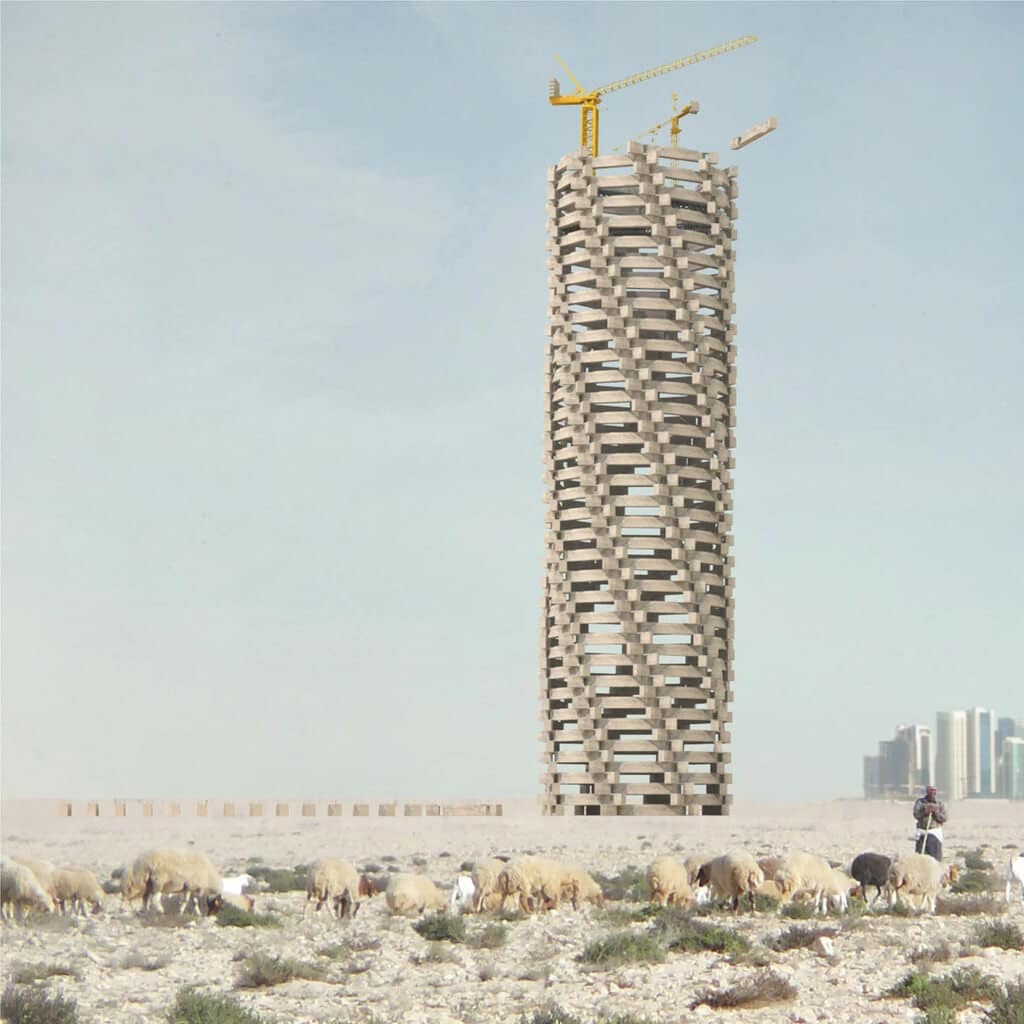
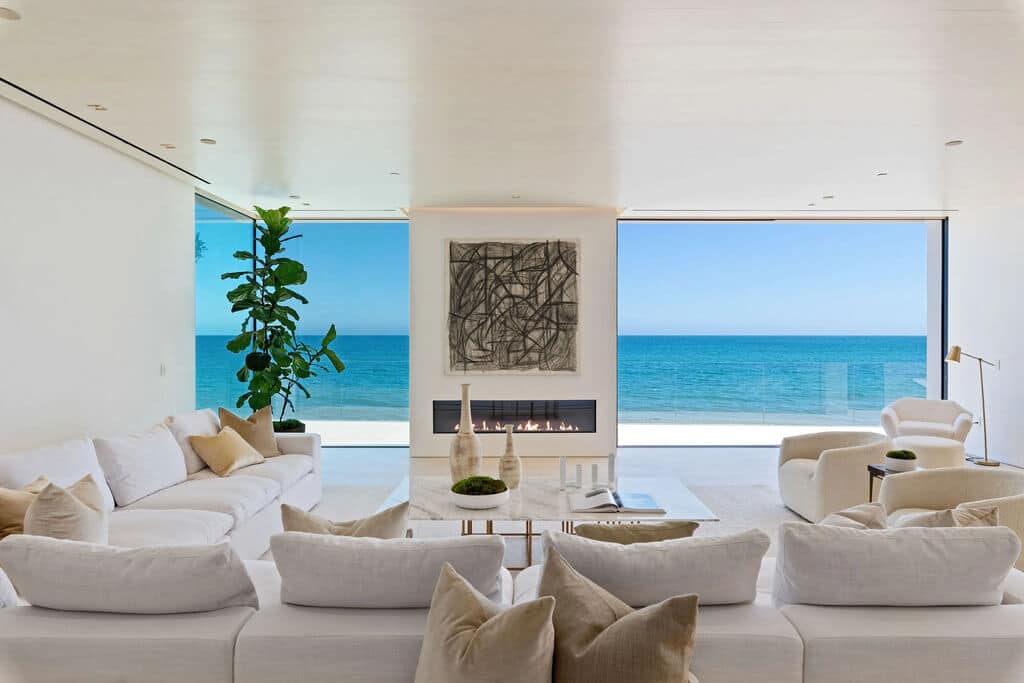
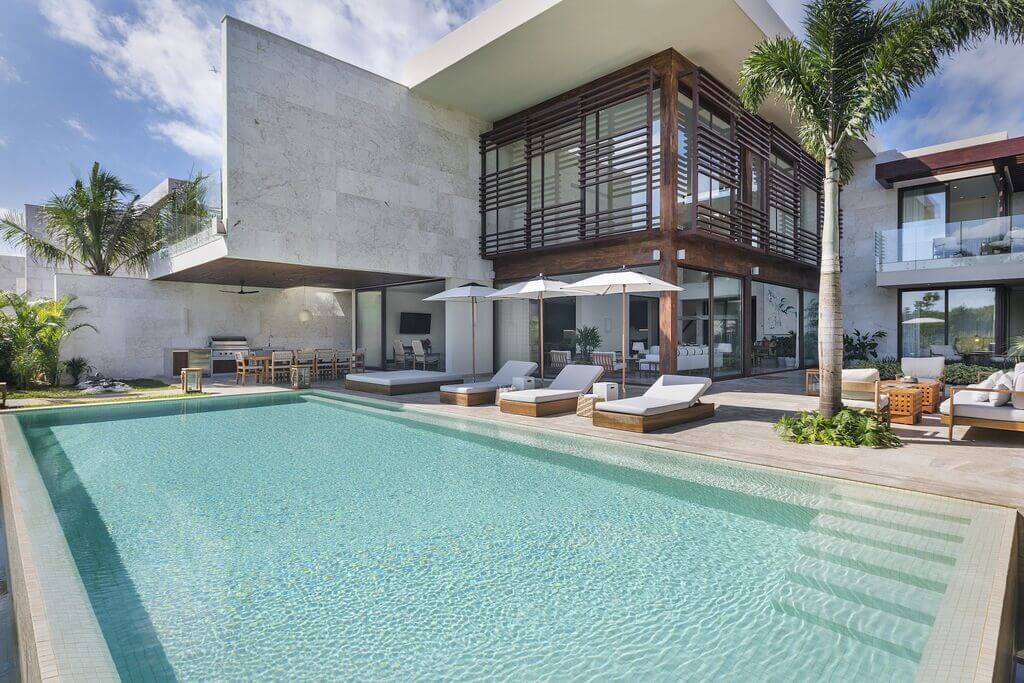
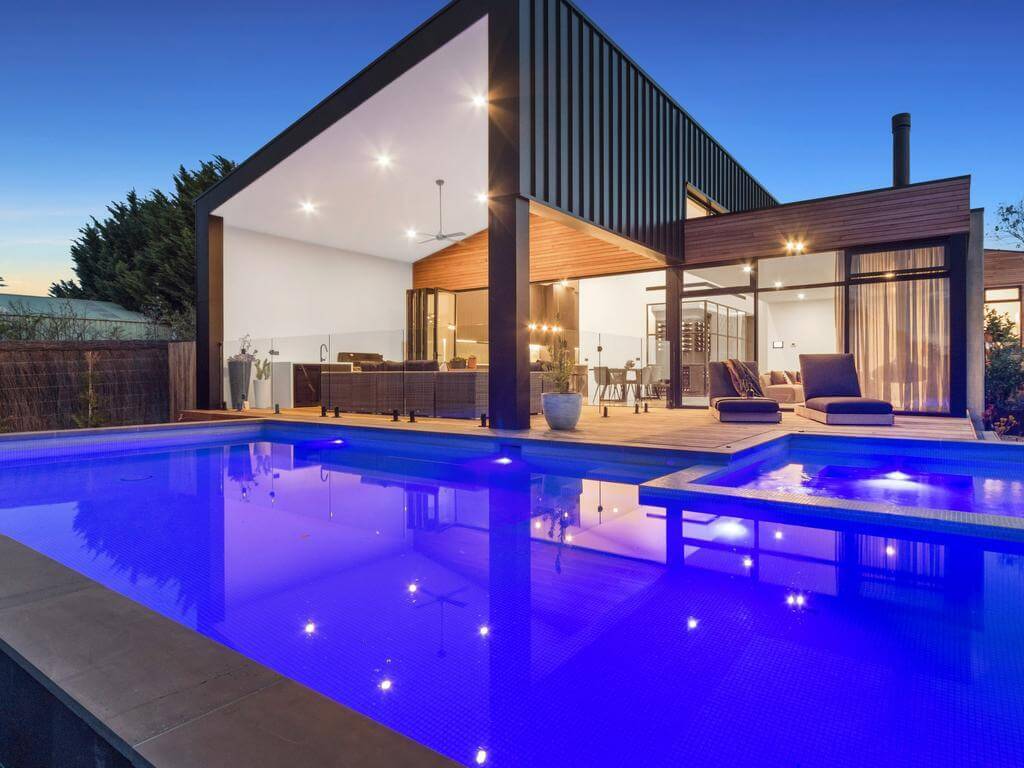
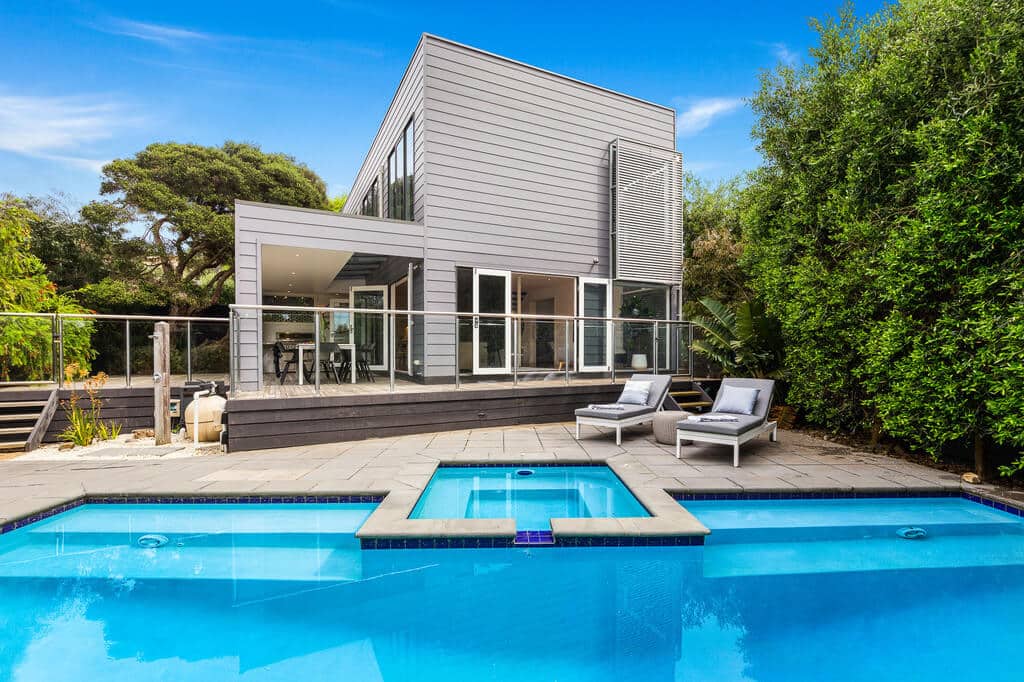
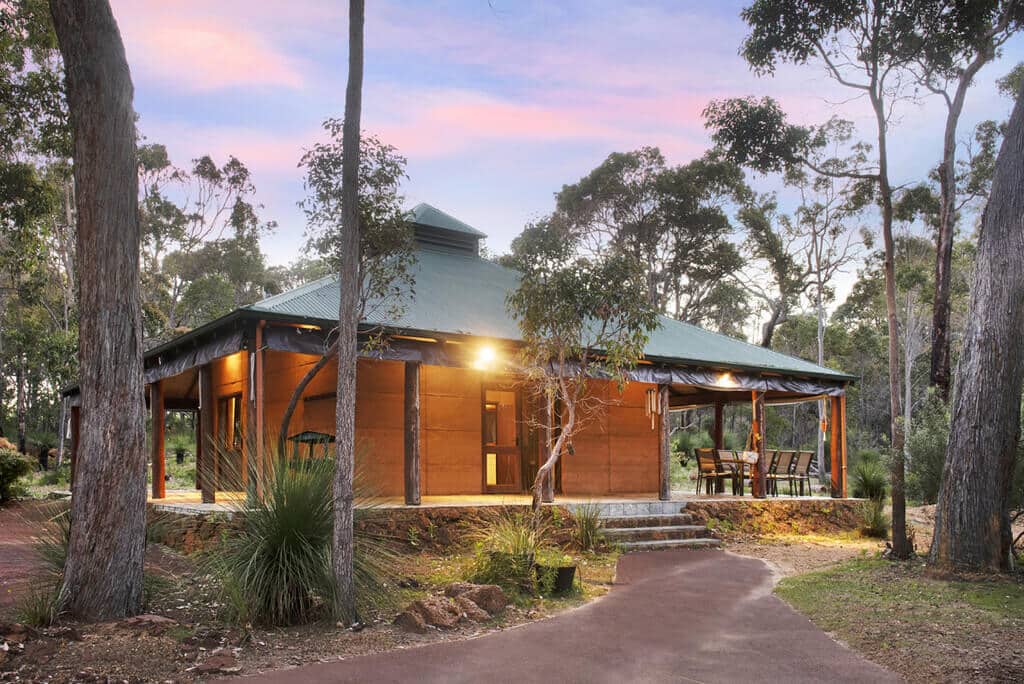
Modern Geometric Housing
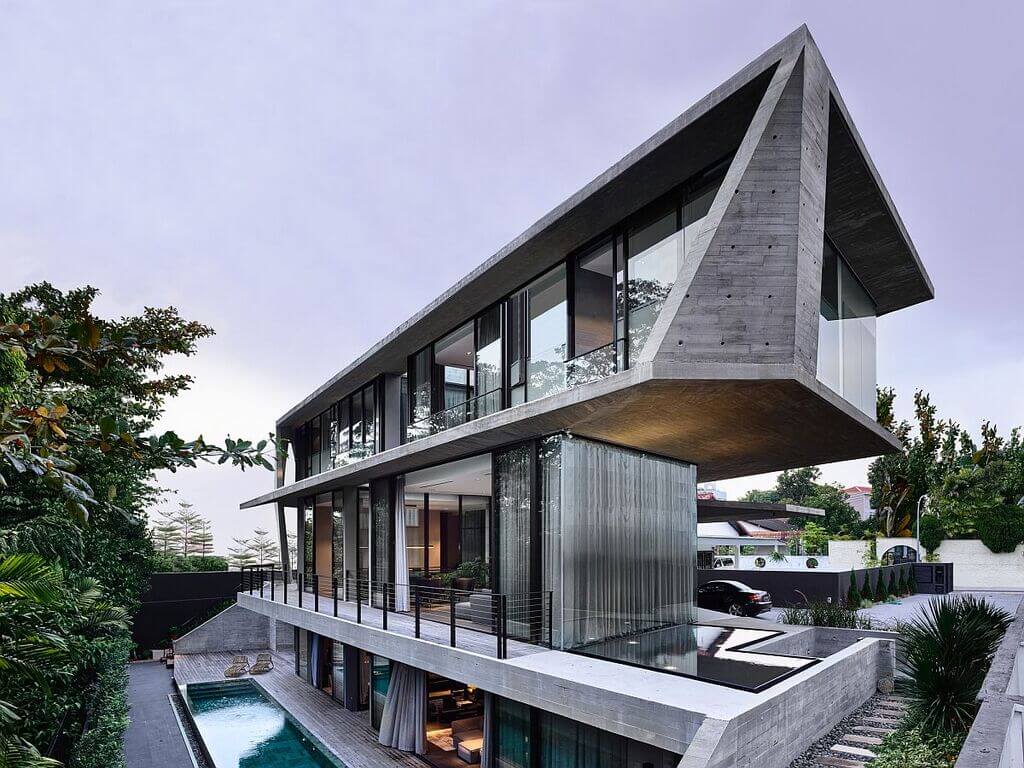
Geometry is the foundation of everything nature has to offer. It is visible with all structures from the Korean hanoks, the British brick-walled buildings, and the Georgian suburban homes. That said, many architects from the beginning of time have used geometry to emphasize the beauty of their homes.
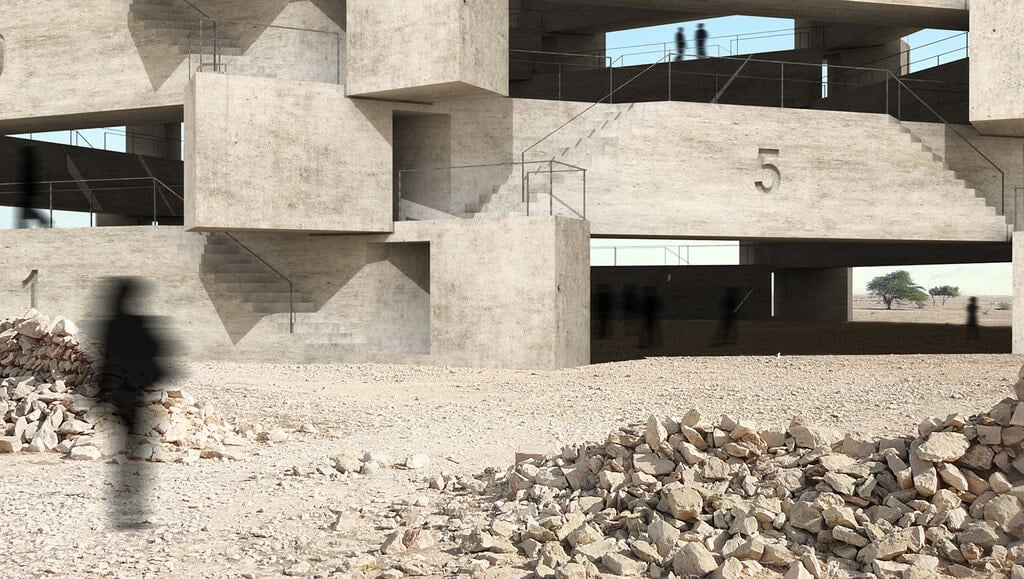
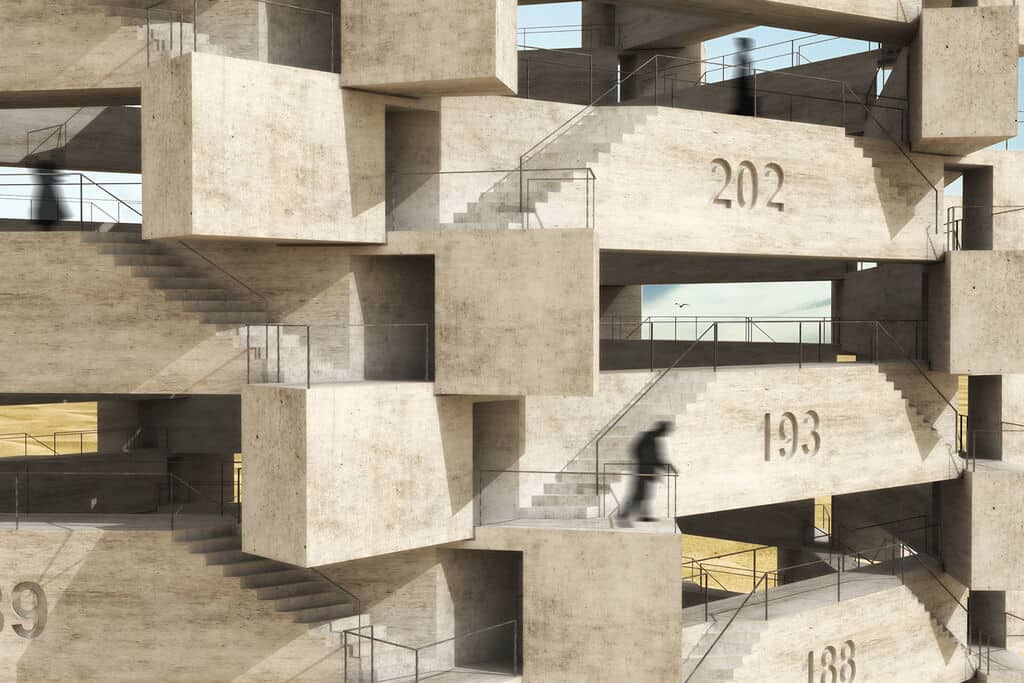
Many architects have also used geometry to ensure the structure of tall buildings is not compromised and to design contemporary homes that maximize space.
Designing a house is no longer what it was, as a century ago, designs were done by hand, making them tedious and causing a lot of miscalculations. Nowadays, however, technological advancements have allowed architects to design using software that can also be used to test the durability of the planned structure.
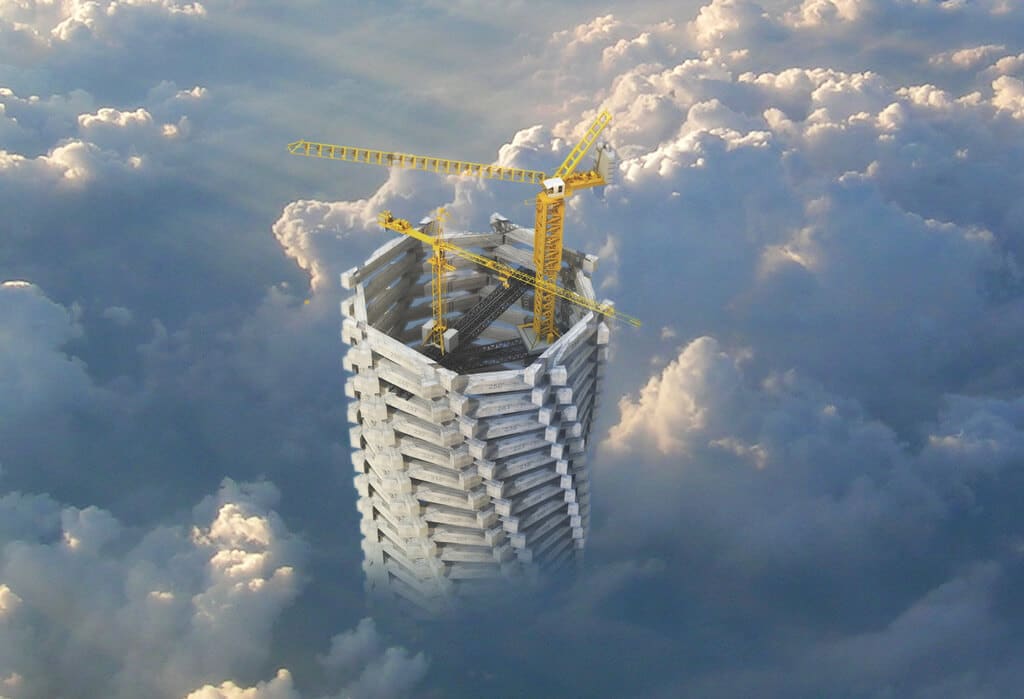
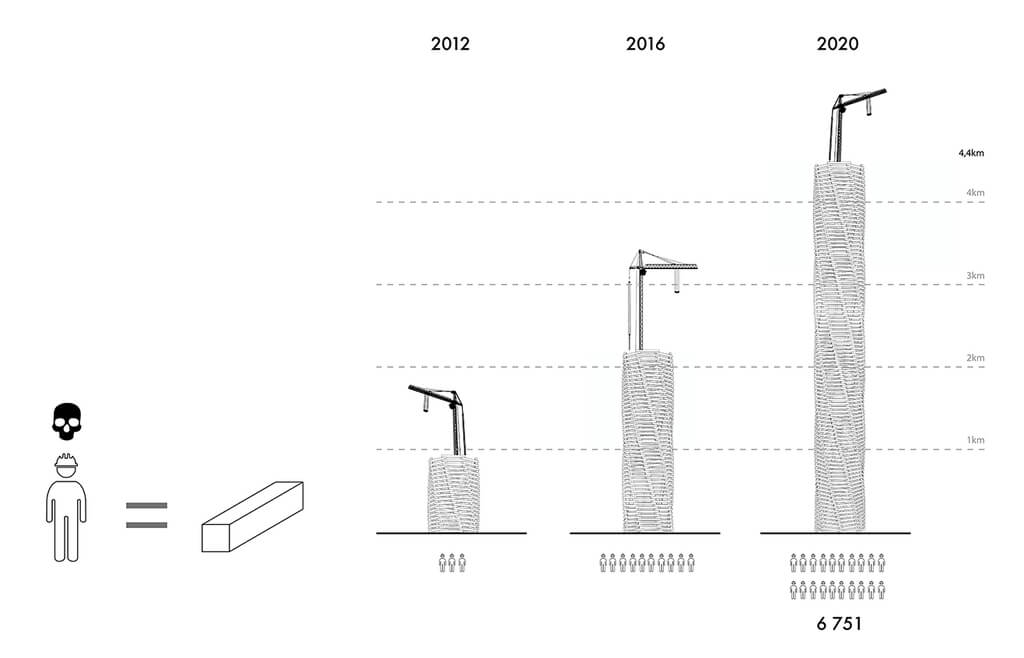
There has also been 3d printed homes technology that uses geometry to reduce the time it takes to erect a house.
Boat Housing
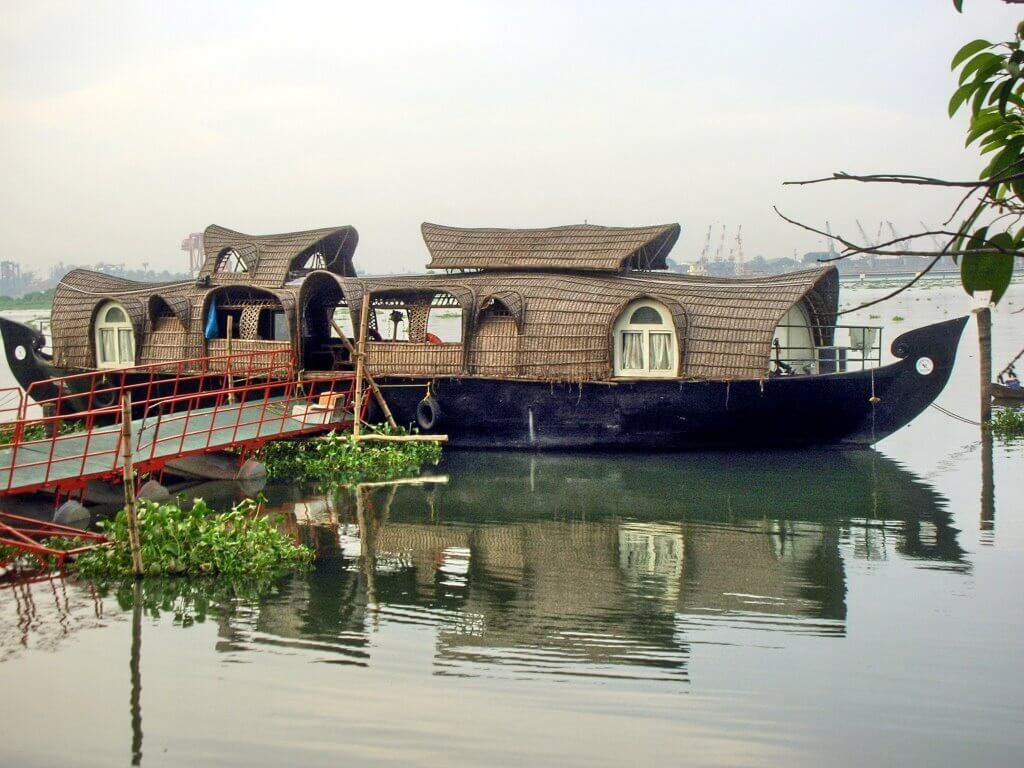
Living on boats has been practiced since the beginning of trade. This housing was purely out of necessity, unlike today, where living on boats is more of a luxury. If you love water, this form of accommodation is for you. There are boating communities all over, almost like estates for houses. This type of housing is also preferred by people looking to live a modest life, away from all the mortgage loans that cripple their financial status.
If you are on the upper ladder of the financial population, having a boat for you and your friends to spend vacations in is also an excellent idea. It allows you to disconnect from your busy life and enjoy the blue or green waters.
RV Living
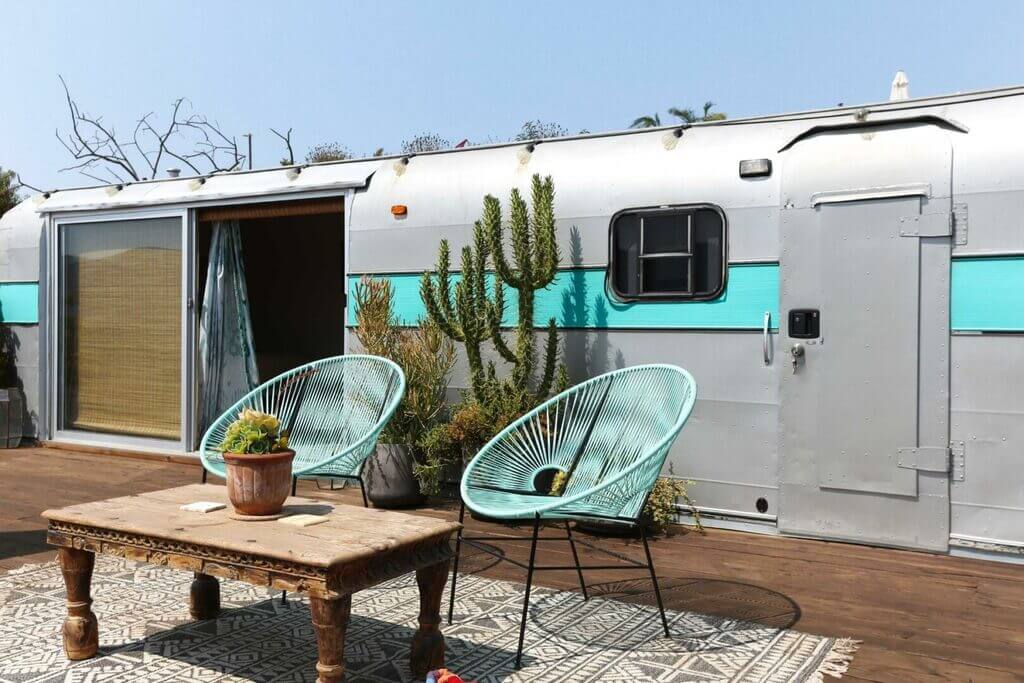
Many people love traveling; as such, they have invested in living on trailers that attach to their cars, providing comfort even on the road. Some have fully transitioned to living in an RV to cut on their financial uses.
Another beauty of living in an RV is that it is self-contained in a small space. It has changed the game for car manufacturers now coming up with new RV models daily to suit all clients. Other manufacturers benefiting from this shift are the toilet guys that are coming up with competitive waste management systems for people living in their RV
Tiny HomesConclusion
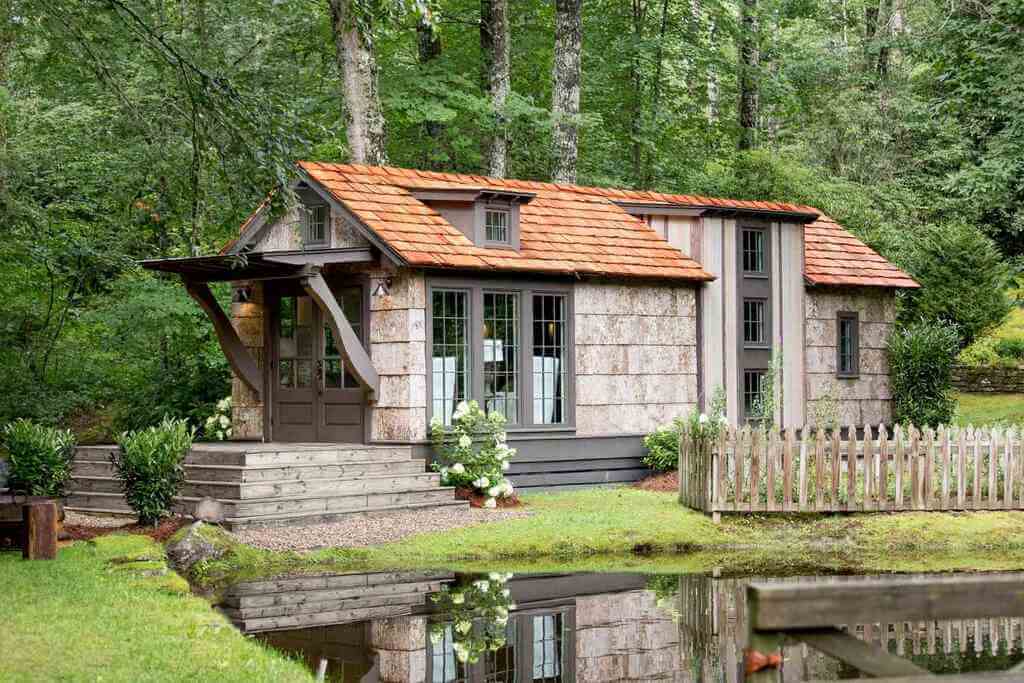
Having gained popularity over the past few years, everyone seems to be moving to a tiny home. Some people construct their small homes using shipping containers, and others on movable wheels to make traveling a possibility. It could be associated with the financial crisis going on in the world or even the realization that less could be more. Tiny houses and technological advancements make them more interesting to look forward to.
Conclusion
House construction has gone through massive changes since humanity started living in them. These housing techniques are an excellent inspiration for techniques yet to be discovered. There is, therefore, more option for people to build houses worldwide. The time taken to design and build homes has improved.
What building technique do you consider the best and why? Let us know in the comment section
Keep reading:-