Have you decided to renew your kitchen flooring?
The kitchen is not only the heart of the house but also one of the busiest areas of the house. That’s why renovating this part of the house is sometimes challenging. How?
As compared to the bedroom and living room, the kitchen has a lot more built-in components. The other parts of the house may have complicated wiring outside of a TV or computer set-up, but have you ever noticed that the kitchen also has many things to consider? Yes, you’ve to think about the appliances, plumbing, and electricity if you want to make the most of the space.
We all want modern and functional kitchen design, but that can be very expensive if you don’t select the materials and decor wisely. So before investing your precious time and hard-earned money, you should know every aspect of a kitchen renovation.
One of the major parts of the kitchen renovation design is the floors. The flooring, particularly in this region, should be hardwearing, family-proof, slip-resistant, and also easy to maintain. And most importantly, while it offers all these properties, it should also look fabulous.
There are many kitchen floor tile ideas available in the market today. And with this many options for kitchen flooring, it is extremely confusing to select the right one for your kitchen. So, if you’re also facing the same dilemma about kitchen tiling ideas, you’re landed on the right page.
Today in this blog, we’ve gathered up some of the best kitchen flooring ideas of 2022 for you. We’ve included all types of floor options in the list, from real stone ones to faux vinyl kitchen floors that will suit different tastes and budgets.
Let’s begin.
Top 9 Stylish but Practical Kitchen Flooring Ideas
So are you excited to transform your kitchen? Here is the list of top most popular kitchen floor ideas on a budget in 2022:
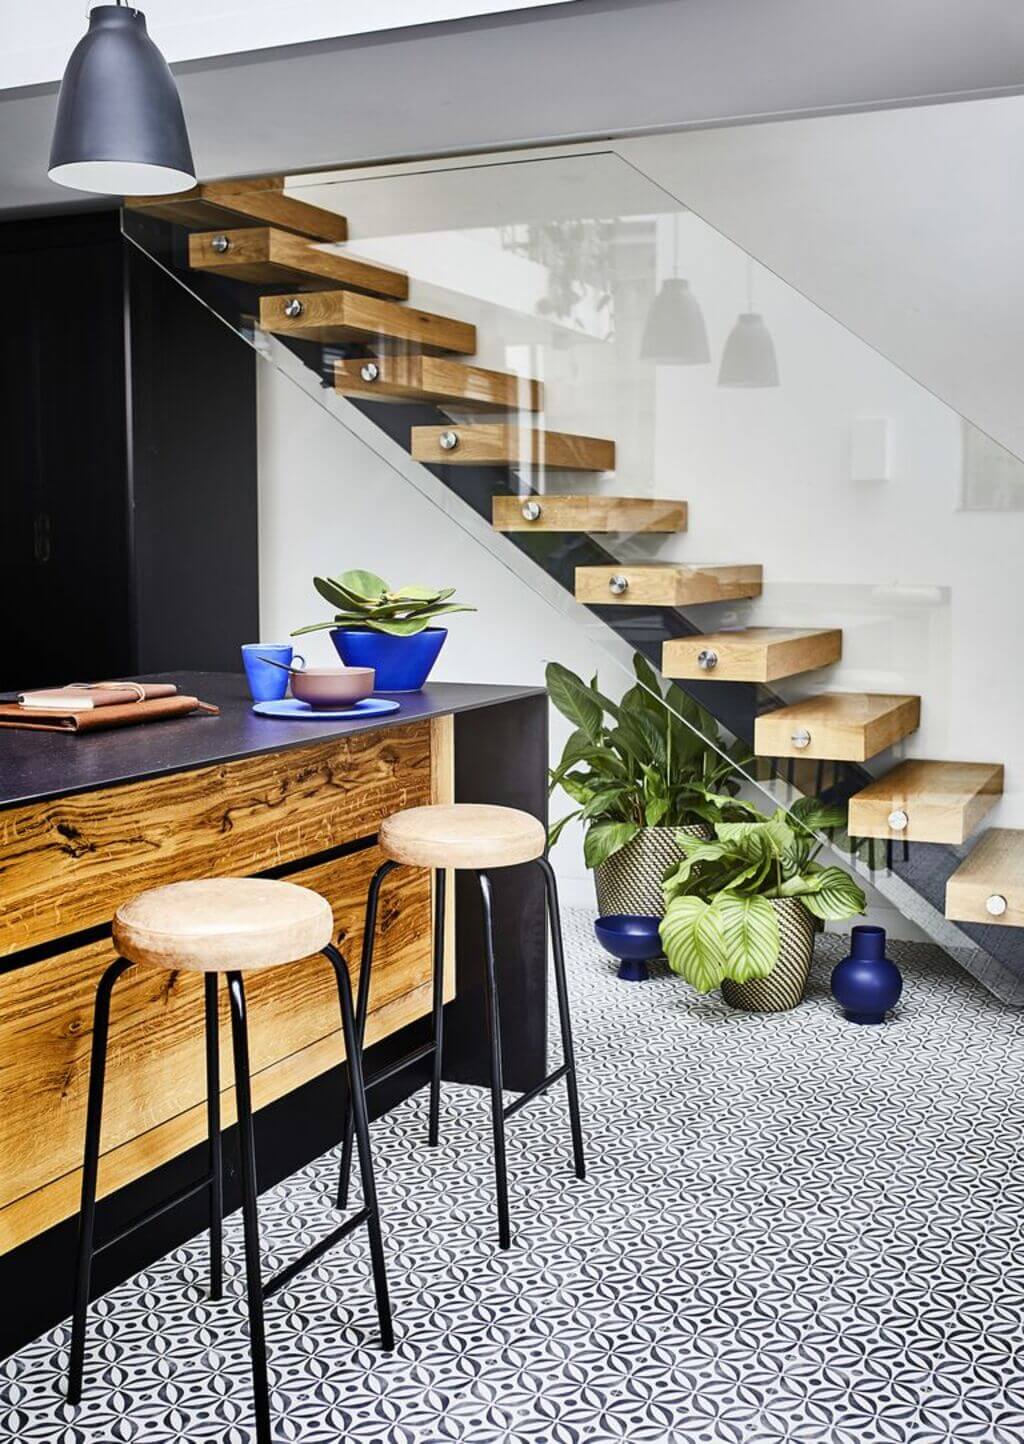
Kitchen Floor Idea 1: Tiles
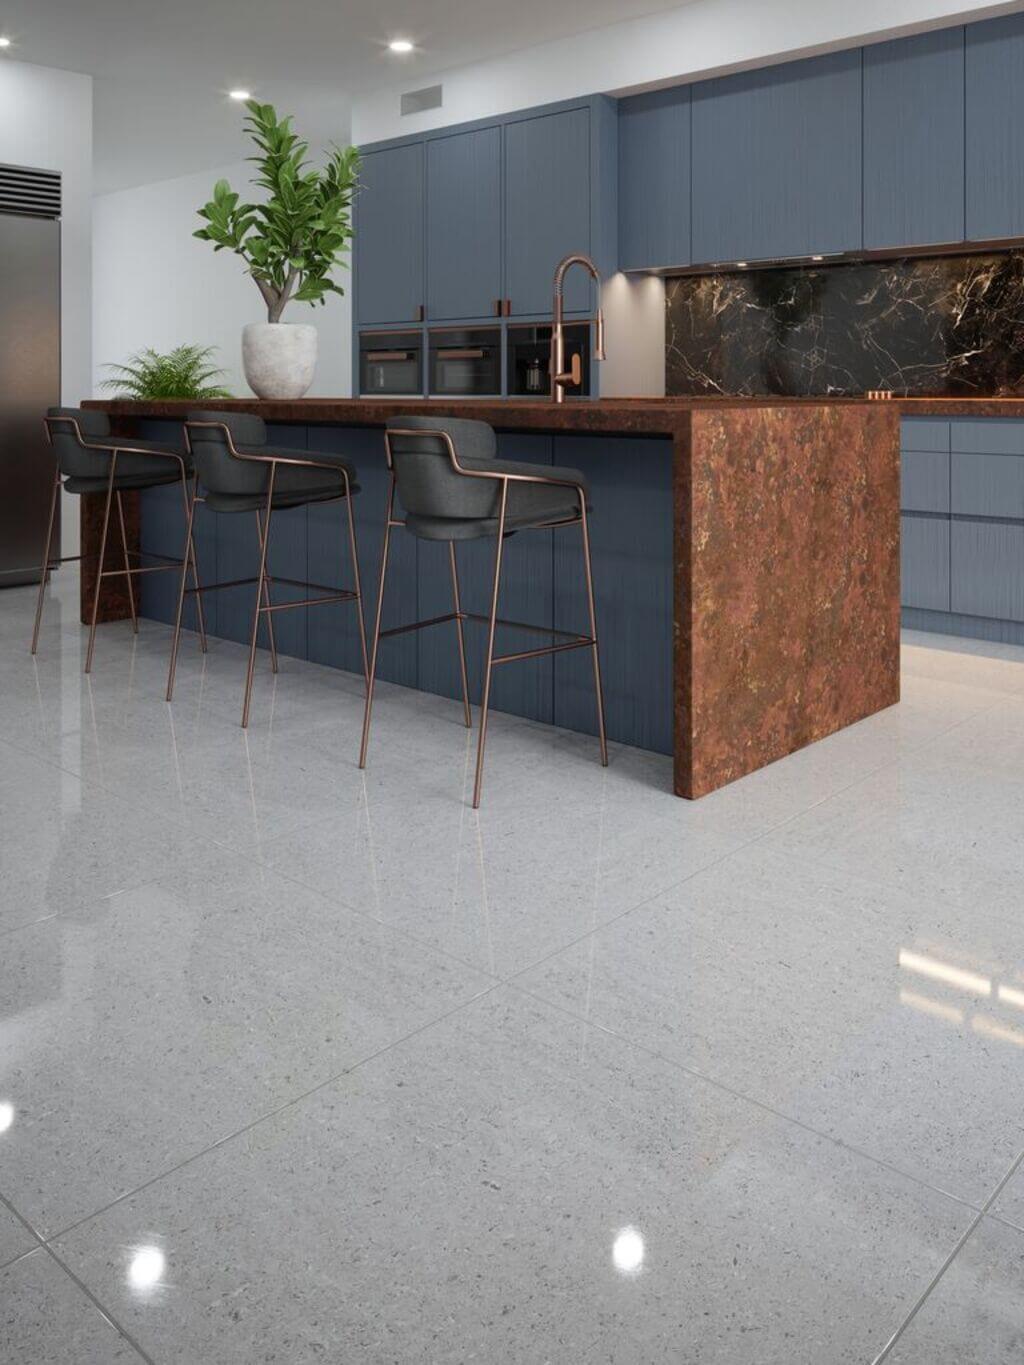
First on the list is the evergreen classic flooring idea, tiles!
There are two options for tiles: Ceramic and porcelain. Both are durable and highly resistant to damage, and that’s why both are commonly used in bathrooms and kitchens. These two areas have frequent exposure to water; that’s why tiles are an excellent flooring option as they’re strong.
Tile is incredibly long-lasting but due to their extreme hardness, they are prone to damage and more likely to break if something drops on the surface. So they’re not recommended for the second-story floor.
A tile is a go-to option available in so many different colors, textures, and patterns. You can pick any design theme, from contemporary gloss, rustic planks to textured stone-effect and vintage geometric prints. When it comes to size, tiles are available in different sizes and shapes like hexagons and rectangles; you can get the one according to your space and budget.
Not only this, but also you can lay them in a variety of patterns like straight, brick-bond, parquet, and herringbone. And you can also add borders for extra dimensions and definition.
PROS
- Durable
- Waterproof
- Resists stains
- Lightweight and easy to handle
- Many colors and patterns available
CONS
- Can be a slippery surface
- Should be professionally installed
- Often cold underfoot
Tip:
Sometimes creating a pattern can actually require a lot of tiles. As while creating patterns, there is always wastage of tiles. So always add one extra box while ordering or purchasing tiles.
Kitchen Floor Idea 2: Vinyl
If you’re looking for a stunning flooring option on a budget, vinyl floors are all you need in your kitchen. This flooring type is hardwearing, durable, and easy to lay without any need for professionals. It is also a great option for people who feel tiles are a bit cold on their feet because vinyl feels softer and warmer underfoot.
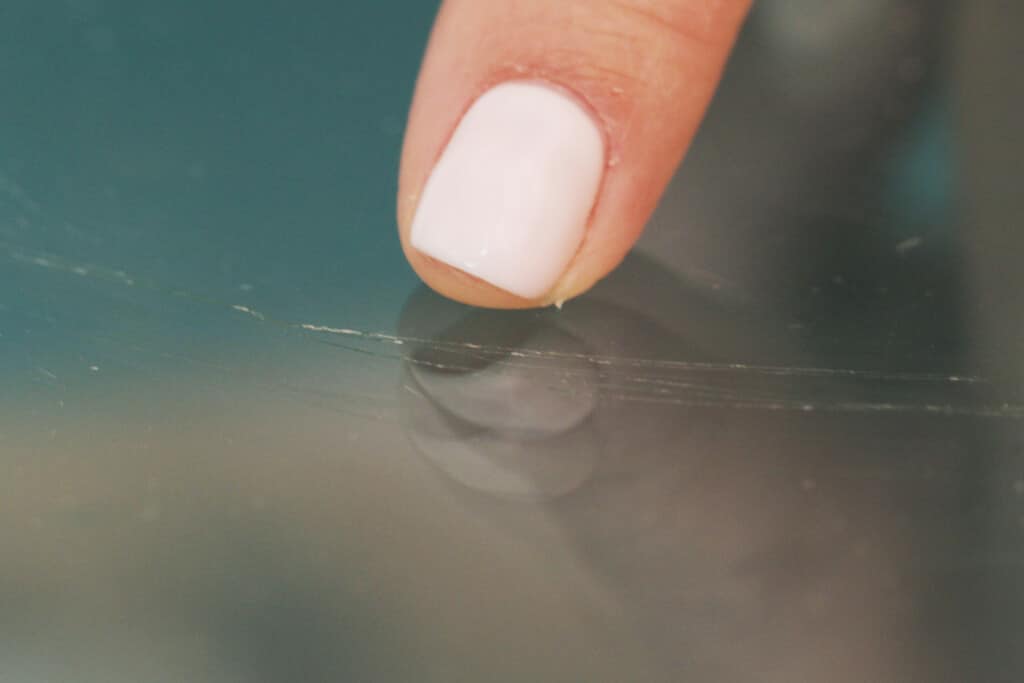
And also, if you accidentally (or intentionally) drop a dish or crockery, it’s so much easy to clean, and also there will be no damage to the flooring. Vinyl is water-resistant and scratch-resistant, so you can use them as flooring in your kitchen without any worries.
Available in a wide range of modern, trendy designs and patterns, you can pick your favorite one according to the specific theme that you’re going for. And also, don’t think of the pricing as vinyl flooring comes at reasonable pricing. Vinyl flooring is available in two forms: vinyl sheets and vinyl tiles.
PROS
- Waterproof
- Remains warm underfoot
- Can be installed without a professional
- Available in various styles and pricing
CONS
- Not as sturdy as tile
- Can be dented or scratched
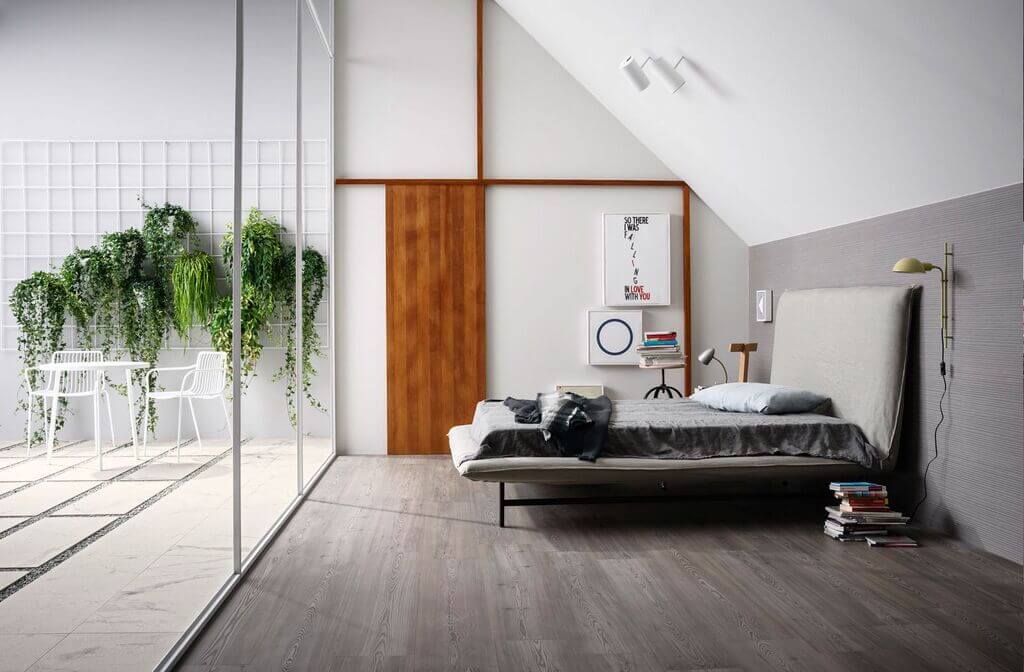
Kitchen Floor Idea 3: Laminate
If you want to explore synthetic flooring, you can try laminate. So if you don’t know, what is this flooring? It is made of layers of MDF (medium-density fibreboard) and resin, and it comes in a wide range of different styles. From afar, sometimes you can’t even tell if that’s a real wood flooring or a synthetic laminate one. Yes, it looks so real to the eyes!
So, if you can’t afford the expensive hardwood flooring, you can definitely go with this one. They’re durable and will last for many years. Another amazing thing about this flooring is that you can easily install it without any help from professionals.
However, the major downside of laminate flooring is that some of its types aren’t that water-resistant. This means they can be ruined by water. However, some companies claim to offer waterproof versions. Still, it is recommended to stay a little careful with the liquids.
PROS
- Inexpensive material
- Easy to install
- Comes in modern designs
CONS
- Not ultra-hard wearing
- easily spoiled by water
- Suitable for smaller kitchens
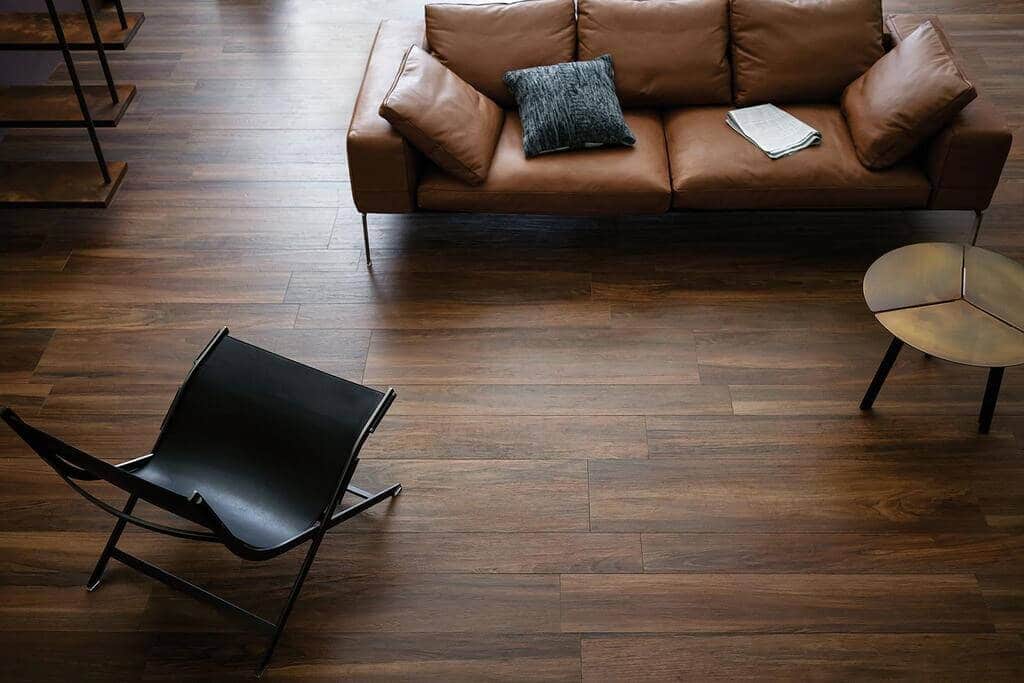
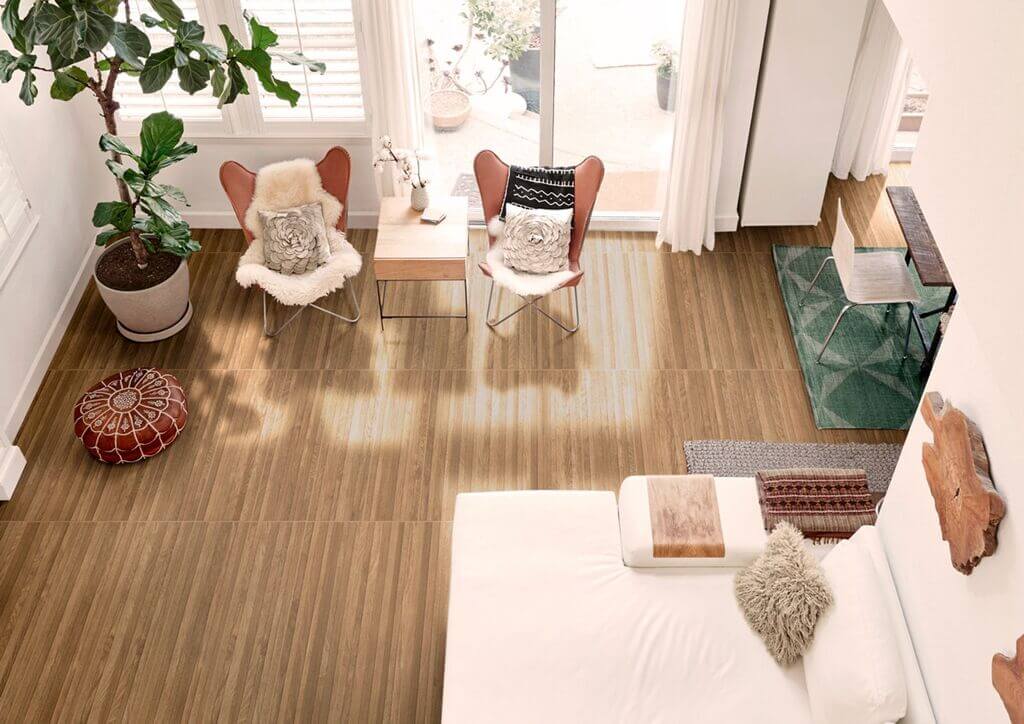
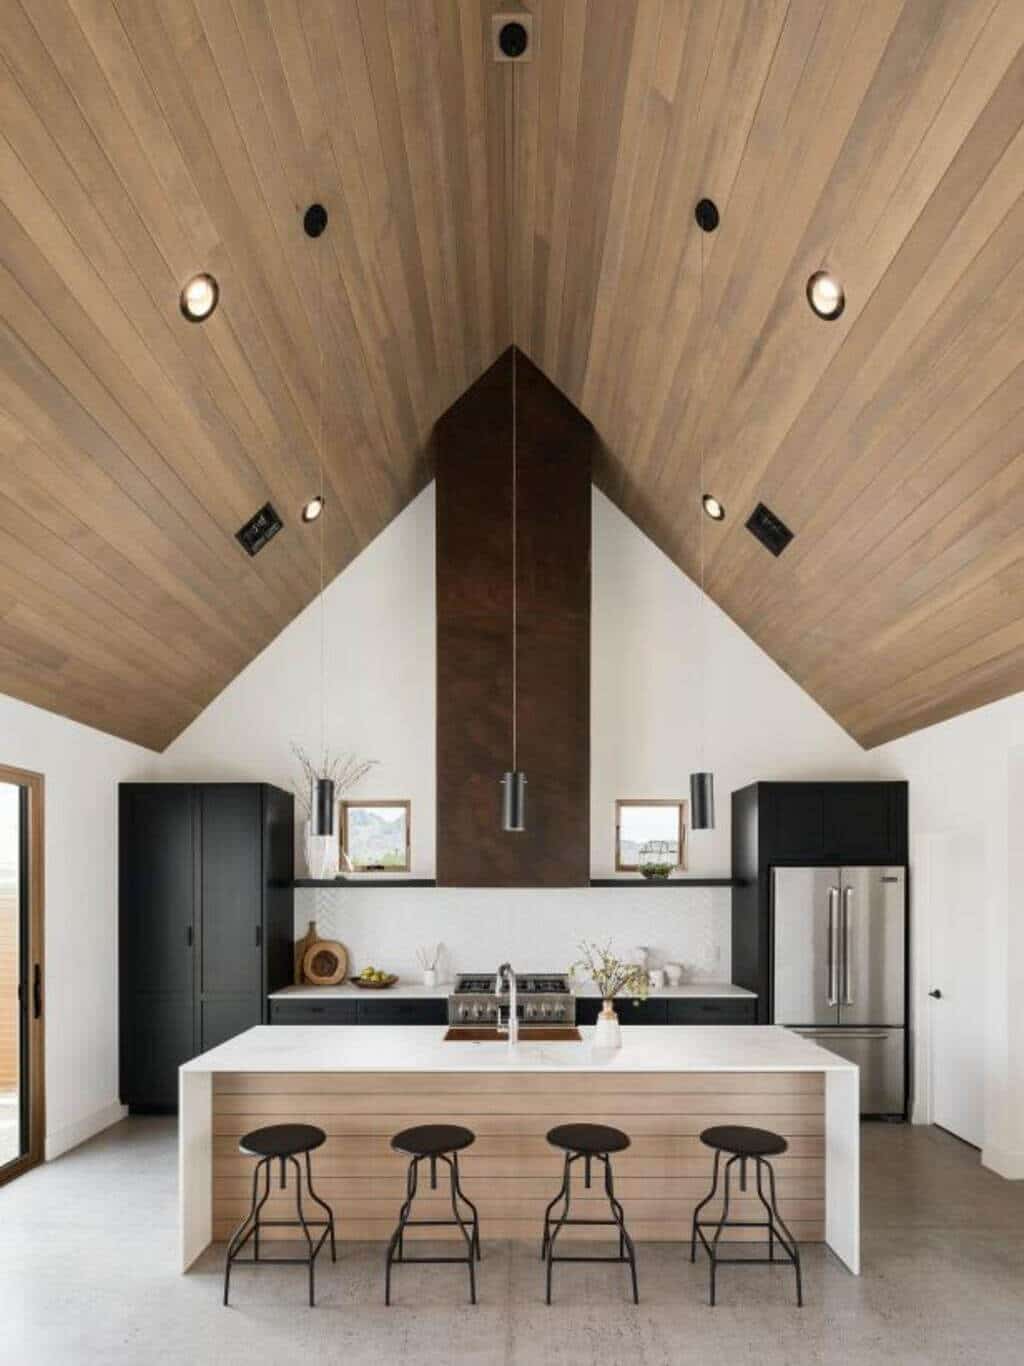
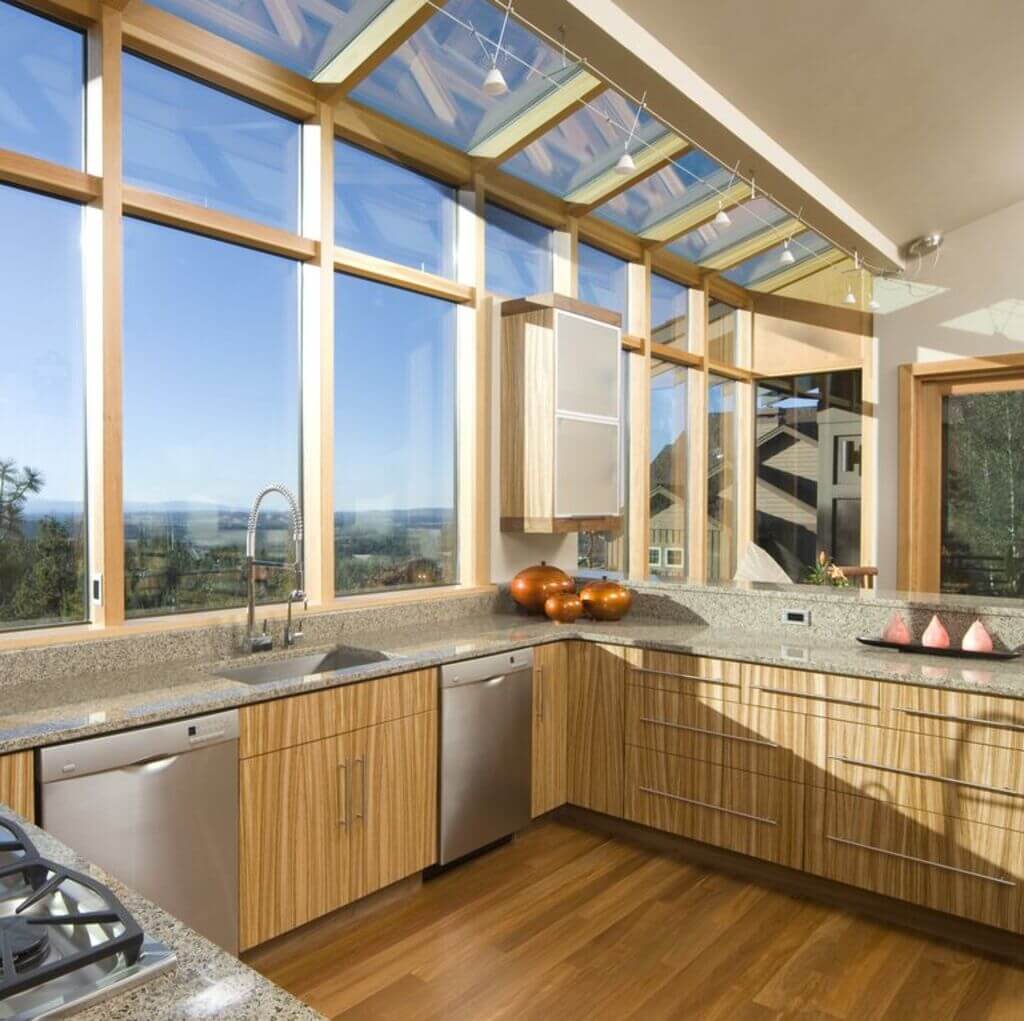
Kitchen Floor Idea 4: Wood
We have only two words to describe wood floors: Beautiful and Luxurious. There are actually two types of wooden flooring: engineered wood and solid hardwood.
Wood is one of the traditional floorings that can also be designed in a modern way. Hardwood floors are extremely pretty looking, but they’re not completely waterproof. Some come with water-resistant finishes, but you have to be careful if you spill something; you’ve to clean it immediately. That’s the major reason people most of the time prefer engineered wood flooring.
That’s because engineered wood flooring is constructed in a way that it can easily bear the kitchen’s changes in temperature, humidity, and moisture. This type of wood flooring consists of two layers; the first one is real hardwood, and below this, it has layers of plywood. That’s why it has great strength and durability.
Whether you have a small kitchen or a huge one, wooden flooring always makes the space look more sophisticated and elegant. This is one of the best small kitchen floor tile ideas. If you want to go with hardwood flooring, there are many options, such as reclaimed, recycled, and environmentally sustainable hardwood. Just keep one thing in mind; it will issue around humidity, expansion, and contraction. So, don’t expect perfection from the Harwood kitchen flooring.
PROS
- Easy to Clean & Maintain
- Easy to update
- Need a dry and level surface underneath.
- Many colors and patterns available
CONS
- Not water-resistant
- Can be a slippery surface
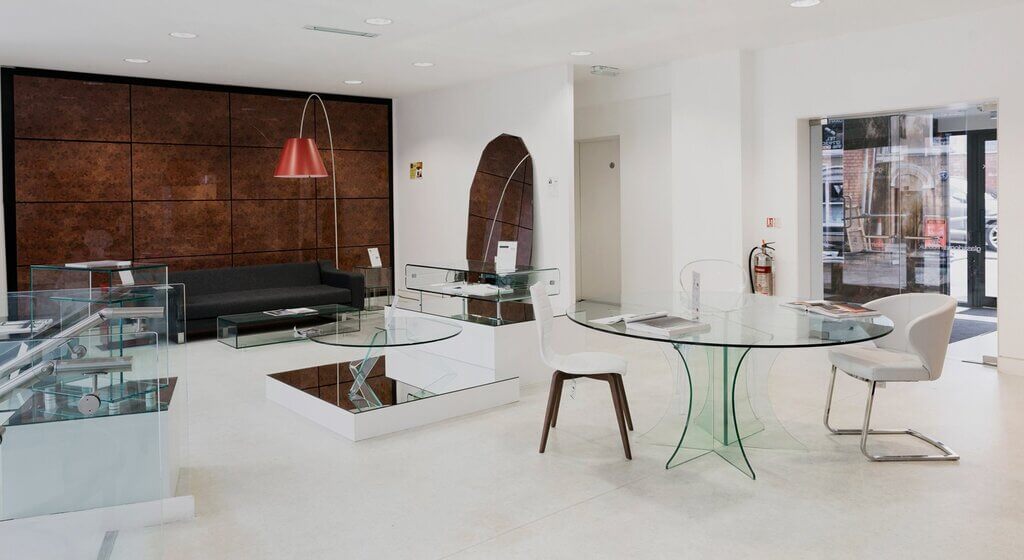
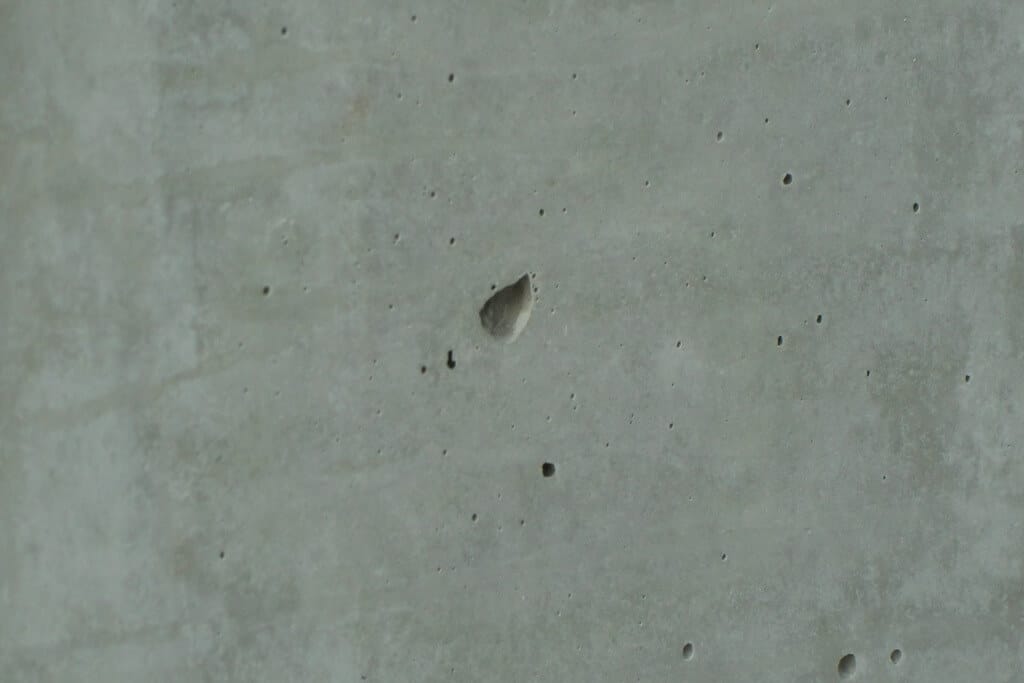
Kitchen Floor Idea 5: Concrete
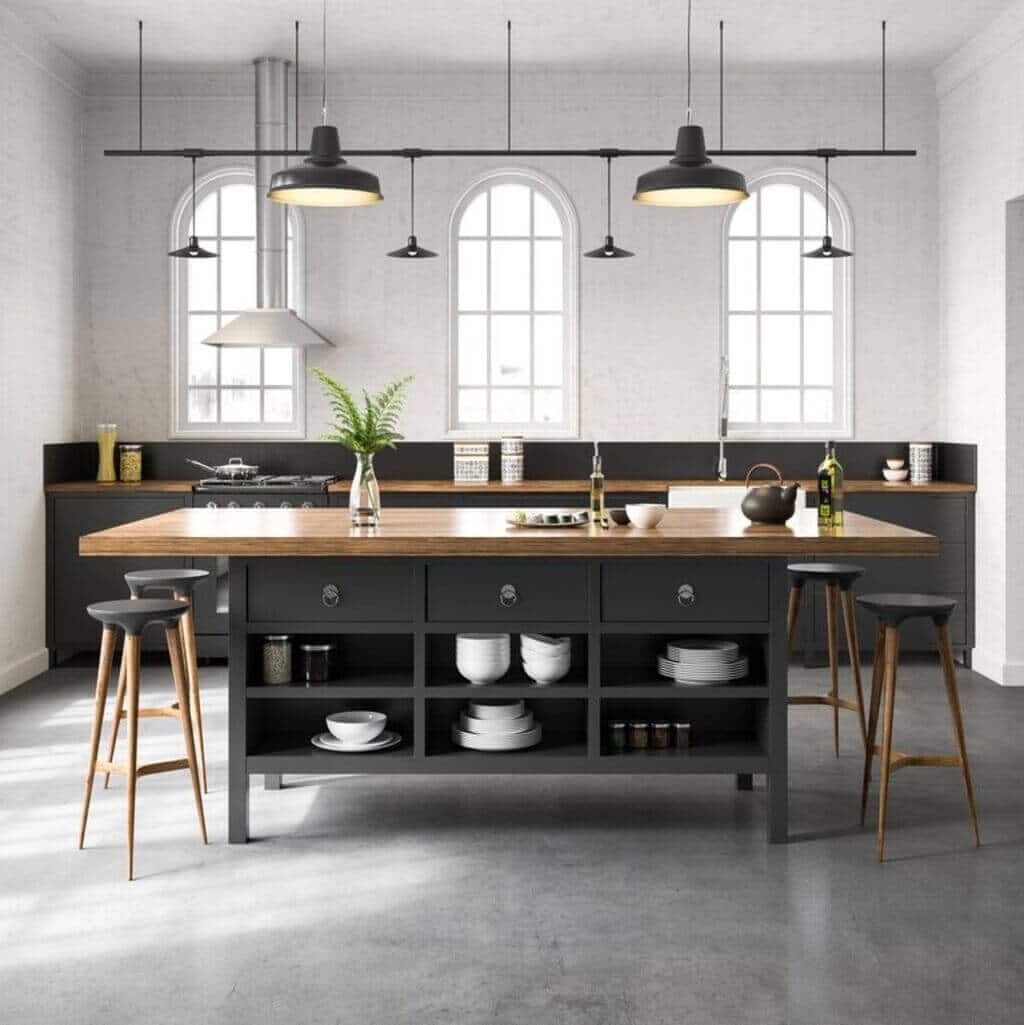
Stained concrete can be styled to look like wood, stone, or even tile, and it can be sealed to be almost completely waterproof—although mats are still recommended near areas of excessive moisture, like in front of the sink or dishwasher.
Do you love edgy and industrial style?
If yes, you’ll surely love concrete kitchen flooring ideas.
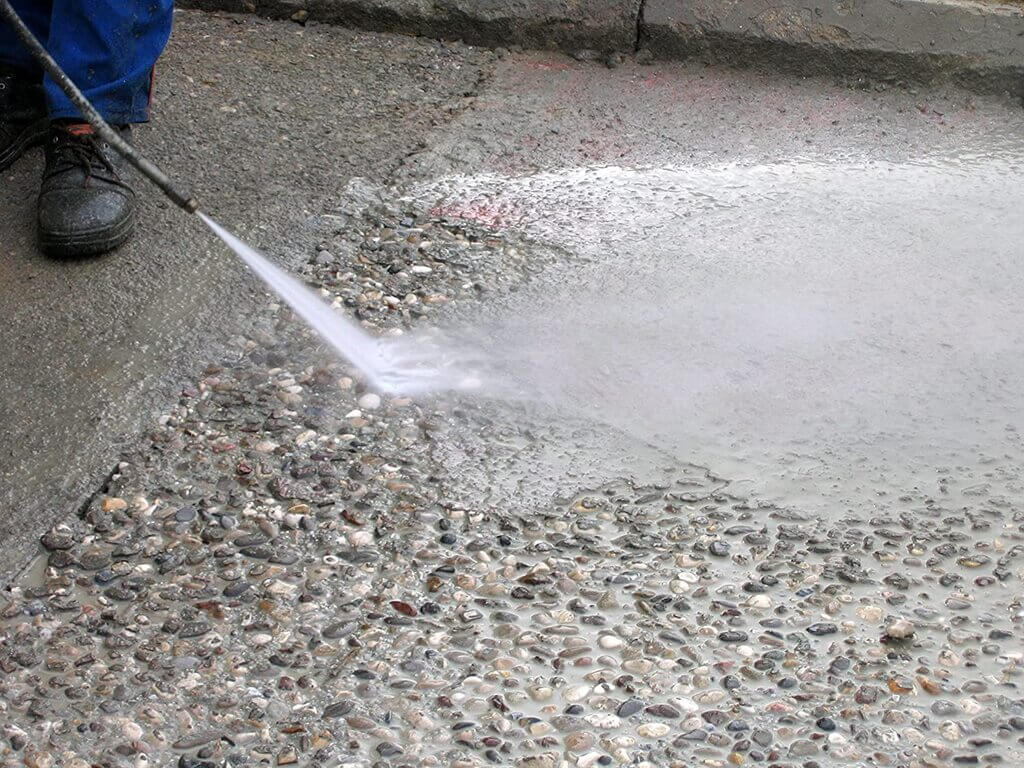
Concrete might sound a bit too harsh for the kitchen floors, but it’s one of the durable and budget-friendly options. Concrete floors are sturdy and will last for many years. It‘s also easy to clean and requires low maintenance. However, the installation process can be a bit complicated.
If you’re planning to have concrete floors in your kitchen, make sure to consult an engineer so that he/she can determine whether your house can support the weight of a concrete floor.
You can even paint or stain your concrete floors for different looks. It will give that authentic warehouse aesthetic. This is also a great option for those who like minimalist, contemporary and chic design.
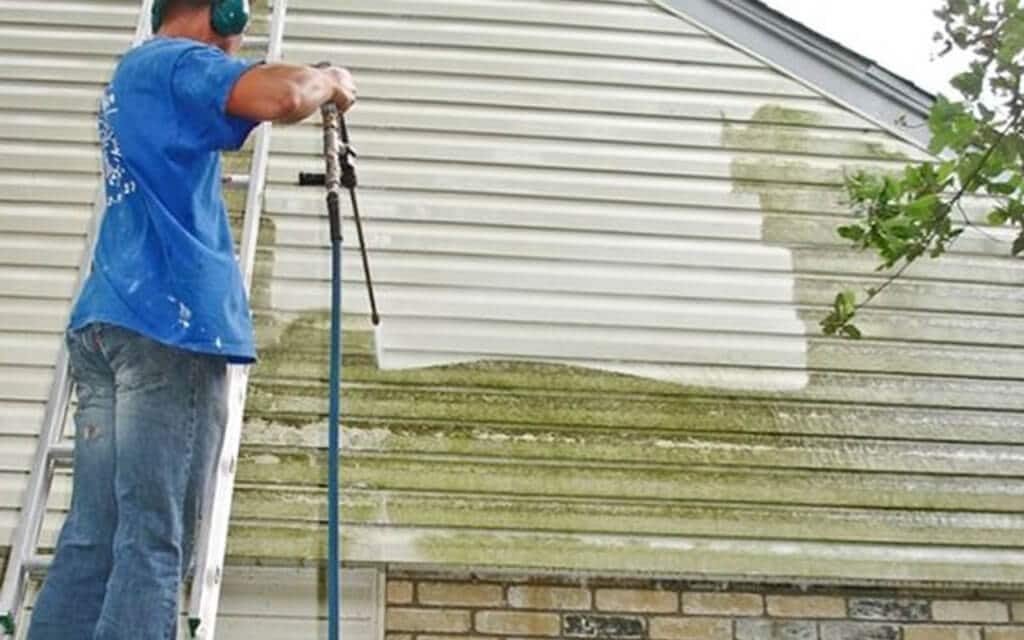
Here’s an in-depth guide on how to paint concrete.
PROS
- Affordable
- Water resistant
- Can be stained or painted
CONS
- Rough looking
- Complicate to install
Kitchen Floor Idea 6: Bamboo
Do you support sustainable living and an eco-friendly lifestyle? Then you should go with bamboo flooring!
Even though bamboo flooring is made from natural materials like grass, they appear as good-looking as hardwood floors.
However, they aren’t as durable as hardwood floors because they’re not scratch resistant. But you can refinish them from time to time. Bamboo flooring comes in tiles or planks and is available in a variety of sizes, colors, and patterns. You can pick the one according to your budget and the size of the kitchen.
PROS
- Nature-friendly
- Easy to clean
- Pet-friendly
- It has a clean & contemporary look
CONS
- Susceptible to scratches
- Prone to stains
- Susceptible to damage from water
Kitchen Floor Idea 7: Cork
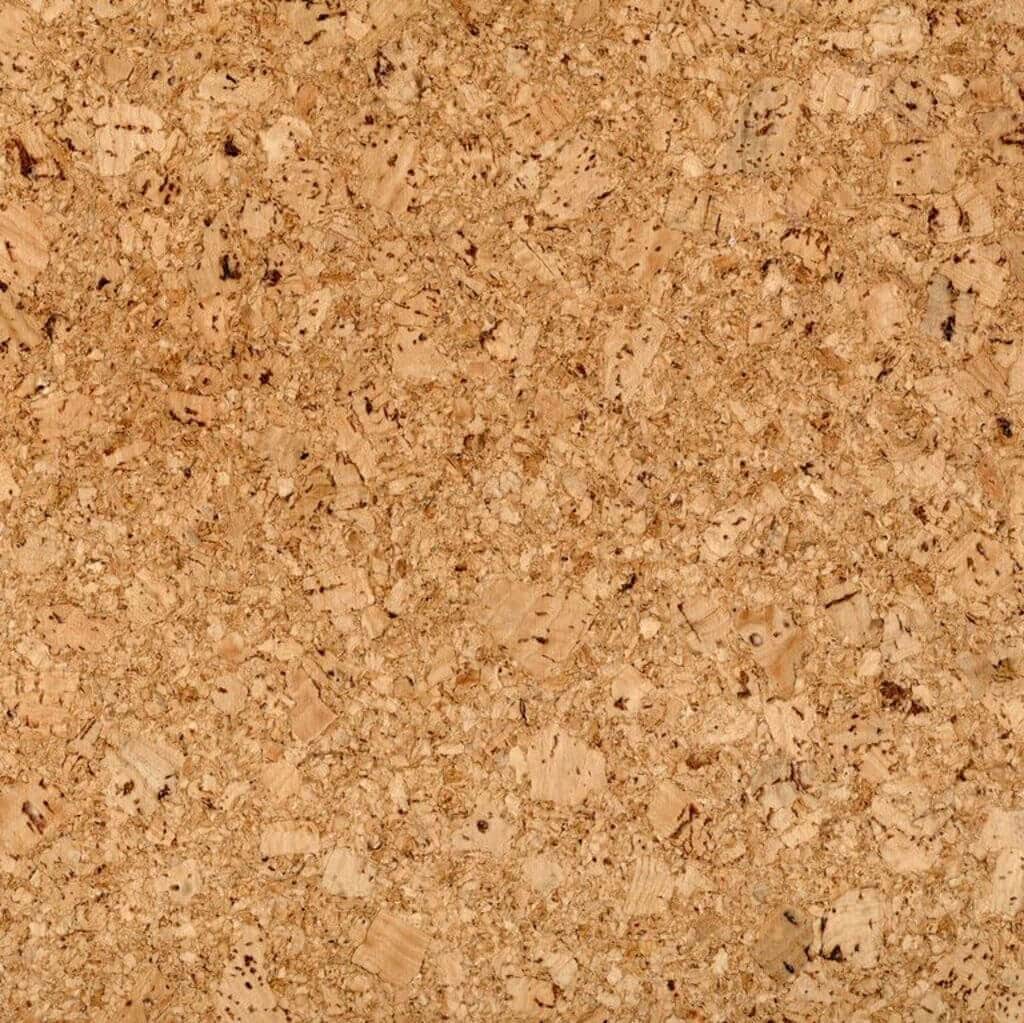
You may have already seen cork kitchen flooring ideas on Instagram and Pinterest. This is the newest addition in the flooring market or industry, but it has become instantly popular among homeowners.
This is another eco-friendly and budget-friendly DIY option. These are available in peel-and-stick, glue-down, or snap-together forms. So you can literally just peel and paste them on the surface, and your kitchen floor is ready within a few hours!
The best thing about them is that, unlike other flooring materials like stone and tiles, the cork feels warm underfoot. Plus, it has a soft and spongy or cushion-like feel which also absorbs sounds or noise. However, you have to keep it protected from spills.
Available in a variety of gray and brown shades, cork kitchen floor ideas are also affordable.
Tip:
Suppose you have, unfortunately, spilled something over your cork flooring. Here’s how you can remove it. First, you’ve to clean the stain immediately after it gets spilled. And if you still can see the stain, you’ve to sand the cork floors, and then you can retouch the surface with stain and sealer.
PROS
- Inexpensive
- Easy to install
- Absorbs sound
CONS
- Not scratch & stain-resistant
- Fades in the sun
Kitchen Flooring Trends : Styling Tips & Ideas
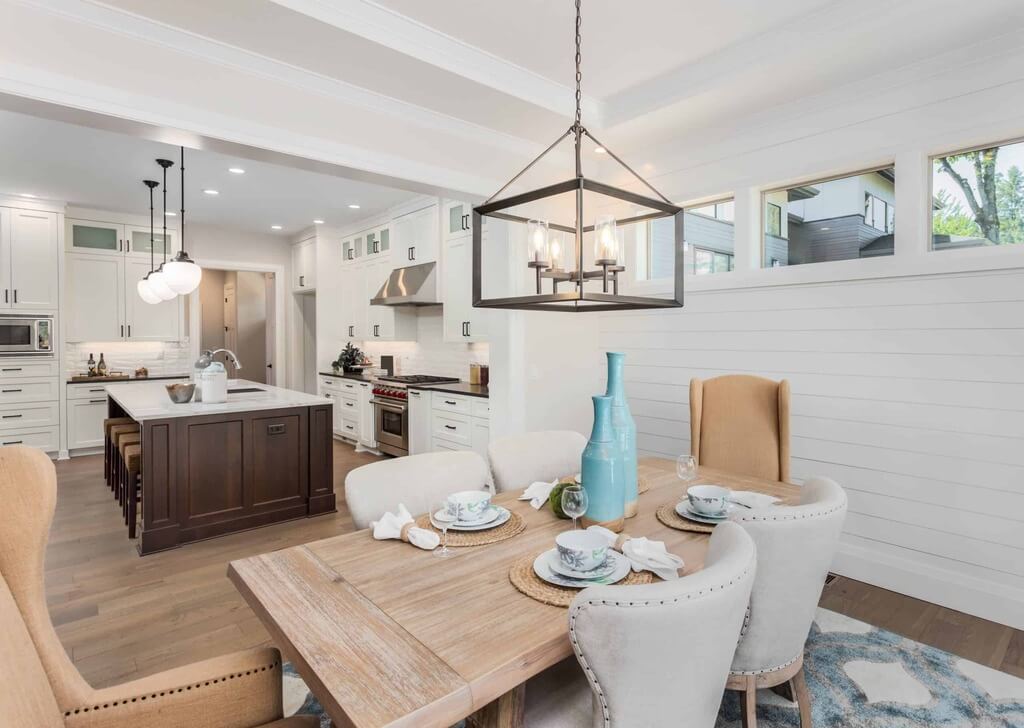
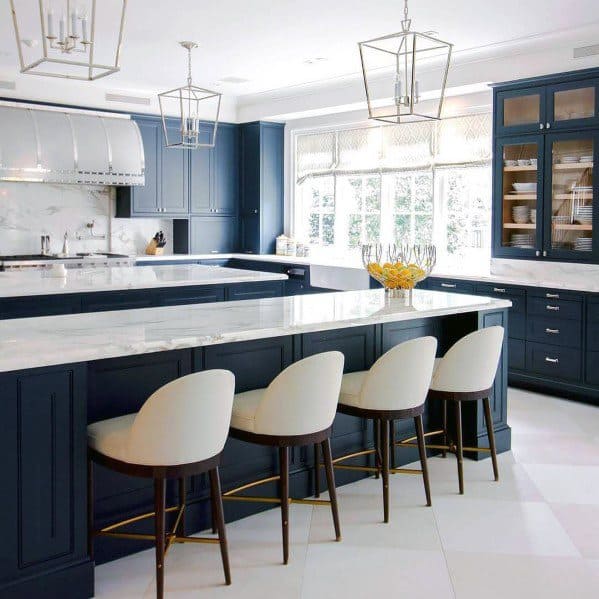
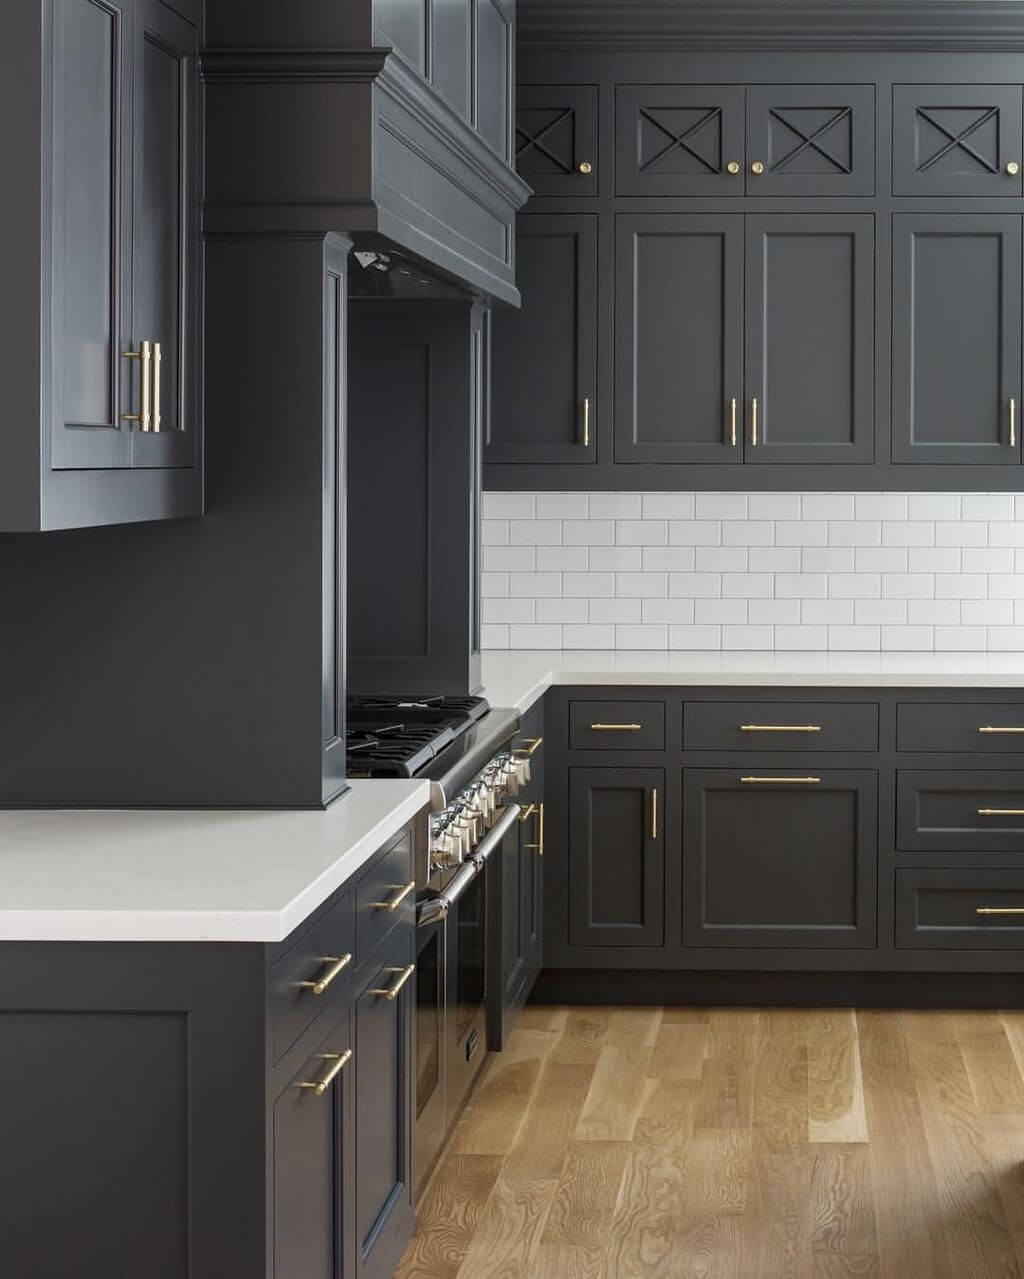
There are so many to-style kitchen floors. You can paint the kitchen cabinetry in a color that complements the floors.
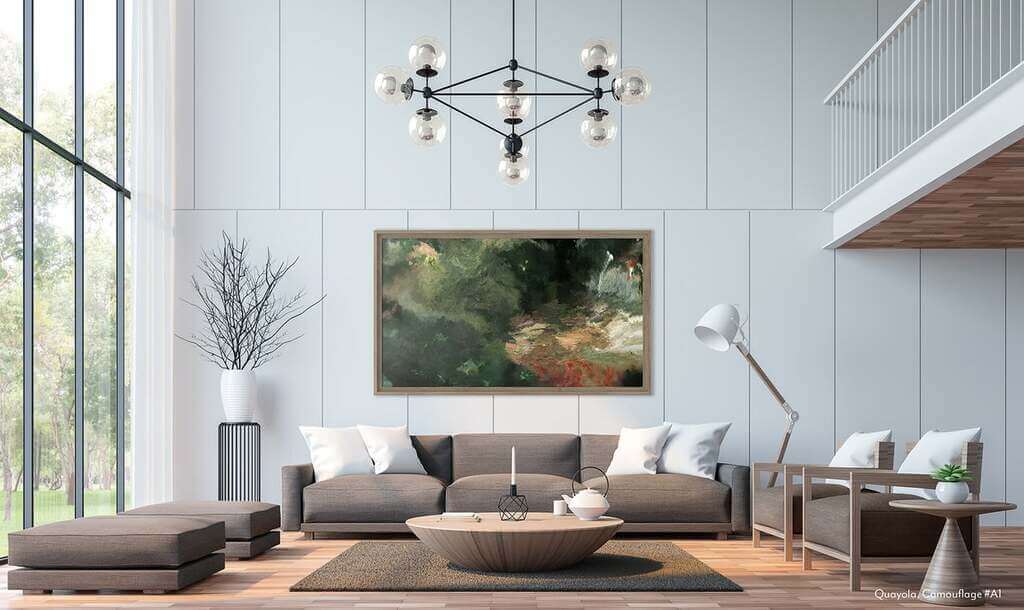
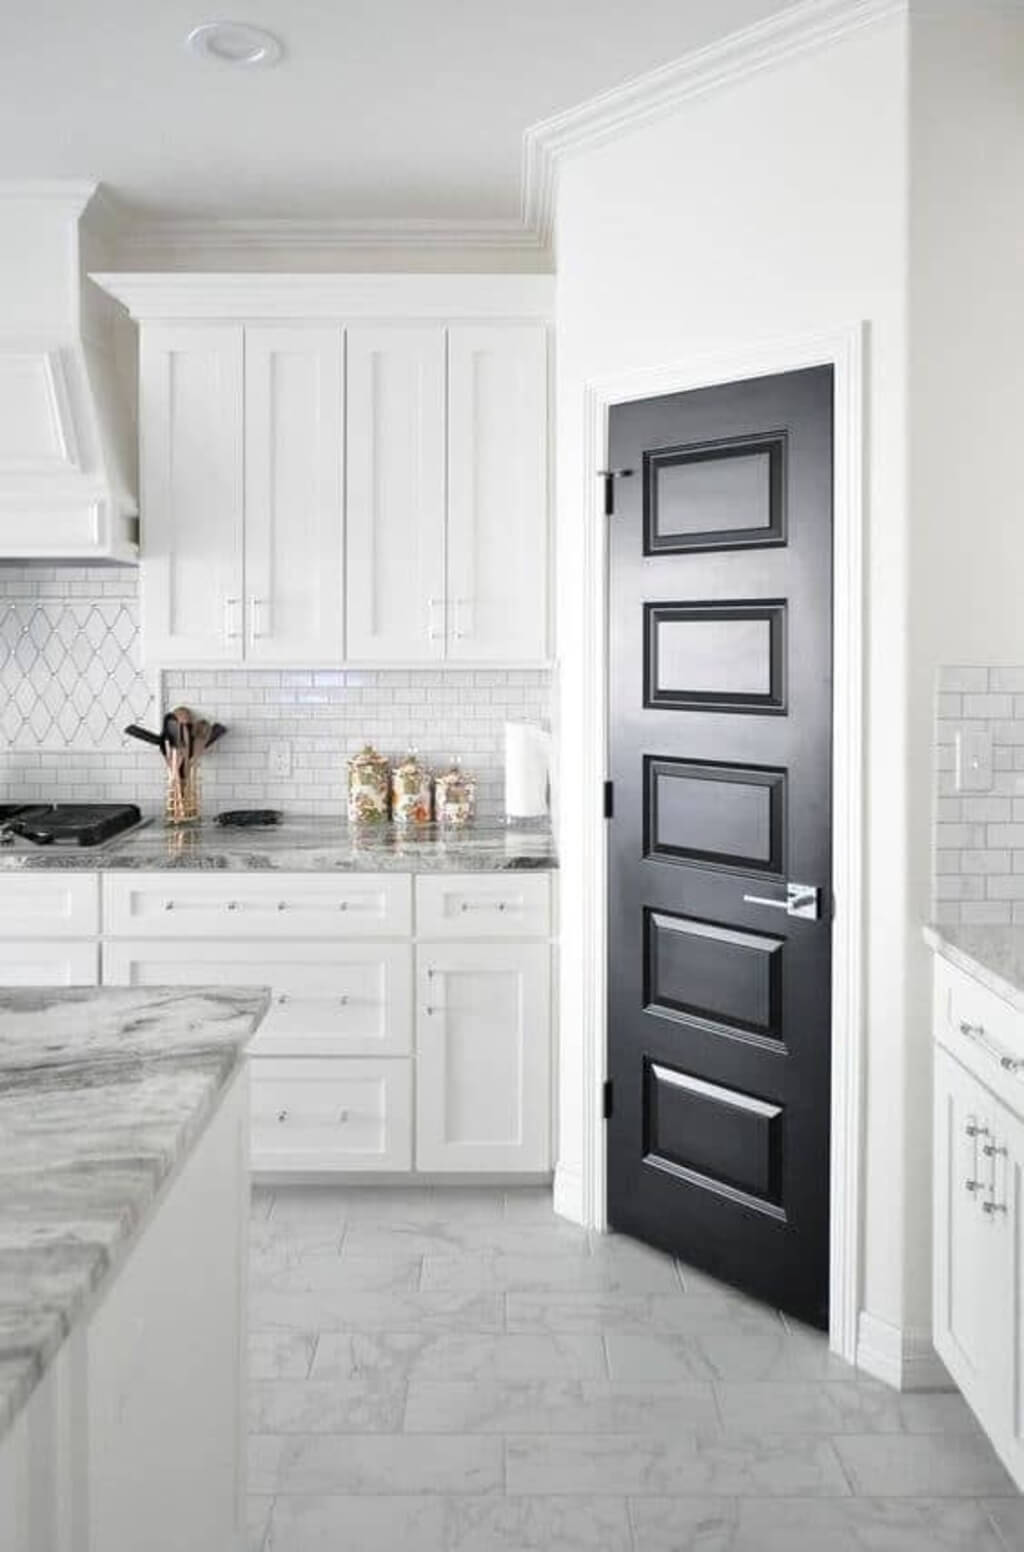
Kitchen Flooring Ideas with White Cabinets
Kitchen Flooring Ideas with Oak Cabinets
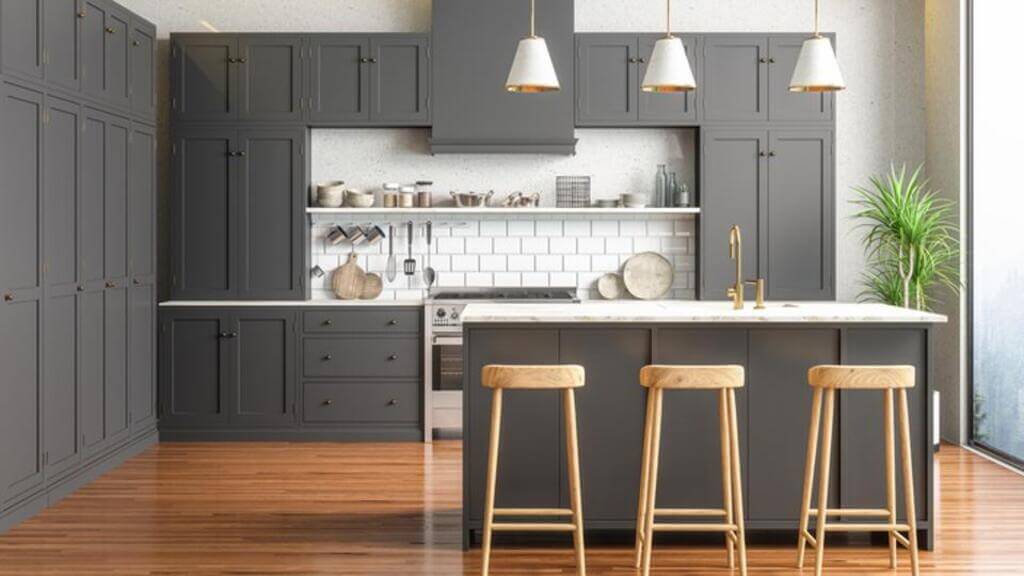
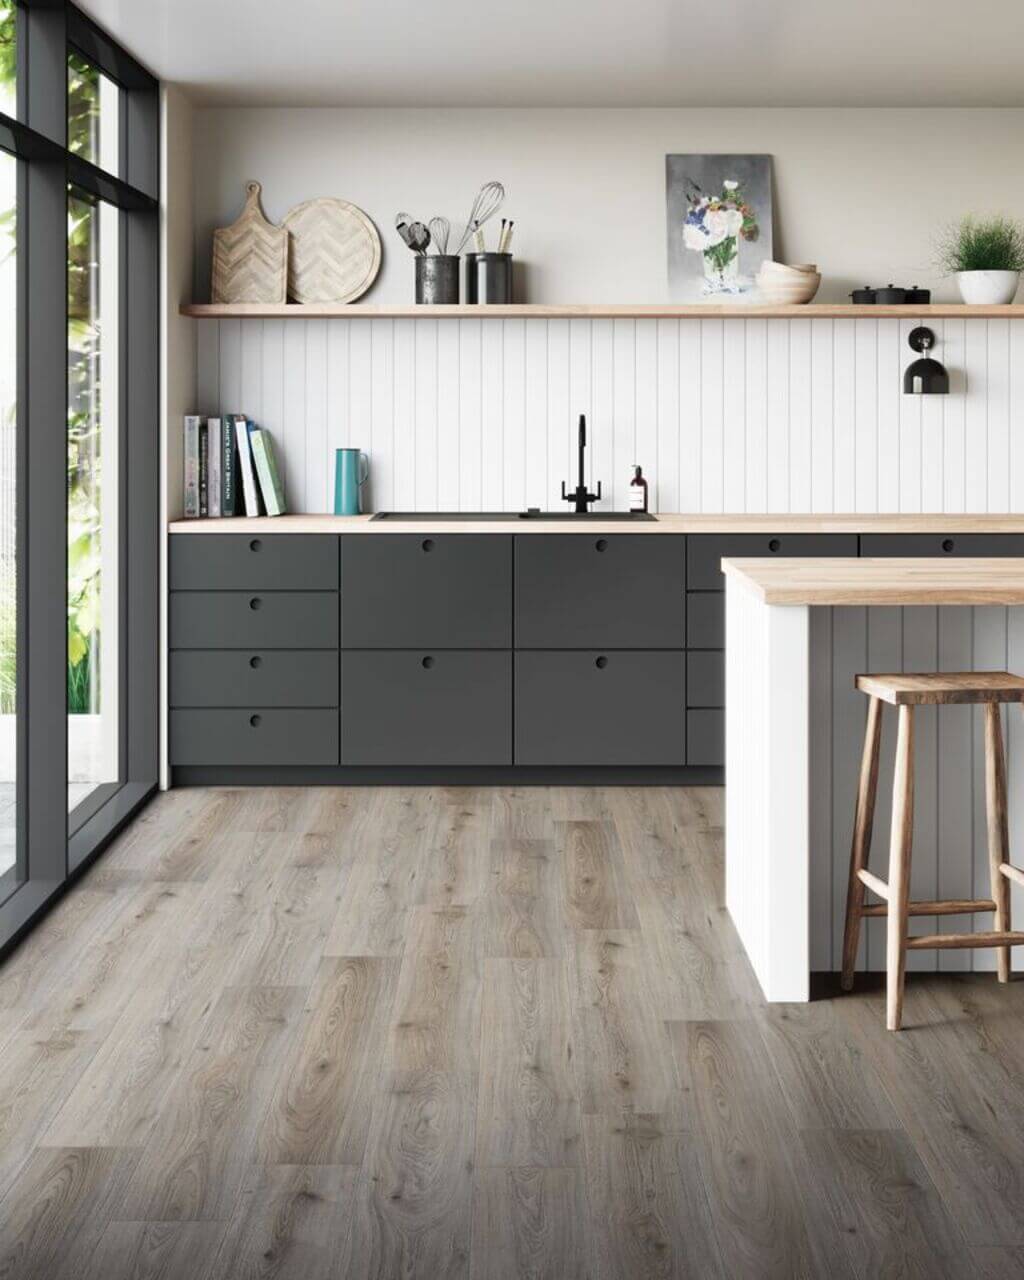
Kitchen Flooring Ideas with Grey Cabinets
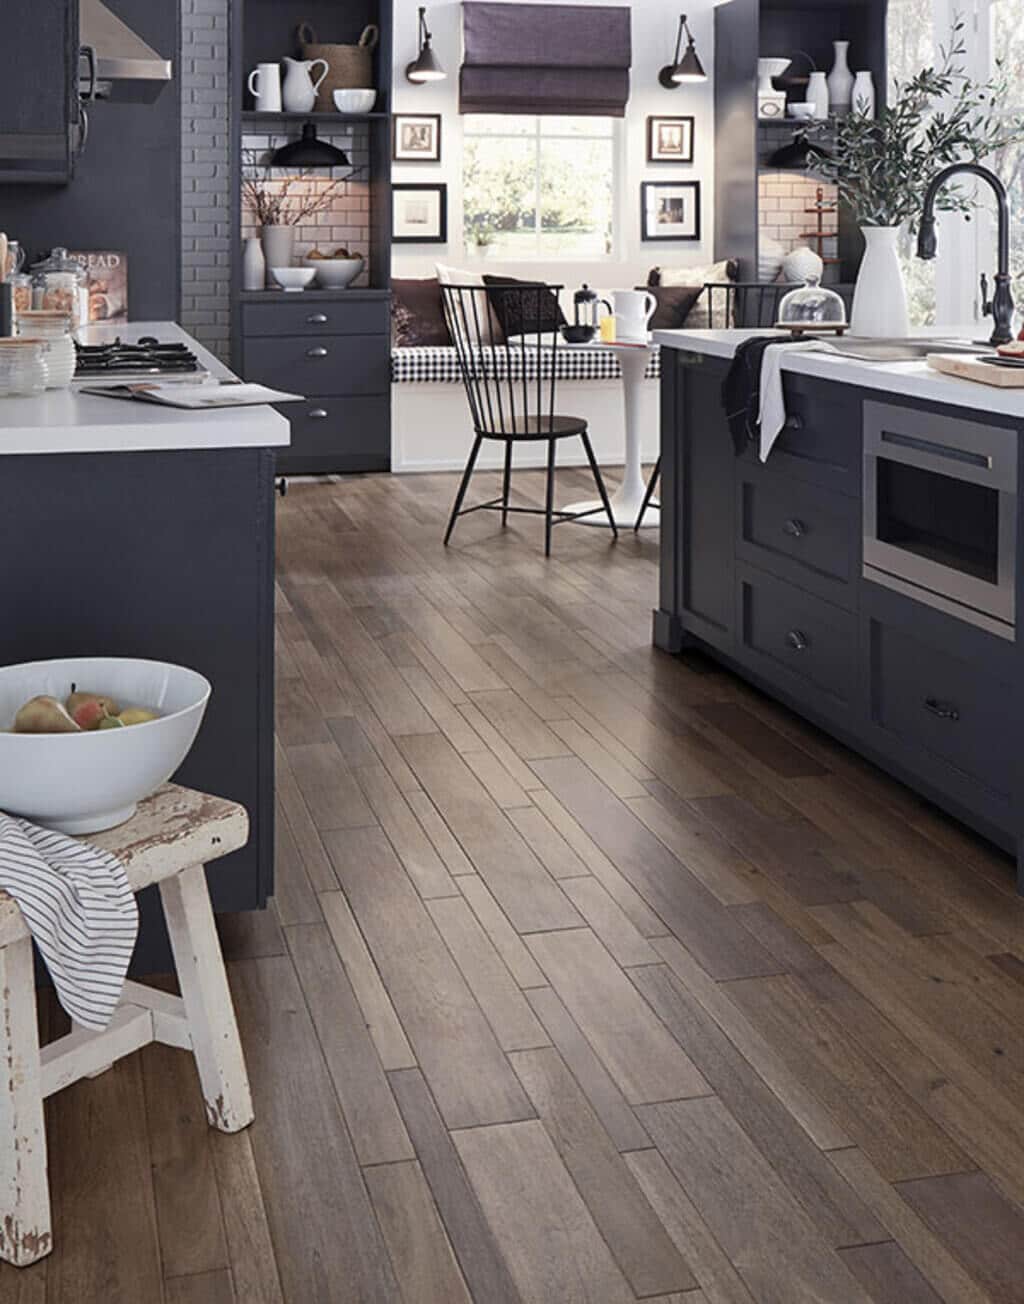
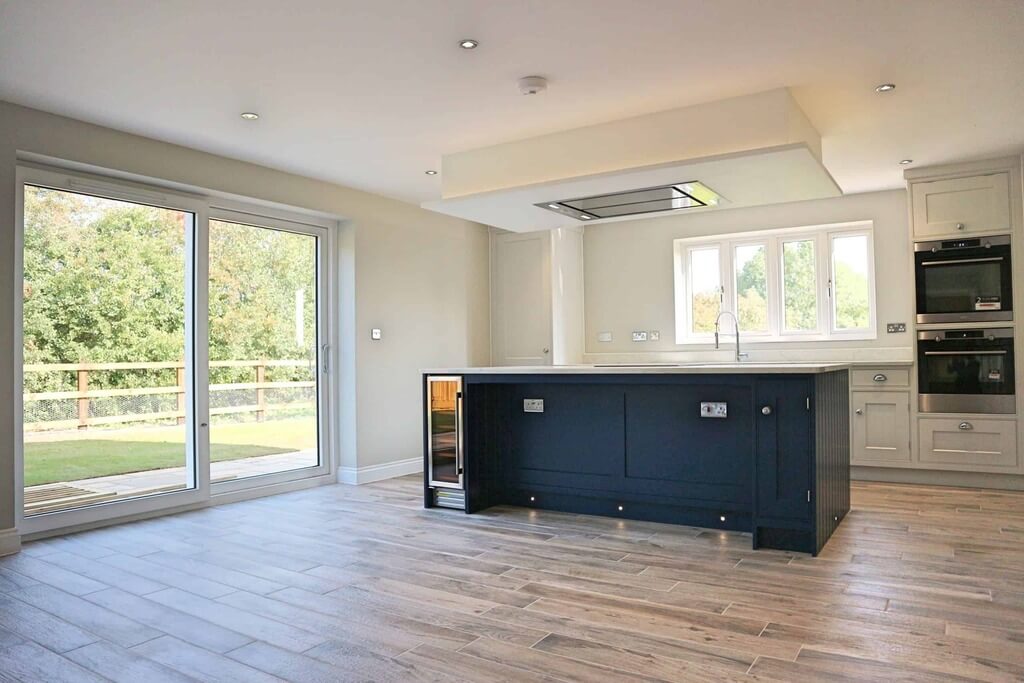
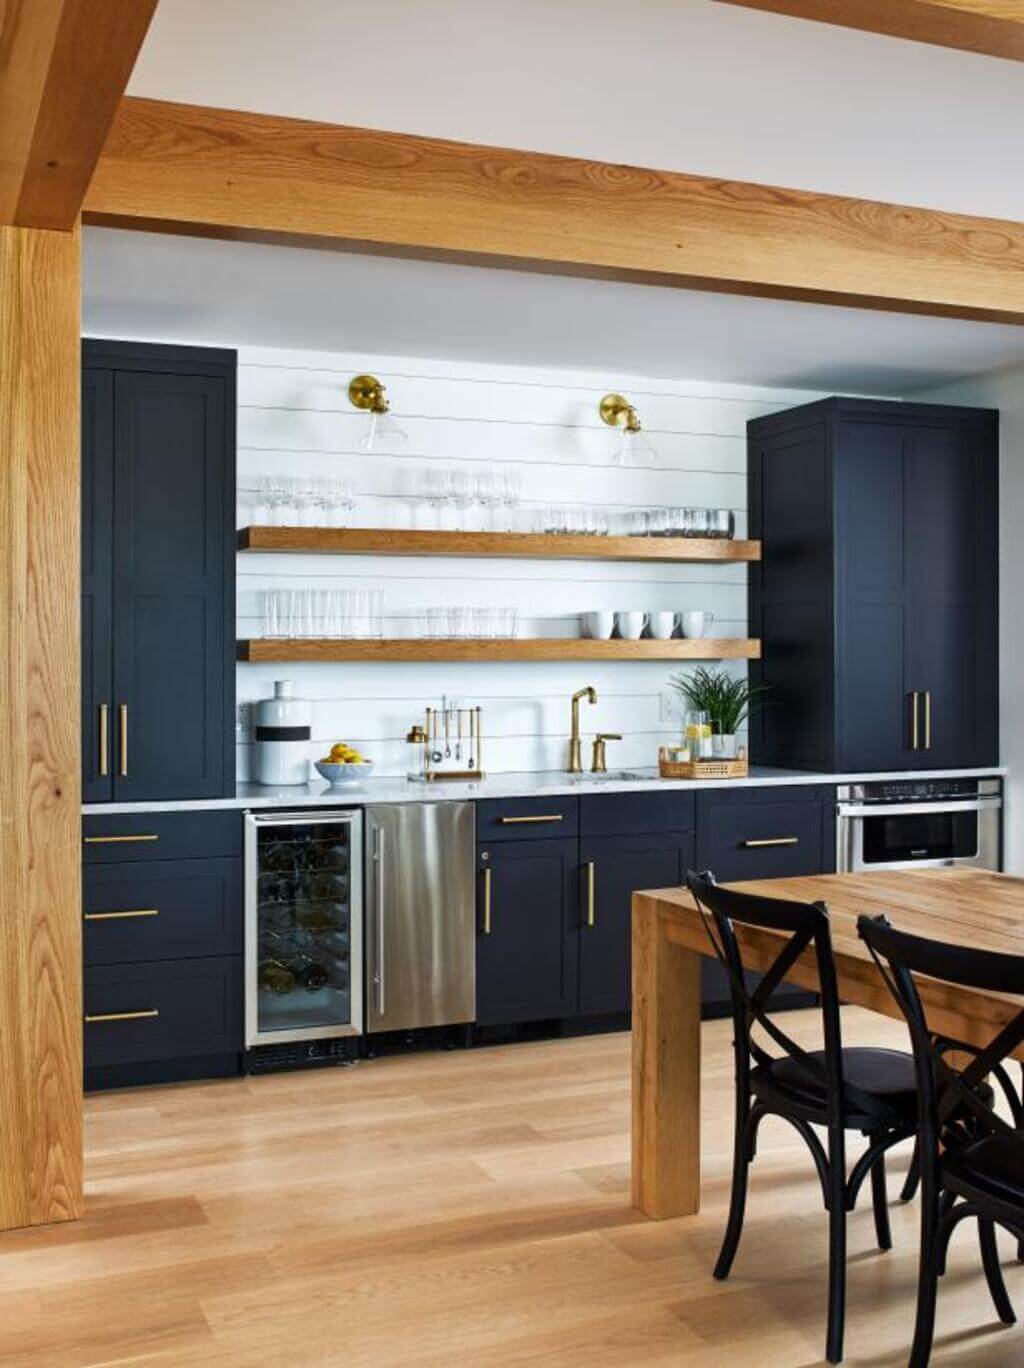
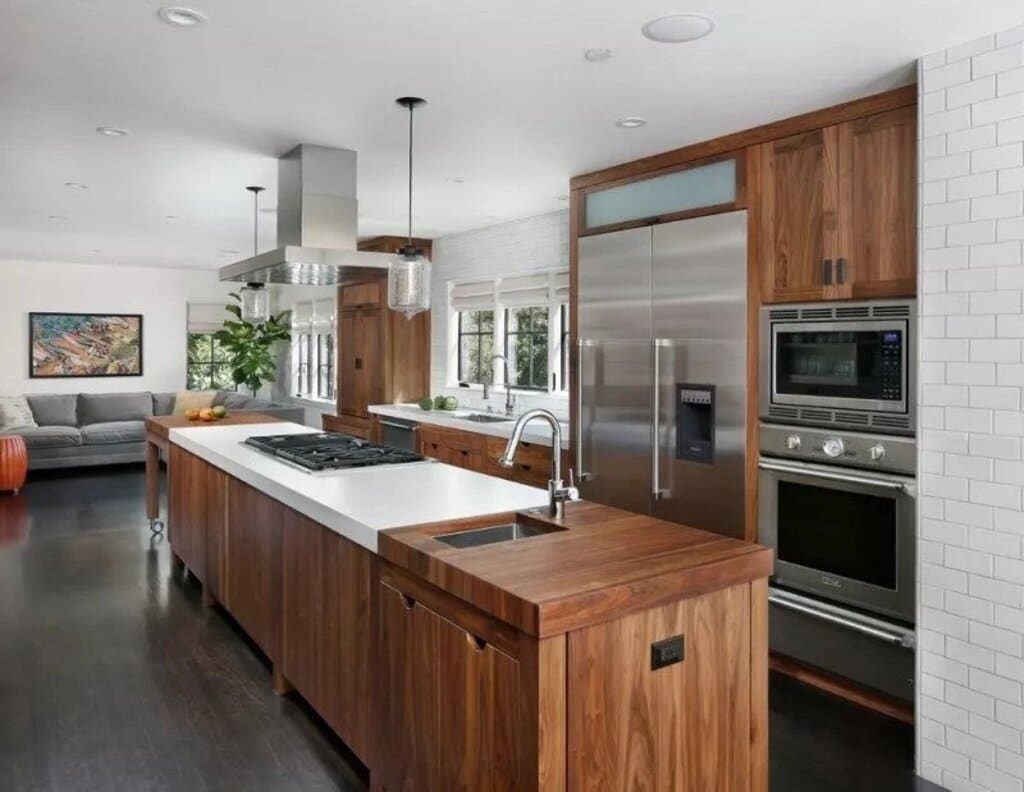
Kitchen Flooring Ideas with Dark Cabinets
Here are some more kitchen flooring ideas for you to get inspiration:
The Bottom Line
So which kitchen flooring ideas do you like the most from the above list? From selecting the material, style to patterns and colors, you can select anything but make sure that flooring is durable. As kitchens are high-traffic rooms, and that’s why they have to handle a bit of wear and tear, including scratches and stains. So while renovating your cooking space, make sure to go with those kitchen floor tile ideas 2022 that look beautiful and last for many years.
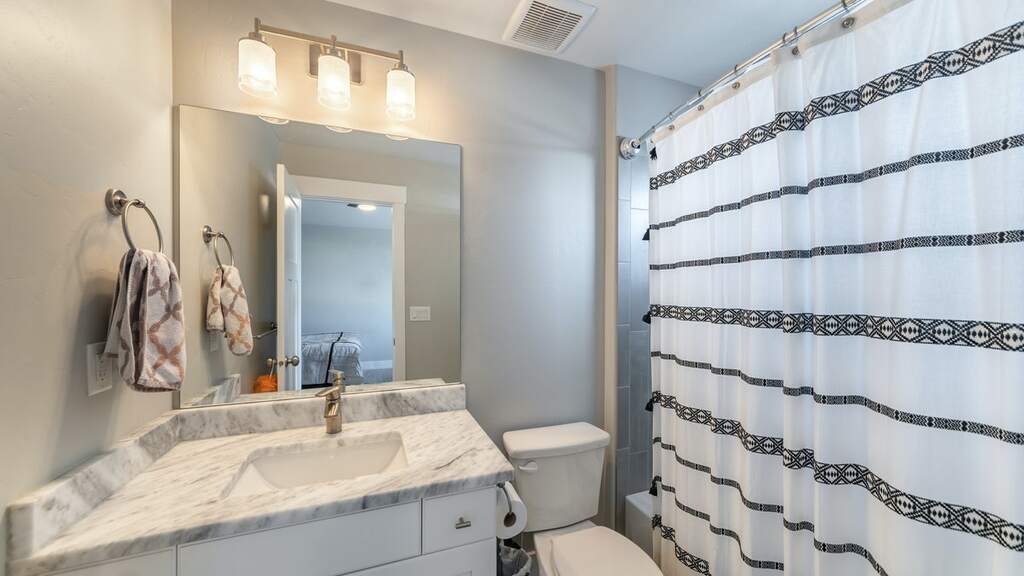
Want to know more about interior designs and trends of 2022? Read our previous blogs on Bathroom Trends 2022, Interior Design Trends 2022 That You Should Try, and many more.
So this is all about the modern kitchen flooring ideas and designs. I hope this blog has given you some inspiration and ideas to remodel and update your kitchen flooring. If you find this guide helpful and informative, share it with your family and friends and help them get stylish kitchen floors.
Discover More