The idea of constructing a interior pole barn homes isn’t new, however, it is steadily gaining appeal and popularity. These homes feature exposed wooden beams and a spacious, open floor plan that offers a rustic and charming aesthetic.
What Is a Pole Barn House?
A pole barn house, also known as a post-frame building, is a spacious and versatile structure commonly used in agricultural and residential applications. Unlike traditional houses, pole barn houses lack a basement but boast high ceilings and open layouts. These buildings are constructed using laminated wooden posts, which provide stability and durability. With their flexible design, pole barn houses offer endless possibilities for customization, making them a popular choice for homeowners seeking a unique and cost-effective housing solution.
They can be one-story or two-story structures, depending on personal preference. A basement can also be poured. Agricultural structures and storage facilities are common uses for a pole barn house.
Characteristics of Pole Barn Homes
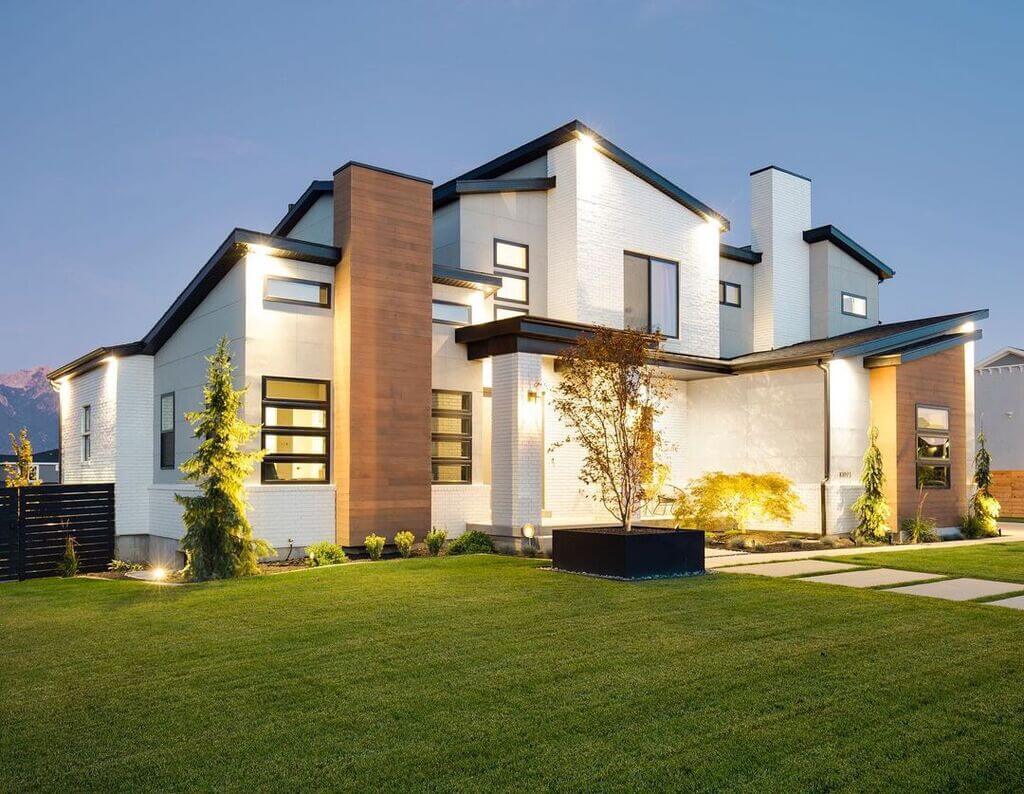
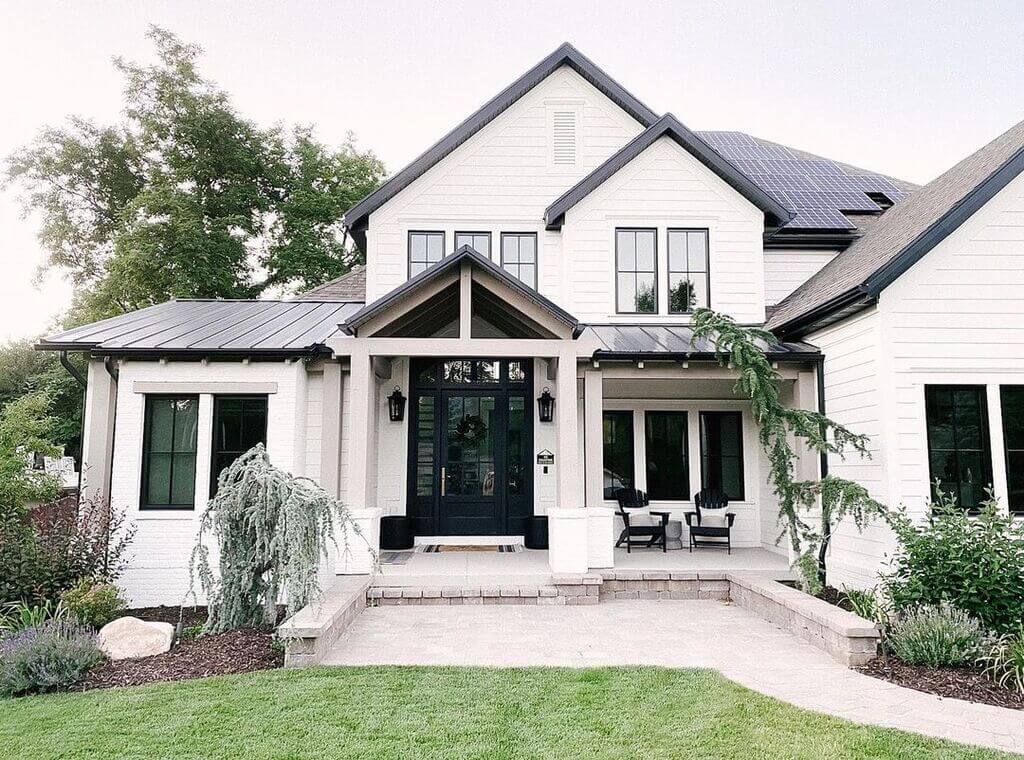
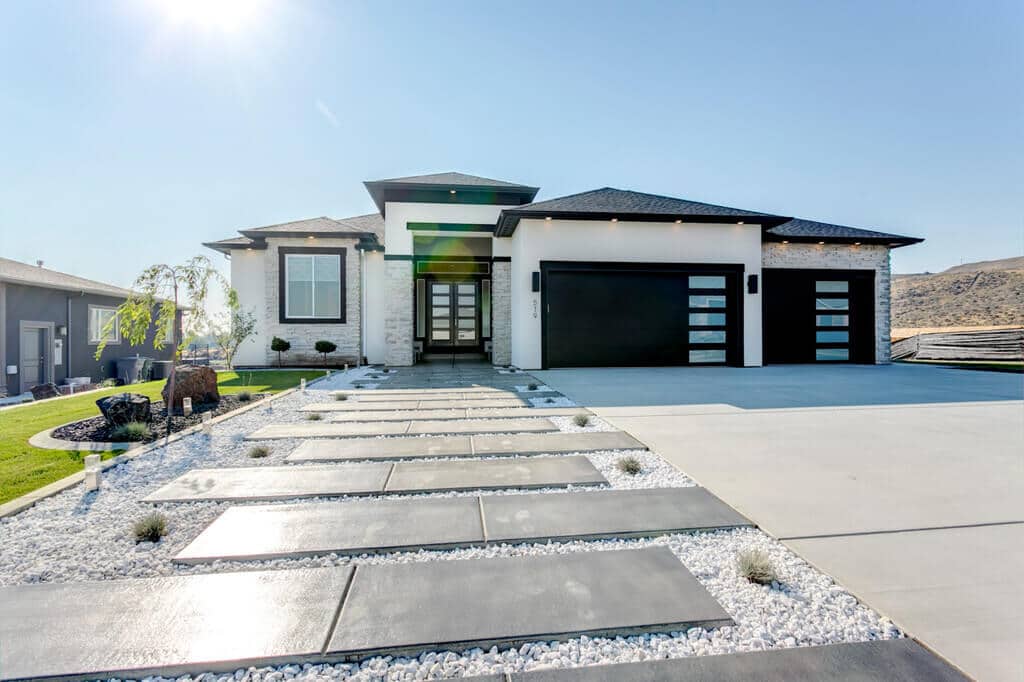
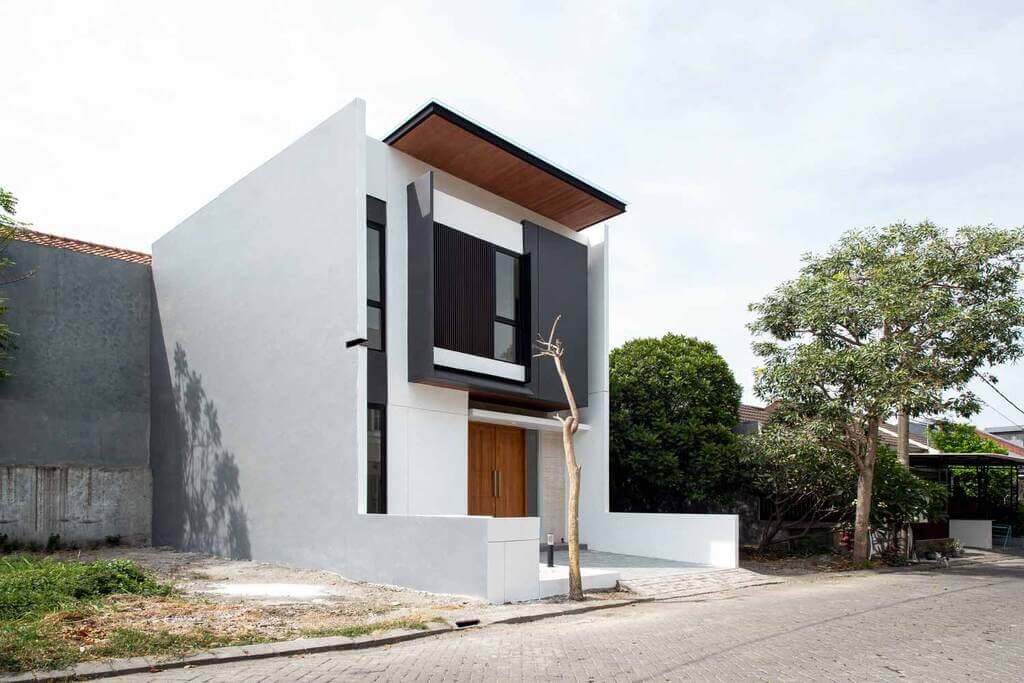
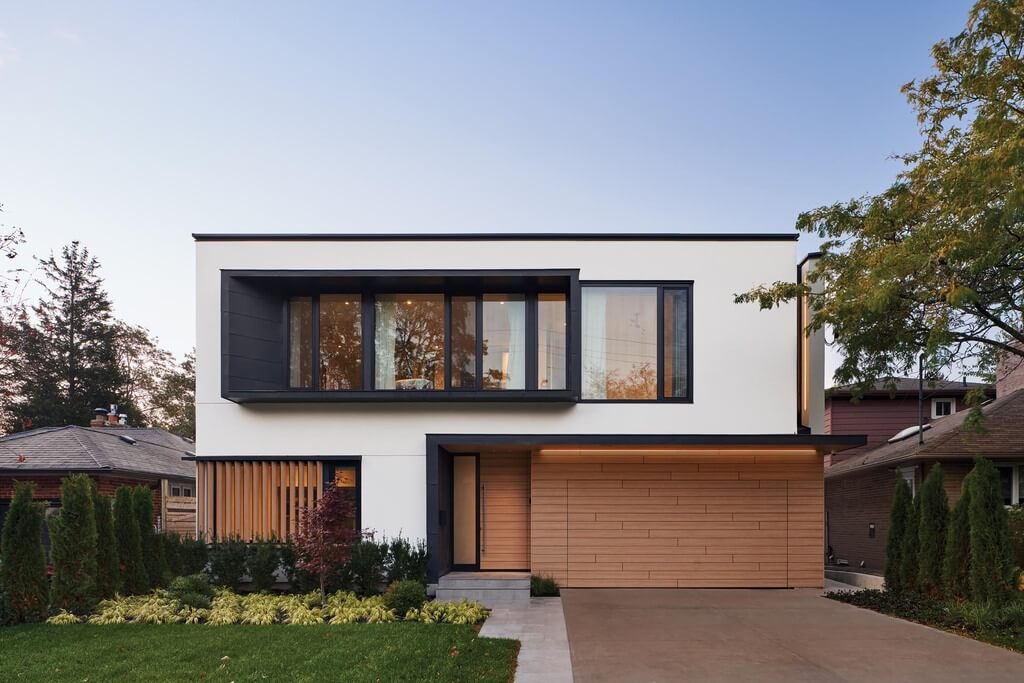
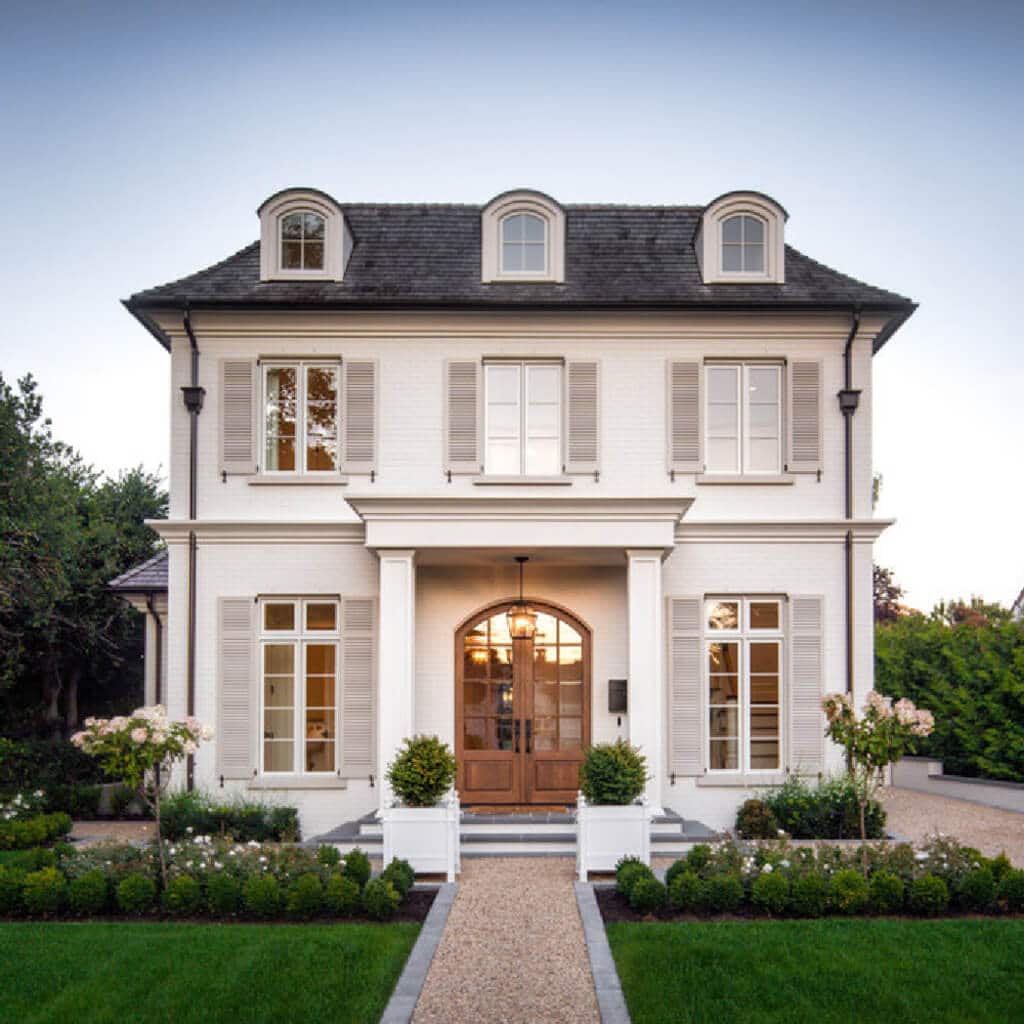
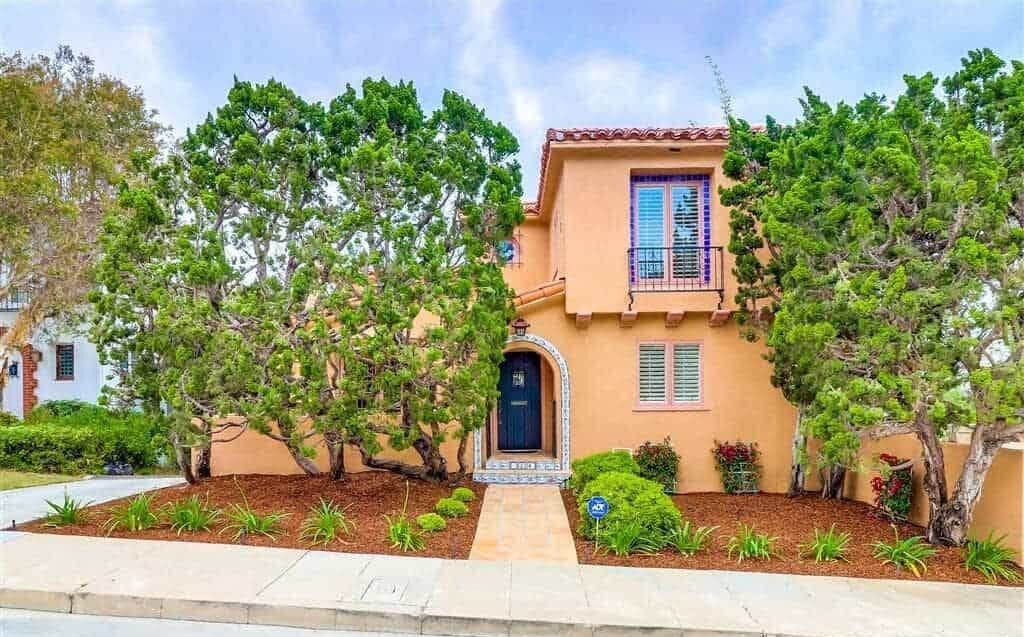
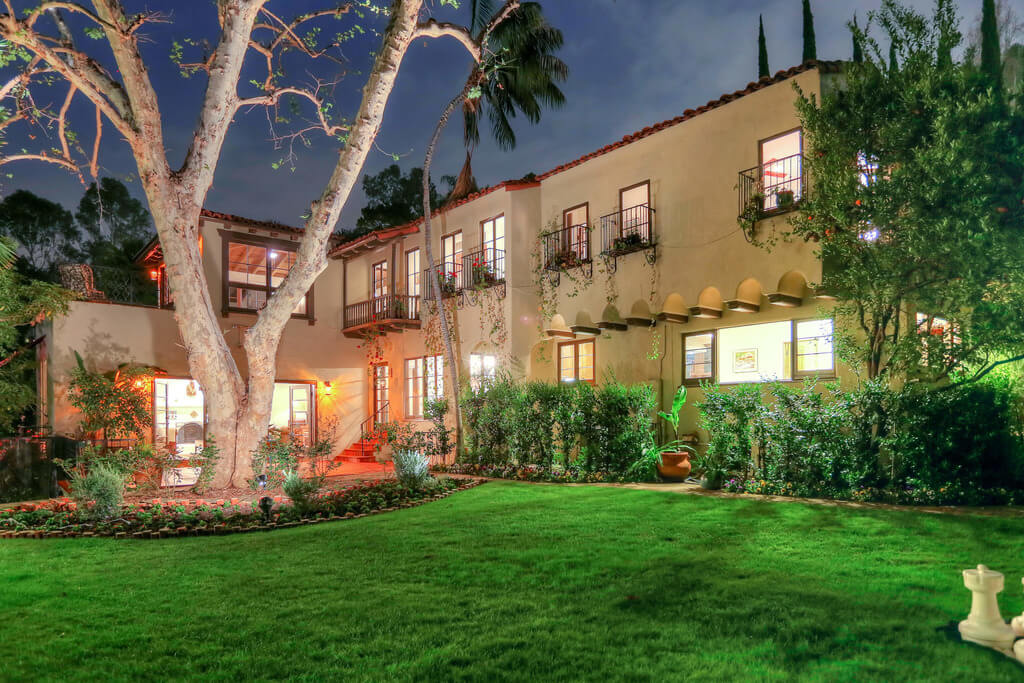
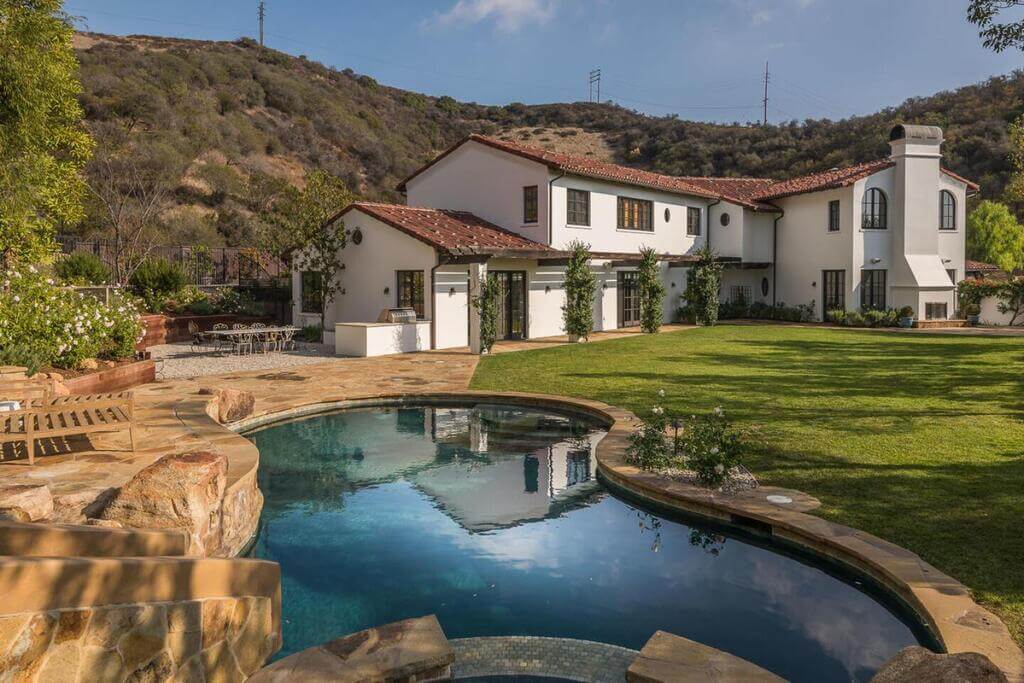
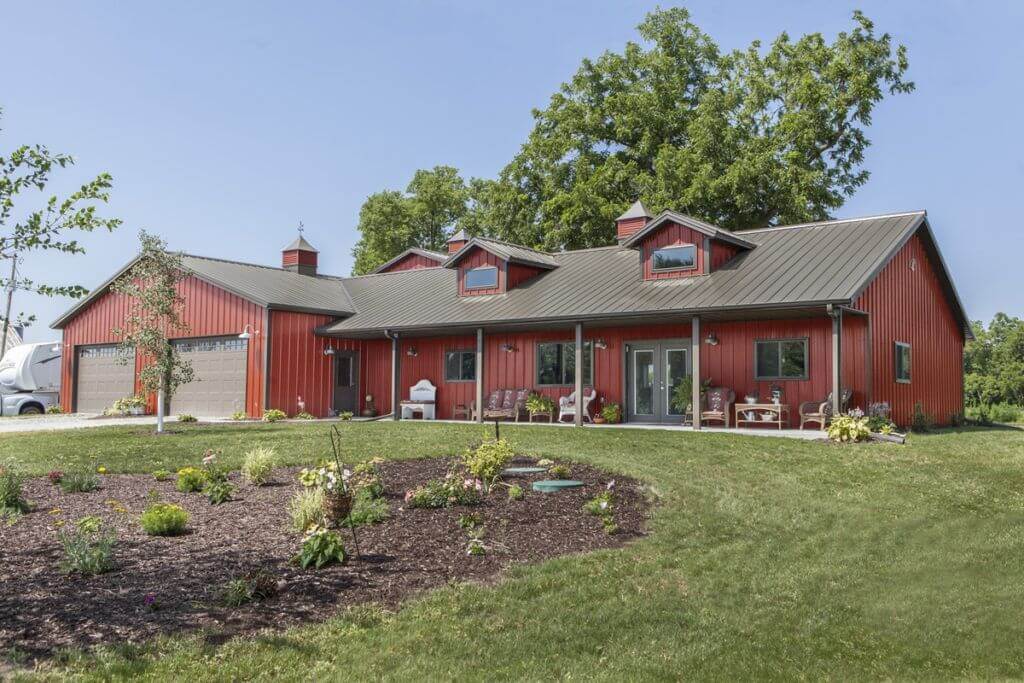
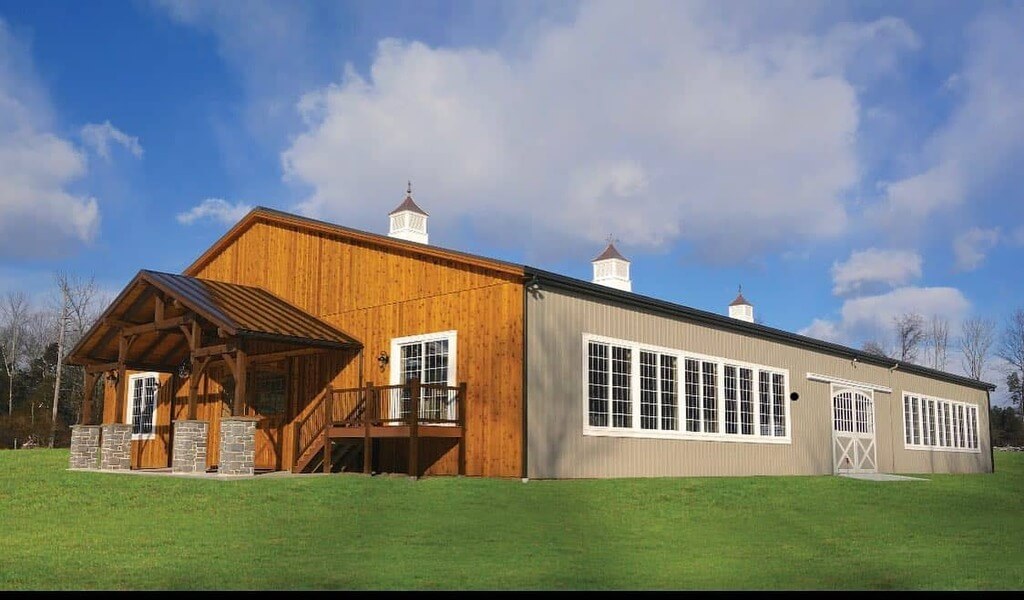
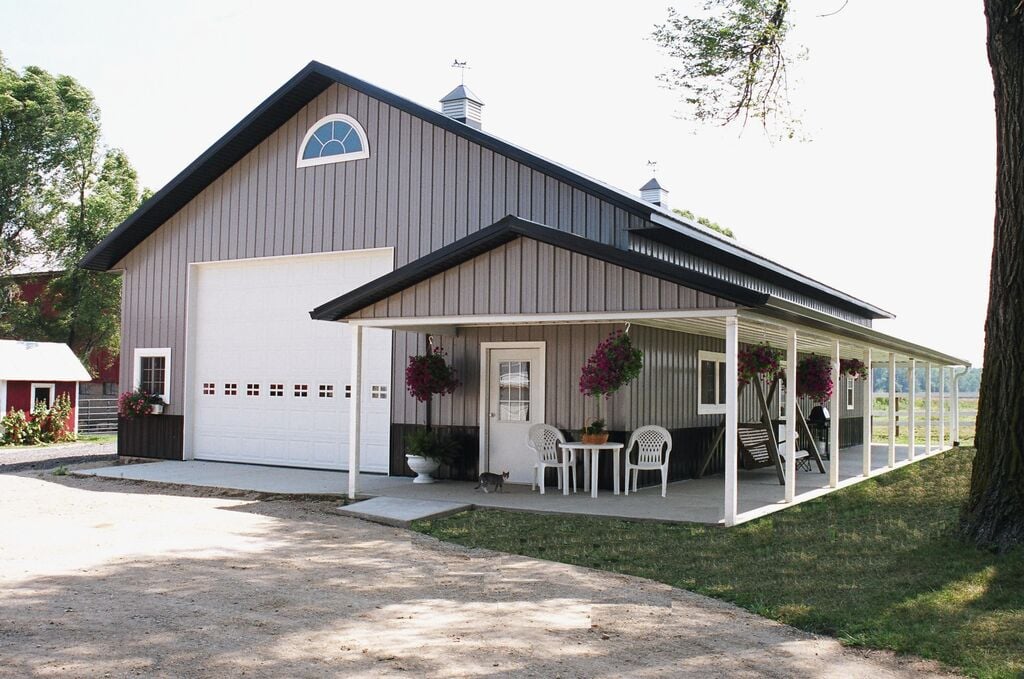
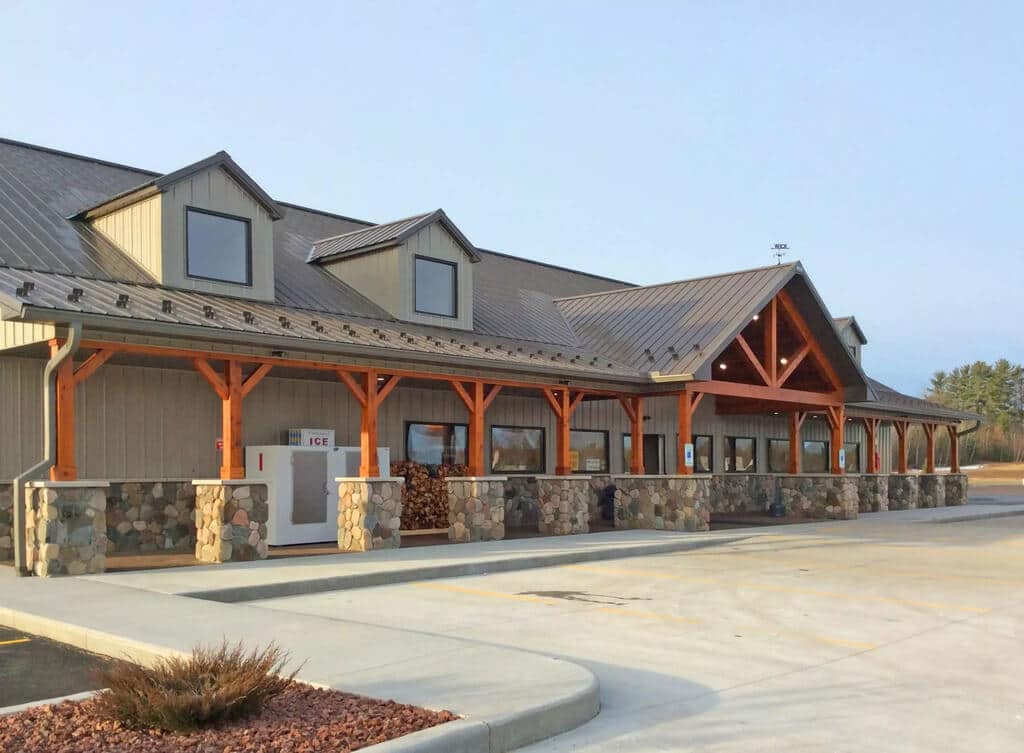
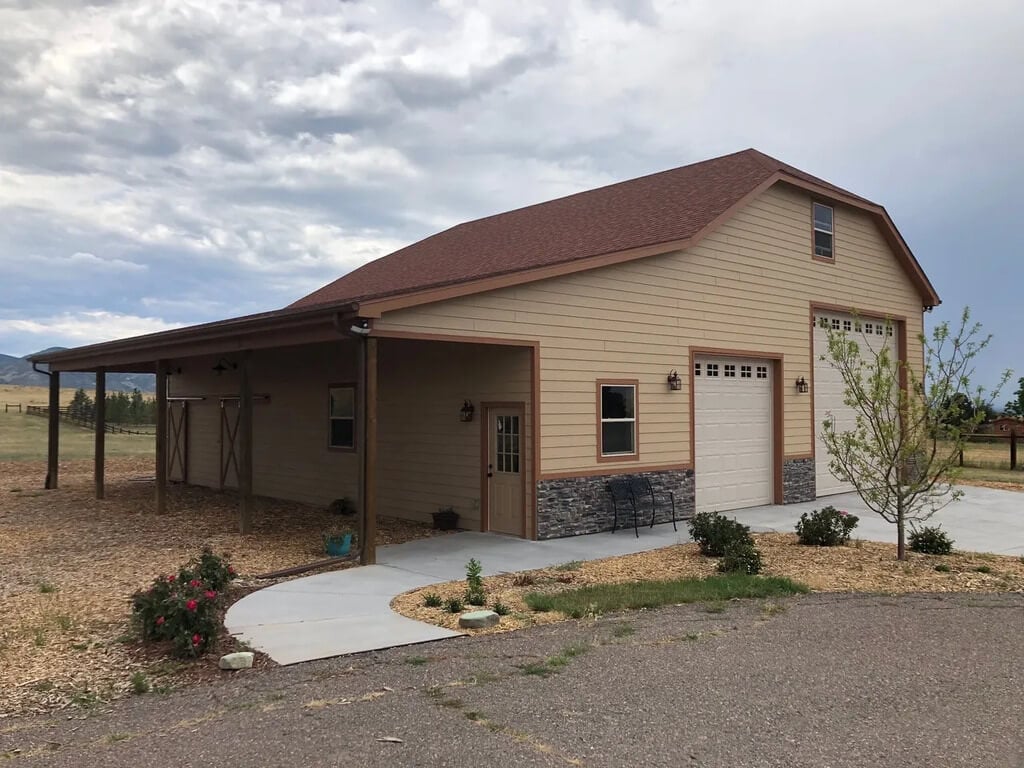
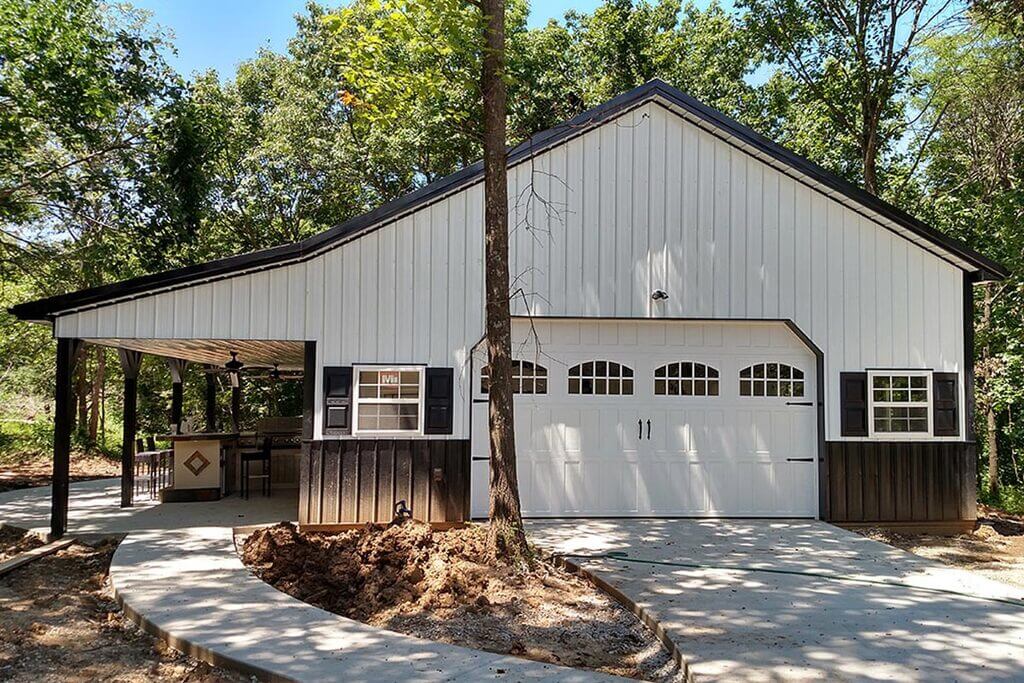
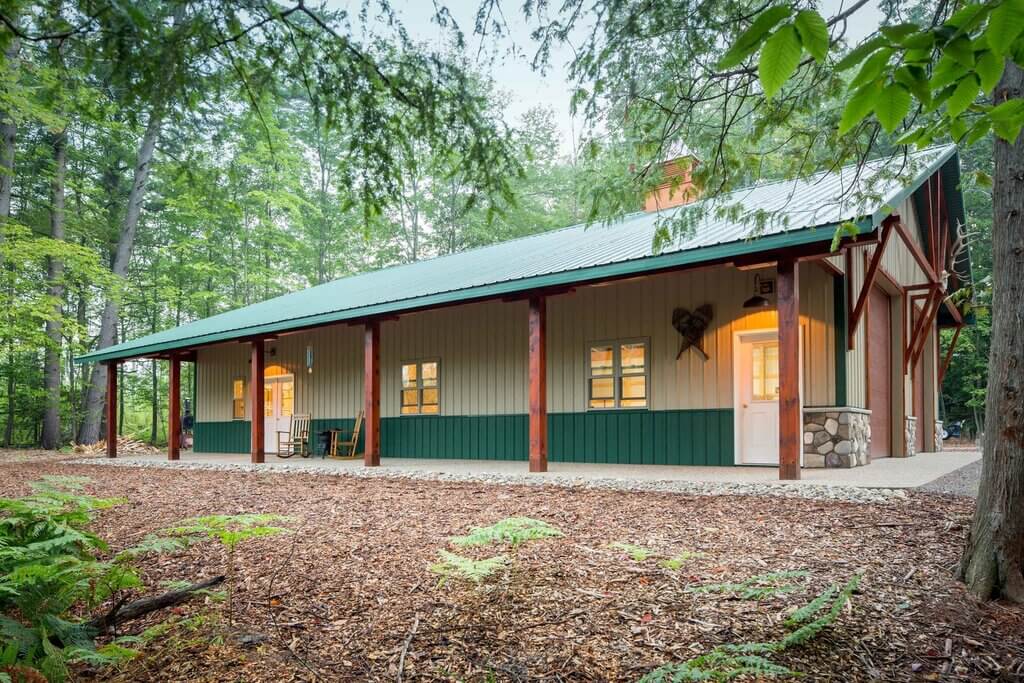
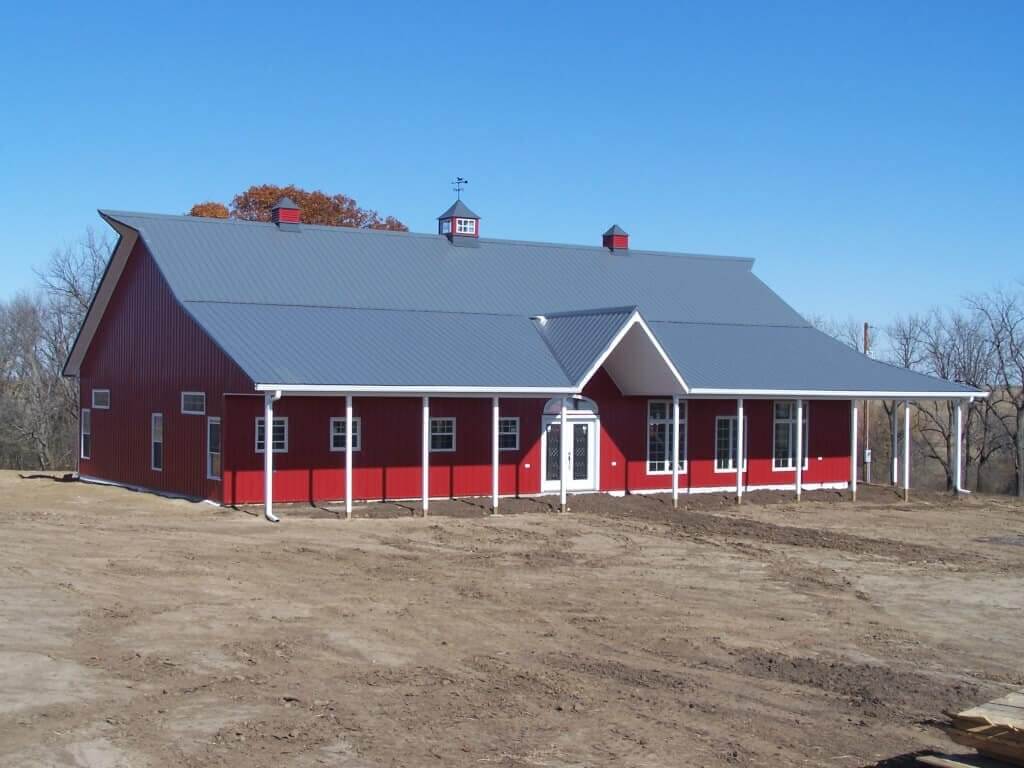
Exteriors that are easily identifiable: The exterior of any pole barn home is instantly recognizable. Their shapes and materials make them easily recognised.
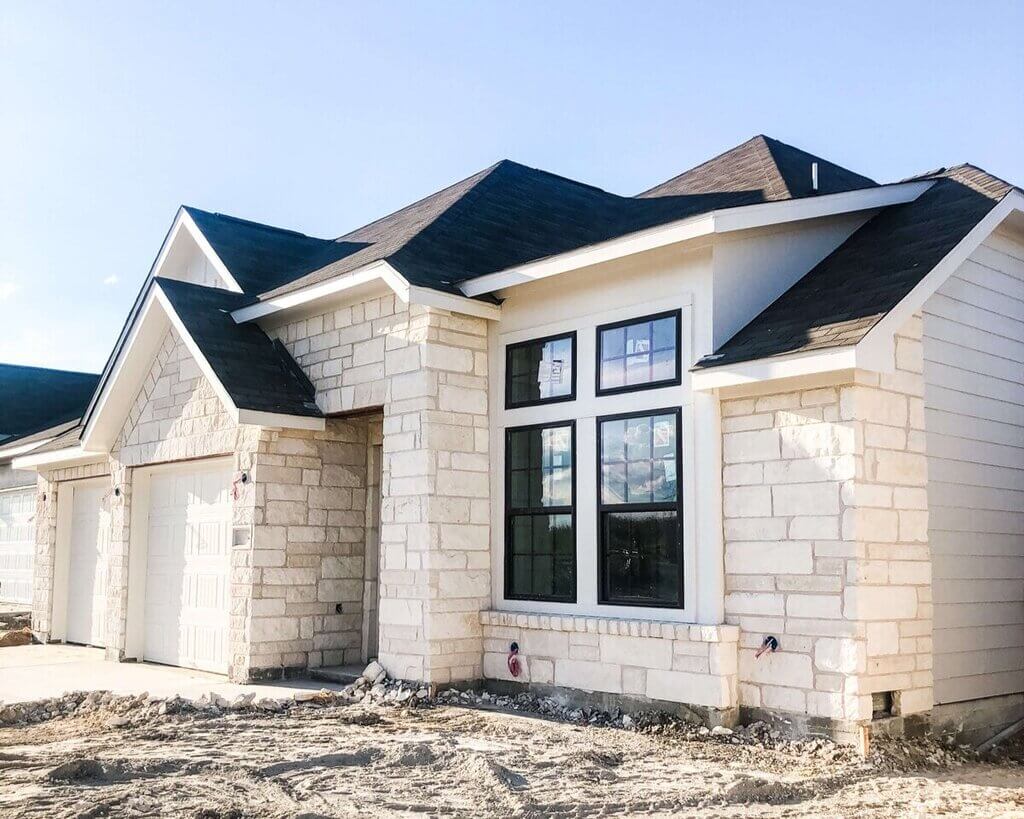
Wood and Stonework: The exterior of a pole barn type home is made up of two main materials. They most likely are made of wood or stone, inspired by ancient barns. The barn’s purpose and the local climate were two important factors in this selection.
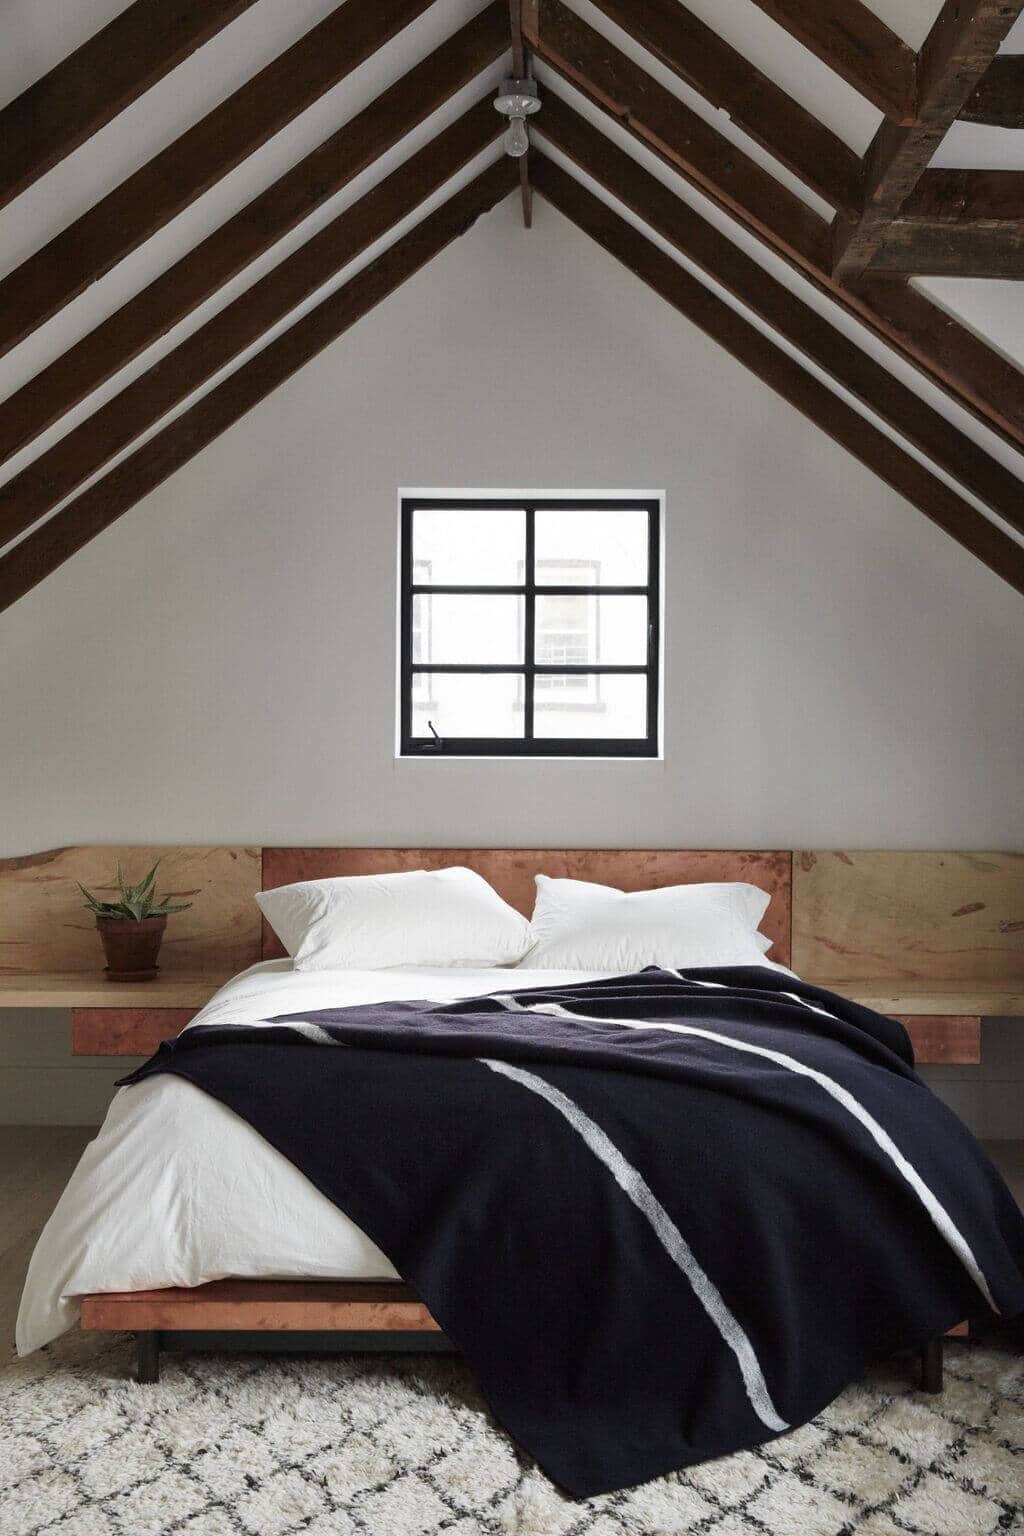
Loft: Most low cost pole barn homes interior include lofts as a standard feature. They were typically used as storage in the original construction. They are ideal for a living room or a bedroom. It adds a dynamic aspect to interior pole barn homes and increases the area of the property.
Some of the other pole barn home features are as follows:
- Windows and Doors in the Barn Style
- Storage space
- Wooden posts with close spacing for support
- High Ceilings
- Framing of the exterior walls
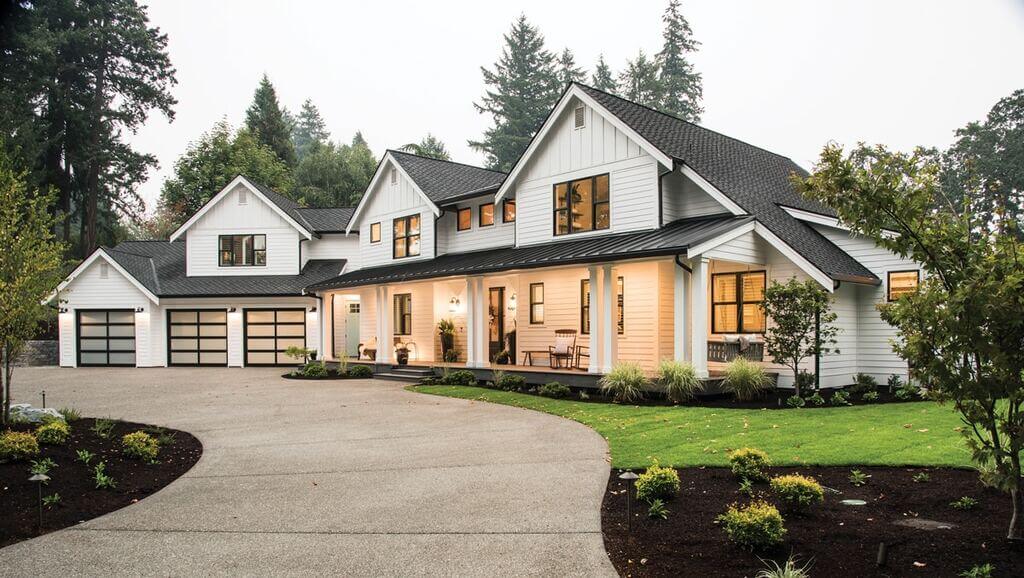
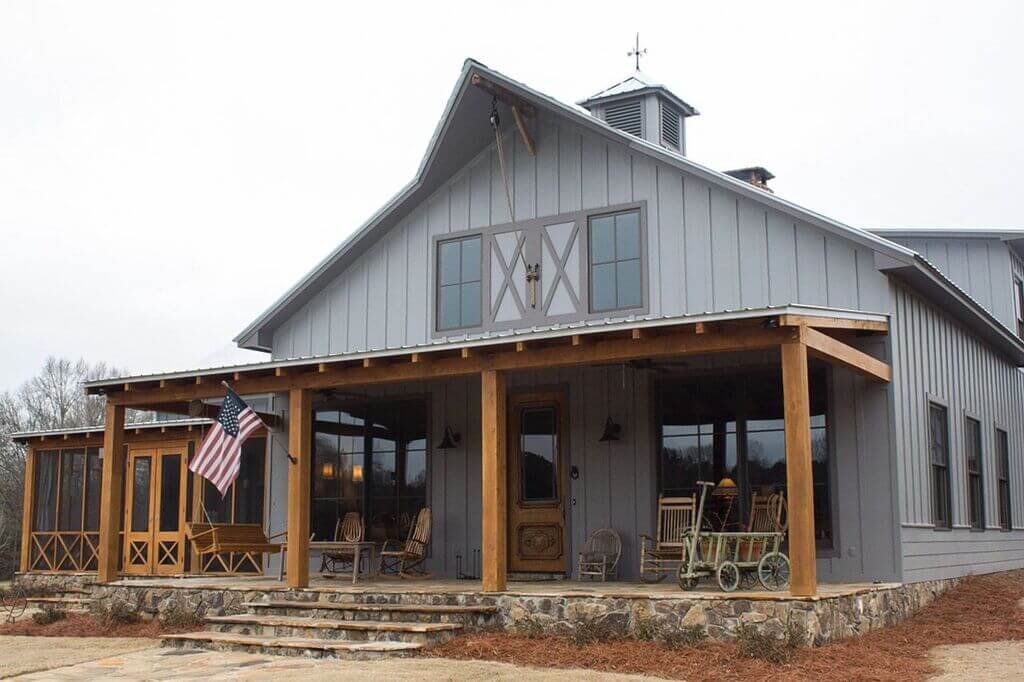
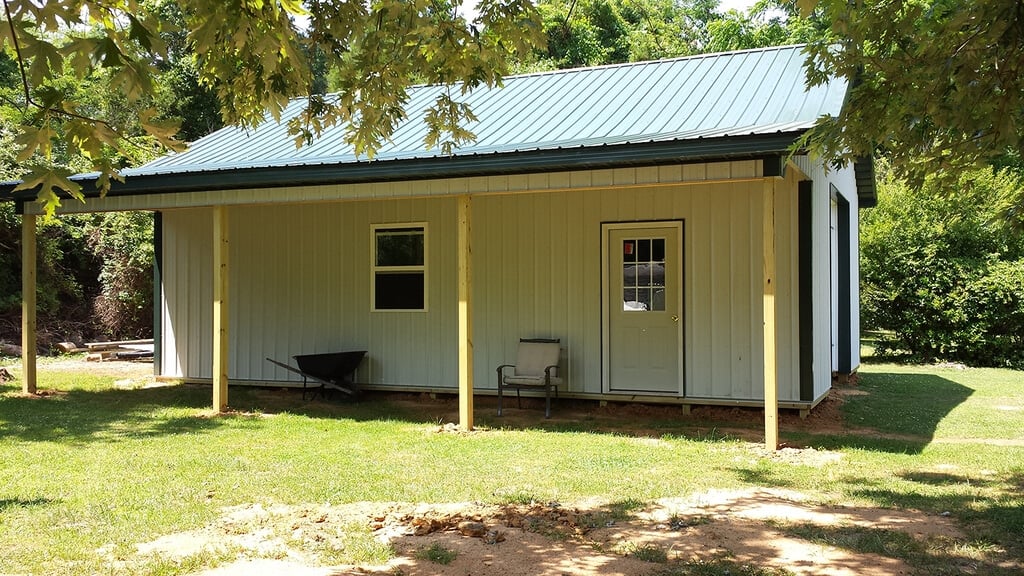
- Porches
- Floor layouts that are open and adaptable
Read More : How to Build a Barn for Every Budget and Requirement
Pros of Pole Barn Homes
- Less Construction Time: Post frame architecture requires less framing in the building shell. As a result, pole barn homes require far less time to construct. Furthermore, fewer building materials imply less work, and the construction timetable could be shortened in half.
- Affordable Foundation Work: Post frame homes are typically built on top of a strong concrete foundation. You can reduce the cost of a foundation by removing a basement from your floor layout.
- Energy Efficient: Post barn homes have several advantages when it comes to energy efficiency. Pole barn columns are 8′ or more apart. These spaces allow for less insulation, allowing for more heat flow.
Cons of Pole Barn Homes

- Extra work might be expensive: While a basic pole barn is less expensive, the extra materials and special architectural amenities can soon add up.
Some well-known instances include:
Lofts that are used for extra storage.
Covered porches
Second-story level for extra rooms.
- Difficulty Obtaining a Mortgage Loan or Obtaining Required Permits: Obtaining a mortgage for a post barn home may be challenging because it may not qualify for one. You can be required to complete additional paperwork or give additional information than you would for a typical loan.
7 Types of Pole Barn Style Houses
Pole barn homes are one of the most prevalent types of post-frame structures today. They are used for just about any style of building. Large or tiny, simple or sophisticated, it doesn’t matter.
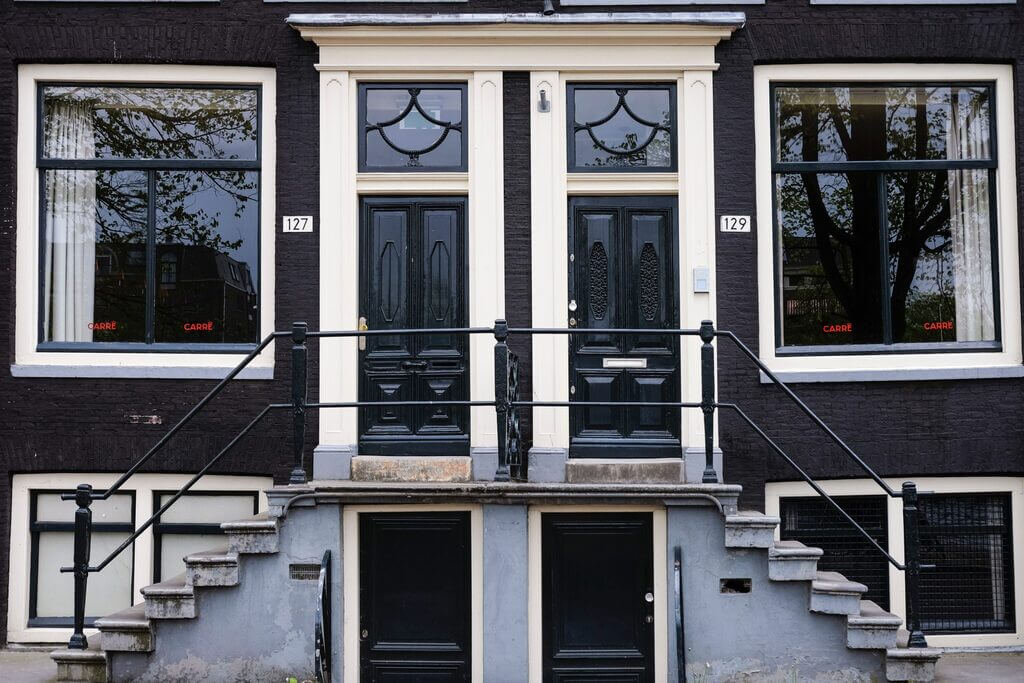
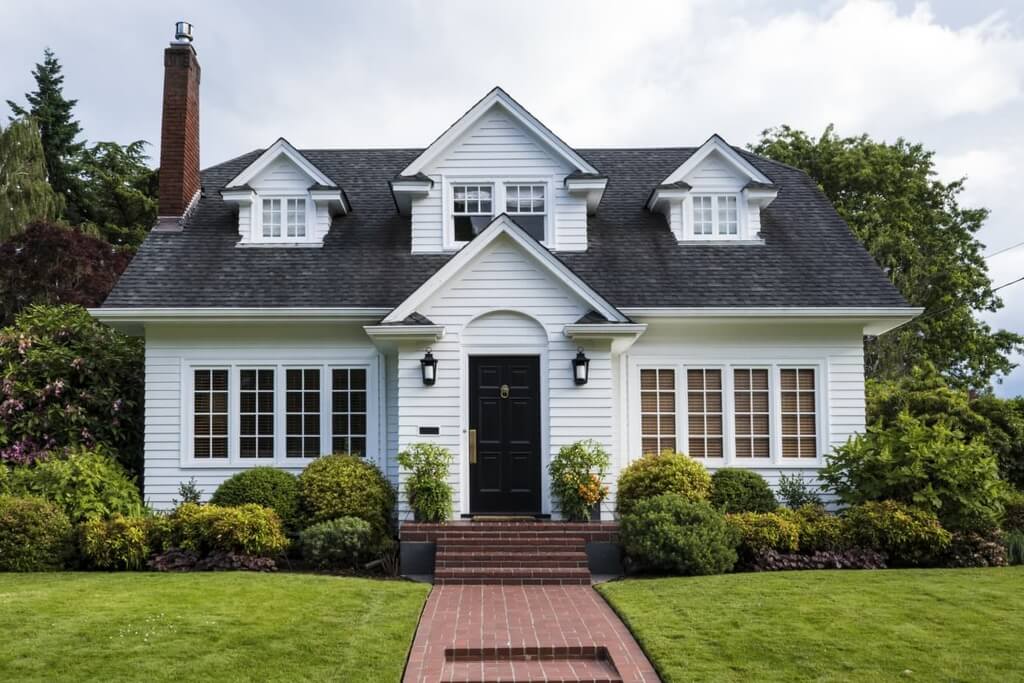
1. Dutch Pole Barn
The steeply-pitched, low-hanging gabled roofs of Dutch pole barn homes reach to the ground. They Have Dutch doors, which are divided into top and lower sections and can open and close individually.
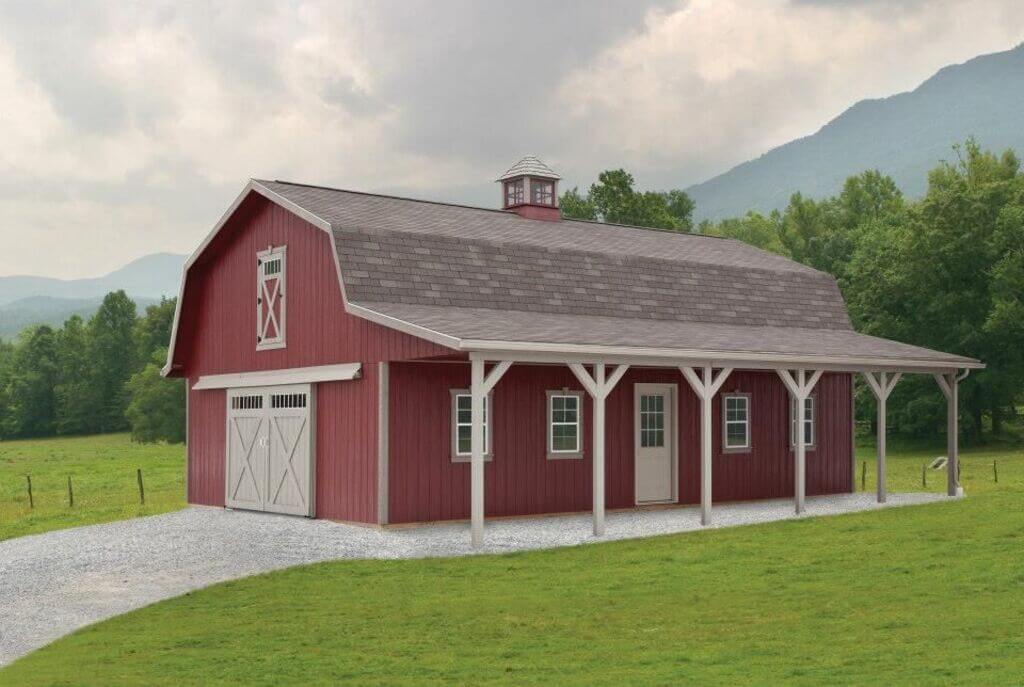
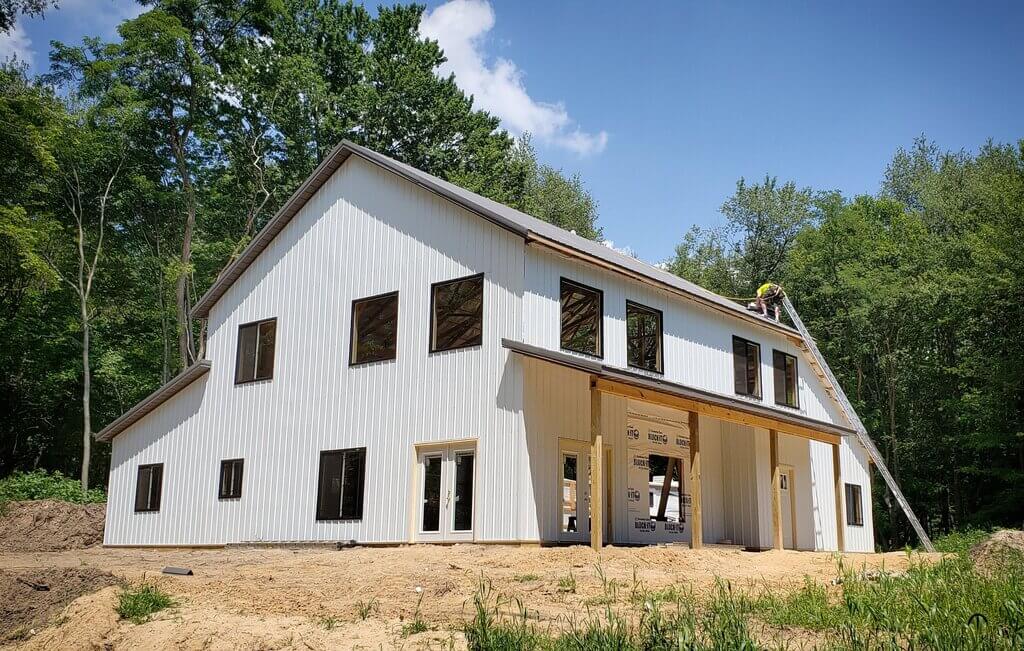
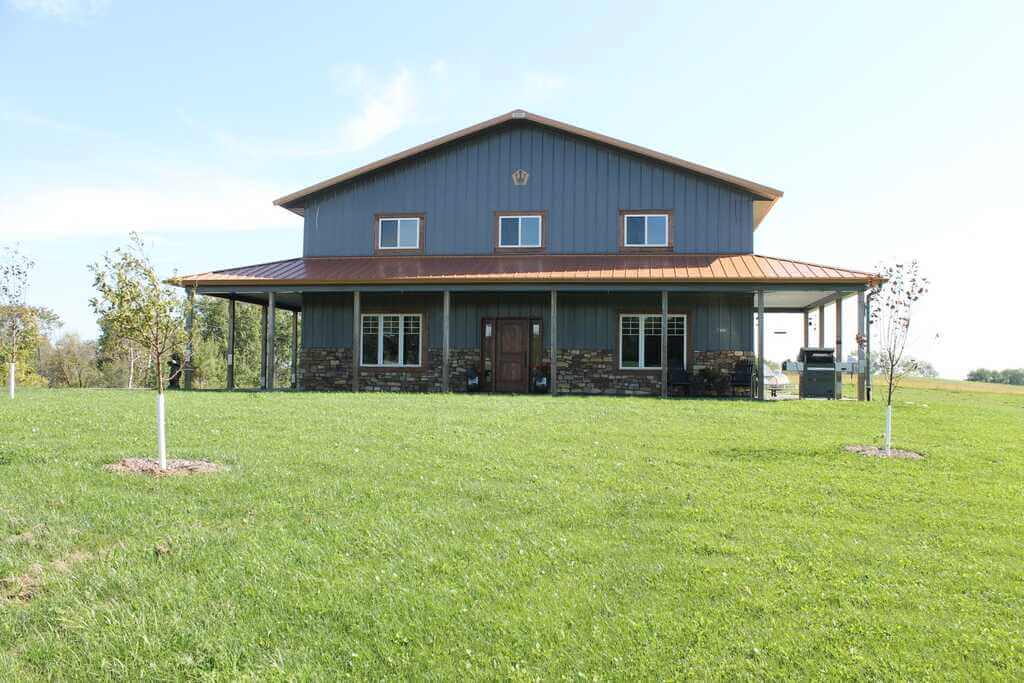
2. Gambrel
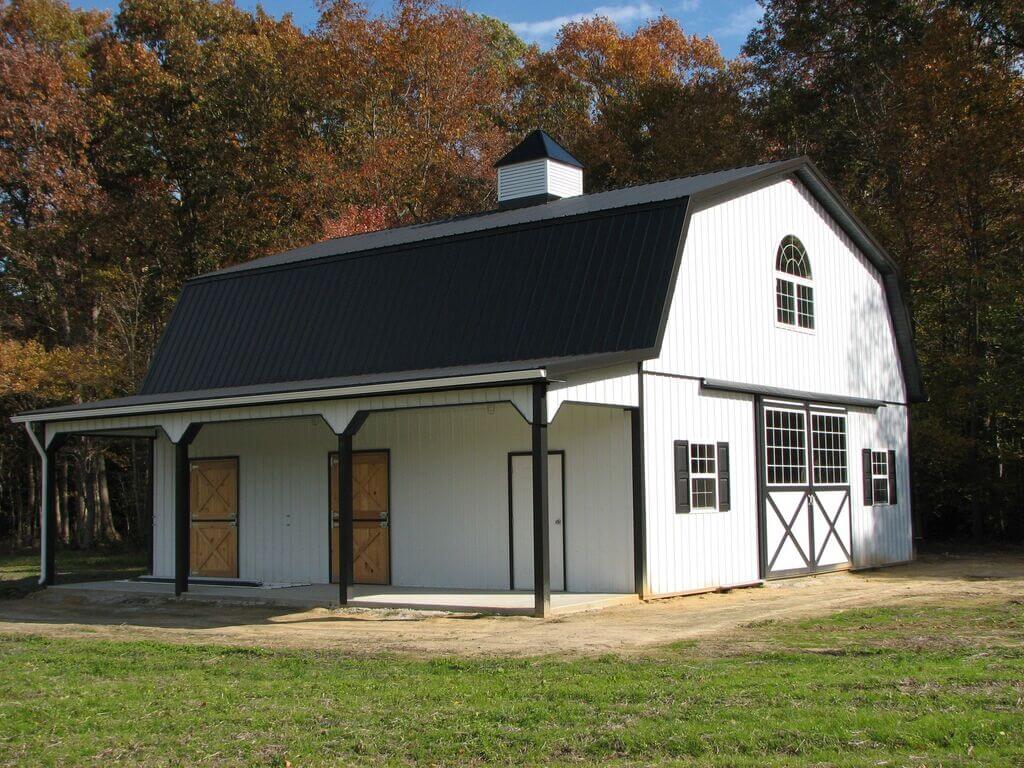
The conventional, classic barn roof on gambrel pole barn homes has a steep pitch at the eaves but a less steep pitch between the eaves and the ridge. This style has a distinct appearance, making it excellent for creating a timeless structure that effortlessly stands out. It’s worth noting that, unlike traditional gambrel barns, gambrel pole homes don’t always come with open lofts.
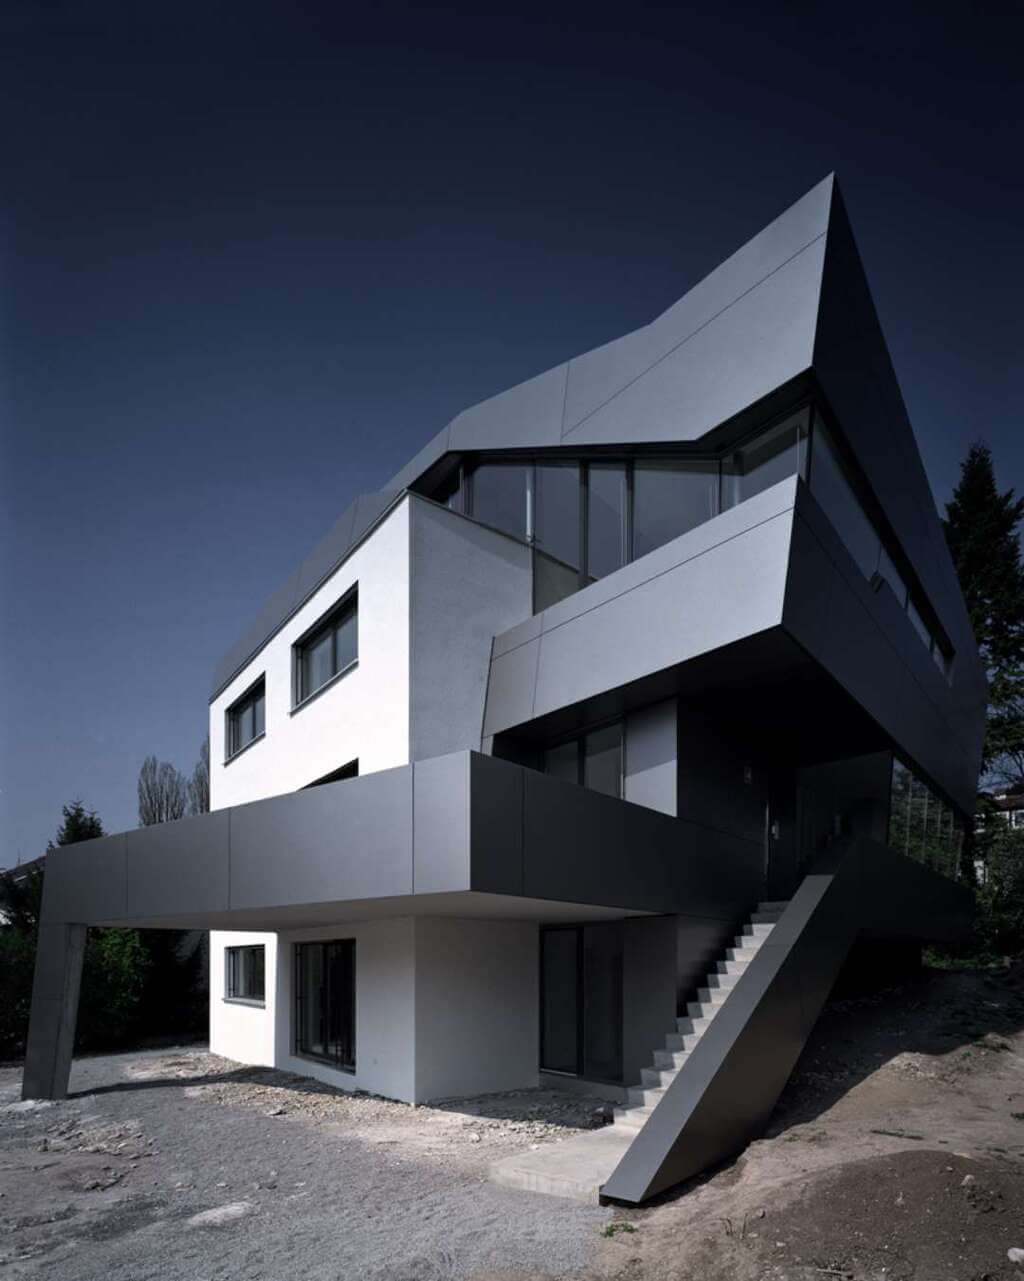
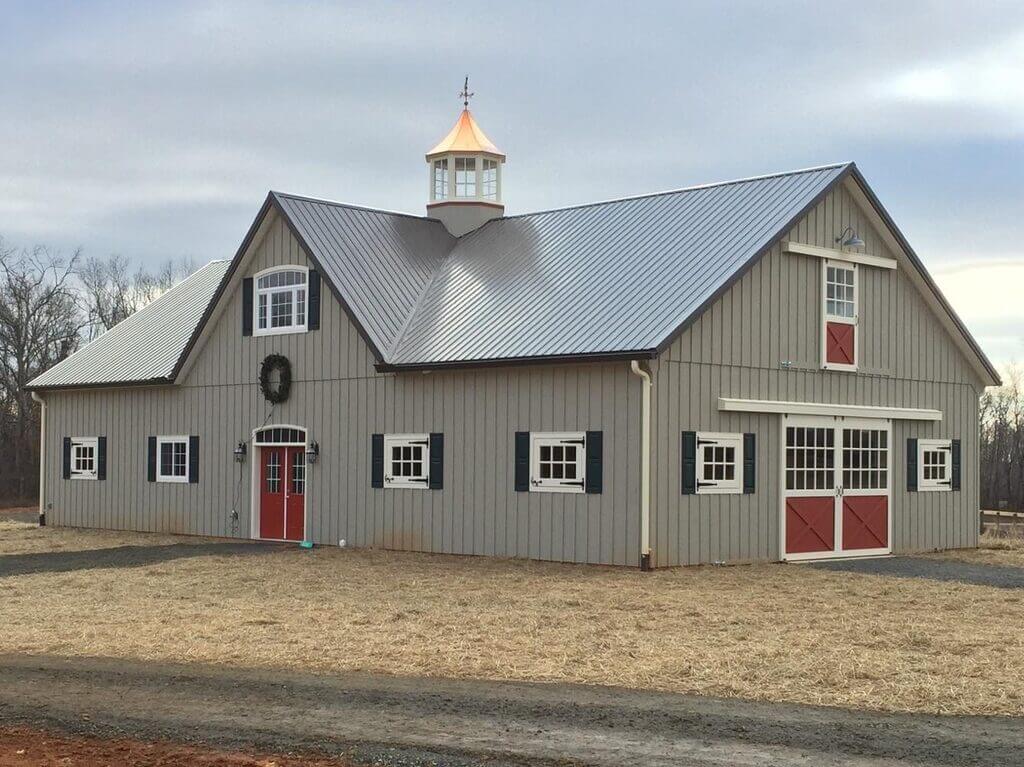
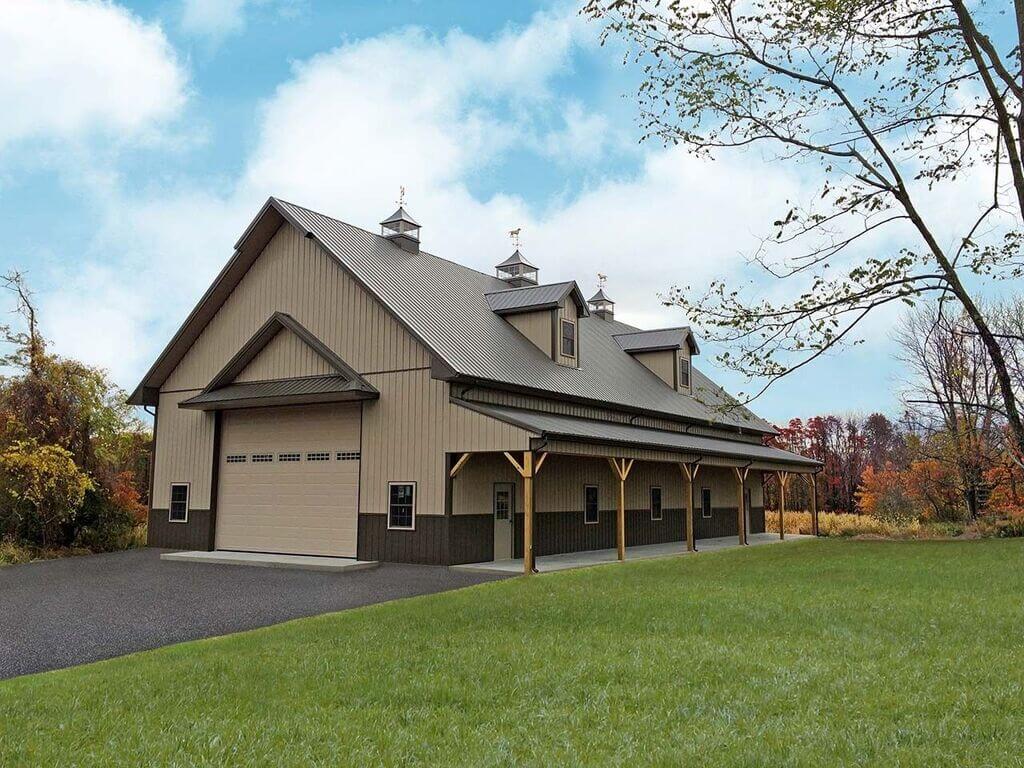
3. Monitor Pole Barns
These pole barn homes have a raised roof above the main section of the house, allowing more natural light and allowing air to circulate.
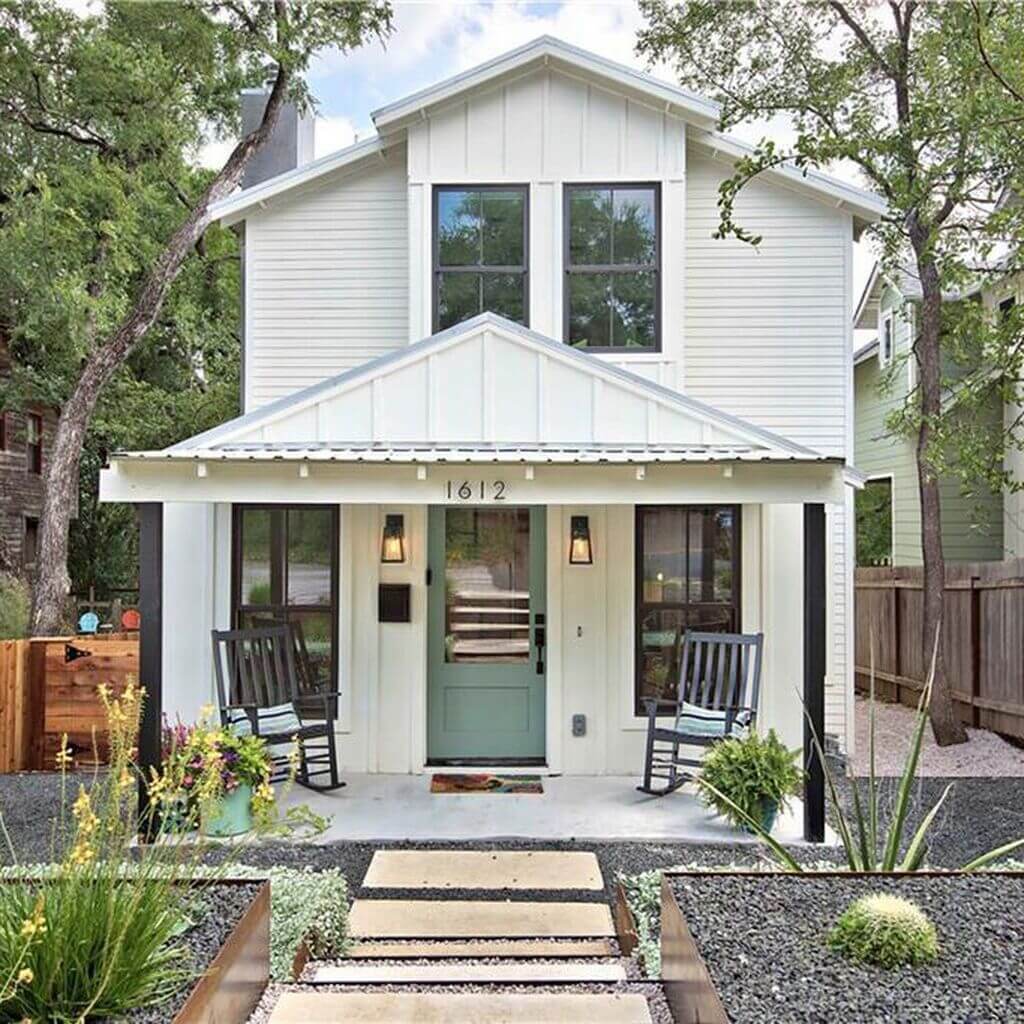
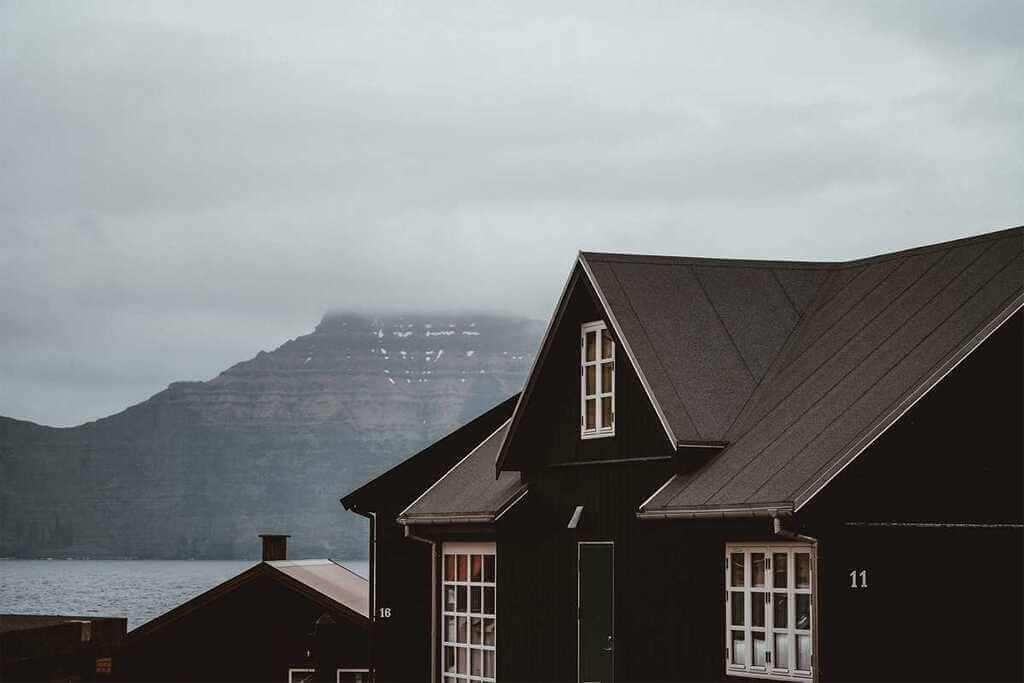
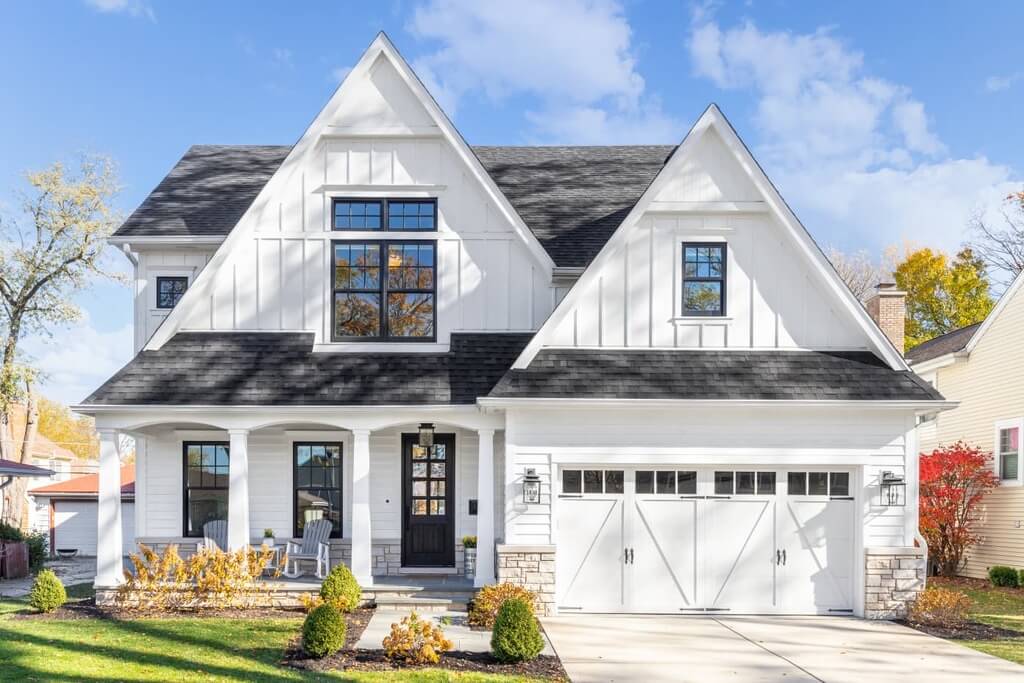
4. English Pole Gable Barns
This is the most functional and basic pole barn style brought to America by the first colonists. This style’s Pole barn houses are typically smaller in size, with a gabled A-frame roof and attic space.
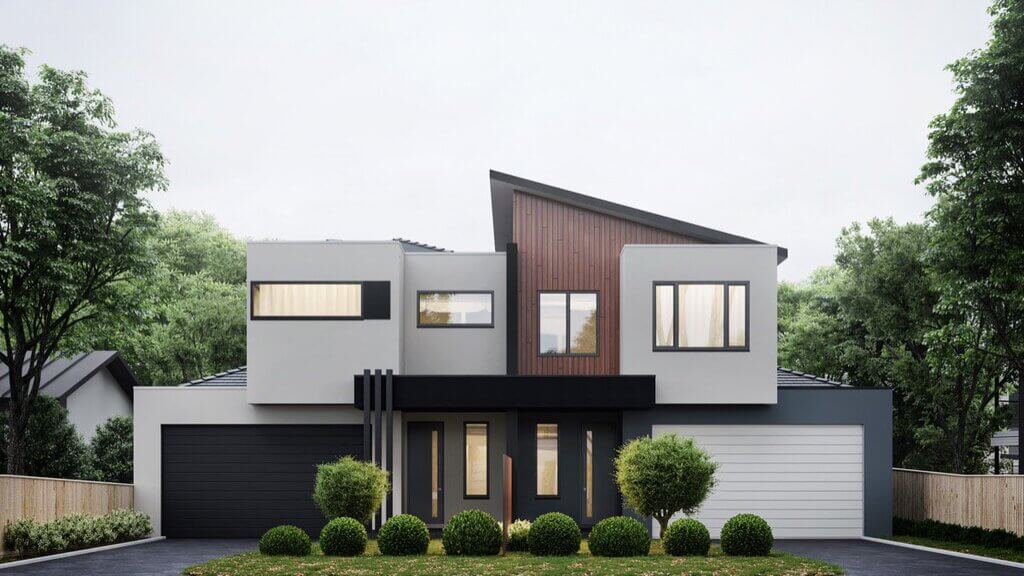
5. Modular Pole Barns
Modular pole barns are created using pre-manufactured or pre-made components that are either fully or partially assembled when they arrive. Instead of constructing the full construction, professionals only lay the foundation and put the house together. These types of cheap simple pole barn house interiors are becoming increasingly popular.
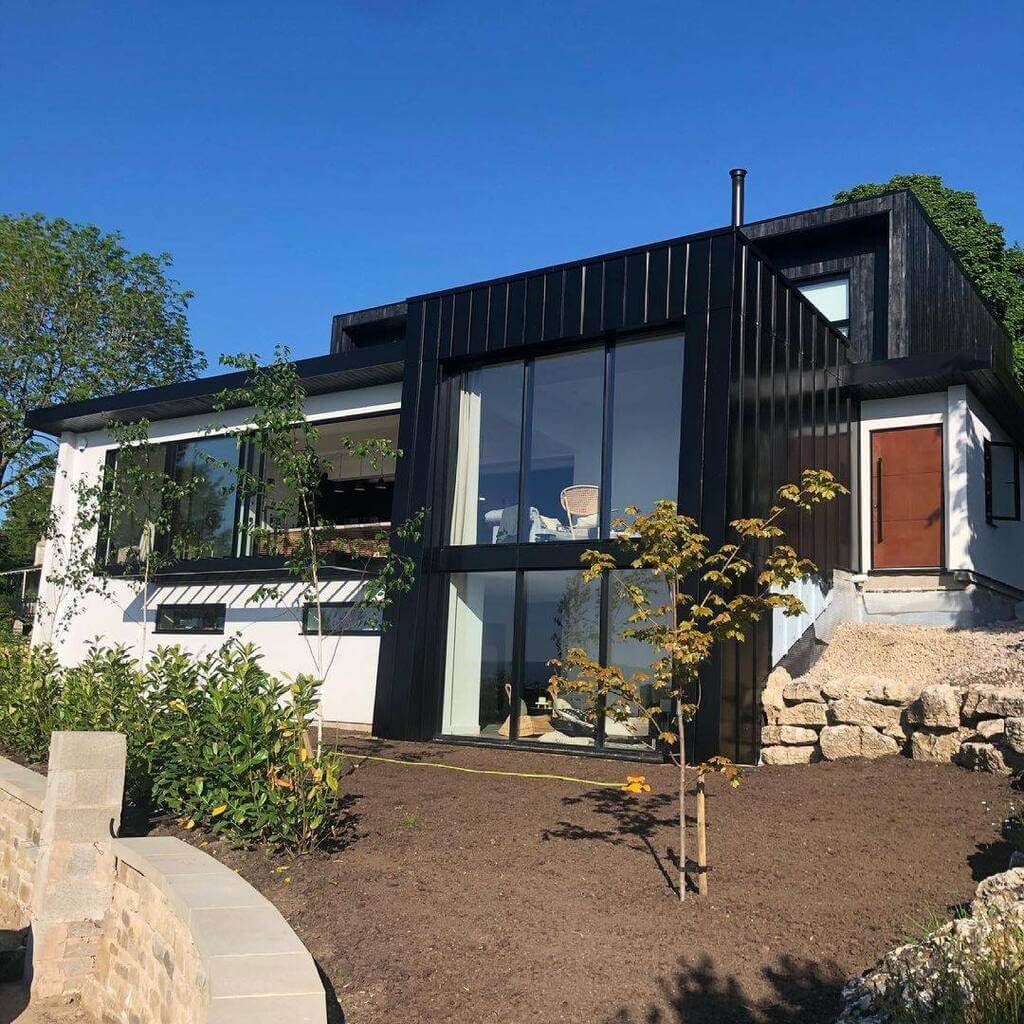
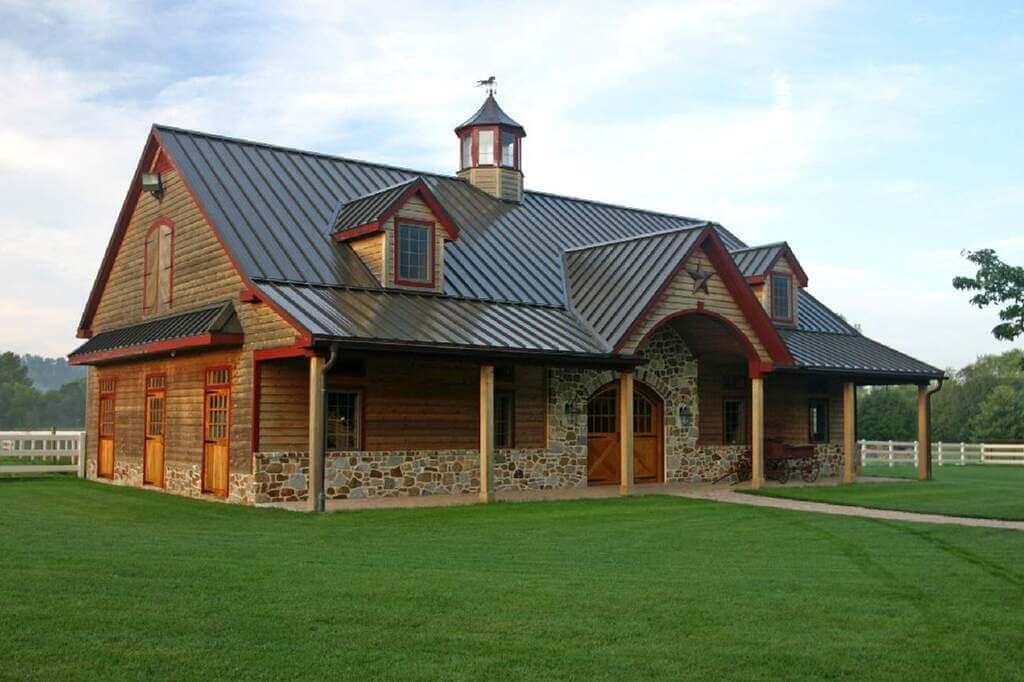
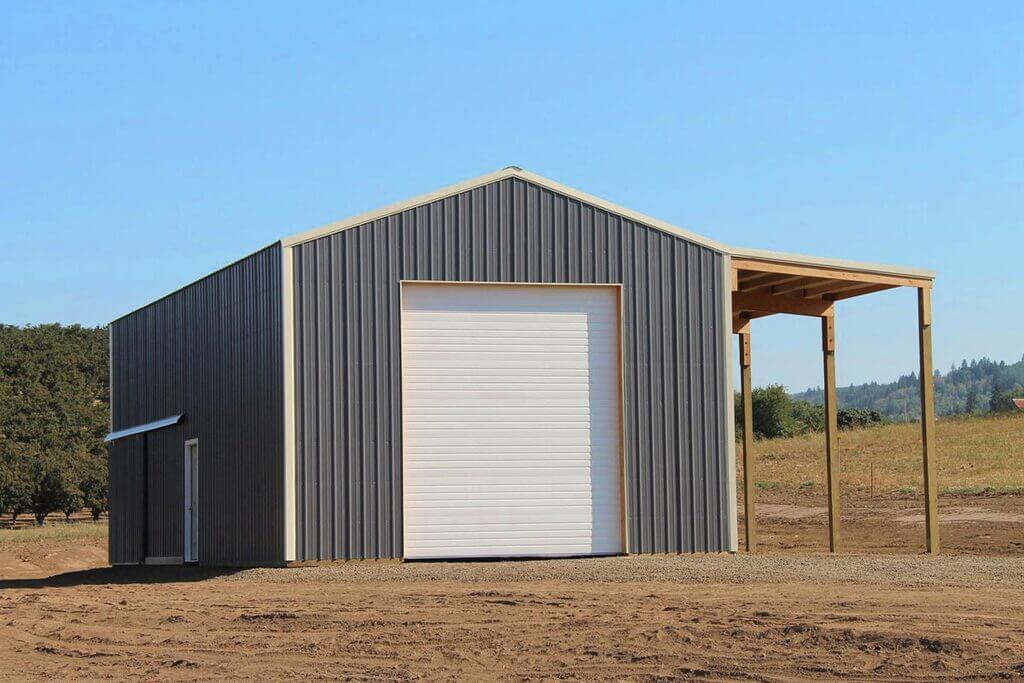
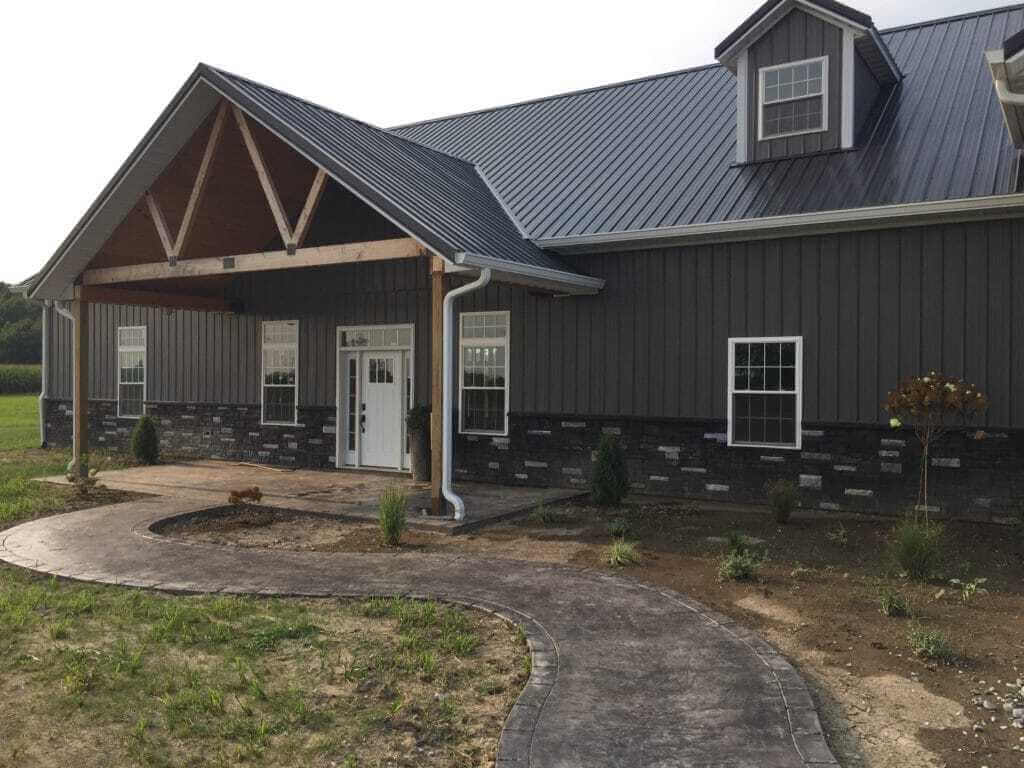
6. Metal Pole Barn
Steel is used to construct metal structures. Interior pole barn homes are now among the structures that use metal components such as support beams, columns, rafters, and girts.
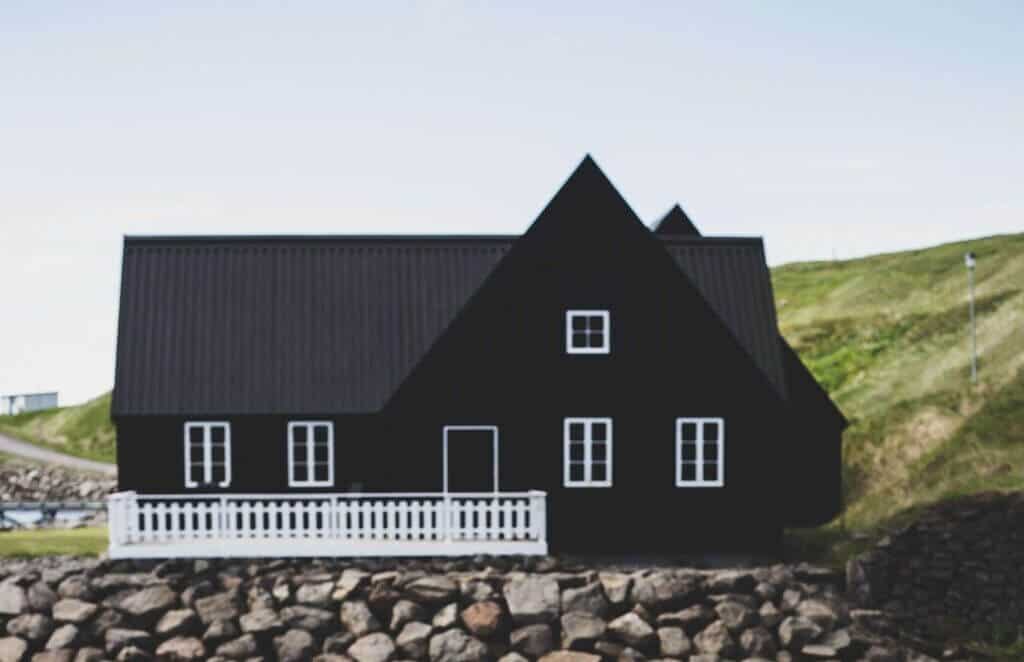
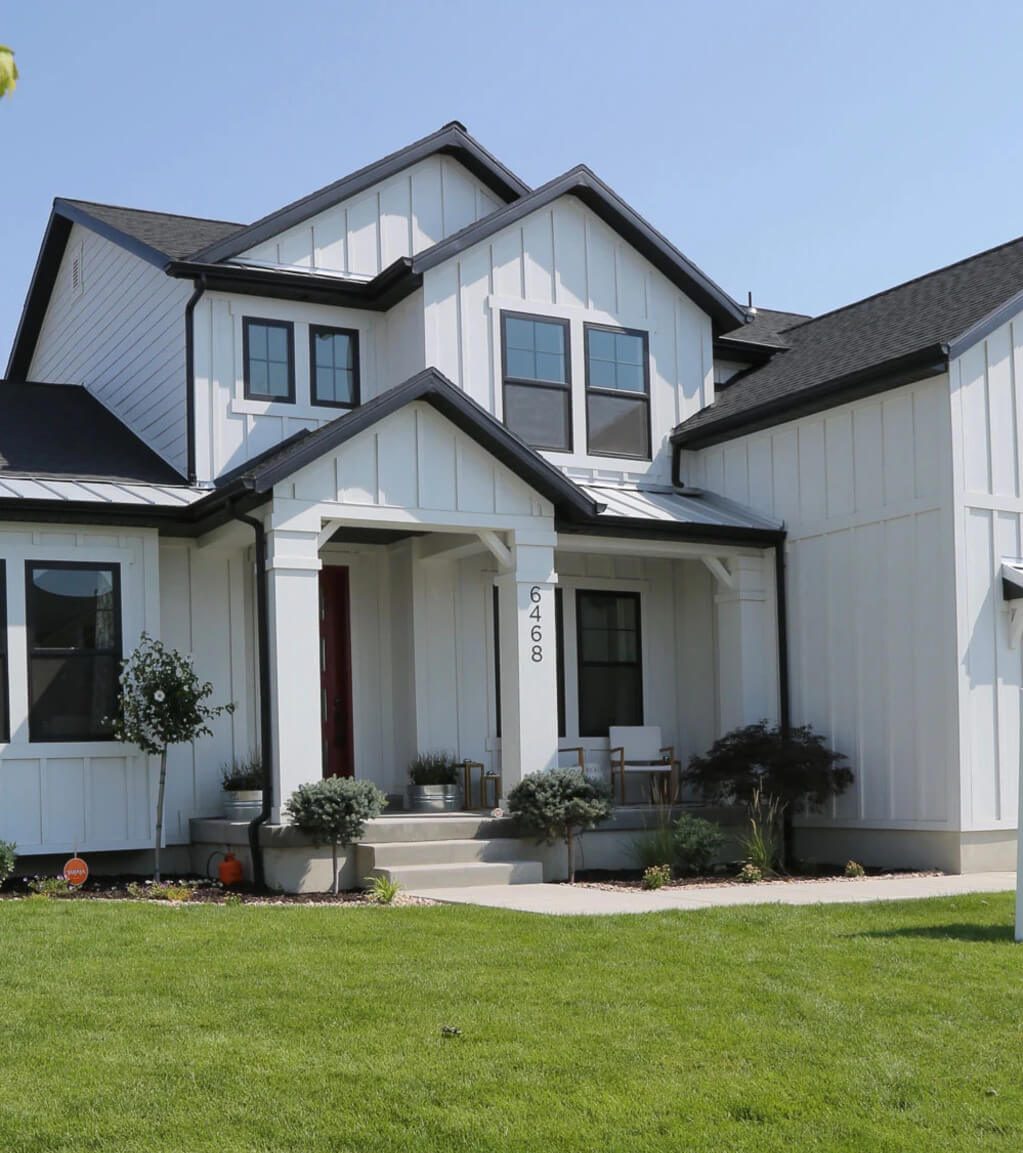
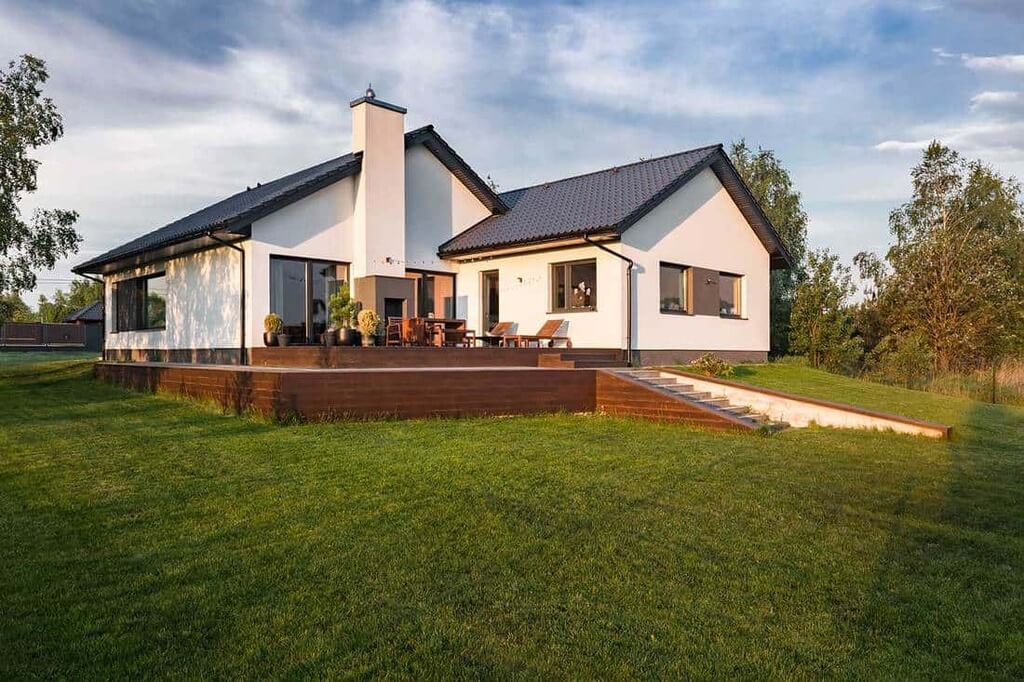
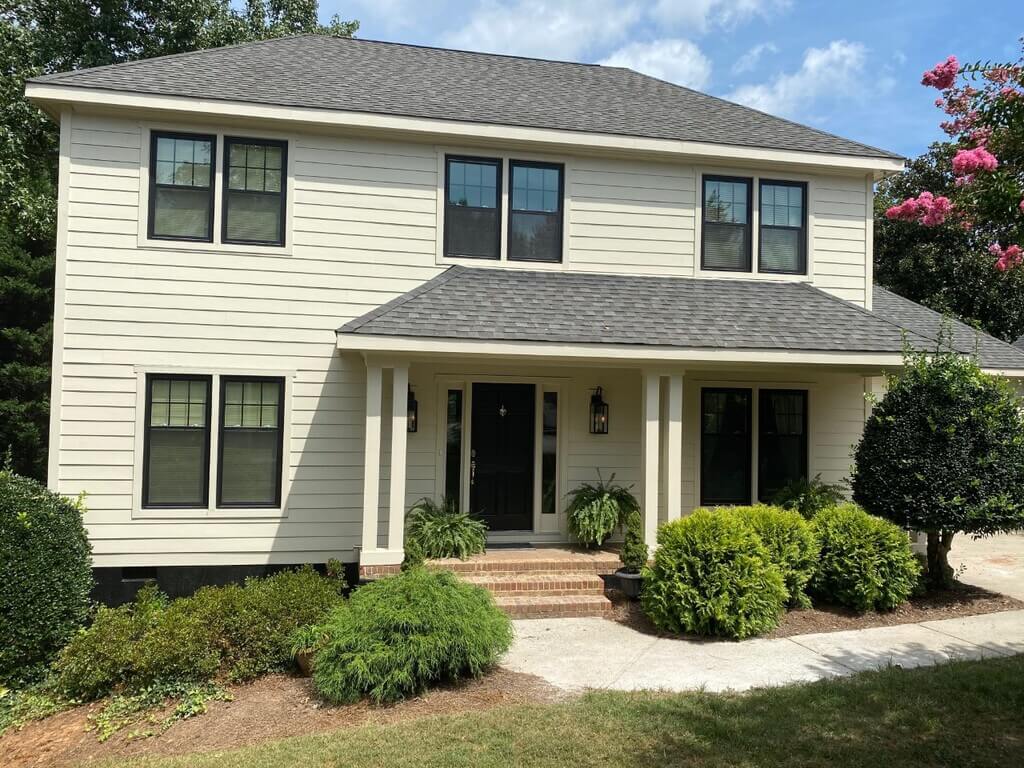
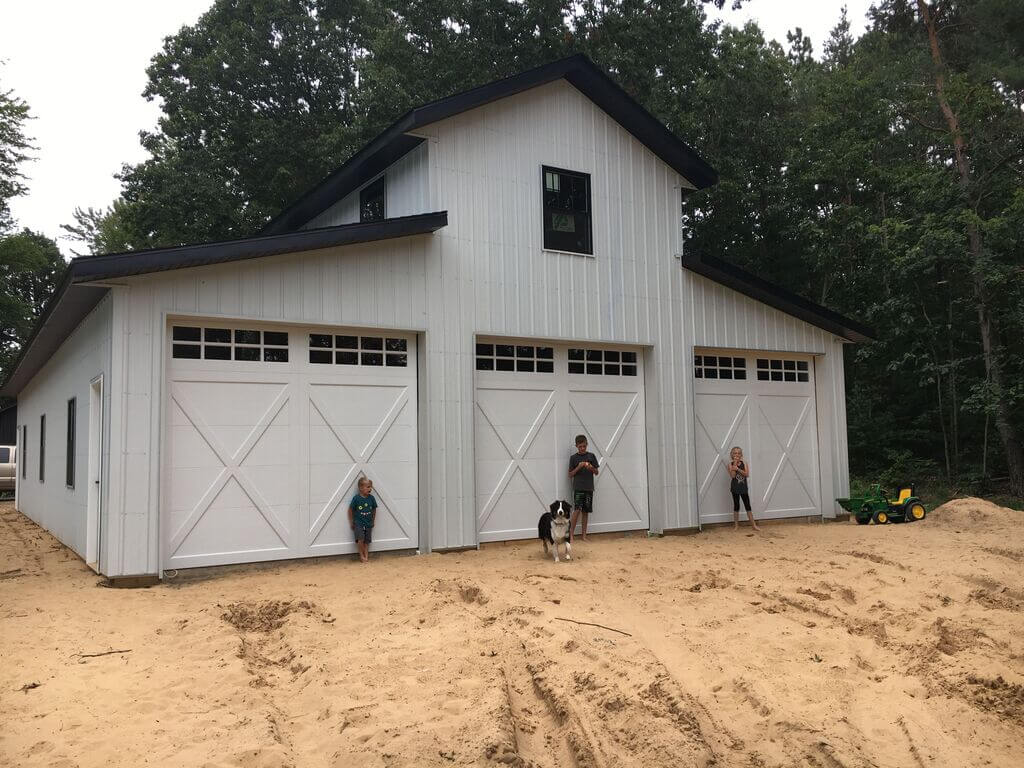
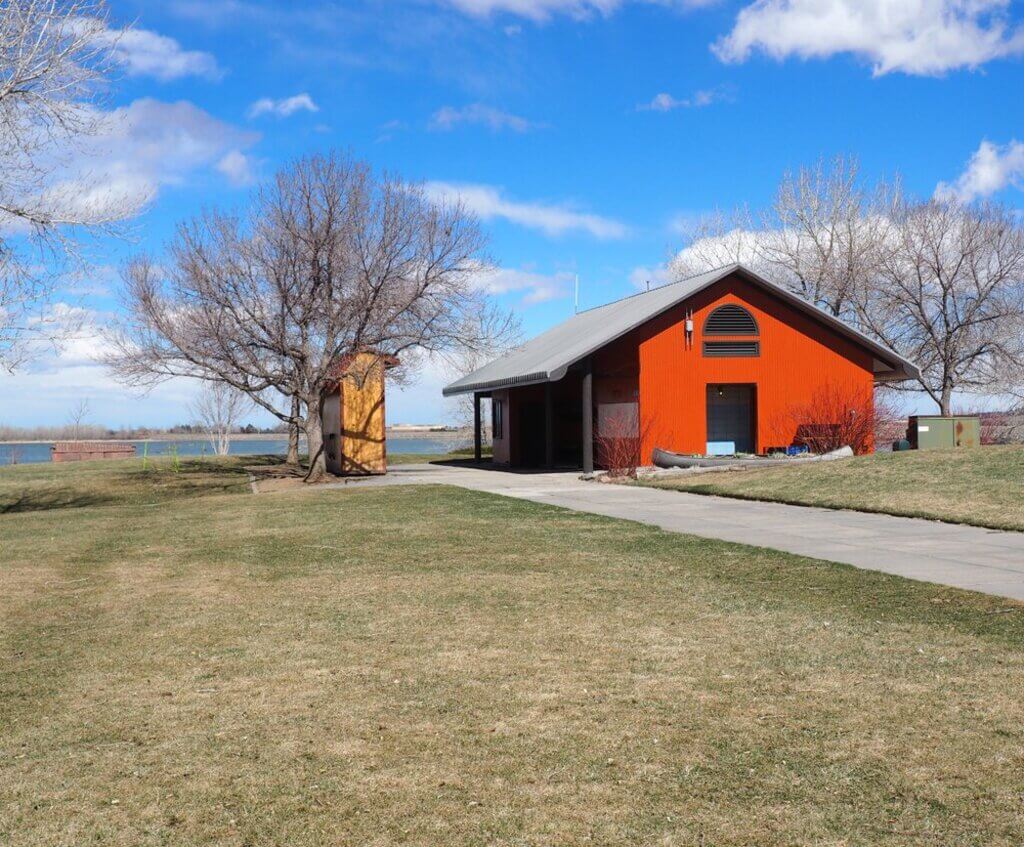
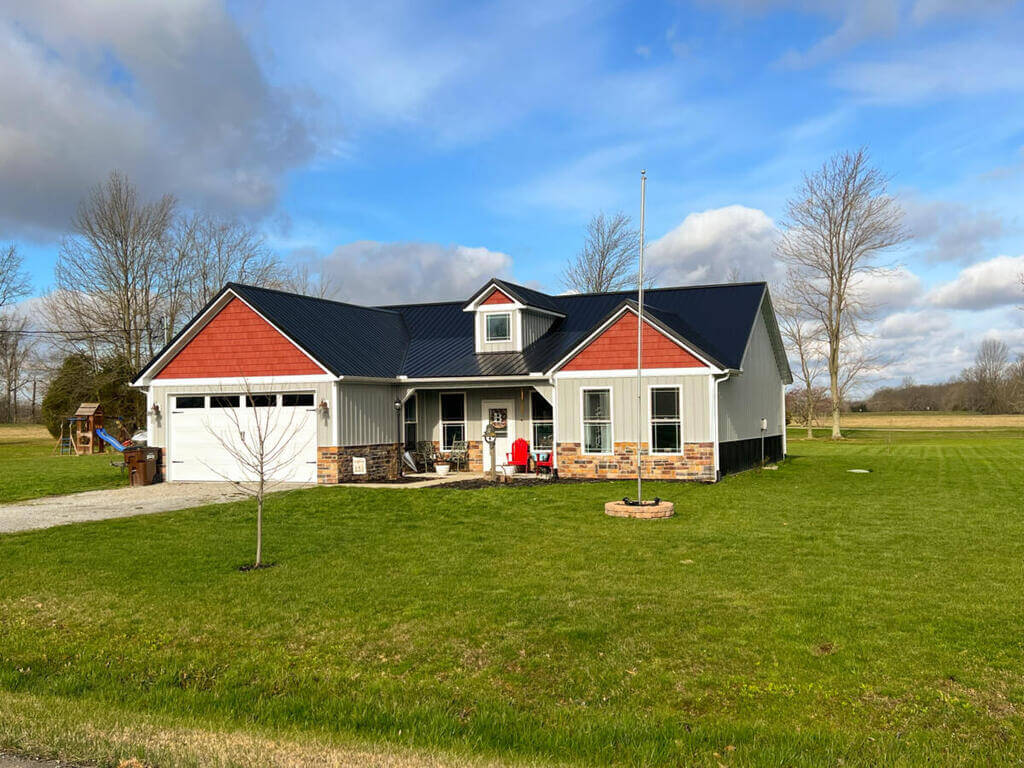
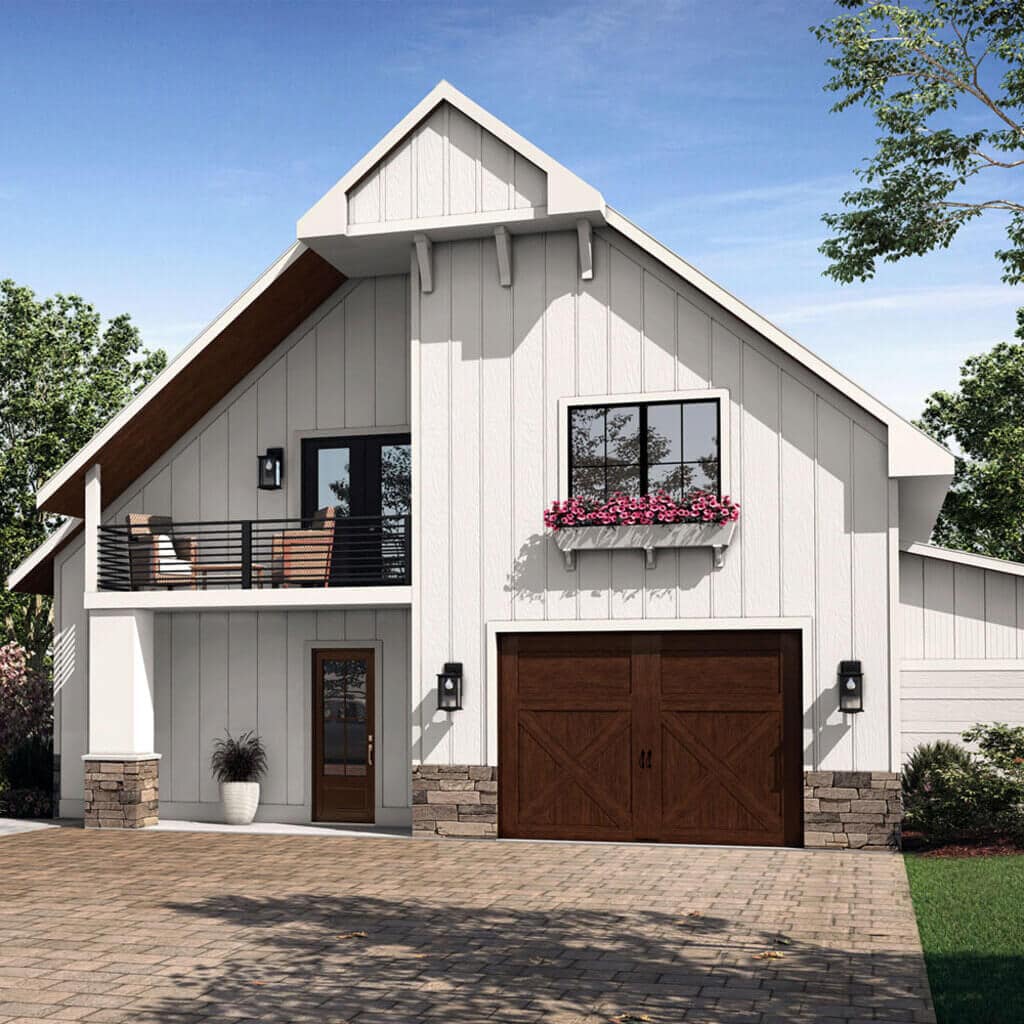
7. Gable Pole Houses
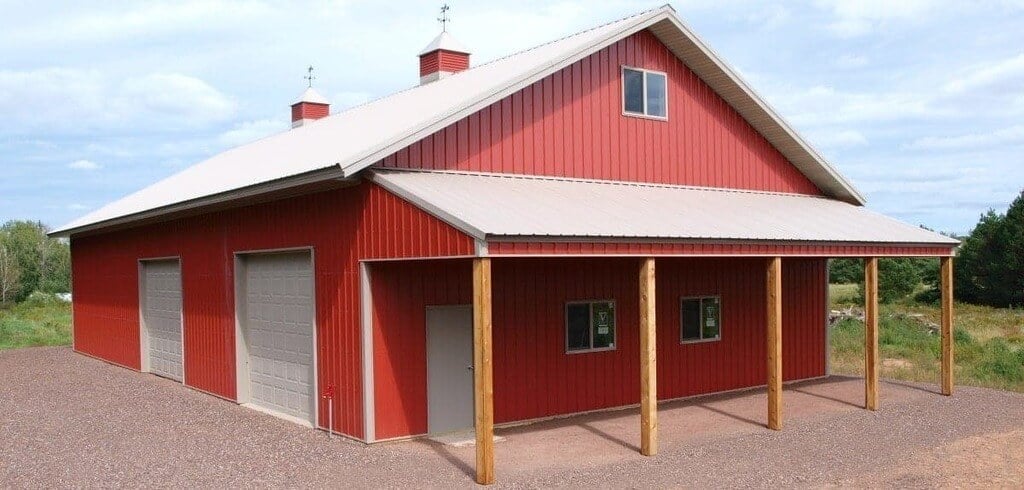
This is the conventional form with a triangular end wall, which is ideal for structures such as workshops and garages where the function of the structure is more important than the design.
Pole Barn House Kits
Pole barn homes, with a pitched roof and four walls are the first things that most people think of when they think of dwellings. However, a new form of simple pole barn house kits is gaining popularity.
Pole barn house kits are prefabricated design and materials packages that include posts and beams, exterior wall packages, highly detailed, blueprints, windows and doors, hardware, and much more. They are extremely adaptable and can be used in any climate or location. They’re also extremely inexpensive to construct, making them an excellent choice for anyone who wishes to build their own cheap pole barn house interior.
Pole Barn House Plans
You can easily find a variety of pole barn house ideas that allow you to customize the design and style according to your taste and preference. Most pole barn house plans are typically two or one and a half storeys in height. The bedrooms are usually located beneath the gambrel roof, while the kitchen and living area are located on the main level. The pole barn house plan feels open and big thanks to the open-plan concept.
Pole Barn House Cost
One of the best aspects of a post barn home is its cost. Because they require less material to create, the cost of building a pole barn house is frequently far lower than other construction methods. The pole barn home’s pricing is determined by its size. A pole barn residence can cost anywhere from $7,000 to $75,000 to build. Also, note that larger or more intricate pole barns might cost up to $100,000.
Furthermore the location differences in material costs and local design regulations, pole barn house pricing vary by location. You’ll also have to consider the expense of any optional amenities you wish to include in your pole barn home.
Pole Barn House Price Per Square Foot
- Small Pole Barn Homes: The Range in price is from $7,000 to $18,000, depending on the size of the style you pick.
- Medium Pole Barn Houses: The cost of a medium-sized pole barn home ranges from $18,200 to $39,100.
- Big Pole Barn Houses: Even though these pole barn homes are more expensive than the above-mentioned homes, they are nevertheless affordable when compared to traditional-style homes. The cost of the huge pole constructions ranges from $36,000 to $88,000.
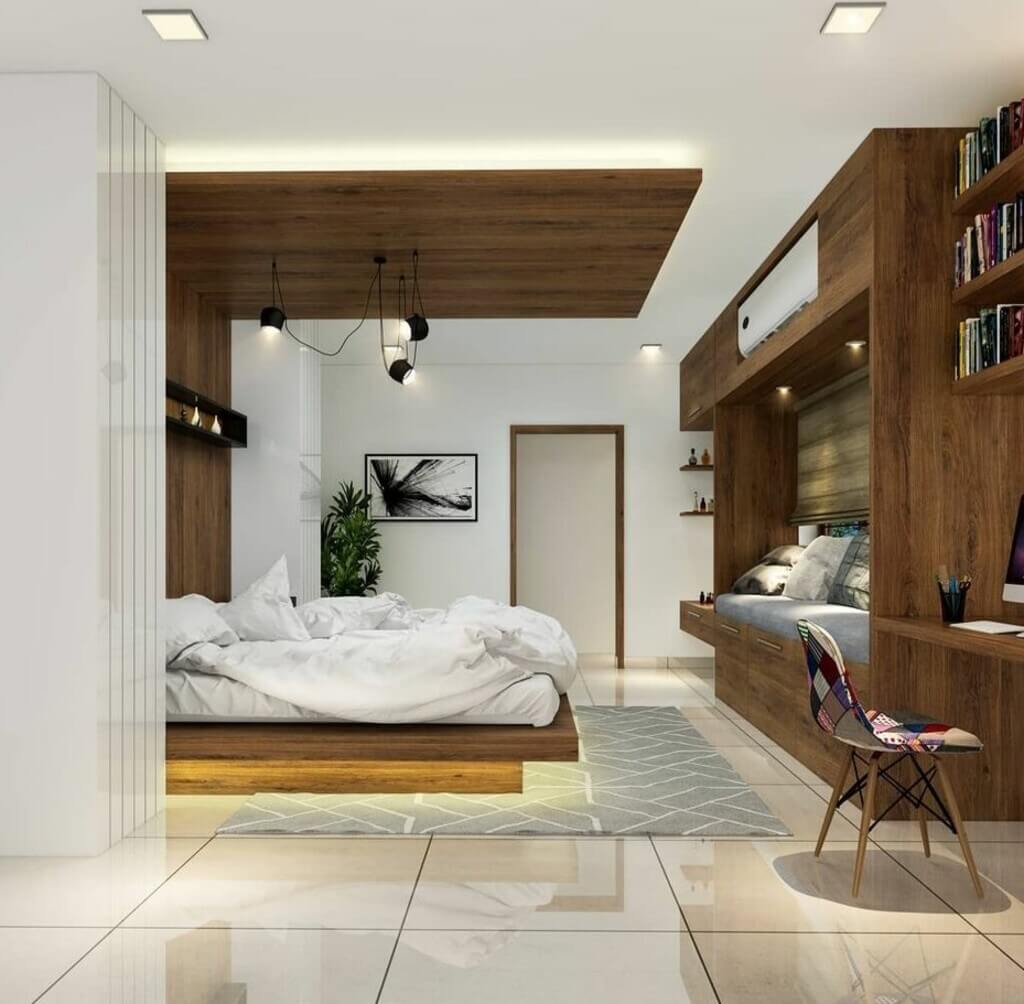
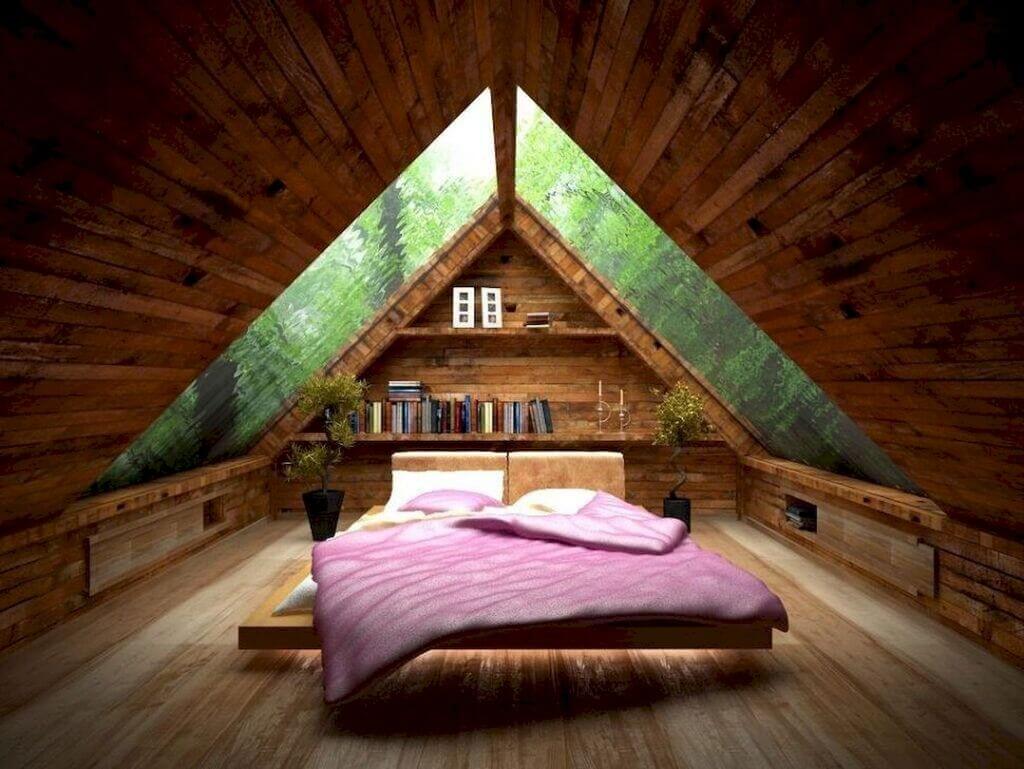
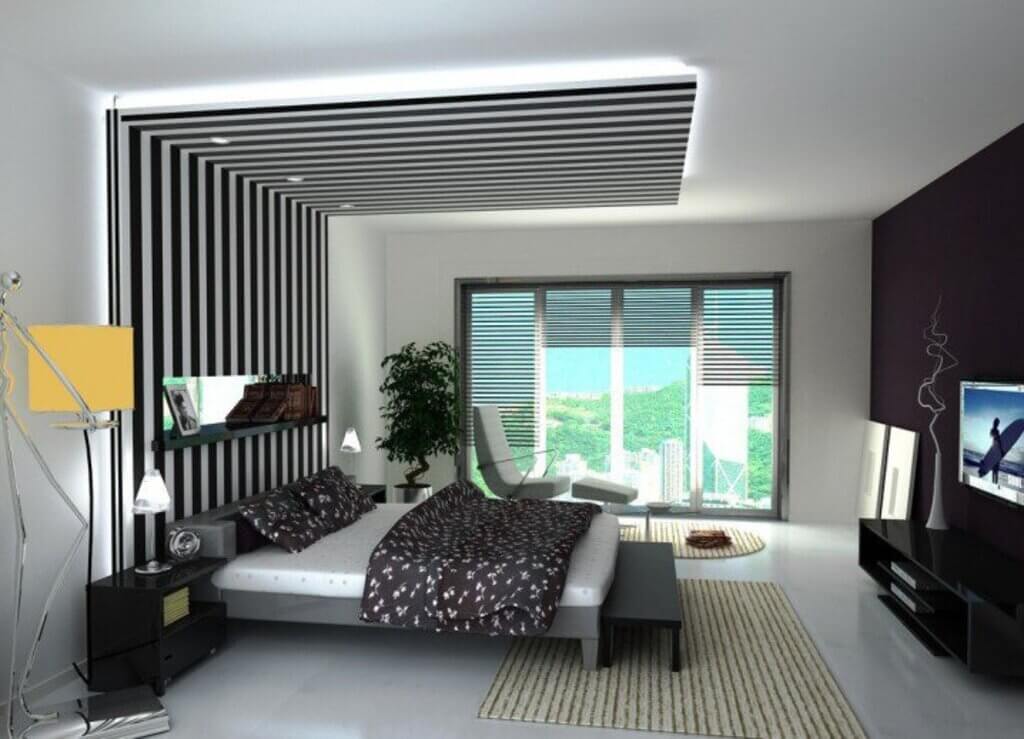
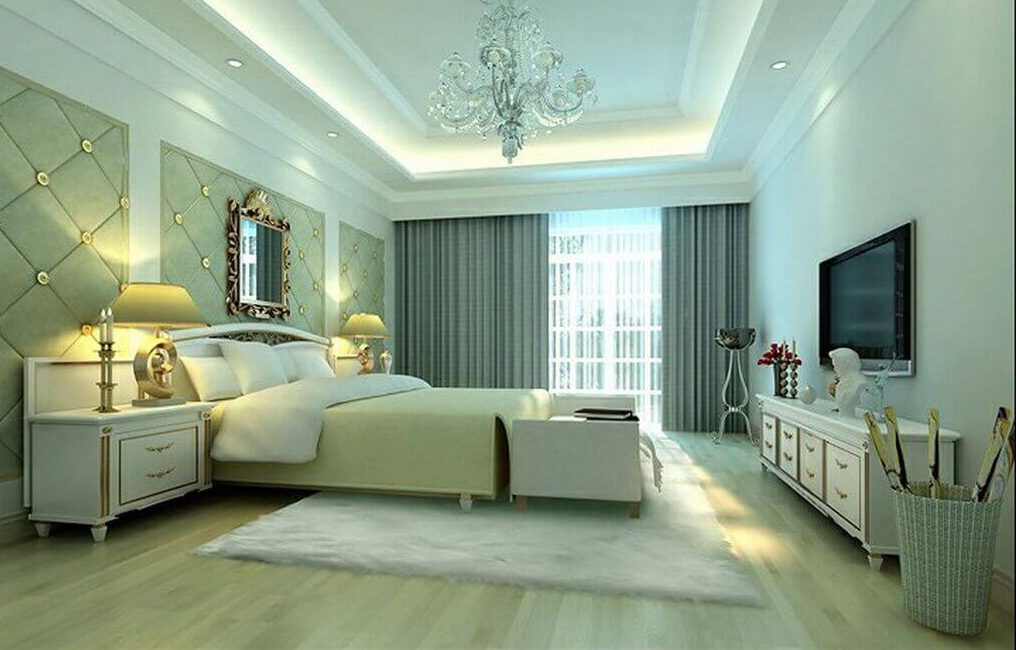
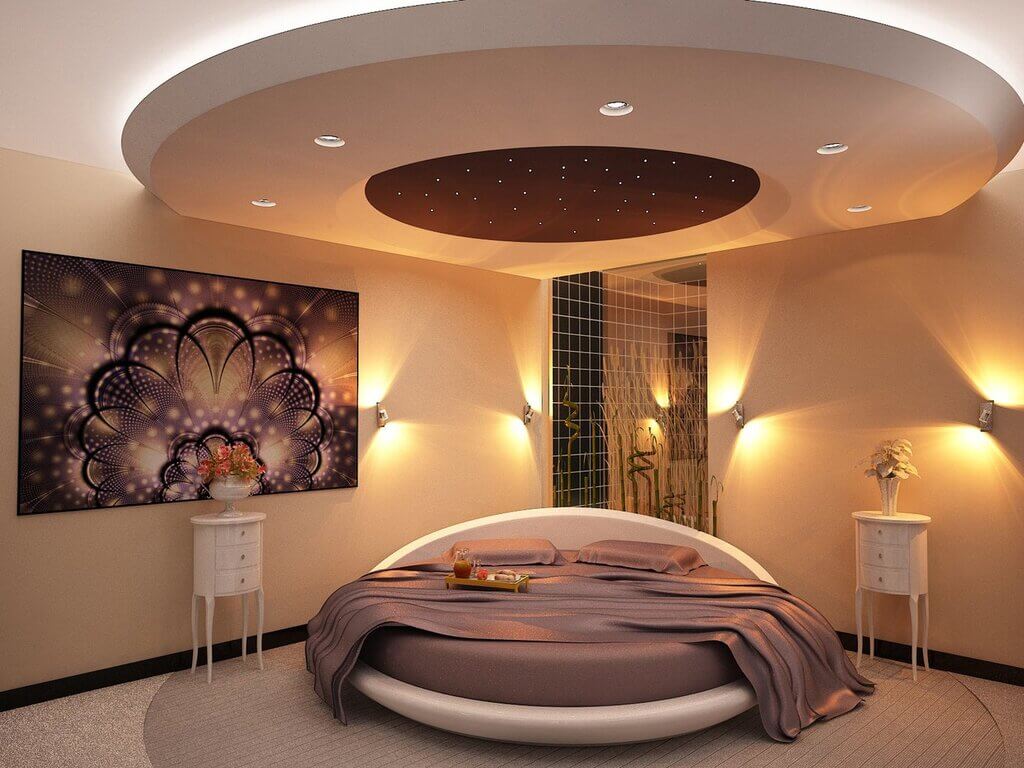
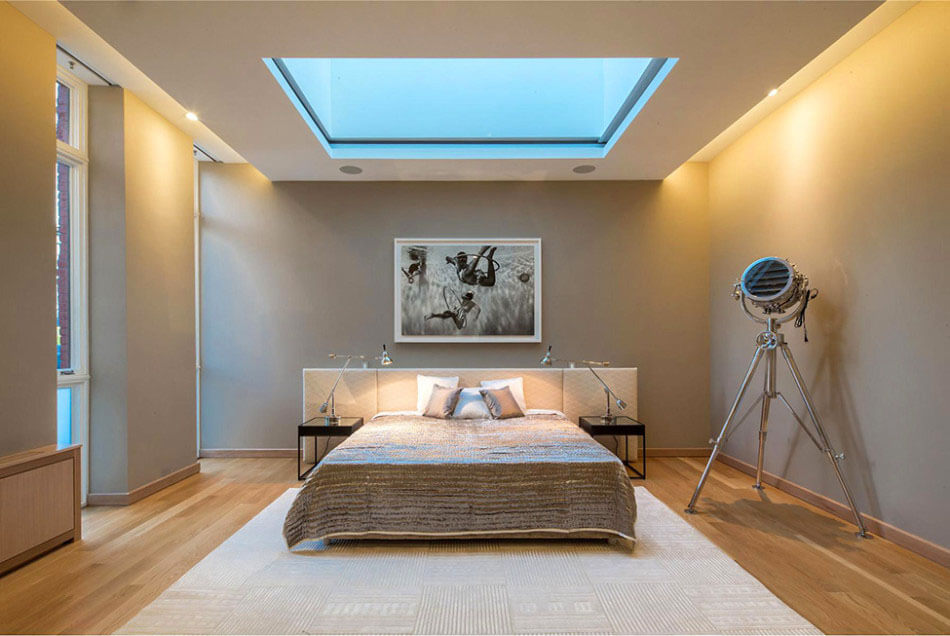
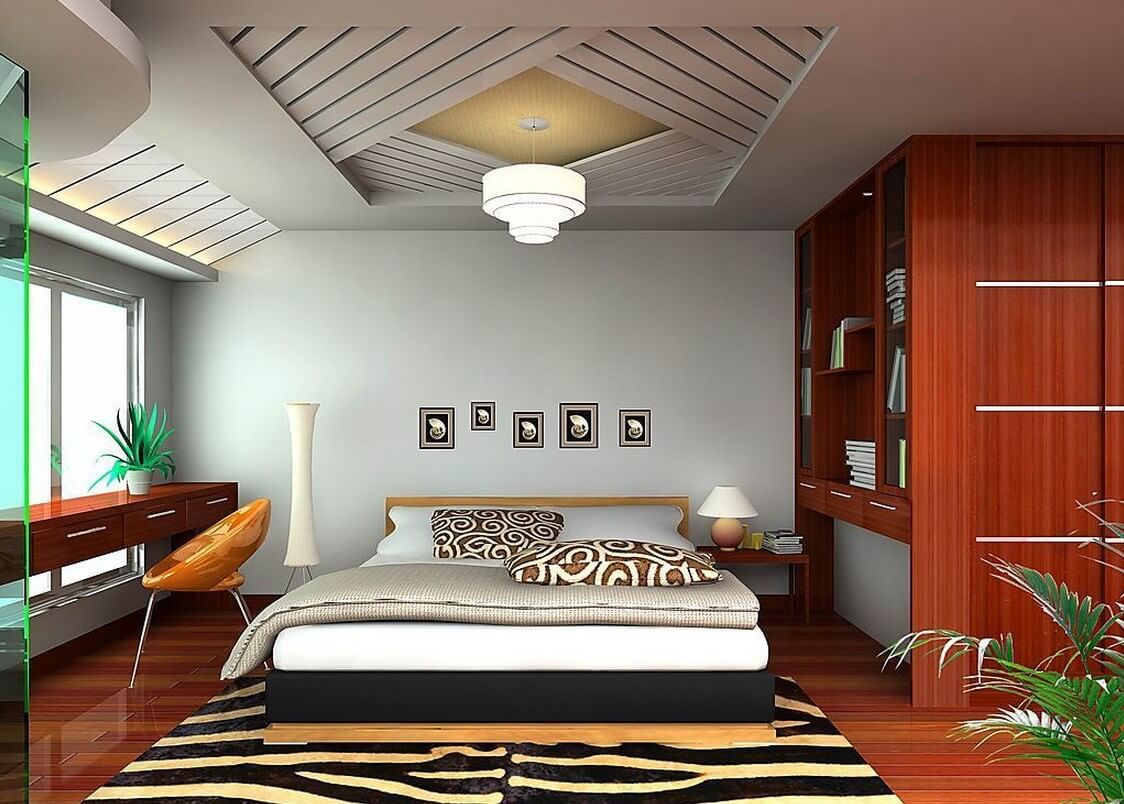
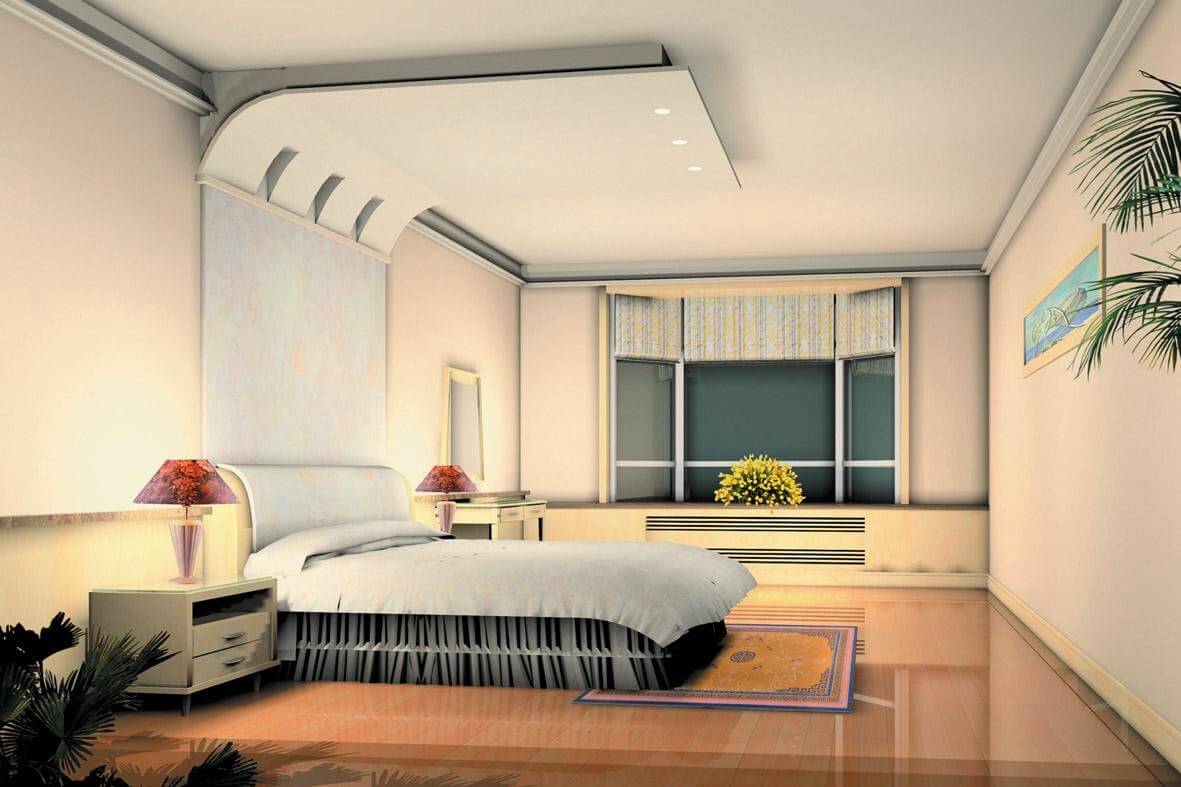
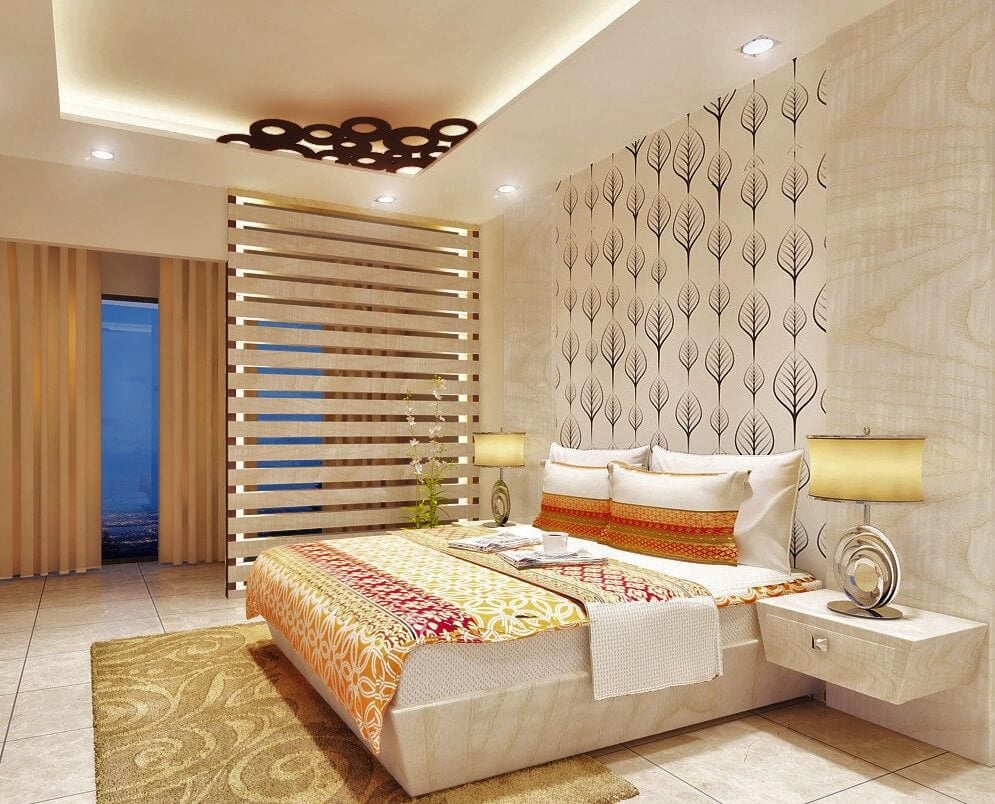
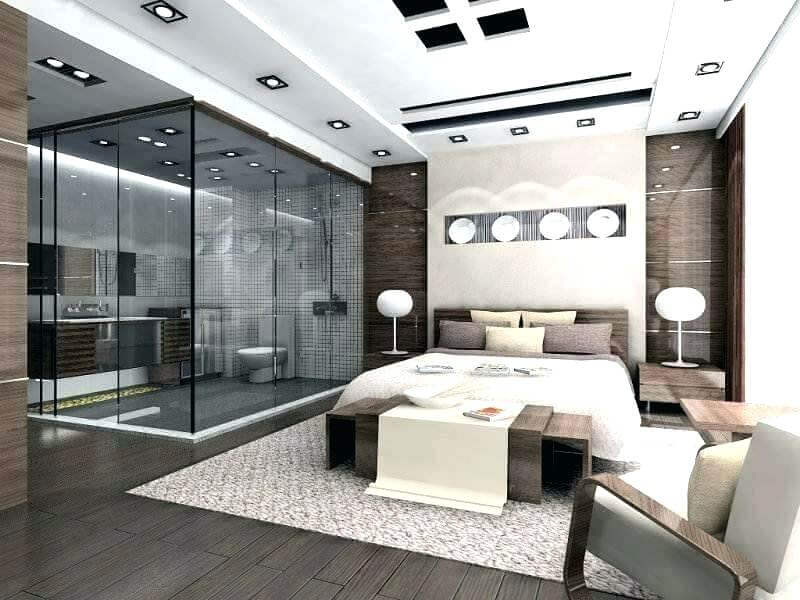
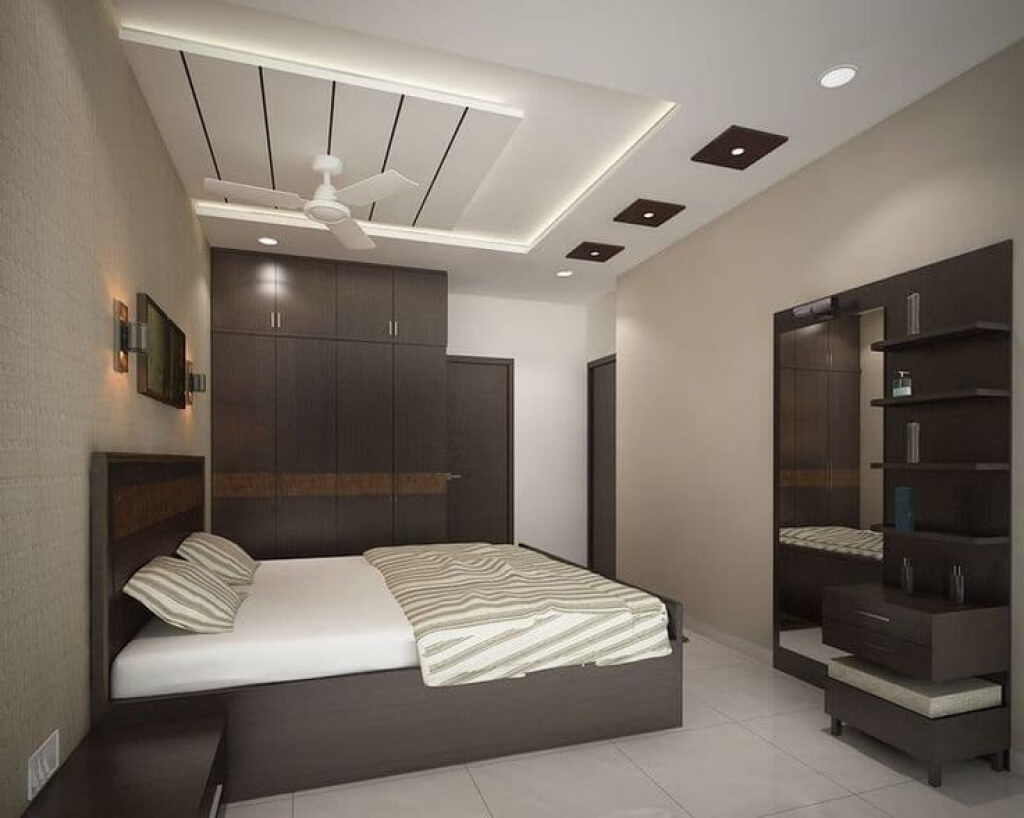
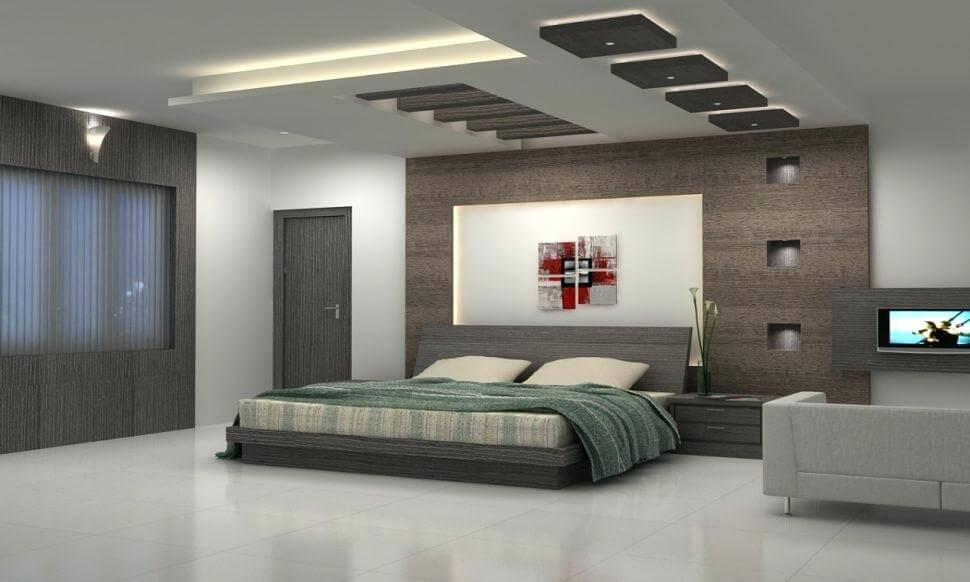
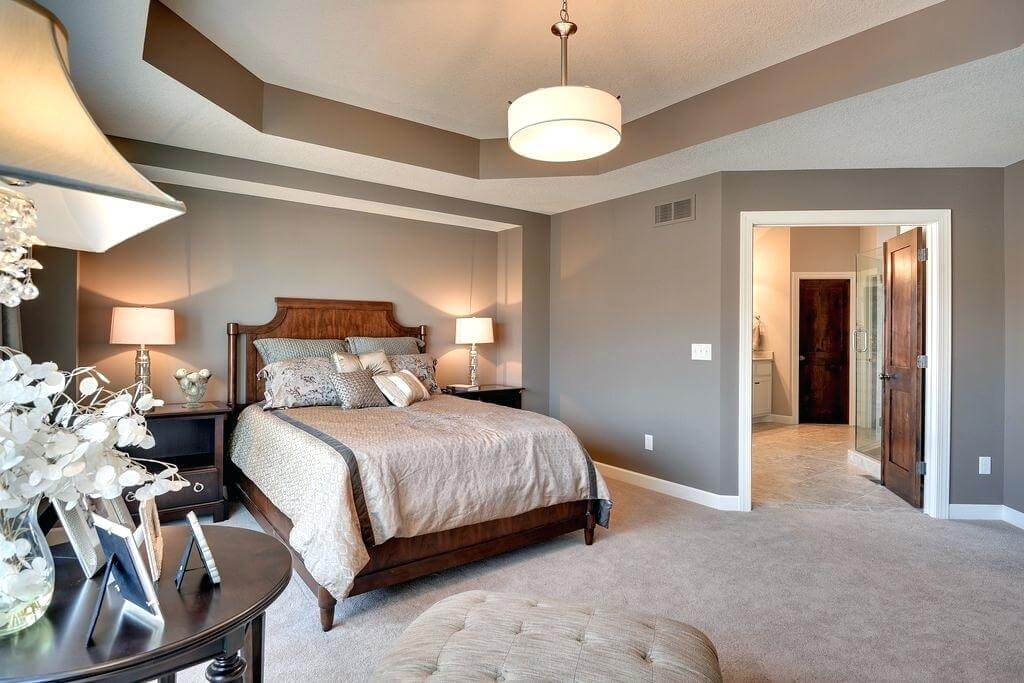
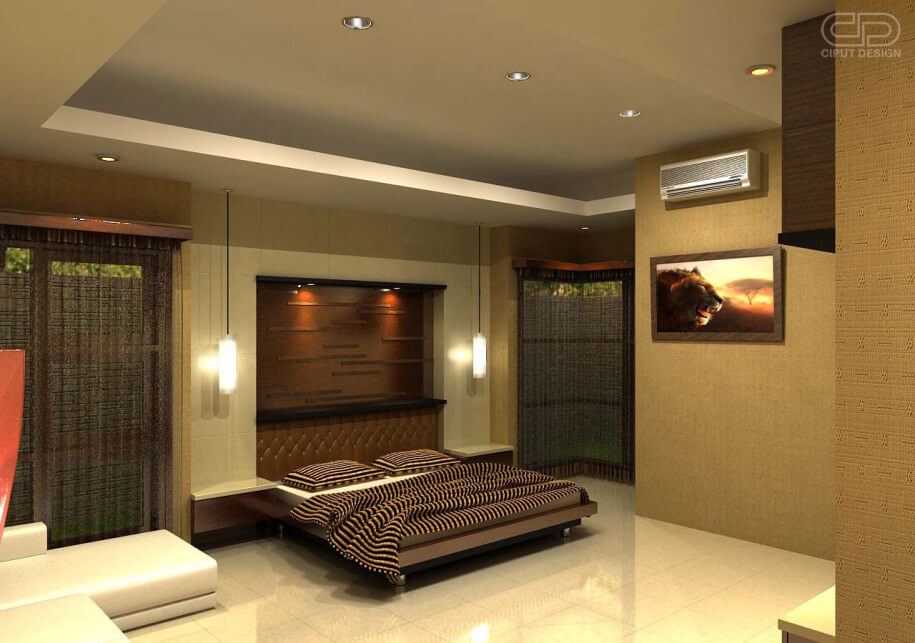
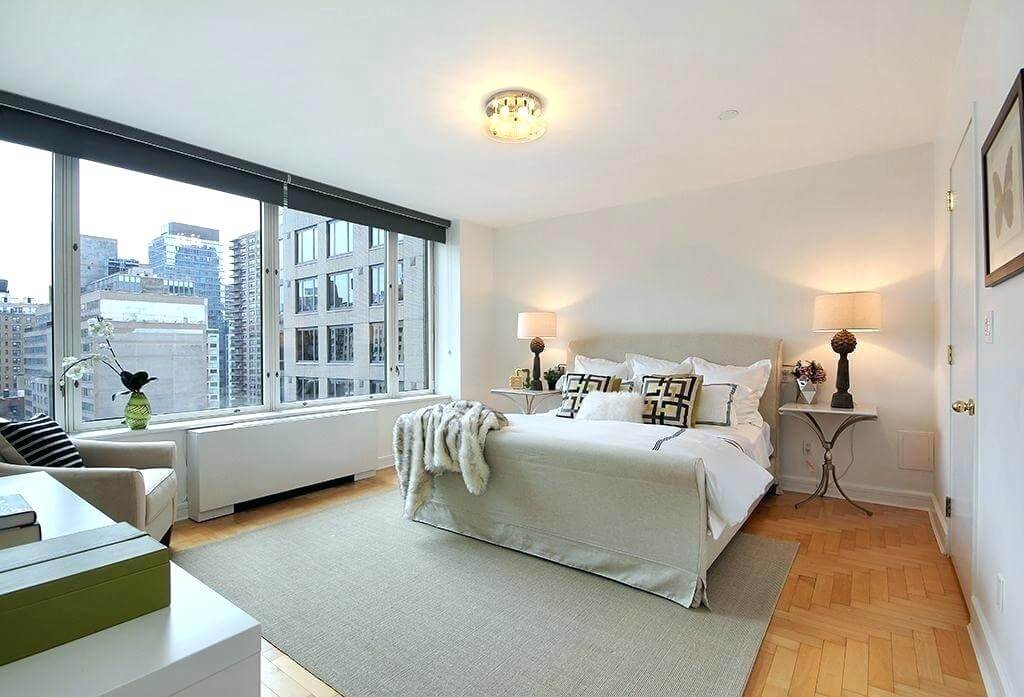
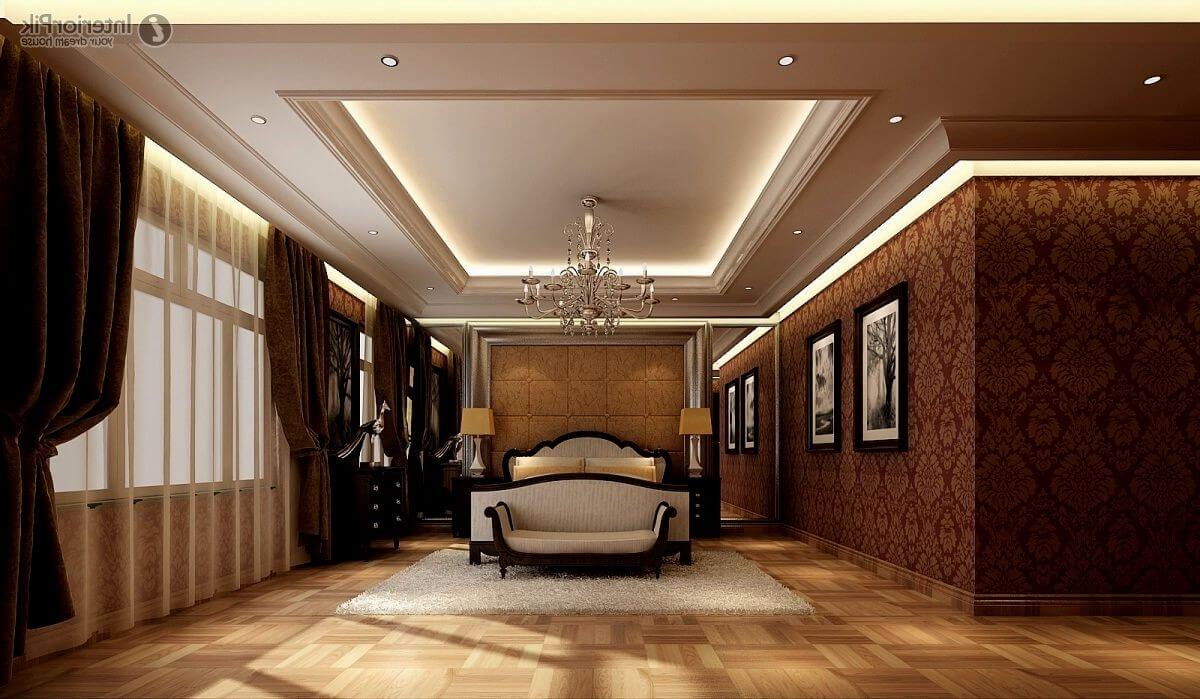
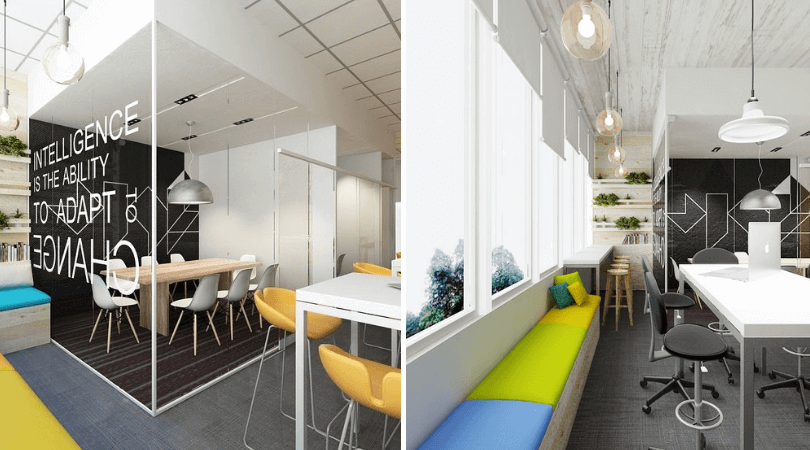
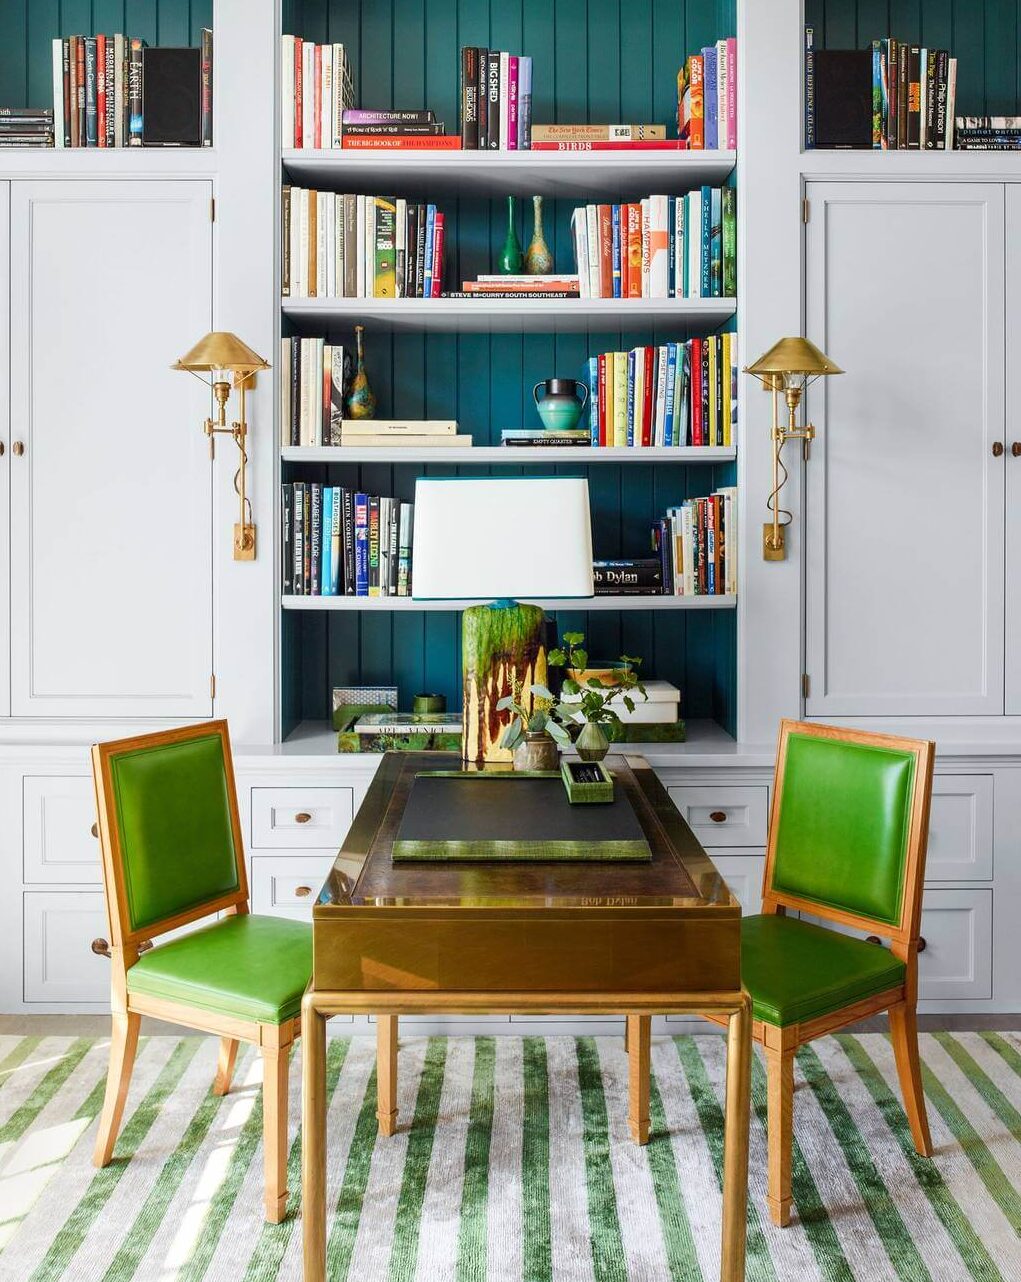
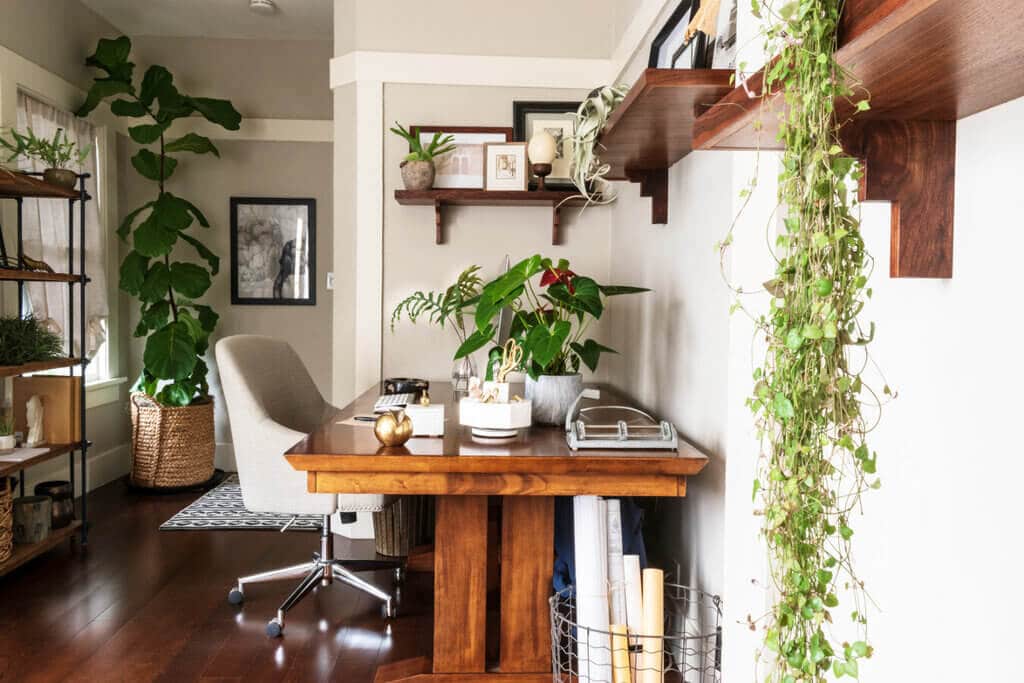
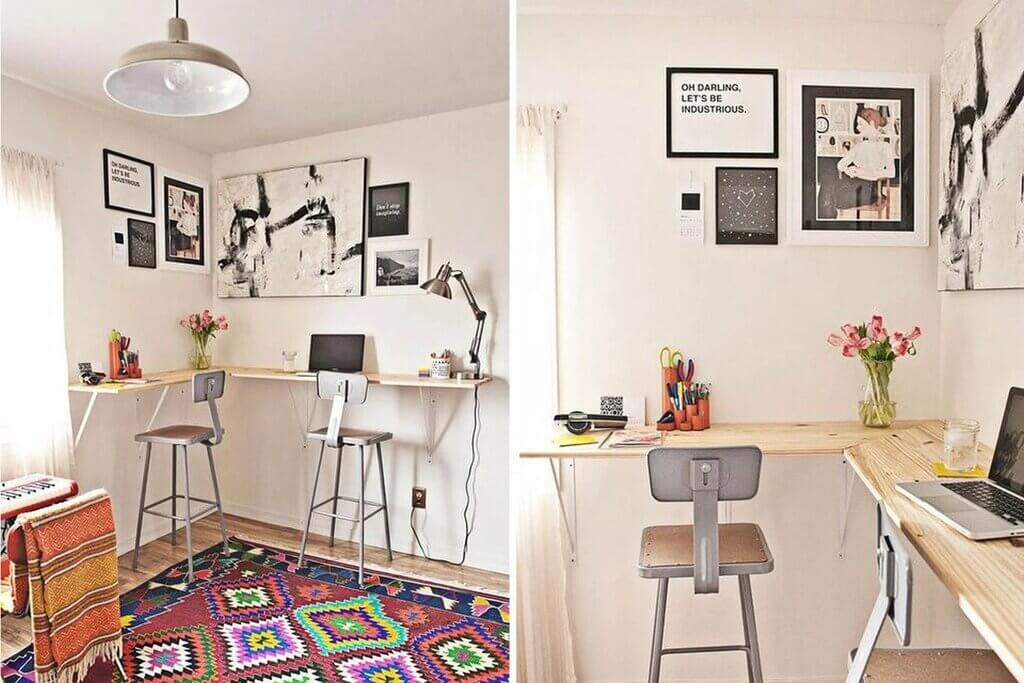
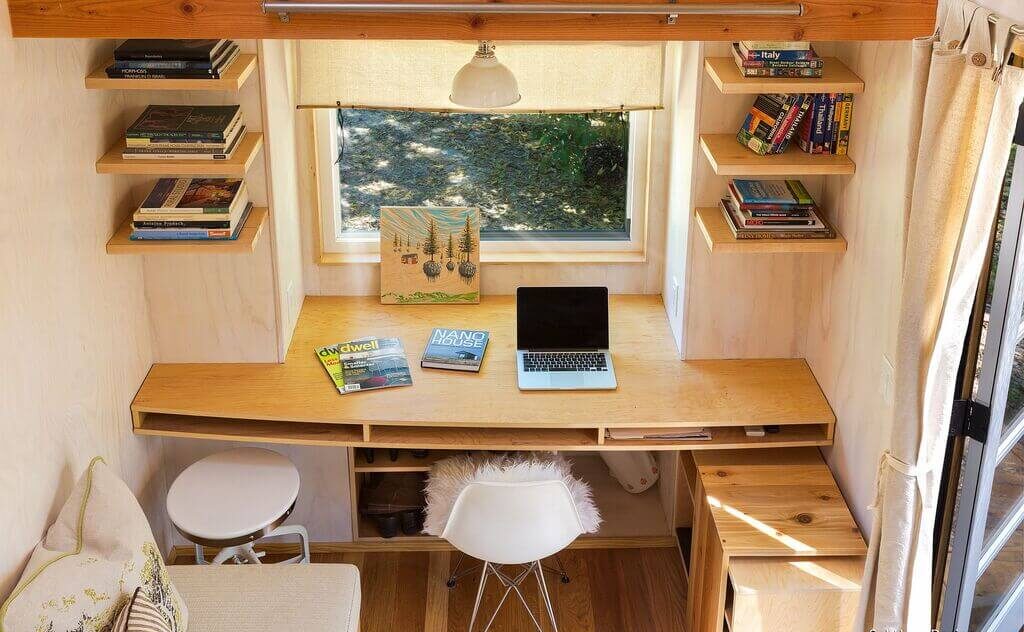
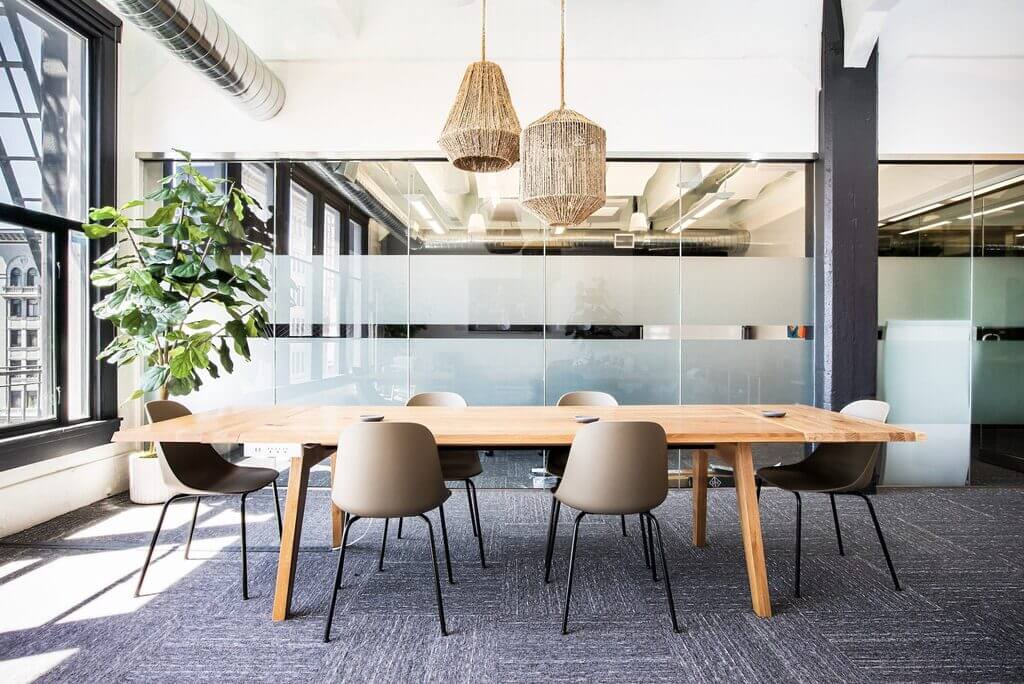
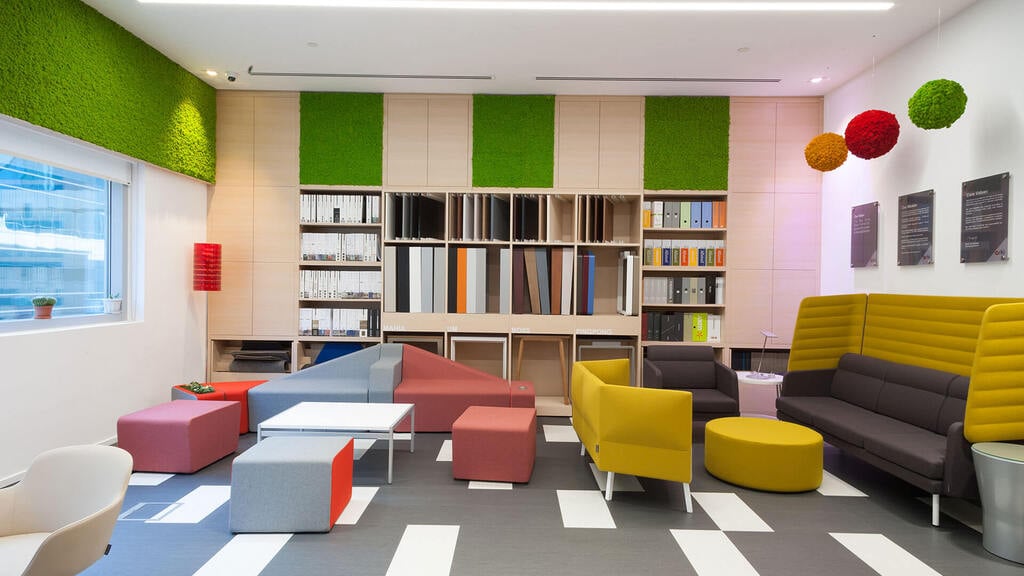
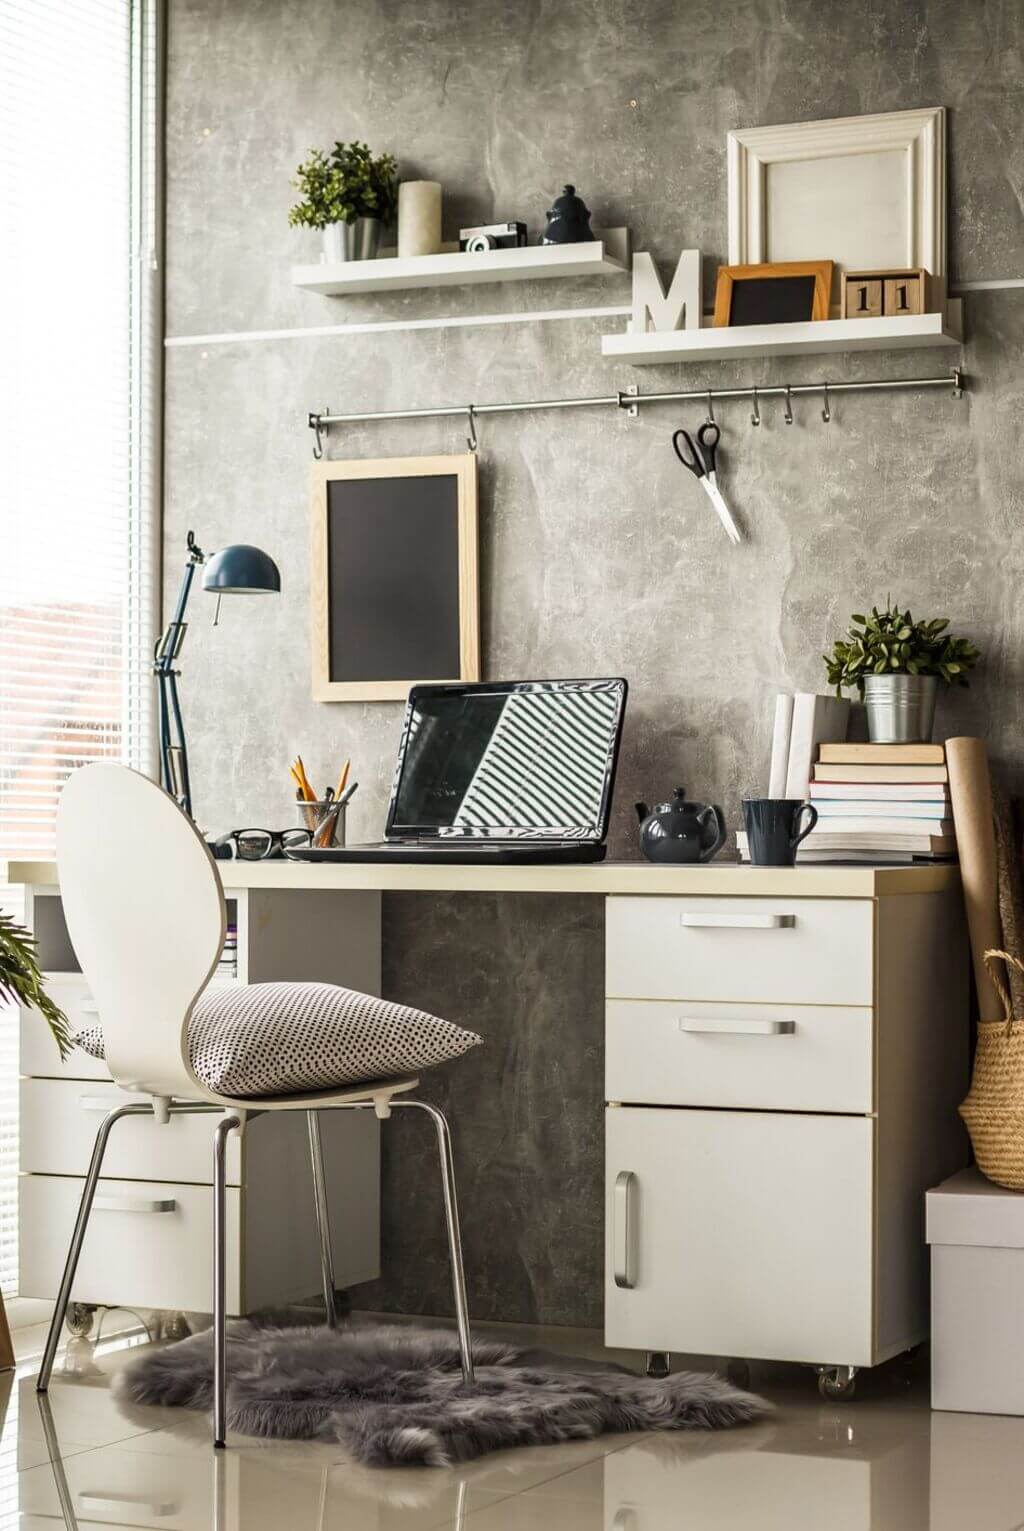
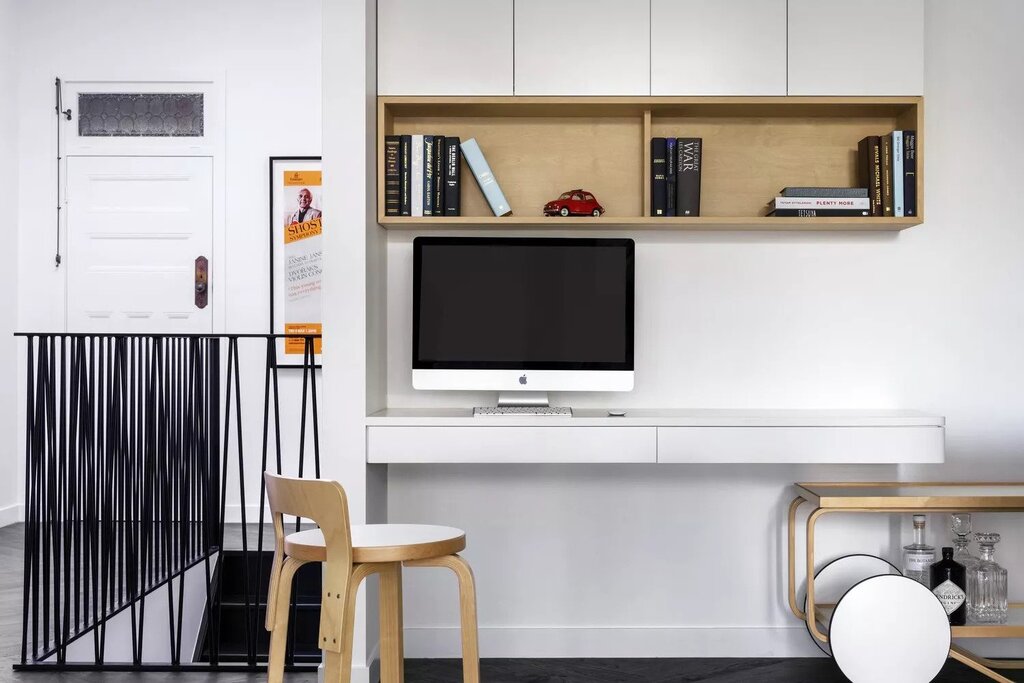
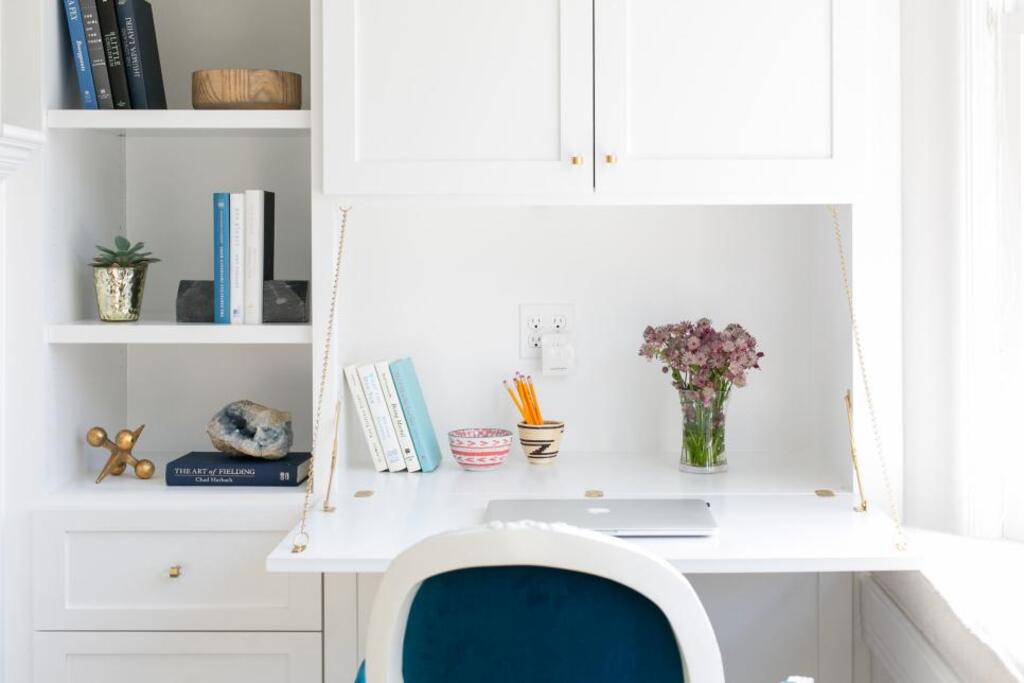
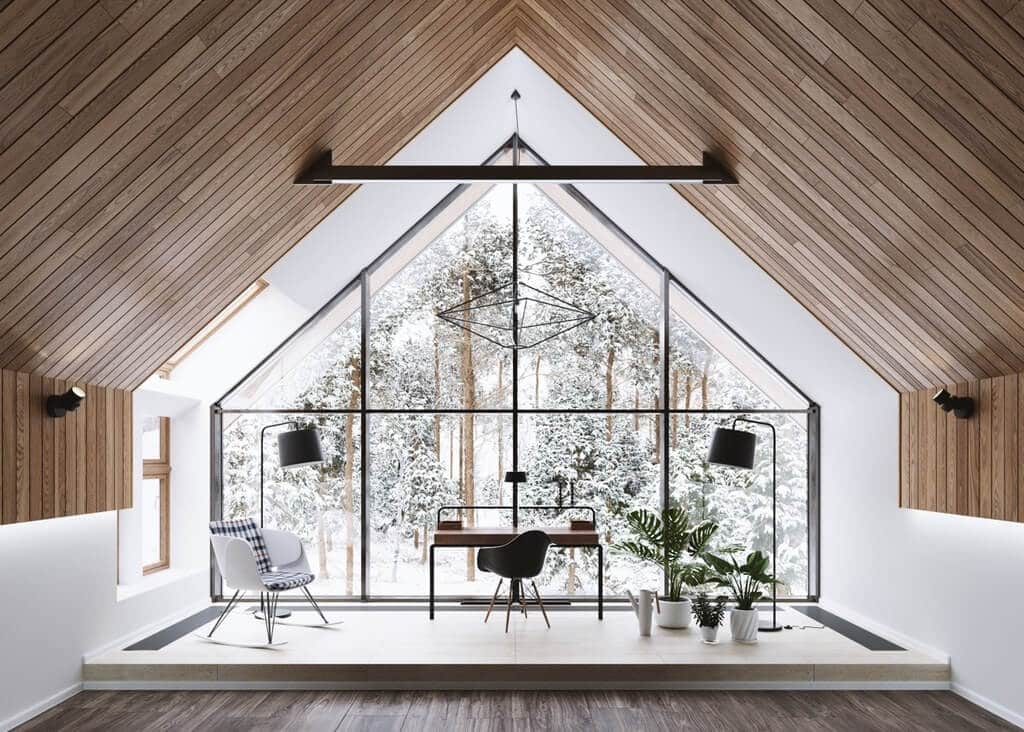
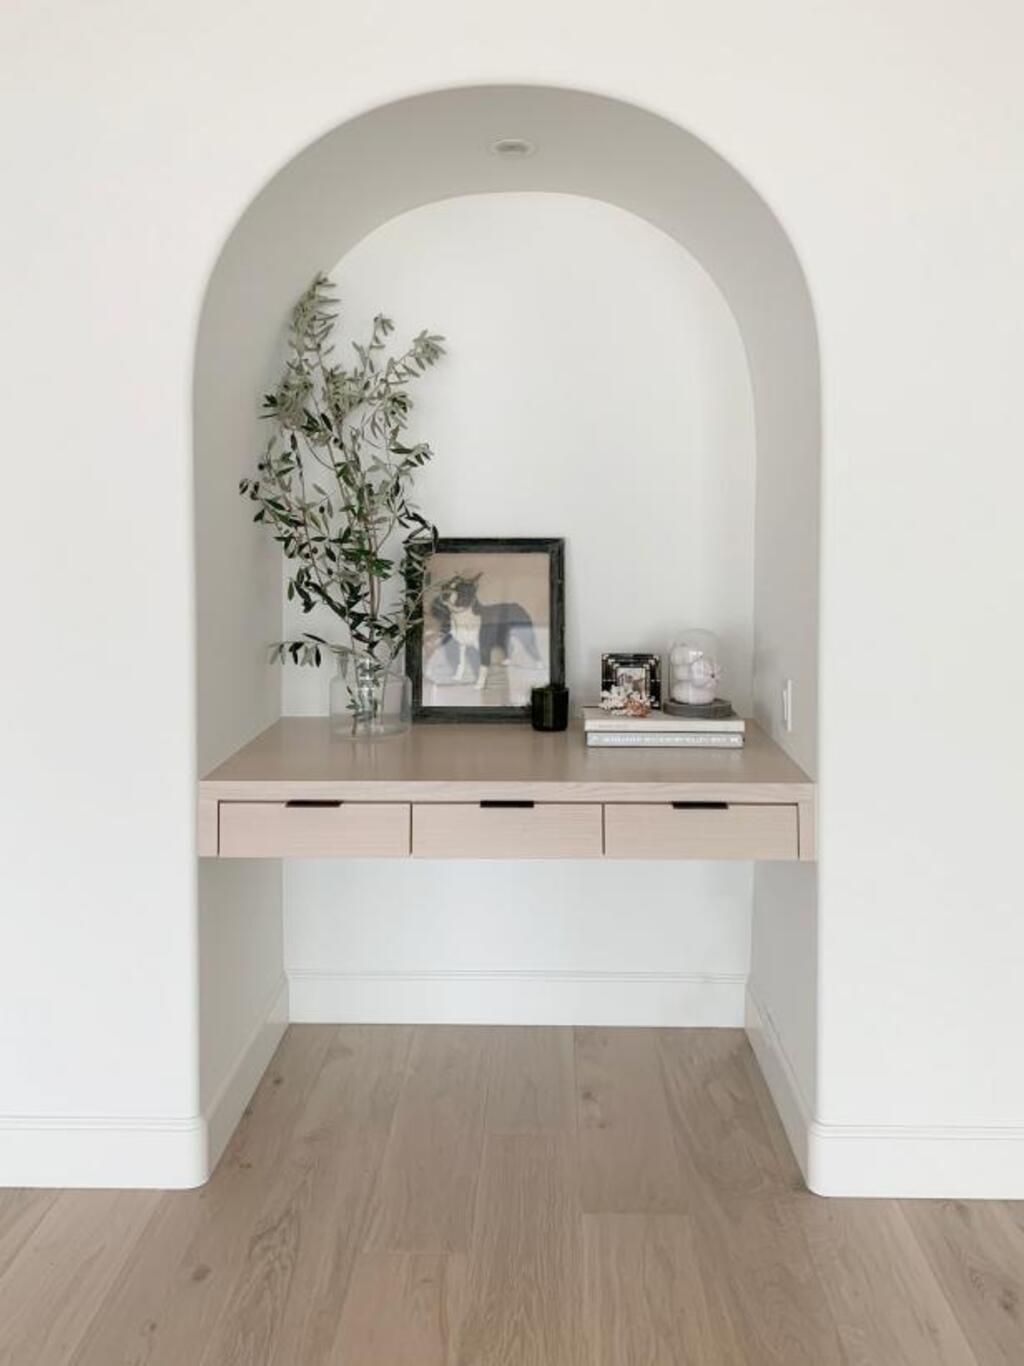
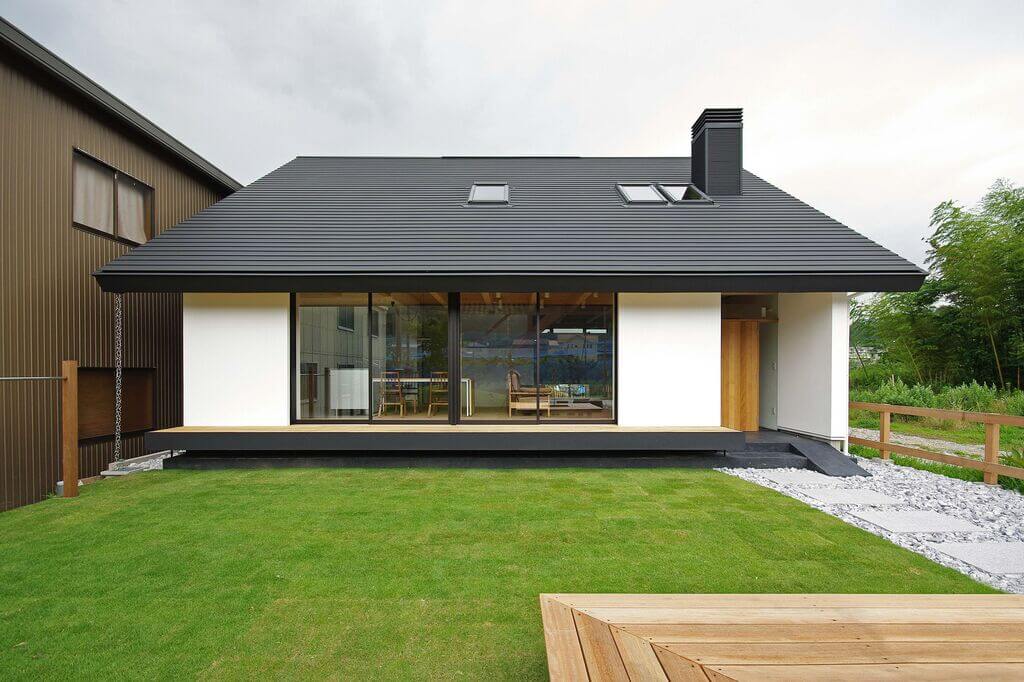
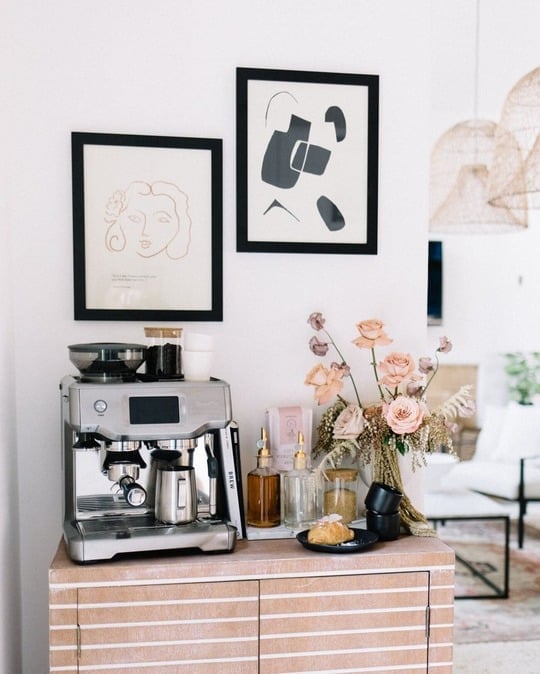
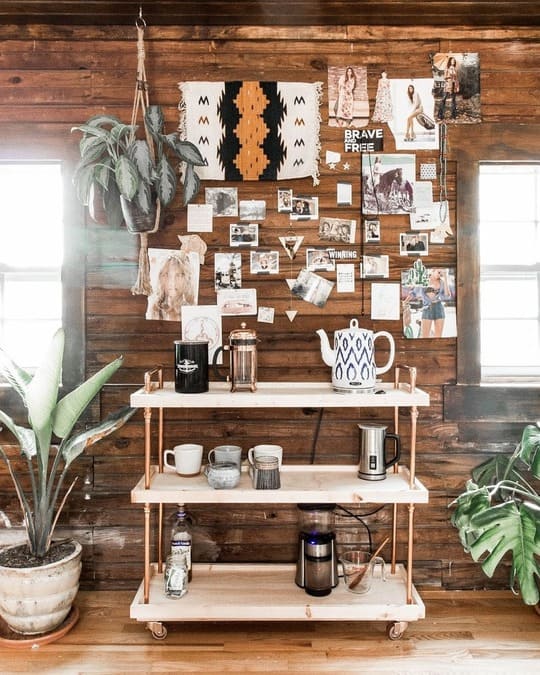
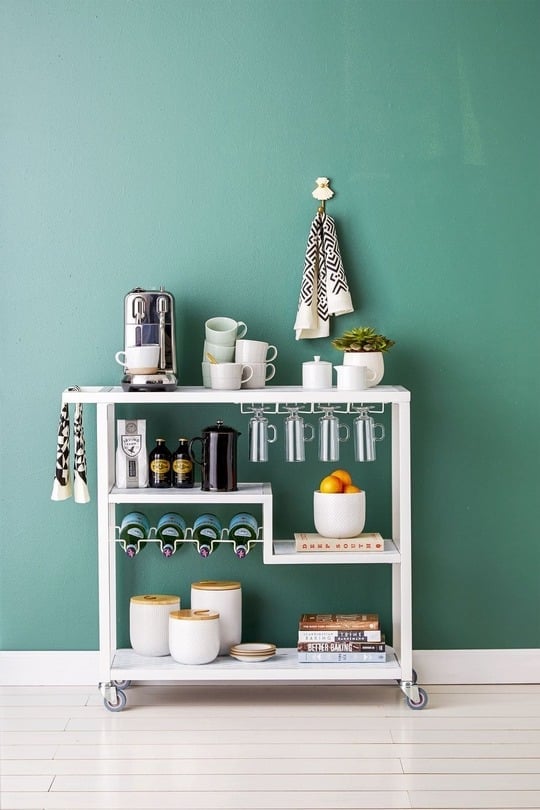
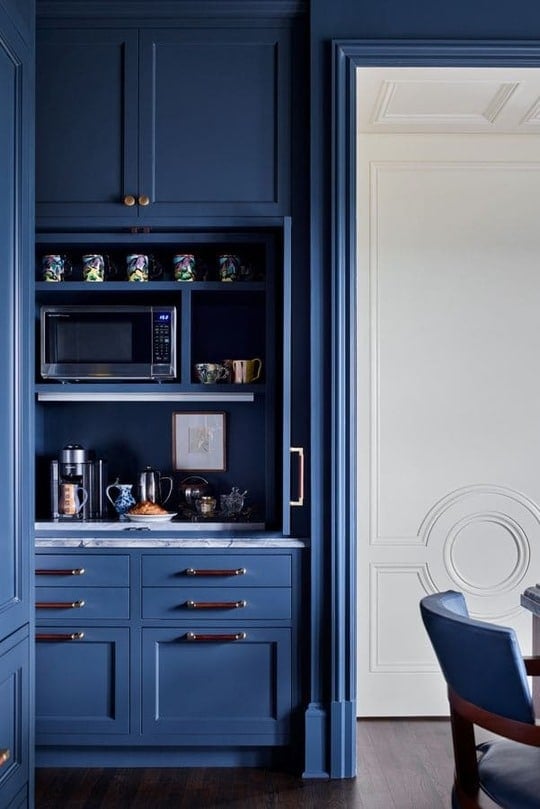
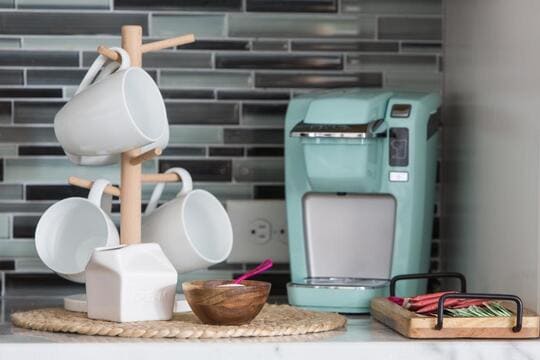
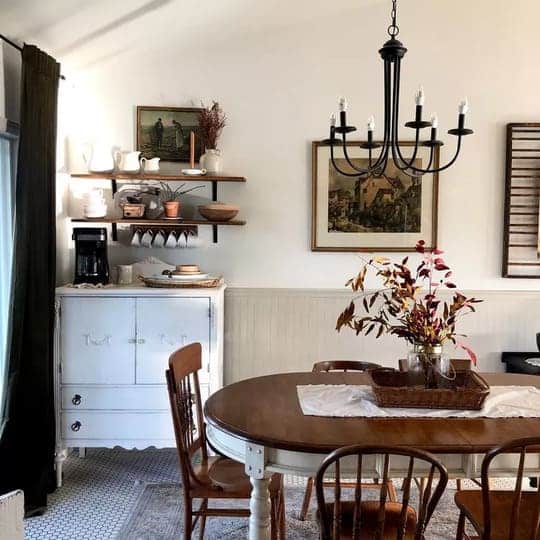
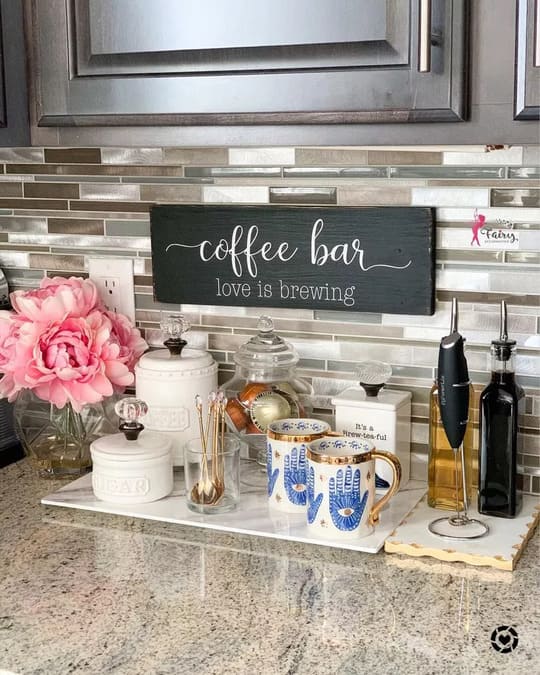
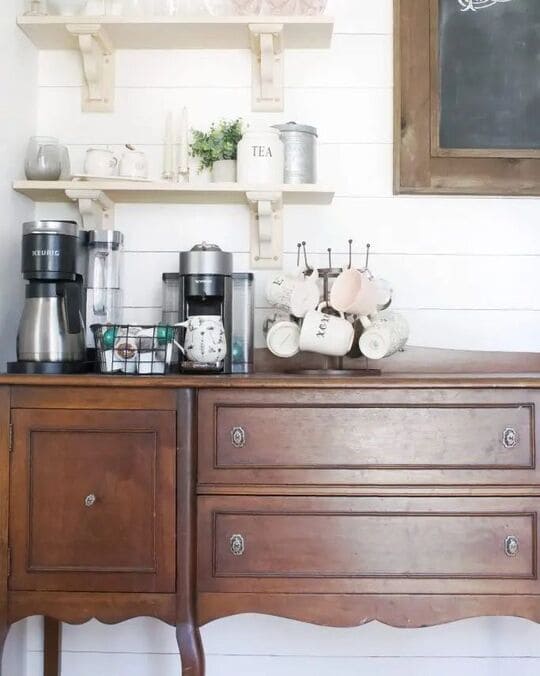
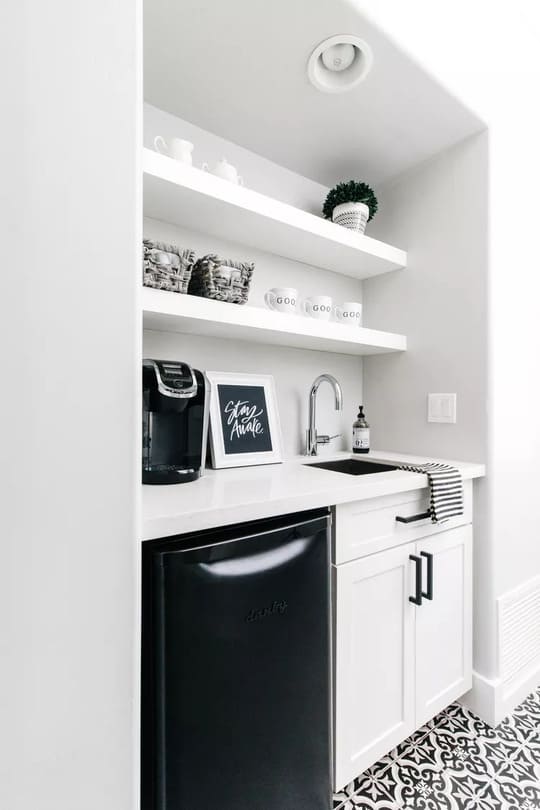
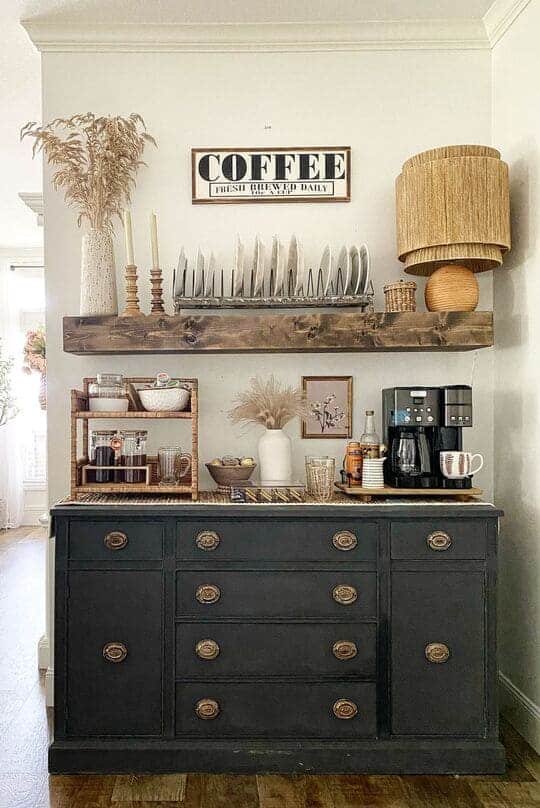
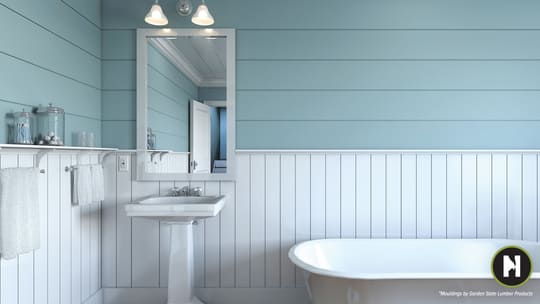
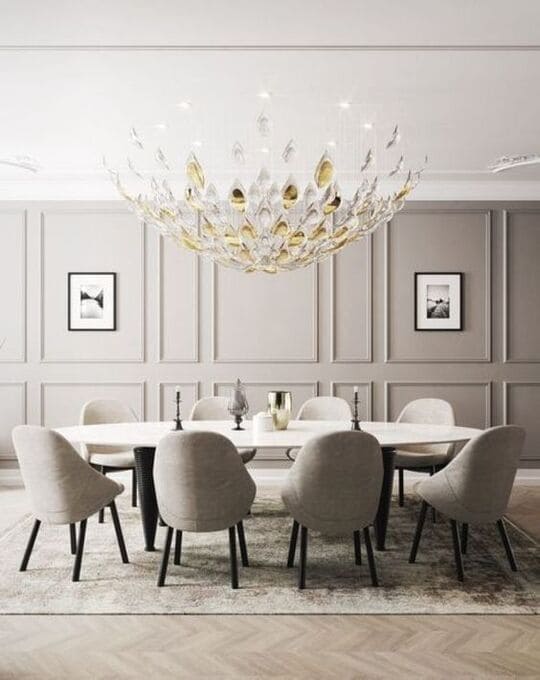
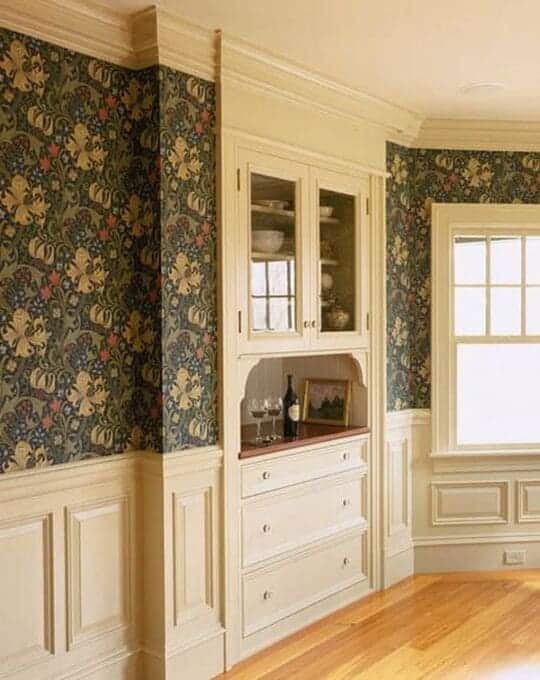
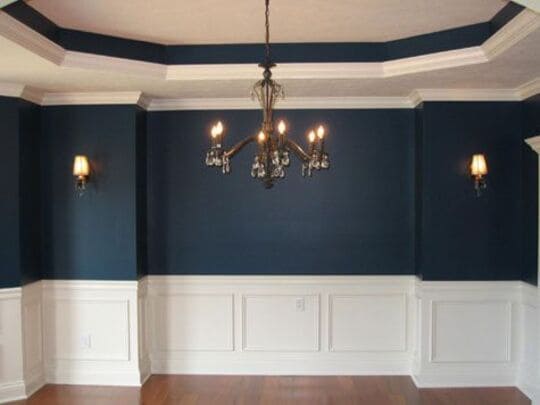
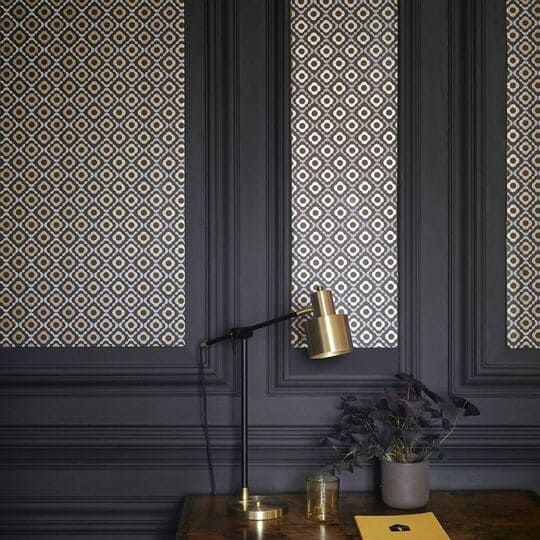
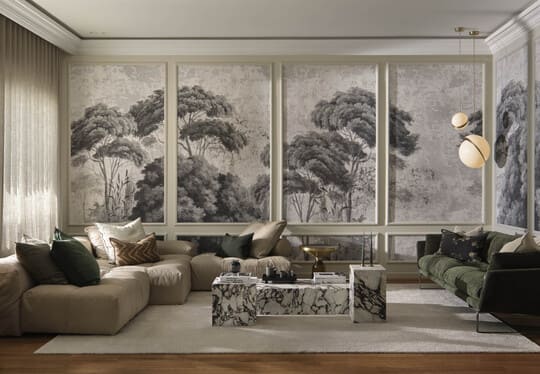
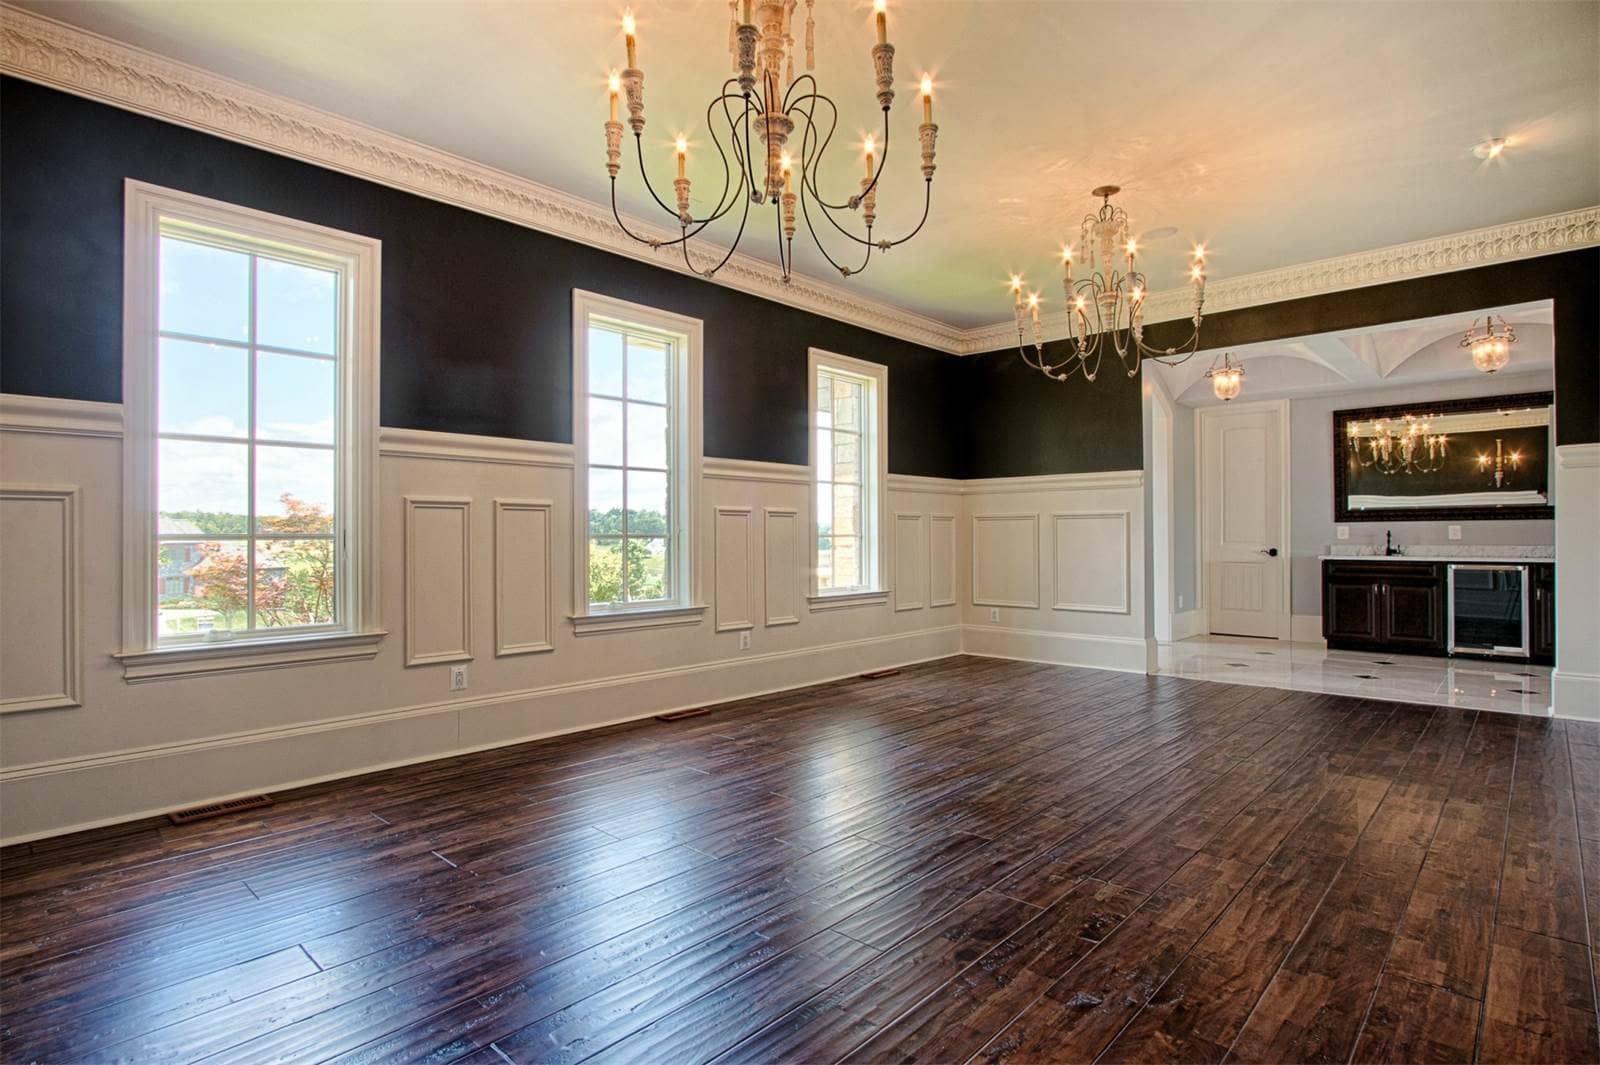
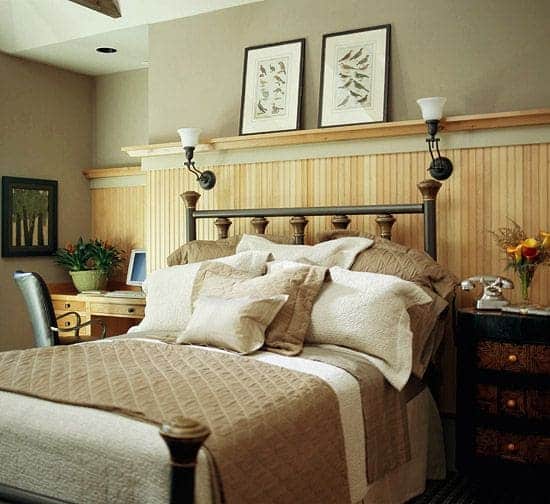
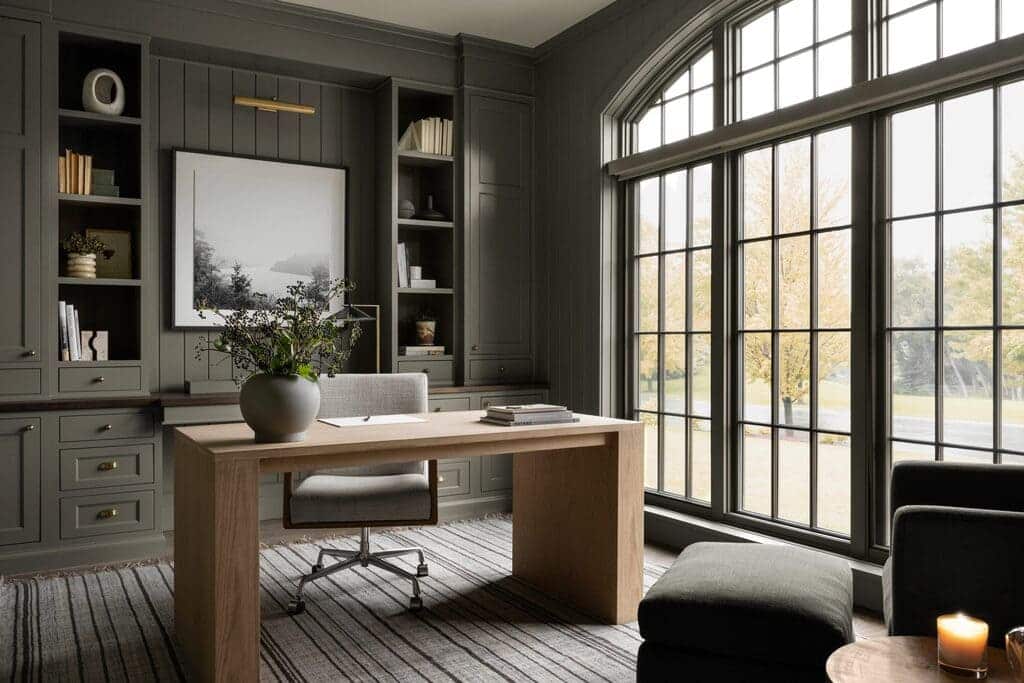
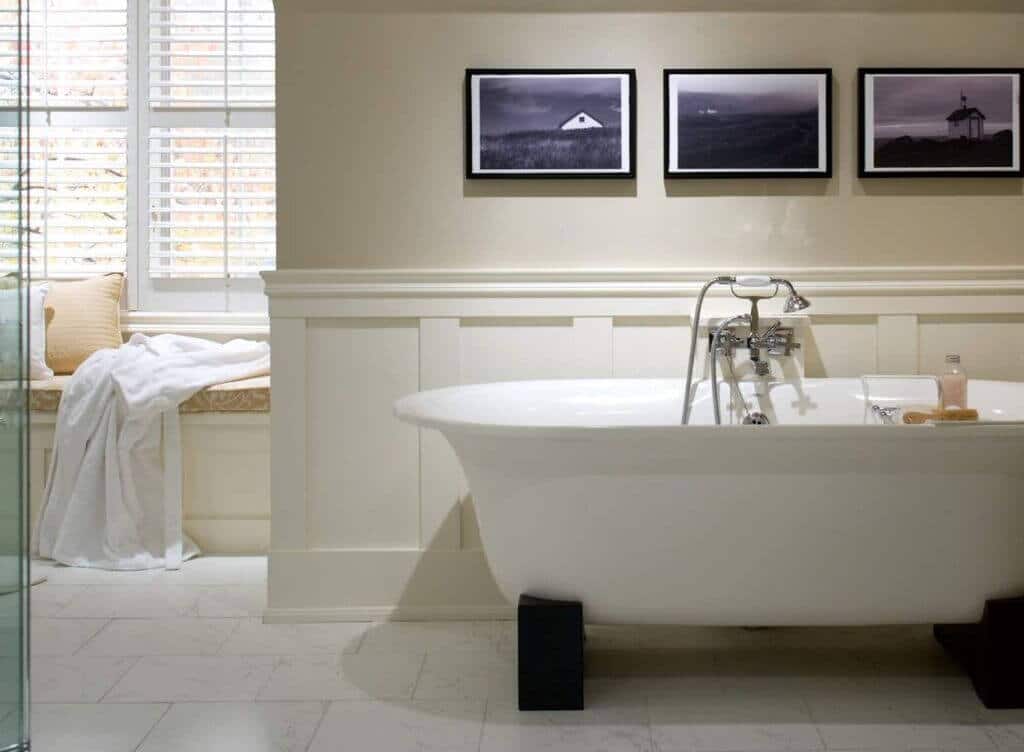
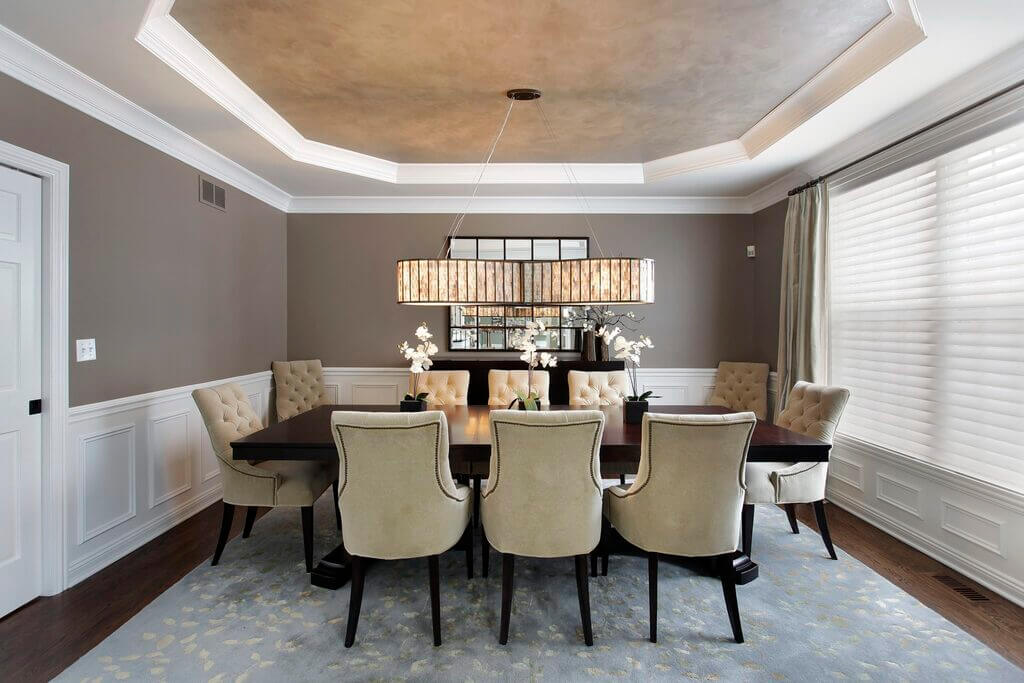
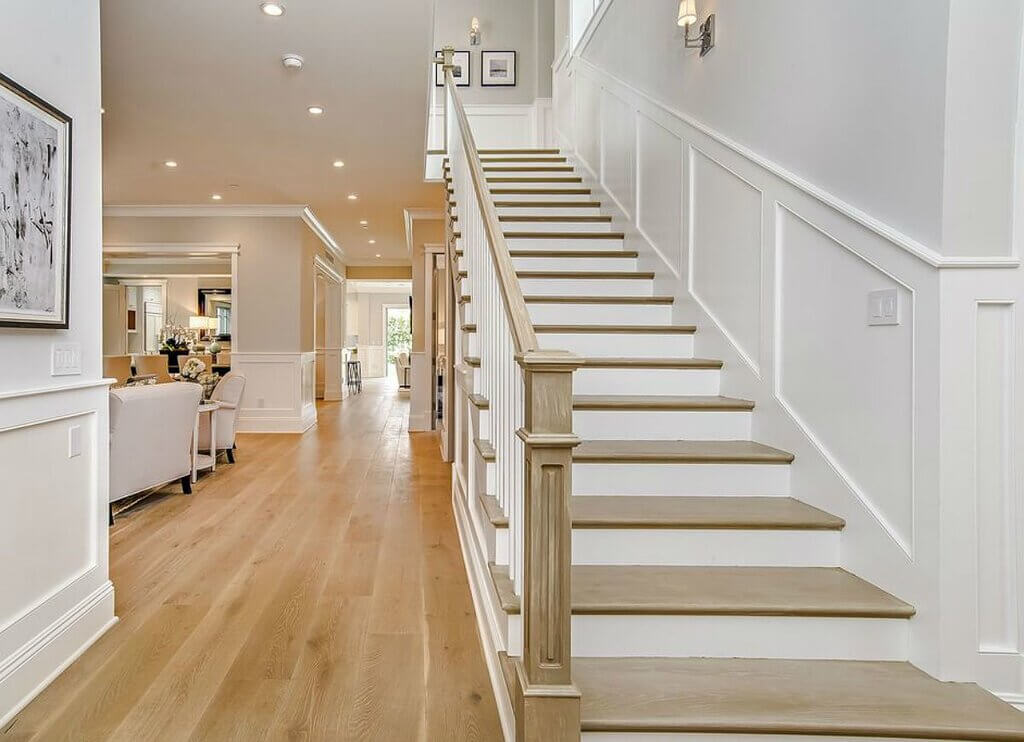
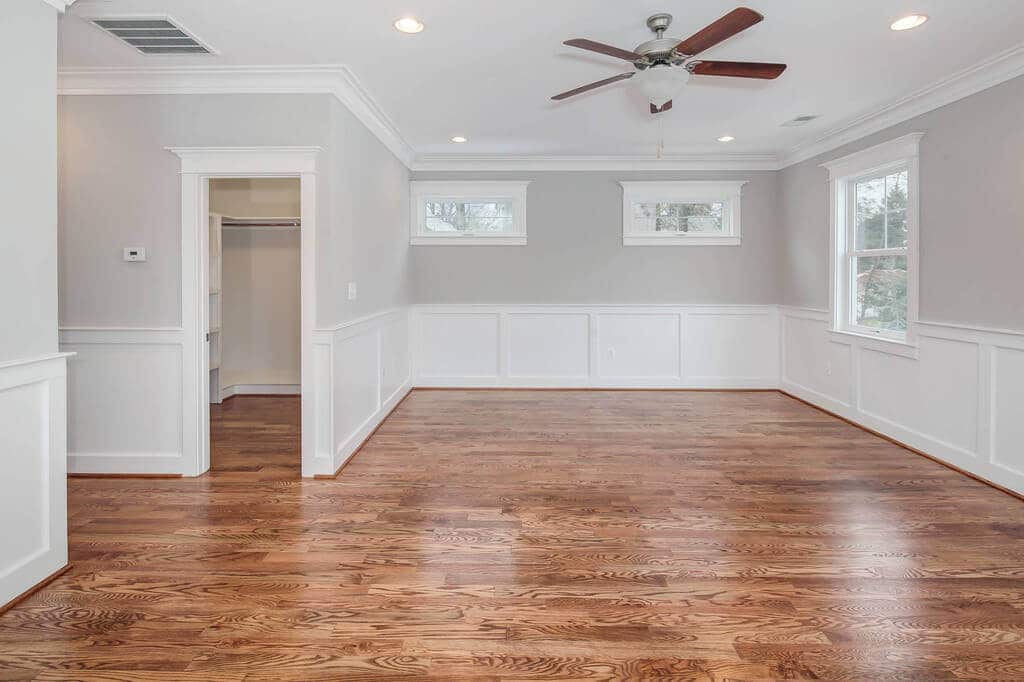
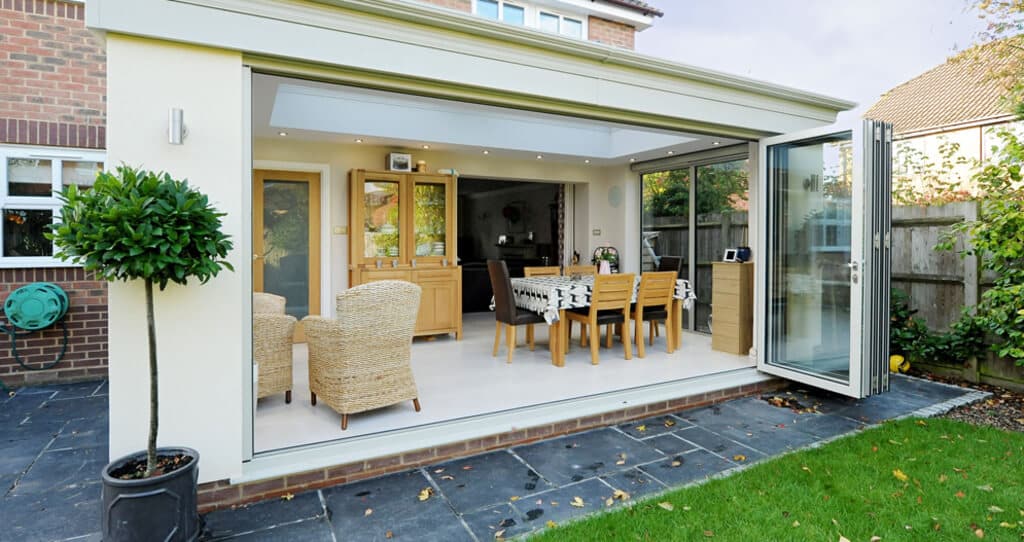
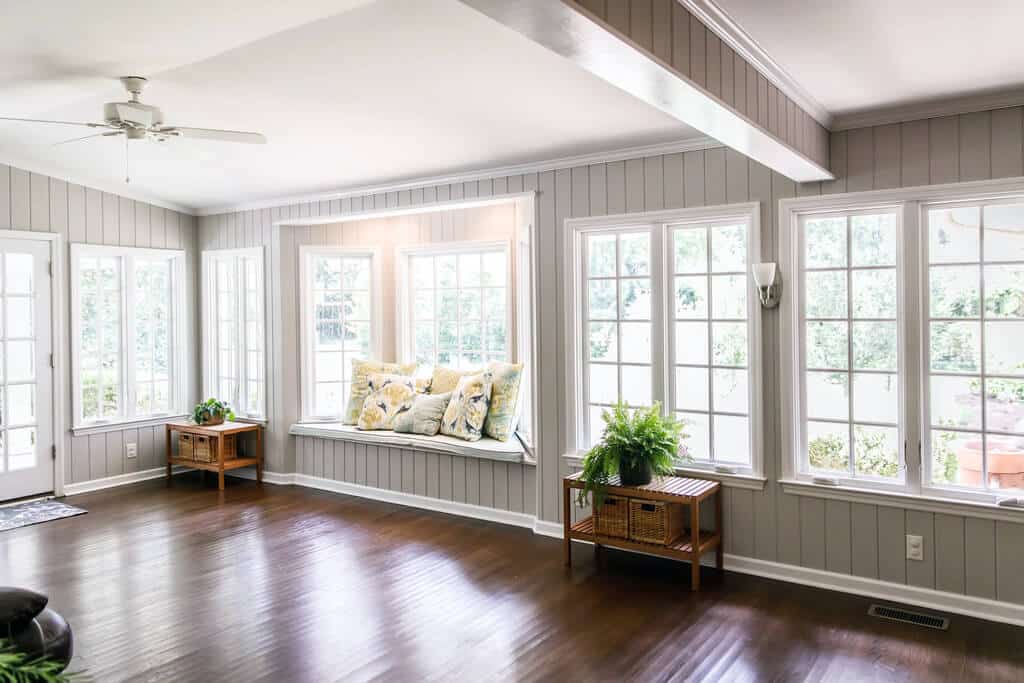
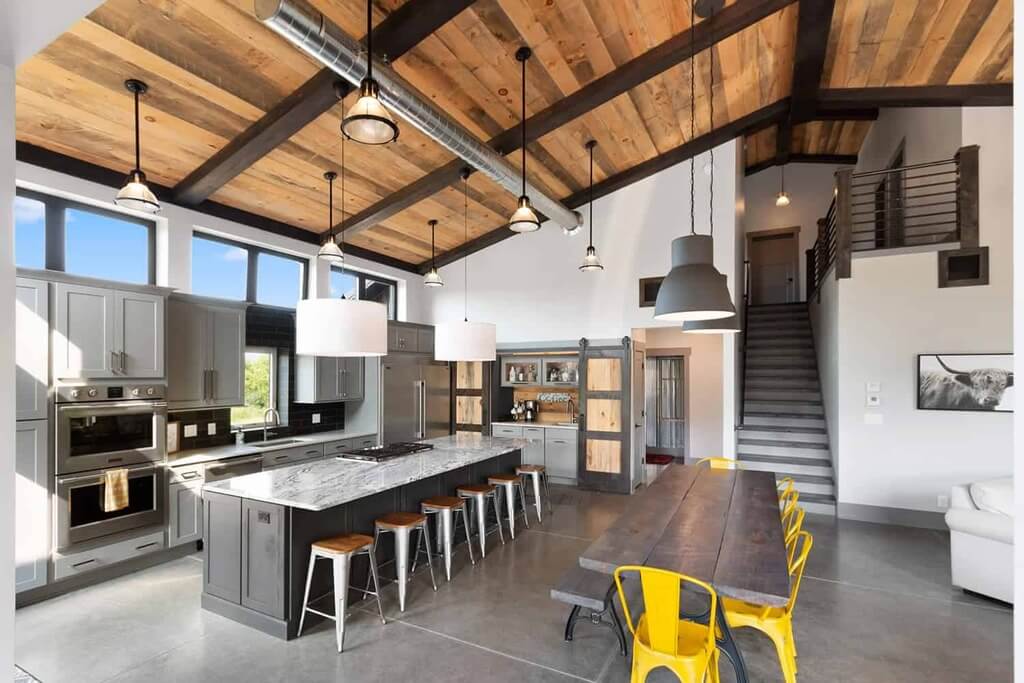
Pole Barn House Interiors
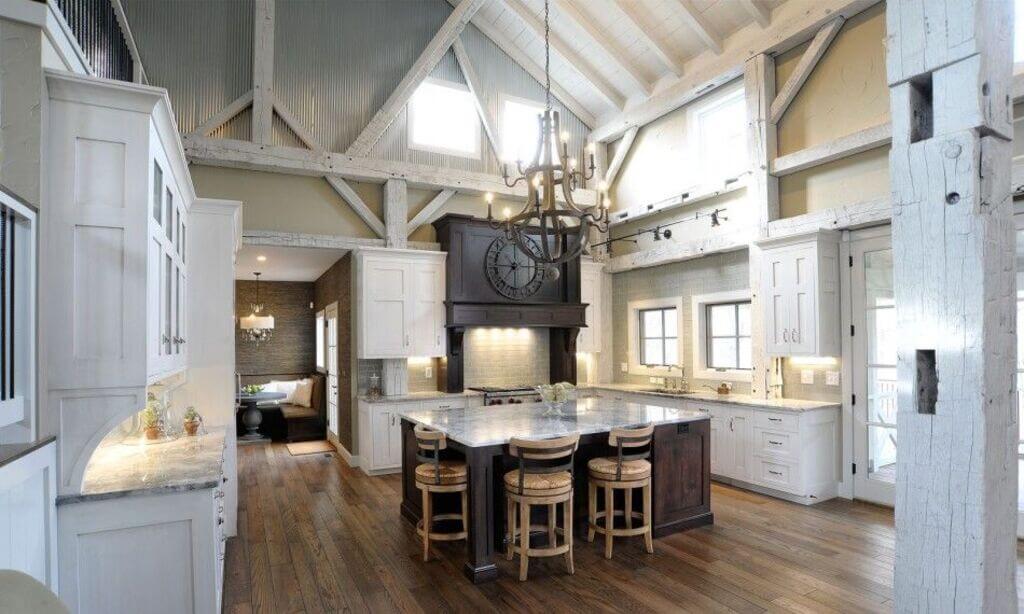
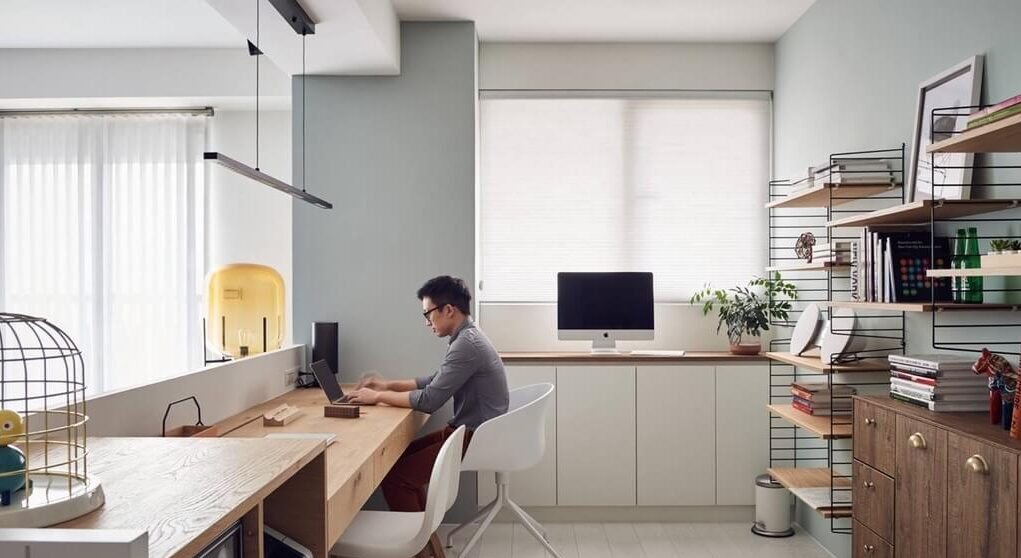
The interior pole barn homes are no less than any other traditional homes. They feature equal amounts of facilities with well-thought plans. Like the kitchen, bedroom, bathroom, guest room, living room, study room, and extra storage through the lofts.
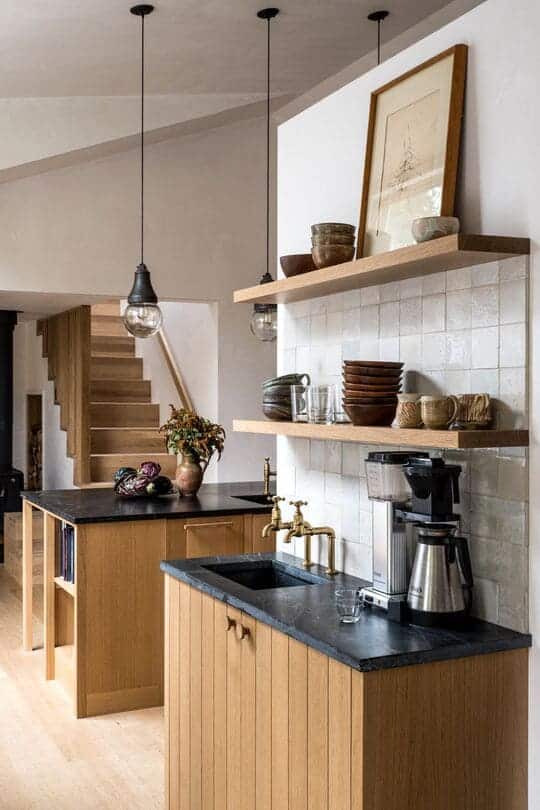
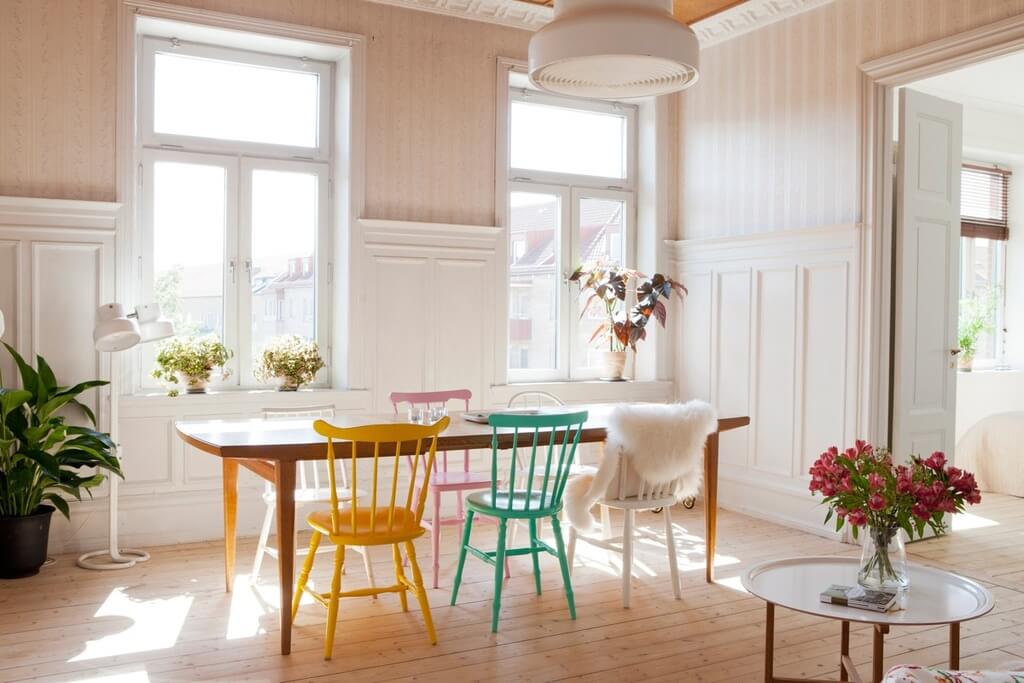
The open plan concept can allow you to get more flexible with the layout. Furthermore, if you desire to have a double story house, you can include a staircase in the layout. The porches of the house usually surround the house layout. The windows allow enough sunlight to brighten the interior of the barn homes.
How Long Will a Pole Barn House Last?
The average lifespan of a pole barn house is 40-60 years. When it comes to determining how long a pole barn will last, experts throw around a few different estimates.
However, this does not guarantee that your pole barn will no longer work or be standing in 40-60 years. Pole barn houses can even survive up to 100 years if properly cared for. If a pole barn owner maintains all of the necessary structural upkeep, the building will certainly outlast the 40-60 year mark.
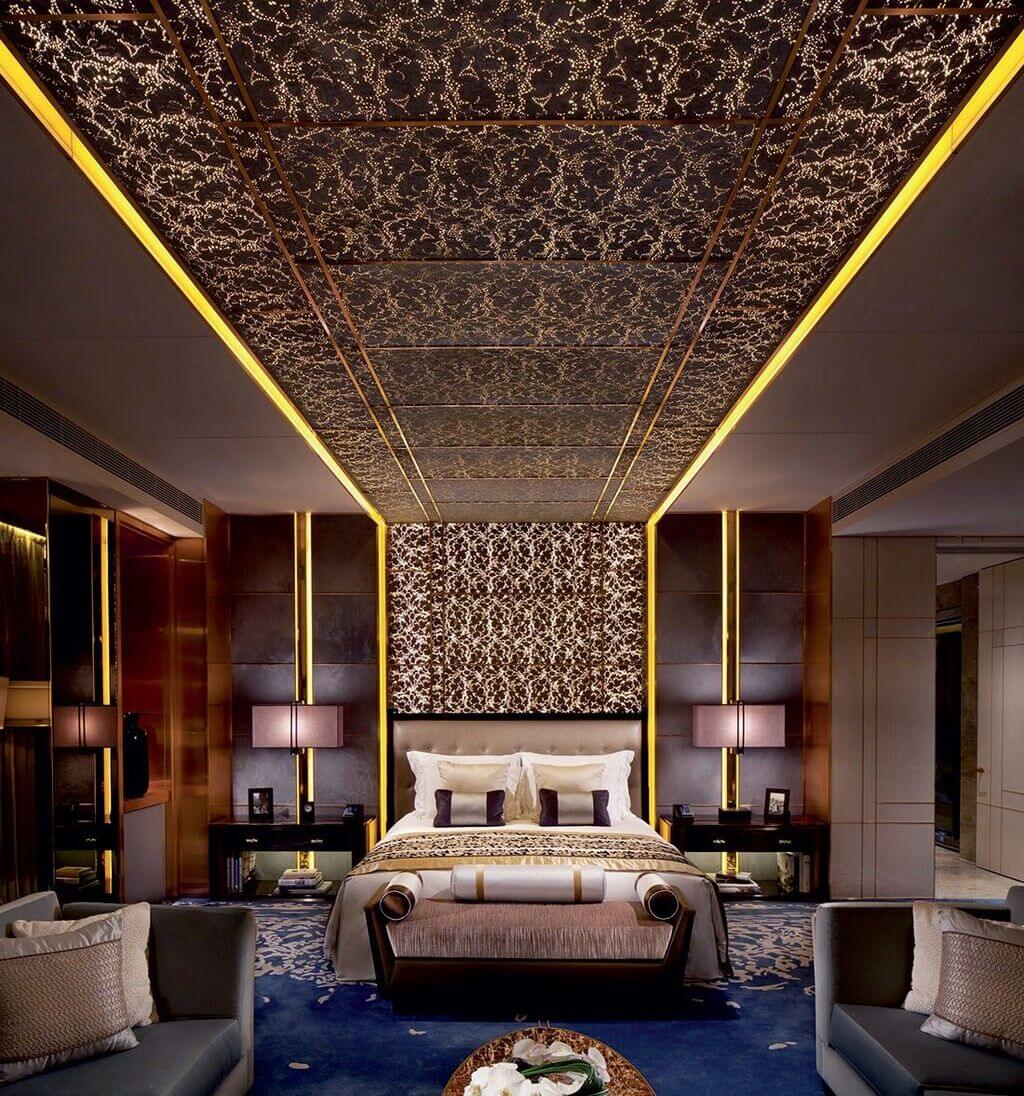
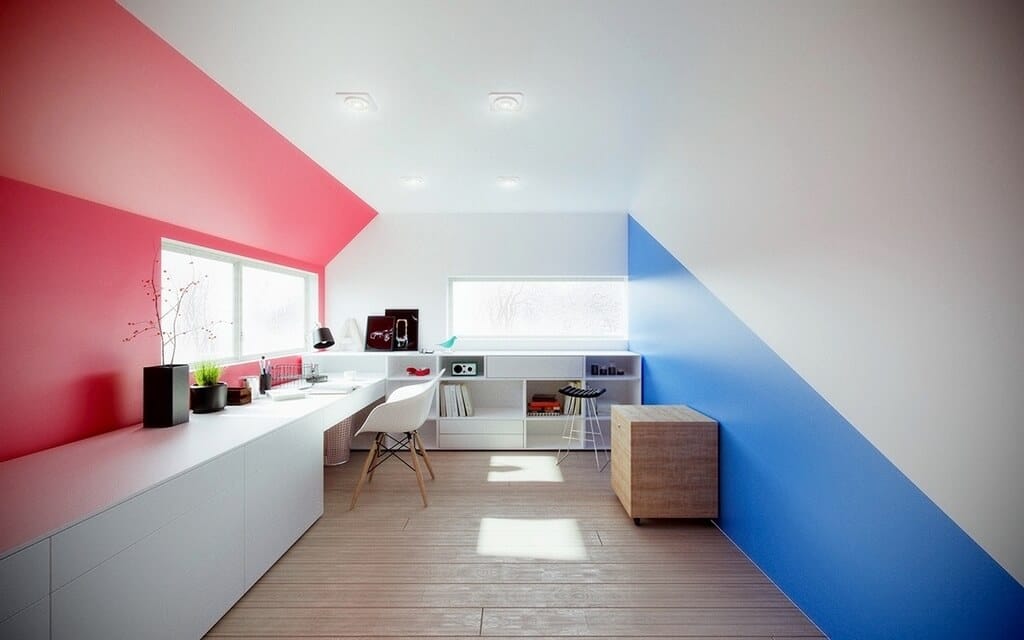
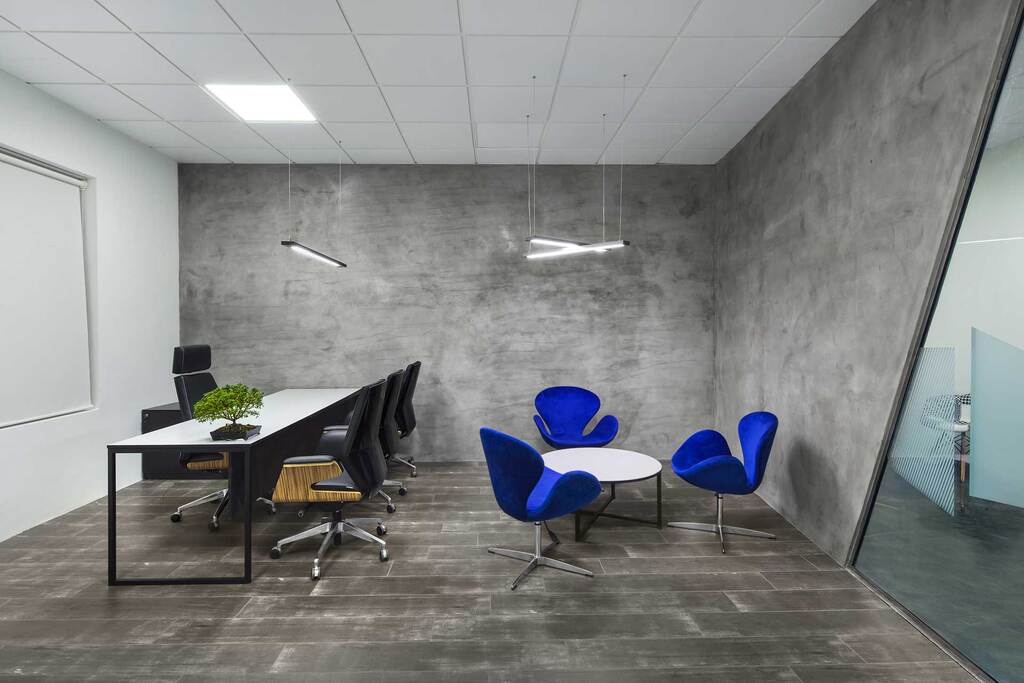
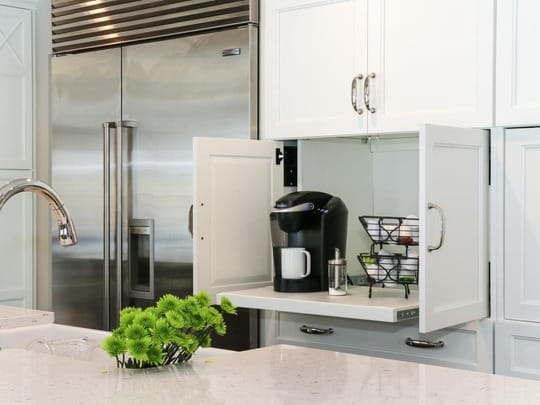
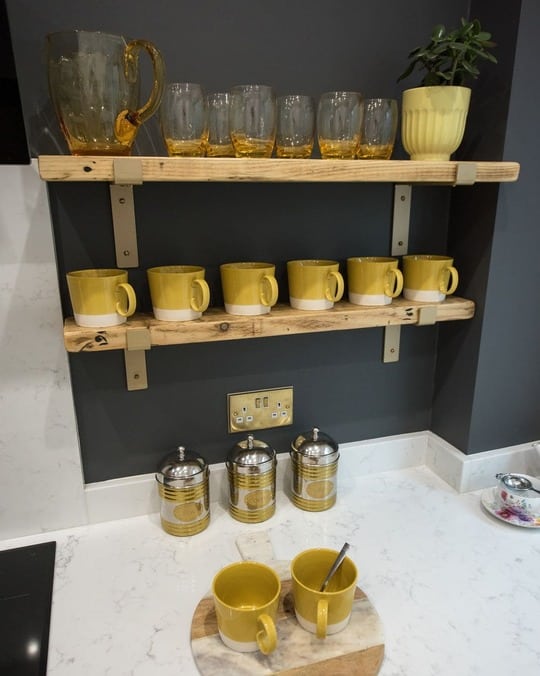
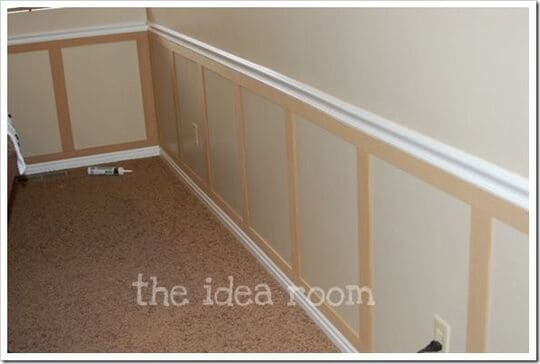
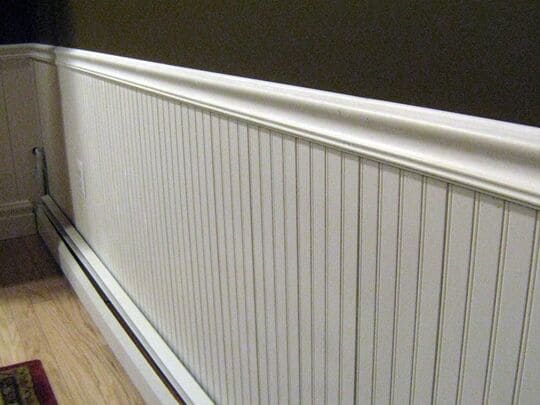
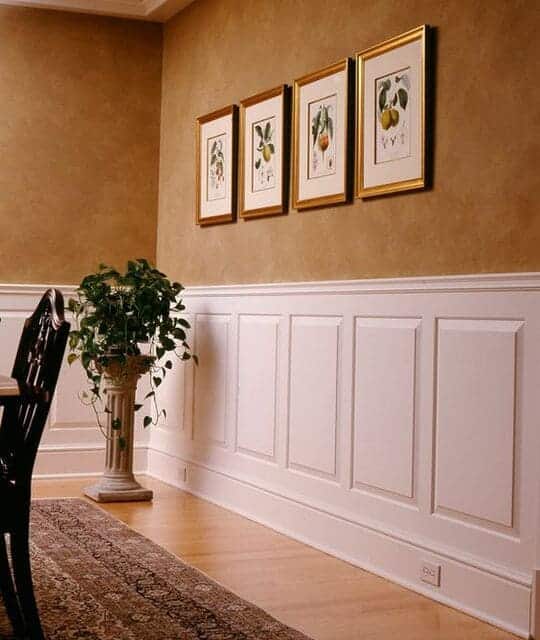
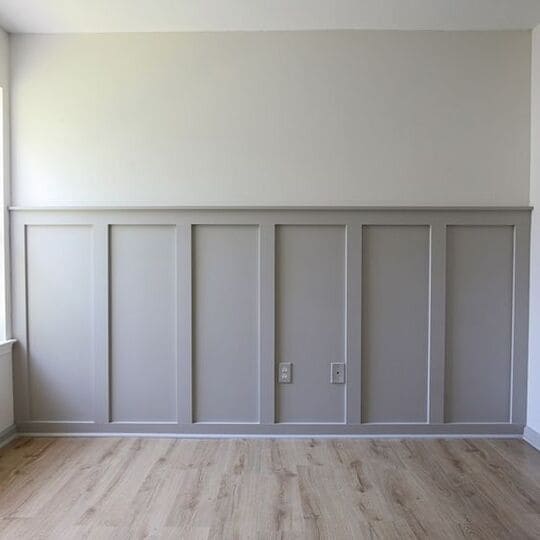
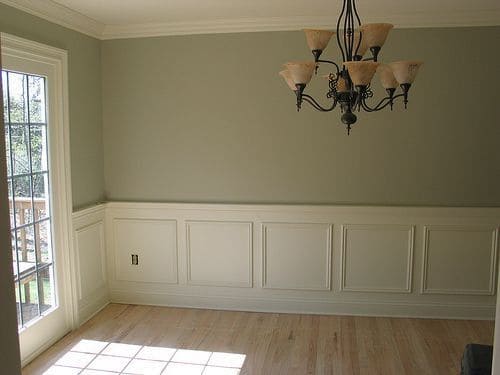
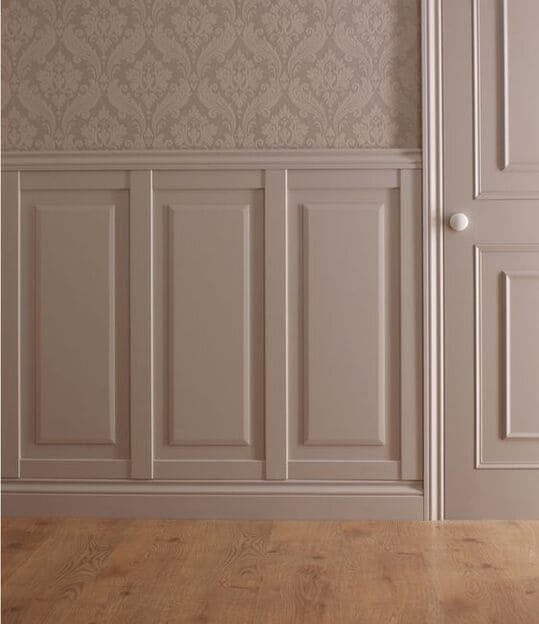
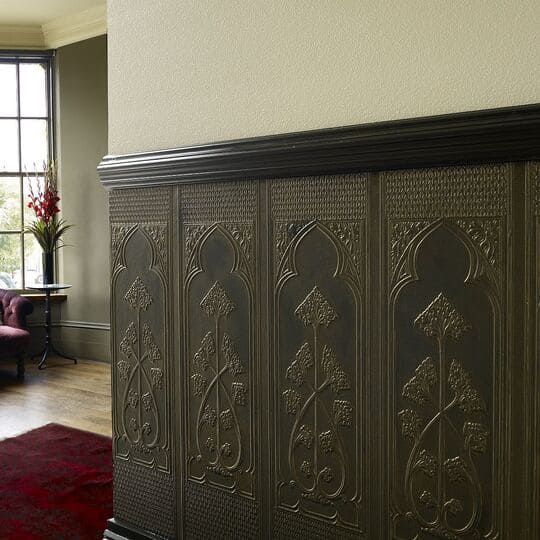
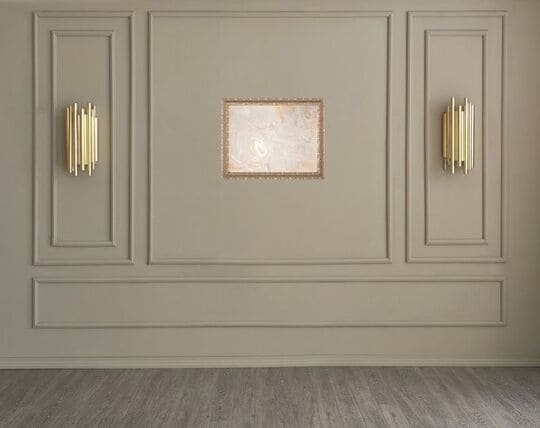
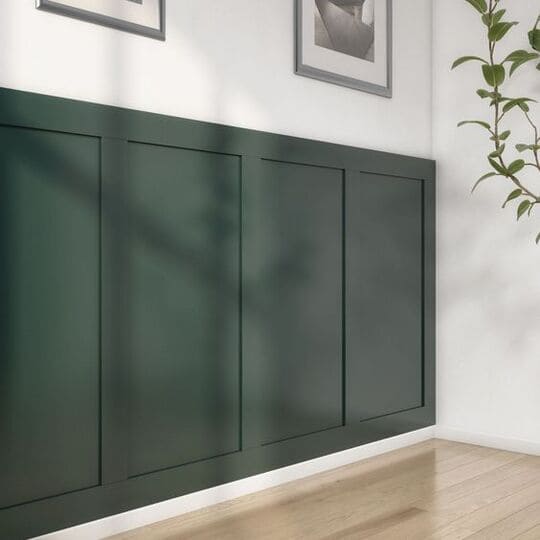
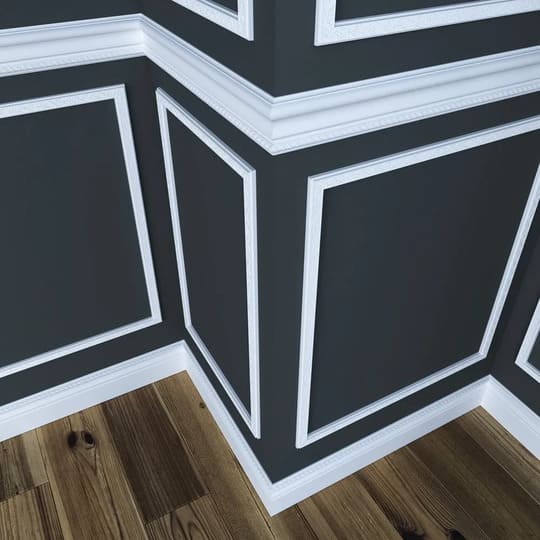
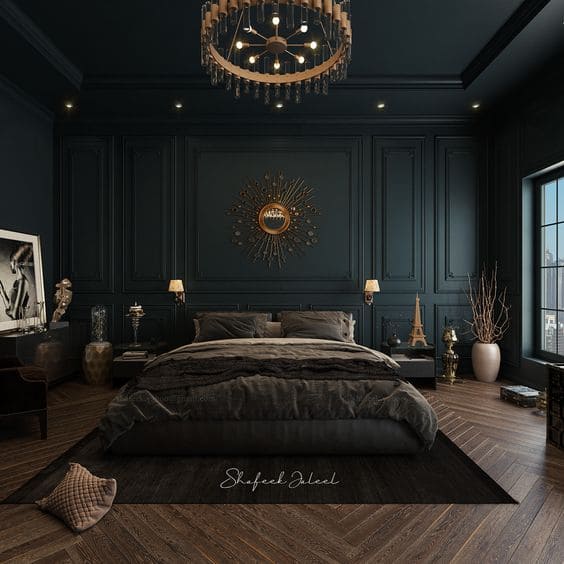
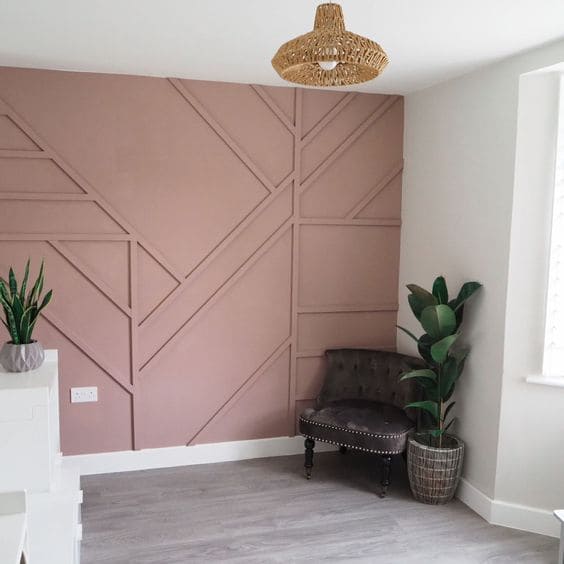
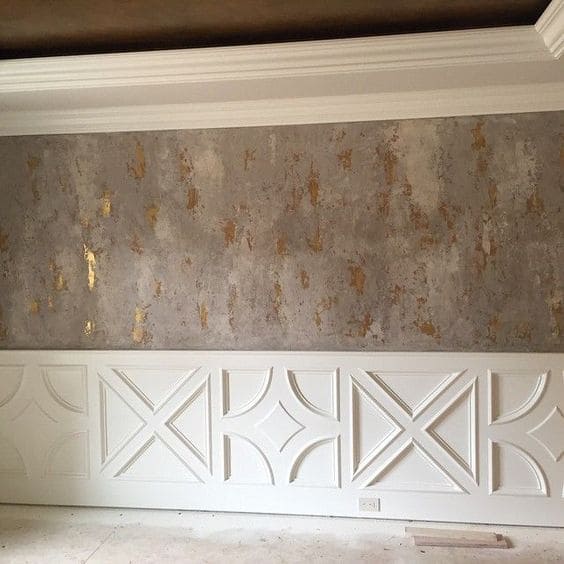
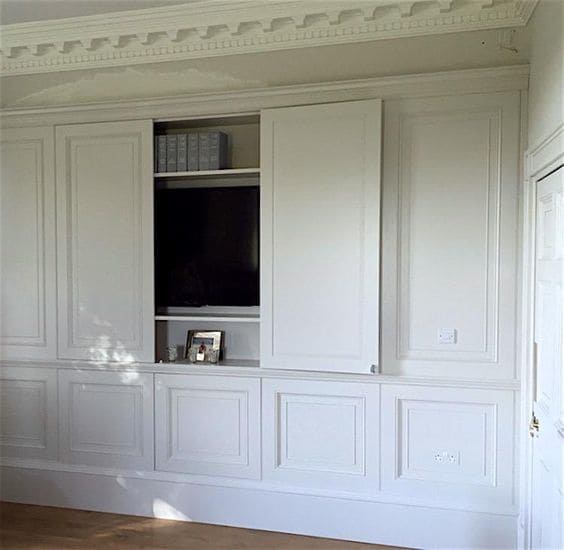
6 Ways to Finish Your Pole Barn Interior
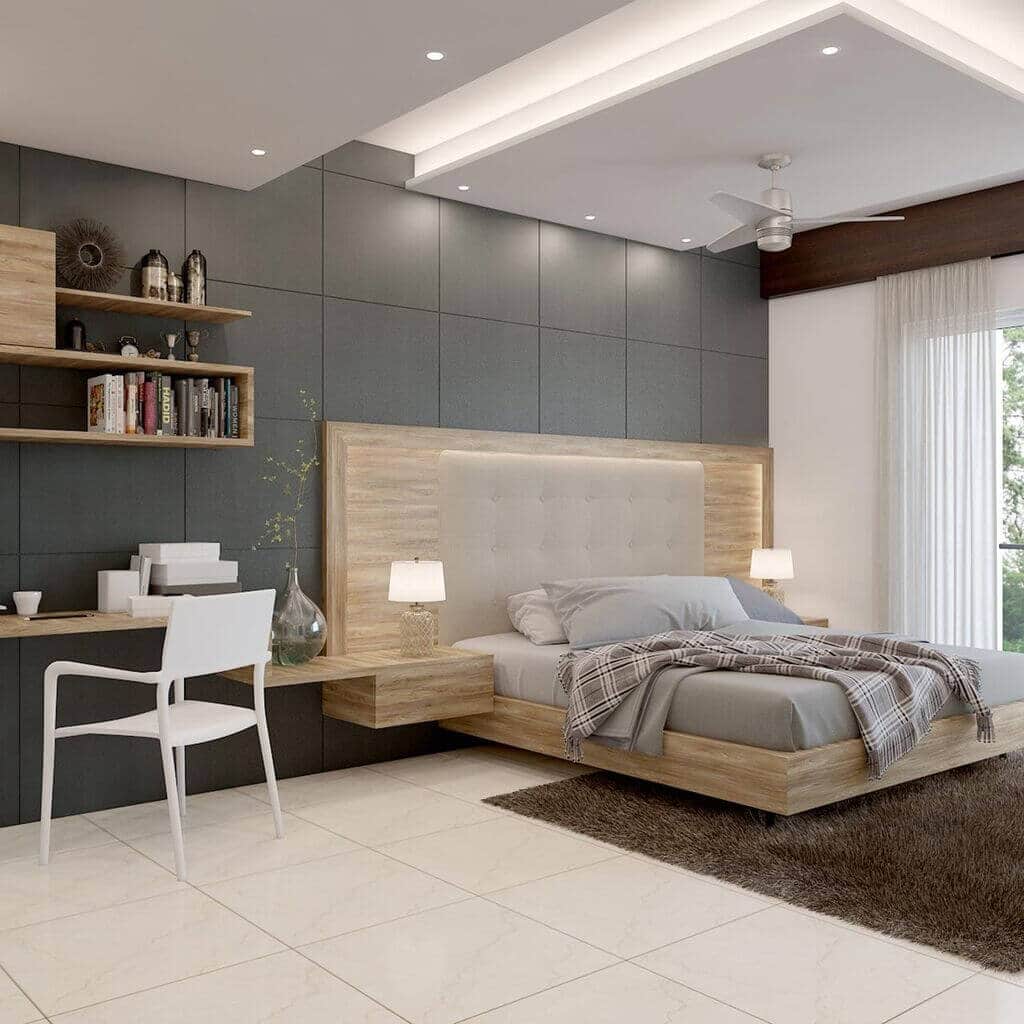
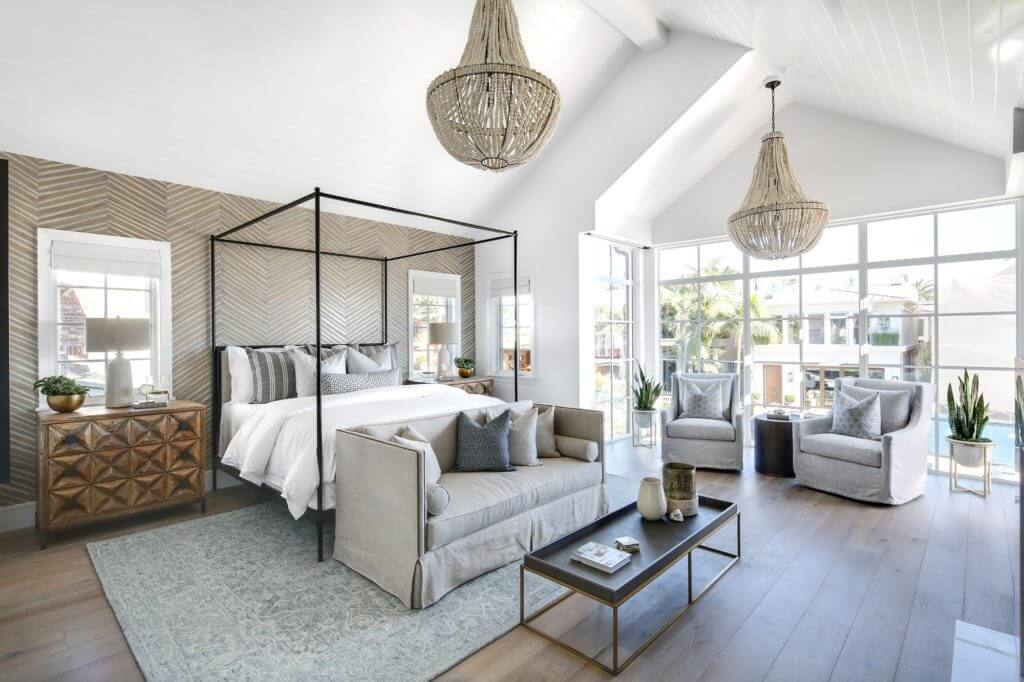
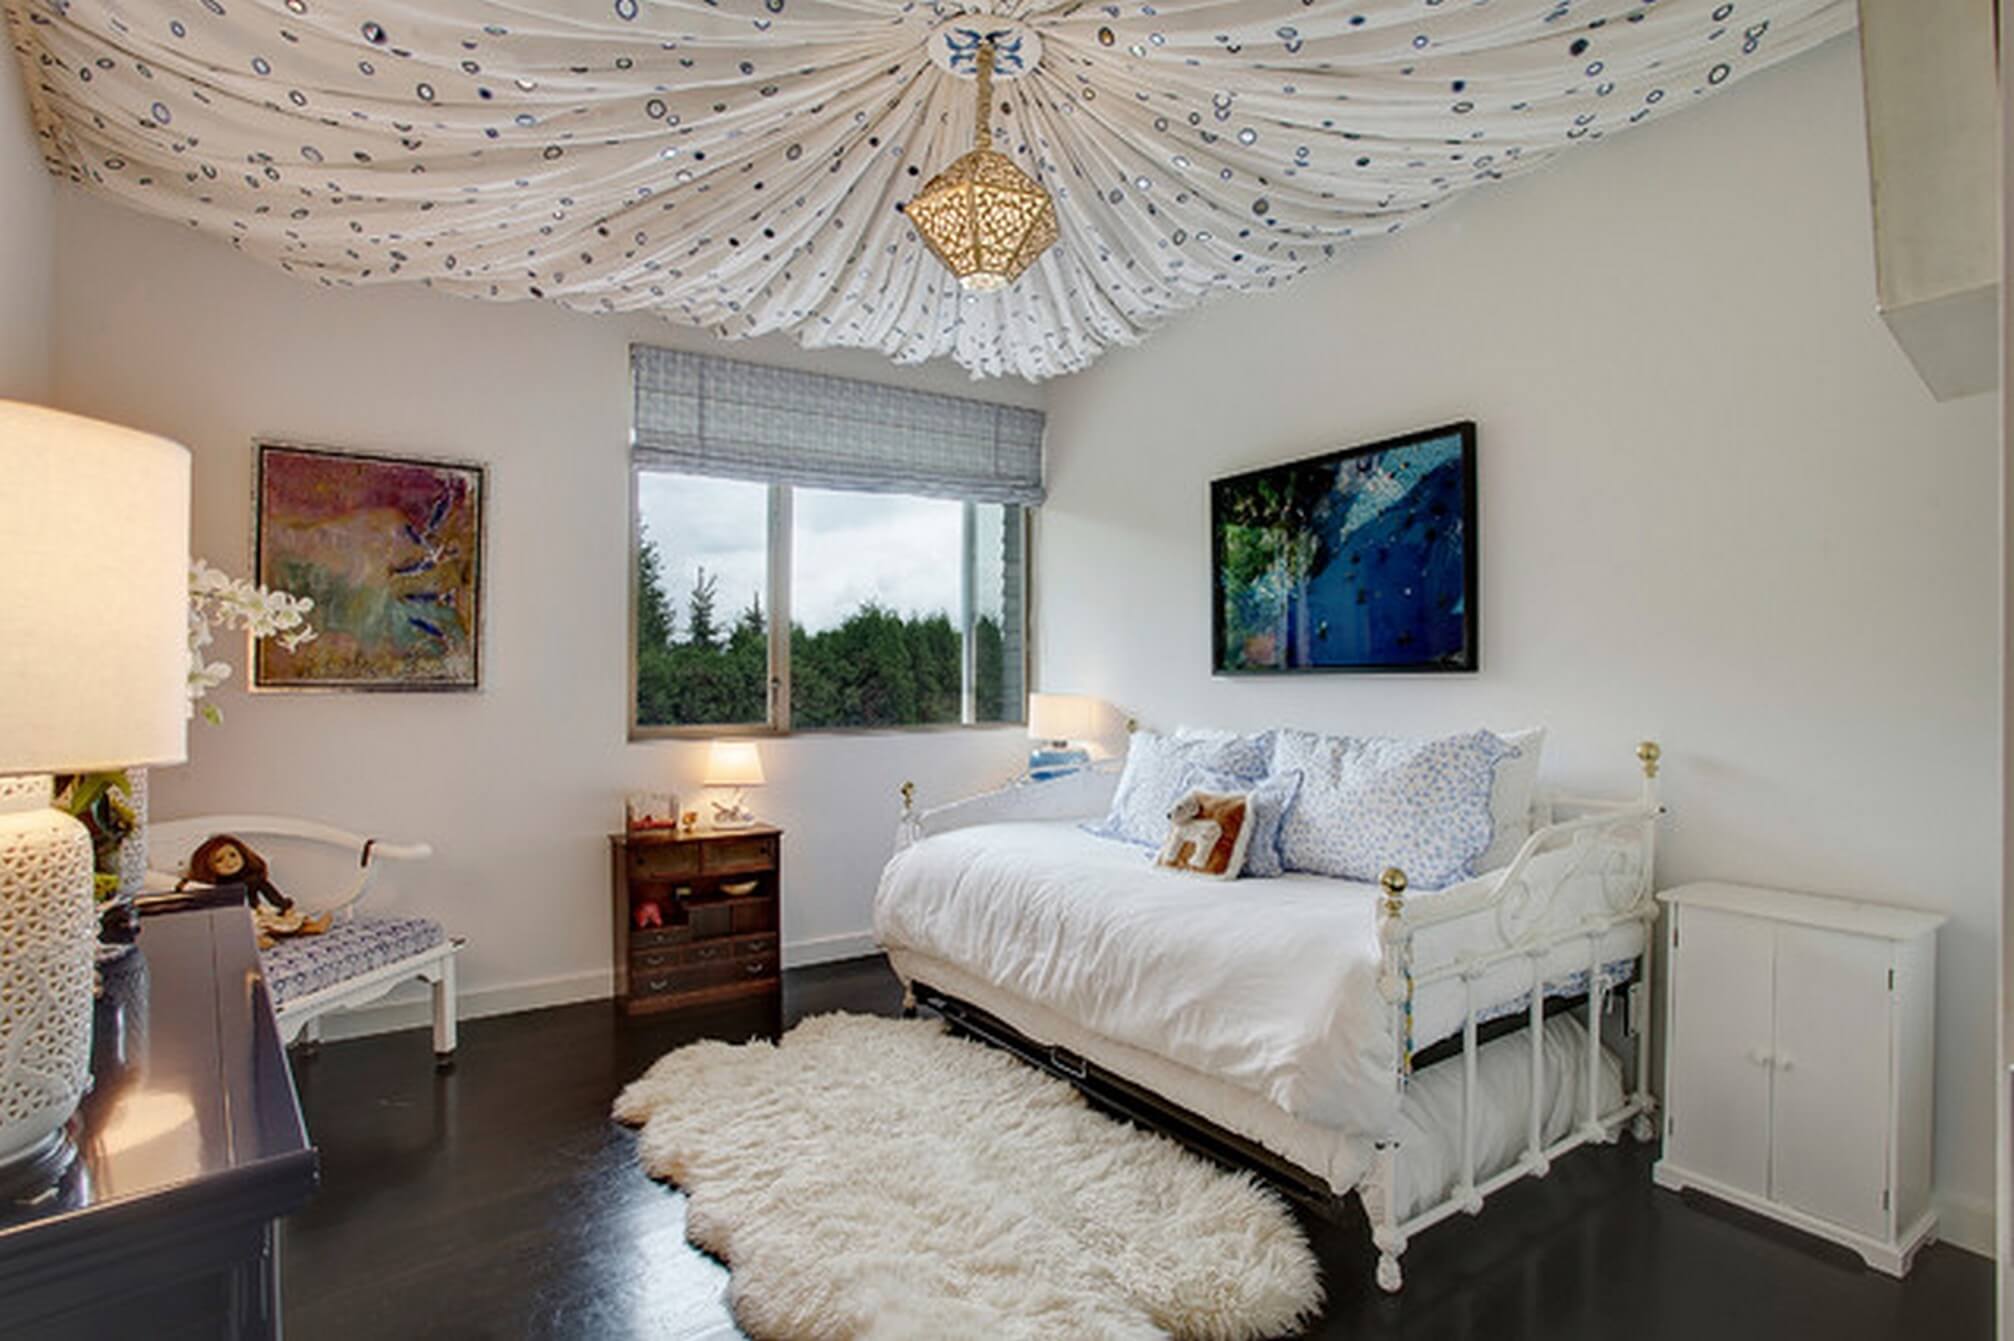
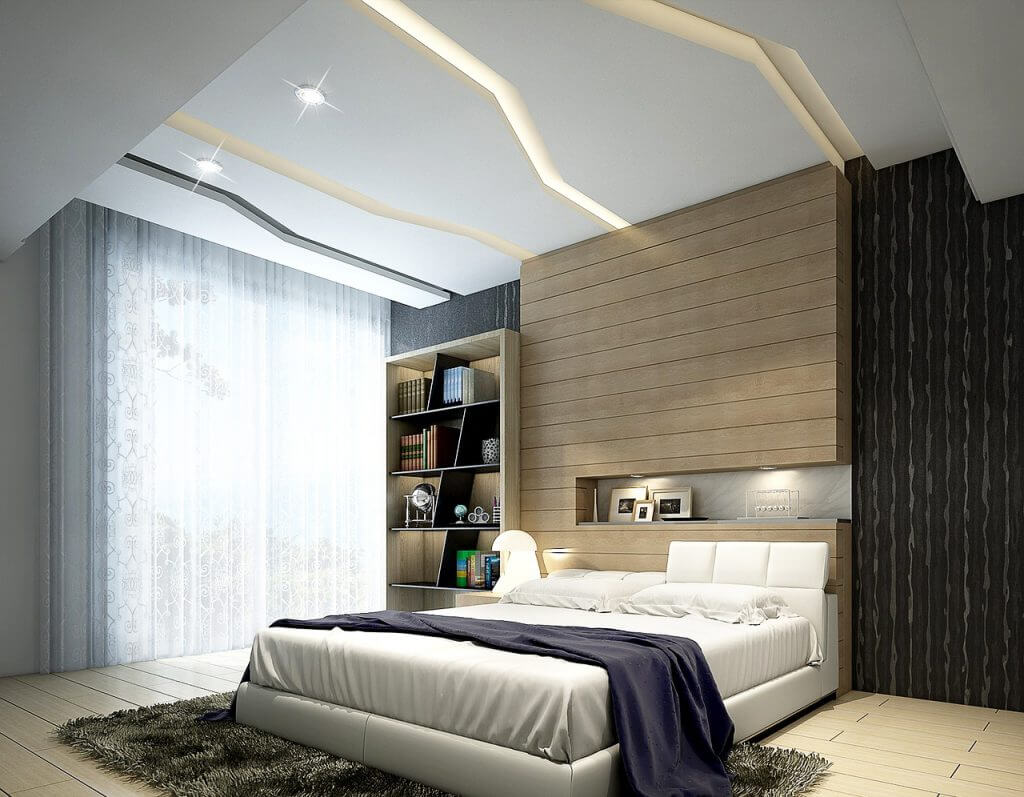
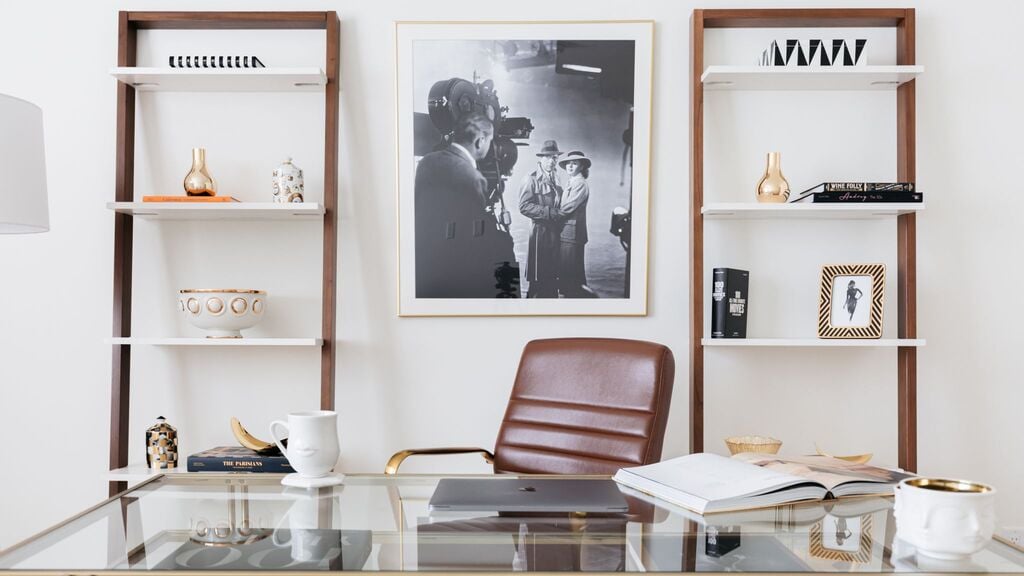
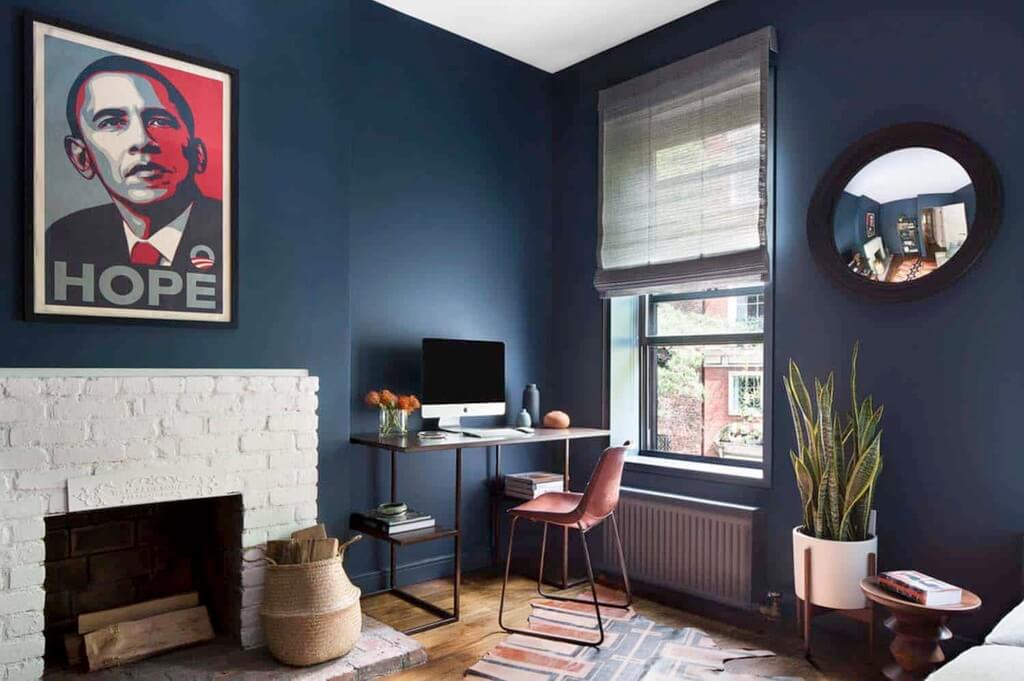
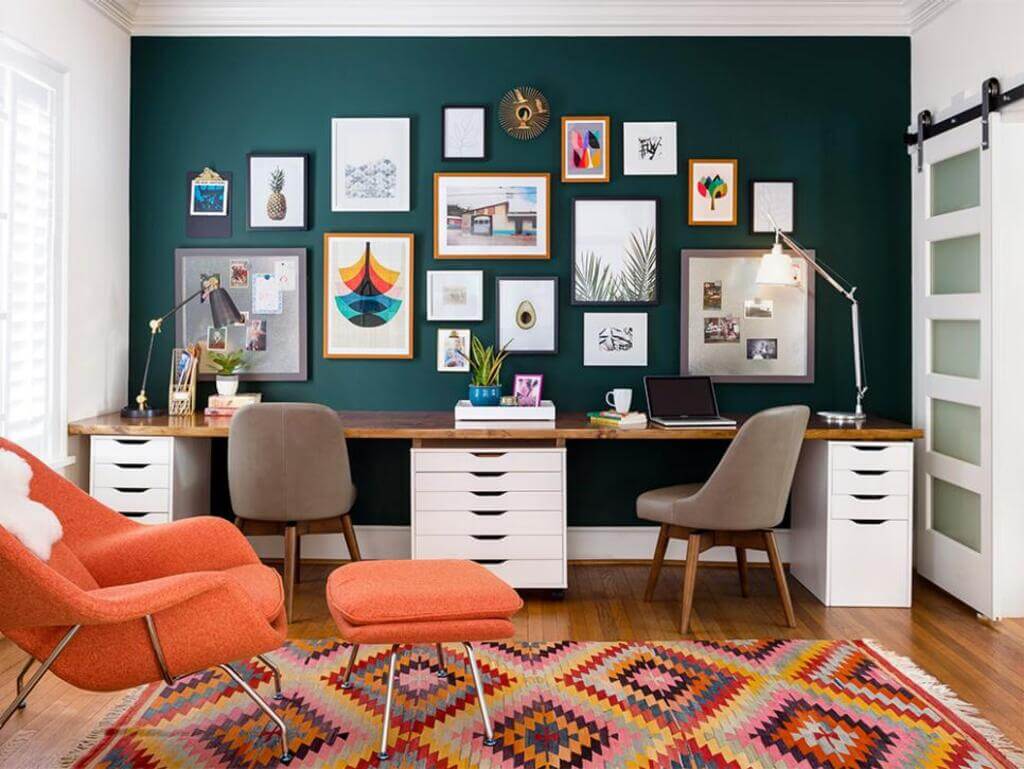
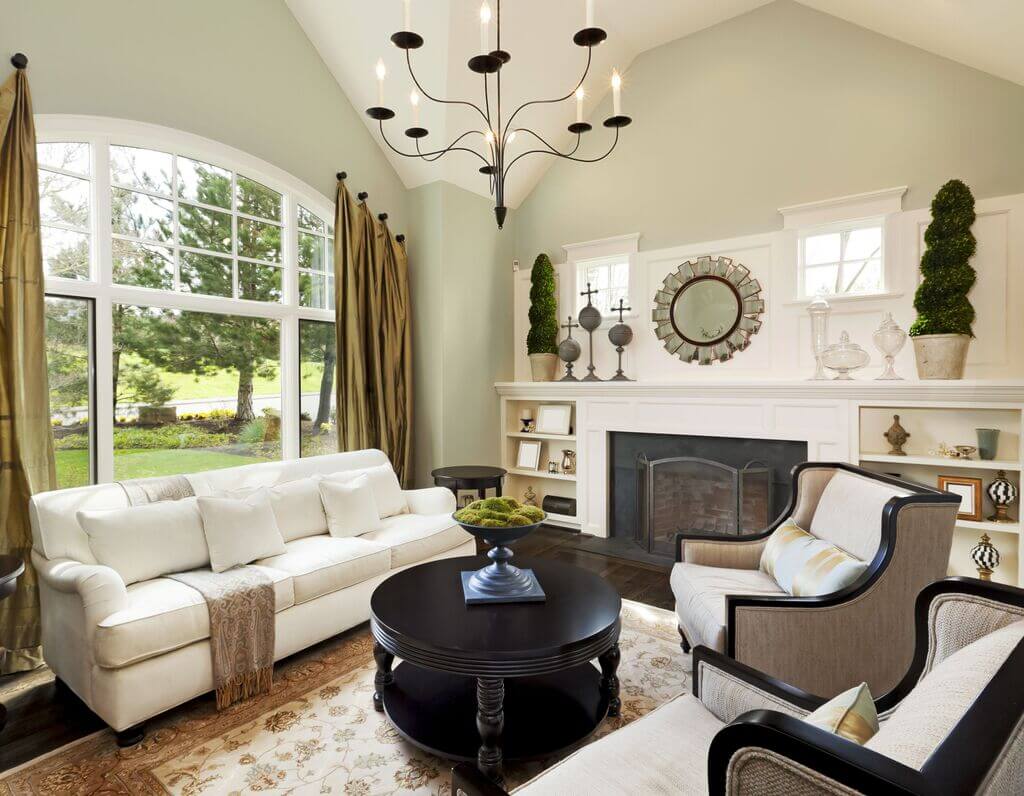
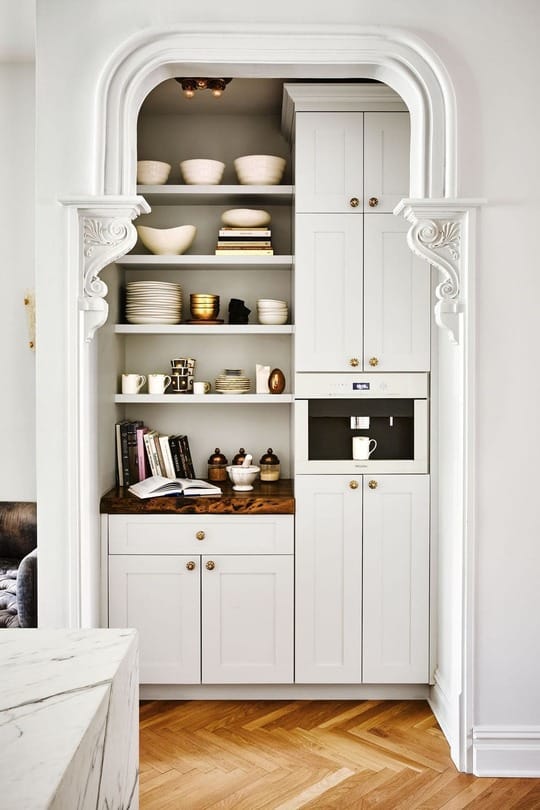
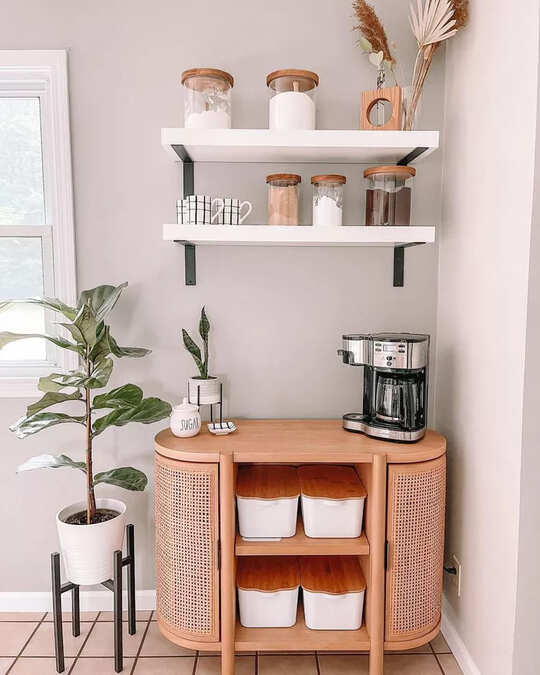
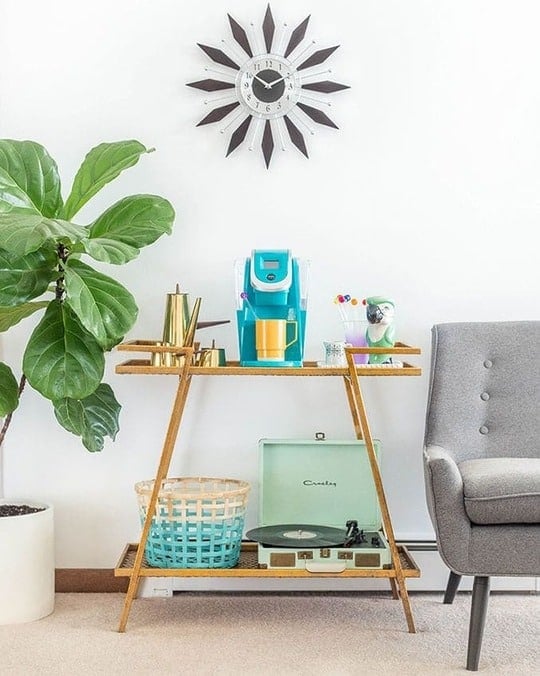
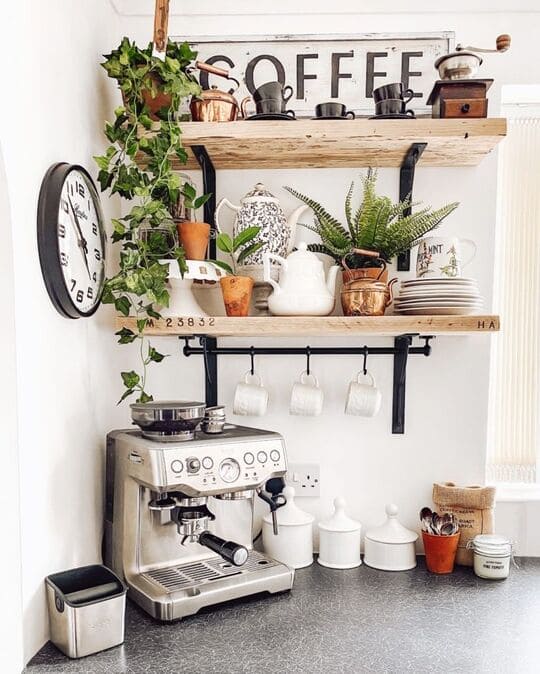
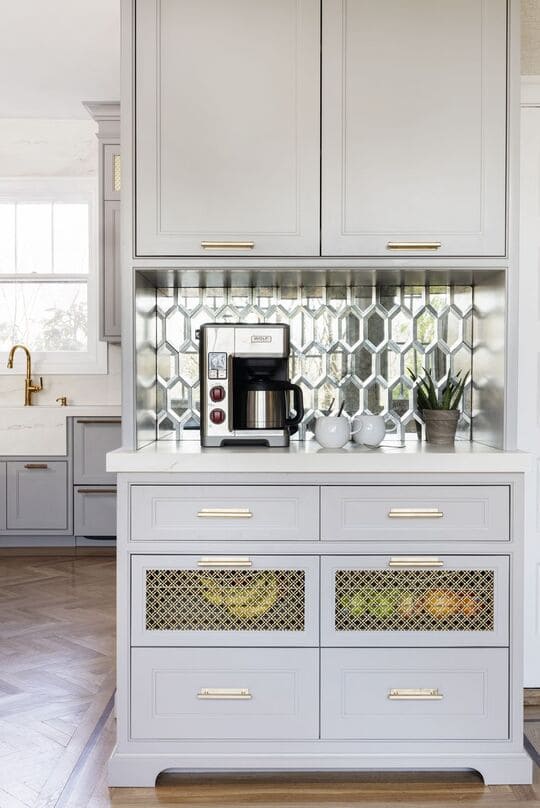
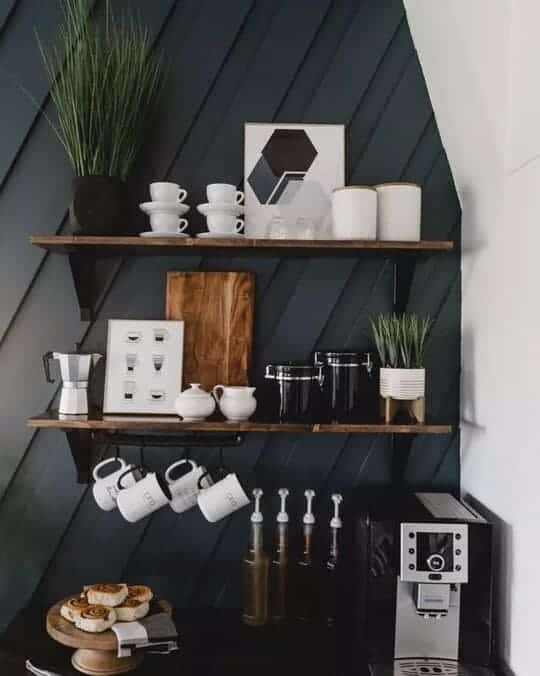
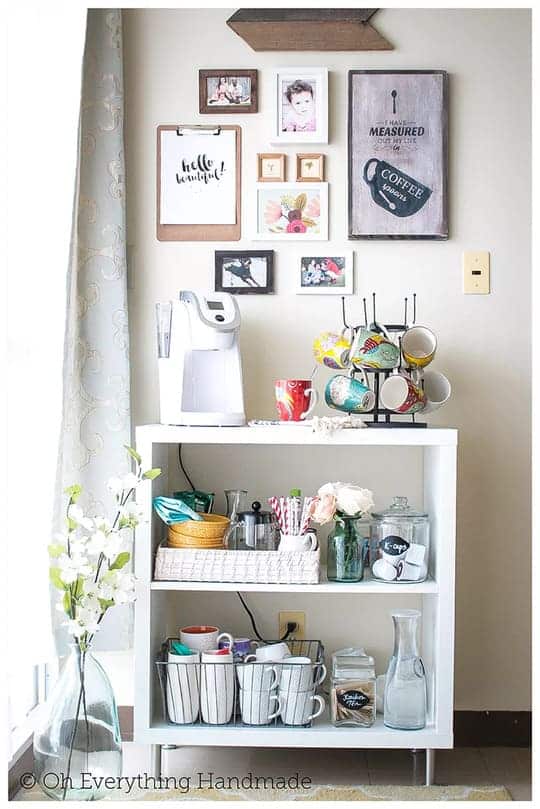
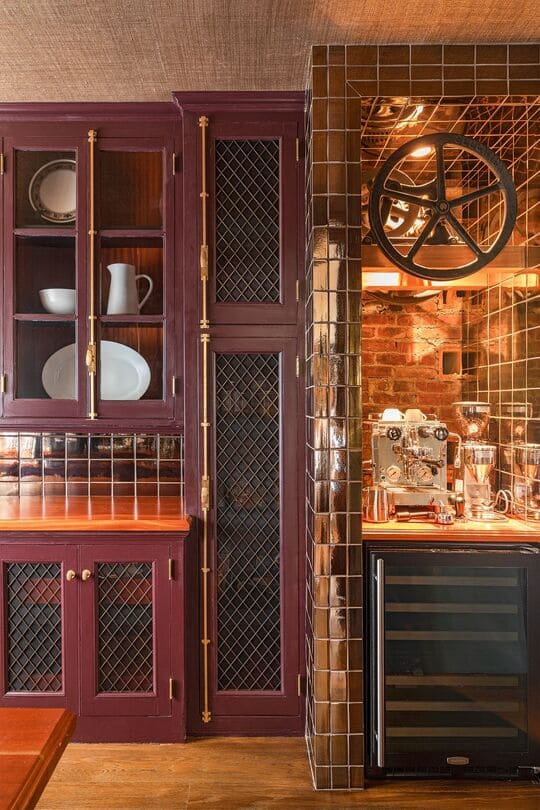
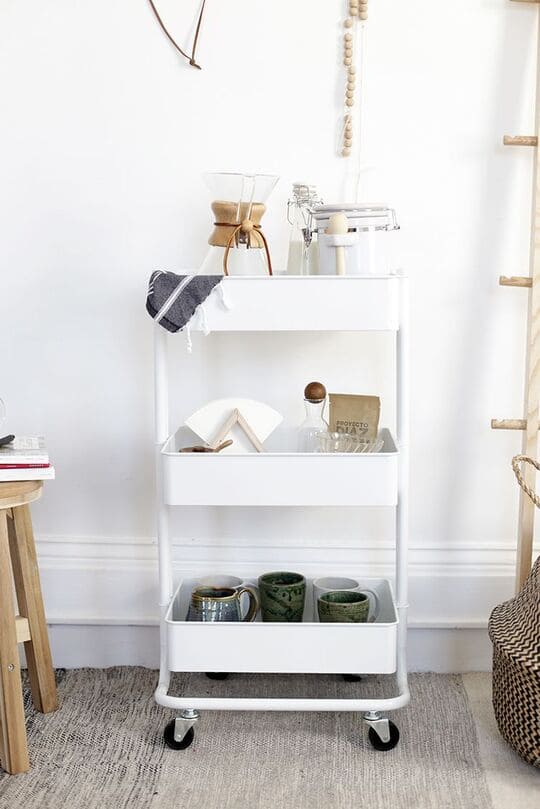
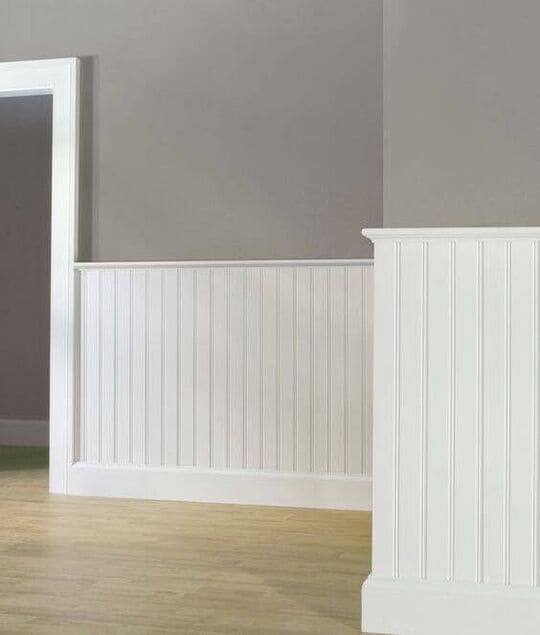
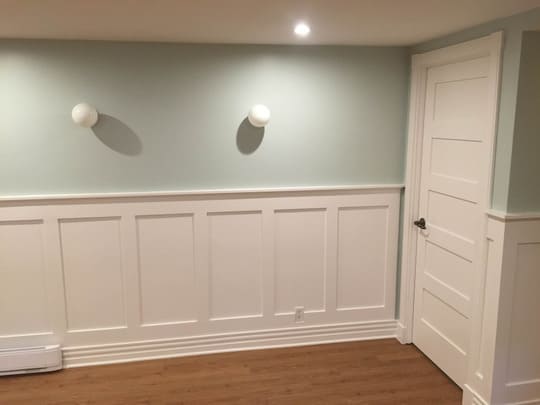
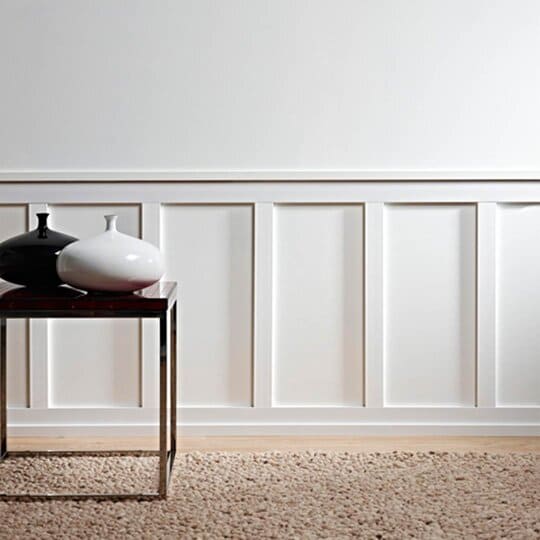
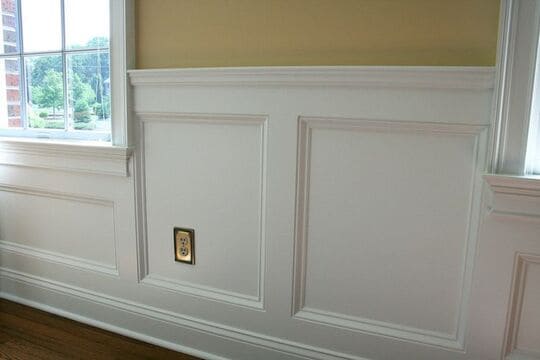
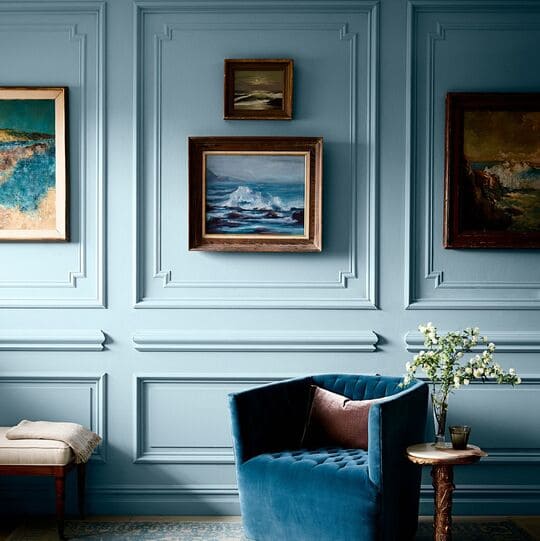
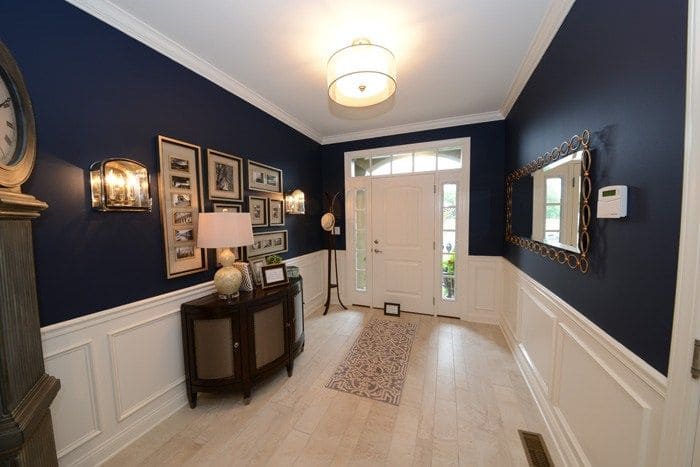
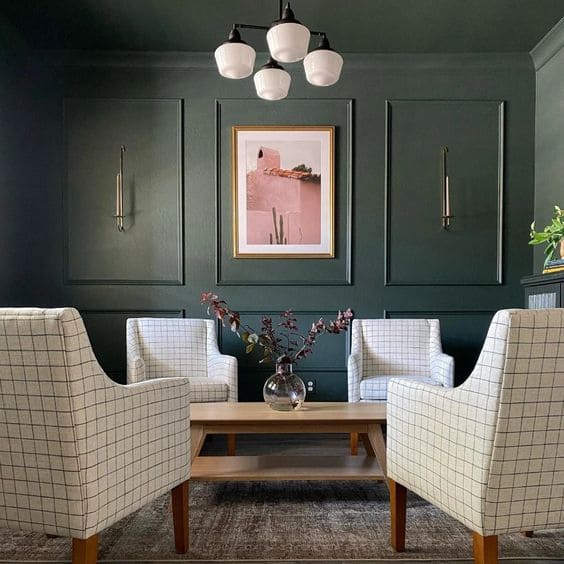
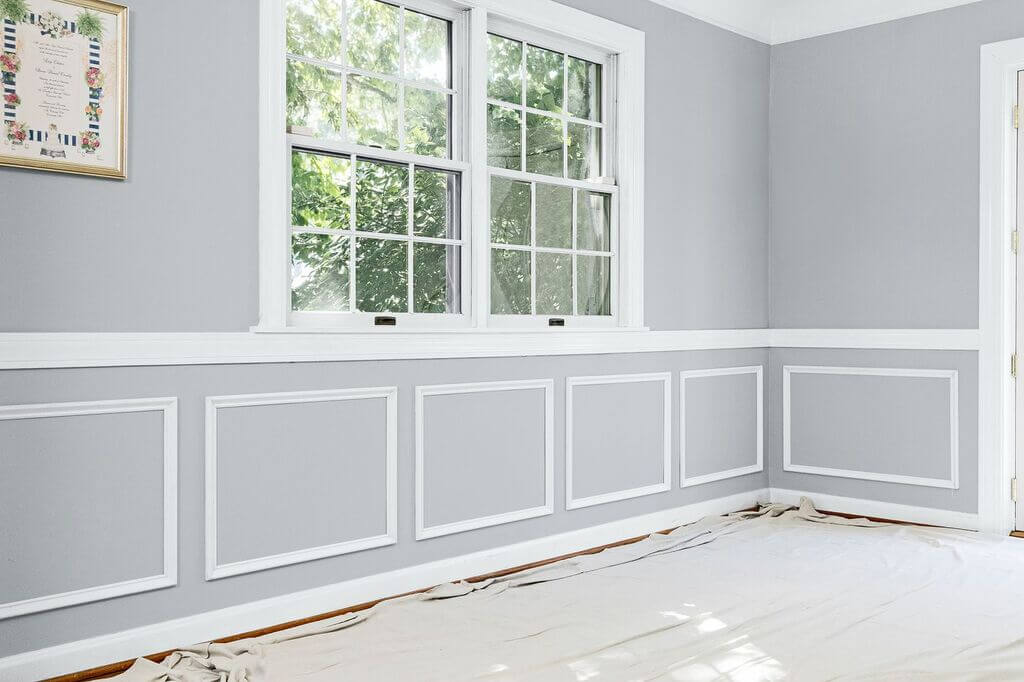
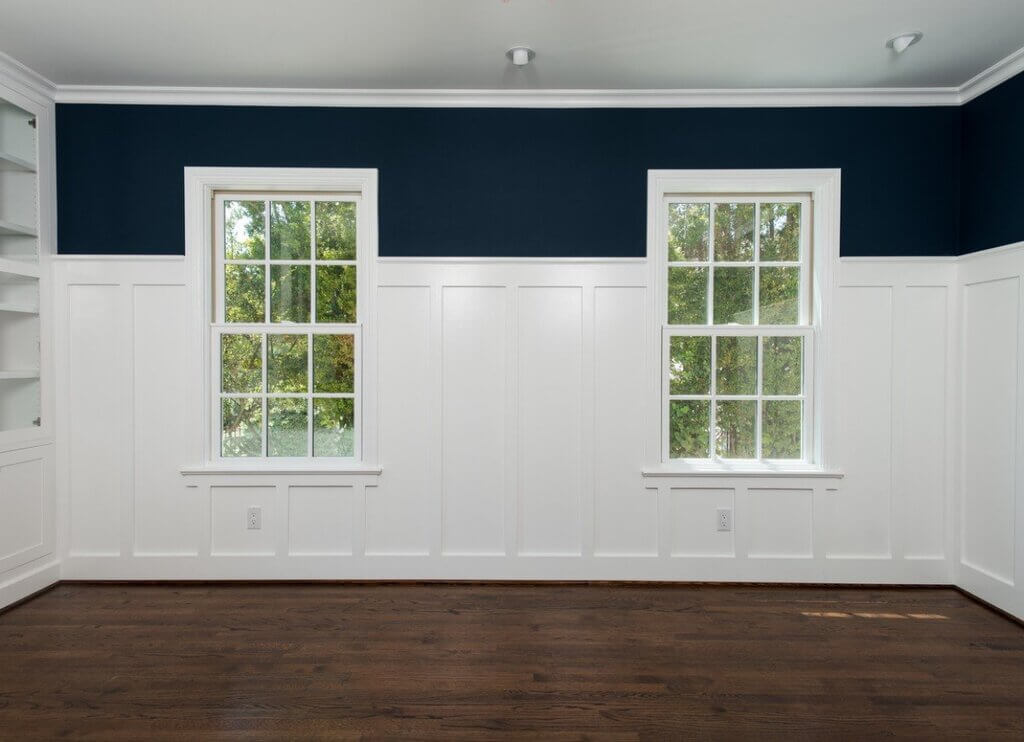
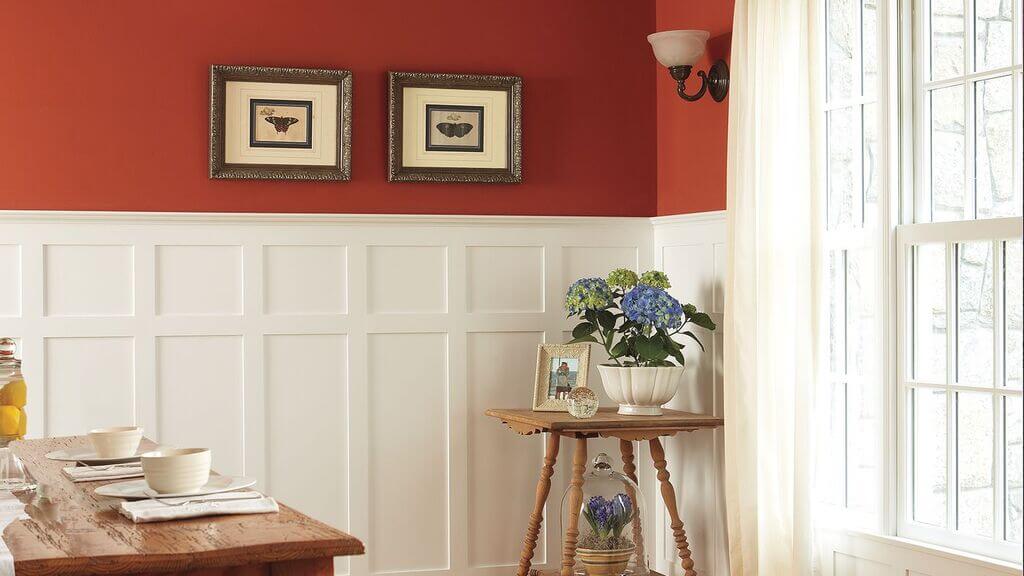
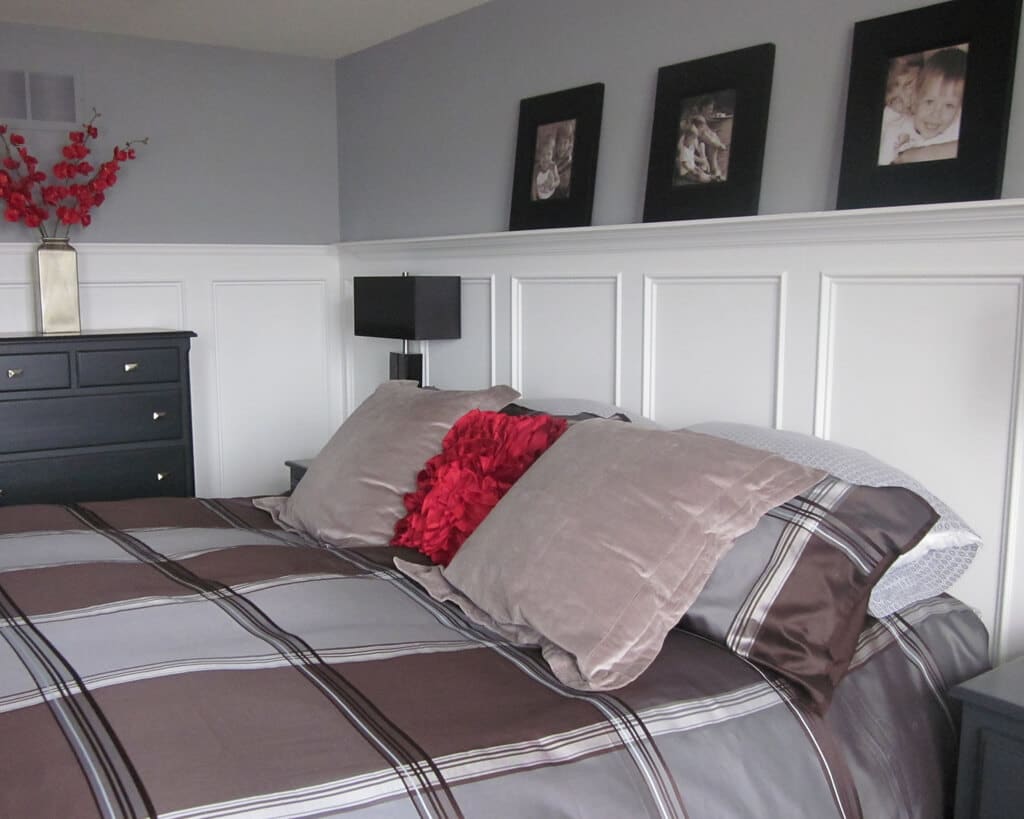
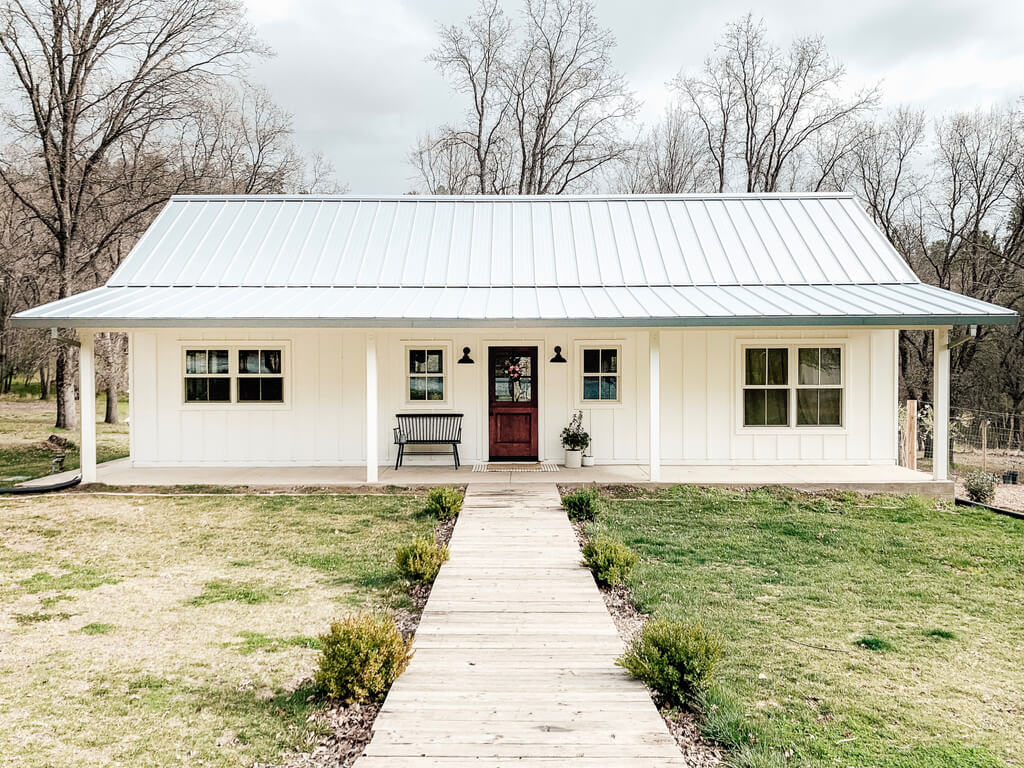
- White Interior Pole Barn Homes: With a little white paint, you can turn a gloomy, rustic pole barn interior into something light and airy, whether you use cool white or warm white values. For a monochrome look, layer different whites for the interiors or add an accent colour. You can also opt for white accessories like artworks and clocks which are available in several styles.
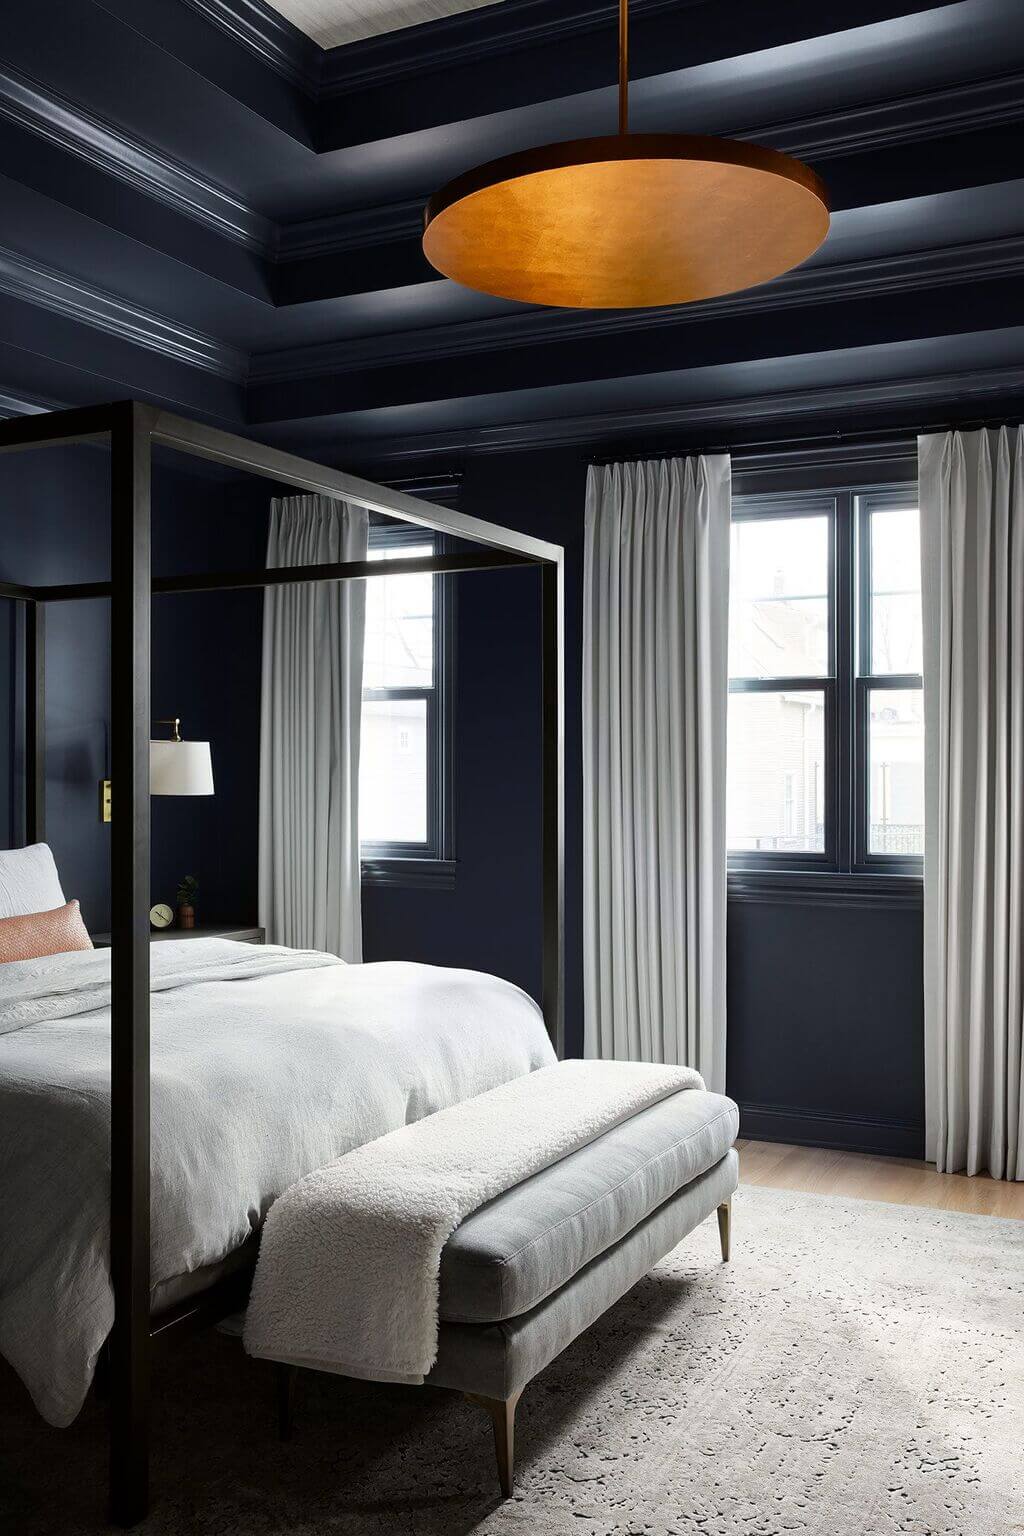
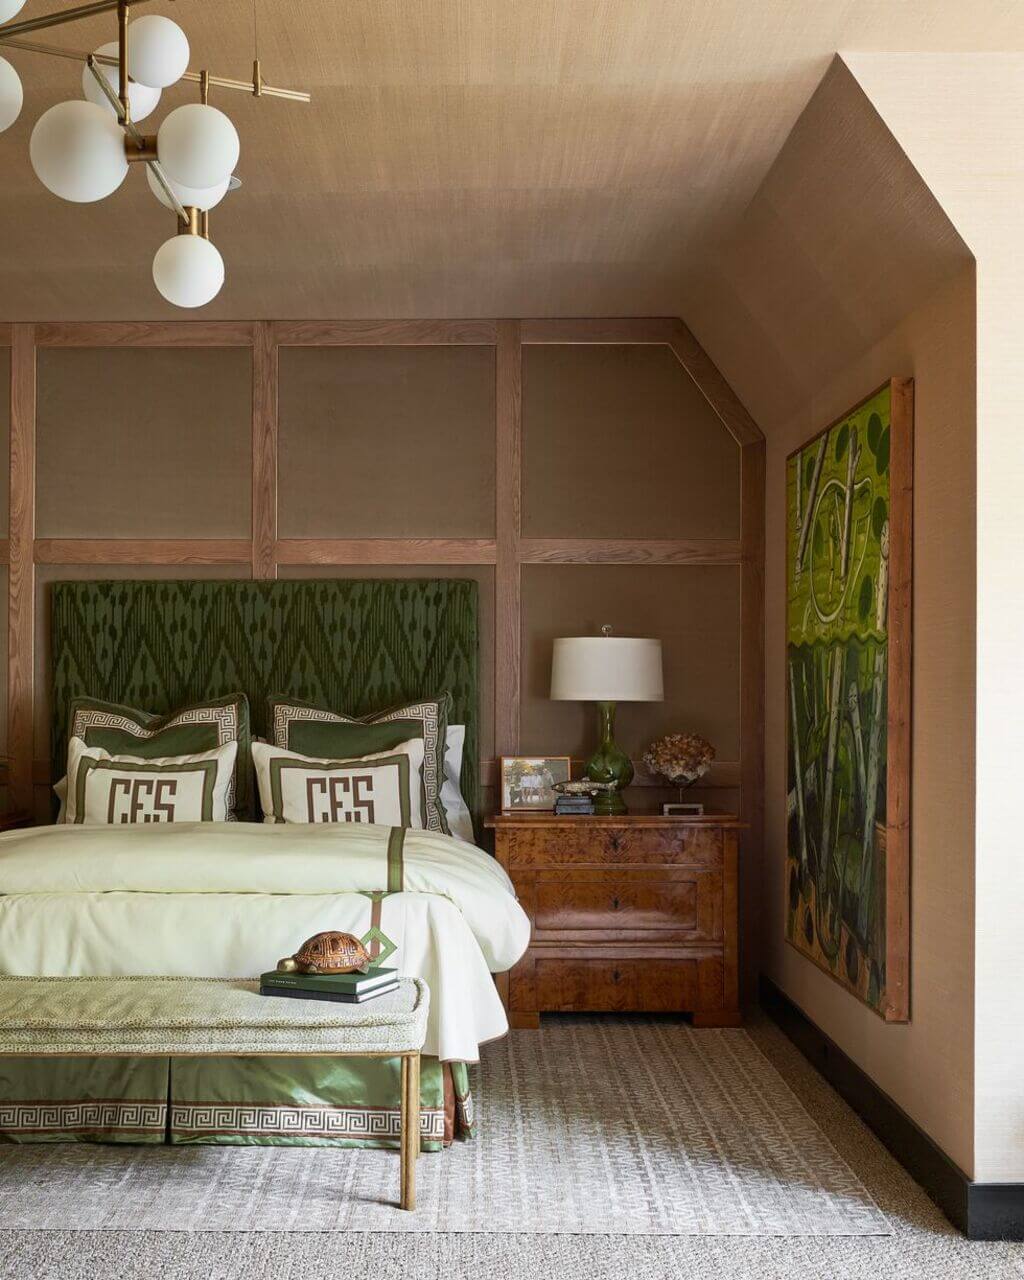
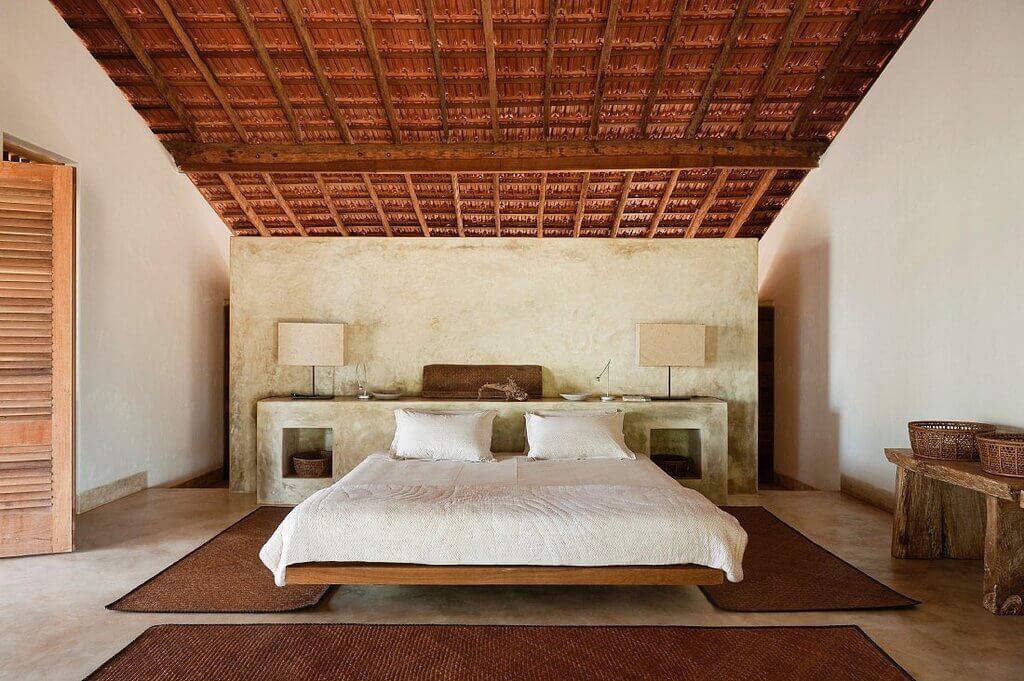
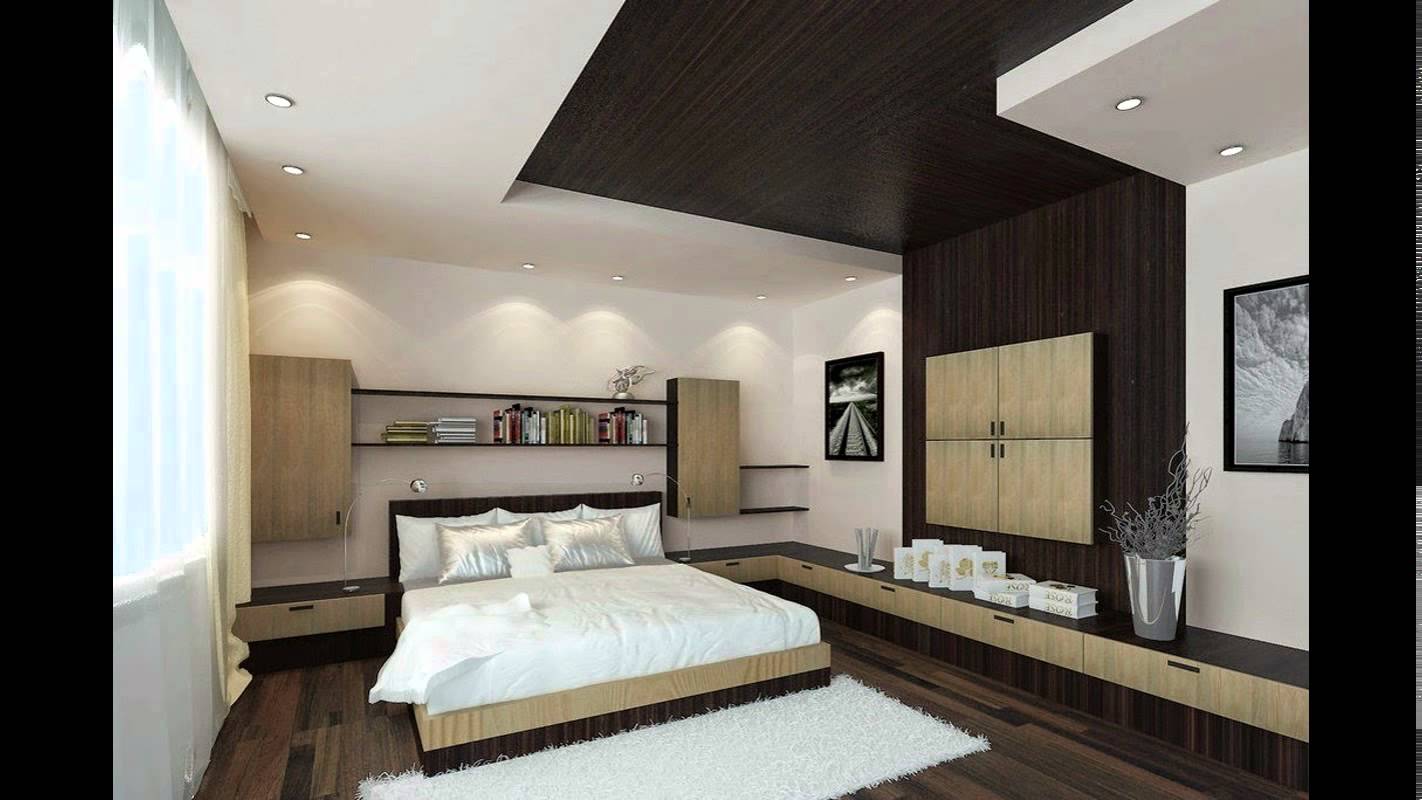
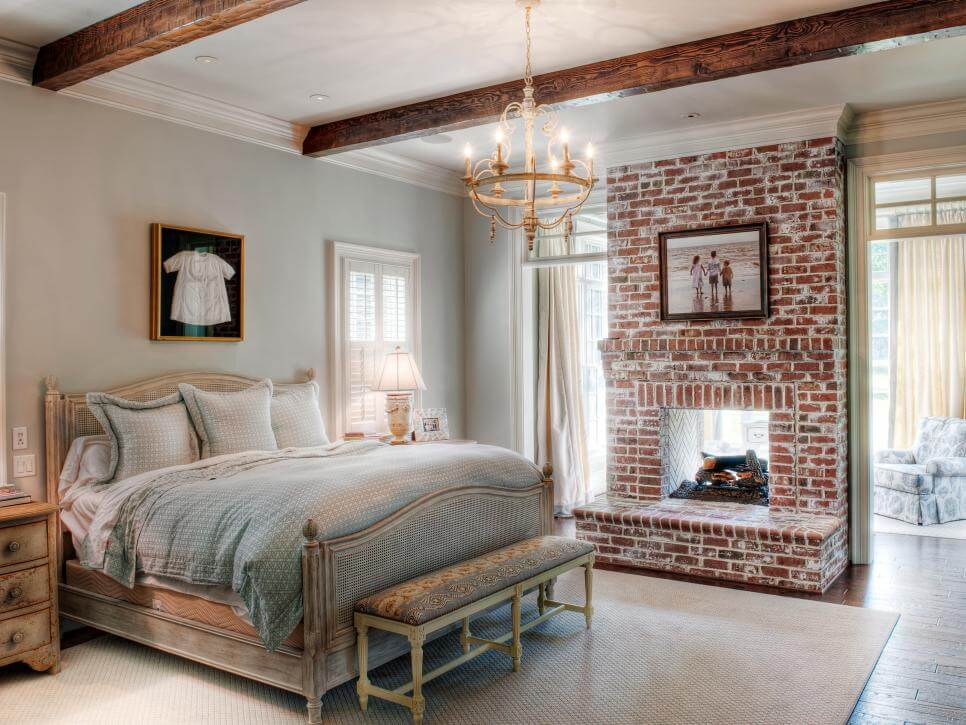
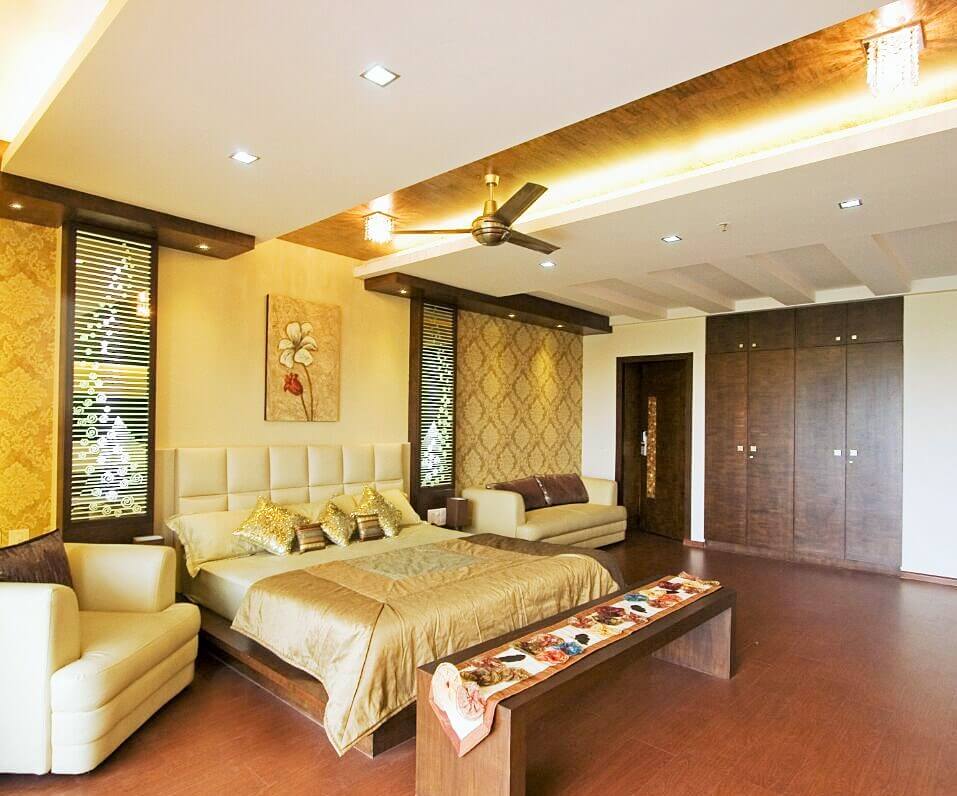
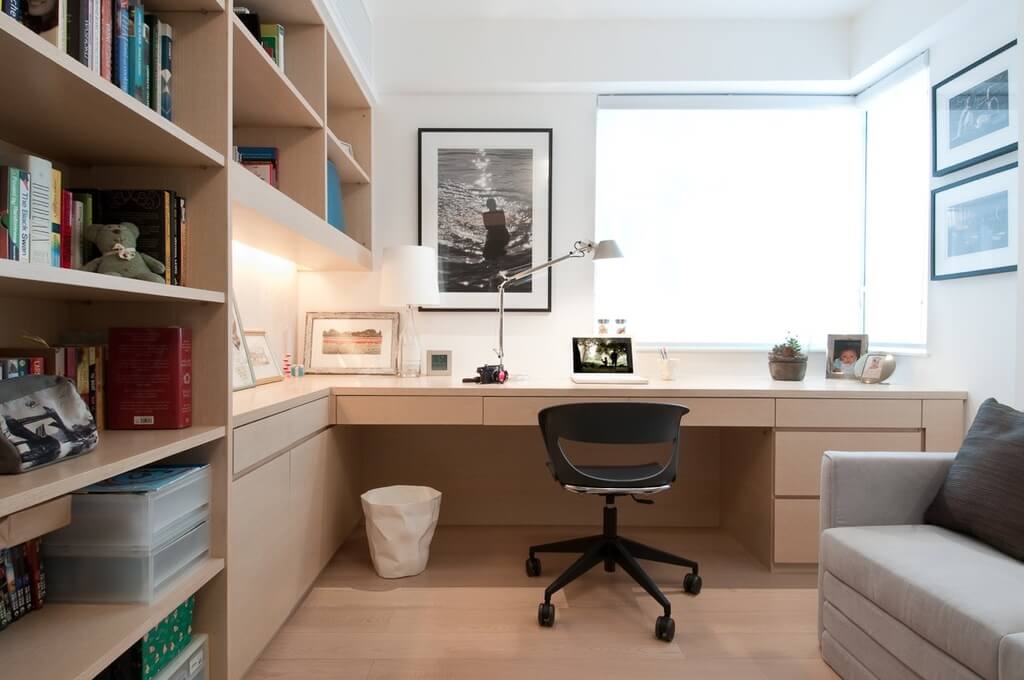
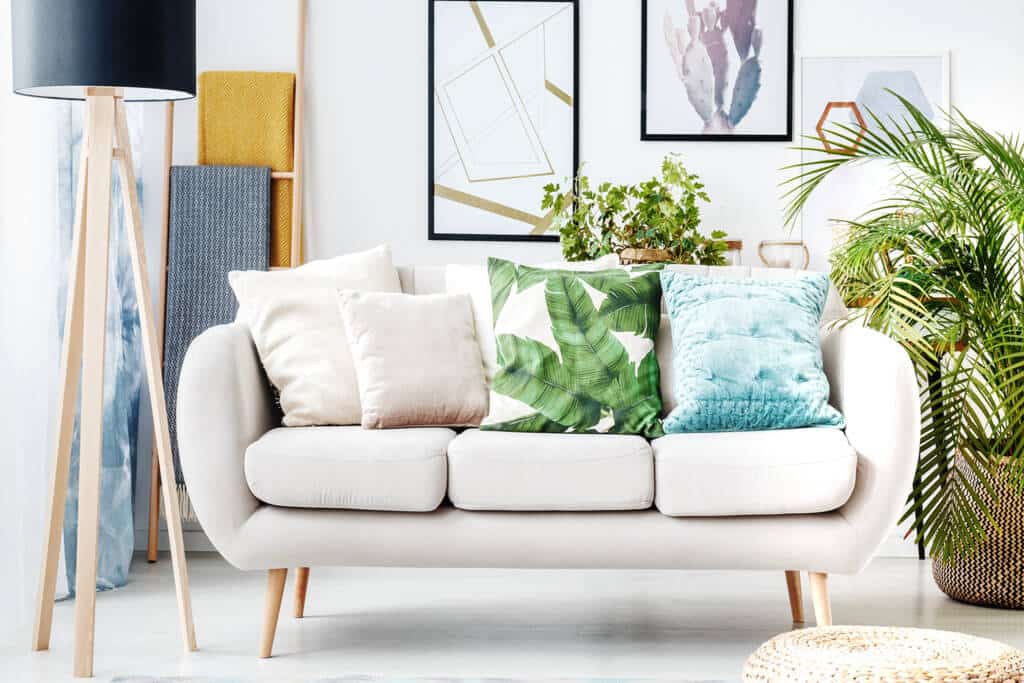
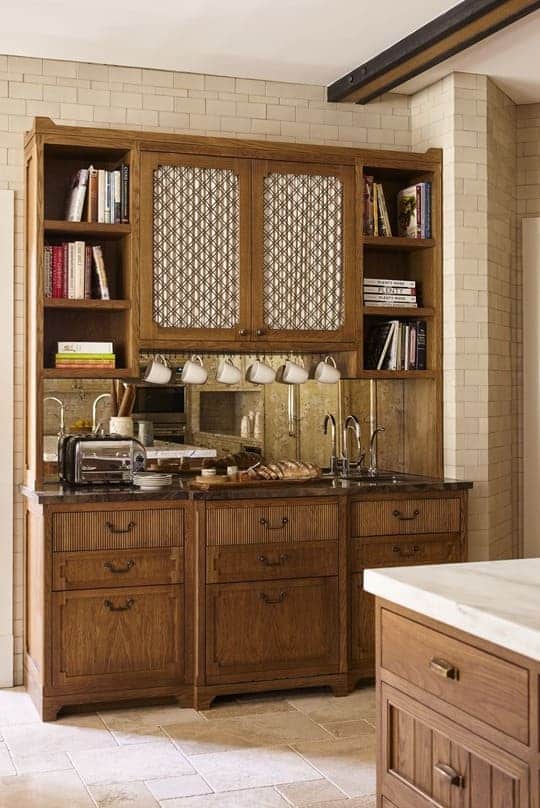
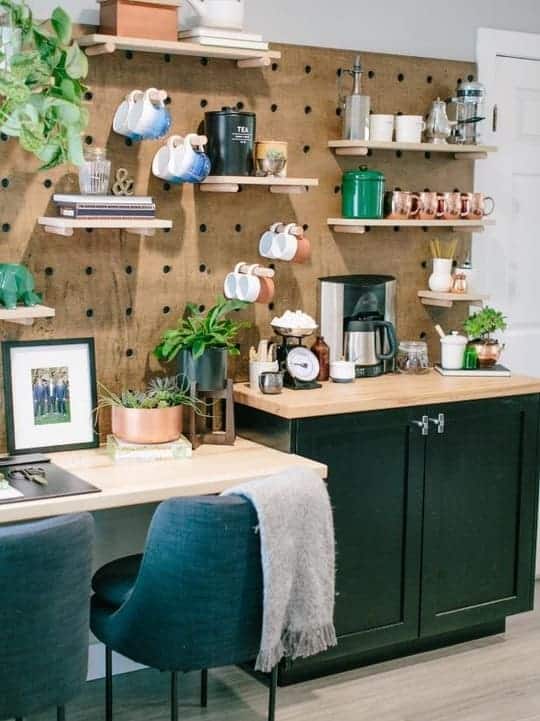
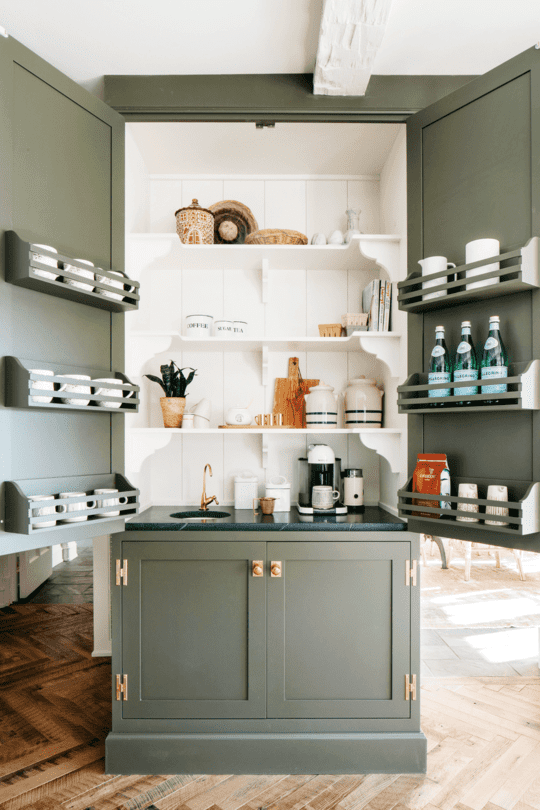
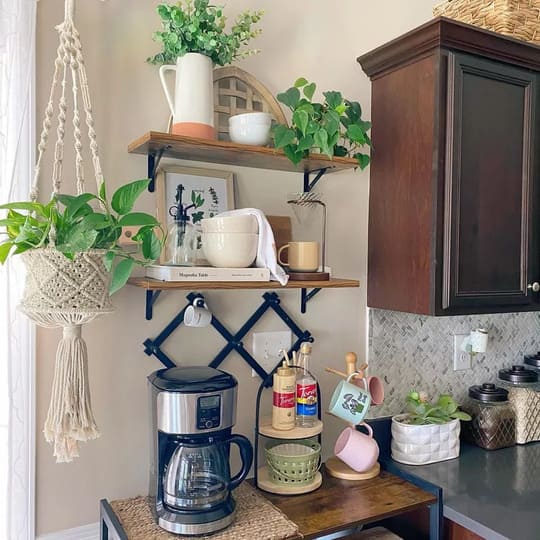
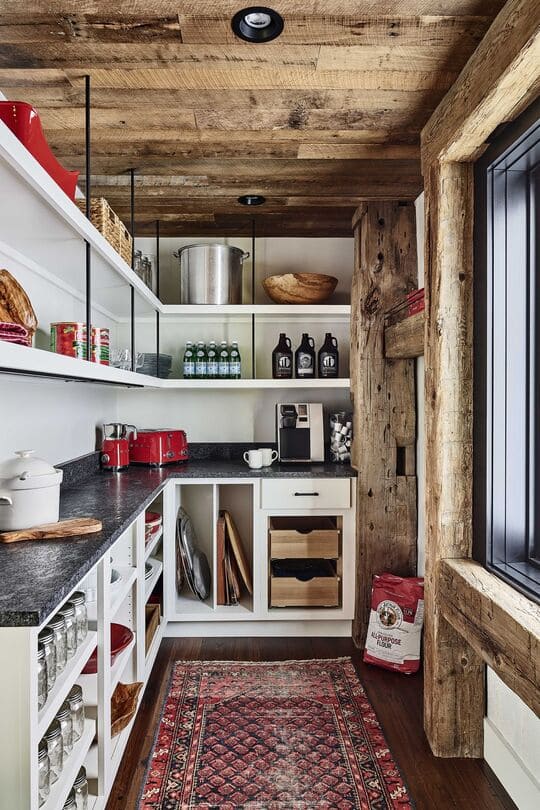
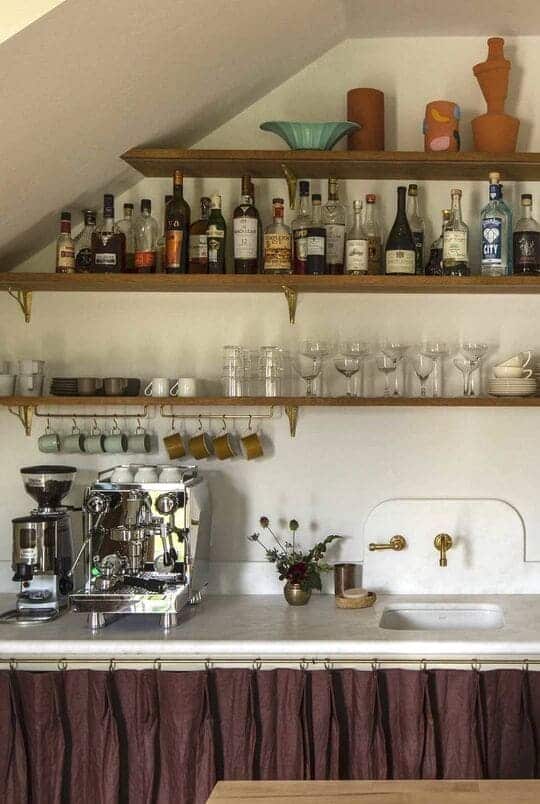
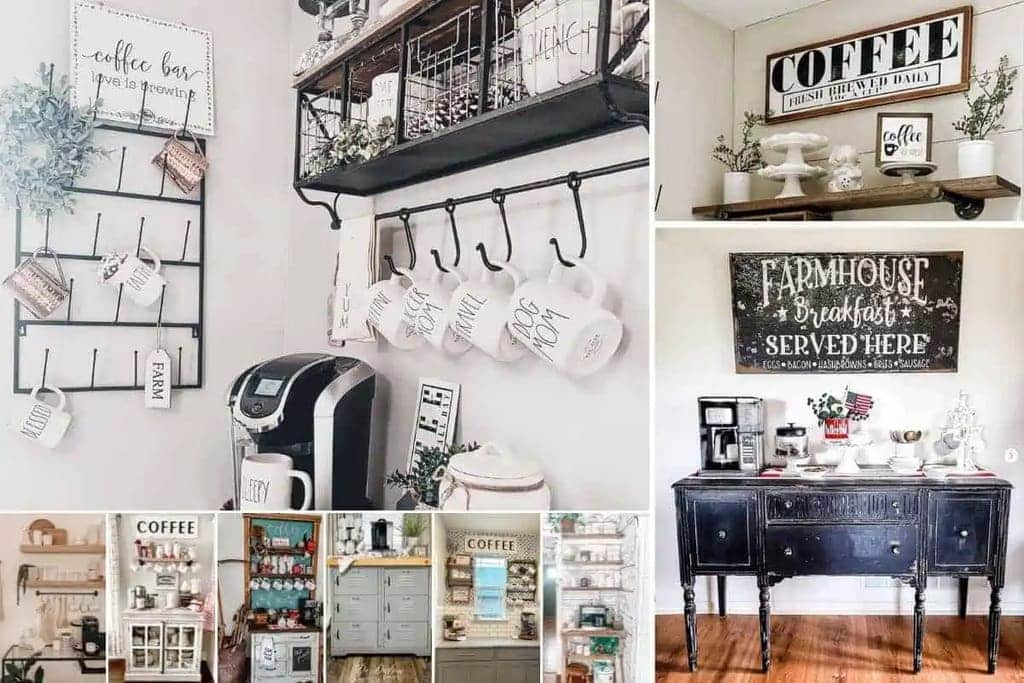
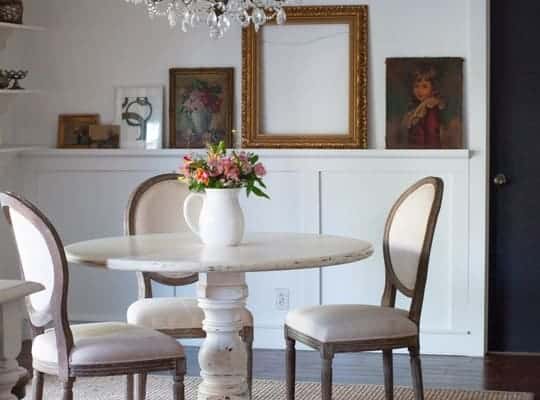
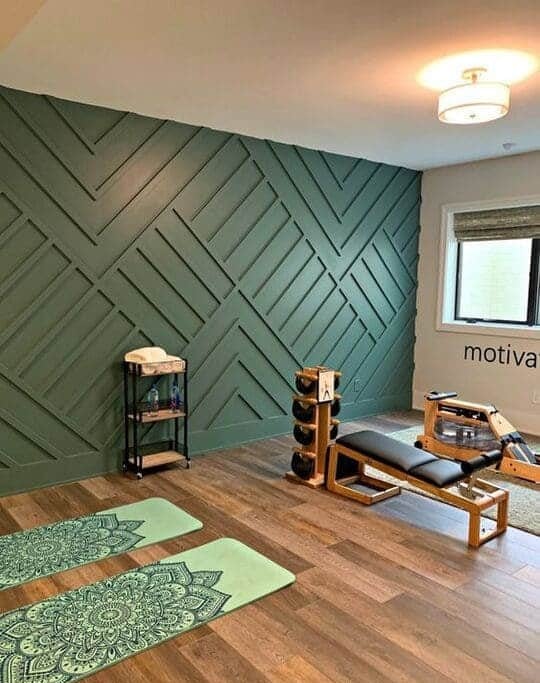
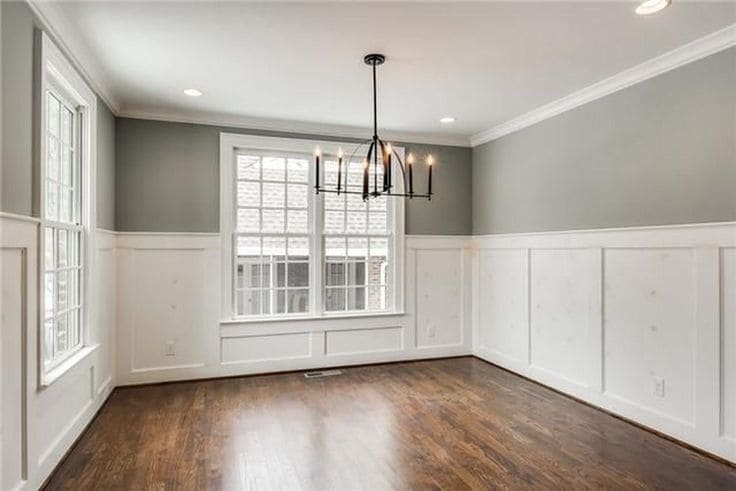
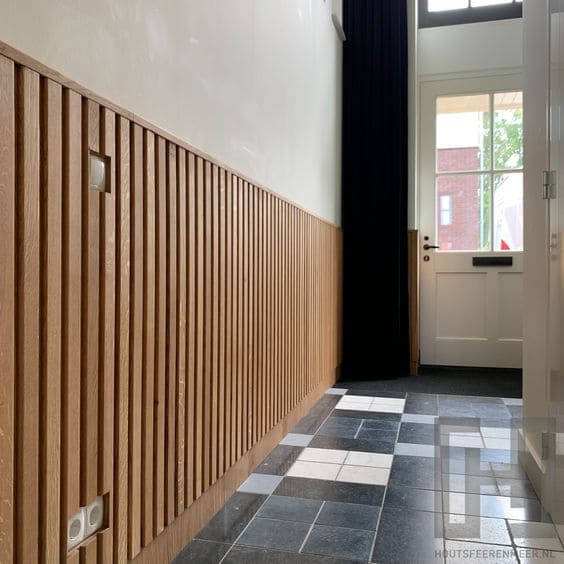
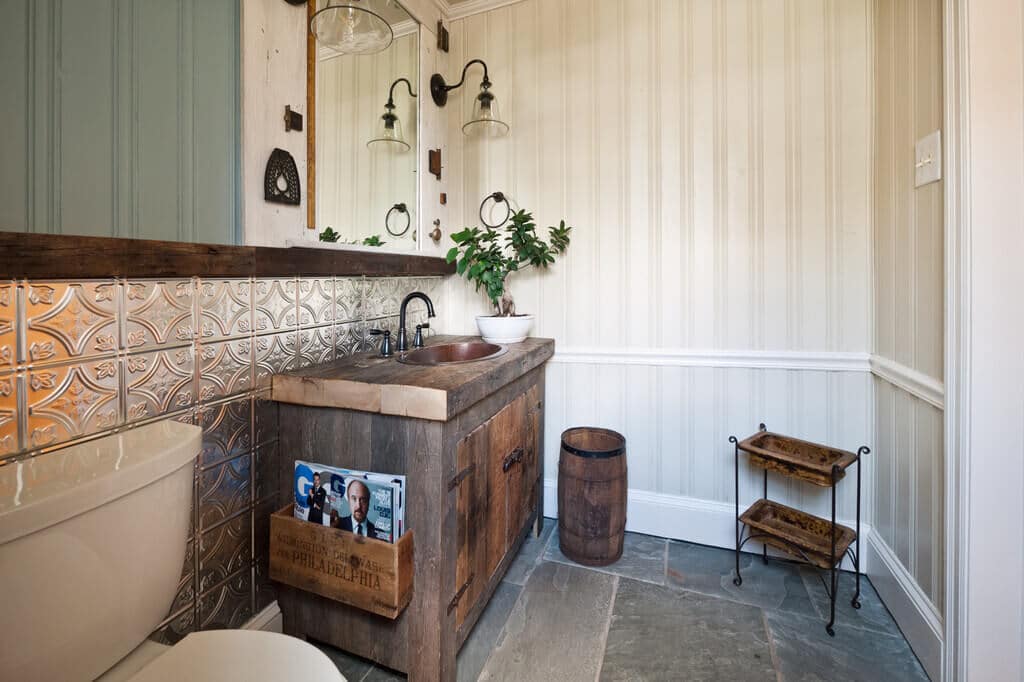
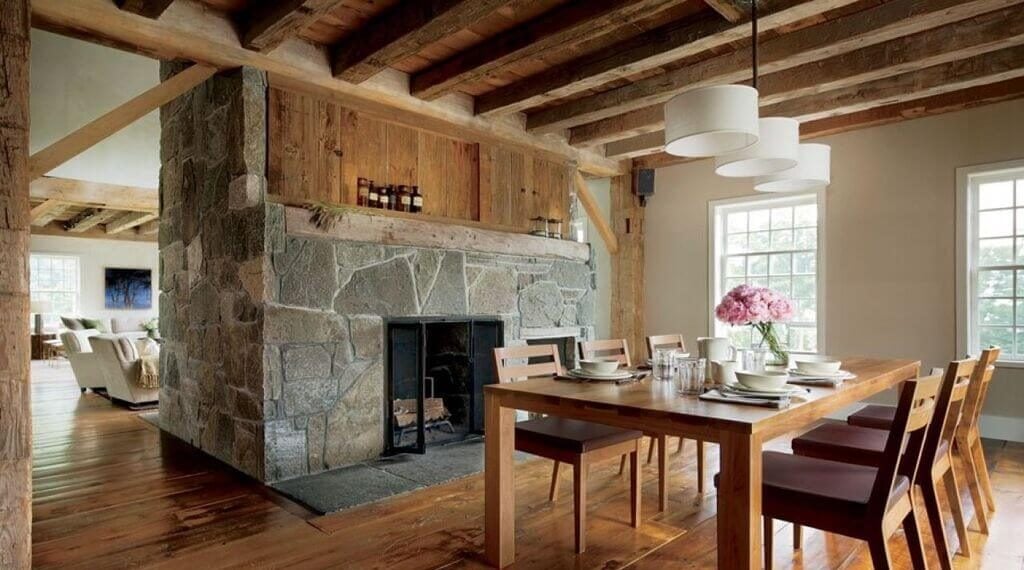
- Charming Farm Flair: To your pole barn type home, add the beauty that only natural wood walls with a rustic finish can provide. This interior design style allows you to layer textures into your space designs in a variety of ways. For instance, adding wooden flooring to add soft, warm textures can be contrasted with hardwood finishes.
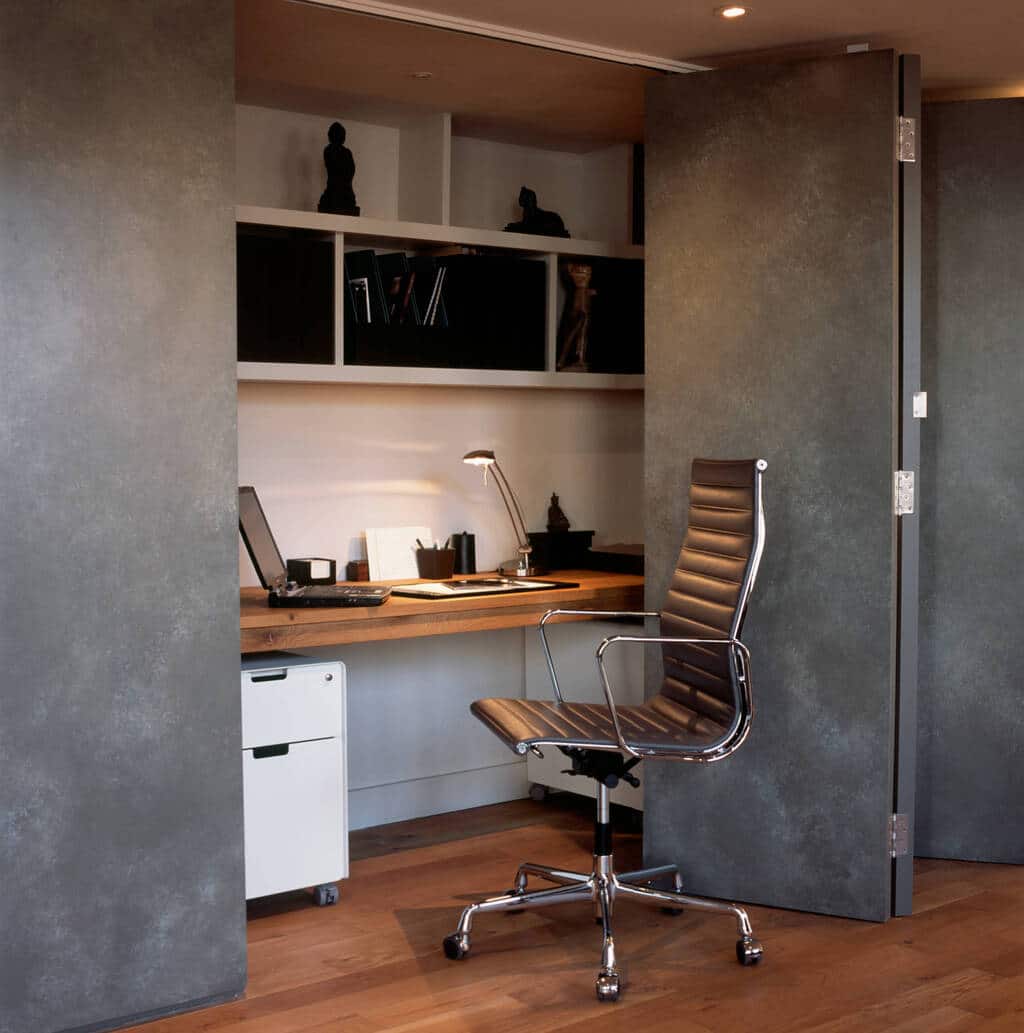
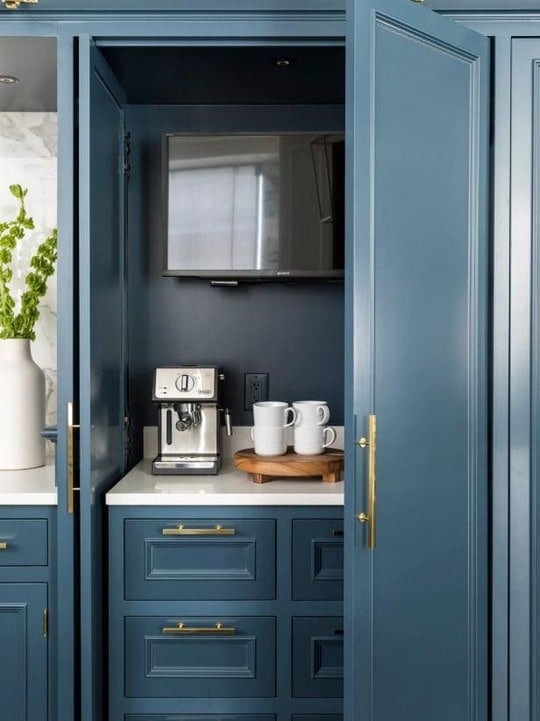
- Proper Insulation: While exposed walls in pole barn homes can be desirable from an aesthetic standpoint, you should think about insulation and how comfortable your home’s temperature is. You can finish the interior of your home with thermal panels, rolled batt insulation, and foam insulations.
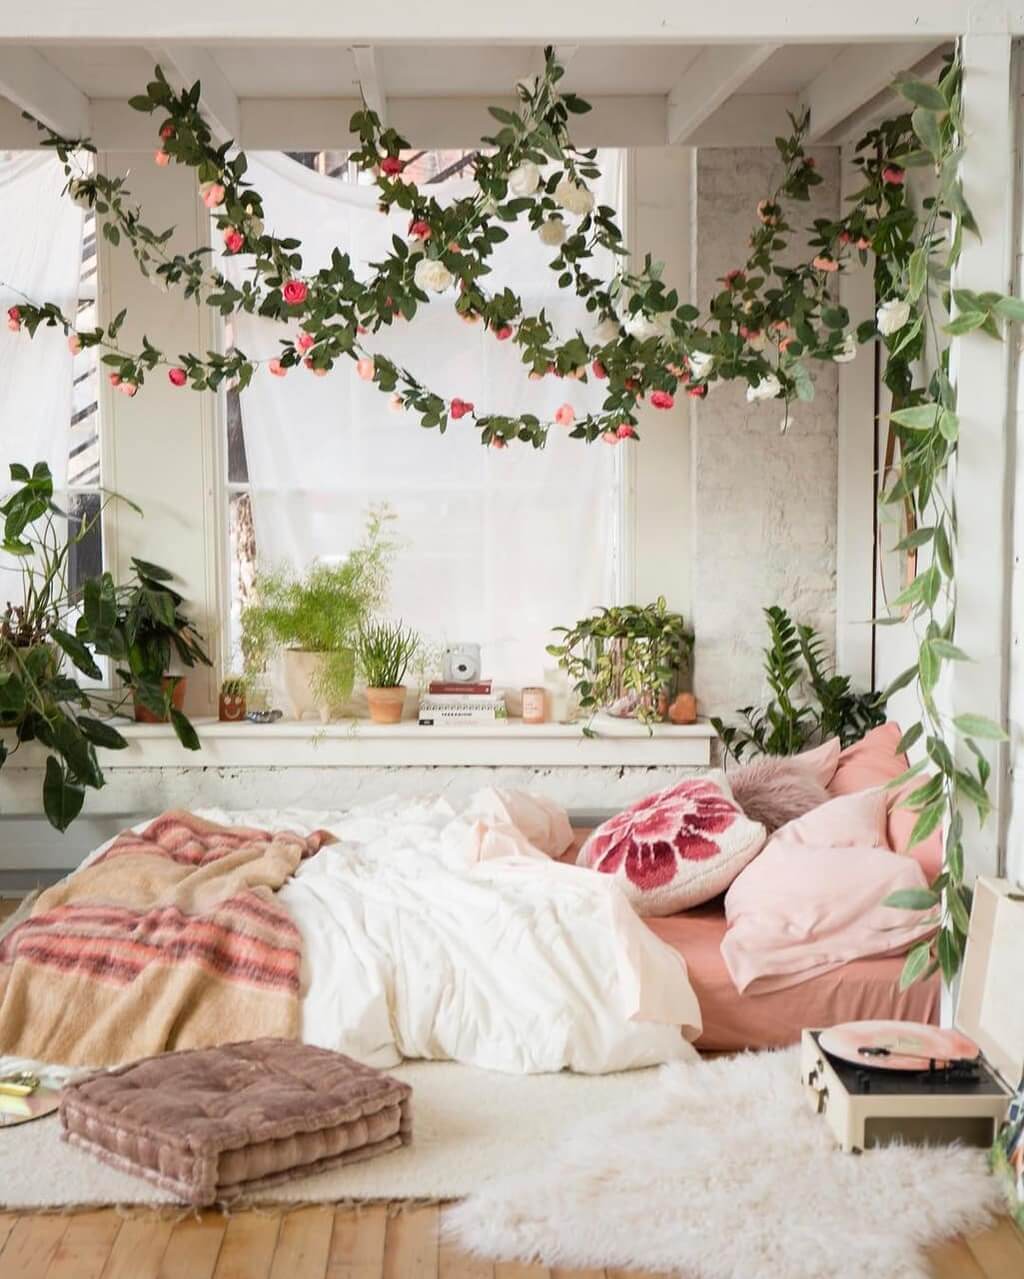
- Weathered flooring: For your pole barn home, you can use salvaged wood flooring from old barns or purchase imitation wood flooring that has a similar look. Natural pine, oak, and maple wood floors with flaws are ideal for achieving the desired rustic impression.
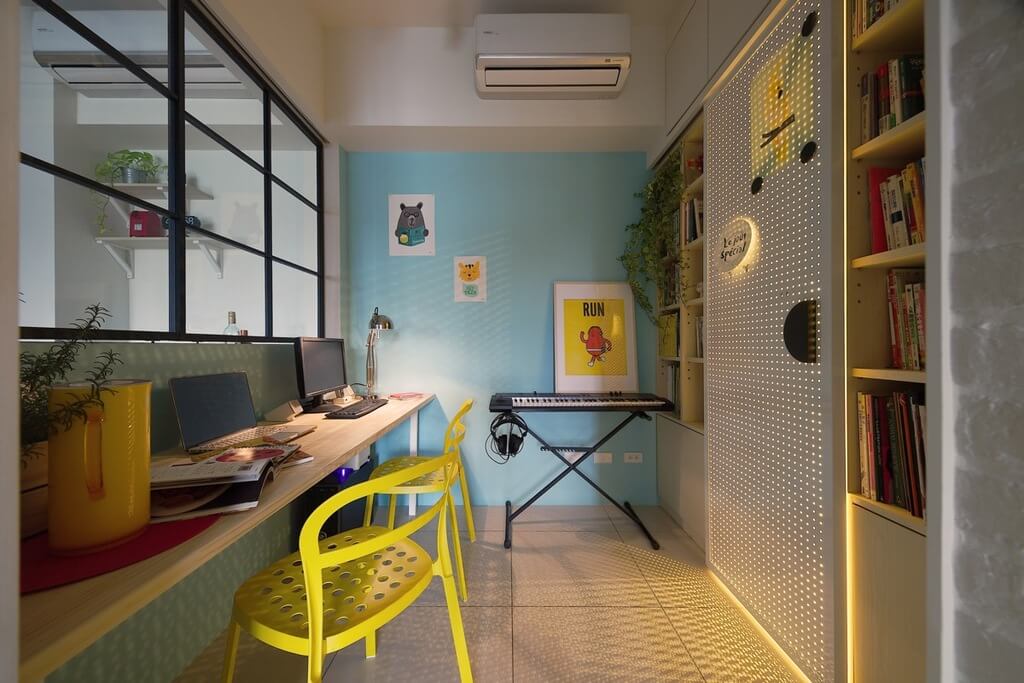
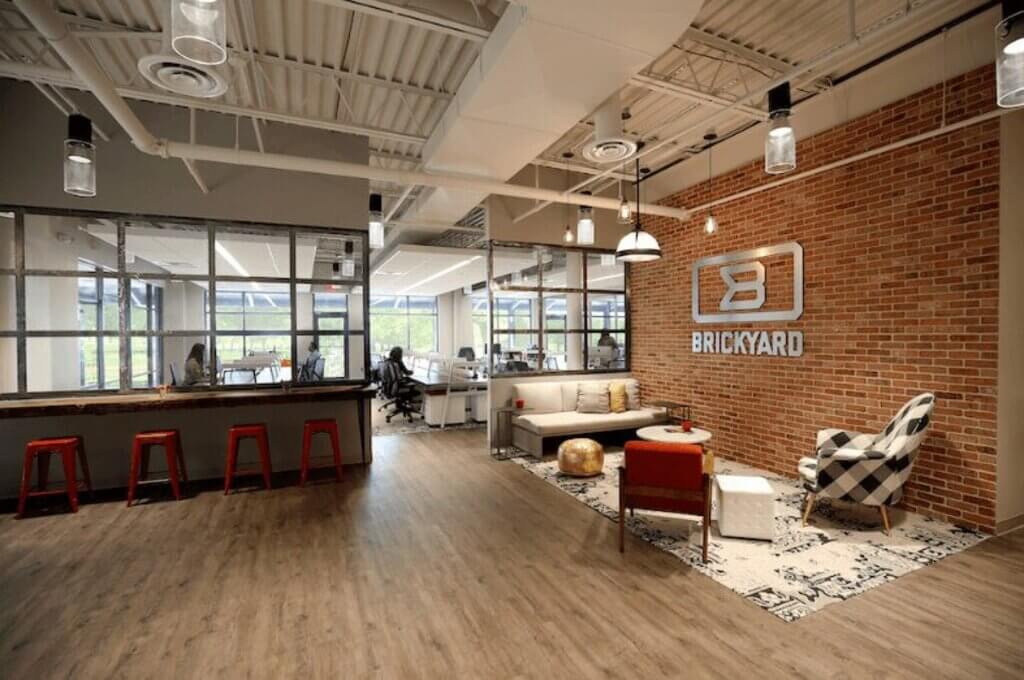
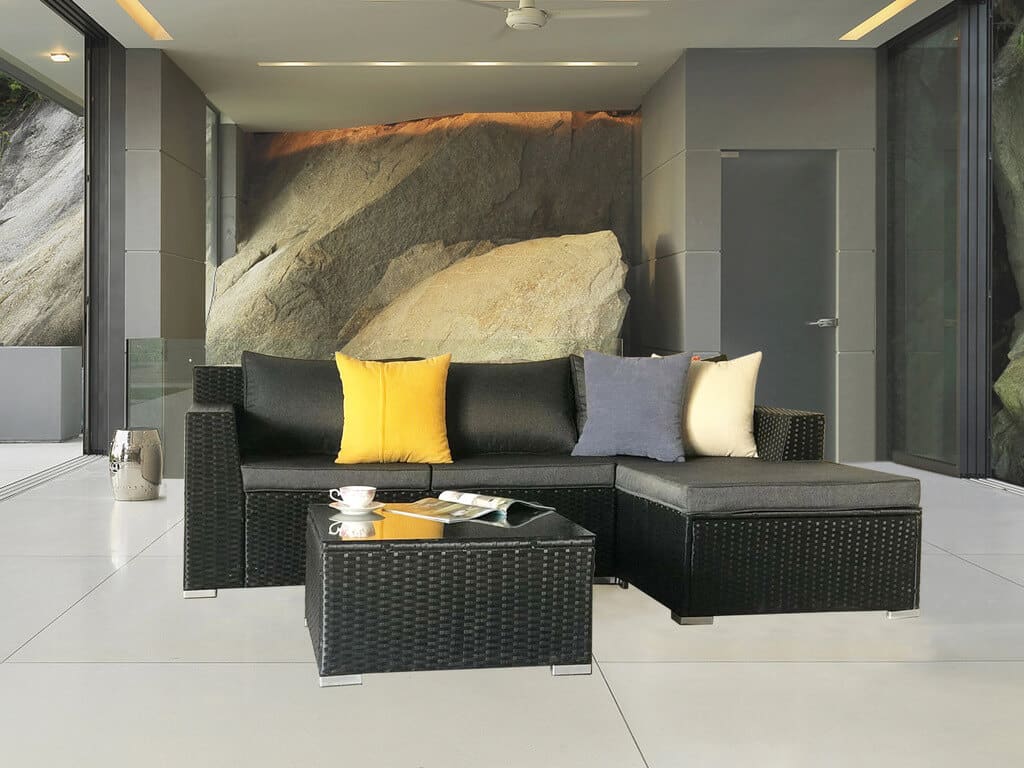
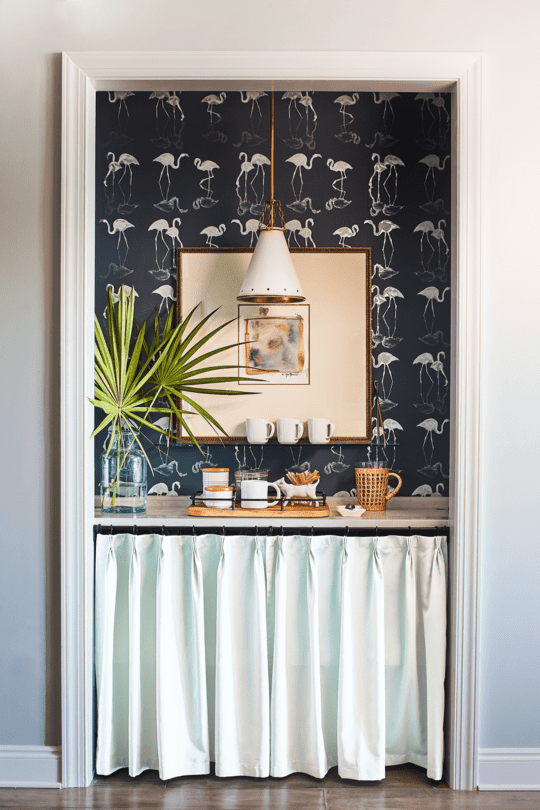
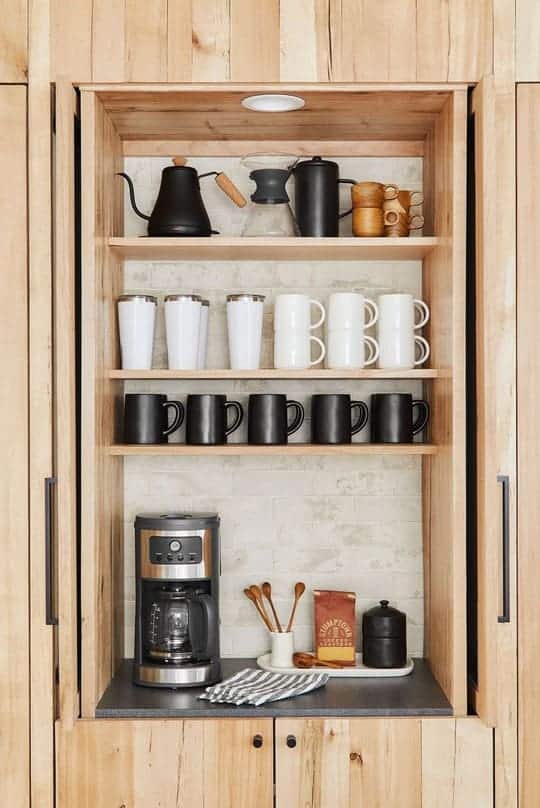
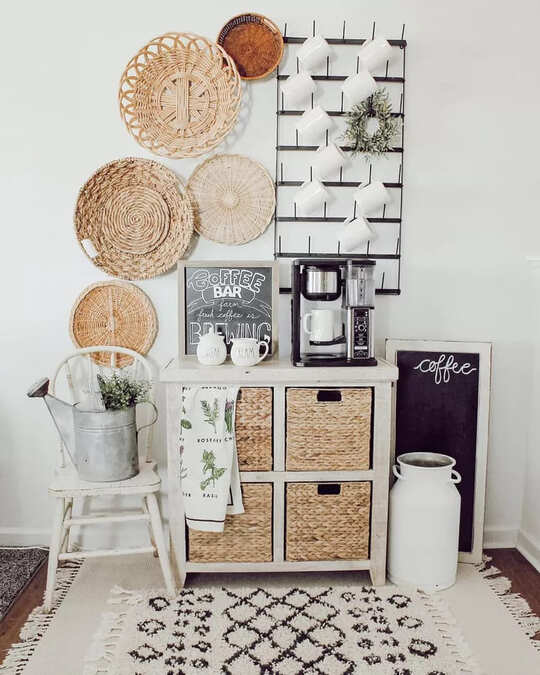
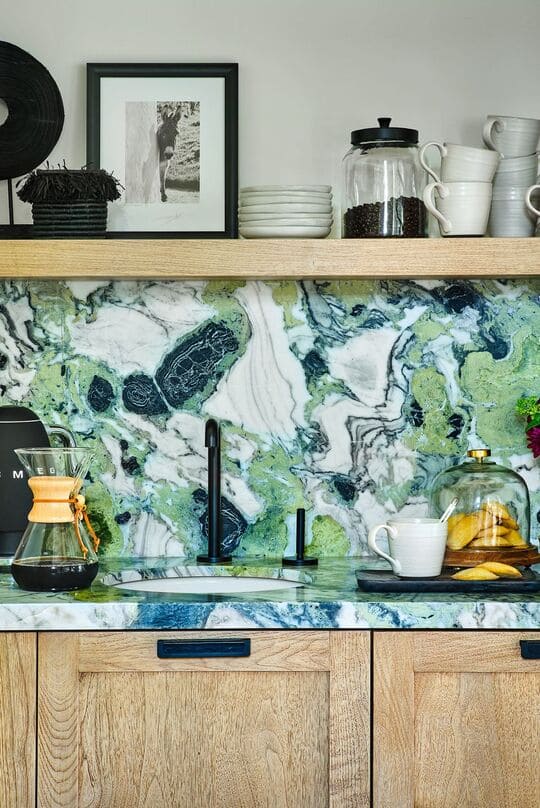
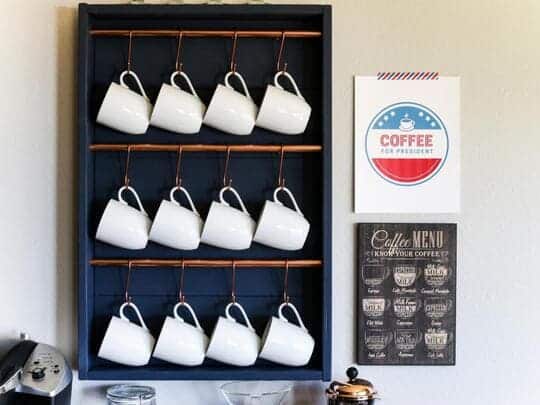
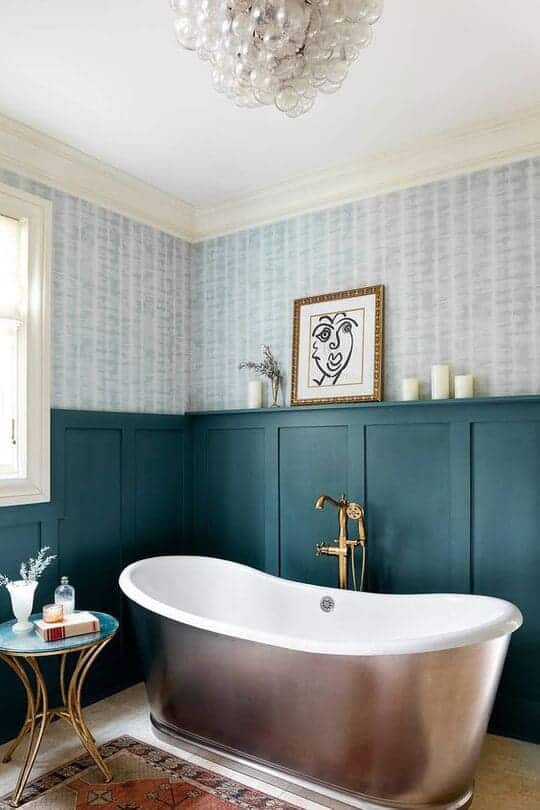
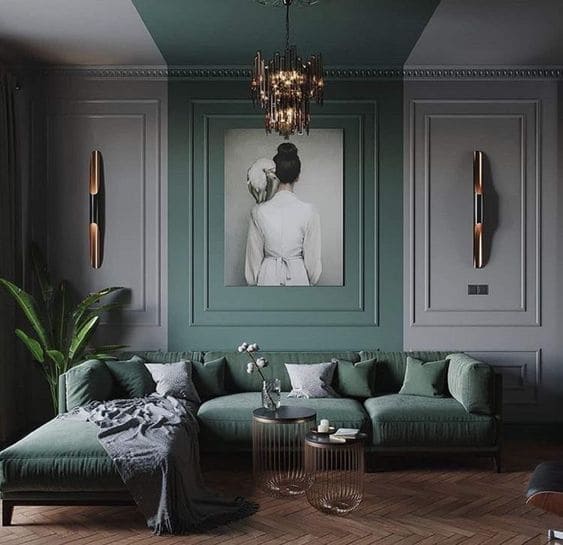
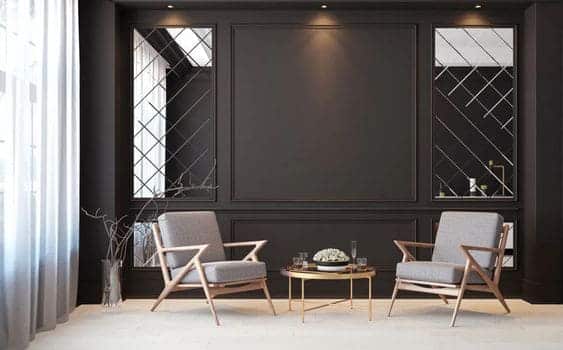
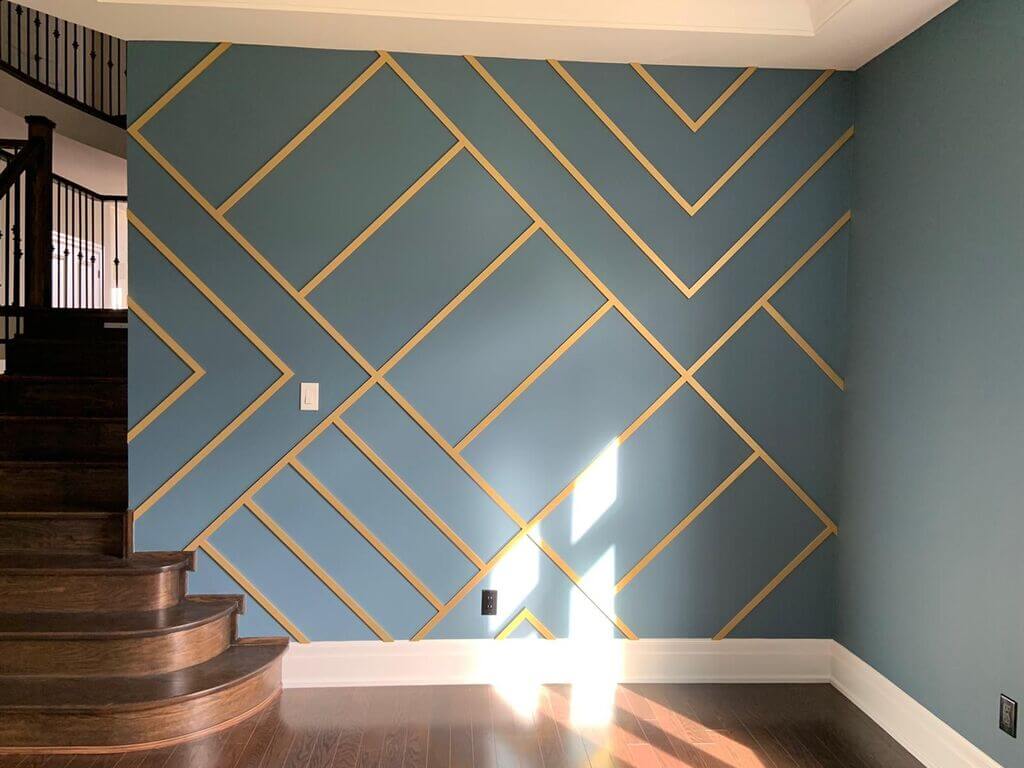
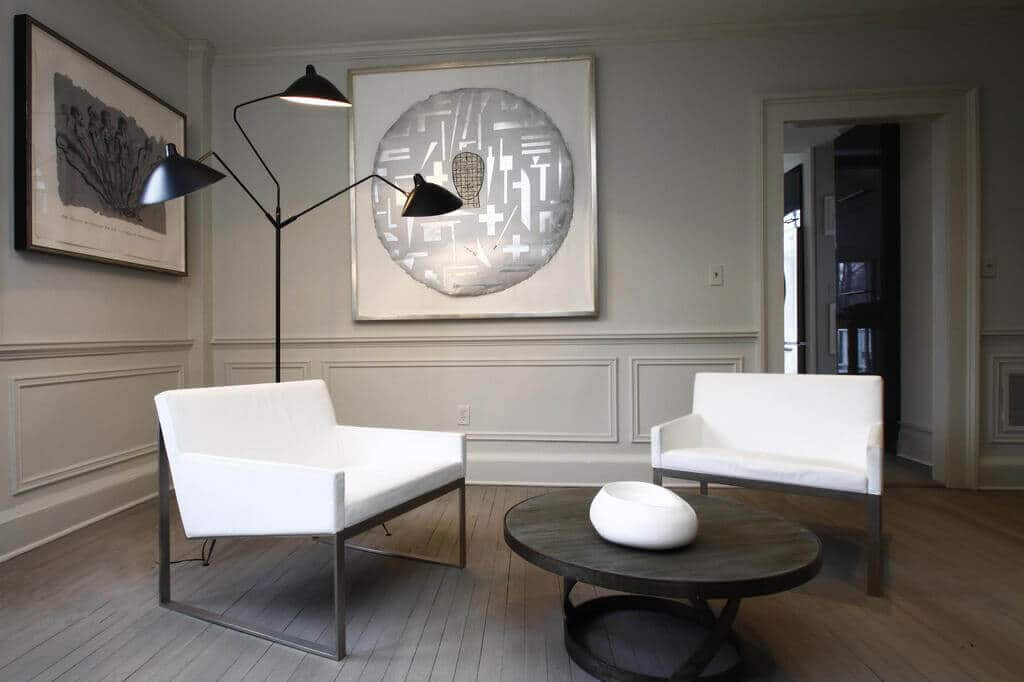
- Play with Design Elements: You are not confined to just one pole barn style. Old barn components can be combined with new pole barn interiors. You can experiment and team up with different styles to create a unique look.
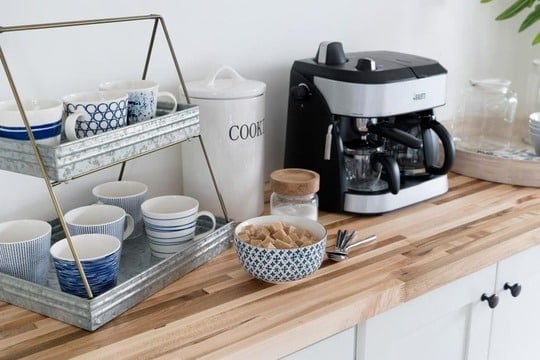
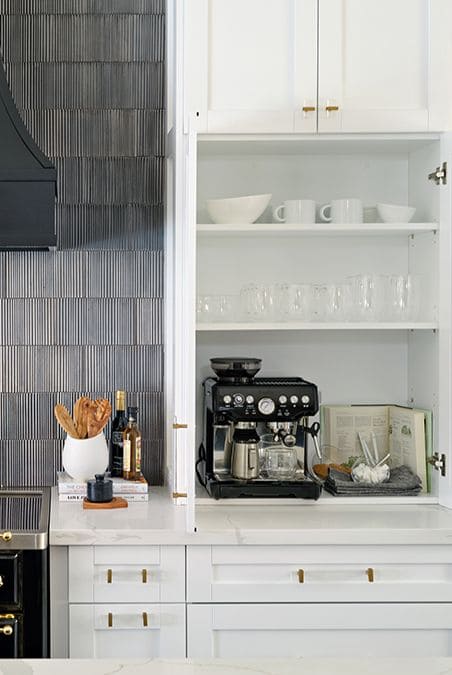
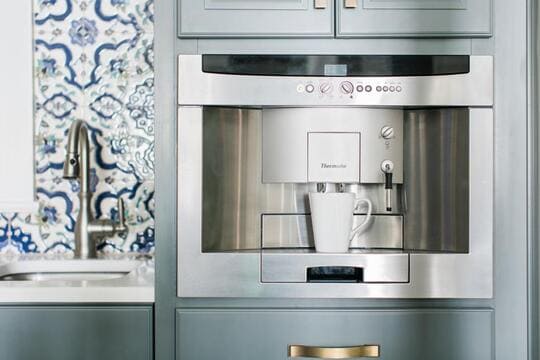
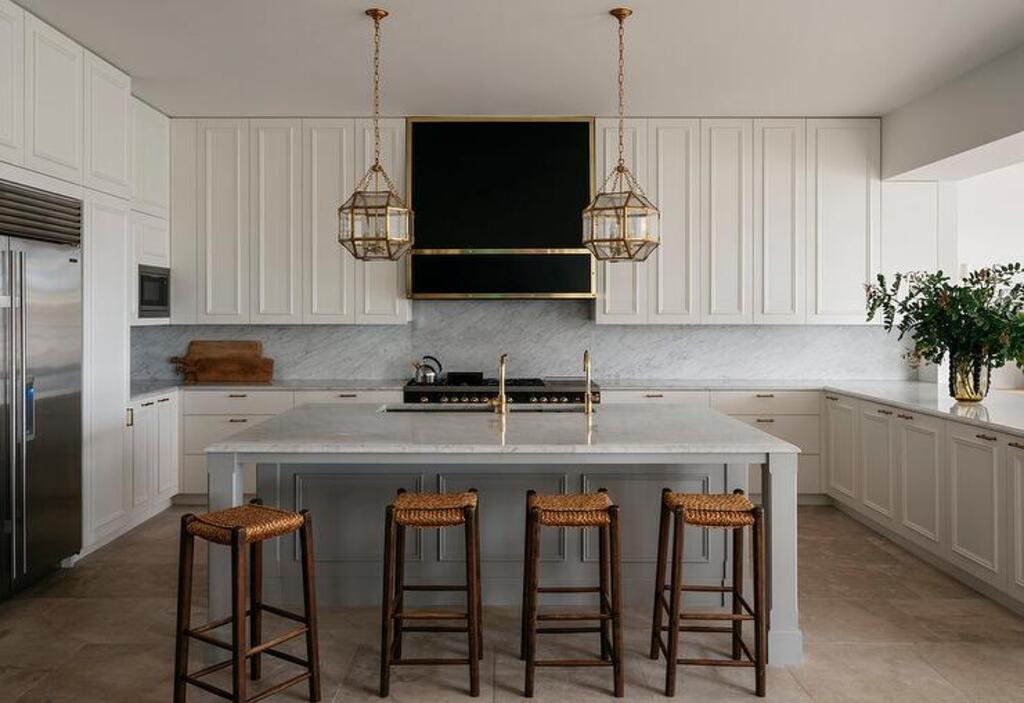
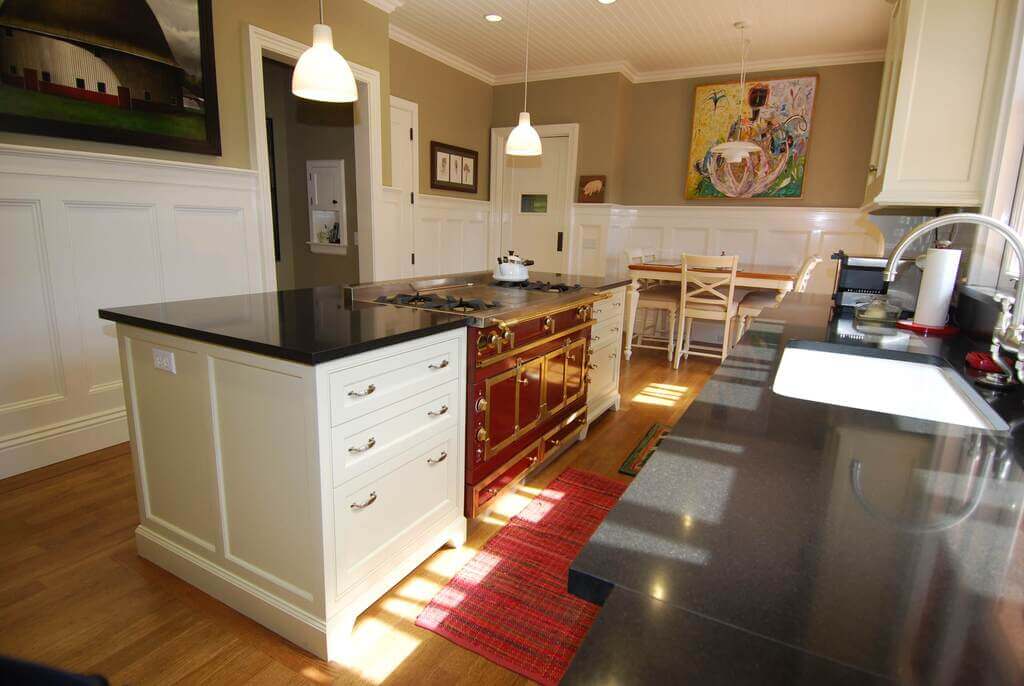
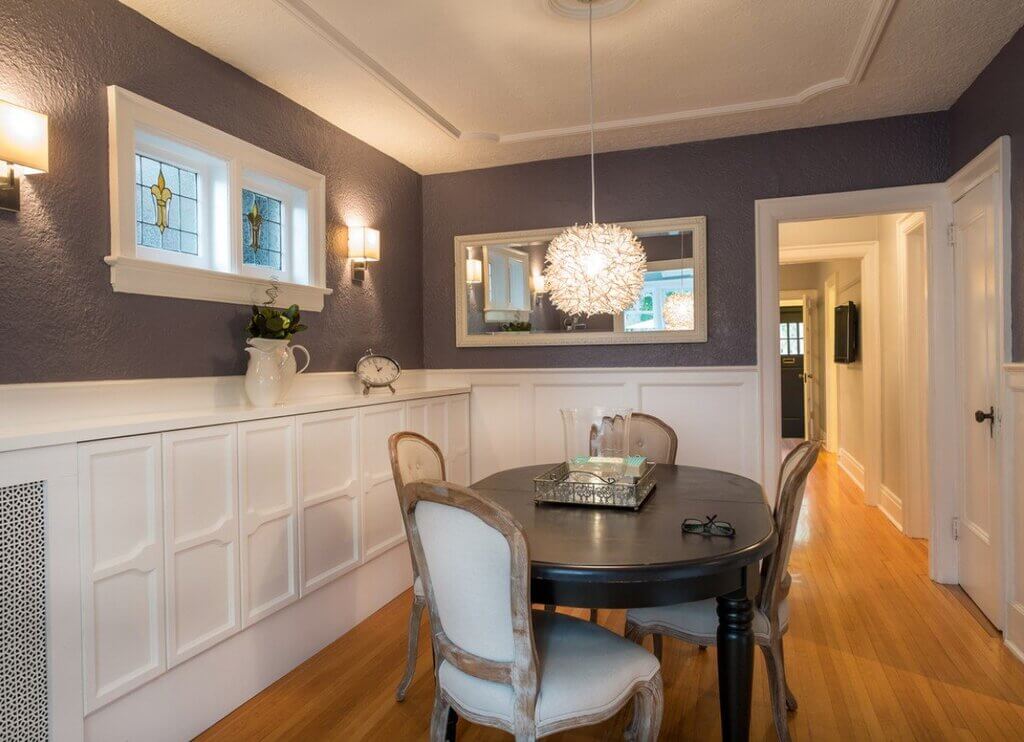
- Rustic Kitchen: Kitchen worktops can be paired with farmhouse wrap around sinks that give rustic touches. To liven up your kitchen, play off the exposed wood in your dining room and the kitchen barn furniture.
Ready to Make One?
When it comes to pole barn houses designing and building, people value flexibility and options. As they offer space, luxury, and, most importantly, a distinctive design.
FAQ’s
Pole barn houses give a lot of design flexibility from stonework, porches, dormers, metal roofs, and other special exterior and roof feature available for pole barn residences.
No. Pole barn dwelling house can be built directly on a concrete slab. This cuts down on the time and money spent on-site preparation.
The foundation of a pole barn house is a minimum of 4′ in the ground. The standard poured concrete or block wall footer is replaced by these. Making it more cost effective.
In most cases, pole barn homes will be as long as normally constructed buildings in terms of service and durability. With good services, they can last 40-60 years.
When compared to traditional construction methods, pole barn houses are far faster, and with more professional labor the construction can become even faster.
In case you missed it!